Romantic Cherry Blossom Blooming Gel Nails — Step-by-Step Tutorial
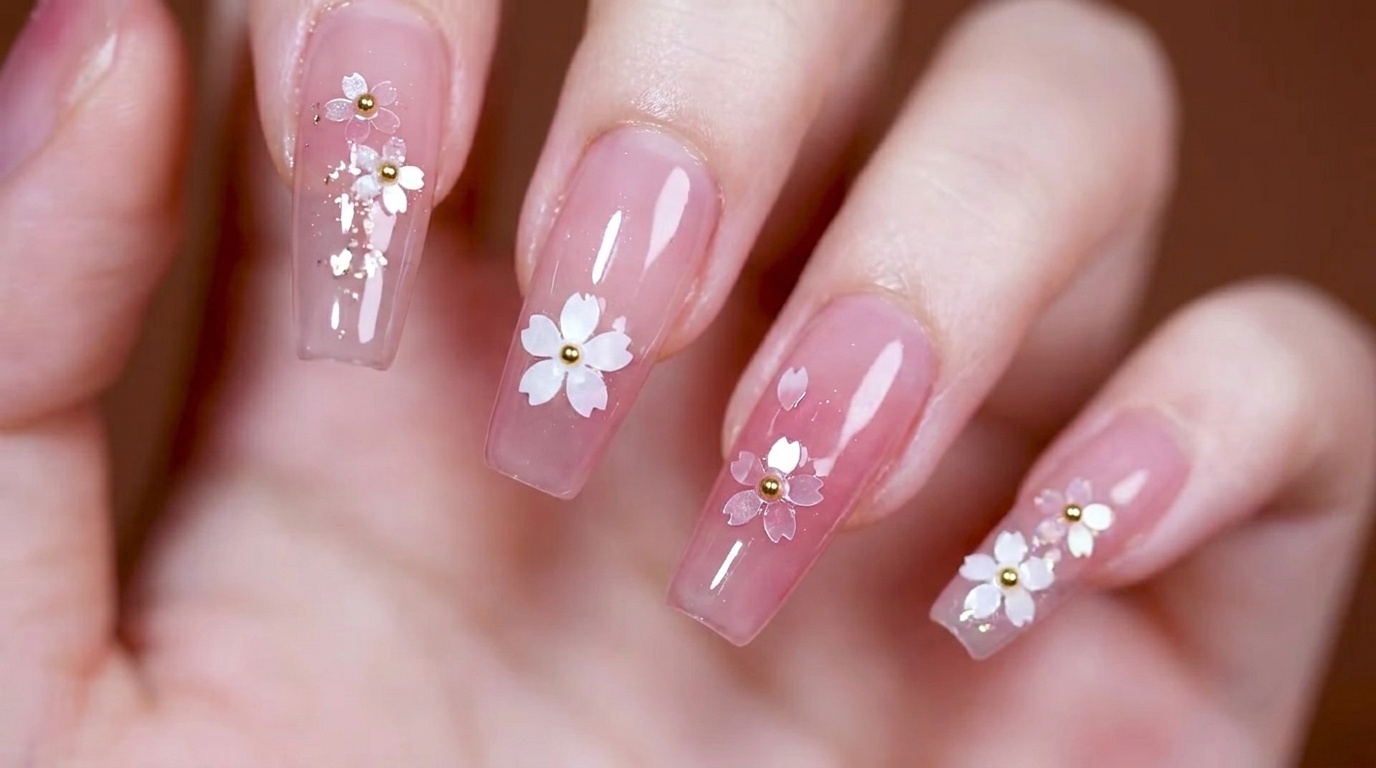
Create a dreamy, romantic manicure with this cherry blossom blooming gel look. Learn the gradient blush technique and how to encapsulate delicate floral sequins.
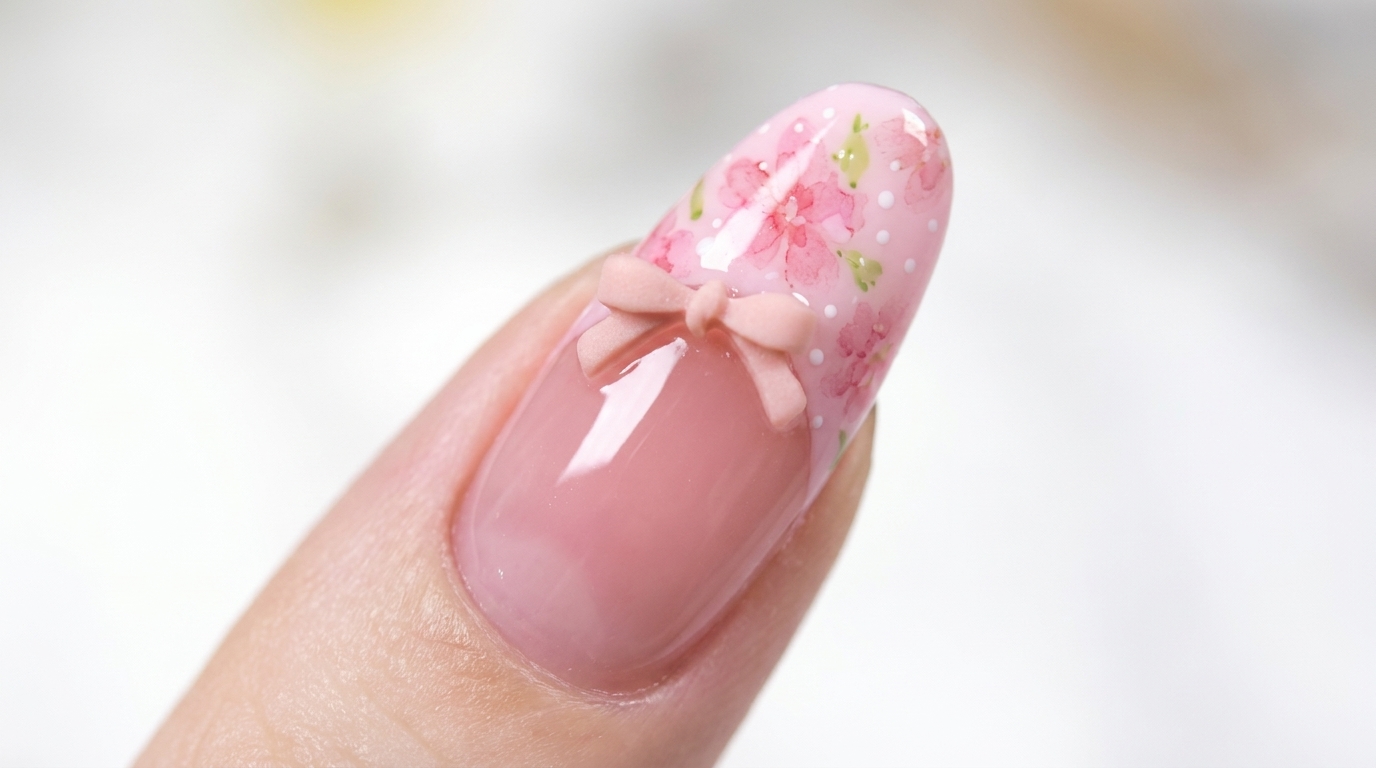
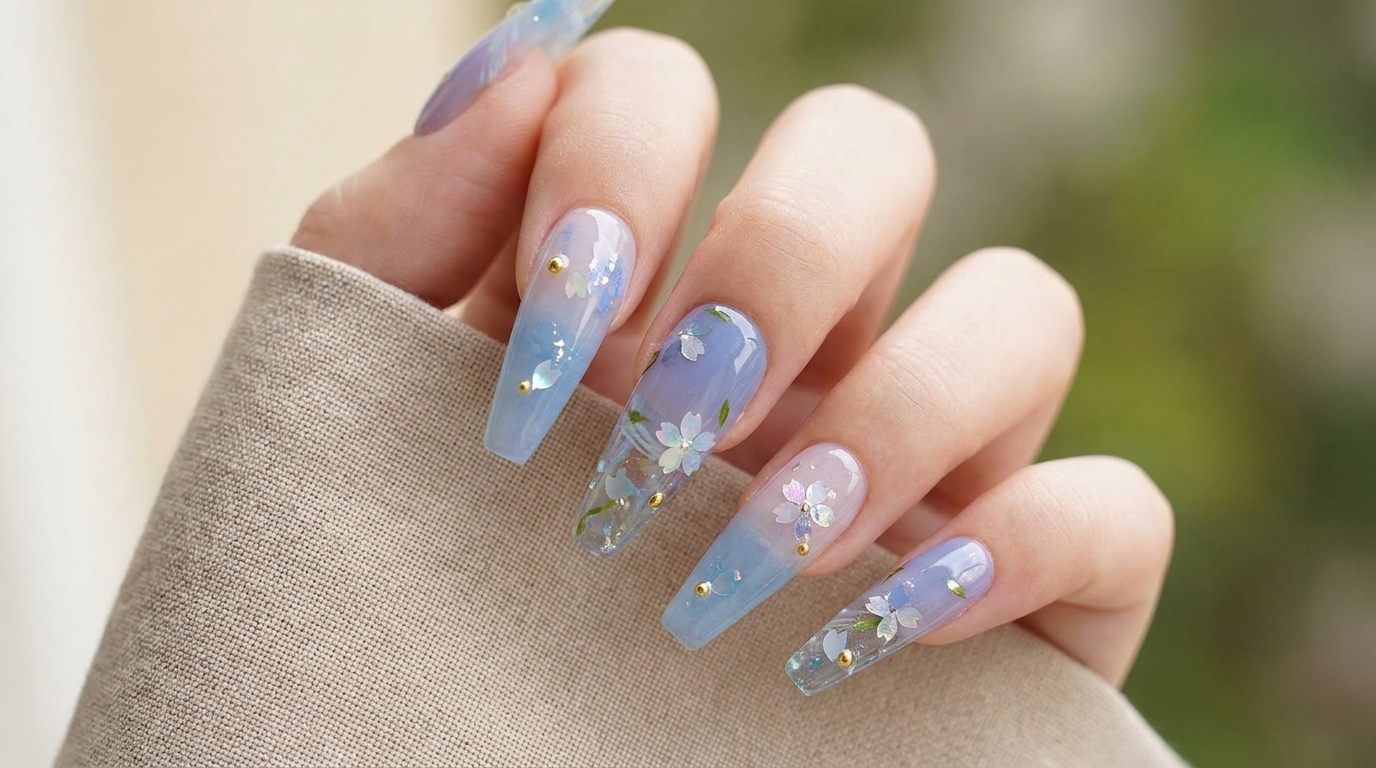
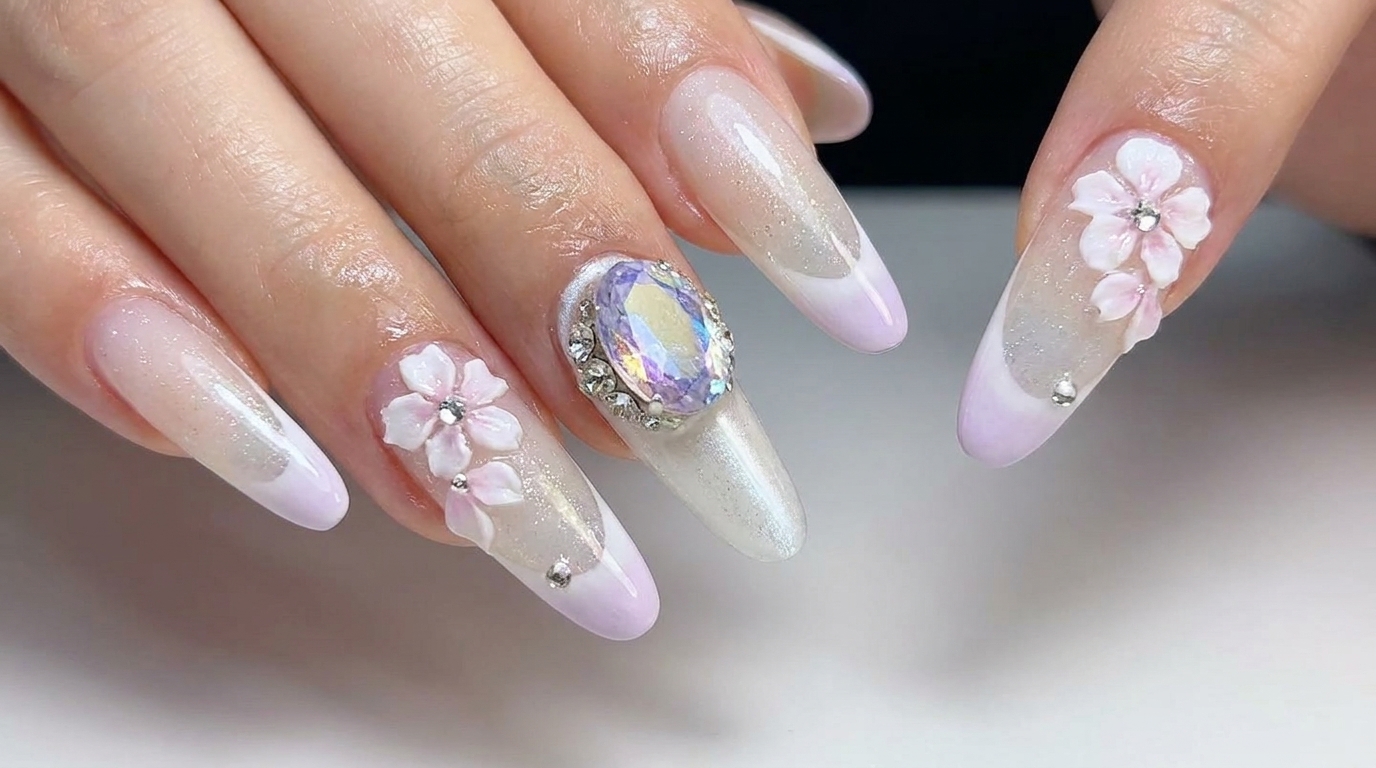
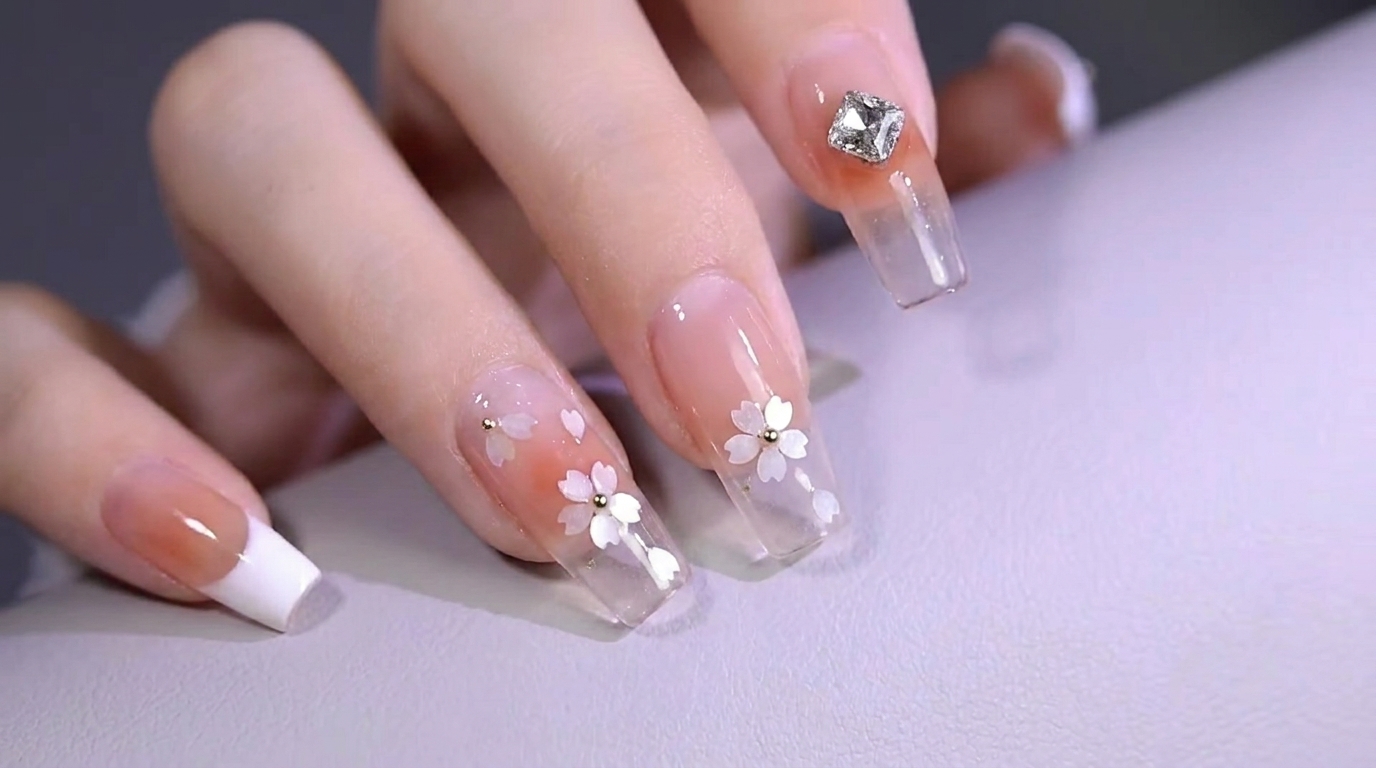
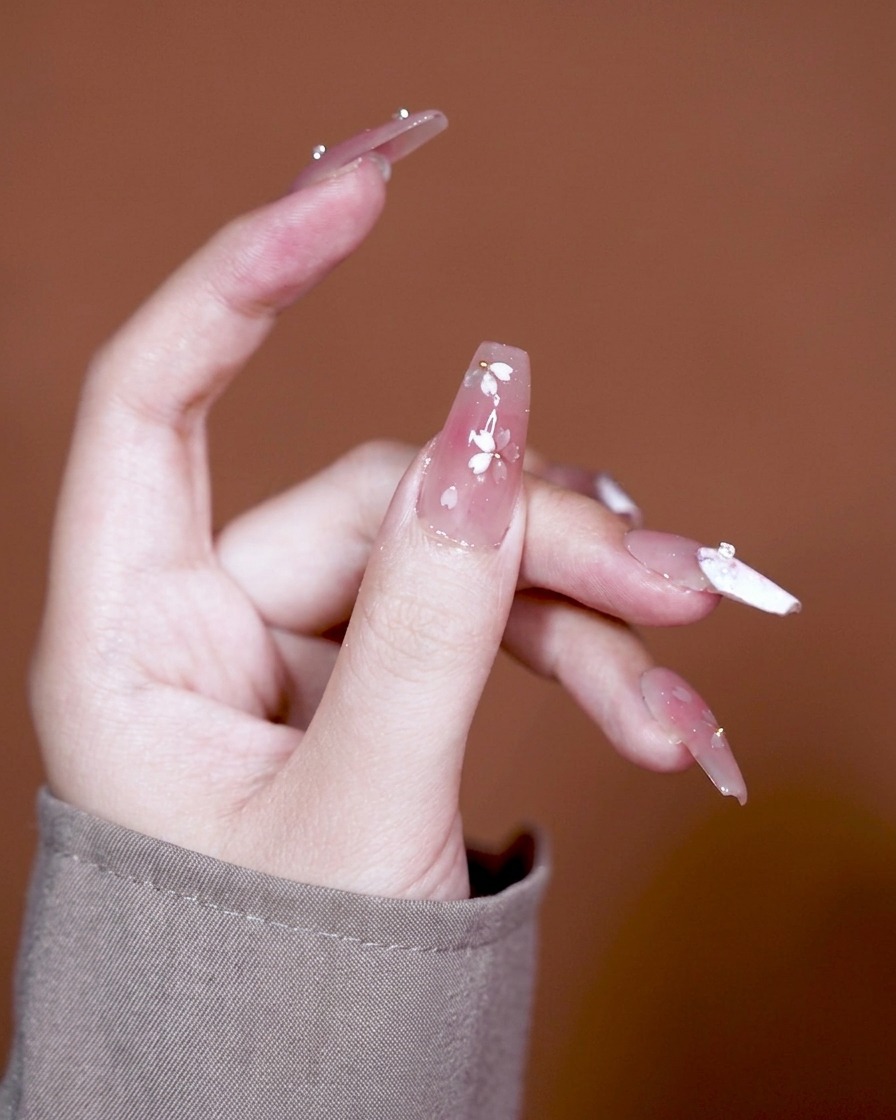
Embrace the elegance of spring with this stunning cherry blossom nail art design. This look combines the soft, hazy effect of a blooming gel gradient with the delicate texture of floral sequins. It is a perfect choice for those who love romantic, sophisticated nails that look professional and detailed.
Steps
- 1Apply first base coat
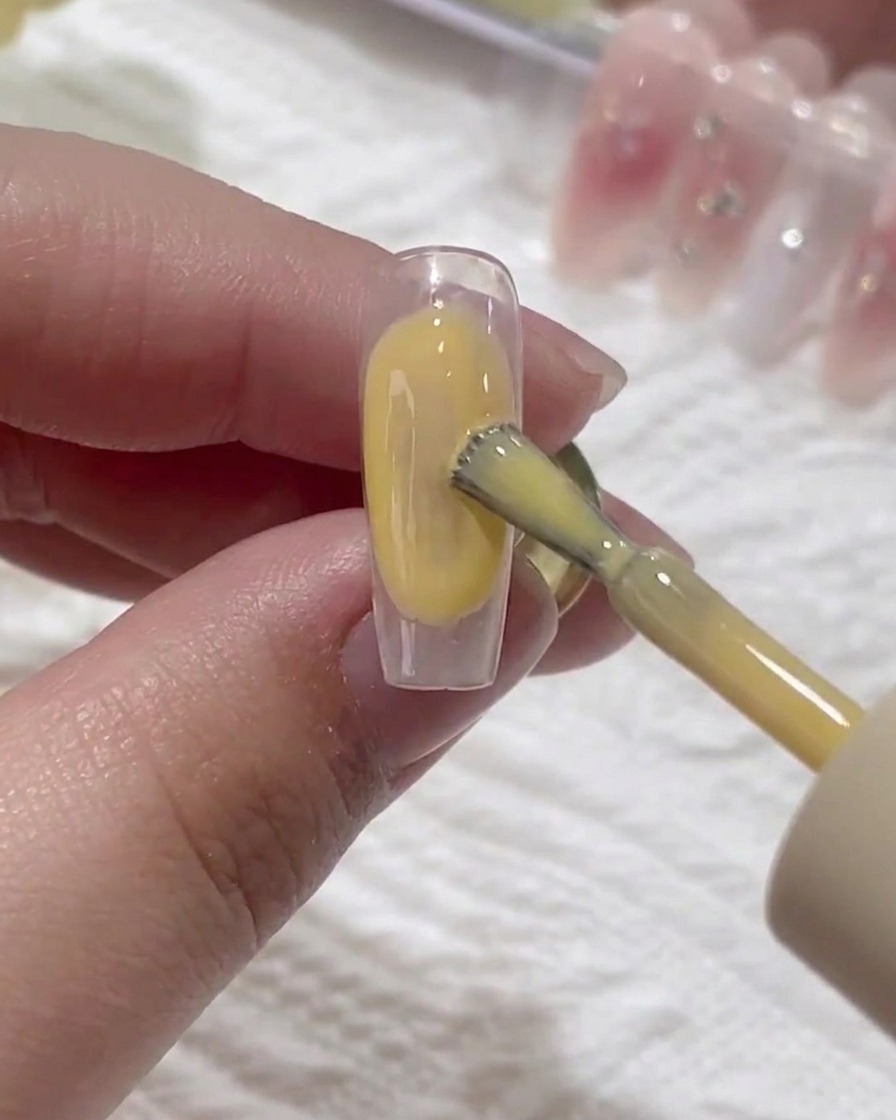
Begin by applying a thin, even layer of base coat to your clean, prepped nail plate. This layer provides a smooth foundation and improves the adhesion of the subsequent gel products.
Tip: Apply a very thin layer to avoid flooding the cuticle area. - 2Apply second base coat
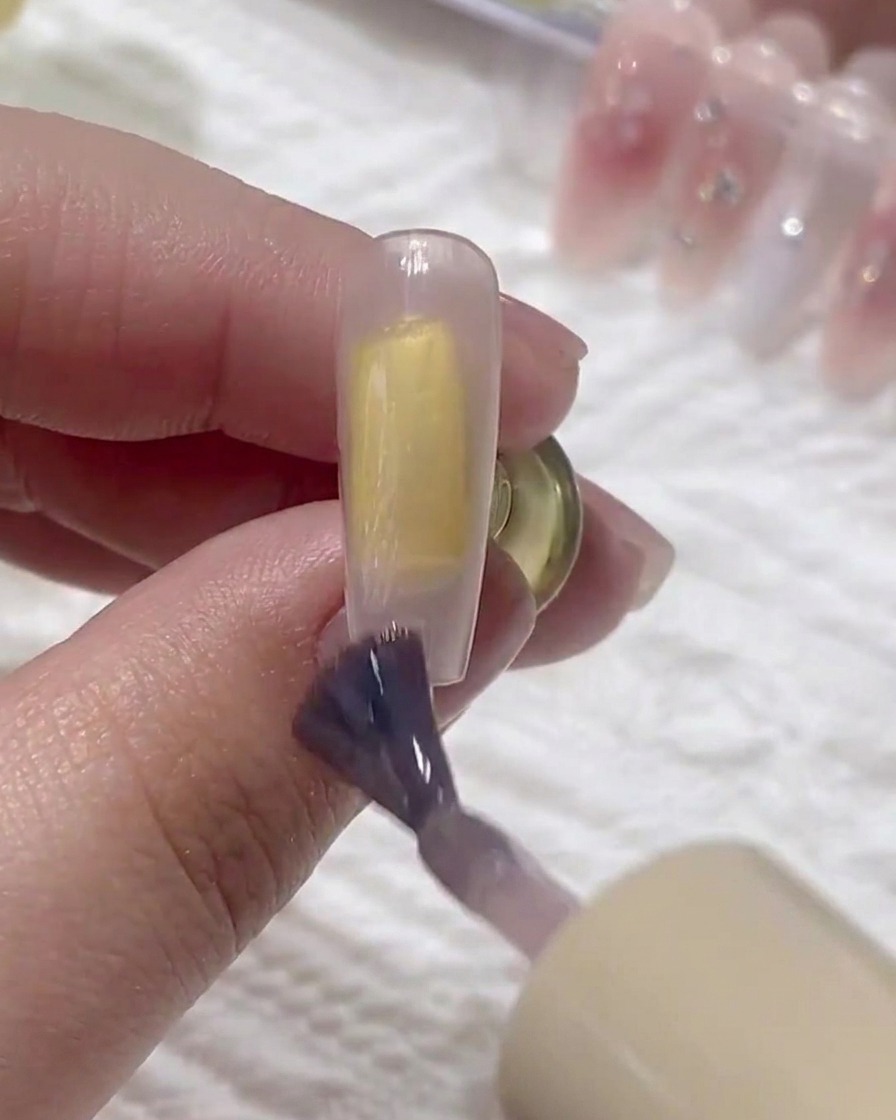
Apply a second thin layer of base coat to ensure full and even coverage. This reinforces the base for the upcoming nail art design.
Tip: Ensure the edges are well-capped to prevent lifting. - 3Apply blooming gel
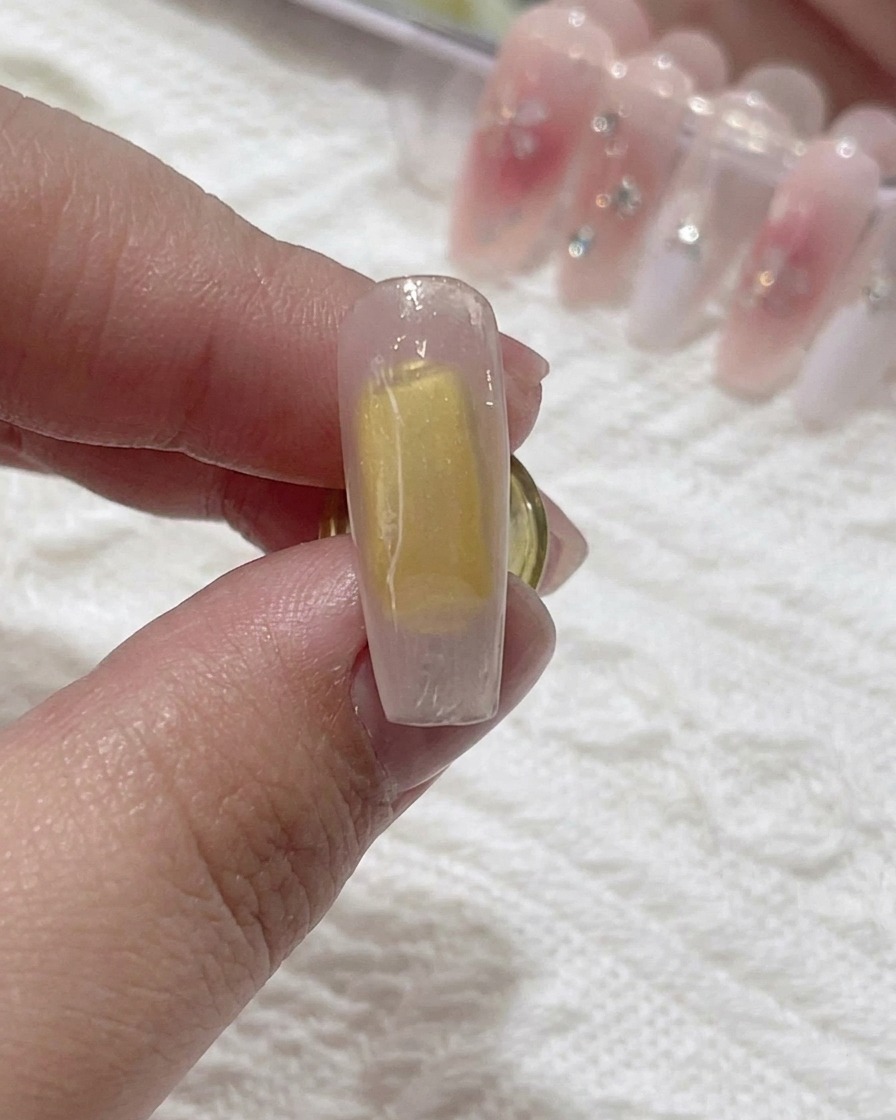
Apply a layer of clear blooming gel over the cured base coat. Do not cure this layer; the wet surface is essential for the blooming effect in the next step.
Tip: Apply an even, consistent layer so the colors spread uniformly. - 4Add pink gel dots
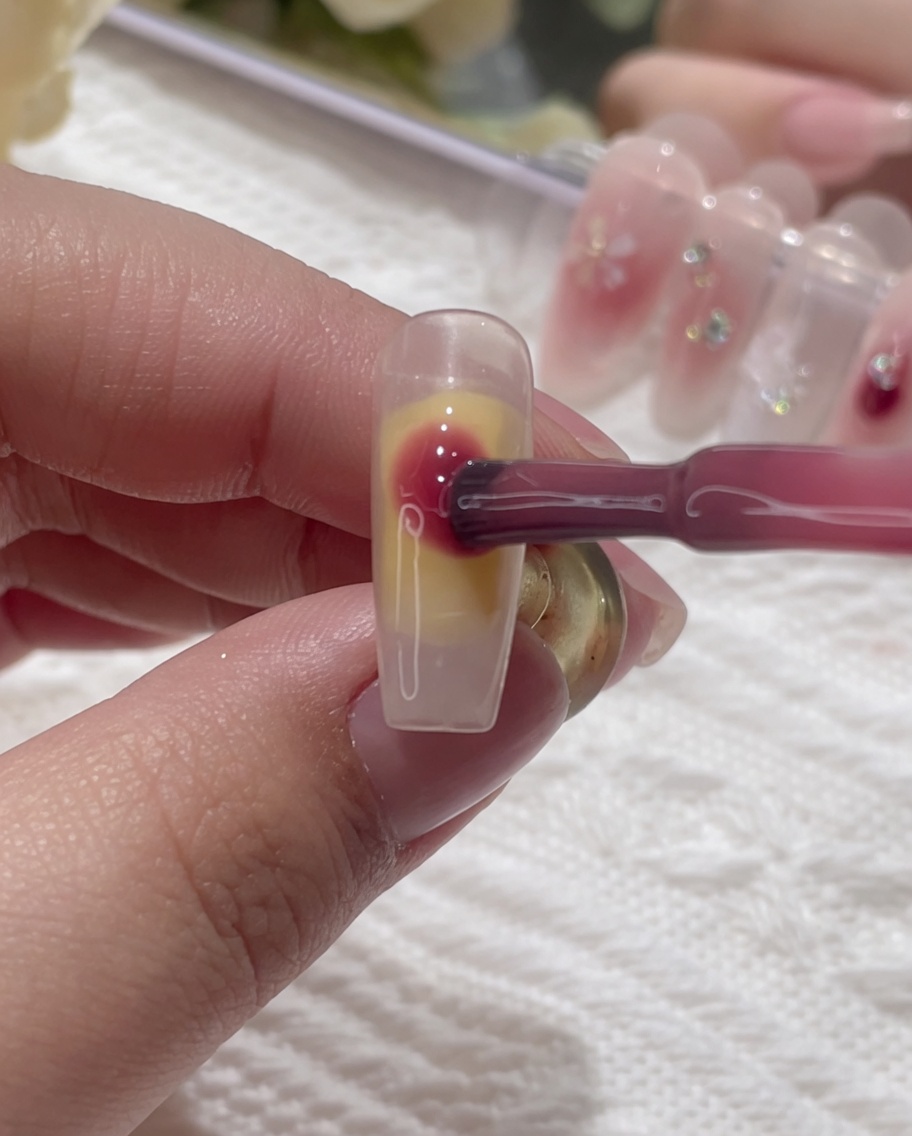
Using a dotting tool or brush, place dots of cherry blossom pink gel onto the uncured blooming gel surface. Watch as the color begins to naturally spread and bloom.
Tip: Keep the dots spaced slightly apart to allow room for the blooming effect. - 5Blend for gradient
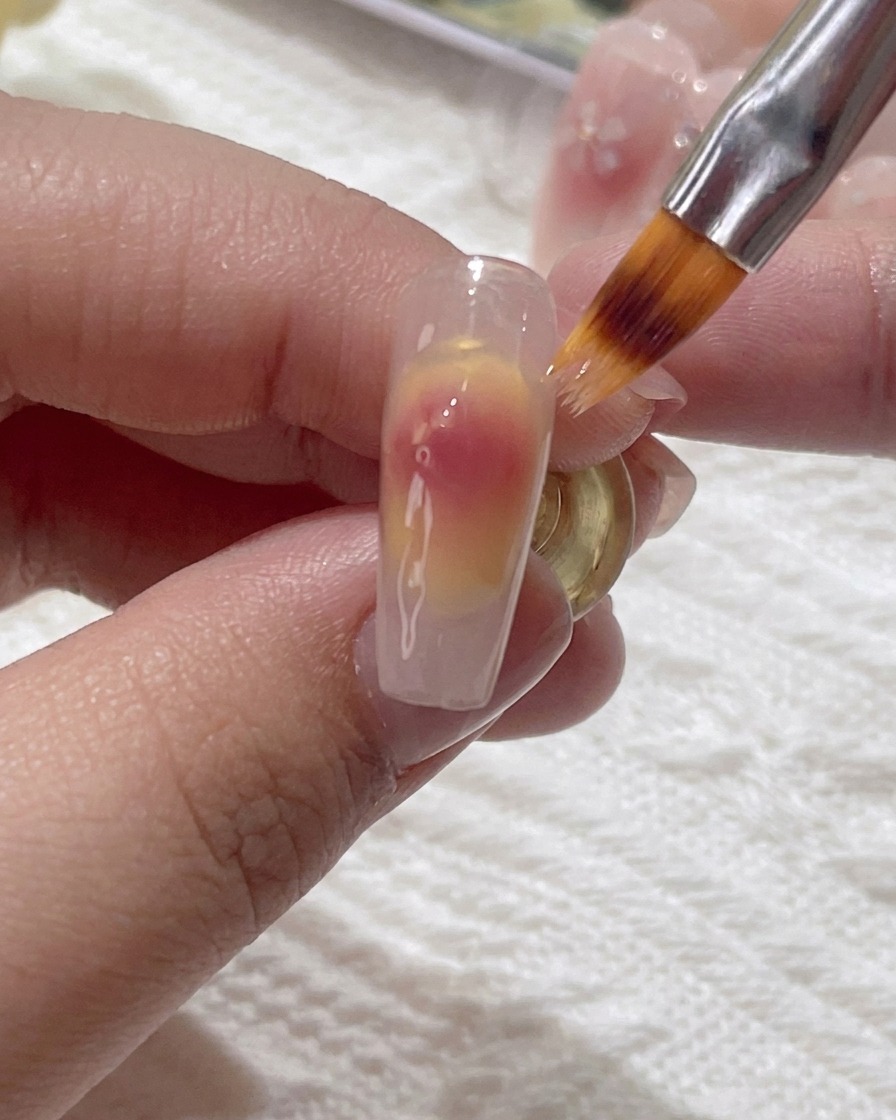
Using a soft, clean brush, gently blend the edges of the pink gel dots into the blooming gel. This creates a soft, hazy gradient or blush effect.
Tip: Use light, feathery strokes to avoid over-blending the color. - 6Deepen color saturation
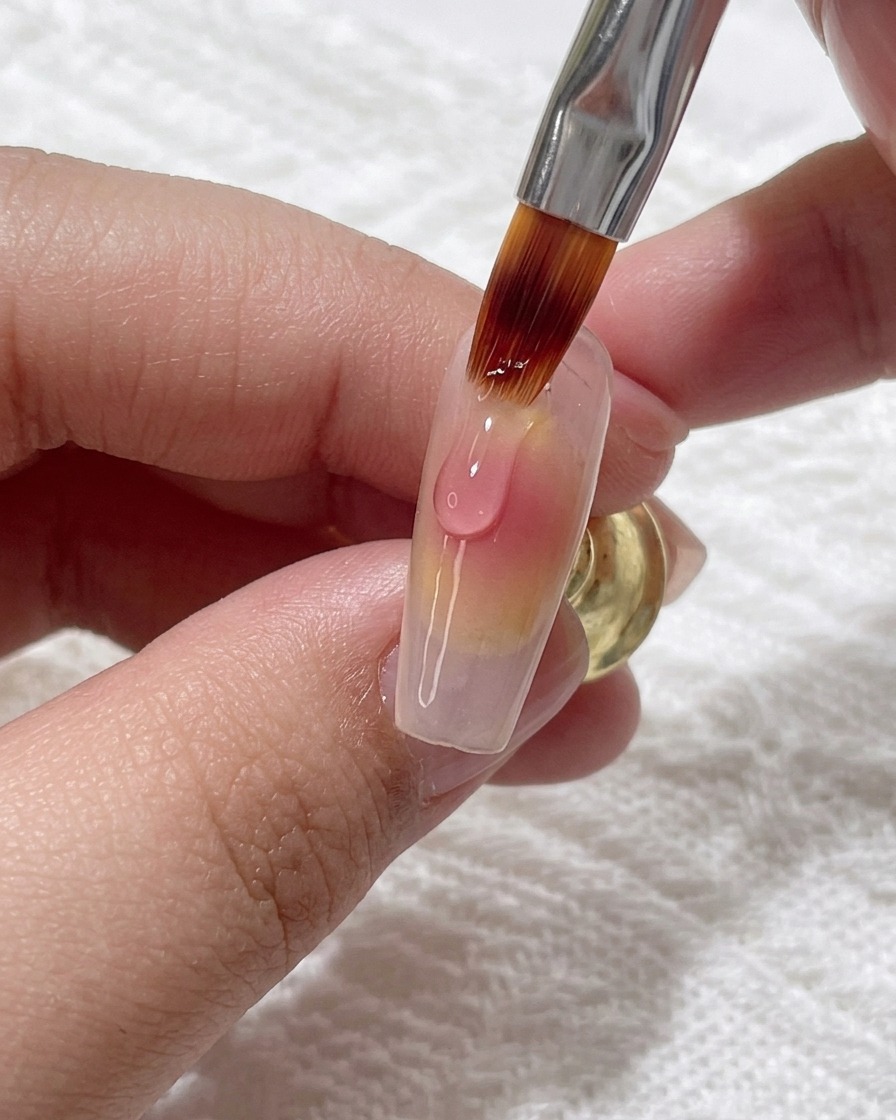
To add more depth and vibrancy, re-apply a small amount of cherry blossom pink gel to the center of the gradient and blend gently once more.
Tip: Focus the second application on the darkest part of your gradient. - 7Create gradient blush effect
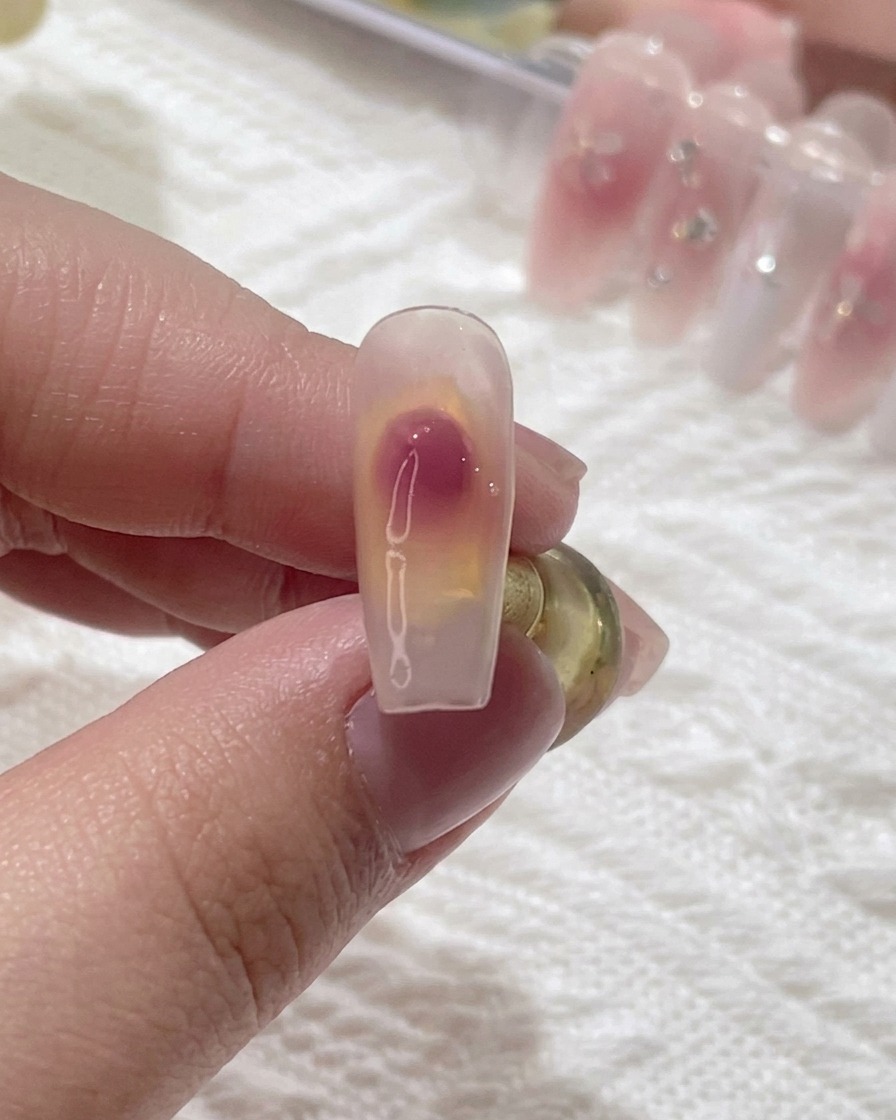
Using your nail brush, gently blend the edges of the pink gel dot on the wet blooming gel. This creates a soft, diffused gradient or blush effect. Work slowly to ensure the transition is smooth and seamless before proceeding to cure the layer.
Tip: Keep your brush light and use small, circular motions to avoid lifting the blooming gel base. - 8Apply rhinestone adhesive
Apply a thin, controlled layer of rhinestone adhesive gel over the cured blush gradient. This provides a strong, tacky base to hold the cherry blossom sequins securely in place without sliding.
Tip: Apply the adhesive only where you plan to place the floral art to keep the surface clean. - 9Place floral sequins
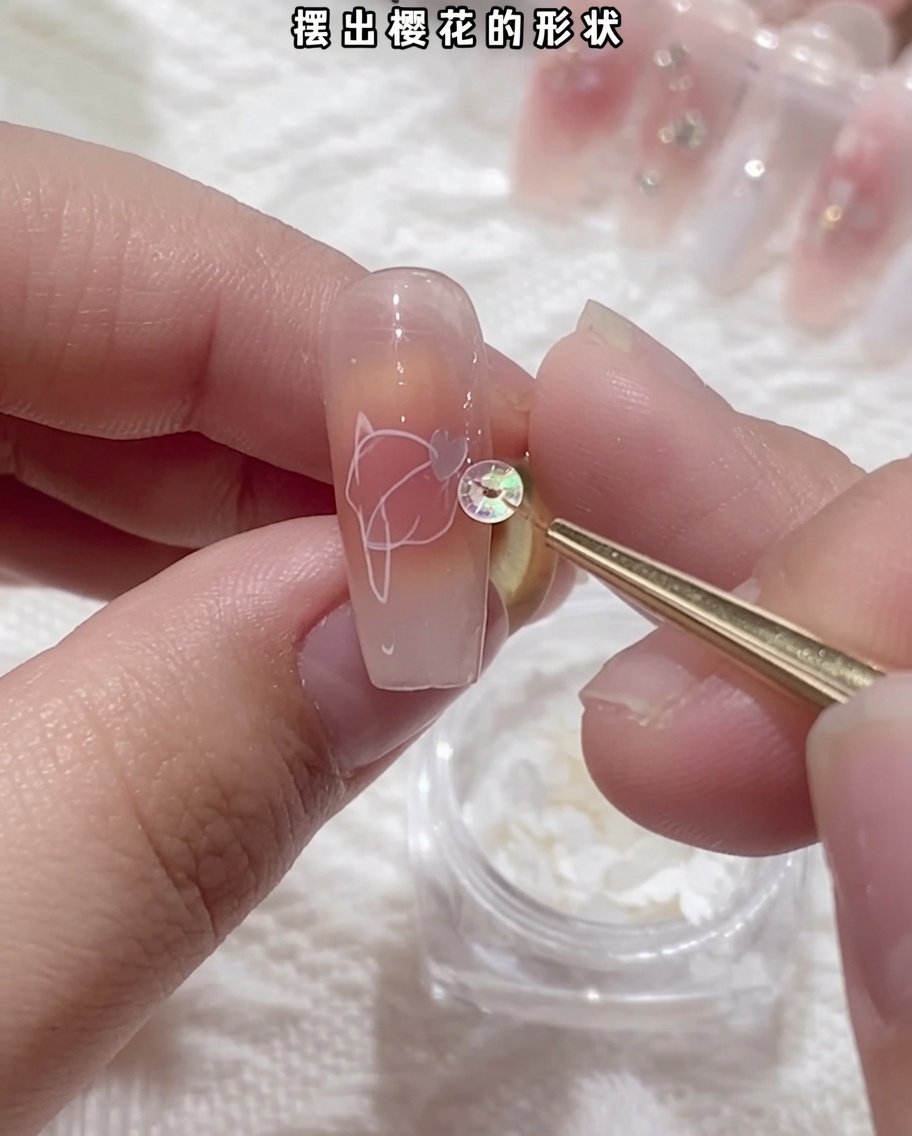
Using precision tweezers, pick up a cherry blossom-shaped sequin and place it onto the adhesive gel. Gently press it down so it lies flat against the nail surface, ensuring it is positioned exactly where you want the center of your flower design.
Tip: If the sequin moves, use the tip of your tweezers or a dotting tool to nudge it gently into the perfect spot. - 10Arrange cherry blossom sequins
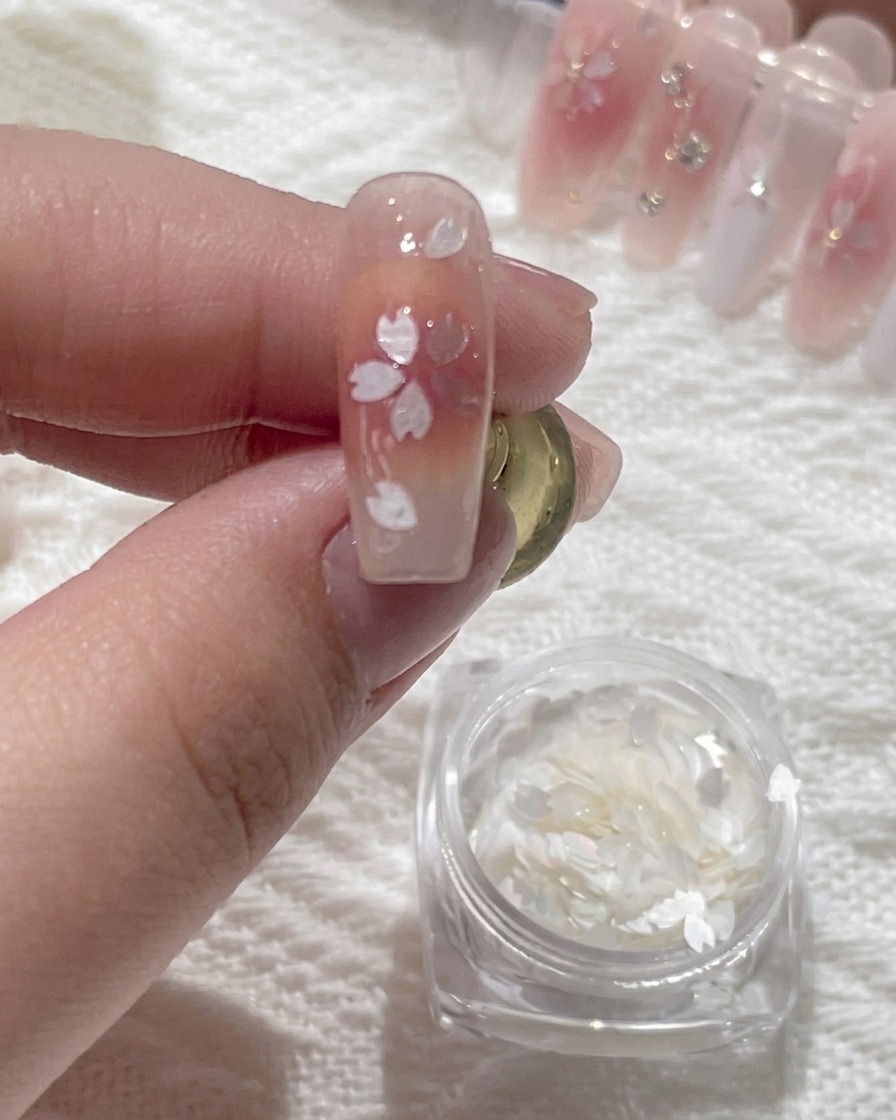
Using your rhinestone tool, carefully place additional cherry blossom-shaped sequins around the initial flower to create a clustered floral design. Position them so they slightly overlap or sit adjacent to each other for a natural, blooming look. Once you are satisfied with the arrangement, briefly flash cure if needed to hold them in place.
Tip: Work with a small amount of adhesive gel at a time to prevent the sequins from sliding around while you position the cluster. - 11Add flower center glue
Apply a tiny, precise dot of rhinestone glue or clear top coat exactly in the center of the cherry blossom sequin arrangement. This acts as the anchor for the final decorative bead.
Tip: Use a detail brush or a toothpick to ensure the glue droplet is small and does not overflow onto the petals. - 12Add metal bead accent
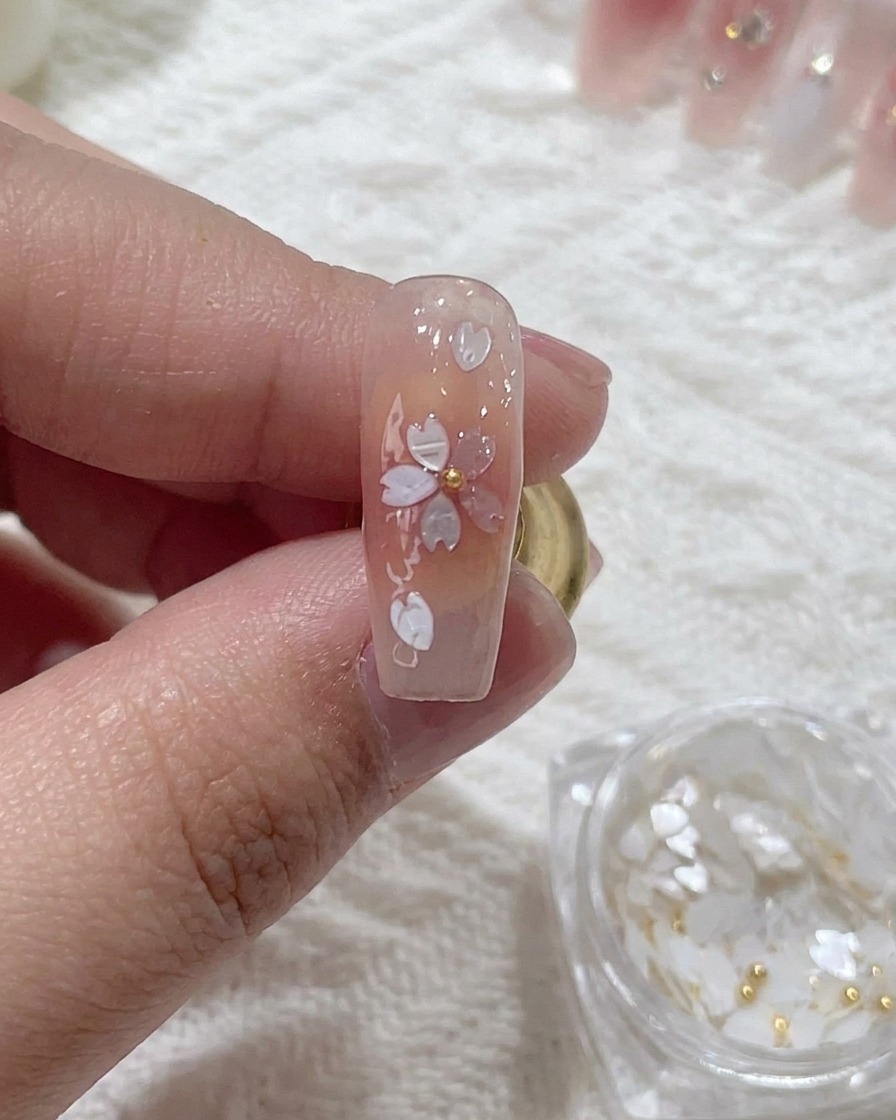
Using a dotting tool or tweezers, place a small gold or silver metal bead directly into the wet glue at the center of the flower. Press lightly to set it in the adhesive.
Tip: Once placed, double-check that the bead is centered before curing the nail. - 13Encapsulate with strengthening gel
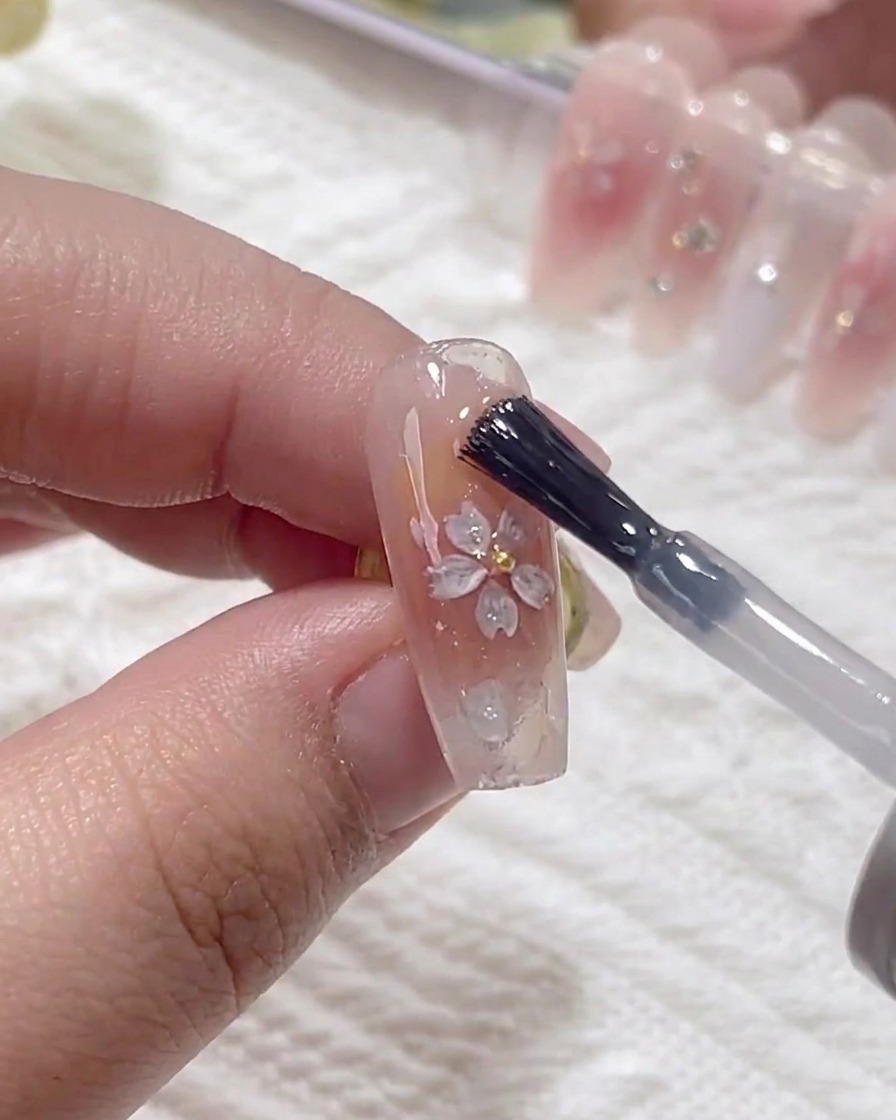
Apply a generous layer of strengthening or builder gel over the entire nail to cover and encapsulate the sequins. Ensure the gel fills in any gaps around the edges of the sequins to create a smooth, level surface. This step is crucial for securing the nail art so it doesnt snag or peel. Cure fully under your UV/LED lamp.
Tip: Focus on leveling the gel over the thicker parts of the sequins to avoid any bumps in the final finish. - 14Apply glossy top coat
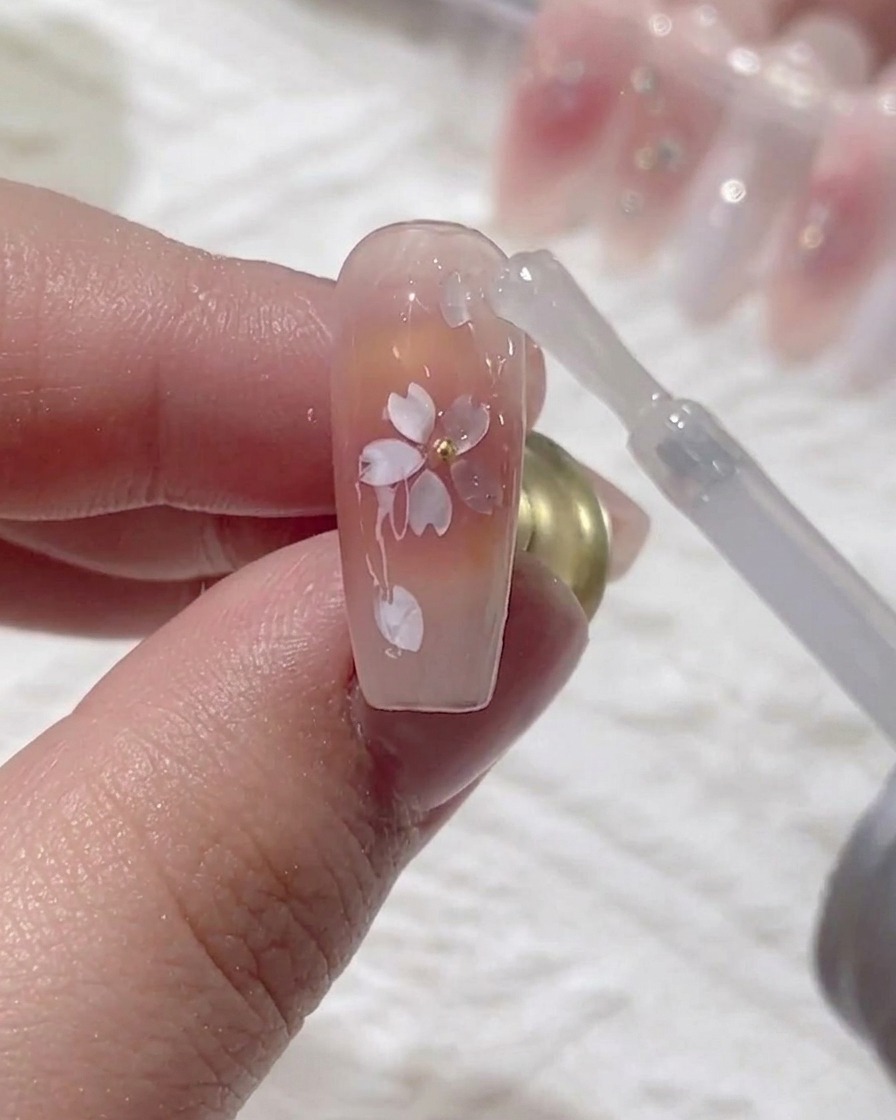
Finish the manicure by applying a final, smooth layer of glossy top coat over the entire nail. Ensure you cap the free edge completely to protect the design and provide a high-shine, durable finish. Cure according to the gel manufacturers instructions for the final set.
Tip: A smooth top coat application is the key to making the encapsulated nail art look seamless and professional.