Summer Elf Blue Gradient Cherry Blossom Nails — Step-by-Step Tutorial
Create an ethereal blue gradient look featuring delicate cherry blossom sequins and a unique glass-like texture using this easy step-by-step guide.
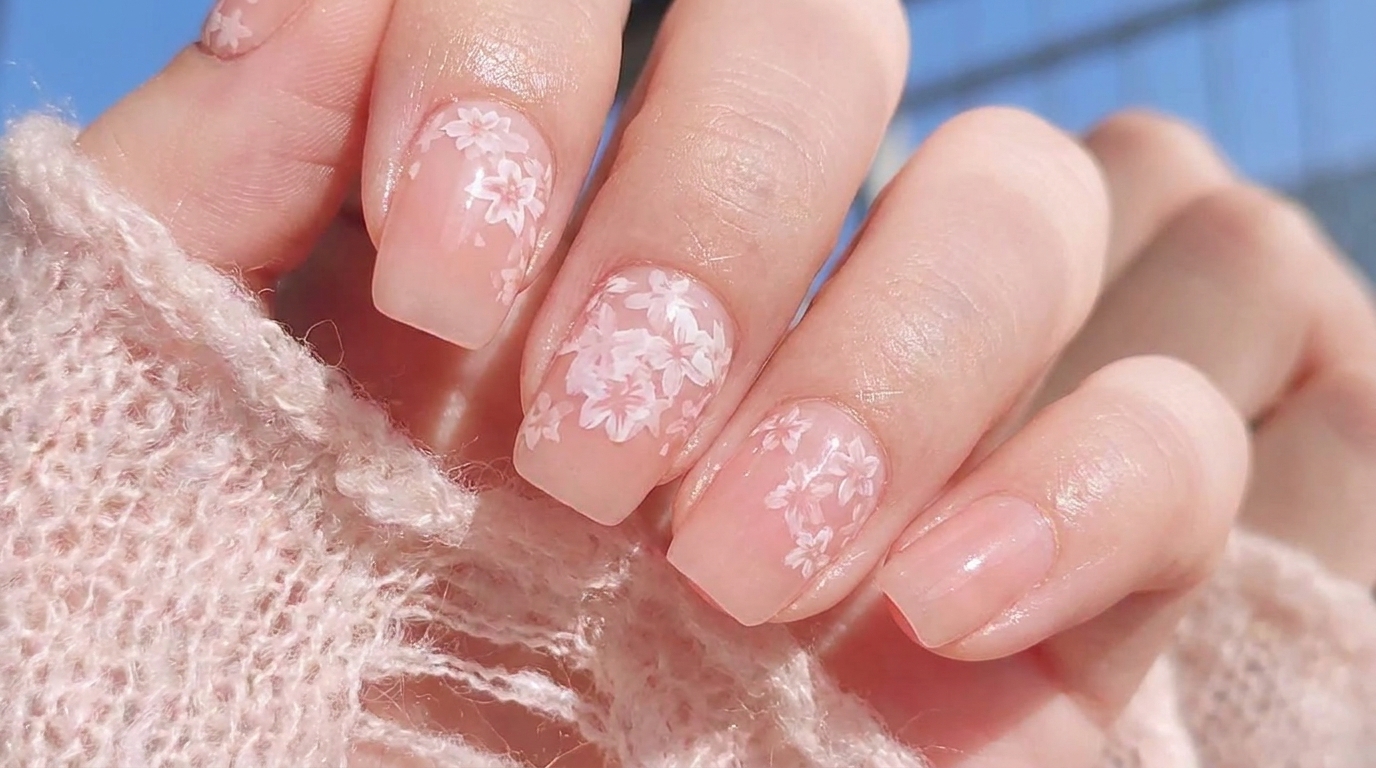
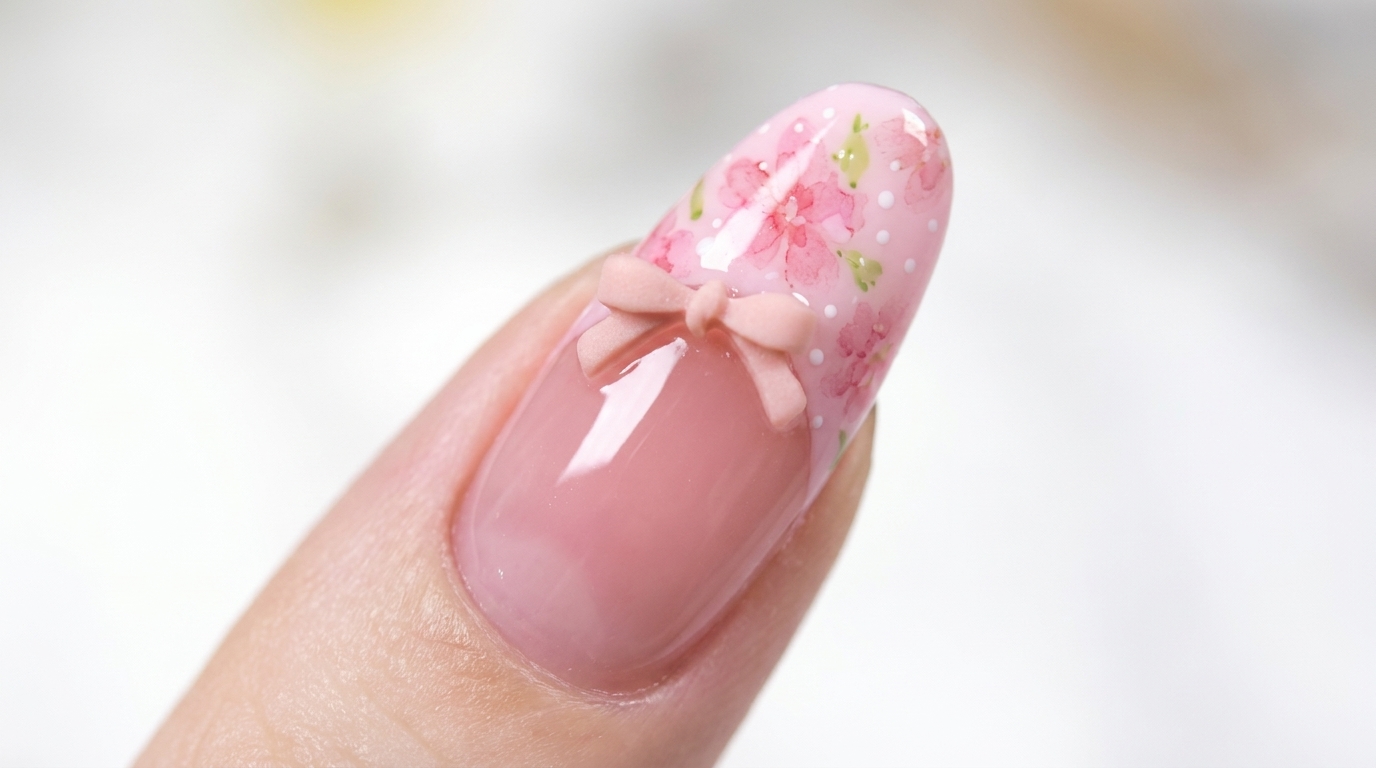
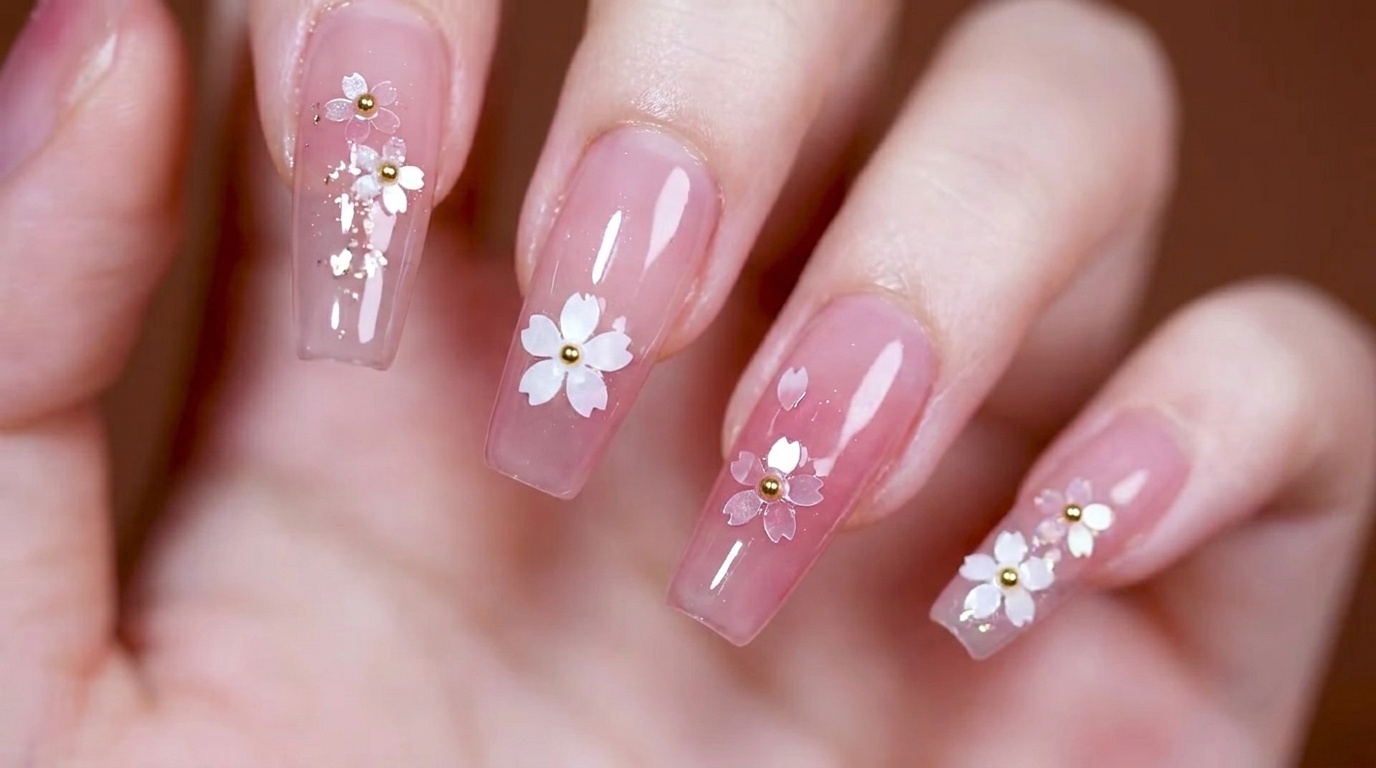
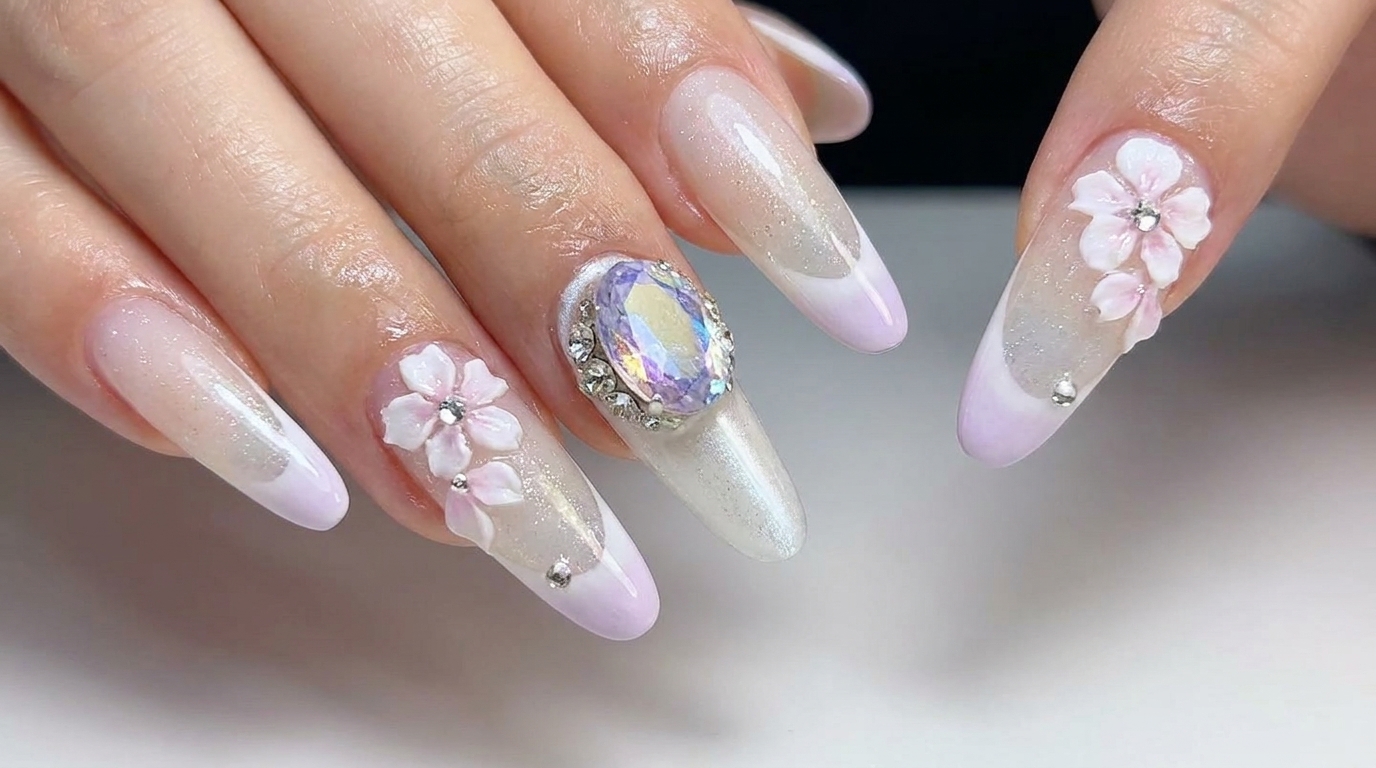
Embrace the beauty of the season with this stunning blue gradient design. This look combines a trendy glass-like base texture with soft, romantic cherry blossom embellishments, making it a perfect choice for those who love intricate, nature-inspired nail art.
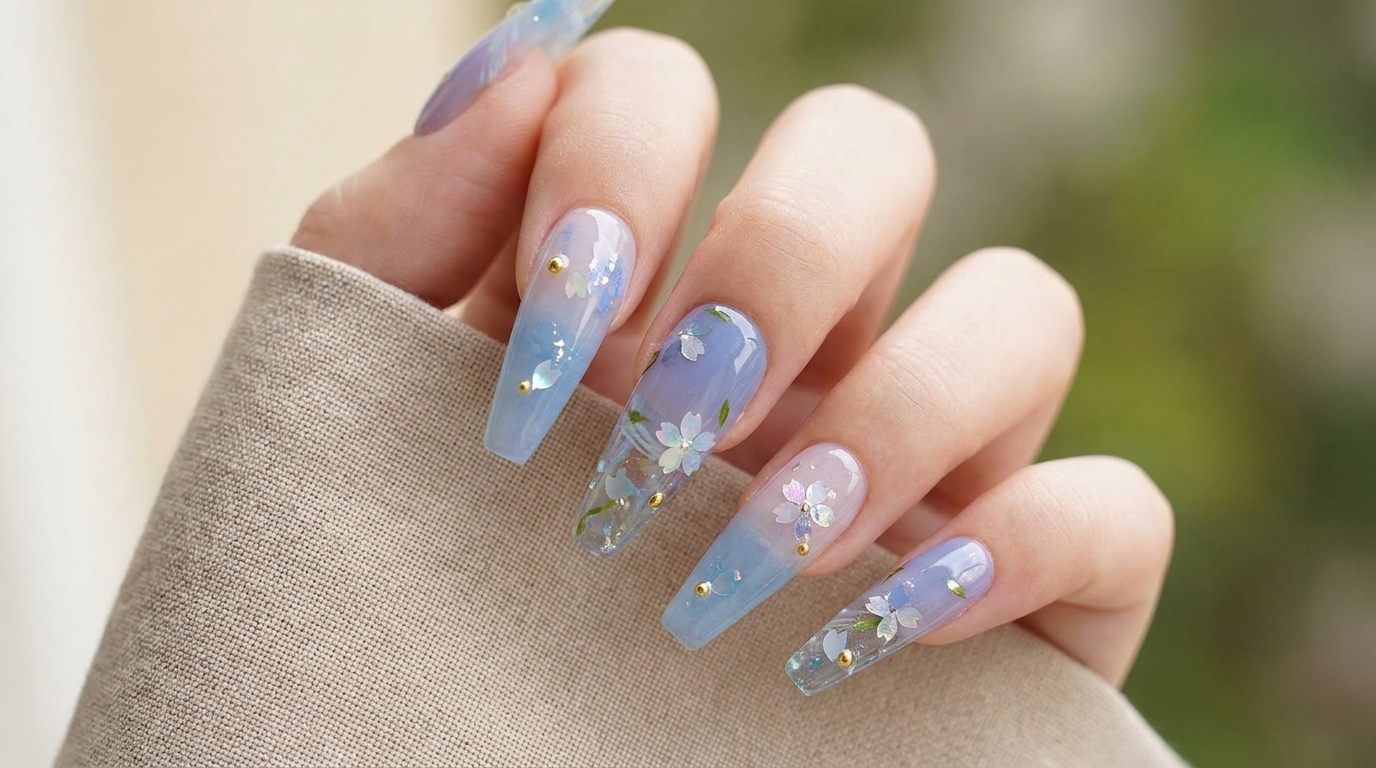
Steps
- 1Apply base coat to the inner tip
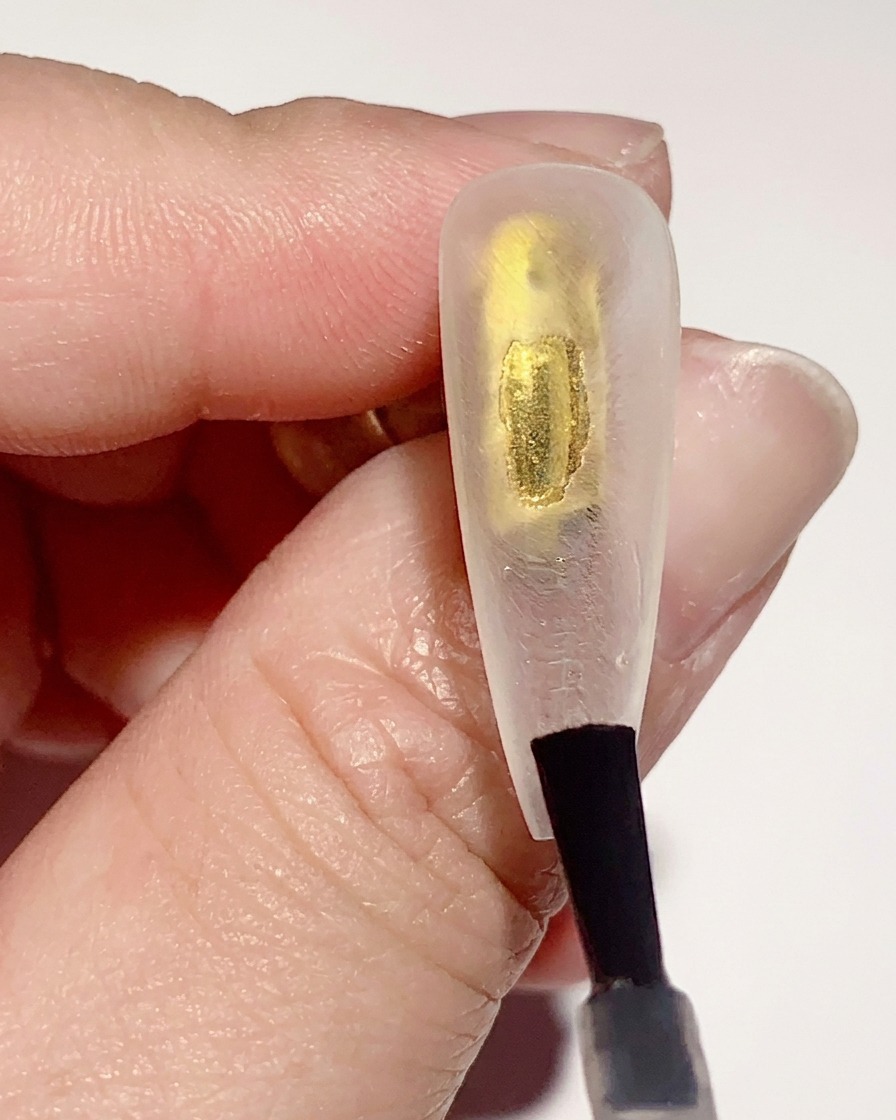
Apply a thin, even layer of gel base coat to the underside (inner side) of the nail tip. This prepares the surface to ensure the subsequent gel color adheres properly to the nail tip.
Tip: Ensure you cover the entire area where the color will be applied to prevent peeling. - 2Apply color to the inner tip
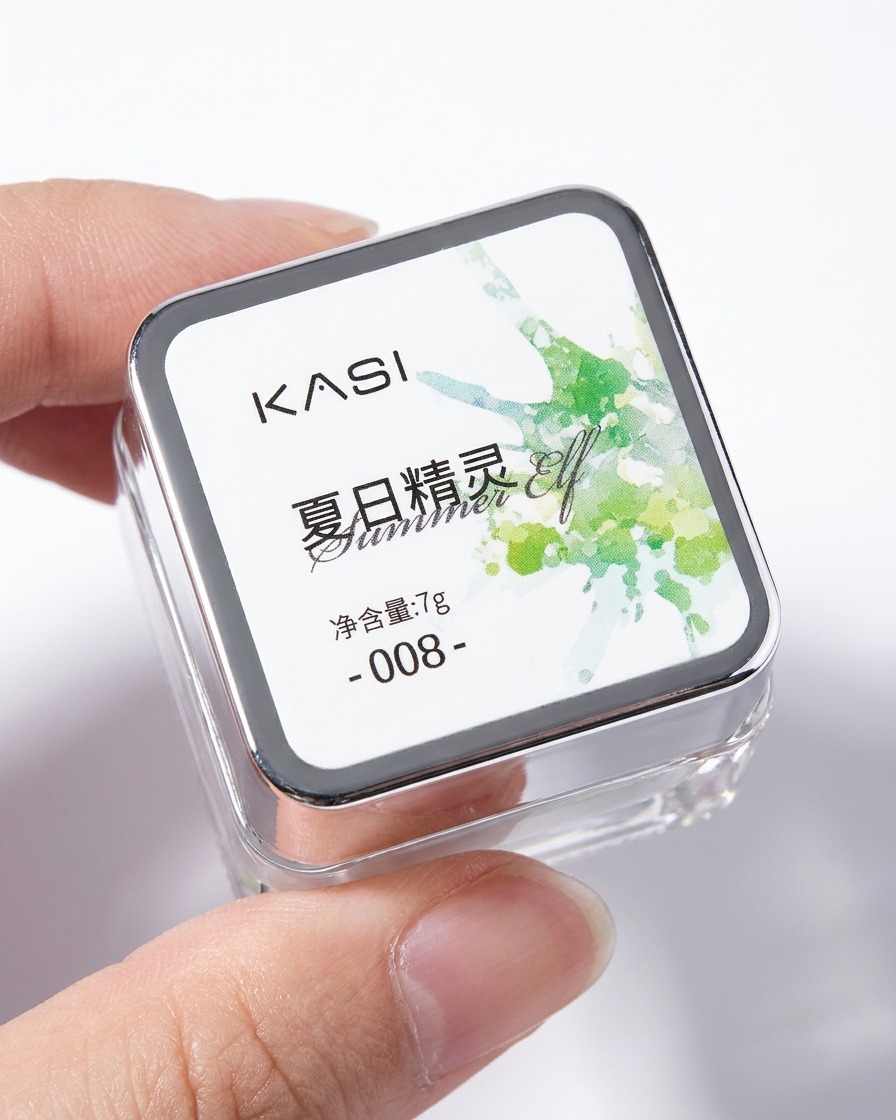
Apply KASI Summer Elf color number 008 to the same inner surface of the nail tip where you applied the base coat. Ensure even coverage for a consistent base color.
Tip: Keep the layer thin to avoid bulkiness while still achieving full color saturation. - 3Apply hard nail glue
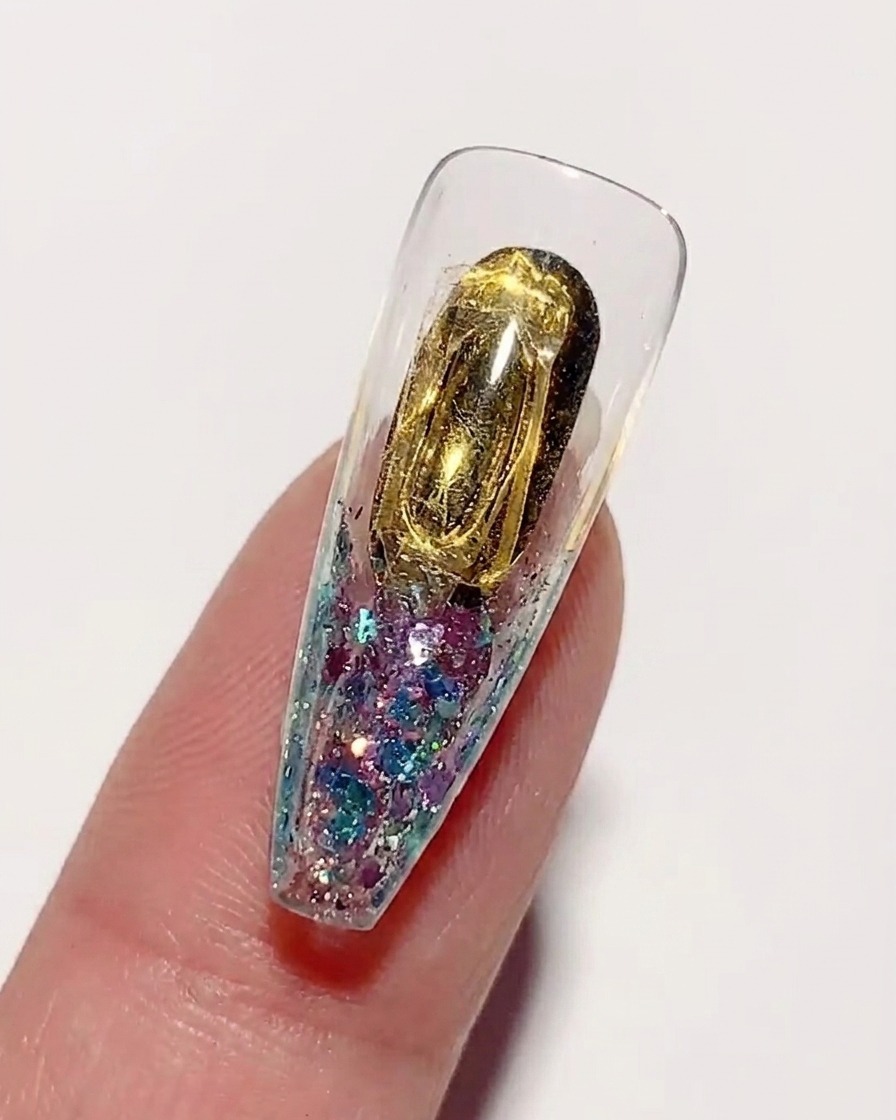
Apply a layer of hard nail glue over the previously applied color on the inner side of the nail tip. This will act as the medium to create the desired texture in the next step.
Tip: Apply a slightly thicker layer than your color coat to allow for texture manipulation. - 4Create glass-like texture
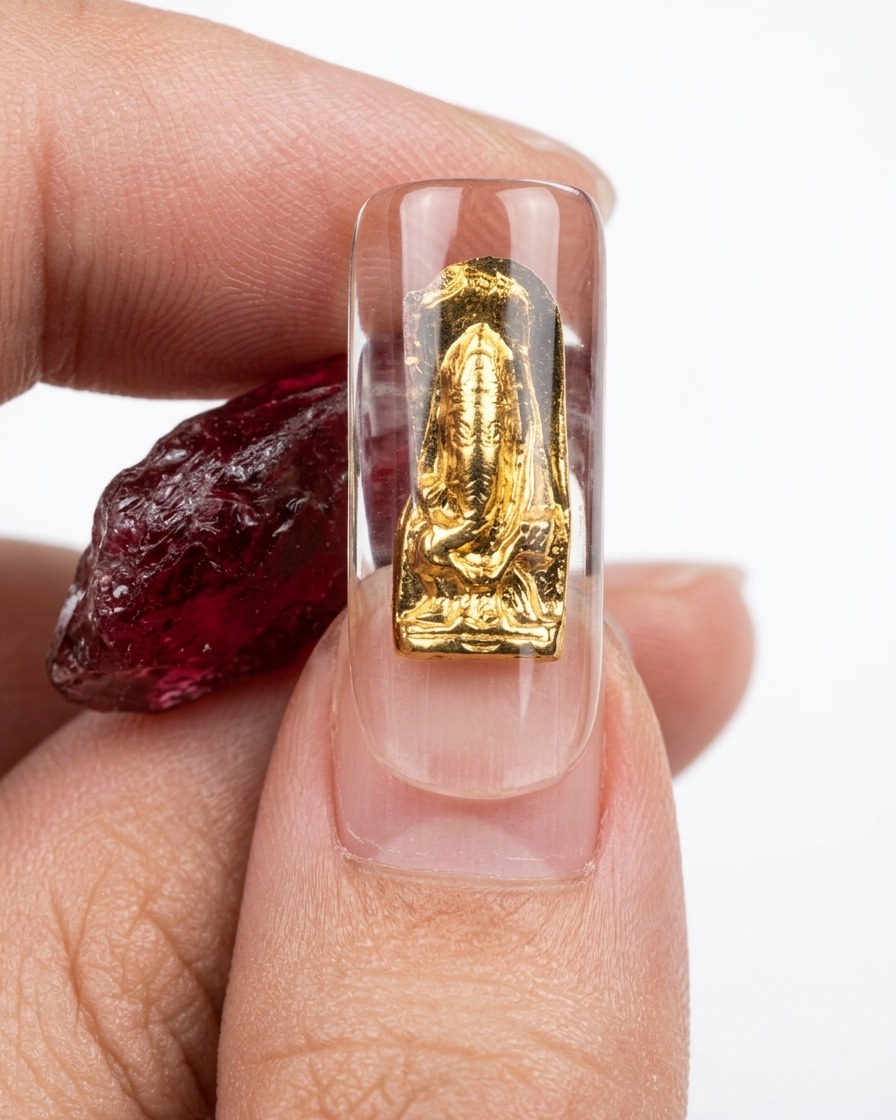
While the hard glue is still wet, carefully place a piece of cling film onto the inner surface of the nail. Use tweezers to gently press and manipulate the film, creating organic, glass-like ridges and textures in the gel.
Tip: Be gentle with the tweezers to avoid tearing the cling film while you create the texture. - 5Cure and remove film
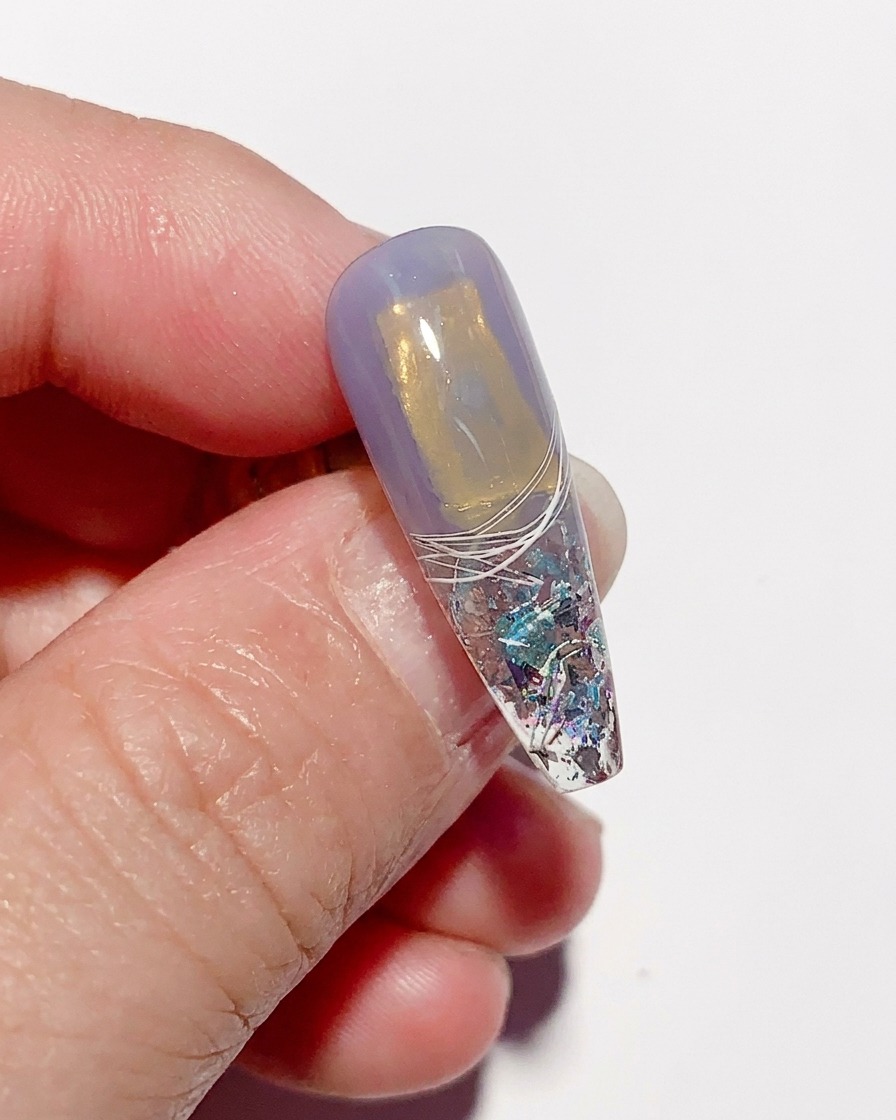
Place the nail tip under your UV or LED lamp and cure for 30 seconds to set the textured hard glue. Once cured, carefully peel away the cling film to reveal the set glass-like texture.
Tip: Ensure the nail is fully positioned in the lamp to get an even cure across the textured surface. - 6Buff the nail edges
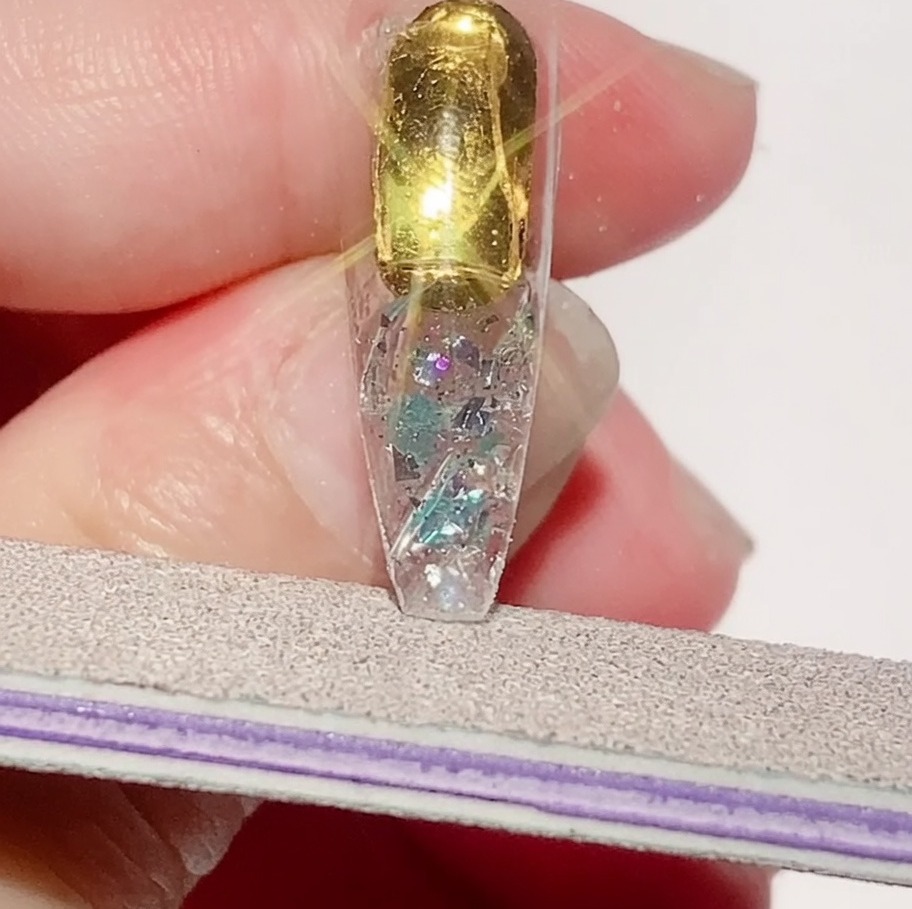
Using a nail file, gently buff any rough or uneven edges around the perimeter of the nail tip. This ensures a clean, professional finish and removes any excess material left over from the texturing process.
Tip: Use a medium-grit file and light pressure to avoid damaging the textured surface you created. - 7Apply first blue gradient coat
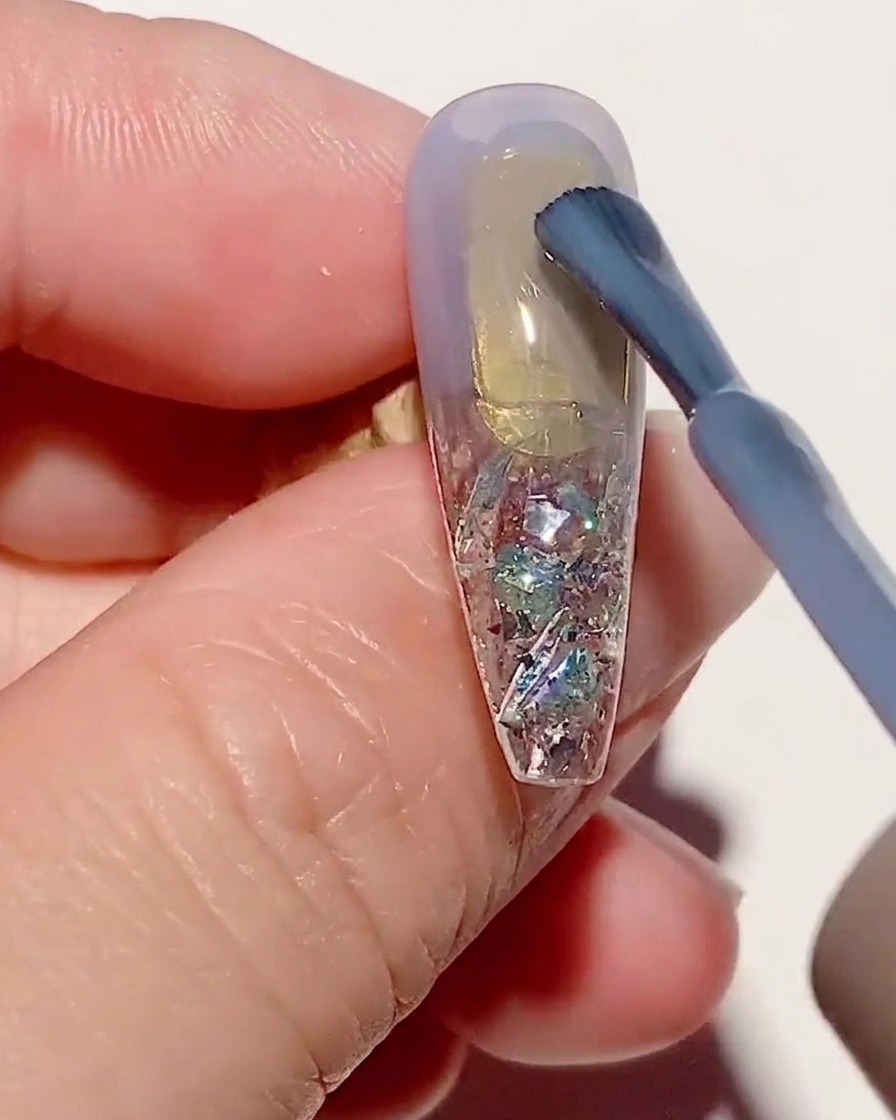
Apply a thin, even coat of the ice transparent blue color number 16 over the nail surface. This base color establishes the gradient effect for your design.
Tip: Keep the layer thin to ensure it cures properly and maintains the desired transparency. - 8Apply and blend second color coat
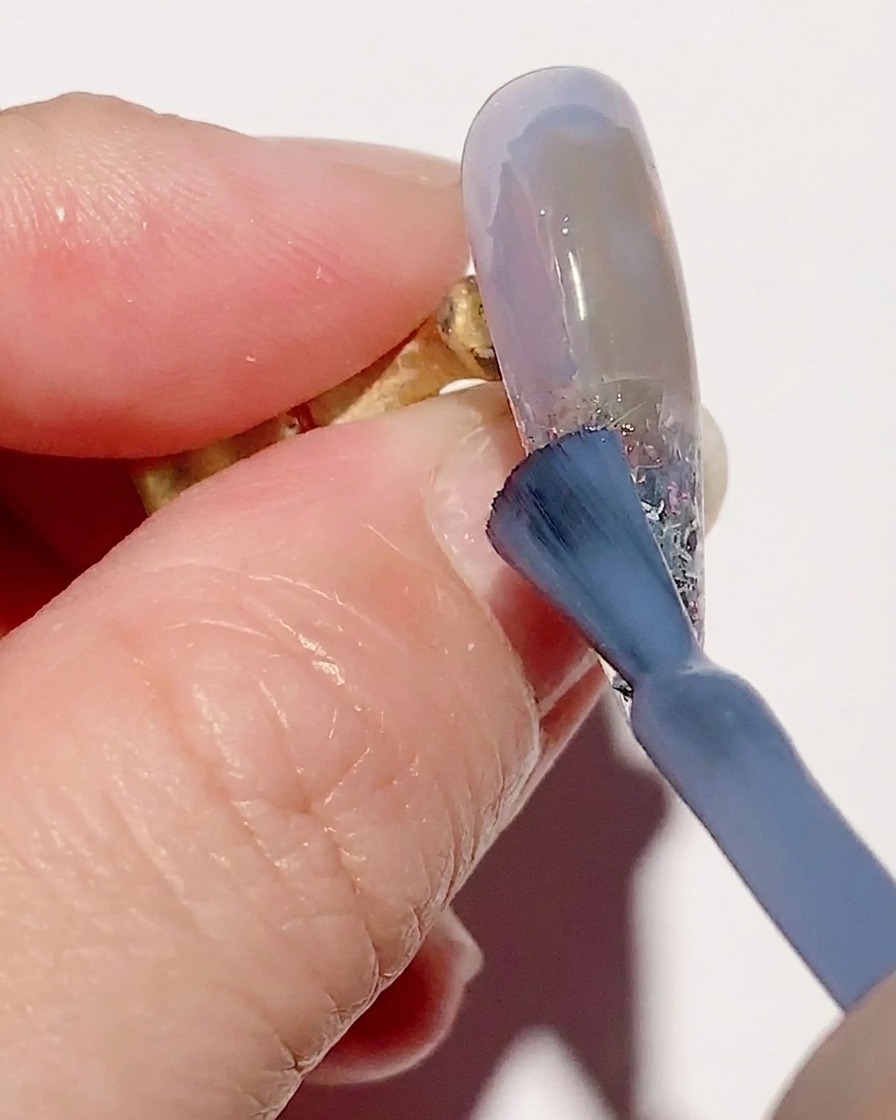
Apply a second thin coat of the blue gradient color number 16. While the gel is still wet, use a clean gradient brush to softly blend the color, ensuring a smooth transition across the nail surface.
Tip: Use light, sweeping motions with the brush to blend without removing too much product. - 9Create spider gel lines
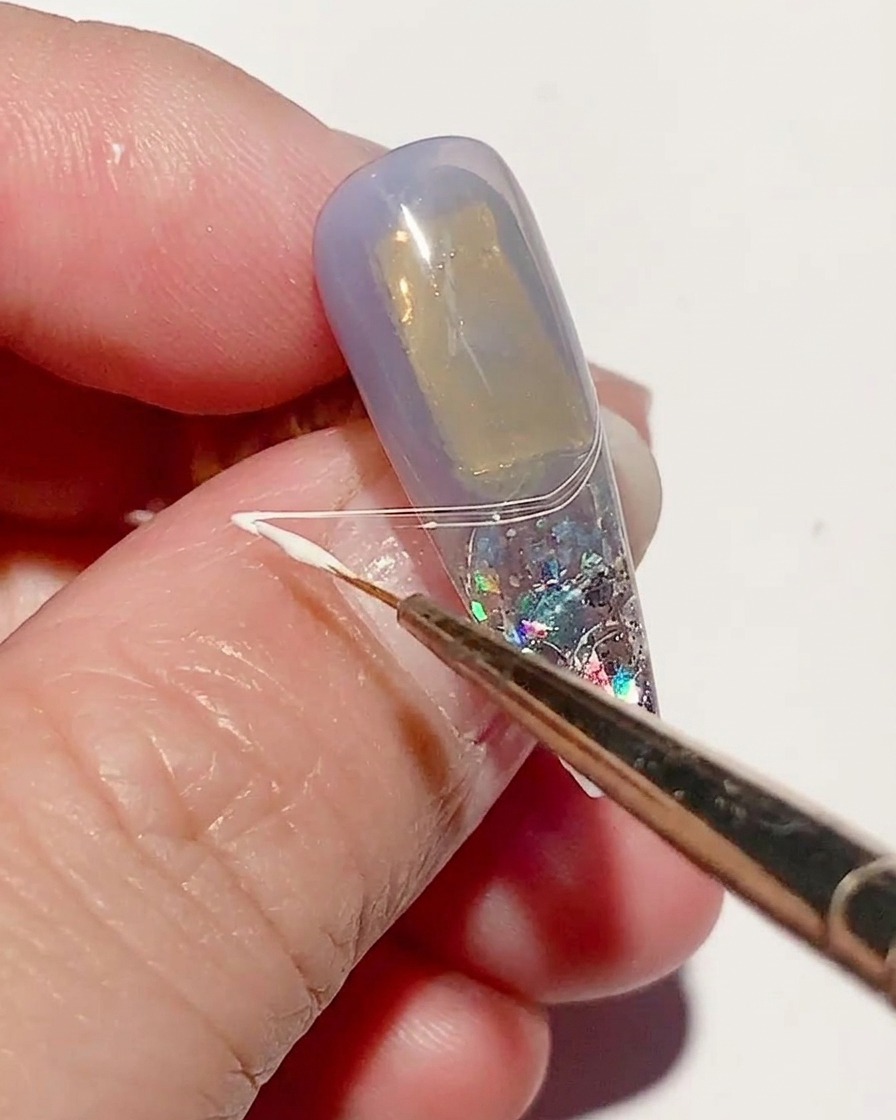
Using a thin liner brush and white spider gel, pick up a small amount of product and lift it to create long, fine strings. Drape these lines across the left and right sides of the nail to create an intricate webbed effect.
Tip: Work slowly and lift the brush high to allow the spider gel to stretch into thin, consistent lines. - 10Cure spider gel lines
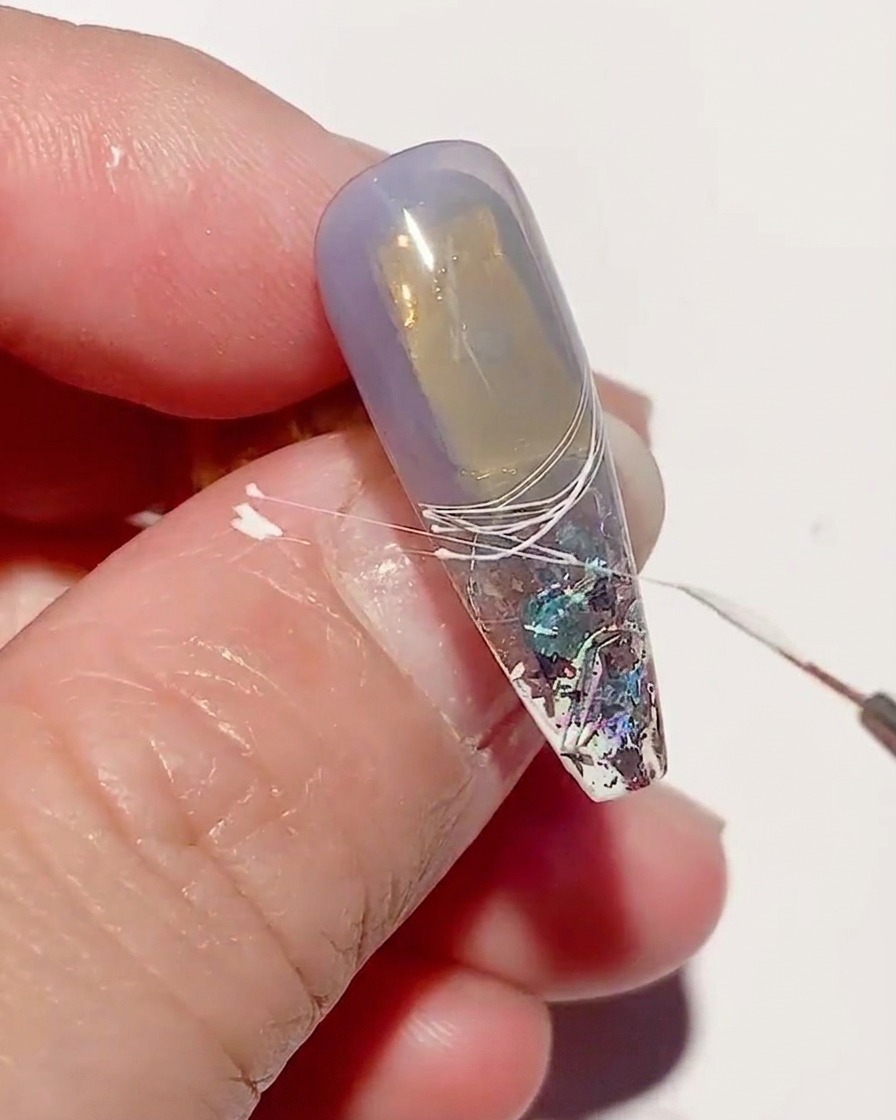
Place the nail under your UV or LED lamp and cure for the manufacturers recommended time to set the delicate spider gel lines in place.
Tip: Ensure the nail is positioned directly under the light for an even cure. - 11Apply reinforcement gel
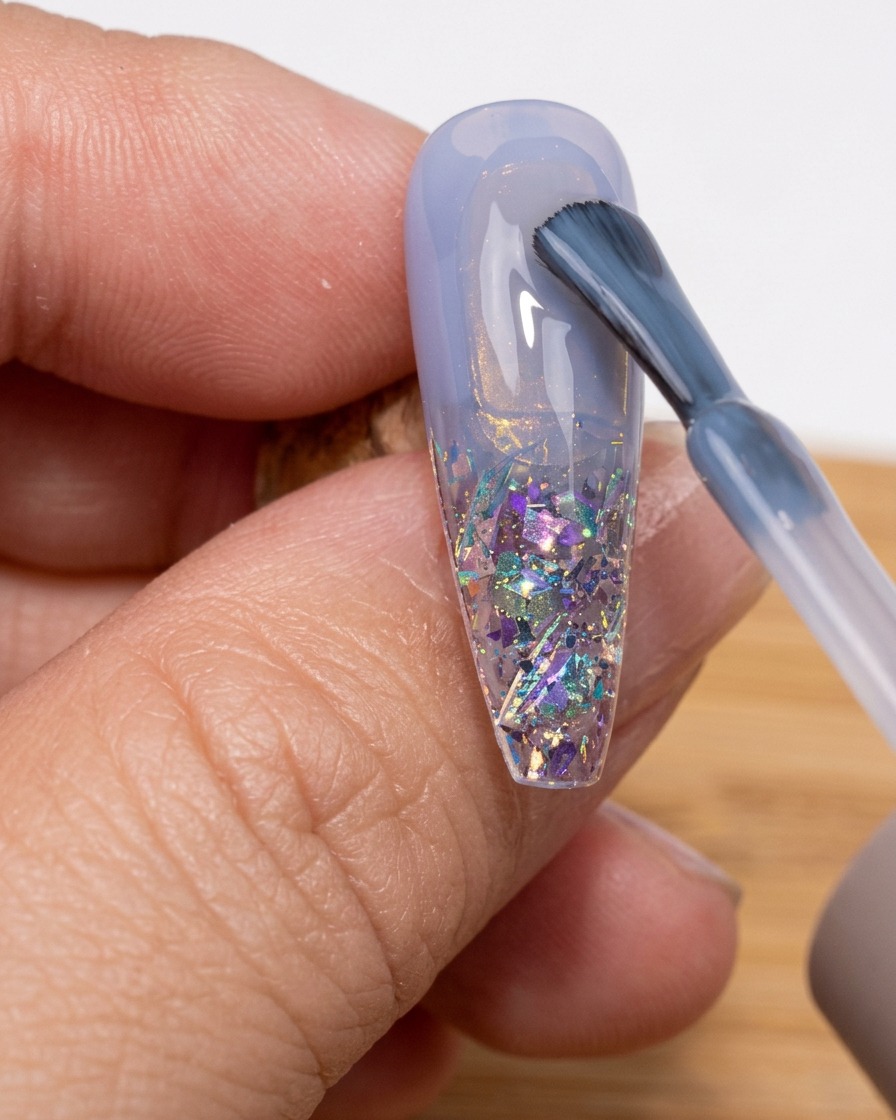
Apply a layer of reinforcement gel over the entire nail surface. Do not cure this layer yet, as it will act as the adhesive base for the upcoming embellishments.
Tip: Ensure a smooth, even application to provide a stable base for the sequins. - 12Place cherry blossom sequins
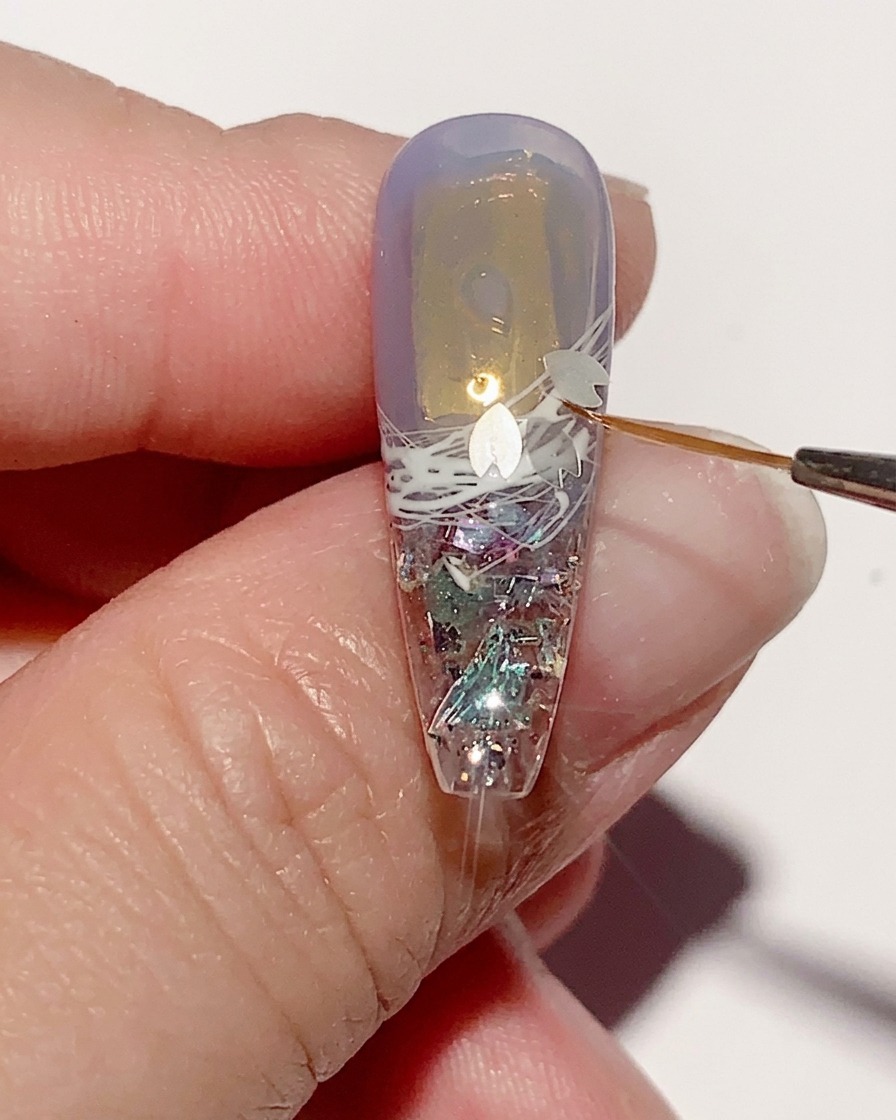
While the reinforcement gel is still wet, carefully place your cherry blossom sequins onto the nail using tweezers. Arrange them to your liking and press them gently into the gel.
Tip: Use a dotting tool or tweezers for precise placement of the small sequin pieces. - 13Place steel beads
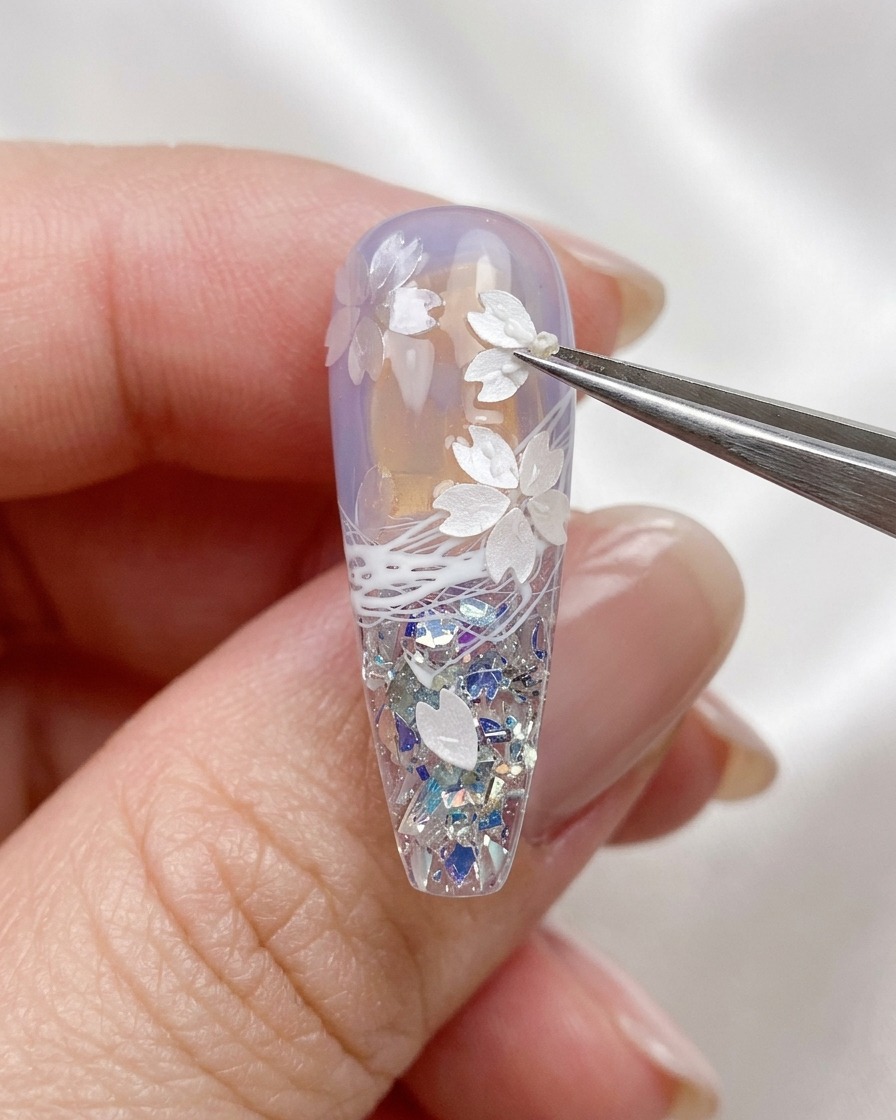
Using tweezers, carefully pick up the small steel beads included with your cherry blossom sequins and place them onto the nail surface alongside the existing sequin design. These beads add a delicate, metallic accent that complements the floral theme of the manicure.
Tip: If the reinforcement gel has started to cure or move, add a tiny extra dot of gel to act as a glue for each bead to ensure they stay perfectly in place. - 14Apply reinforcement gel
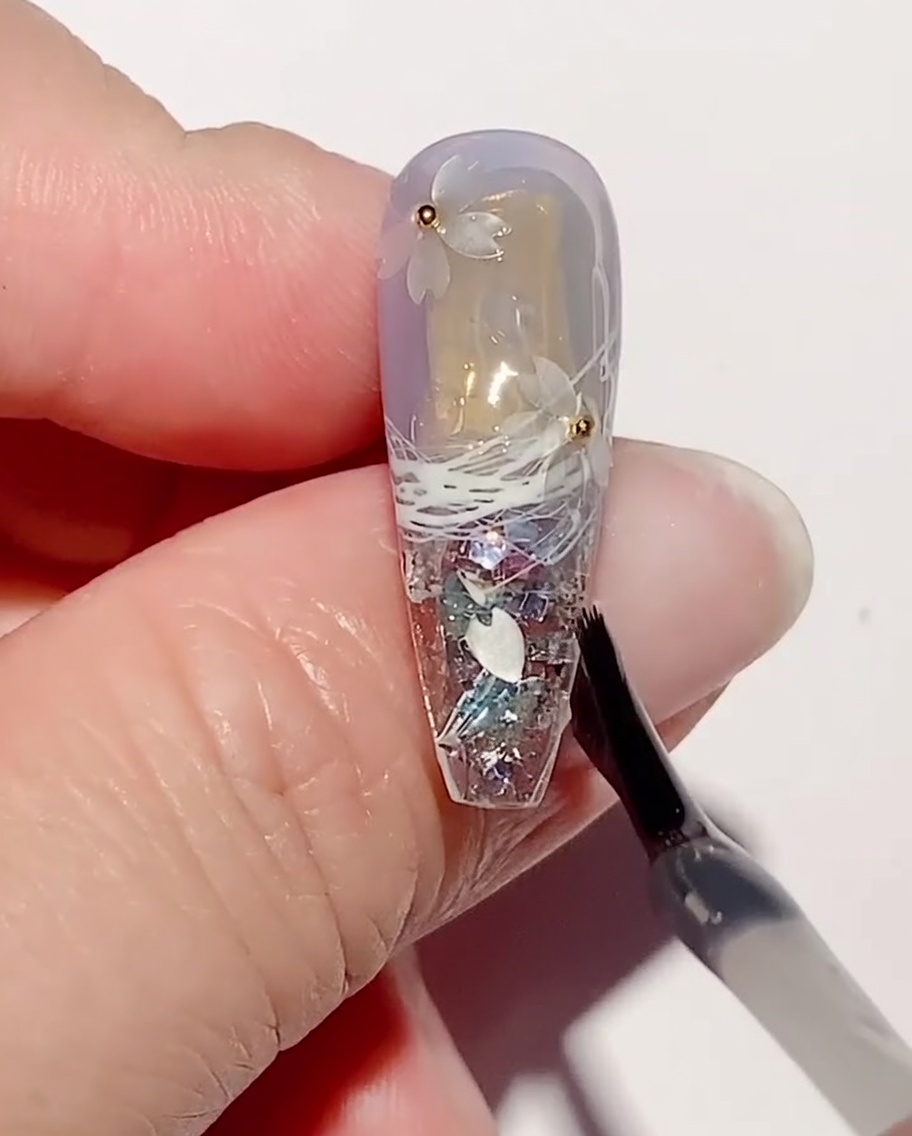
Apply a thin, even layer of reinforcement gel over the entire nail, covering both the cherry blossom sequins and the small steel beads. This step locks the embellishments in place and creates a smooth, protective layer that prevents the texture from snagging while providing a base for the final top coat.
Tip: Ensure the reinforcement gel is spread evenly, especially around the edges of the sequins, to eliminate any sharp spots. - 15Paint delicate leaves
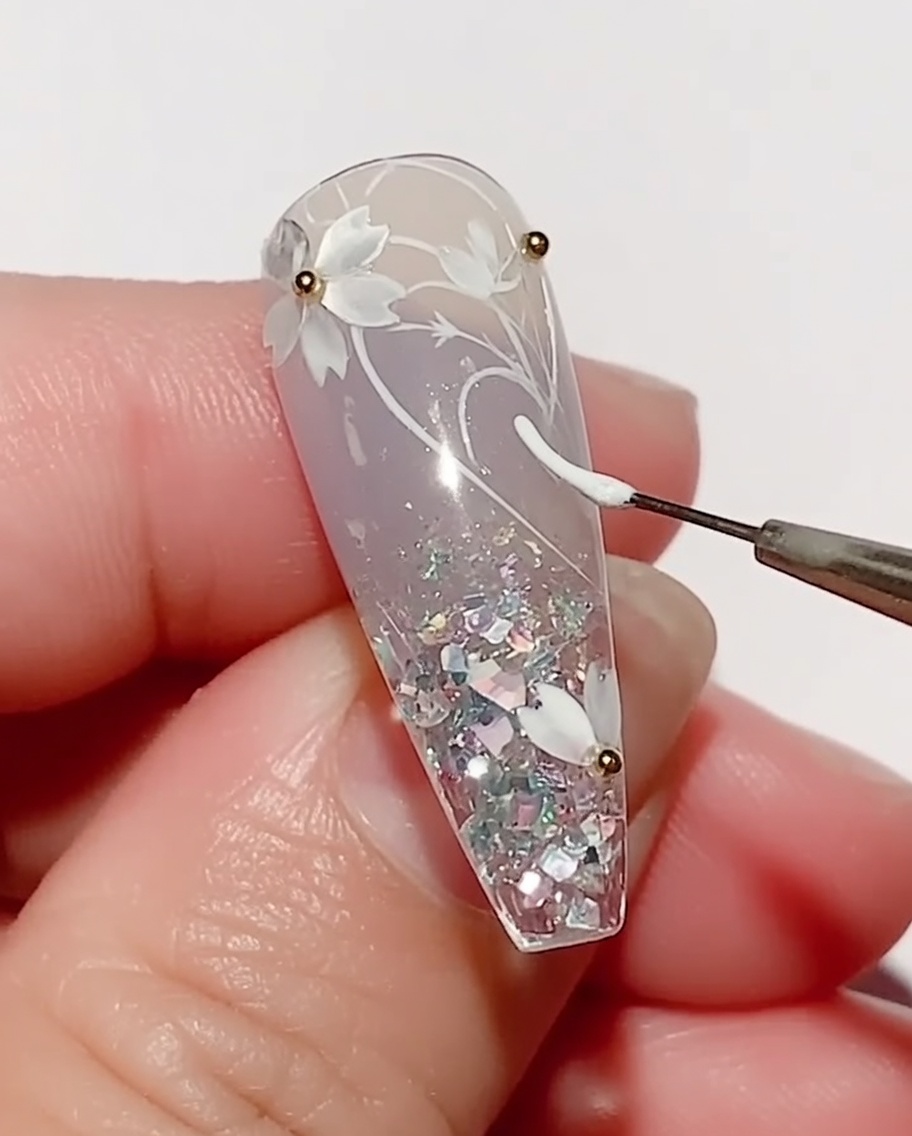
After curing the reinforcement layer, use a thin liner brush with small bottle gel number 23 to paint delicate leaf details onto the nail surface. Connect the leaves to the existing cherry blossom design to create a cohesive floral arrangement.
Tip: Keep your touch light to create thin, graceful lines. You can stabilize your hand by resting your pinky finger against your other hand for better control. - 16Apply top coat
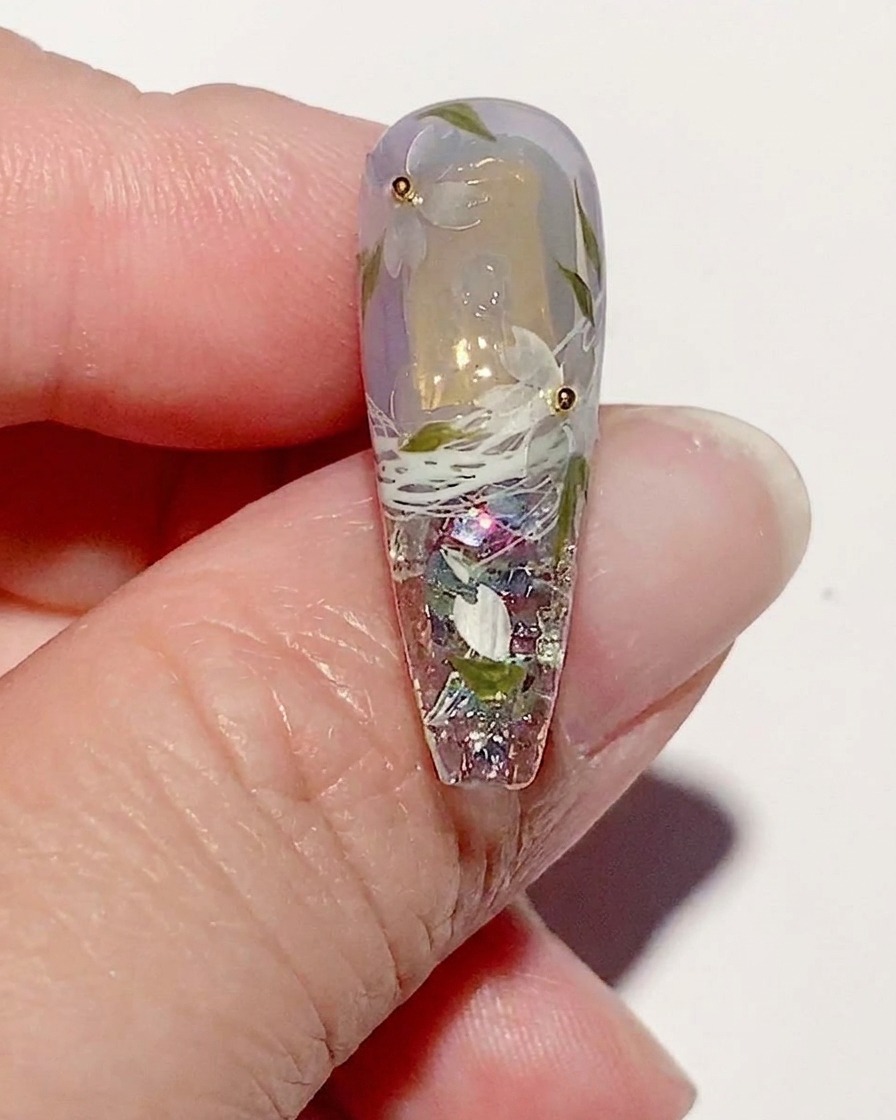
Apply a generous layer of top coat over the entire nail to seal in the design, protect the artwork, and provide a long-lasting, high-gloss finish. Ensure you cap the free edge before placing the nail under your UV/LED lamp to cure until fully set.
Tip: A smooth top coat application is crucial for longevity and shine; check for any air bubbles before curing.