Hand-Painted Early Spring Sakura Cherry Blossom Nail Art Tutorial
Create delicate, dimensional cherry blossom nails with this easy-to-follow layered gel technique. Perfect for an ethereal early spring look.
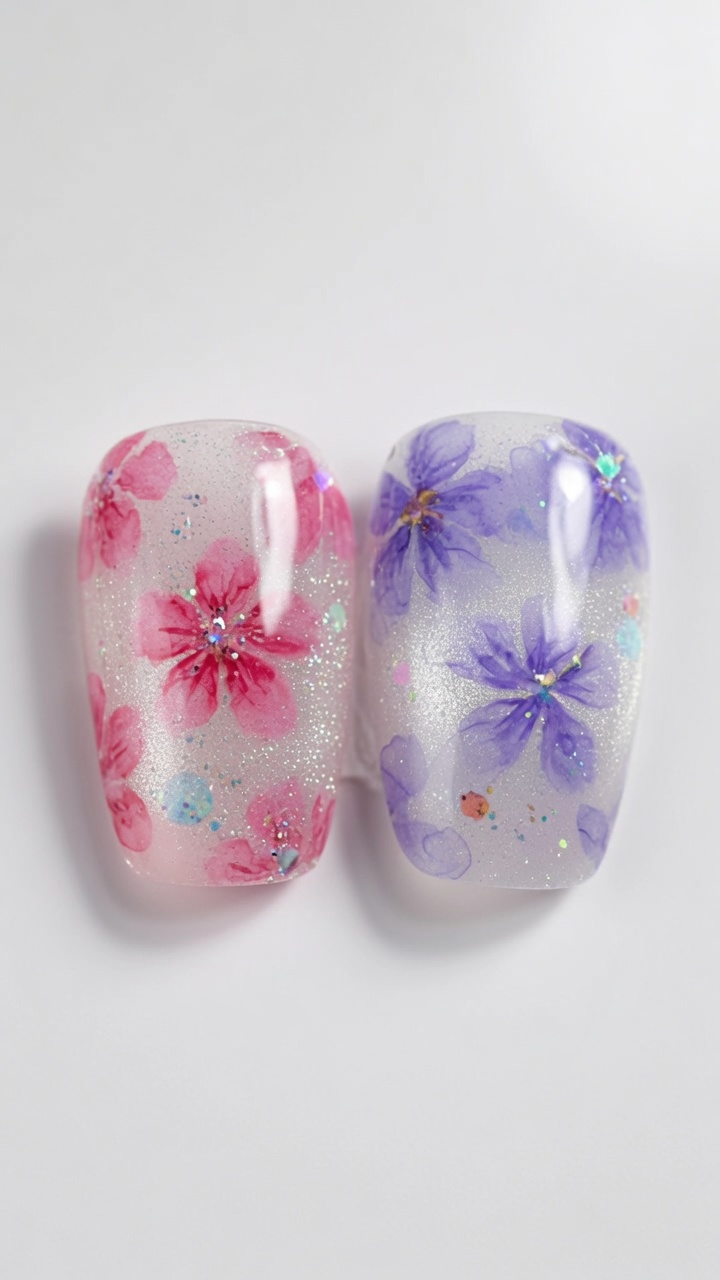
Capture the fleeting beauty of spring with these hand-painted sakura nails. Using a smart layering technique with sheer white gel and soft blush tones, this tutorial shows you how to build dimensional floral art that looks professional yet is entirely achievable at home.
Steps
- 1Create a blush gradient
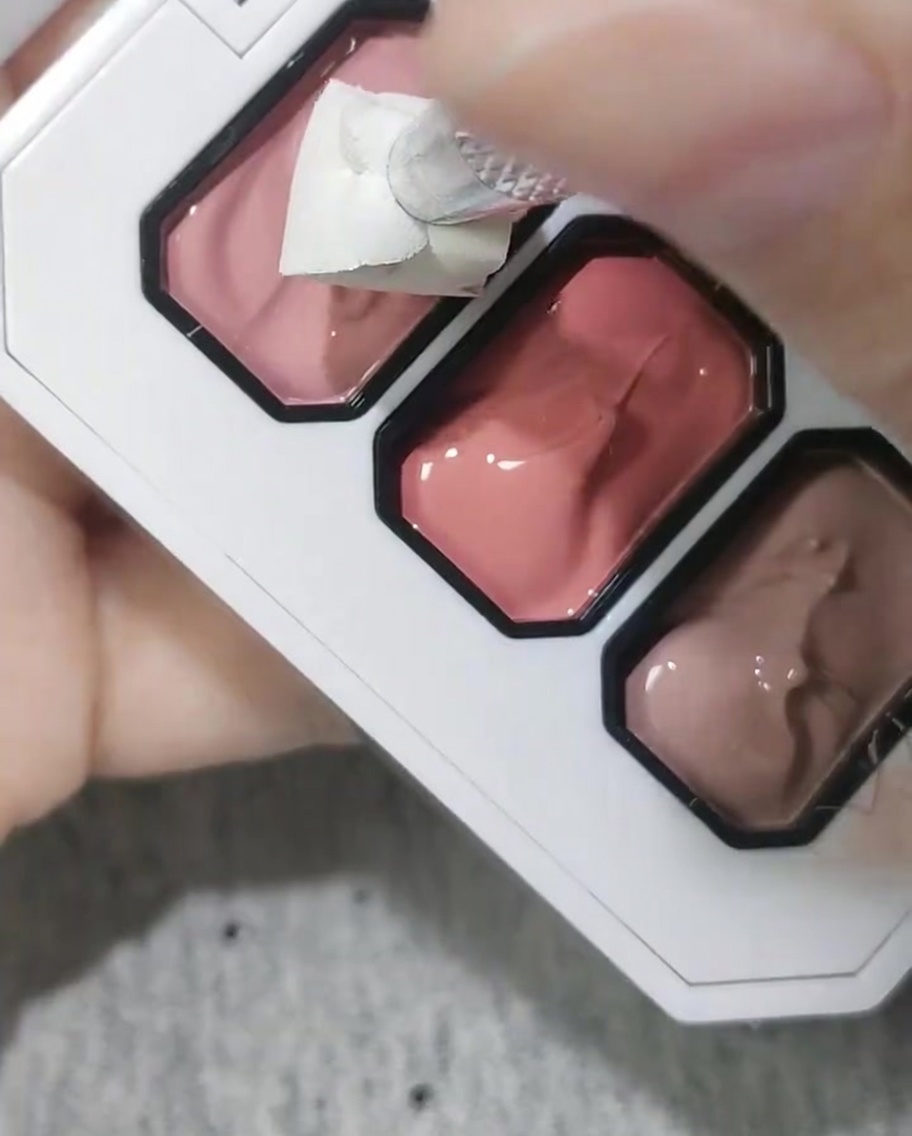
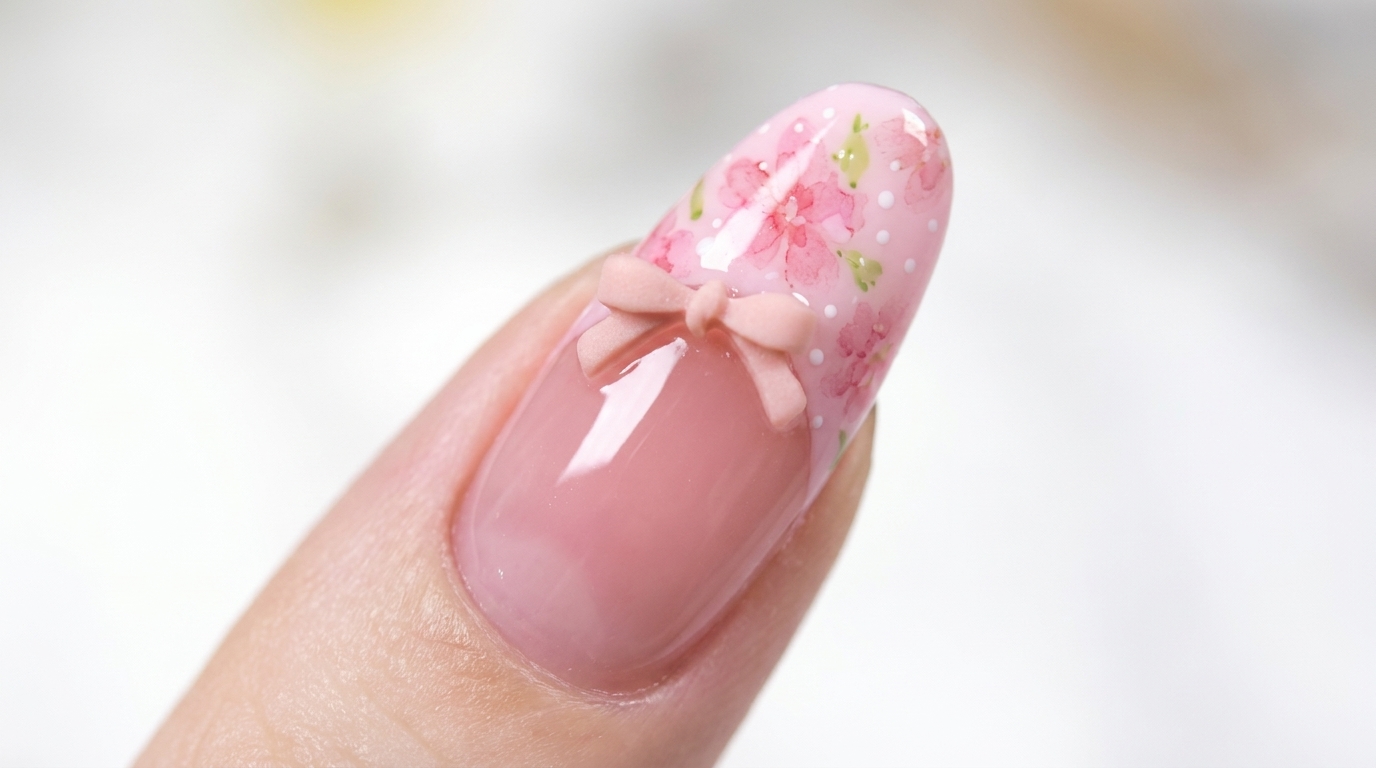
Take a small cosmetic sponge and apply a small amount of cherry blossom pink gel. Gently dab and pat the sponge onto the center of the nail to create a soft, diffused blush gradient effect.
Tip: Use a light tapping motion to ensure the color blends naturally without creating harsh lines. - 2Matte Blush Base
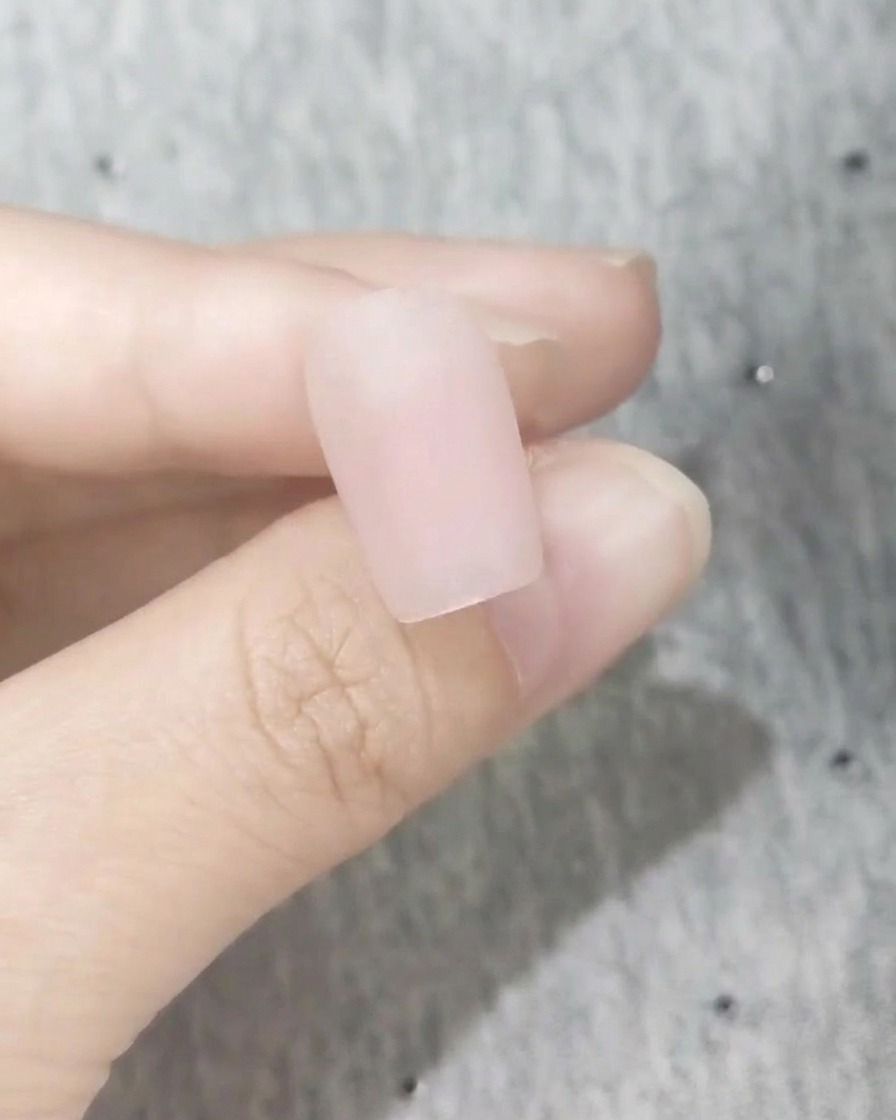
Apply a matte top coat over the cured blush pink layer to create a smooth, frosted base for your nail art. Cure fully under your UV or LED lamp. A matte surface provides better grip for painting fine details without the gel spreading.
Tip: Wiping the nail with alcohol after curing a matte top coat ensures a completely clean, crisp canvas for your cherry blossom art. - 3Paint the first petal layer
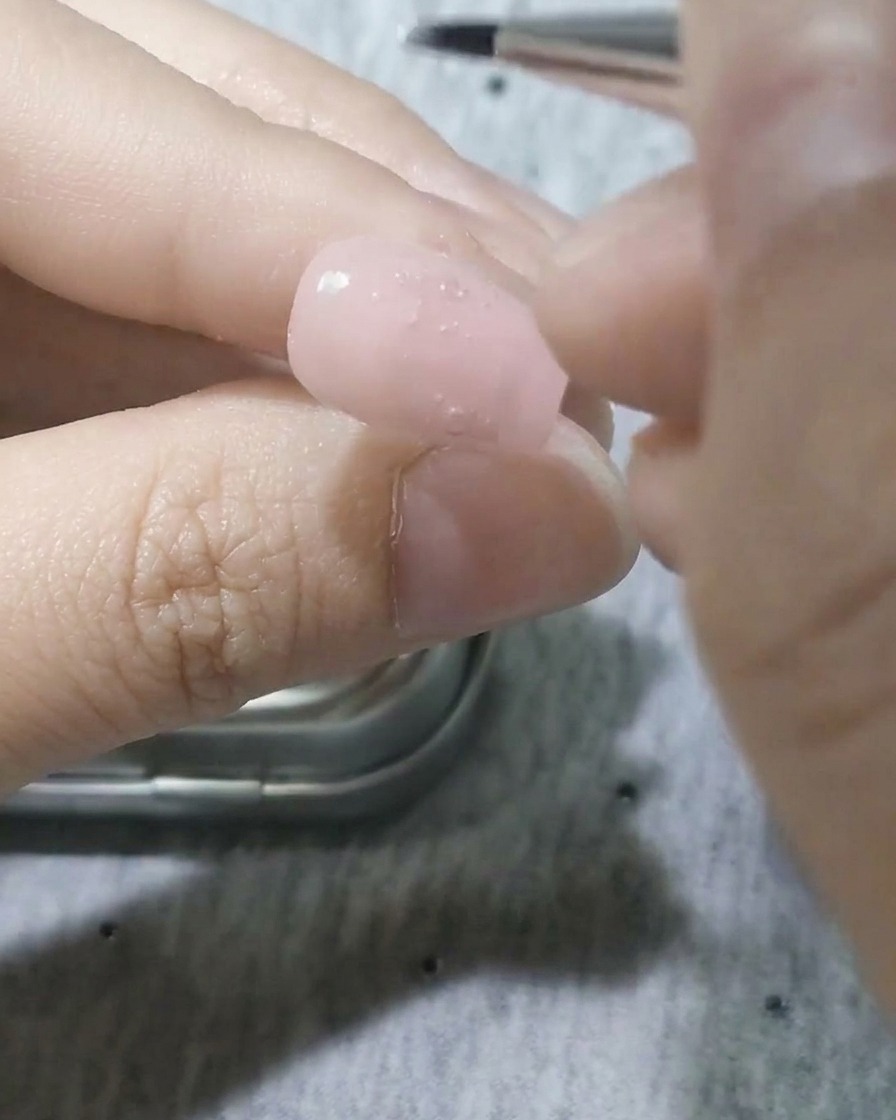
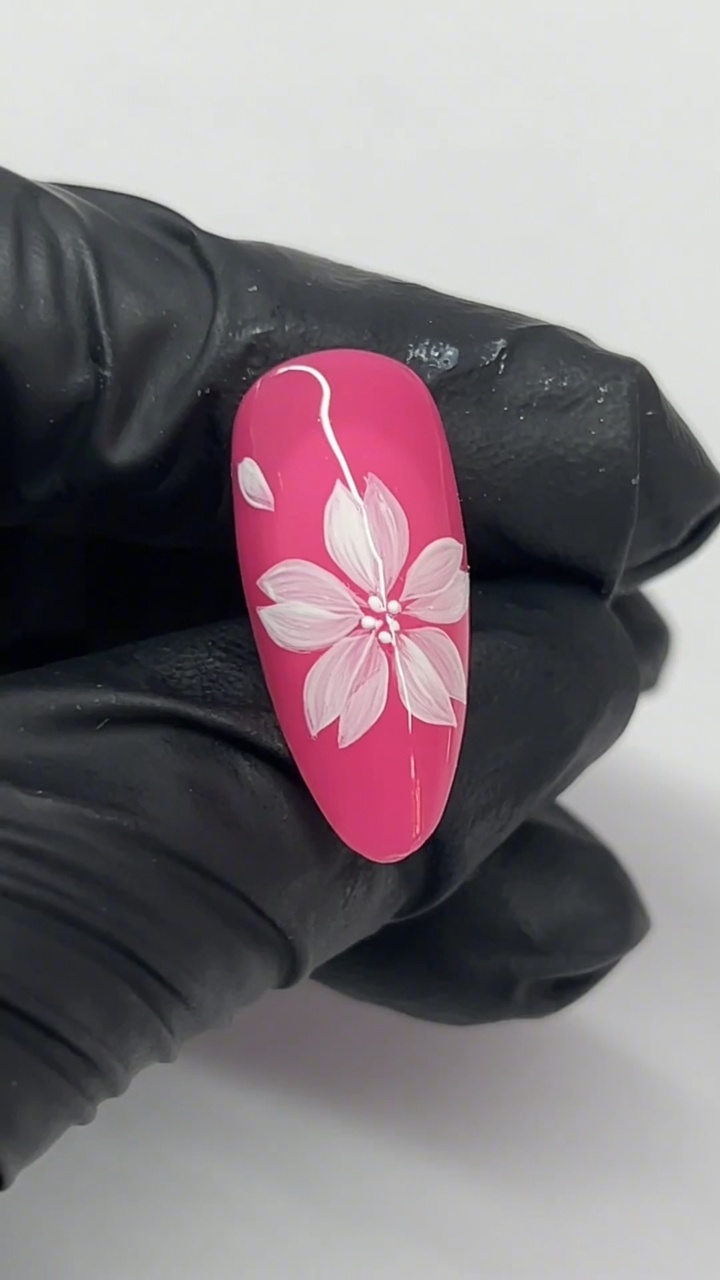
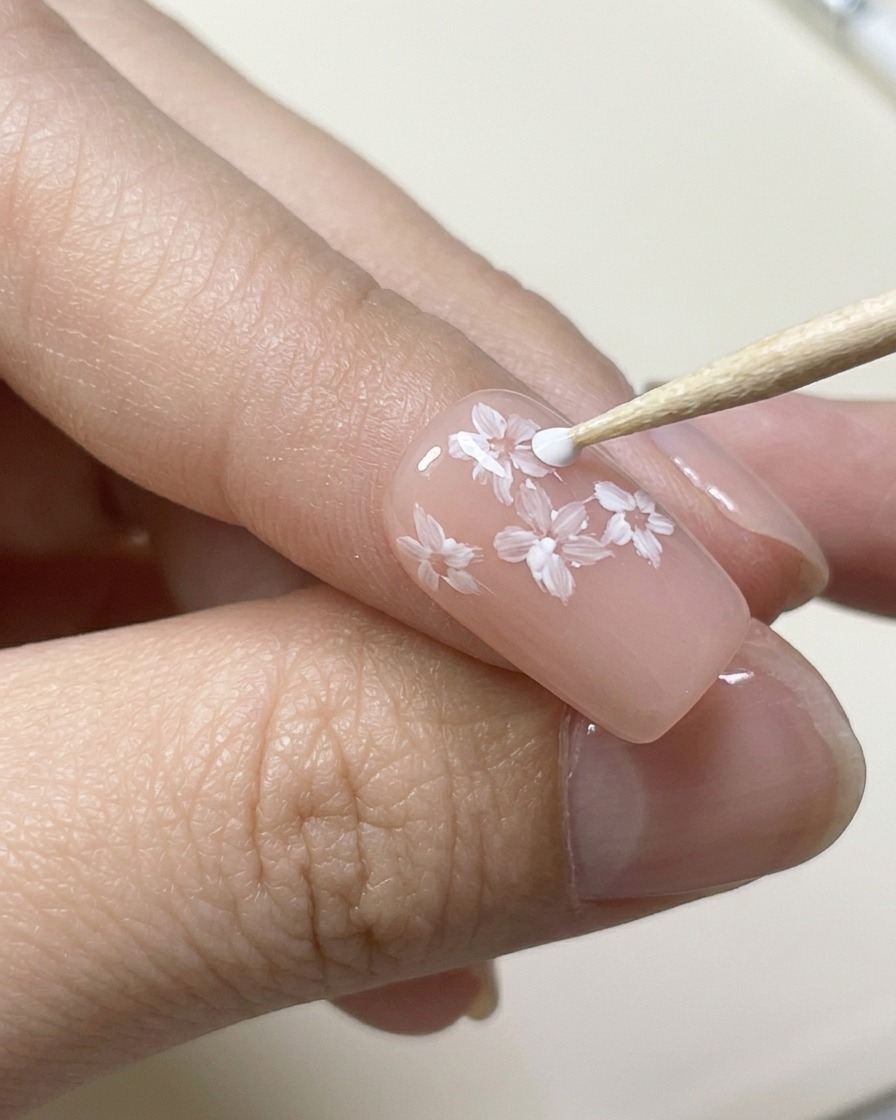
Using a fine detail liner brush and sheer white painting gel, carefully draw the first layer of cherry blossom petals. Focus on creating rounded, semi-transparent petal shapes on the nail surface.
Tip: Keep your brush strokes light and use very little product to achieve the delicate, translucent look of cherry blossoms. - 4Paint White Cherry Blossoms
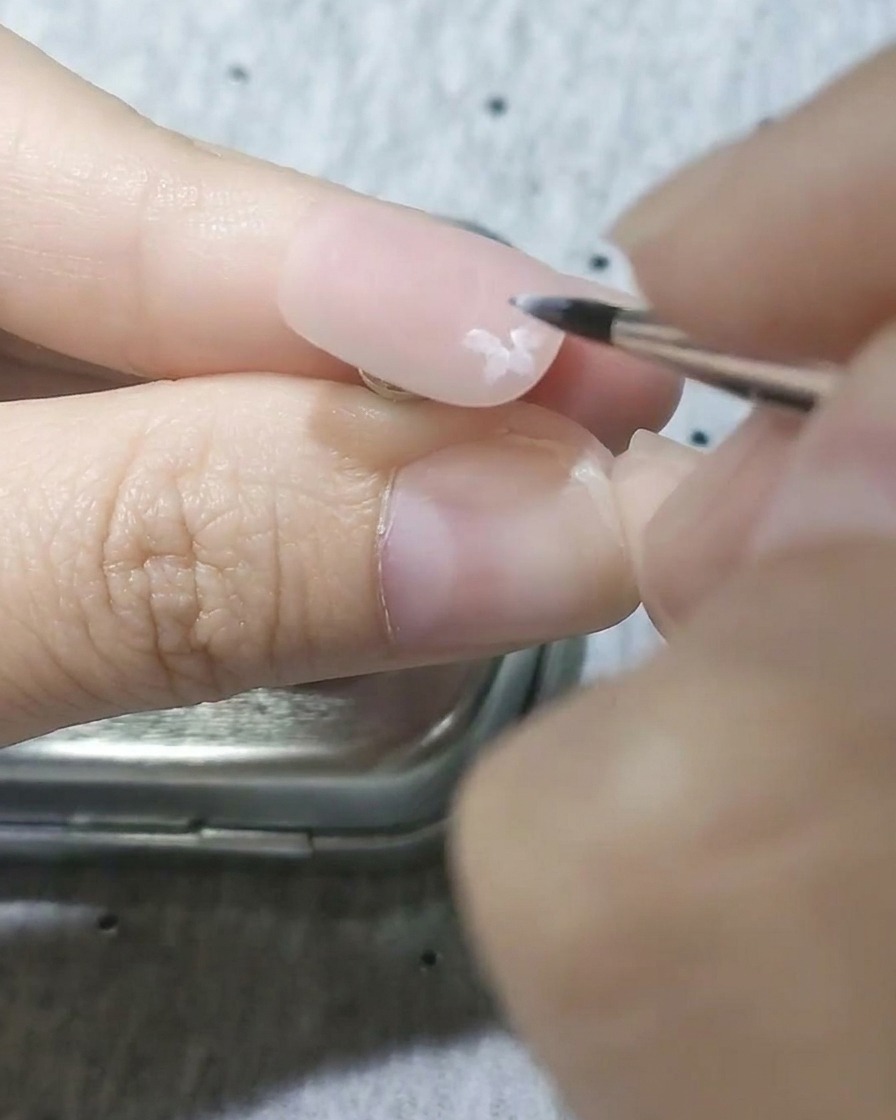
Using a fine liner brush and sheer white painting gel, carefully draw small groups of five-petal cherry blossoms scattered across the nail plate. Gently pull the brush toward the center of each flower to create soft, rounded, translucent petals.
Tip: Keep your brush pressure light. If a petal doesnt look perfect on the first try, you can gently correct its shape to make it rounder. - 5Prepare the Flower Centers
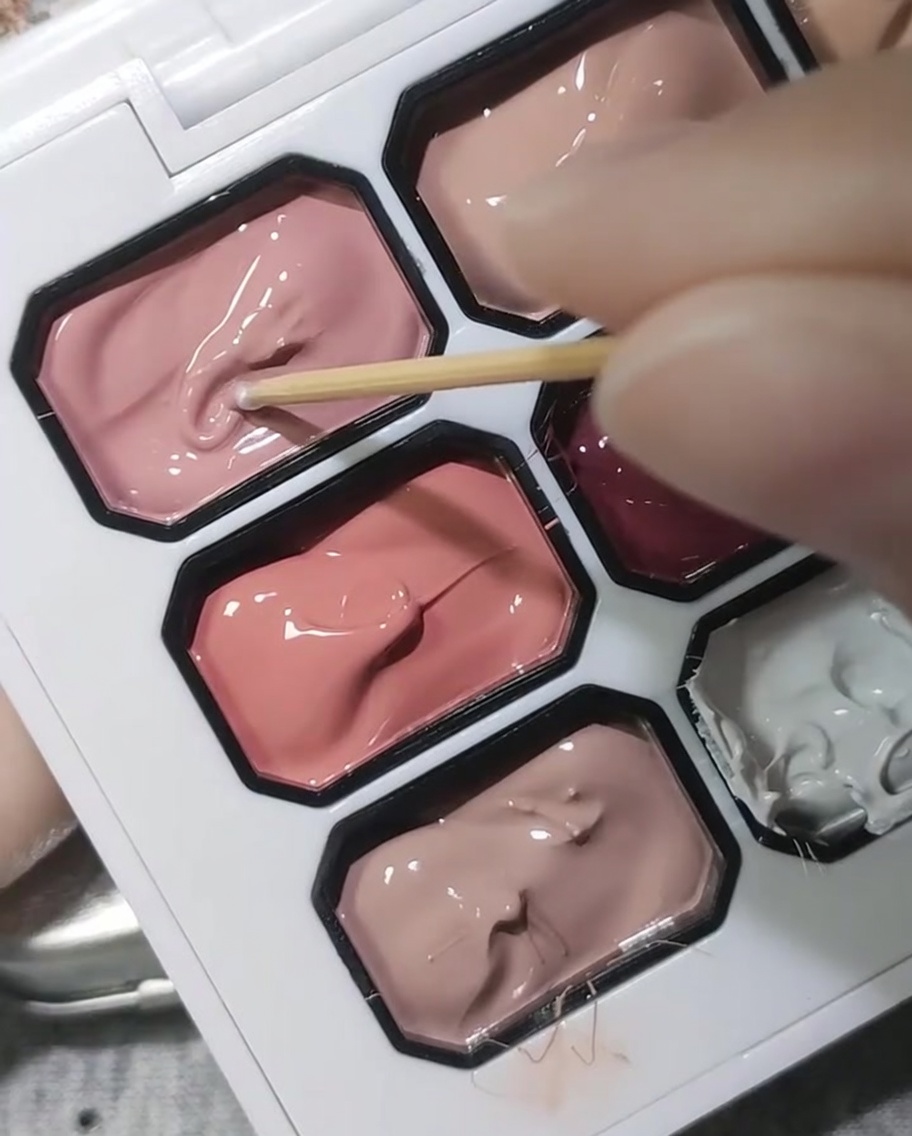
Use the blunt end of a wooden toothpick or a dotting tool to pick up a small amount of dark opaque pink gel from your palette. You only need a tiny bead of color for the delicate flower centers.
Tip: A toothpick is an excellent, readily available alternative to a dotting tool for picking up tiny amounts of gel with precision. - 6Add Pink Centers
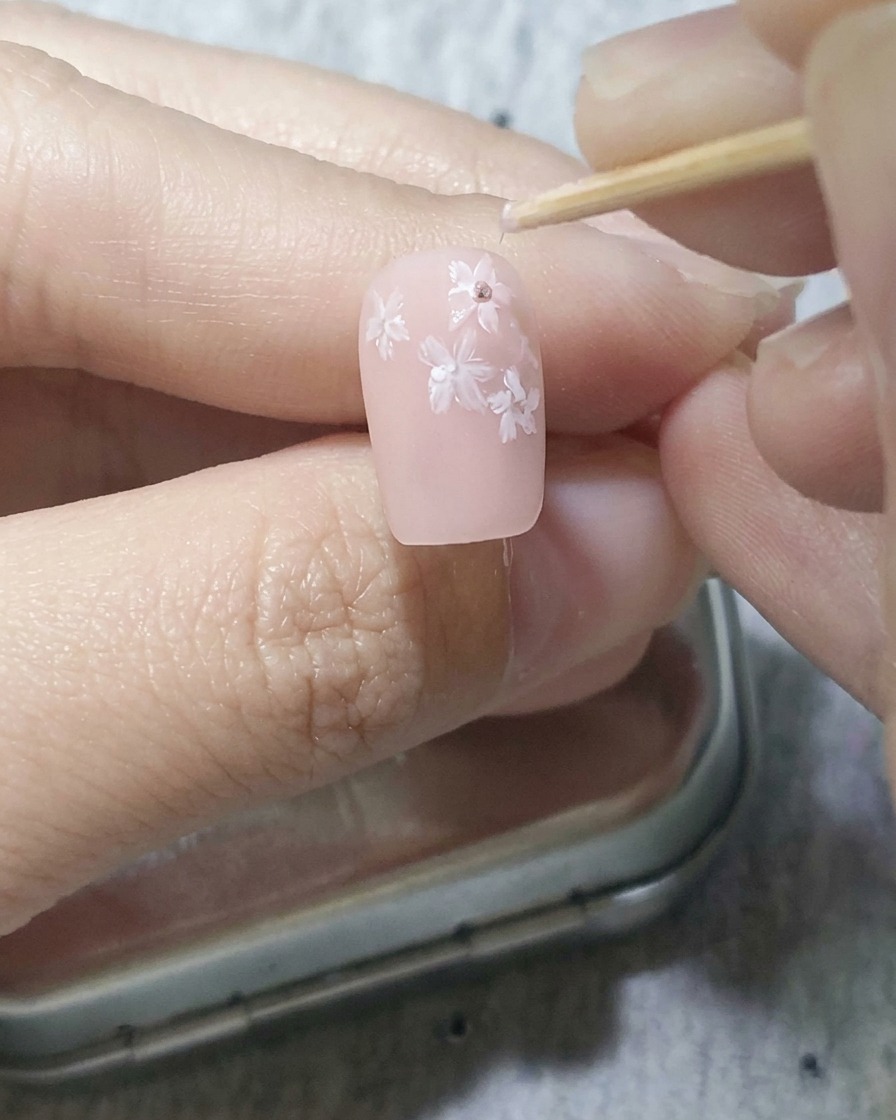
Carefully place small dots of the opaque pink gel directly into the center of your painted white cherry blossoms. After placing the dots, use the sharp point of the toothpick to lightly drag the pink color slightly outward into the white petals for a realistic floral effect.
Tip: Dragging the color while the white gel is uncured will allow the colors to blend slightly, enhancing the delicate, natural look of the blossom. - 7Define the flower centers

After placing a small dot of darker pink gel in the center of the flower, take the sharp tip of a toothpick and gently drag the color outward into the white petals to blend them slightly.
Tip: Be very gentle when dragging the gel to avoid pulling too much color and muddying the design. - 8Add a second petal layer
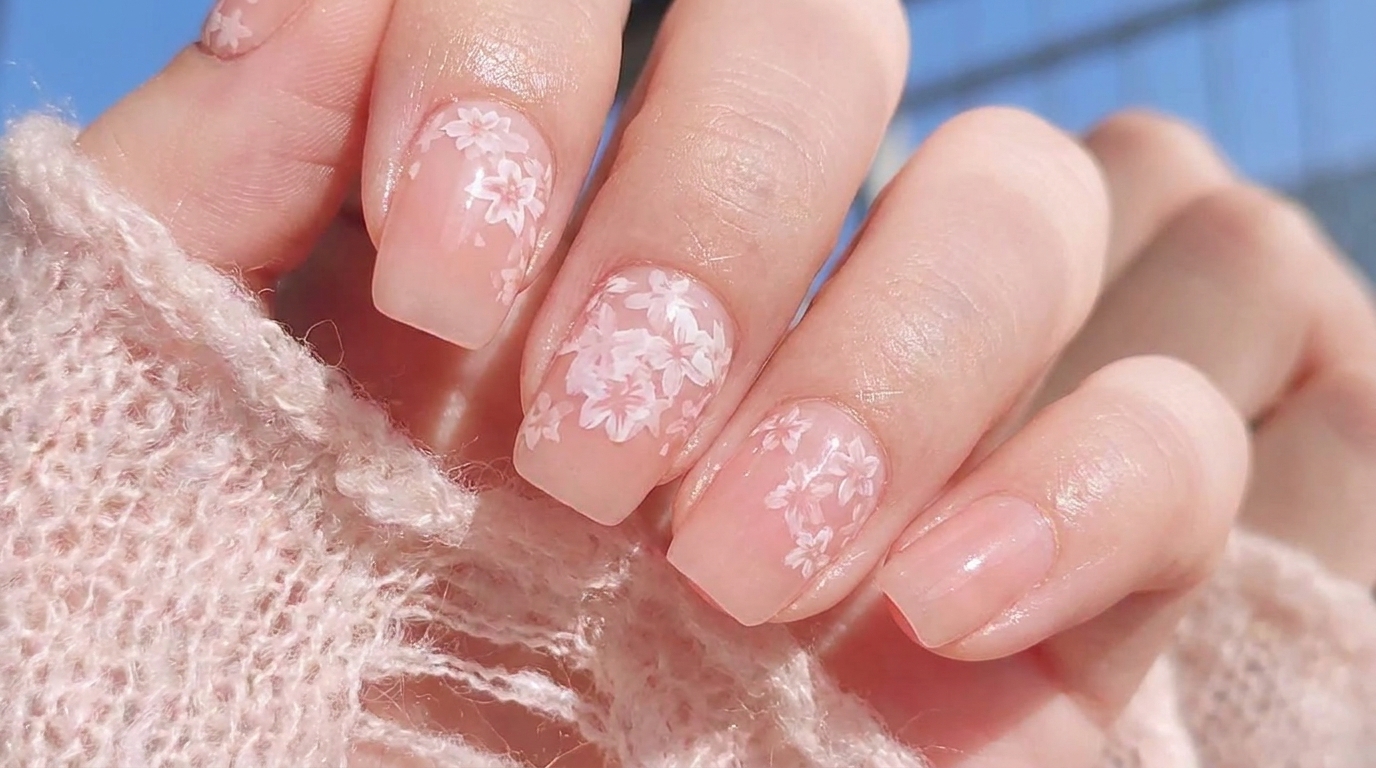
Once the first layer is cured, apply a second layer of white petals using your detail brush. Stagger these petals to fill in the gaps between the first layer for a more dimensional and realistic look.
Tip: Staggering the petals adds depth and makes the flowers appear fuller. - 9Detail the second layer
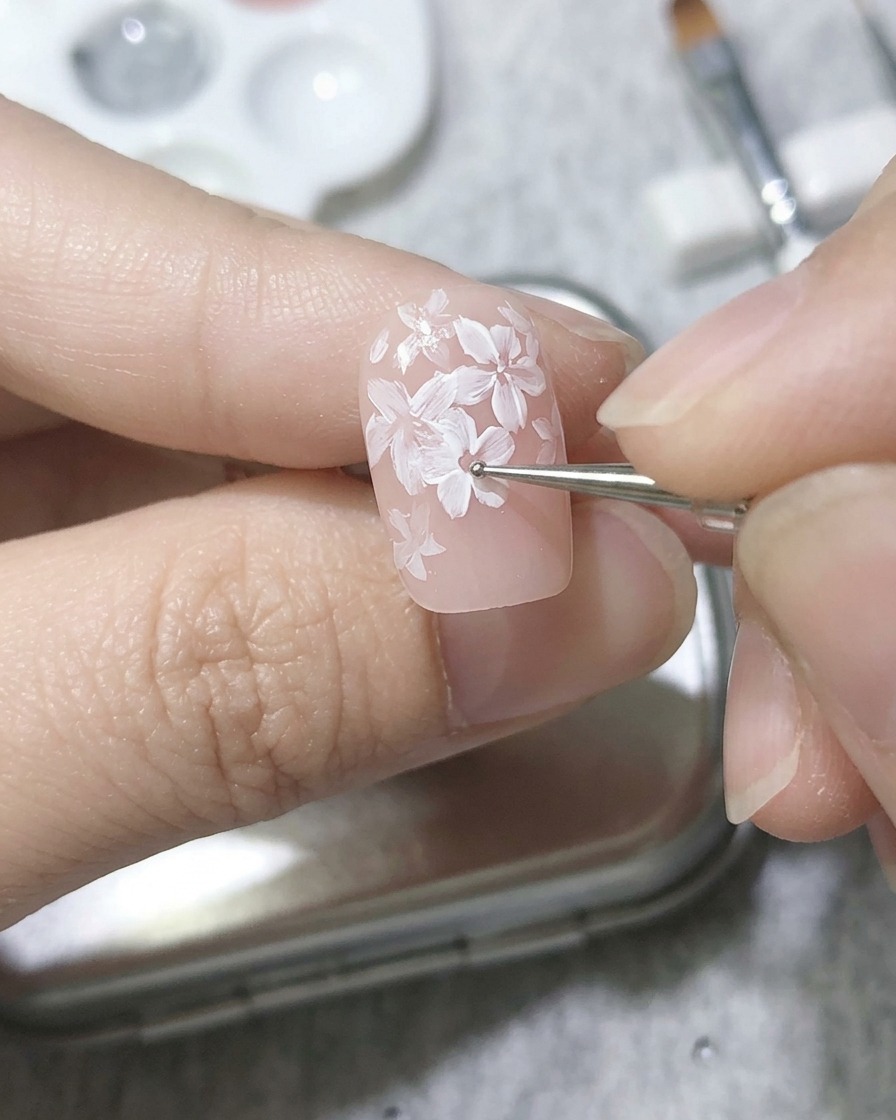
Using your toothpick or a dotting tool, carefully place small dots of pink gel into the centers of the newly painted second layer of petals to match the detail of the first layer.
Tip: Consistent dot placement ensures the flowers look uniform across the nail.