Delicate Cherry Blossom Nail Art — Step-by-Step Tutorial
Create beautiful, hand-painted cherry blossom nail art with this easy, beginner-friendly tutorial. Learn to master the signature split-petal technique.
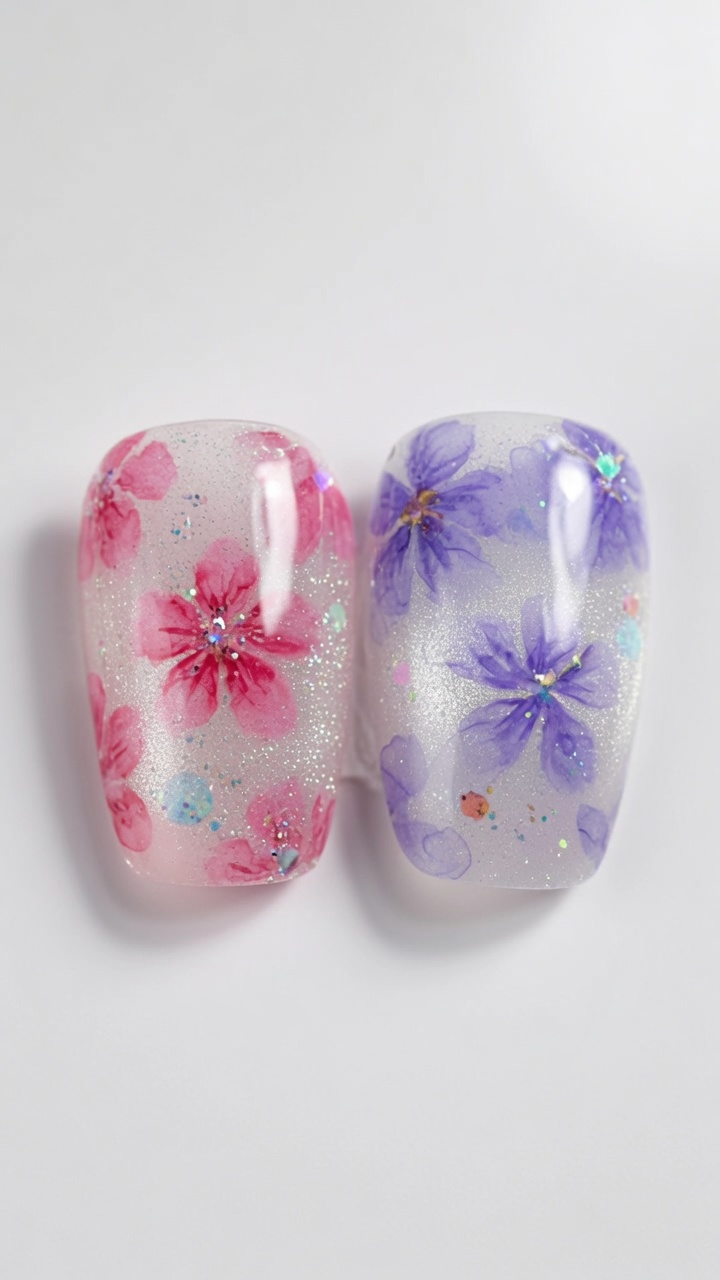
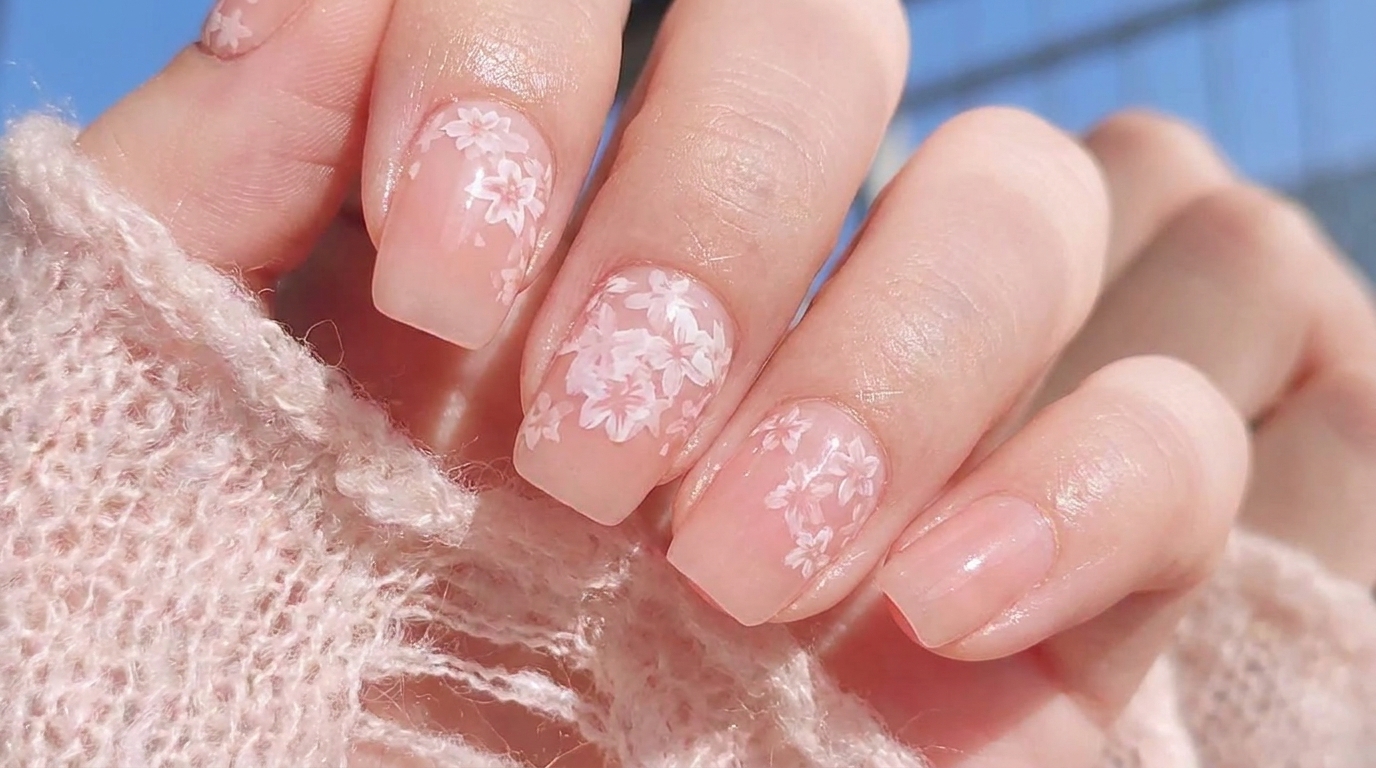
Floral nail art is a timeless choice, and the cherry blossom design brings a touch of elegant, springtime charm to any manicure. This tutorial breaks down the essential brush strokes needed to create professional-looking petals with a distinct, delicate finish. Perfect for those looking to add a sophisticated, hand-painted accent to their nail art repertoire.
Steps
- 1Mark the center
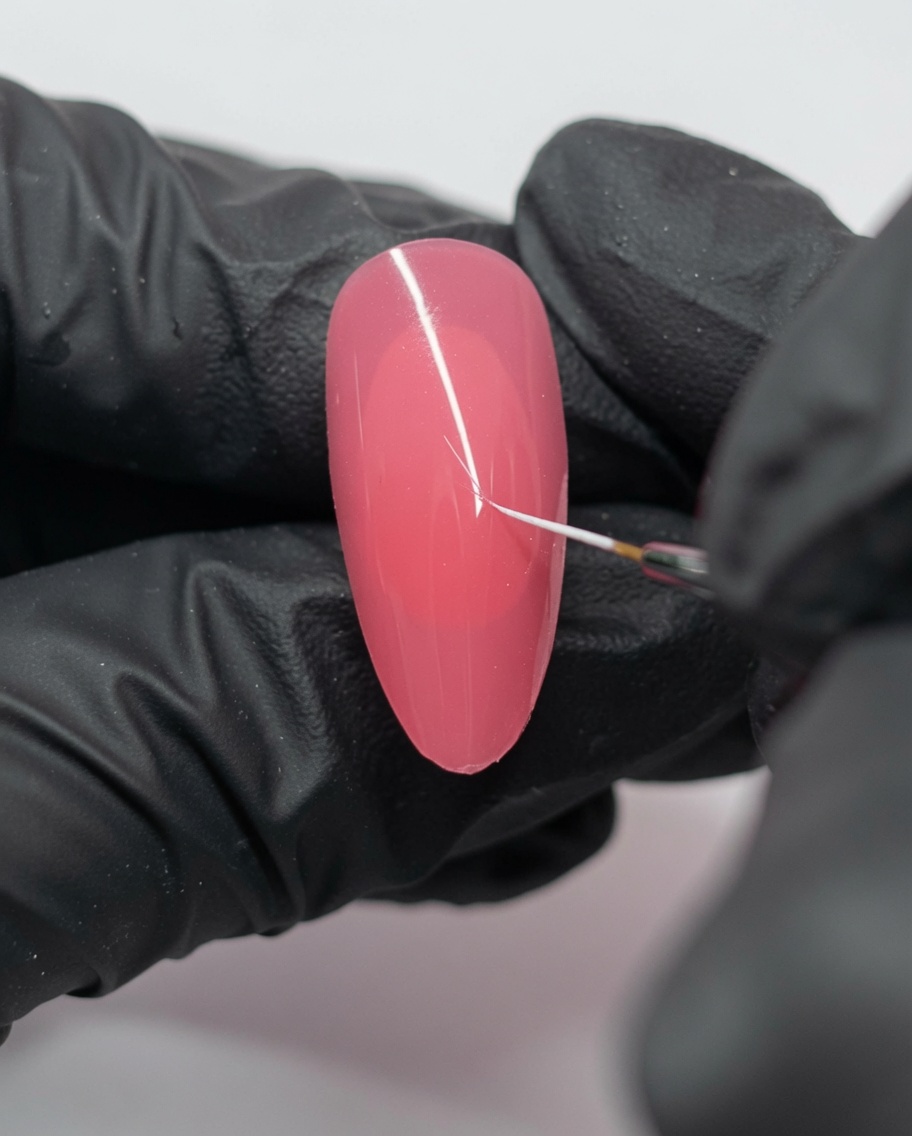
Using a fine liner brush and white gel, place a small dot on the nail surface to serve as the center of your cherry blossom. Draw a single thin line extending from this dot to establish the initial placement for your design.
Tip: Keep your hand steady; using a light touch with the liner brush ensures a thin, precise guideline for the petals. - 2Map the Y-shape guide
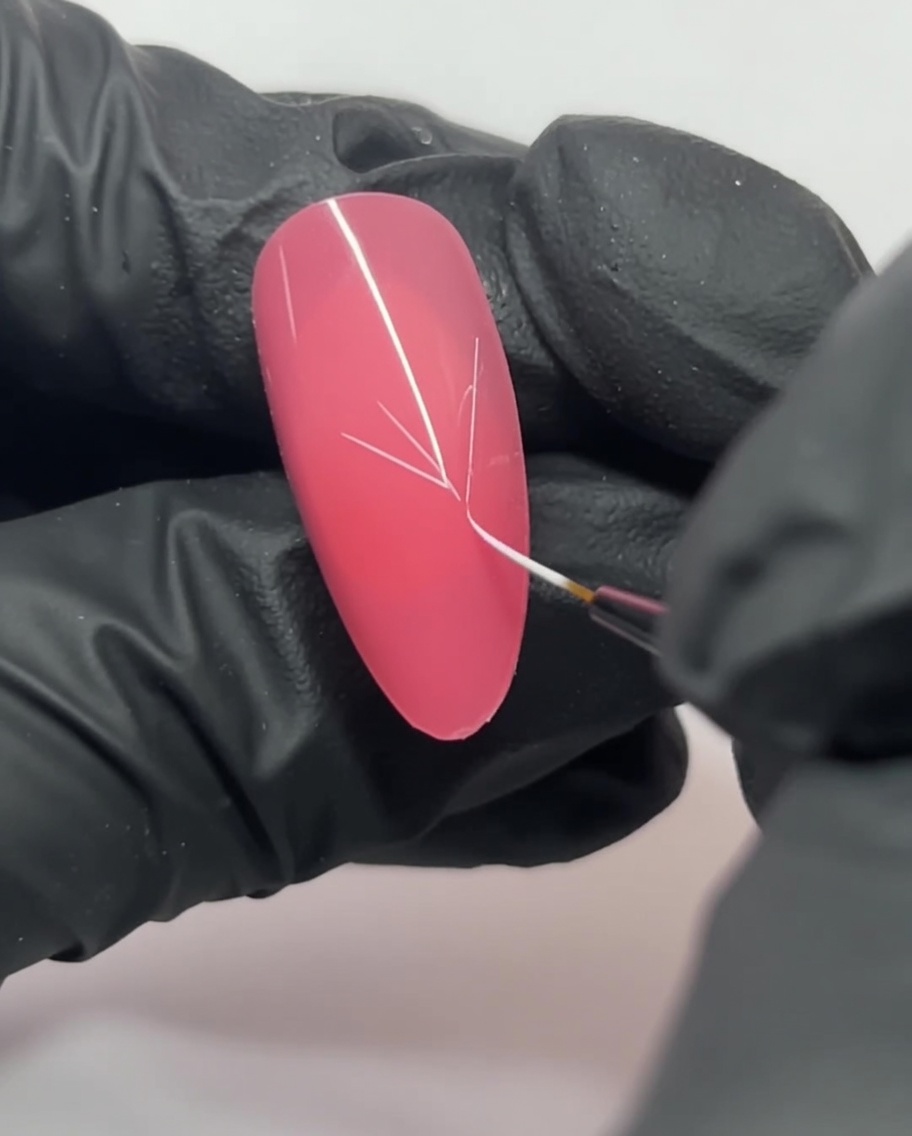
From the center point, draw additional intersecting lines to form a Y-shape. These guides will help you maintain perfect symmetry when you begin painting the individual petals.
Tip: Think of the Y-shape as the skeleton of the flower; accurate placement here makes the final petal shape look much more professional. - 3Establish the petal layout
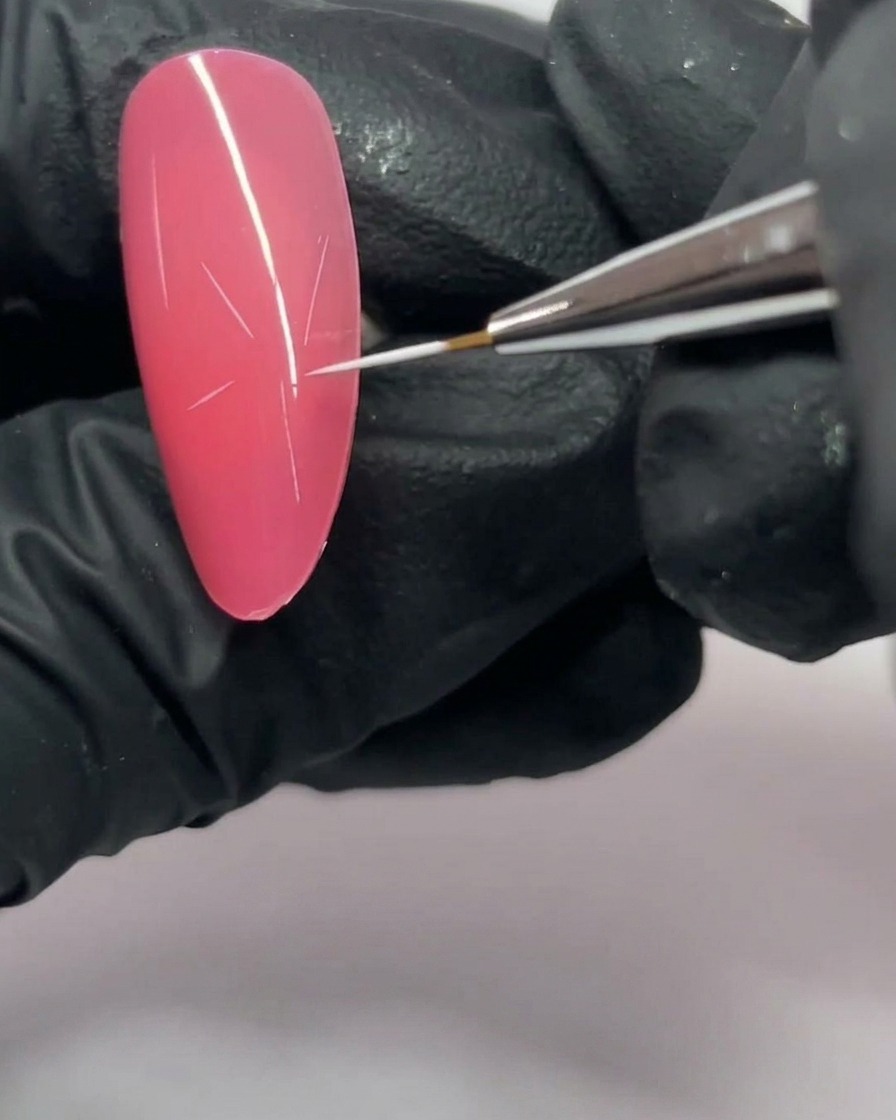
Add two more fine strokes on the sides of your Y-shape to complete a five-point star pattern. This structure maps out exactly where each of the five cherry blossom petals will be placed.
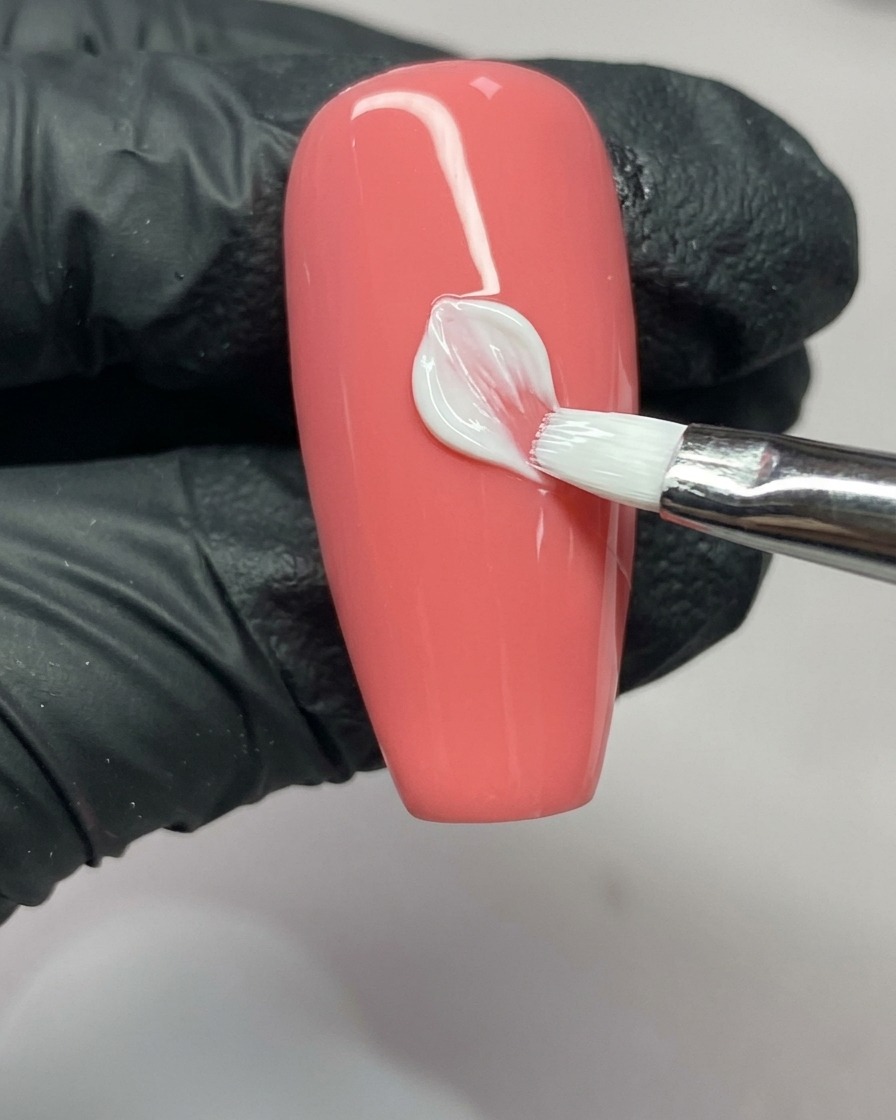
Tip: Keep the lines thin and light, as they will be covered by the white gel used for the petals. - 4Form the petal halves
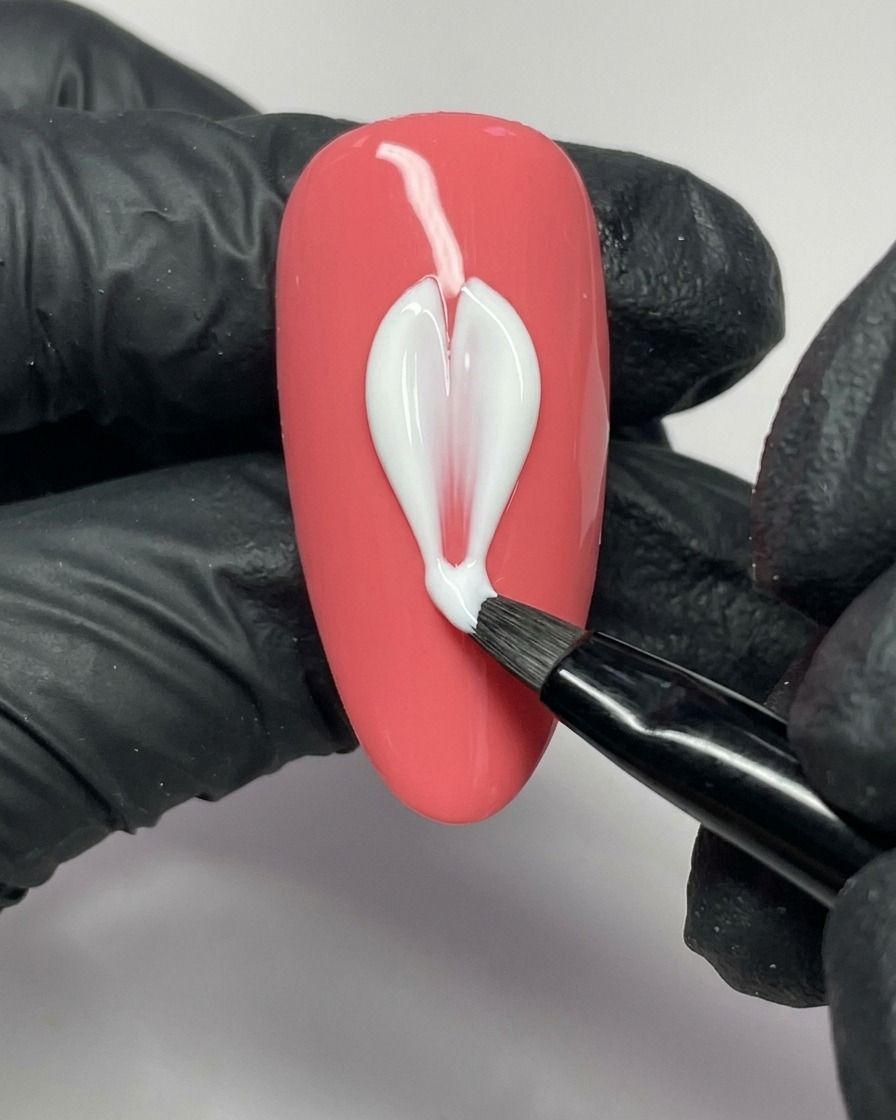
Switch to a universal nail art brush loaded with white gel. Press the brush down near the edge of a guideline and drag it slowly toward the center point to create one side of a petal.
Tip: Use a gentle, slow drag to ensure the gel doesnt streak and maintains a smooth, opaque finish. - 5Complete each petal
Complete the petal by painting the other side with the same motion. Ensure the outer tip has a distinct V-shaped split, while the base tapers neatly into the flower center.
Tip: Maintaining that V-shape at the tip is key to achieving the characteristic look of a cherry blossom petal. - 6Paint the second petal
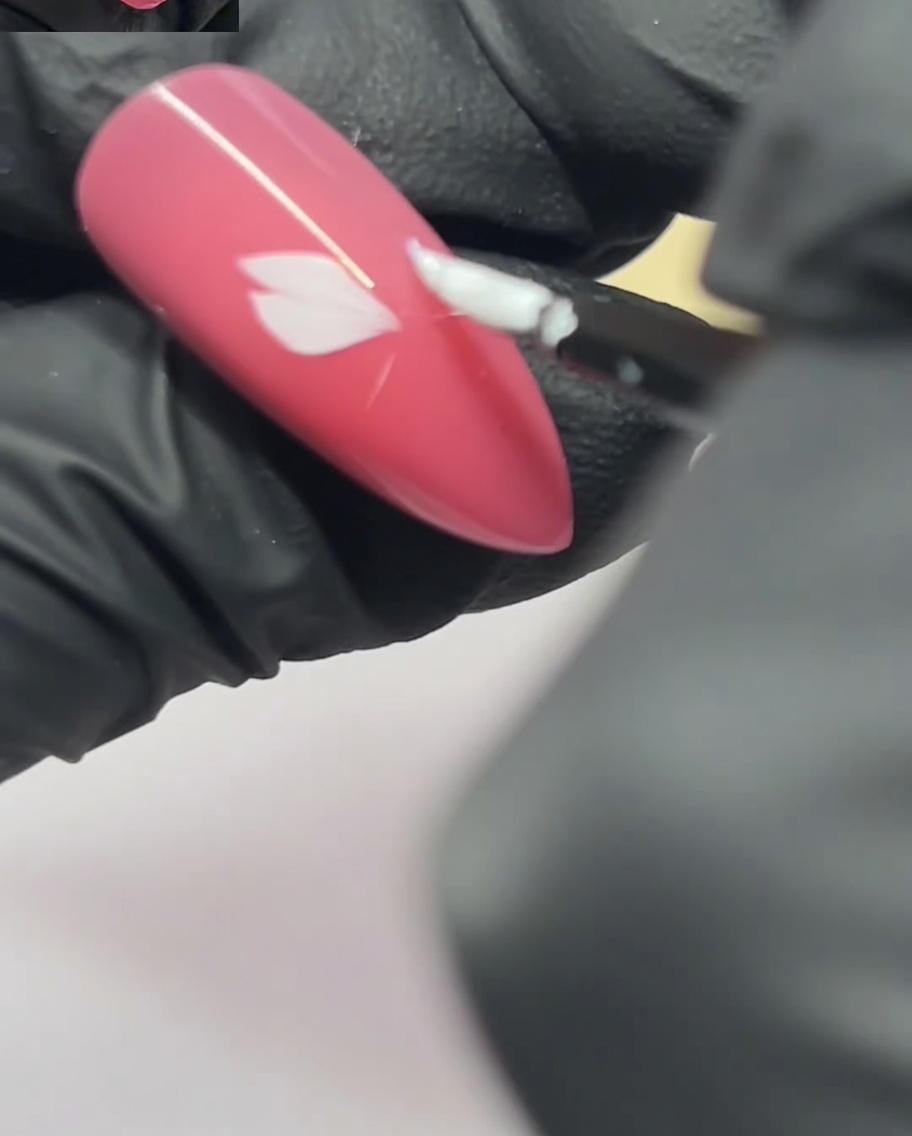
Using the same press-and-lift motion, apply white gel to create the second petal adjacent to the first, ensuring the bases meet precisely at the center.
Tip: Consistency in pressure and brush angle will ensure all petals look uniform in size and shape. - 7Continue the floral design
Continue using the universal brush to create the third petal along your established guideline, keeping the base narrow to allow all petals to gather neatly at the center point.
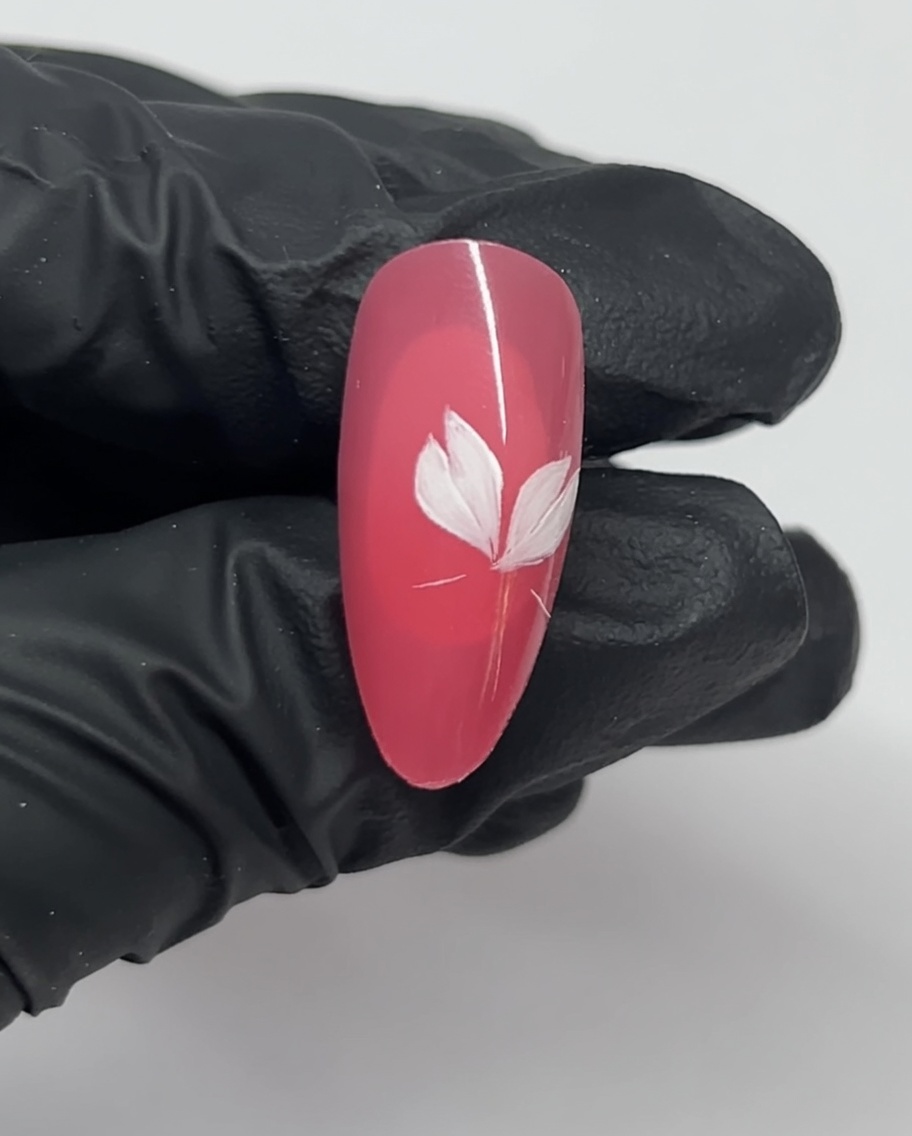
Tip: Keep the petal base narrow to ensure all petals meet neatly at the flowers center. - 8Finish the silhouette
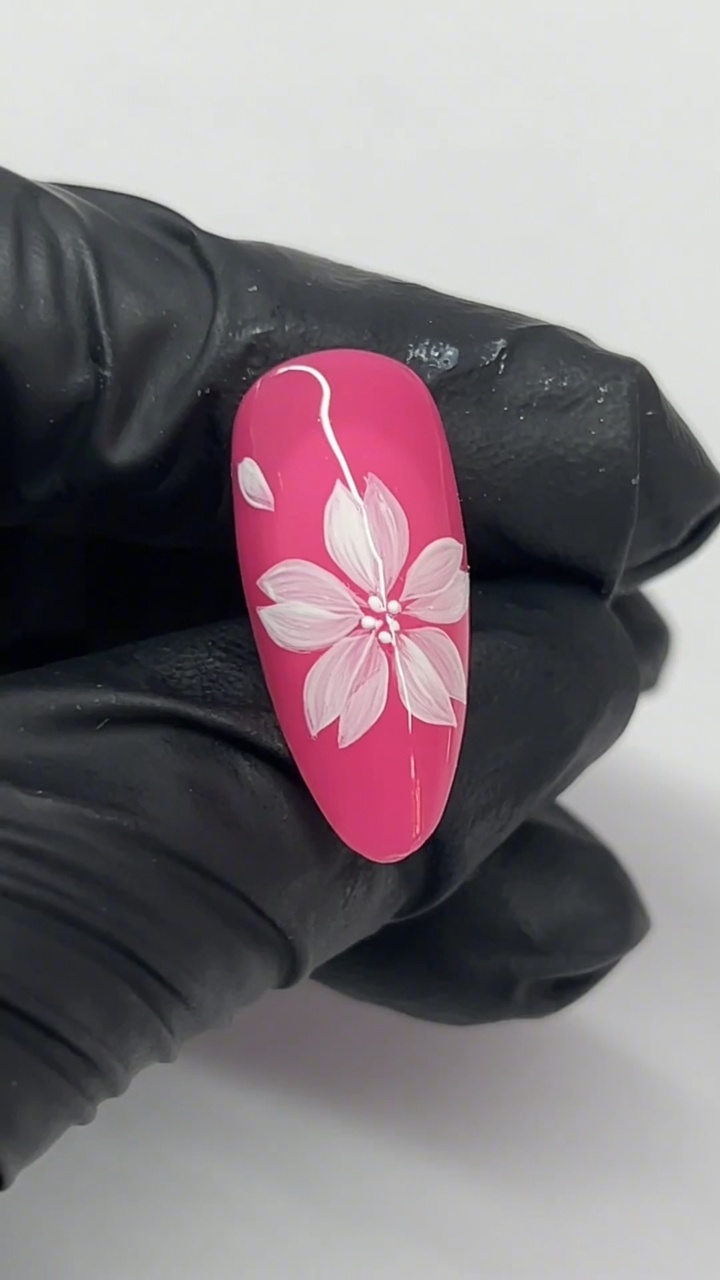
Add the remaining fourth and fifth petals to complete the flower. Double-check that all outer tips feature the signature V-split and that the flower looks balanced.
Tip: Consistency in petal size and shape is key to a professional-looking design. - 9Add the stamen
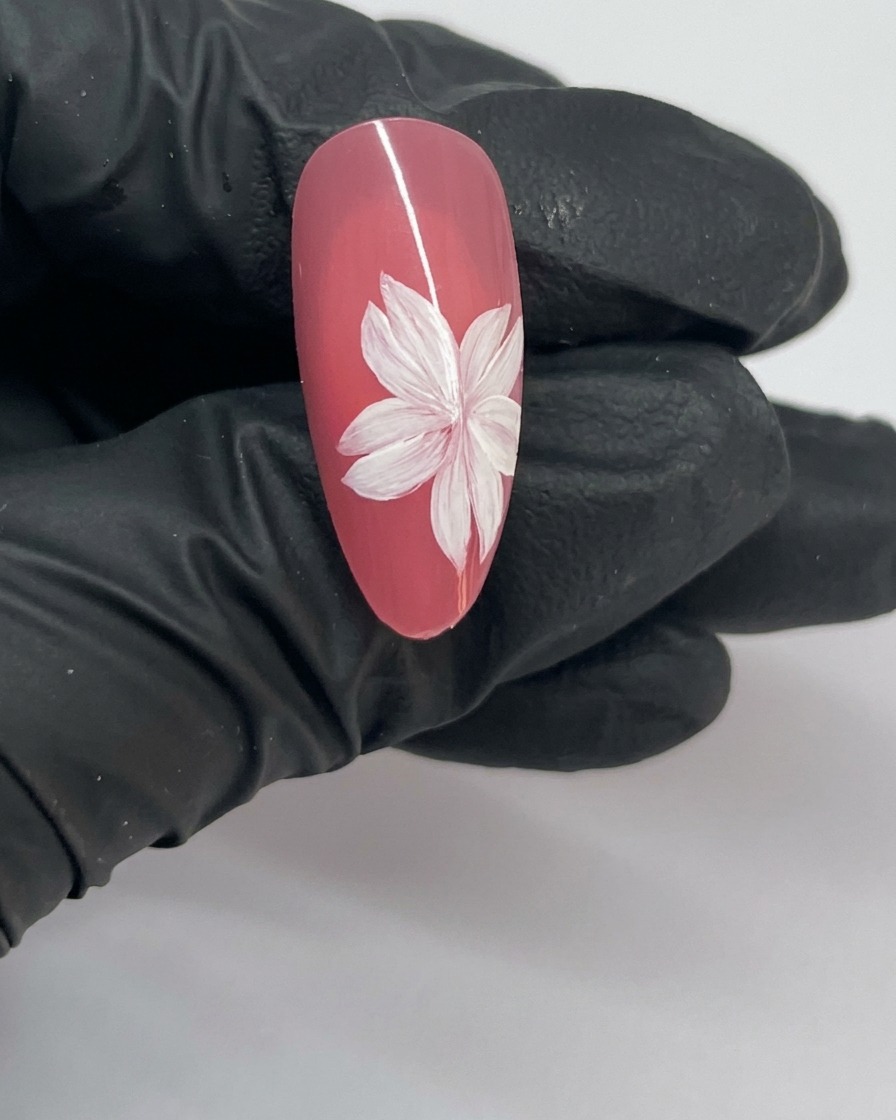
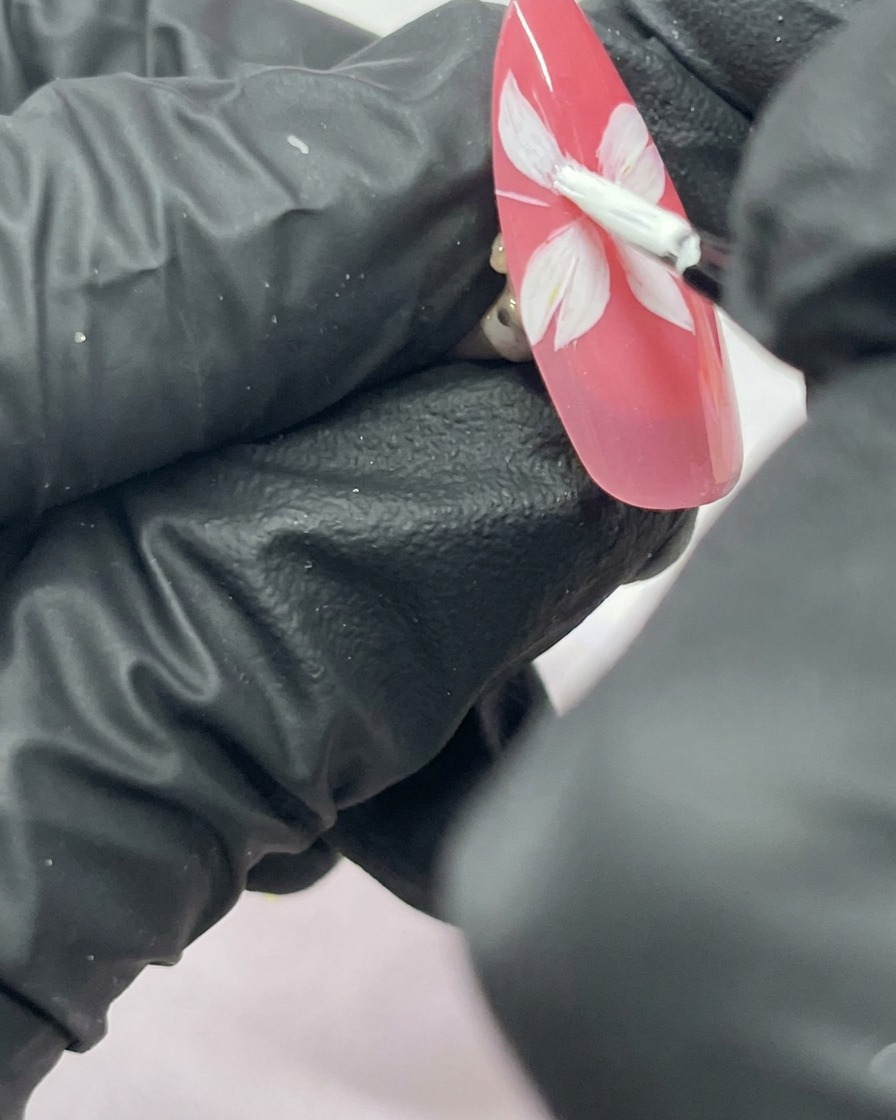
Using a clean fine liner brush, dab tiny white dots in the very center of the joined petals to create the stamen for a delicate, realistic finish.
Tip: Use a light touch to create delicate, small dots for the most natural appearance.