Sakura Cherry Blossom Sequins Gel Nails — Elegant Floral Tutorial
Create delicate, salon-style cherry blossom nails at home. This simple tutorial uses sequin petals and steel beads for a beautiful, encapsulated floral design.
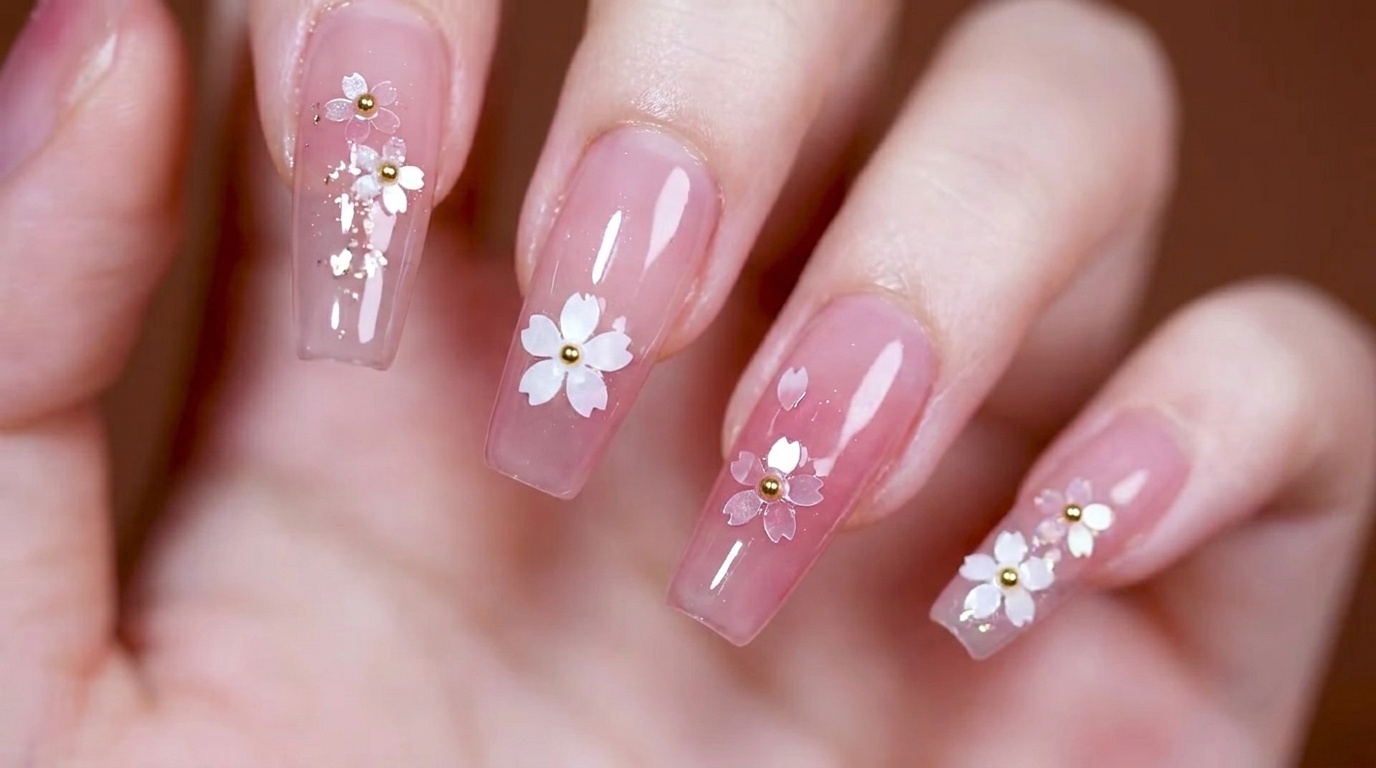
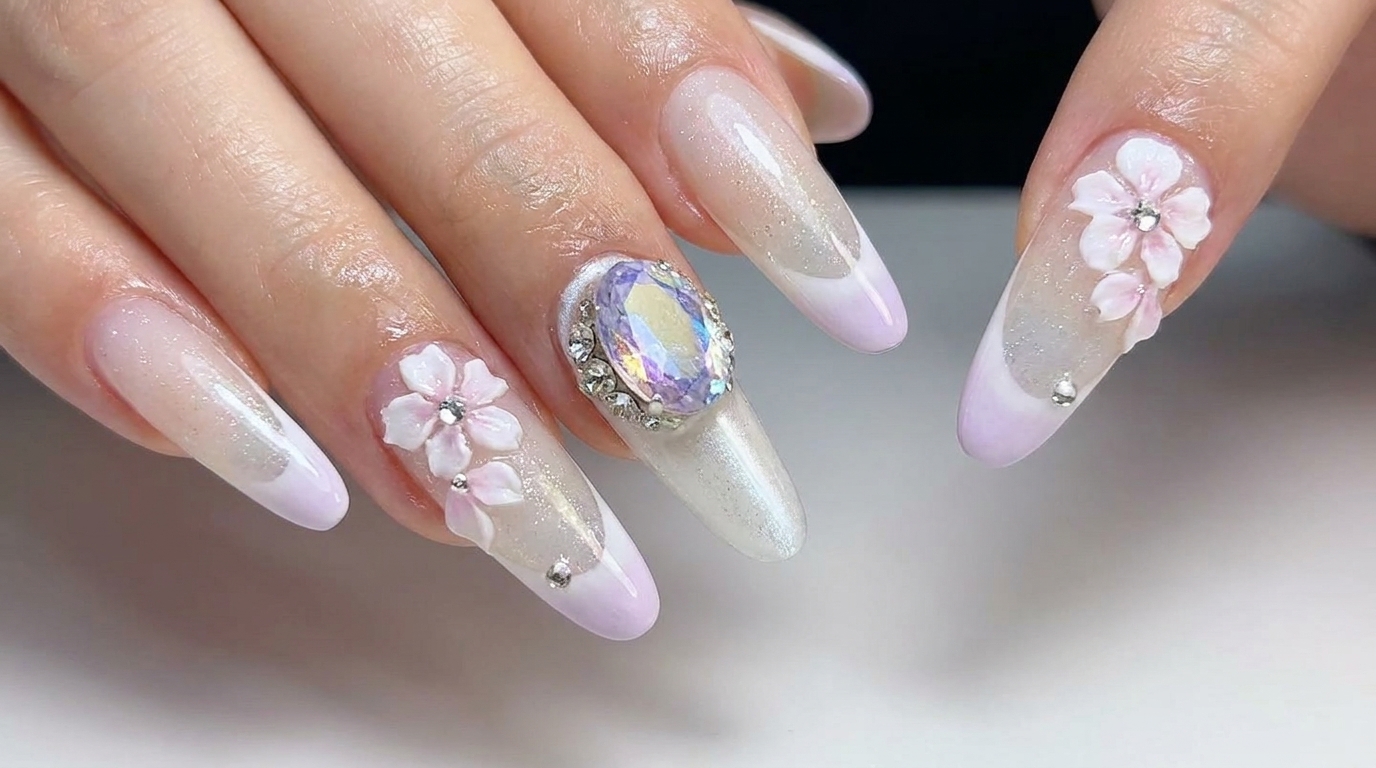
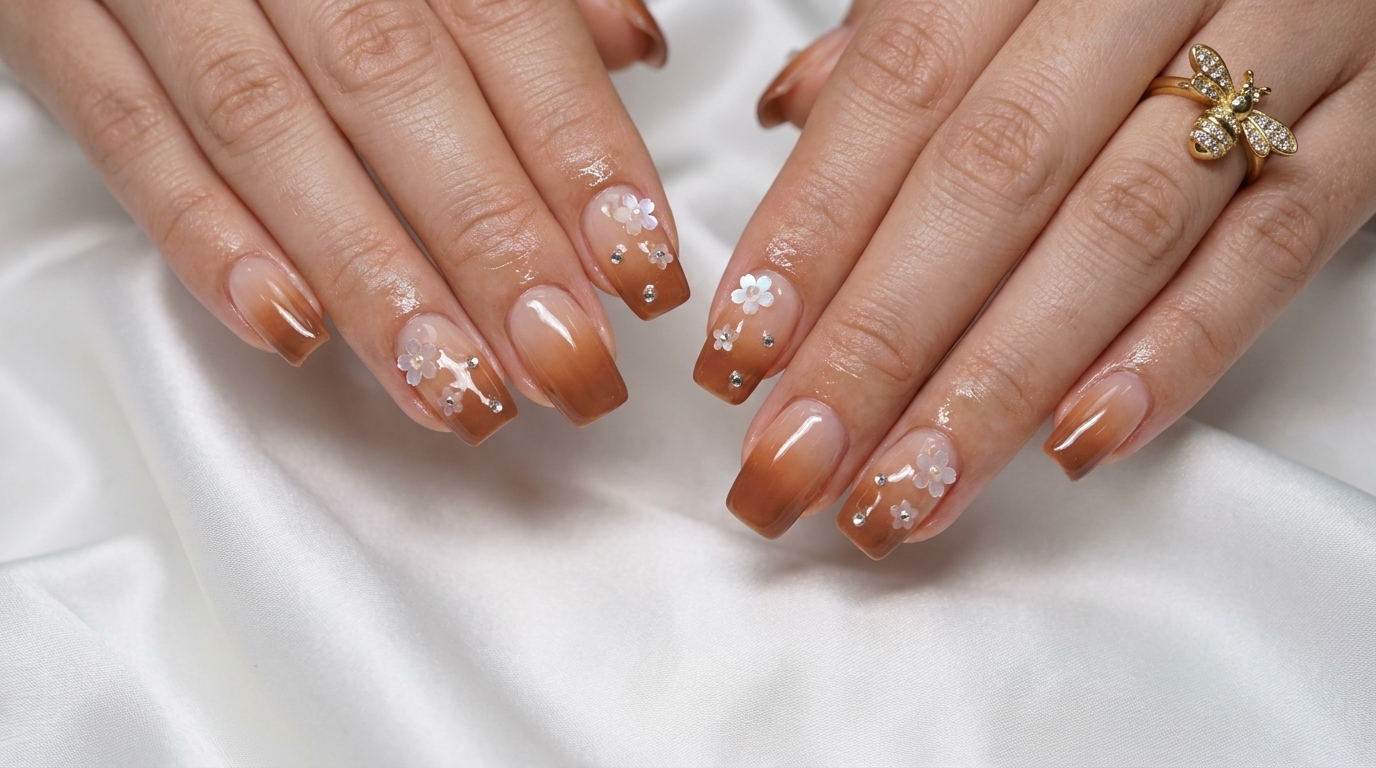
Embrace the beauty of spring with these charming sakura-inspired gel nails. This design uses layered floral sequins and metallic accents to create a stunning, dimensional look that remains smooth and protected under a glossy finish. It is a perfect way to add a touch of elegance to your manicure without needing advanced painting skills.
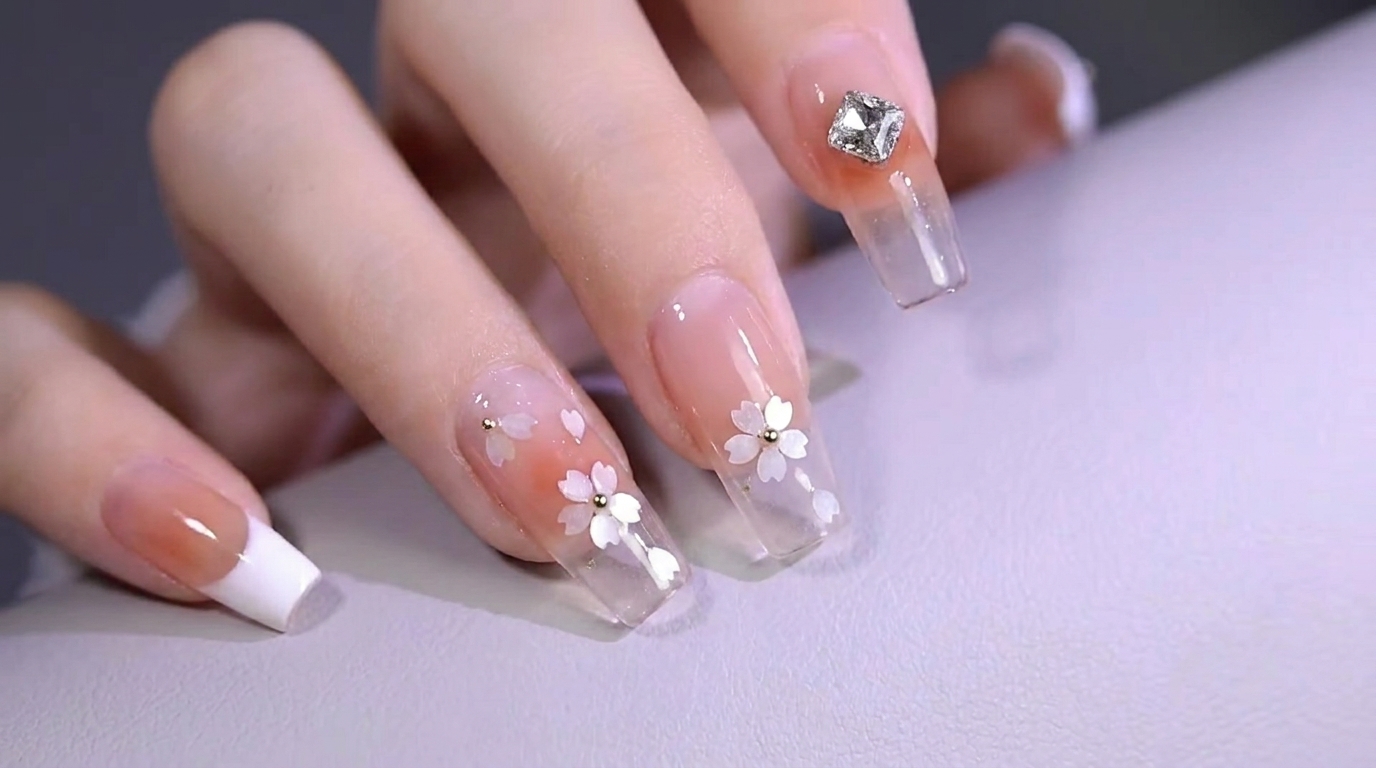
Steps
- 1Apply strengthening base gel
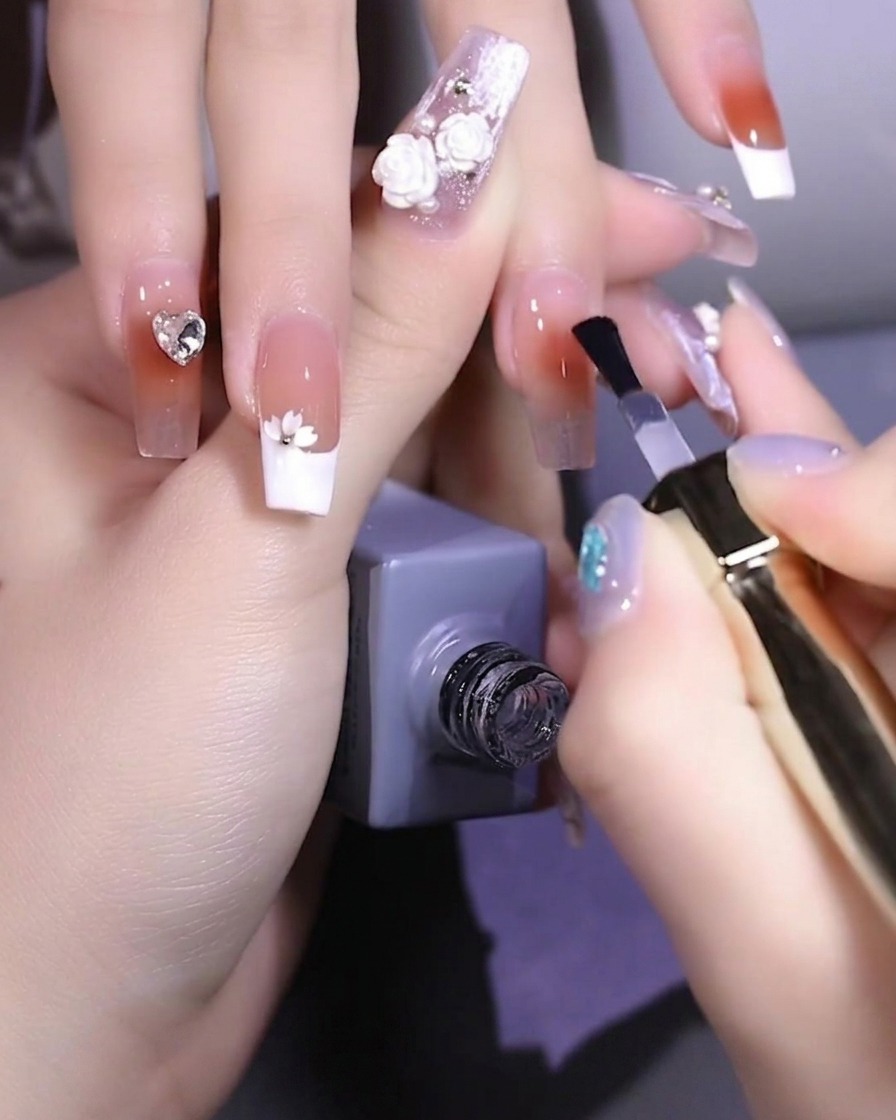
Apply a generous, even layer of strengthening base gel over the nail plate. Do not cure this layer yet, as it will act as the adhesive base for the sequin placement.
Tip: Ensure the gel is applied thinly and evenly to prevent pooling near the cuticles. - 2Place the first petal
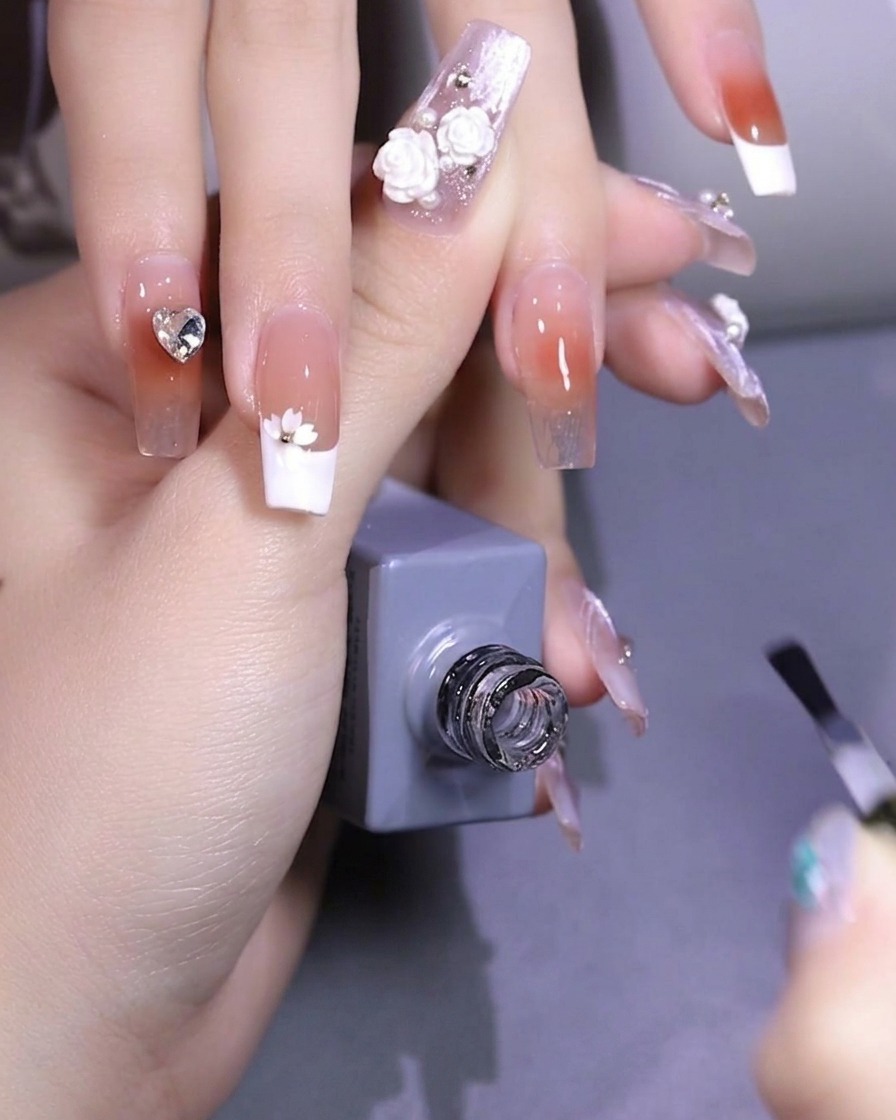
Using precision tweezers, pick up an individual cherry blossom sequin petal and carefully place it onto the surface of the uncured base gel. This establishes the position for your first flower.
Tip: Use a light touch with the tweezers to avoid displacing the gel underneath. - 3Form the flower shape
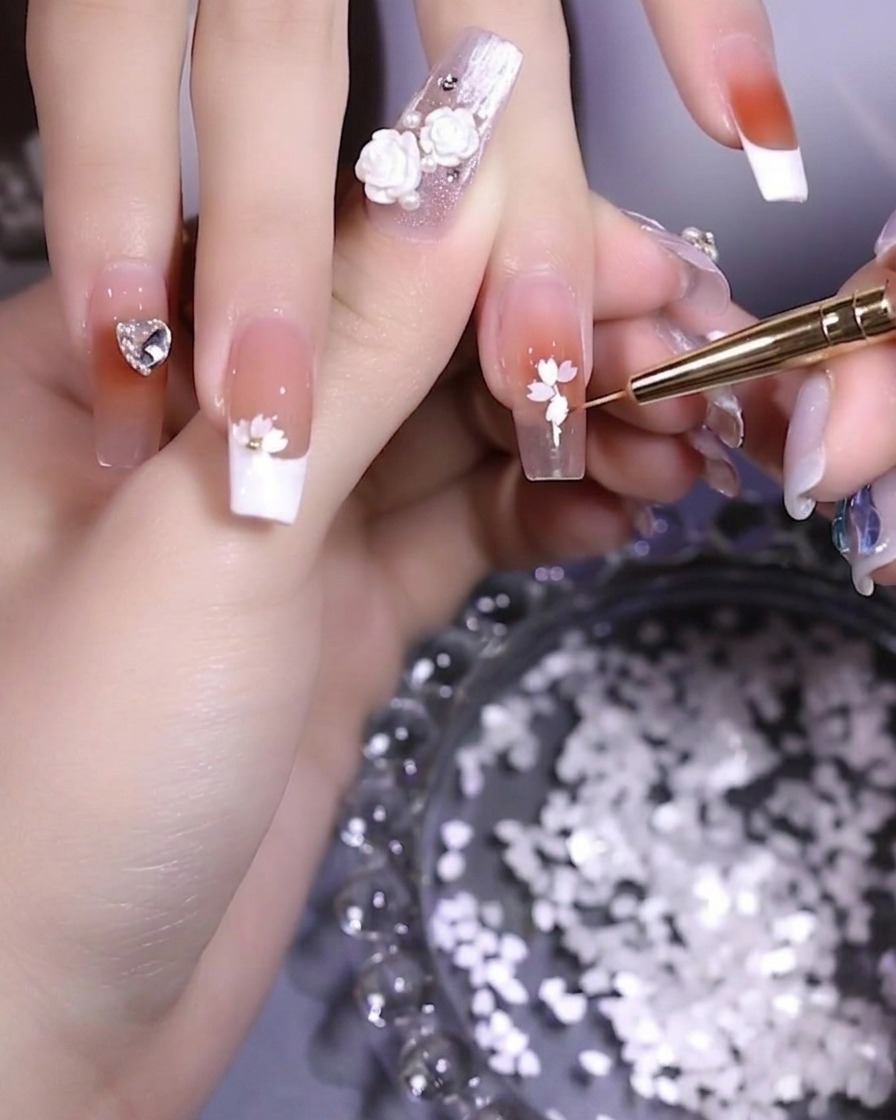
Continue placing individual sequin petals around the center point to form a complete cherry blossom shape. Aim for four to five petals per flower for a natural look.
Tip: Slightly overlap the petals where they meet in the center for a more cohesive flower appearance. - 4Add the flower center
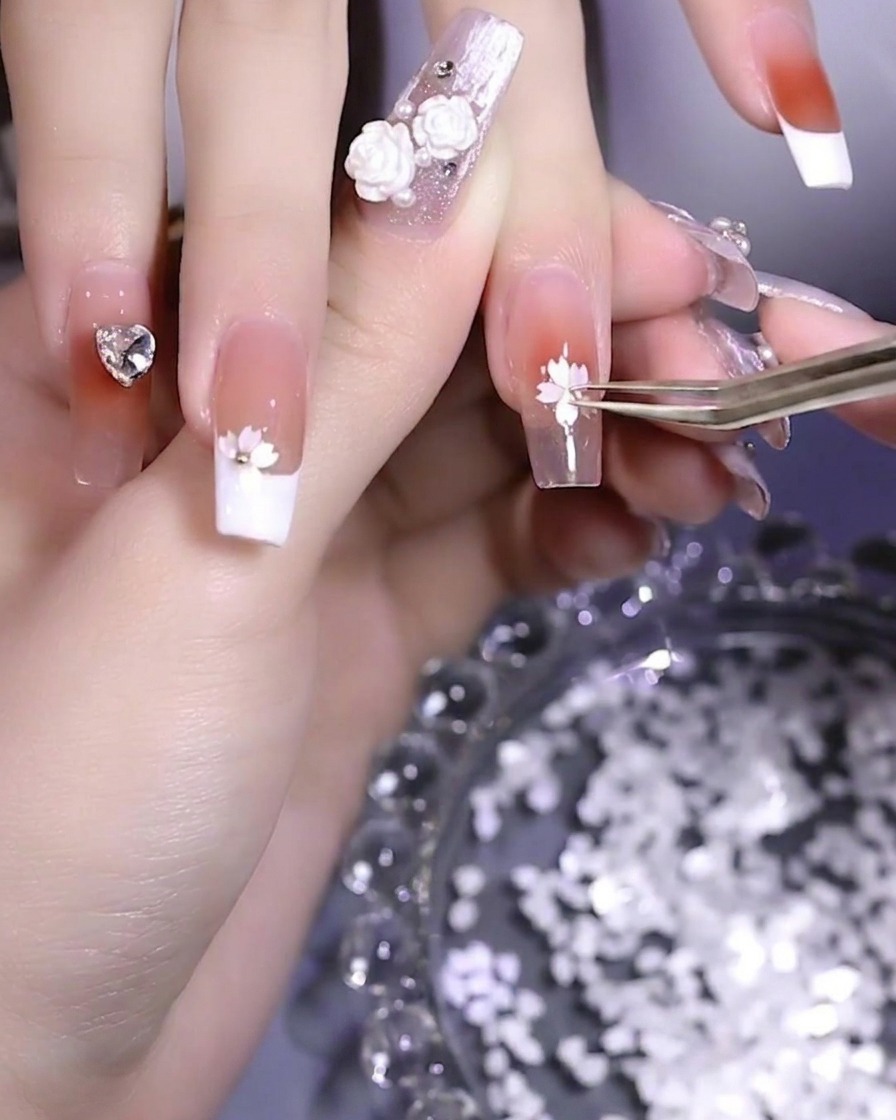
Place a small steel bead directly into the center of the flower petals you just created. The uncured base gel will hold it securely in place.
Tip: If the bead is difficult to pick up, slightly dampen the tip of your tool or tweezers. - 5Arrange multiple flowers
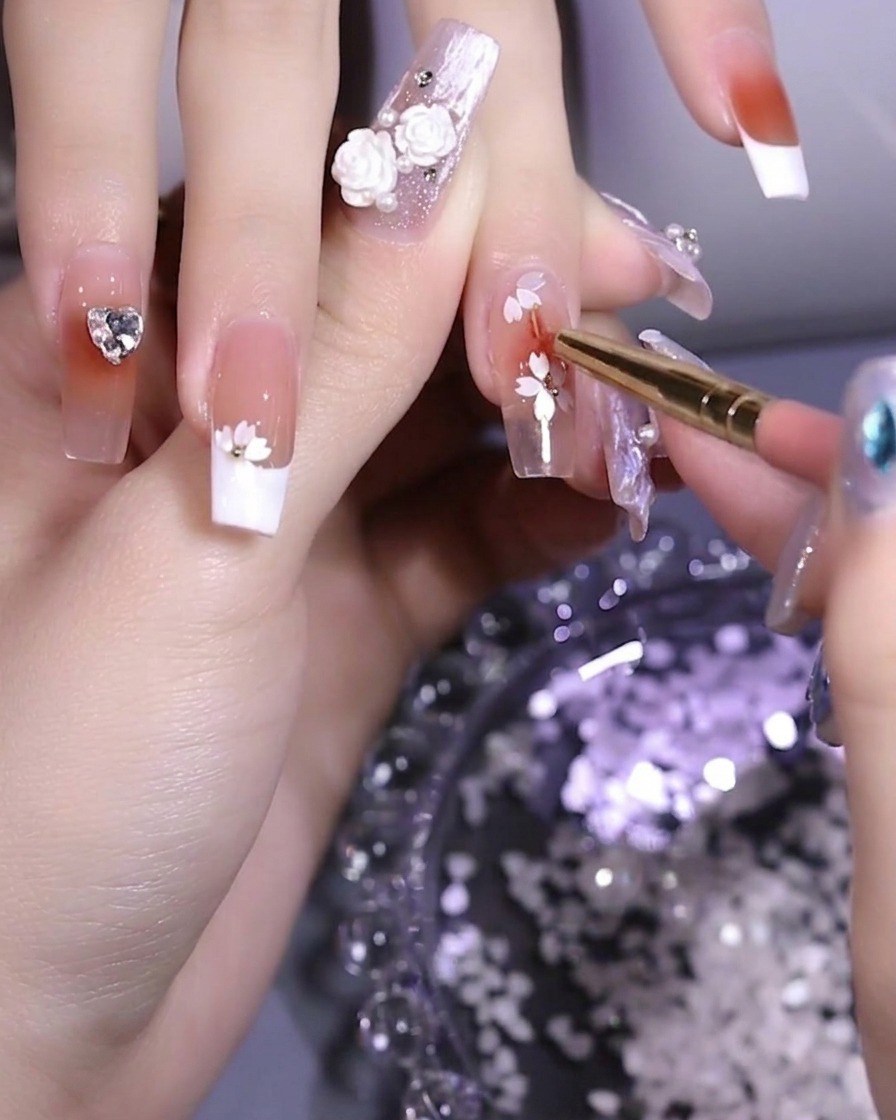
Repeat the process to add more cherry blossom flowers across the nail surface. Vary the placement slightly for an organic, artistic arrangement.
Tip: Avoid overcrowding the nail by leaving a little space between each flower. - 6Finalize flower placement
Position the final cherry blossom flower near the tip of the nail to complete the design. Once all elements are perfectly placed, cure the entire nail under the lamp.
Tip: Check that all beads and petals are fully embedded in the base gel before curing. - 7Cure the nail design
Place your hand inside the UV/LED lamp to cure the nail design. Ensure all fingers are positioned directly under the light source for an even, full cure. Refer to your gel polish manufacturers instructions for the specific duration required to fully set the materials, typically between 30 to 60 seconds.
Tip: Keep your hand flat and steady inside the lamp to prevent the gel from shifting before it hardens. - 8Apply top coat
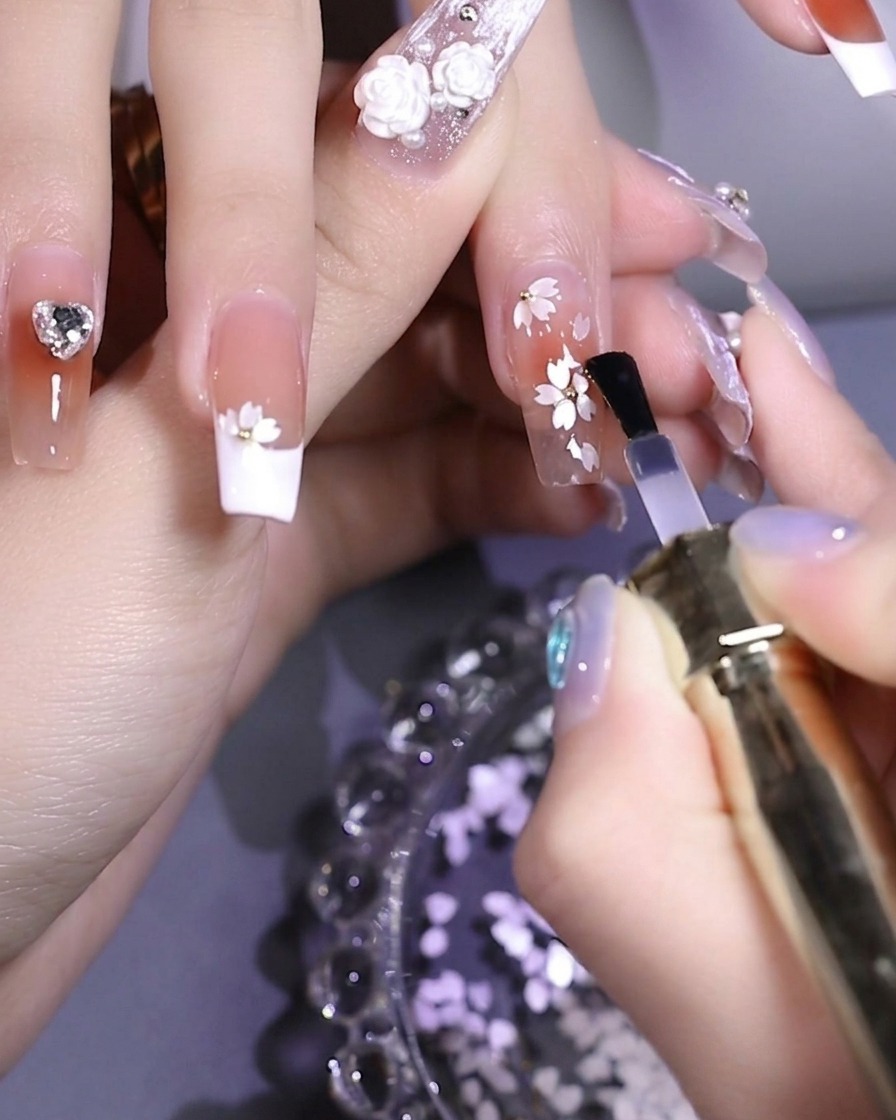
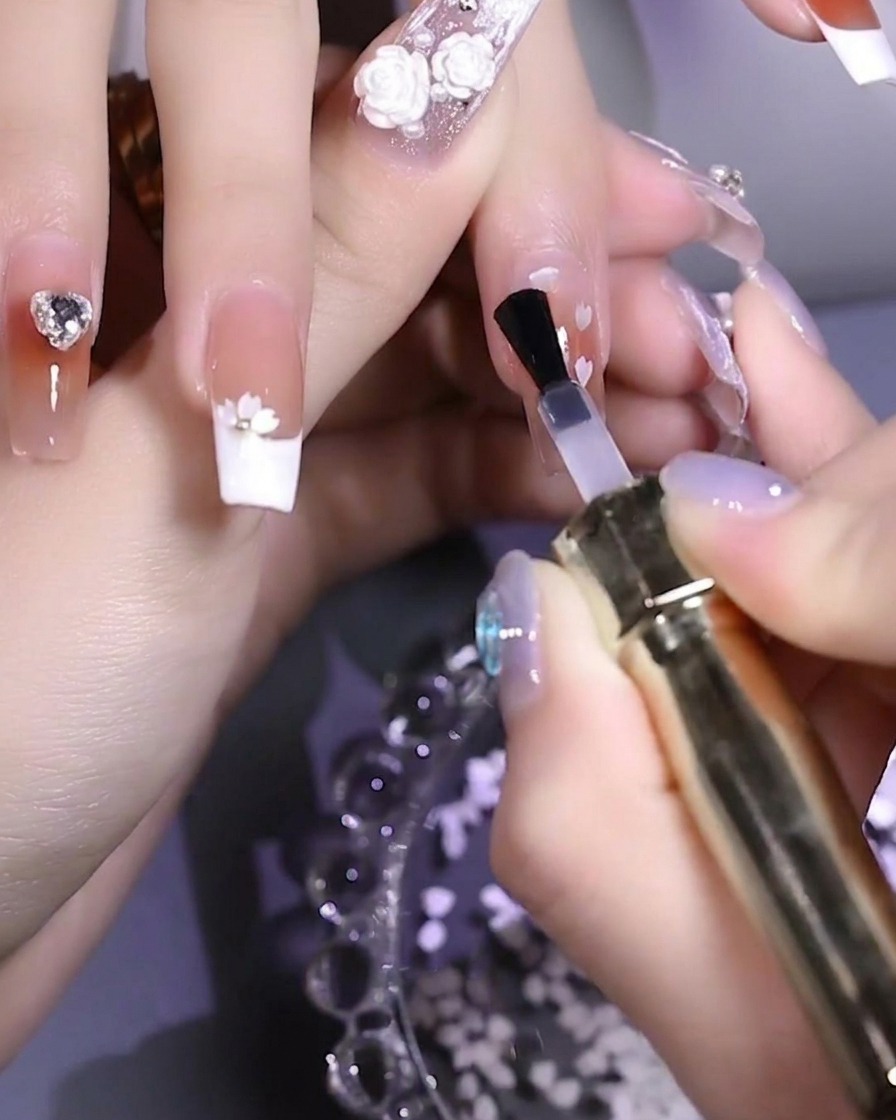
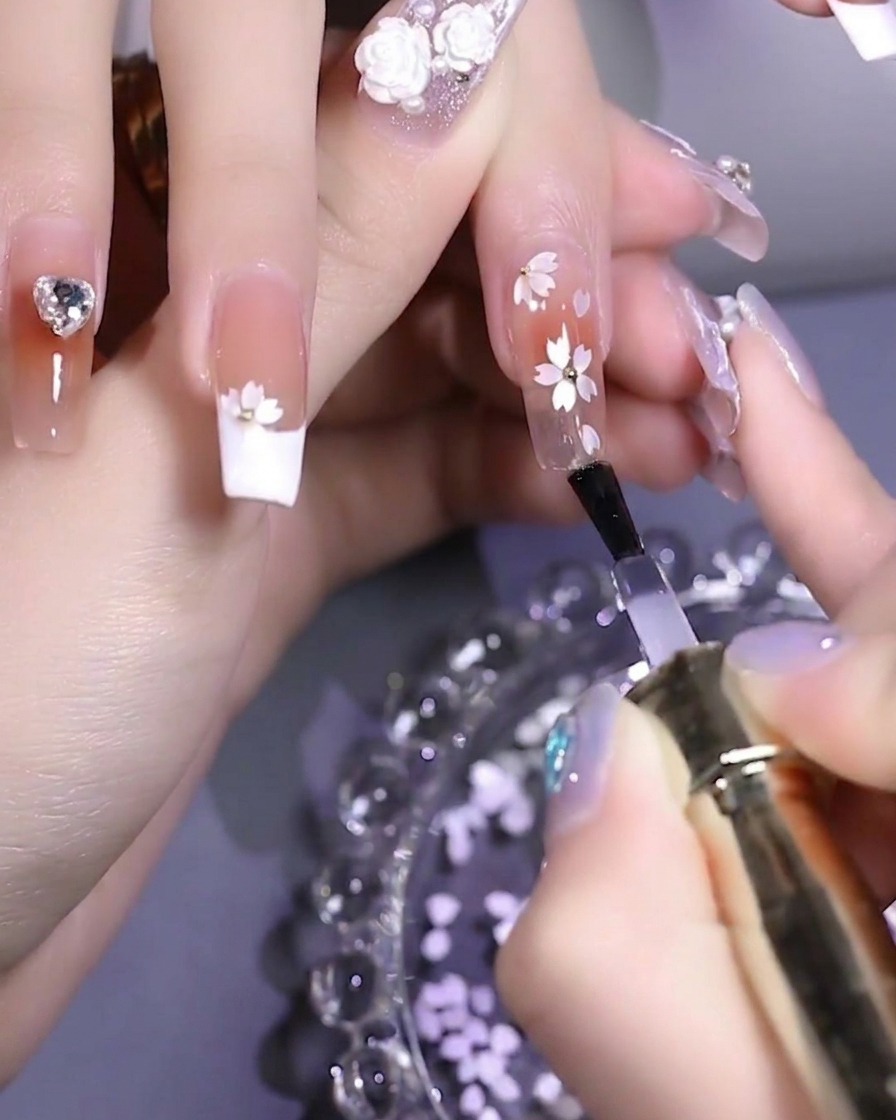
Apply a generous, even layer of no-wipe top coat over the entire nail surface, ensuring you cover the delicate cherry blossom sequins and the small steel beads. Capping the free edge is essential to lock the design in place and prevent snagging. This final layer provides a smooth, protective finish that encapsulates the nail art.
Tip: Use a light touch when brushing the top coat over the raised sequins to avoid dragging them out of position. - 9Final cure
Place your nails under the UV/LED lamp to fully cure the no-wipe top coat. Ensure your hand is positioned correctly to allow light to reach all parts of the nail surface, especially the edges and the textured floral design. Follow the manufacturers recommended curing time to achieve a durable, high-shine finish.
Tip: Keep your hand still during the curing process to ensure an even, glossy finish without any potential ripples or dull spots.