French Cherry Blossom Nail Art — Elegant Spring Tutorial
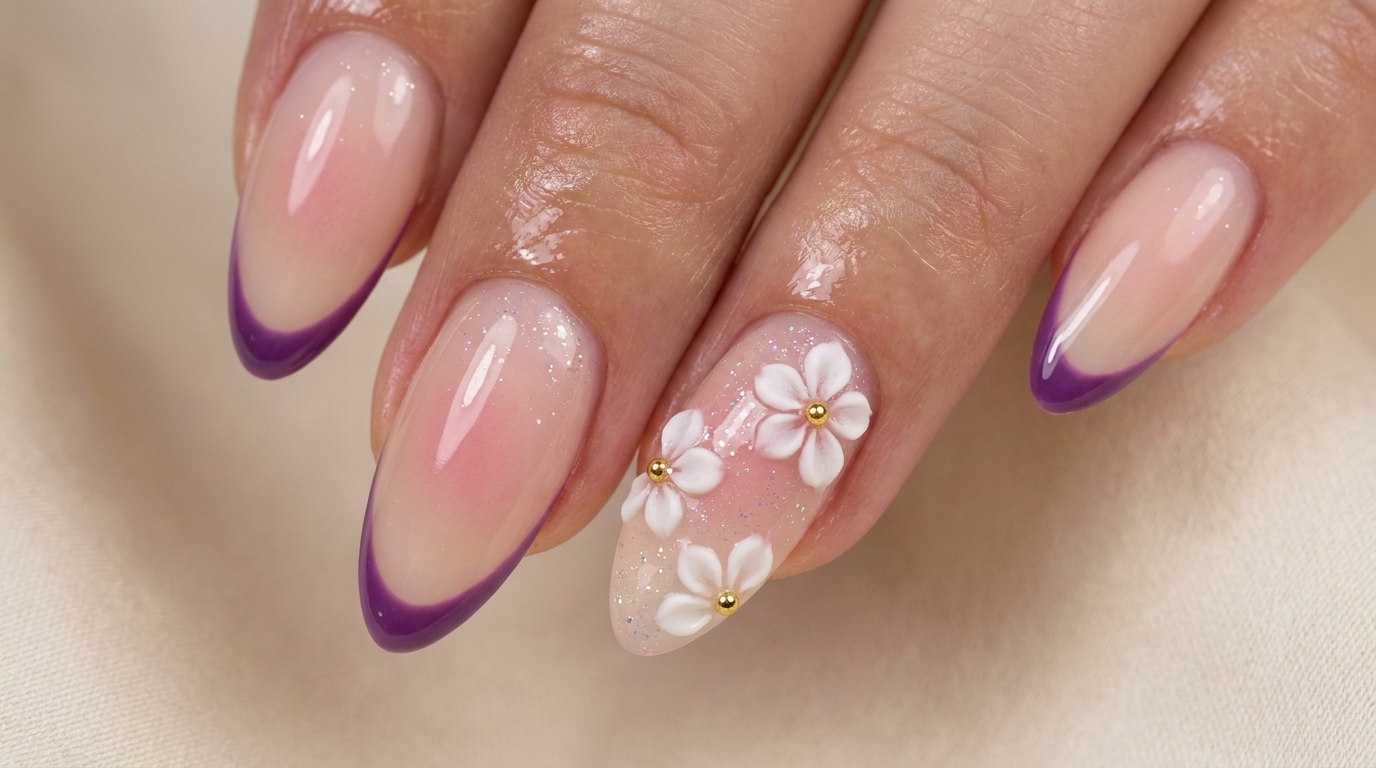
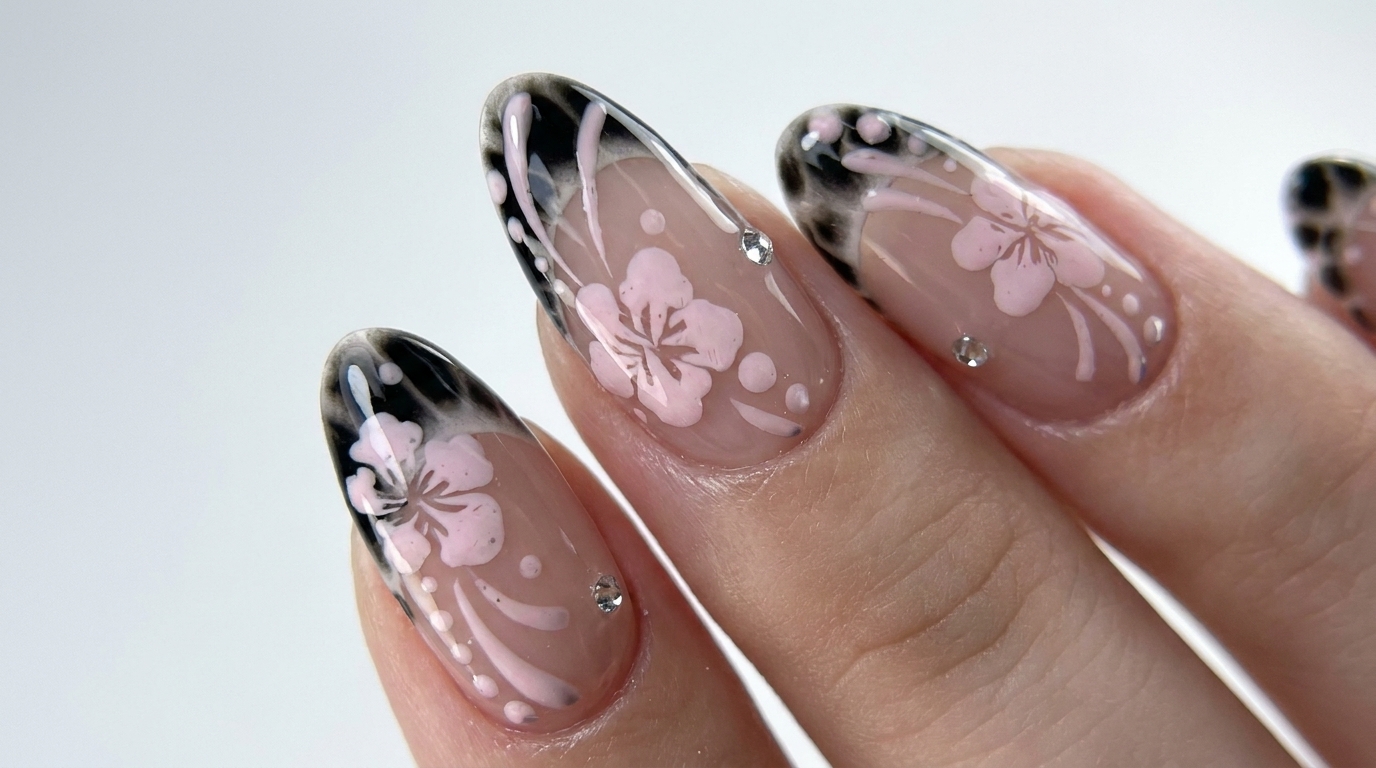
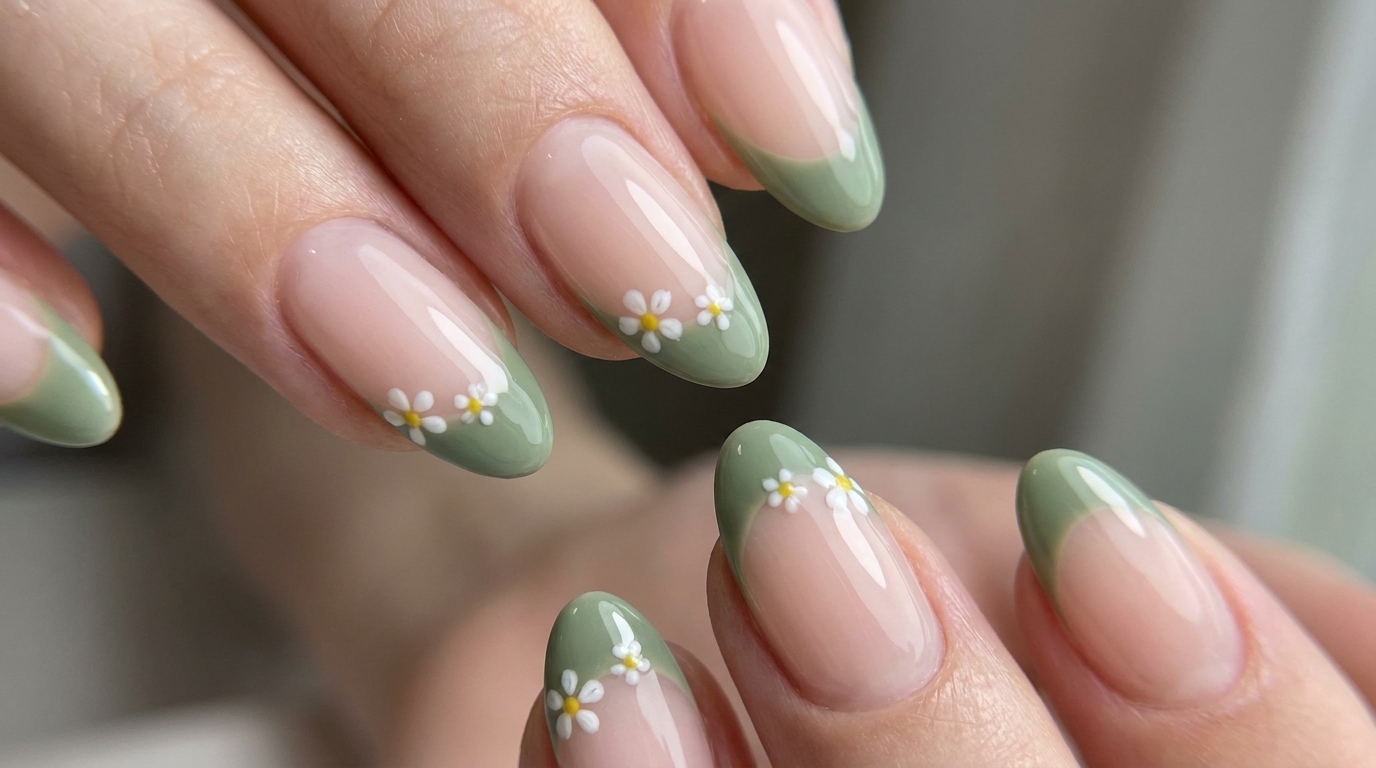
Transform your look with this delicate French cherry blossom manicure. This soft pink and green design offers a sophisticated, springtime-inspired finish.
The French cherry blossom manicure is a perfect way to embrace a soft and feminine aesthetic. By combining a creamy pink base with muted sage green tips and subtle floral accents, this look brightens your hands and provides a clean, elegant finish. It is an ideal choice for anyone wanting a romantic, spring-inspired nail design that feels both relaxed and refined.
Steps
- 1Draw the French tip arc
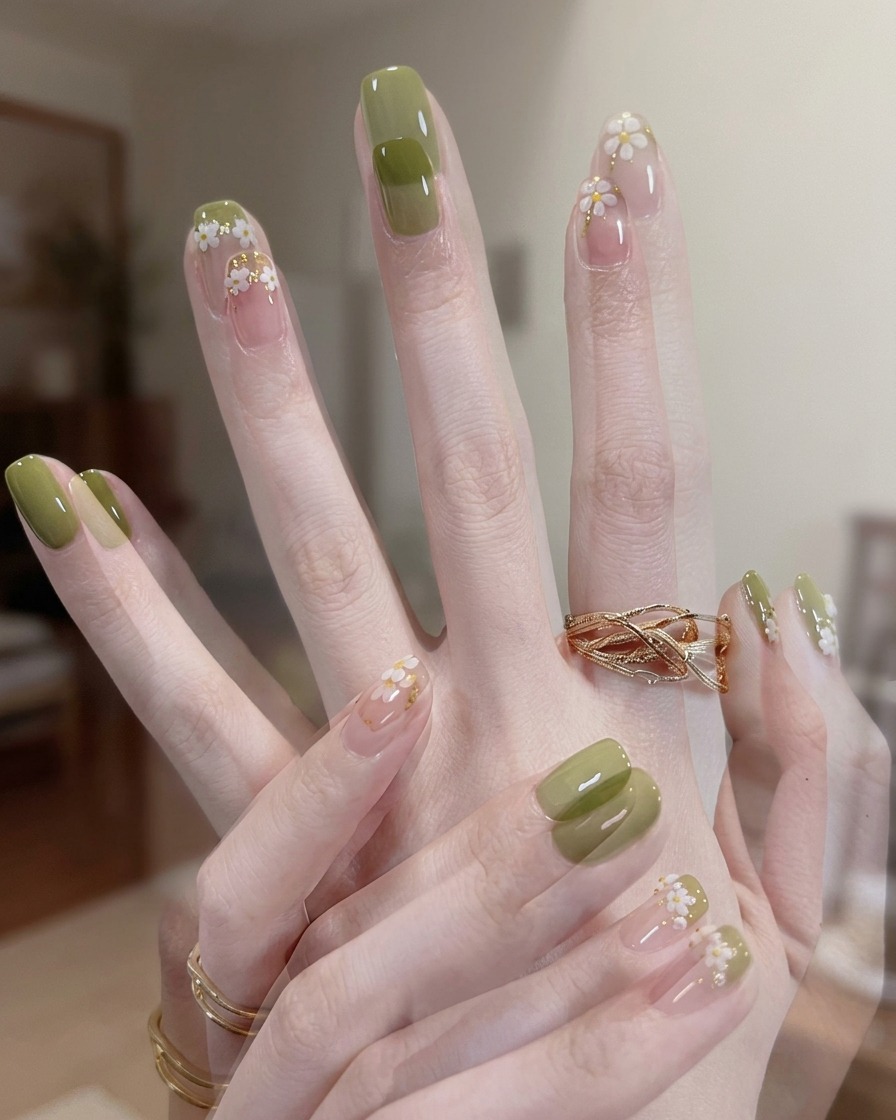
Using a thin liner brush, pick up a small amount of the darker cherry blossom pink gel. Carefully draw a thin, elegant arc across the tip of the nail. You dont need to be perfectly symmetrical; a slight natural curve enhances the relaxed, romantic French aesthetic.
Tip: Keep your brush light and steady. If the line is too thick, gently wipe the brush and refine the edge before curing. - 2Refine the tip arc
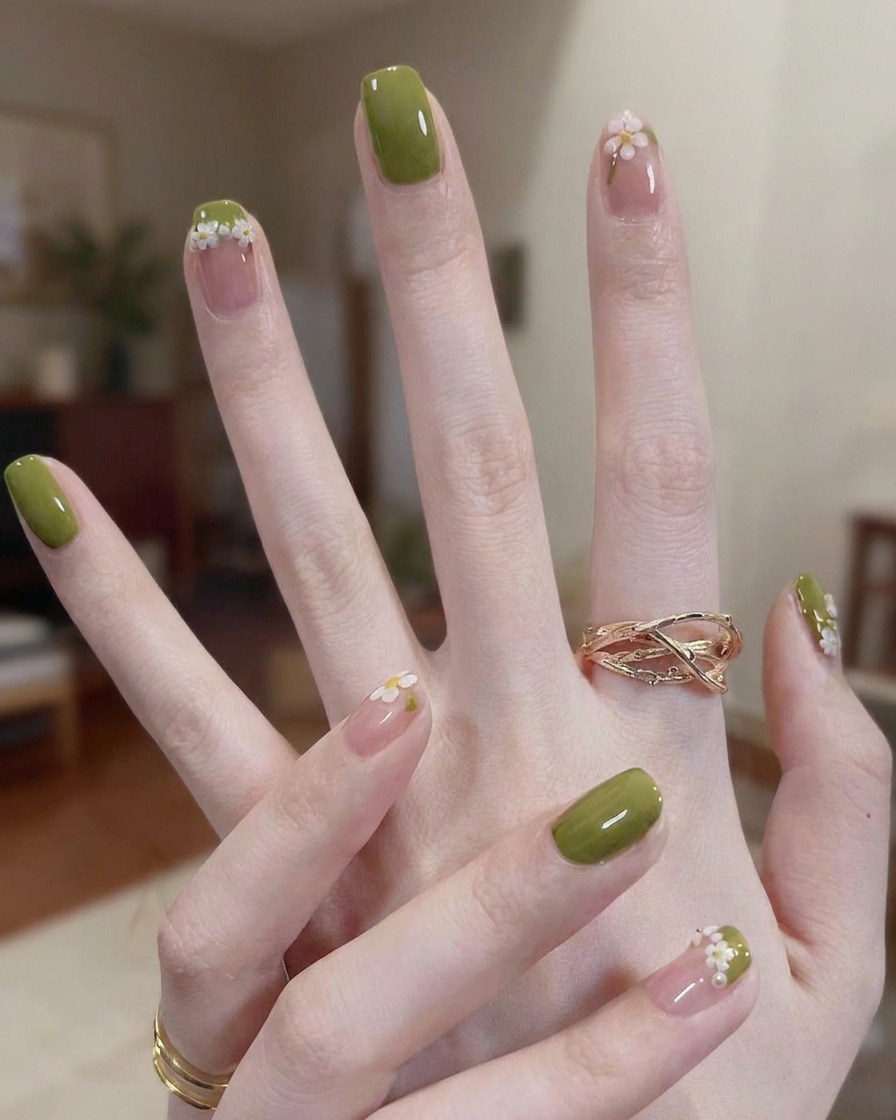
Go back over the tip arc with your liner brush to perfect the shape and ensure an even, consistent thickness. Smoothing out the edges now ensures a clean, professional look before you add any further embellishments.
Tip: Work in thin coats to prevent the gel from pooling at the free edge of the nail. - 3Apply adhesive for embellishments
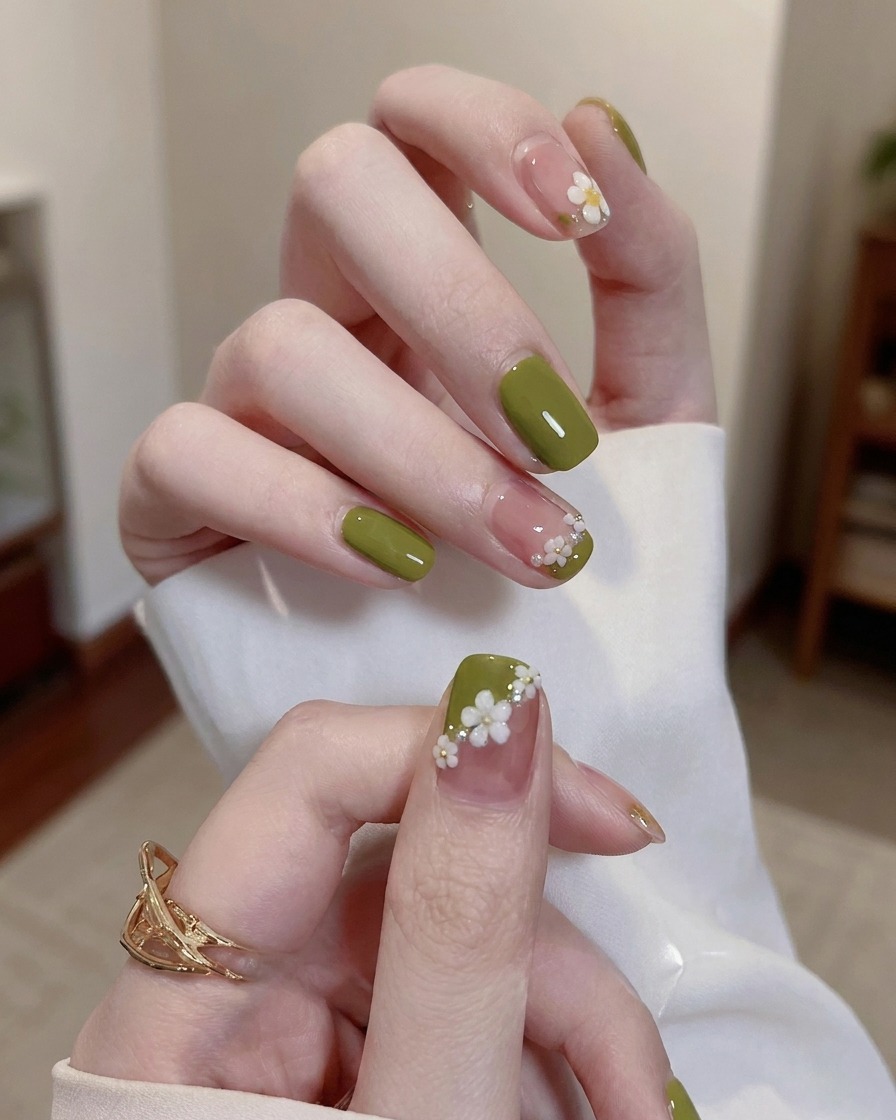
Pick up a tiny drop of clear gel or bead adhesive using your brush or a dotting tool. Place it precisely where you intend to set your silver sequin on the nail surface. This acts as a strong, clear glue to hold the decoration in place.
Tip: Use just enough clear gel to hold the sequin; too much will spread and ruin the clean look of the manicure. - 4Place the silver sequin
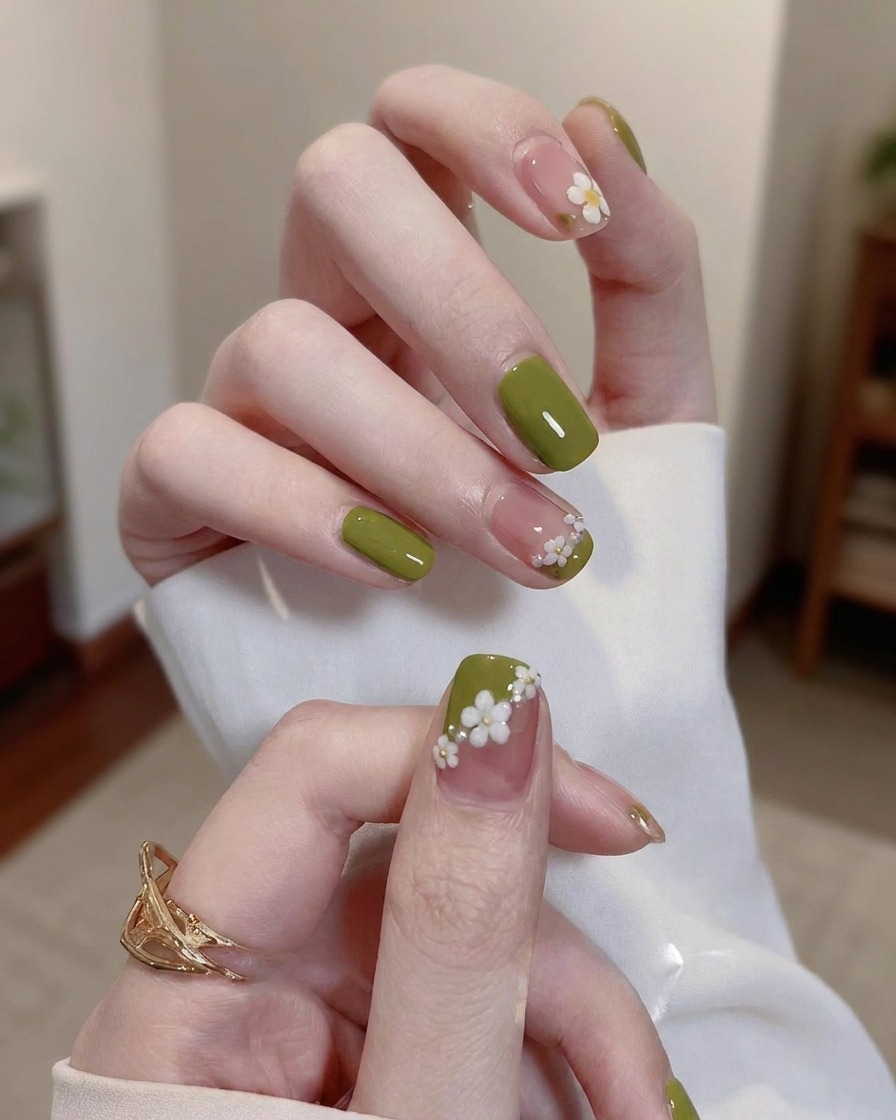
Using a pair of fine-tip tweezers, gently pick up a small silver sequin. Carefully place it onto the dot of clear adhesive you just applied. Press down lightly to ensure it sits flat against the nail surface.
Tip: Make sure the sequin is placed exactly where you want it before it sets into the clear gel. - 5Apply top coat
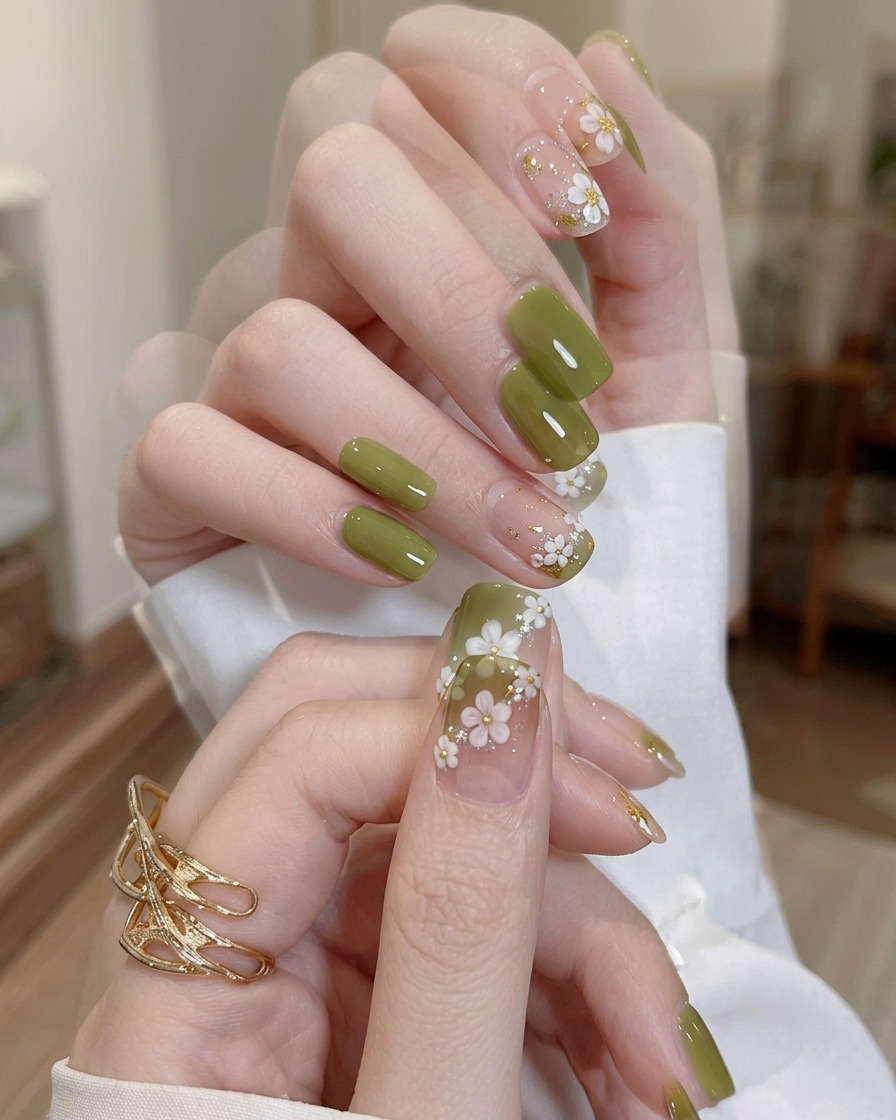
Apply a generous, even layer of high-quality top coat over the entire nail, ensuring you cover the French tip and the newly placed sequin. This seals your design, protects the art, and gives the manicure a beautiful, long-lasting glossy finish.
Tip: Cap the free edge of the nail with top coat to prevent chipping and ensure a smooth, rounded finish.