Nude Pink Cherry Blossom Blush Gel Nails — Step-by-Step Tutorial
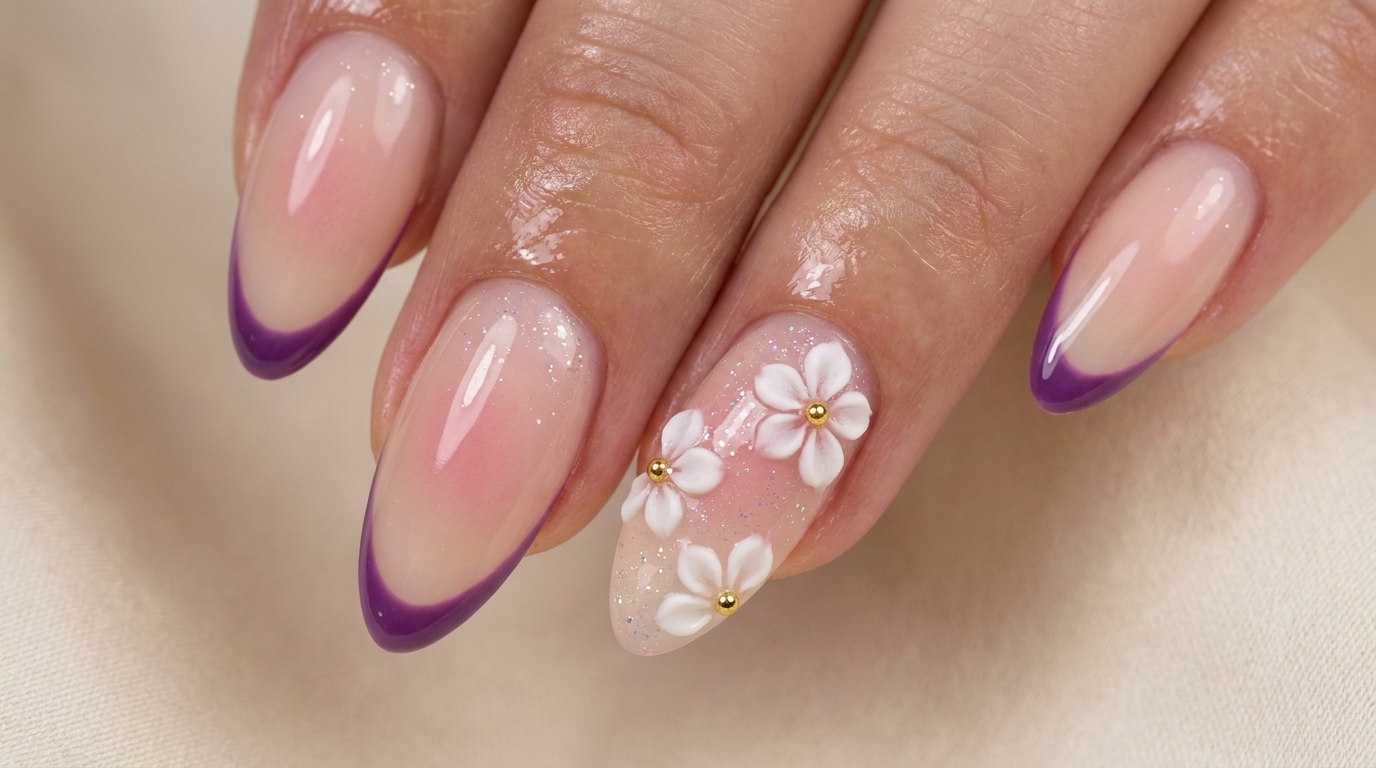
Create an elegant nude pink cherry blossom manicure with a soft blush gradient. This tutorial uses blooming gel and a floral decal for a gentle summer look.
This nude cherry blossom manicure is incredibly gentle and perfect for a subtle, elegant vibe. By using a blooming gel over a translucent nude base, we create a soft blush effect that feels airy and light. The addition of a delicate floral decal elevates the minimalist design into a classic summer look without requiring advanced hand-painting skills.
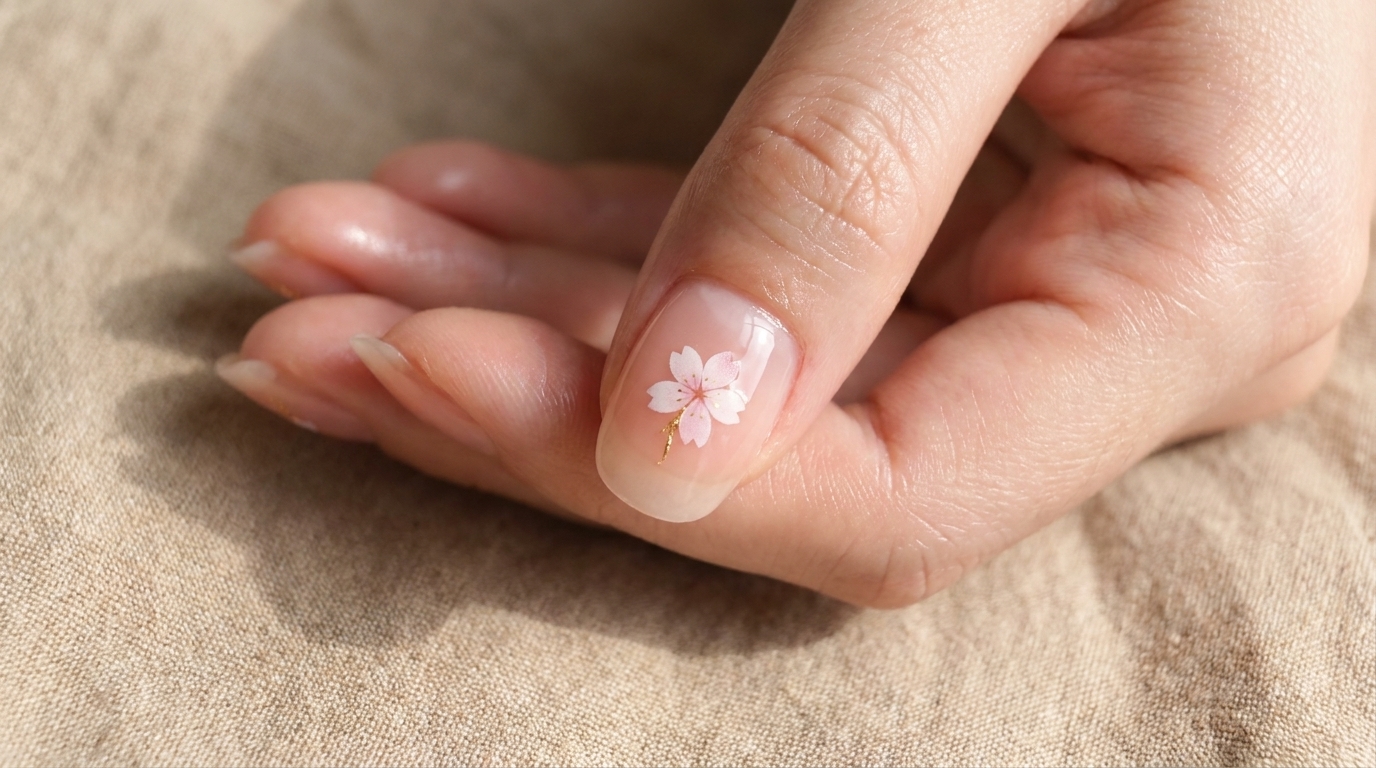
Steps
- 1Apply translucent base color
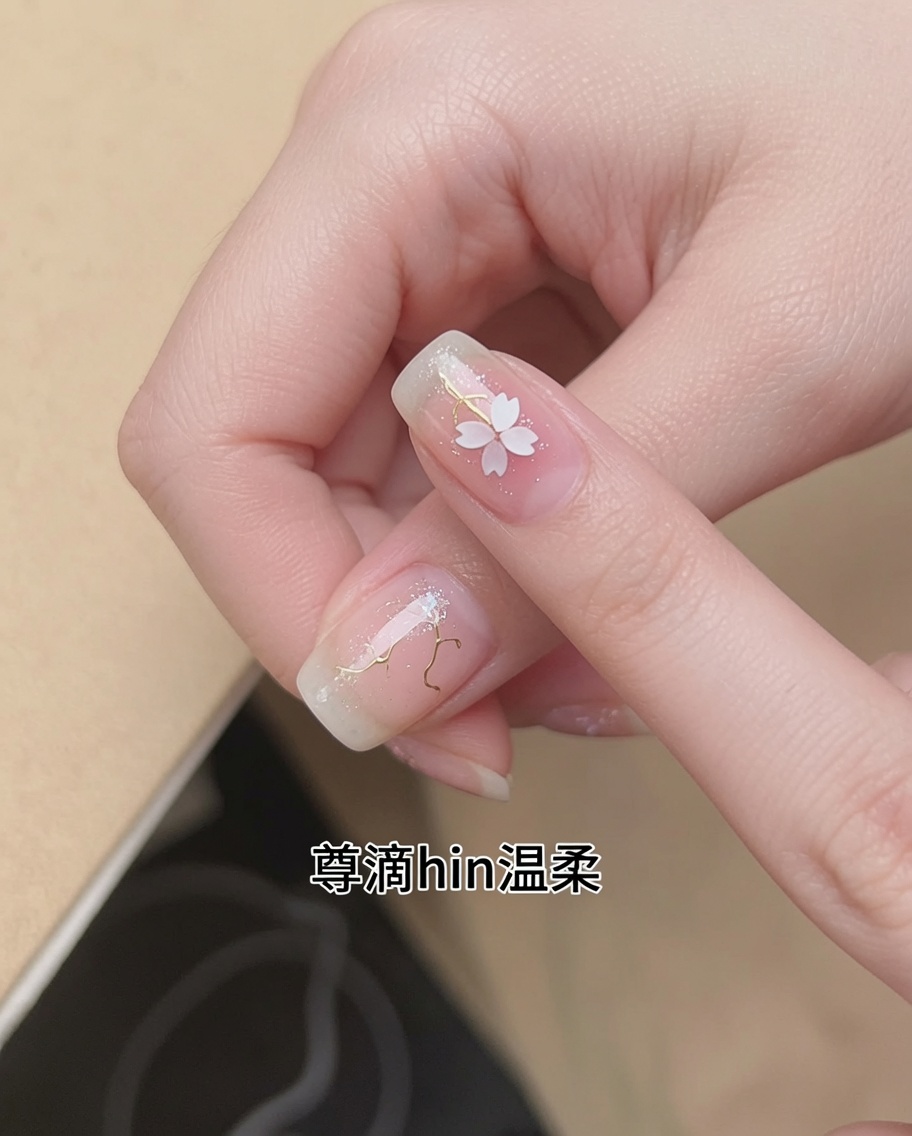
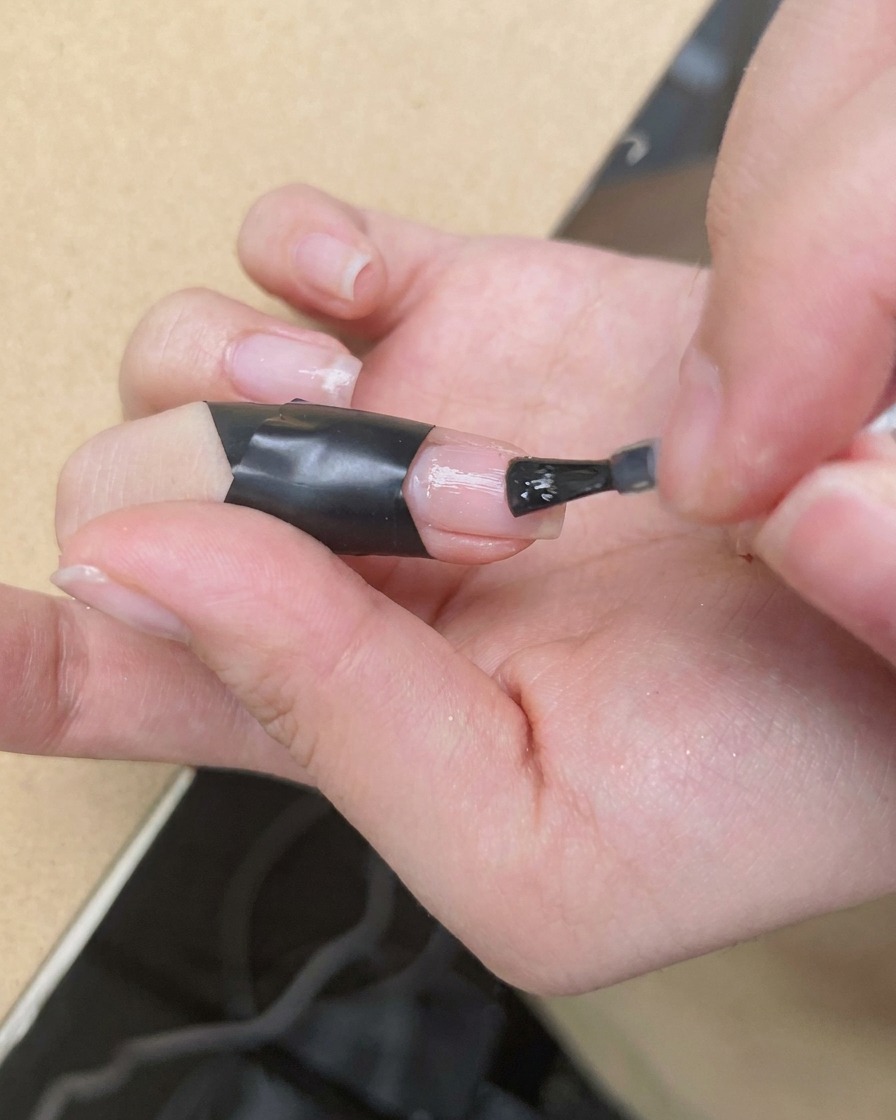
Apply one thin, even coat of a translucent nude base color to the entire nail surface. Ensure the coverage is smooth and consistent, taking care to avoid the cuticle and skin.
Tip: Apply a very thin layer for a more natural, gentle look. - 2Cure the base color
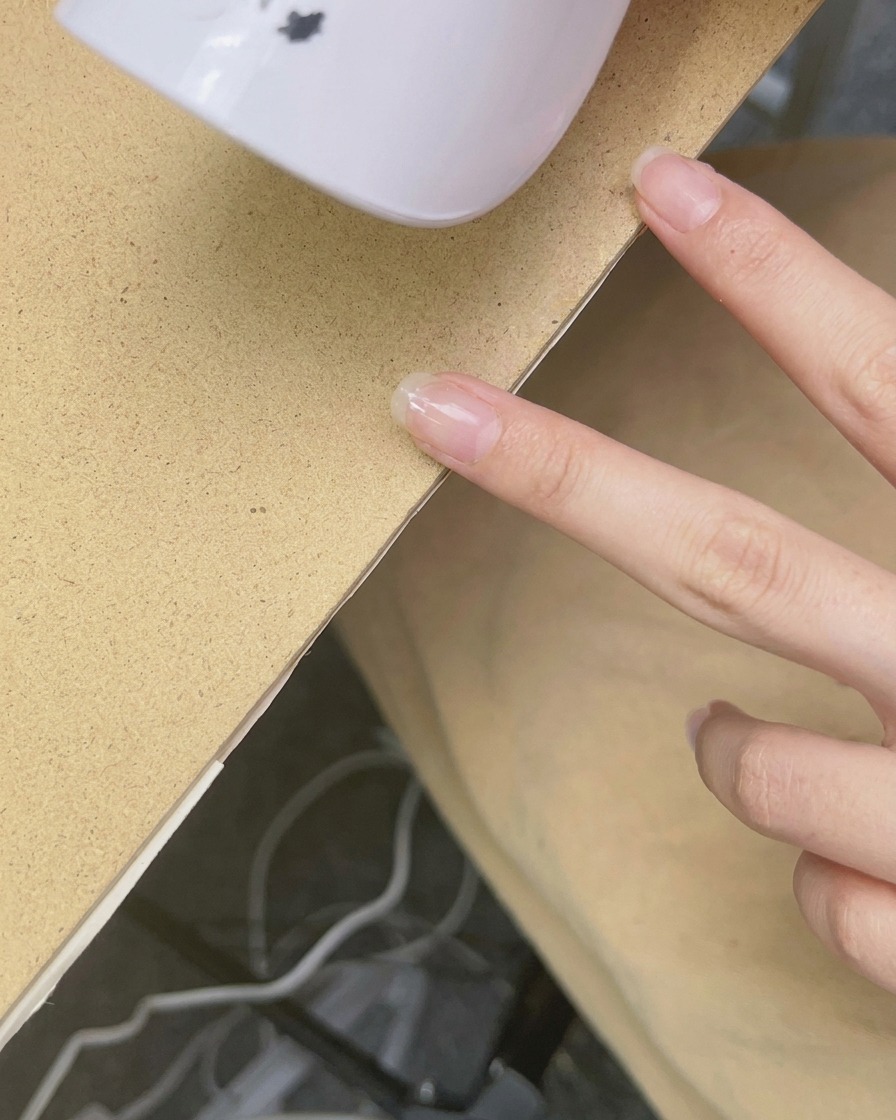
Place the nail under a mini handheld UV/LED lamp to cure the base color. Ensure the entire nail surface is exposed to the light for the duration recommended by the product instructions to achieve a proper cure.
Tip: Keep the hand steady under the lamp to ensure even curing. - 3Apply blooming gel
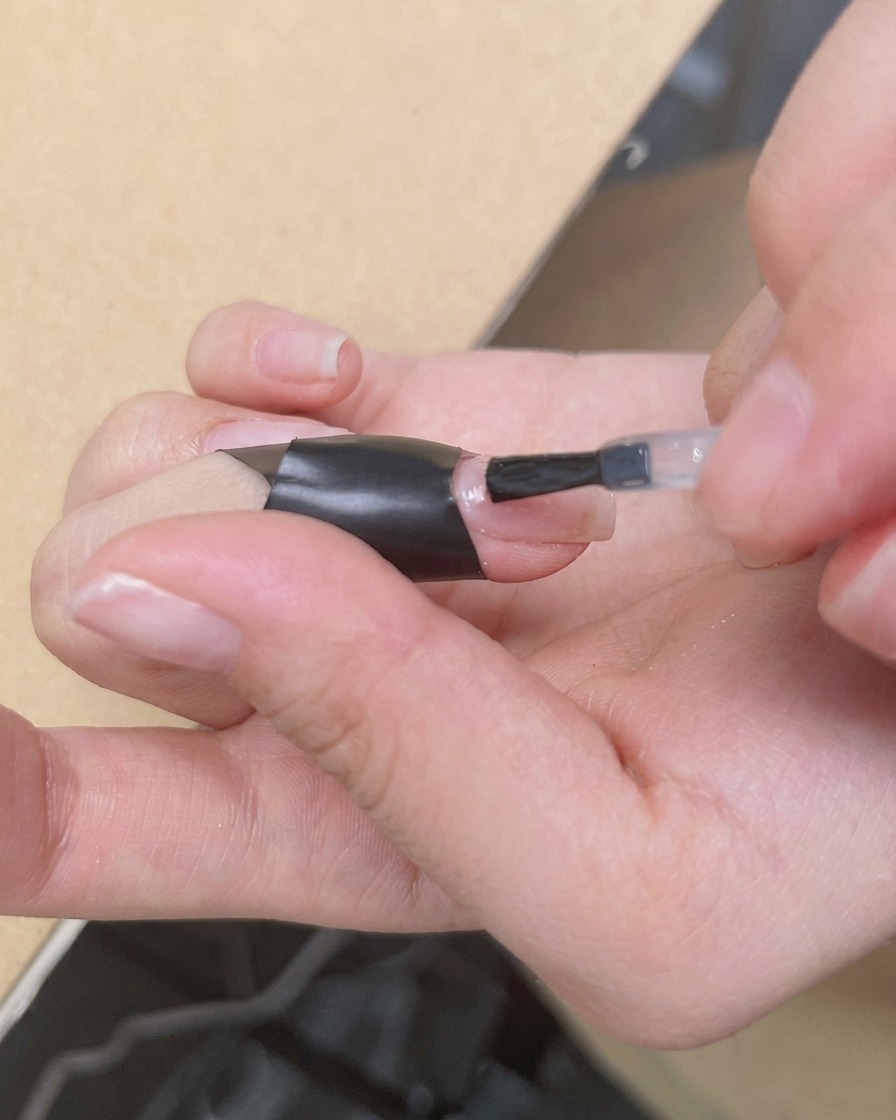
Apply a layer of clear blooming gel over the cured base color. Do not cure this layer; it needs to remain wet to allow the subsequent nail art colors to spread and bloom into the desired design.
Tip: Ensure the layer is even, but do not cure it, as this would stop the blooming effect. - 4Add blush color
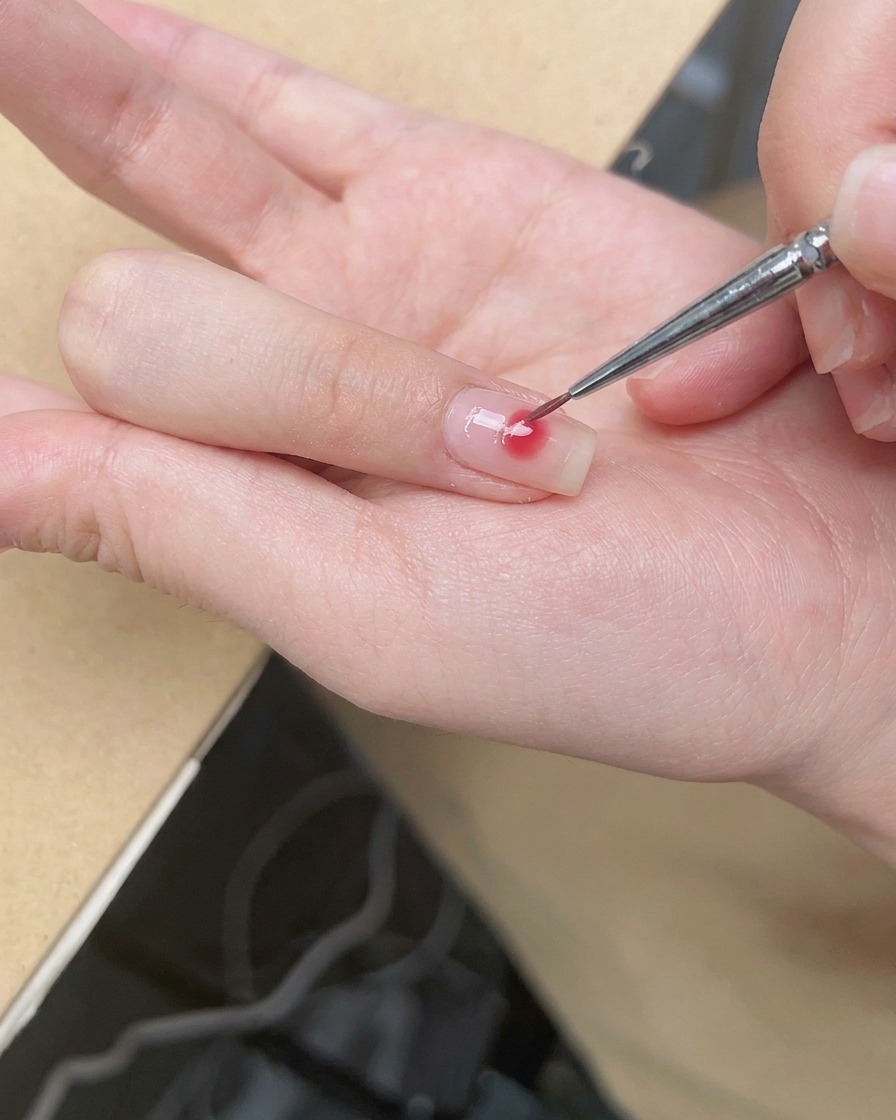
Using a fine detail brush, take a small amount of pink polish and place a dot in the center of the nail. The wet blooming gel will begin to spread the pigment outward automatically.
Tip: Use a small amount of product to keep the blush effect subtle and controlled. - 5Blend blush gradient
With a fine detail brush, gently pat the edges of the pink dot and blend them outward. This helps create a soft, diffused blush gradient effect that seamlessly transitions into the nude base.
Tip: Use light, soft strokes to avoid lifting the base color while blending. - 6Cure the blush design
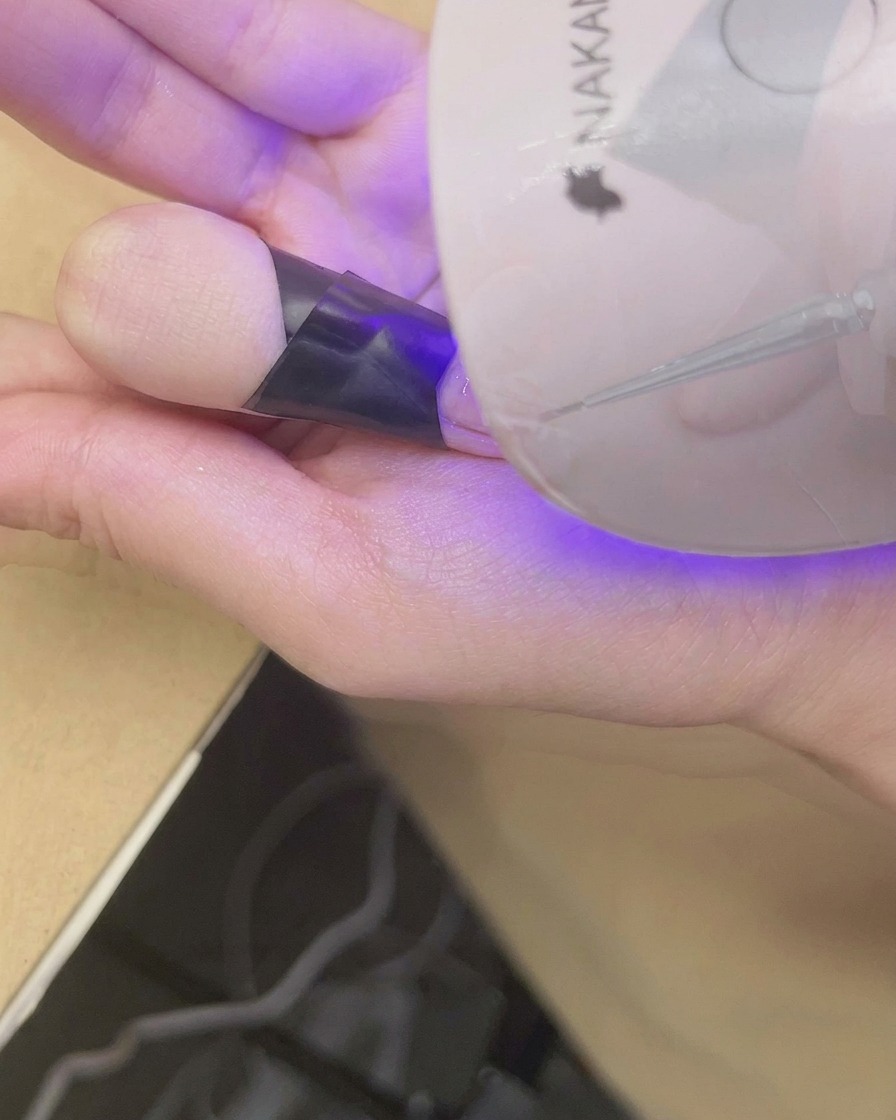
Place the nail back under the mini UV/LED lamp to fully cure the blush gradient design. This sets the blooming effect in place.
Tip: Ensure the nail is centered under the lamp for a uniform cure. - 7Apply rhinestone glue
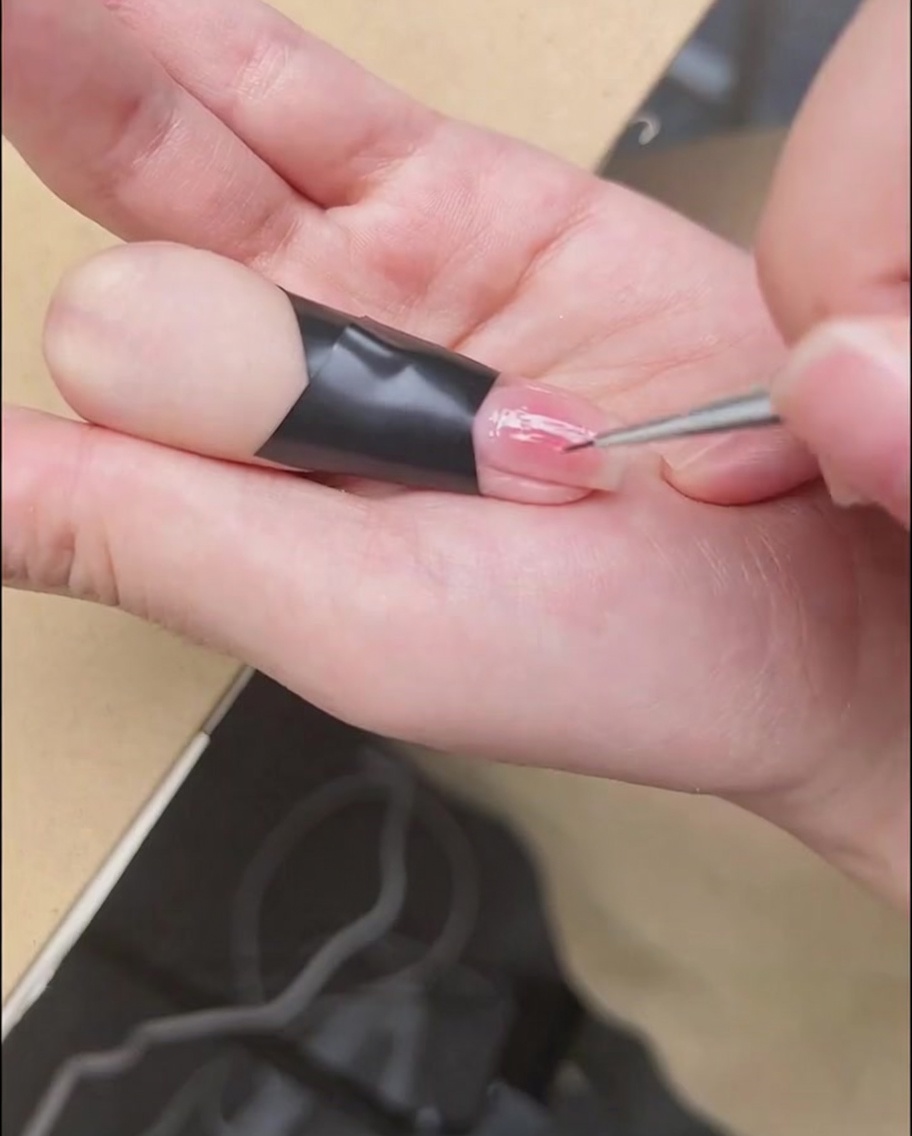
Using a detail brush, apply a layer of specialized rhinestone adhesive or thick builder gel to the area of the nail where you plan to place the decoration. This acts as the anchor to ensure your embellishments stay secure on the nail surface.
Tip: Apply the glue only to the specific spot where the decoration will sit to prevent unnecessary bulk or mess around the rest of the nail. - 8Place the floral decoration
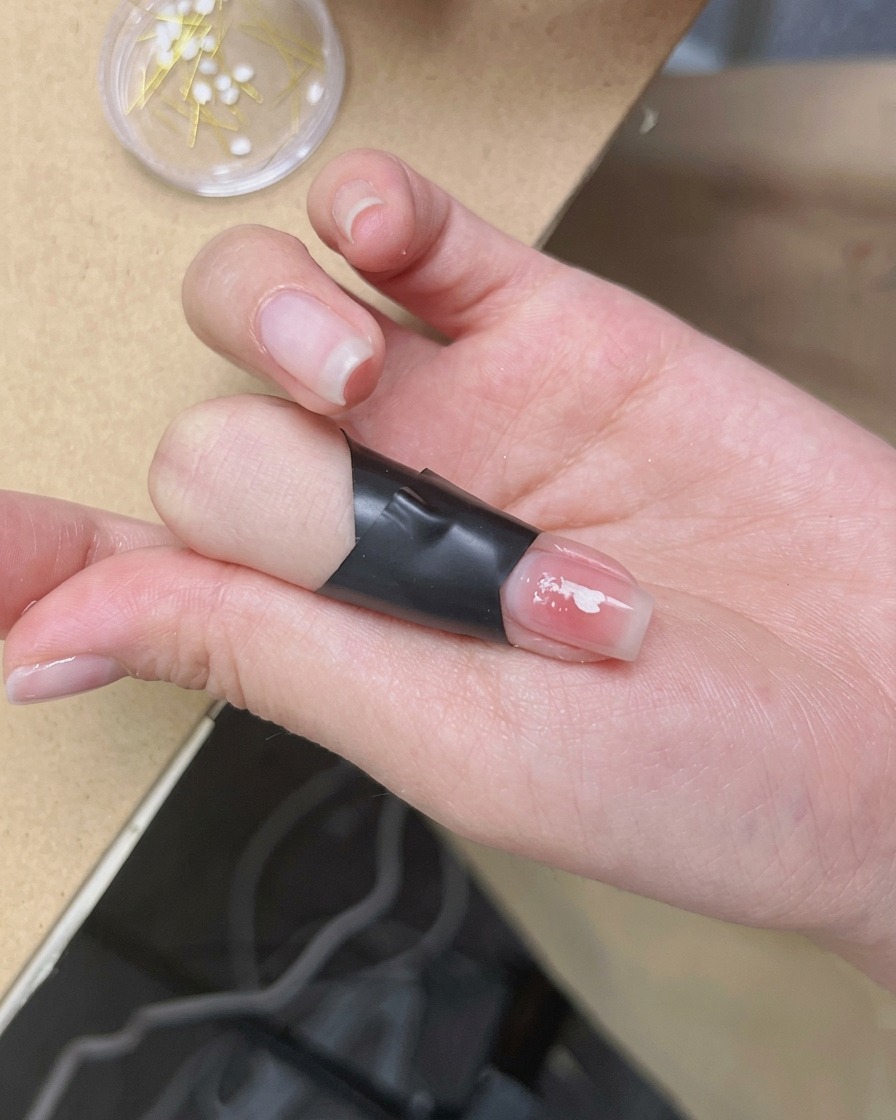
Using your detail brush or a pair of tweezers, carefully pick up the cherry blossom decoration and place it directly into the wet rhinestone glue. Press down gently to ensure the base of the decoration makes full contact with the adhesive.
Tip: If the decoration is tiny, use a dotting tool with a bit of top coat on the tip to pick it up easily. - 9Cure the design
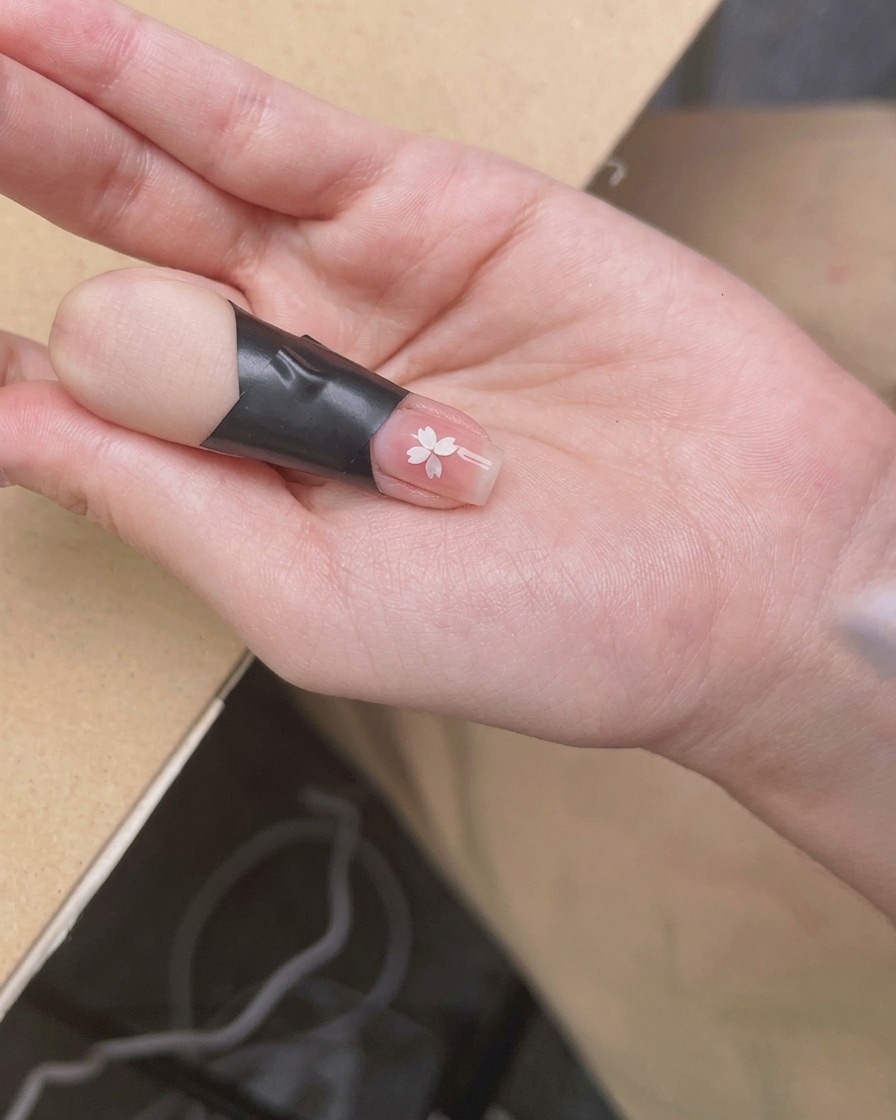
Place your finger under the mini UV/LED lamp to fully cure the adhesive holding the flower. Ensure your nail is positioned directly under the light source for the manufacturers recommended duration to prevent the decoration from shifting or peeling later.
Tip: Hold your finger still while curing to ensure the decoration stays perfectly centered. - 10Apply reinforcement gel
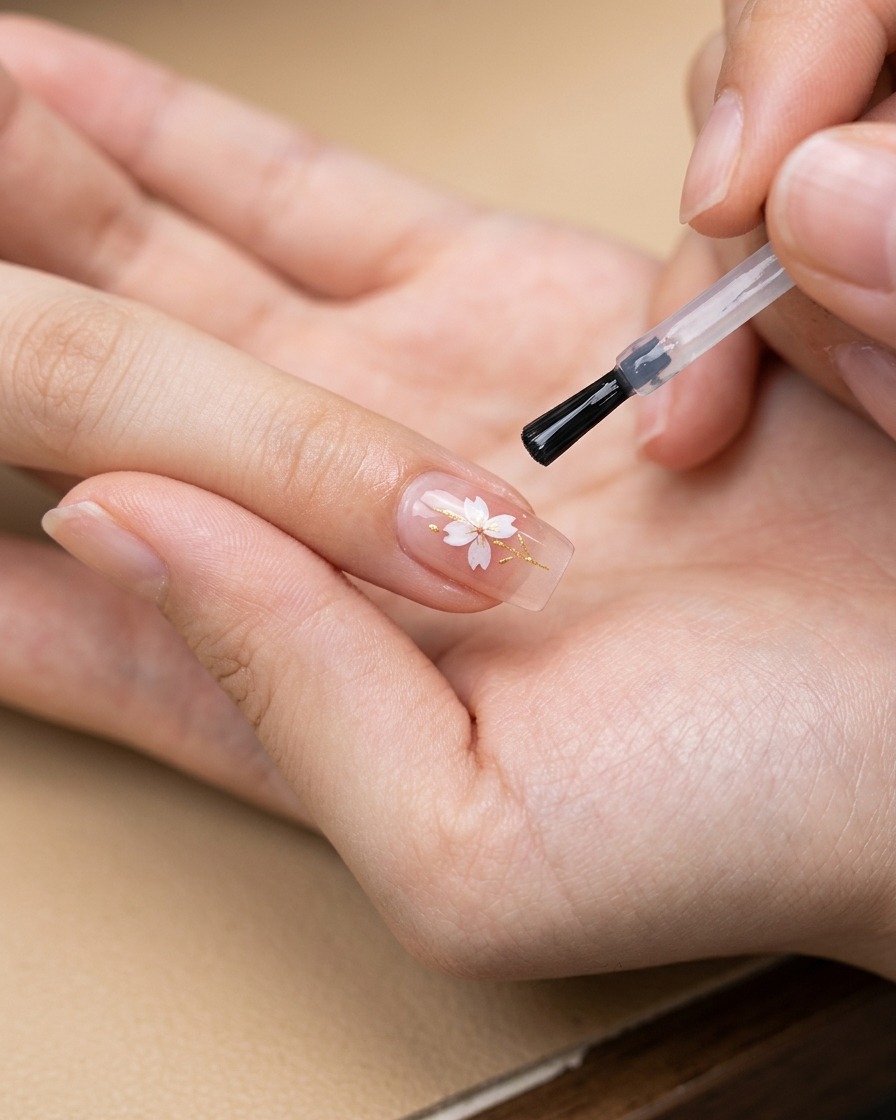
Apply a final layer of clear reinforcement gel or top coat over the entire nail, including over the flower, to encapsulate the design and provide a smooth, glossy, and durable finish. This protects the decoration and prevents it from catching on clothing.
Tip: Make sure to cover the edges of the decoration completely with the gel so it doesnt snag.