Olive Green Gradient & White Floral Gel Nails
Silver French Tip
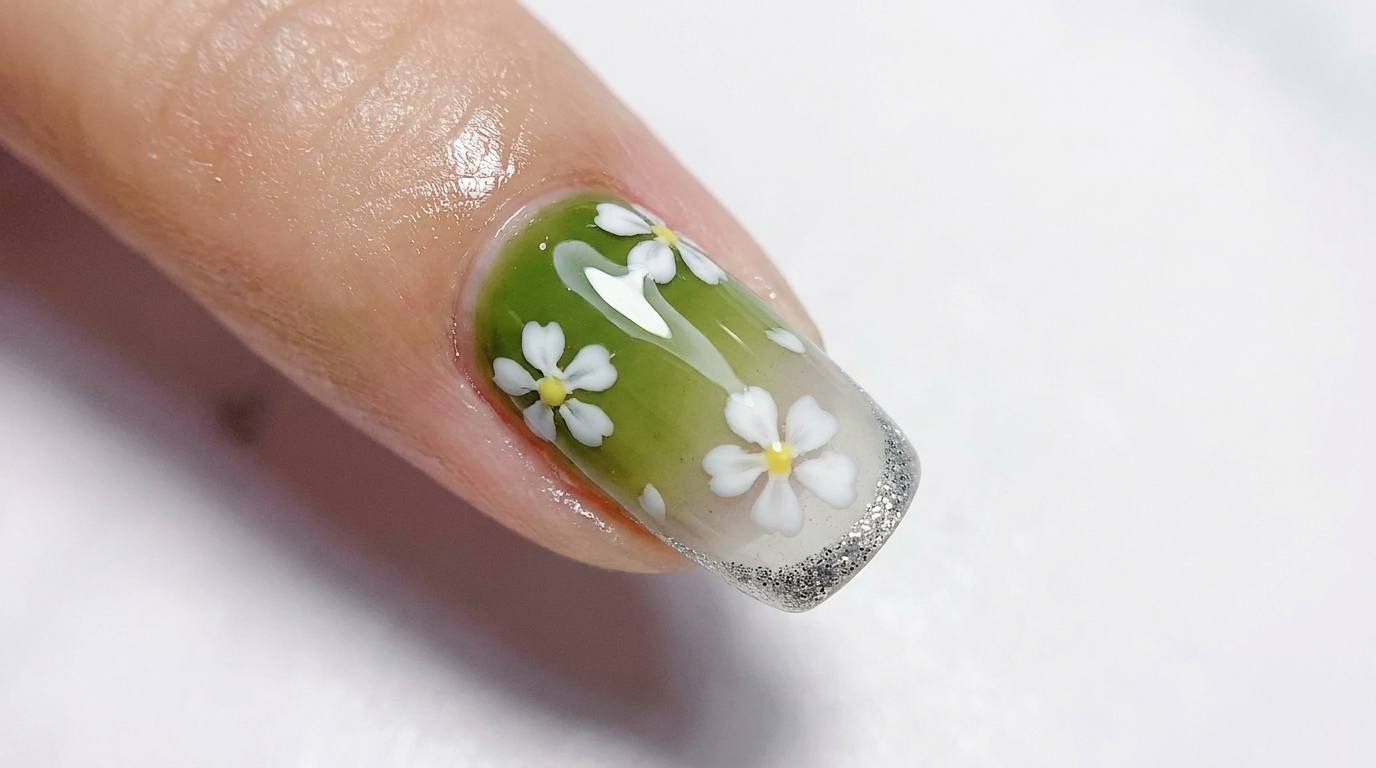
Create a stunning olive green gradient with crisp white hollow-sticker flowers and a sparkling silver French tip for a beautifully dimensional look.
This refreshing gel look combines an earthy olive green gradient with delicate negative-space florals, made perfectly crisp using hollow nail stencils. Finished with a subtle silver glitter French tip, it strikes a beautiful balance between soft botanical vibes and glamorous detail. Using stickers to stencil the flowers makes this intricate design surprisingly achievable for home nail artists.
Steps
- 1Apply translucent white base coat
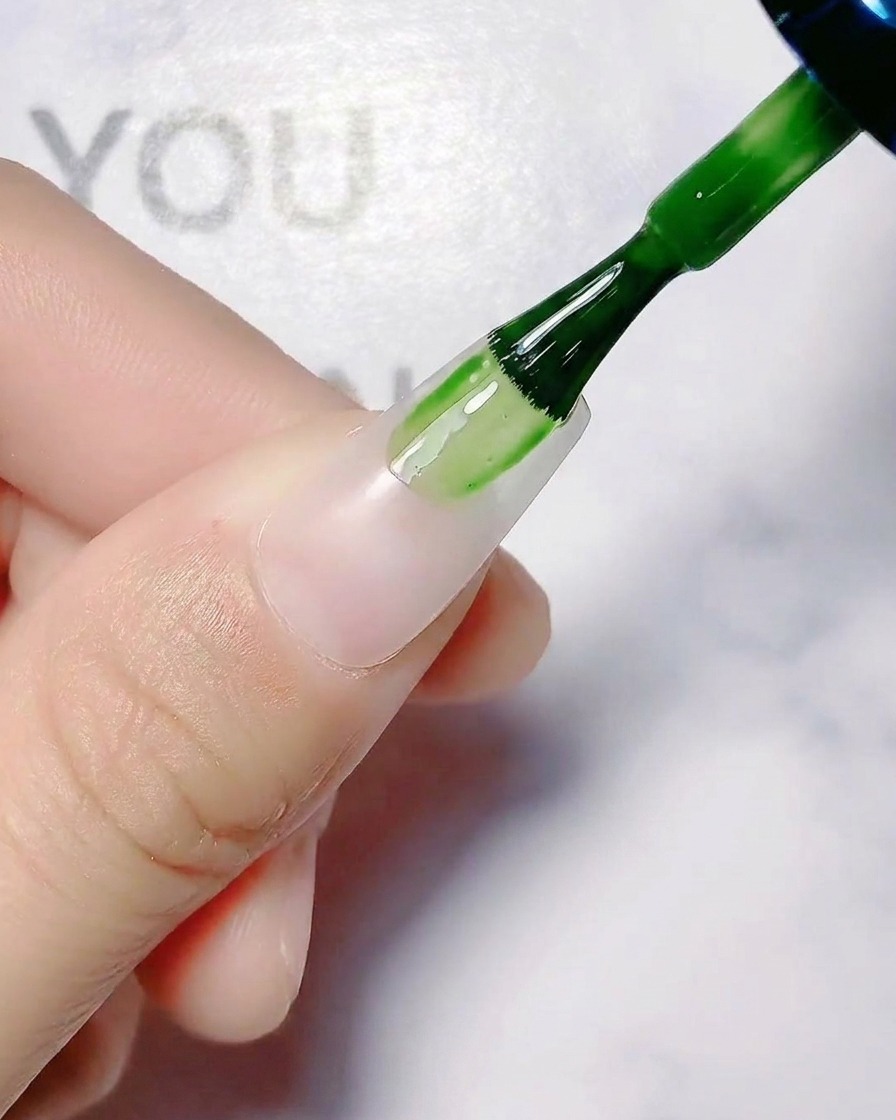
Apply an ice translucent white base coat evenly across the nail plate. This creates a milky, clean foundation for the subsequent gradient artwork and ensures a smooth canvas for nail styling.
Tip: Apply in thin, even strokes to prevent pooling around the cuticles. - 2Brush olive green gel for ombre effect
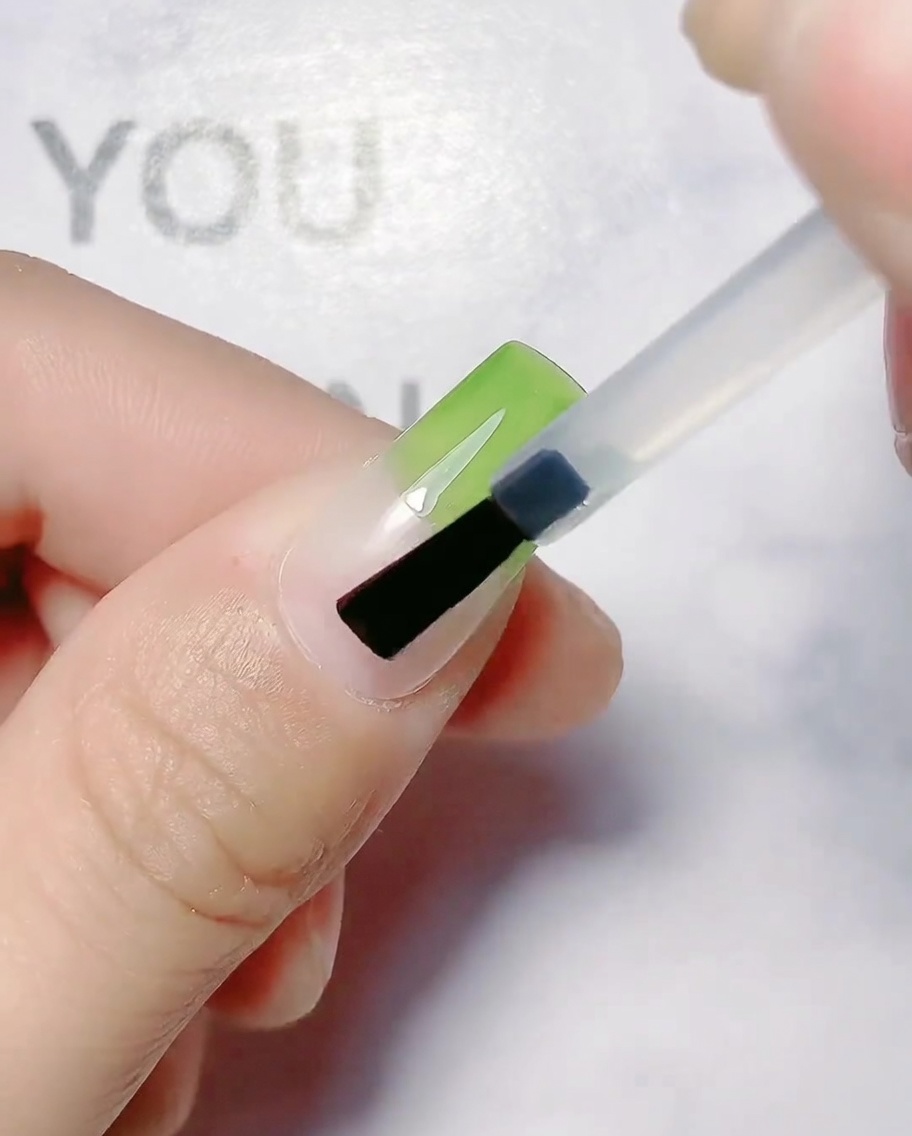
Apply olive green gel onto the upper half of the nail to create a smooth ombre gradient effect. Use light strokes to blend the color transition naturally.
Tip: Keep the brush strokes light and feathery at the transition point to ensure a seamless gradient. - 3Blend the gradient
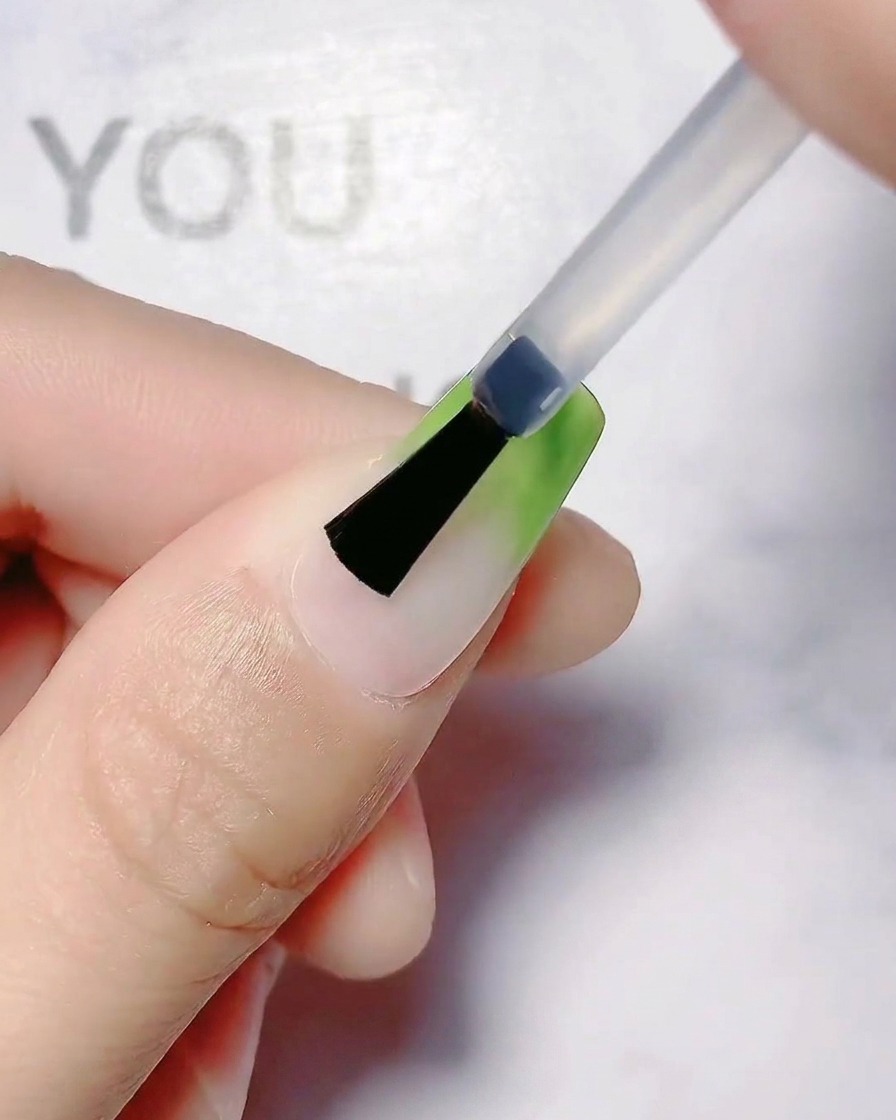
Blend and smooth the olive green gradient using a clean brush to eliminate harsh lines. Ensure the color fades evenly towards the middle of the nail.
Tip: Wipe your brush clean on a lint-free pad between strokes to prevent overloading the product. - 4Cure the gradient base gel
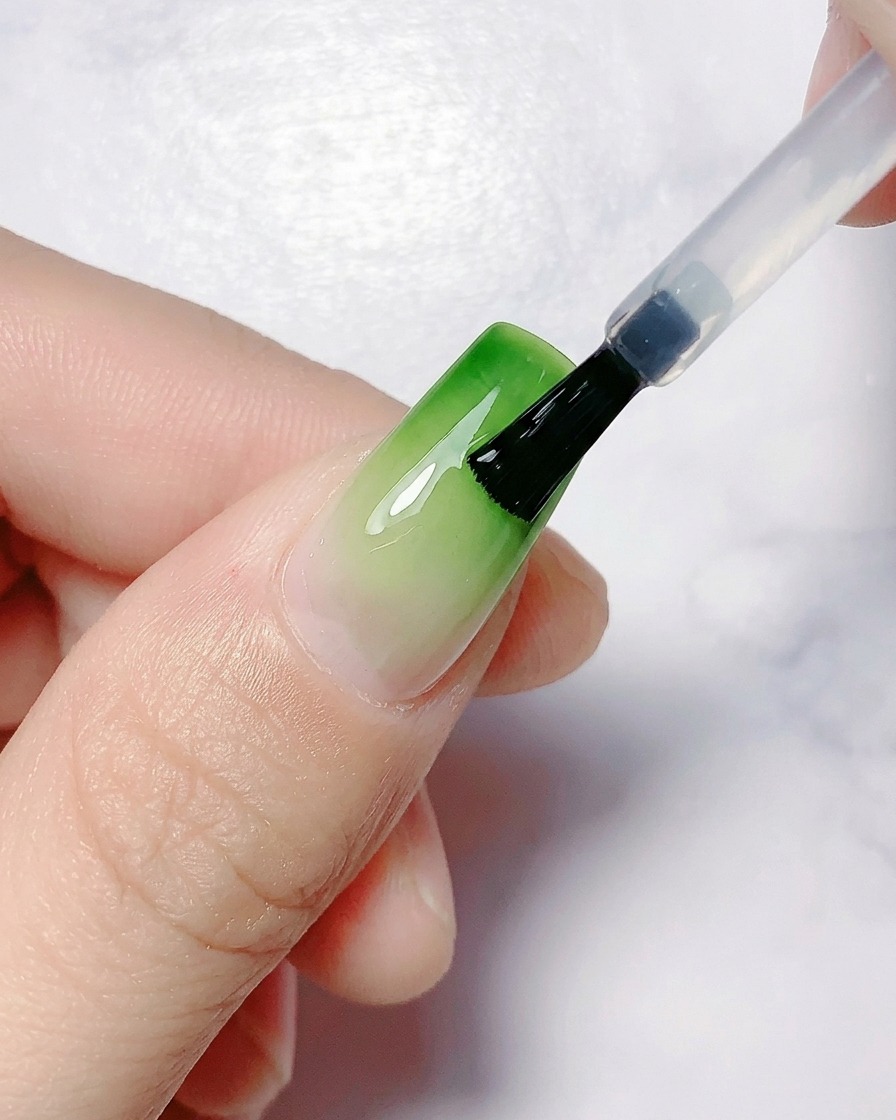
Place your hand under the UV or LED lamp to cure the gradient base gel thoroughly. Follow the recommended curing time for your specific gel product.
Tip: Ensure your hand is placed evenly under the light sources to prevent uneven curing. - 5Wipe the sticky layer
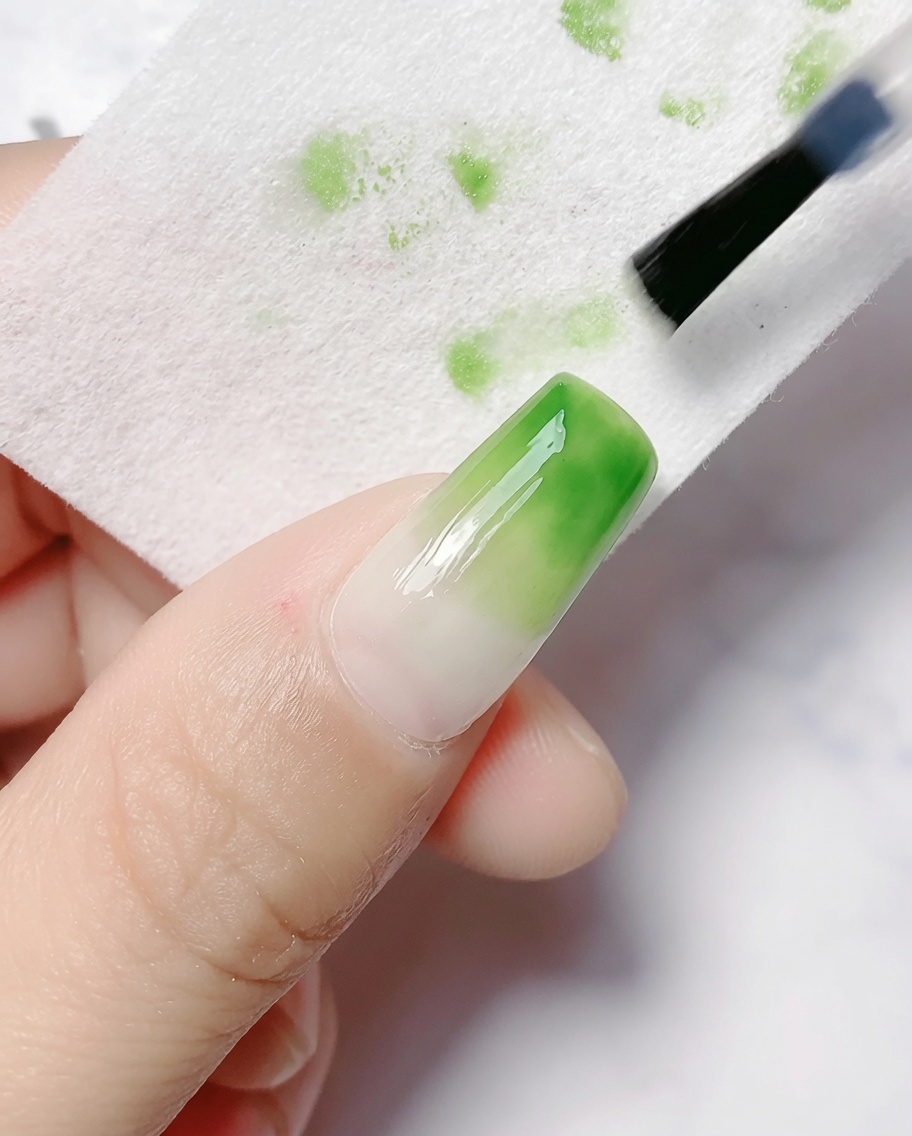
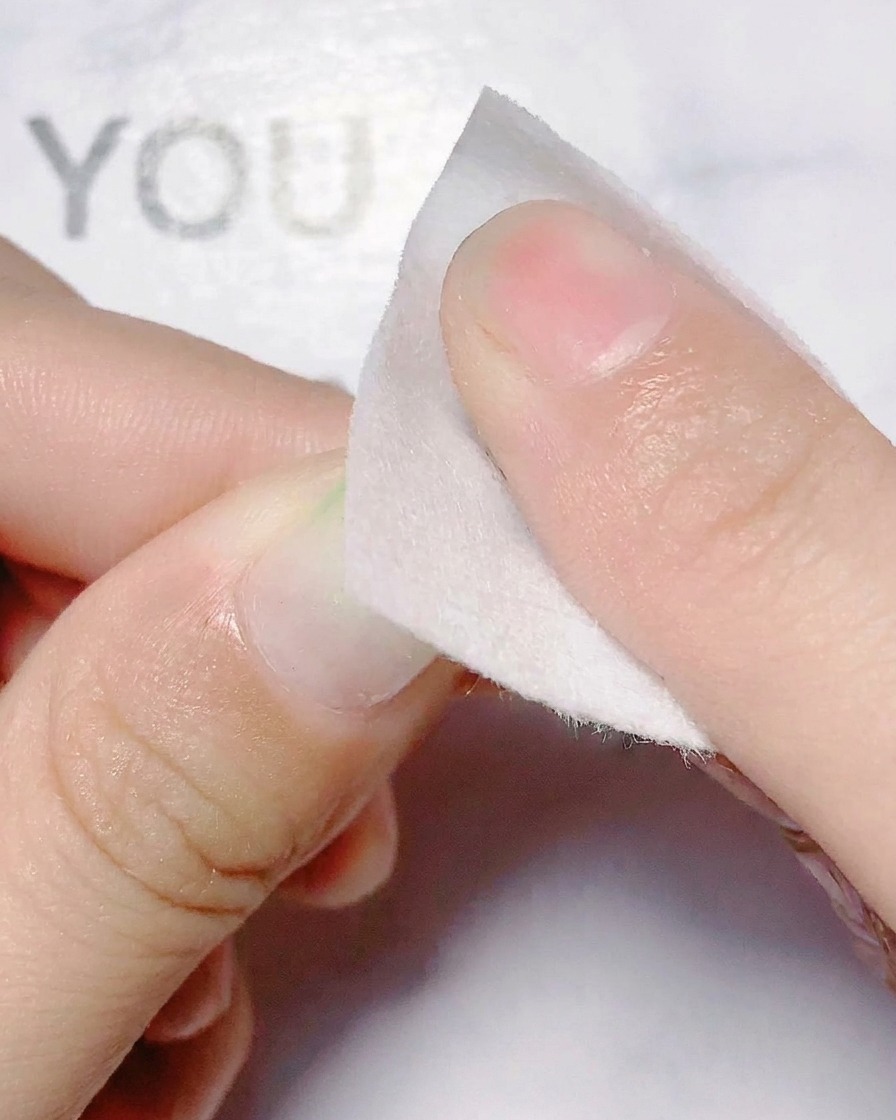
After curing the gradient layers under the lamp, take a cleanser pad and gently wipe the floating sticky gel off the nail surface to prepare it for sticker application.
Tip: Ensure the surface is completely clean and dry before sticking on any templates. - 6Apply holographic flower sticker
Apply a holographic flower cutout sticker onto the nail and press firmly to ensure it adheres flatly. Smooth down all edges to prevent any lifting.
Tip: Use a silicone tool or tweezers to press down the sticker edges firmly without wrinkling. - 7Apply white gel to flower cutouts
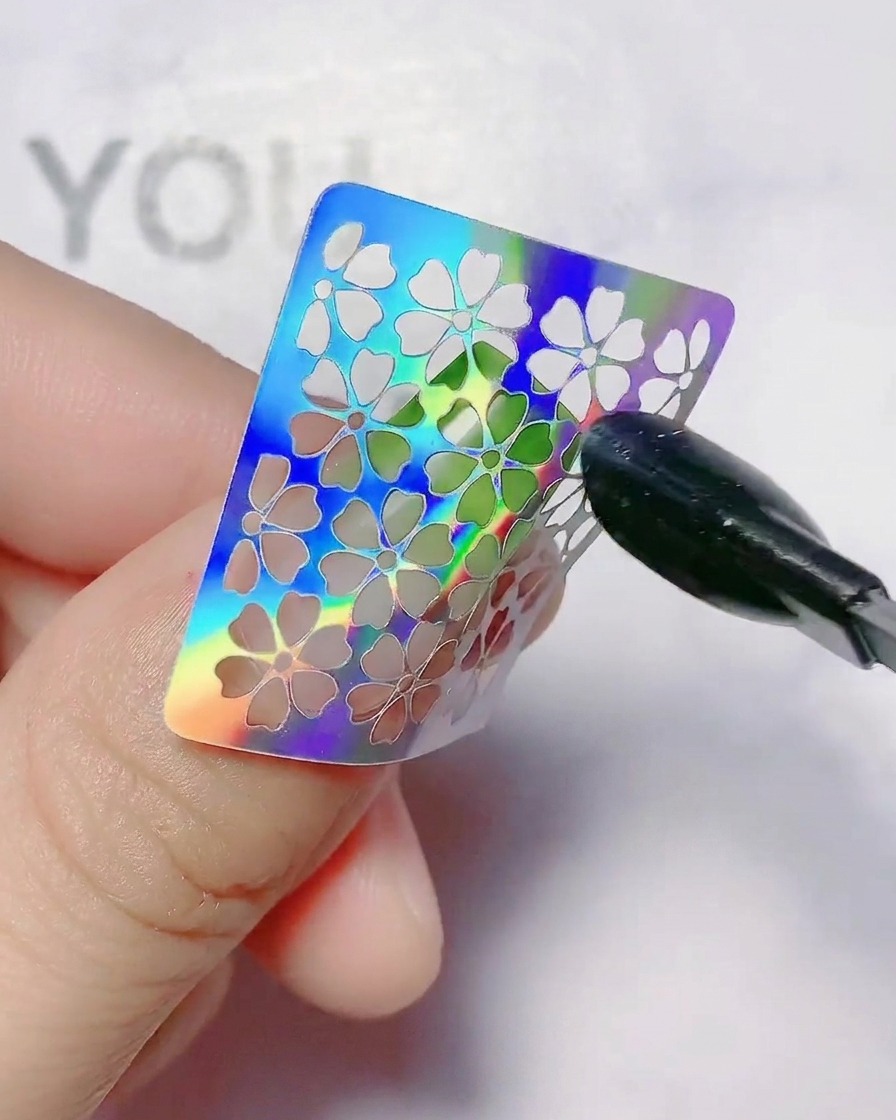
Using a fine detail brush, apply white color gel precisely into the hollow spaces of the sticker where the flower petals are cut out.
Tip: Use light strokes to fill the hollow cutouts evenly without overloading product onto the sticker. - 8Cure the white flower gel
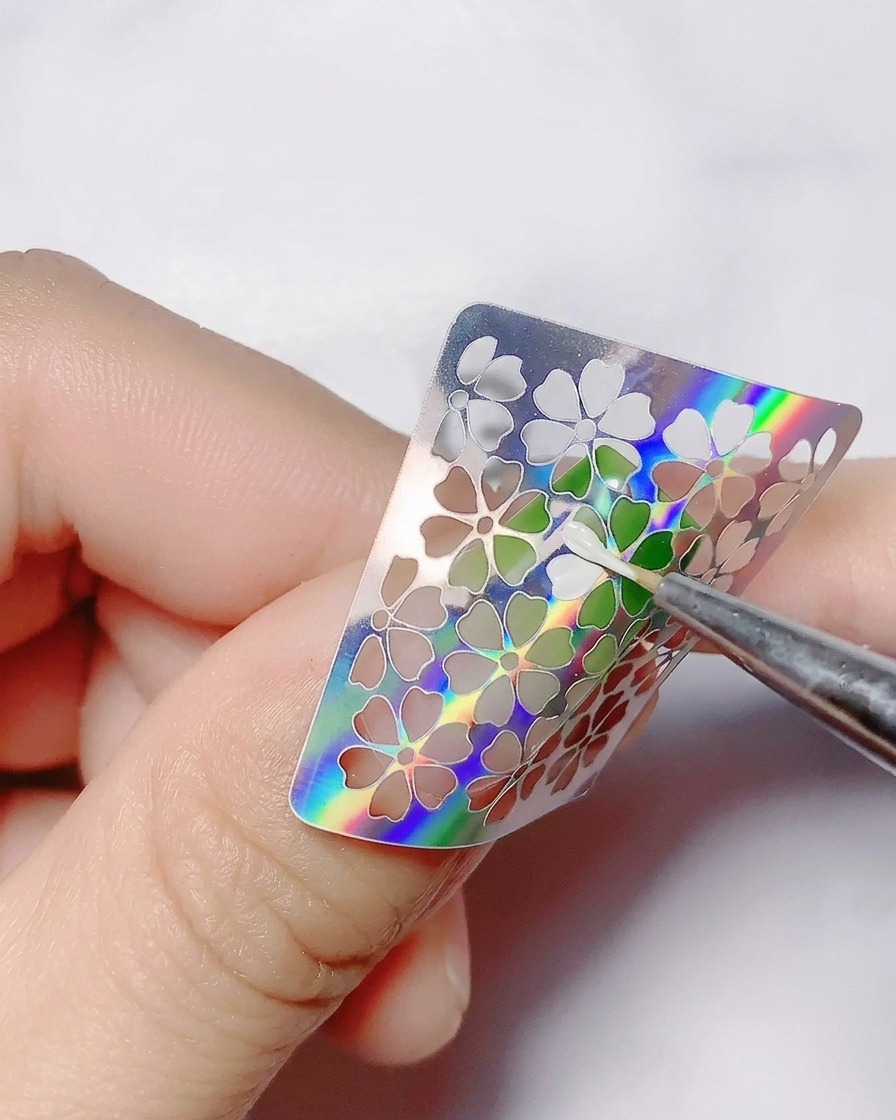
Place your hand under the UV or LED lamp to fully cure the white flower gel design before attempting to remove the stencil template.
Tip: Check that the gel is fully cured so the pattern does not smudge when the sticker is peeled off. - 9Peel off hollow stencil
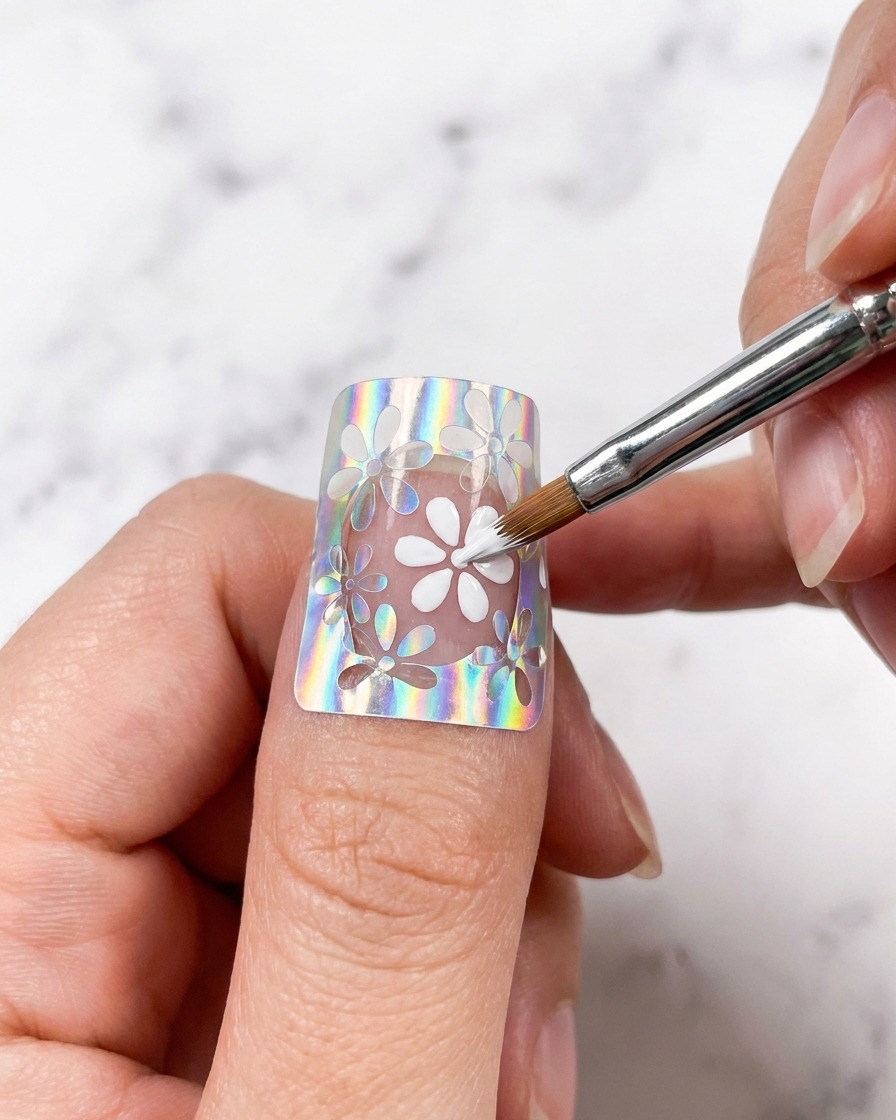
Carefully peel off the hollow flower sticker using a fine tool or tweezers, revealing the crisp white flower pattern underneath.
Tip: Pull the sticker away slowly and at a low angle to keep the painted edges sharp and clean. - 10Dot the yellow flower centers
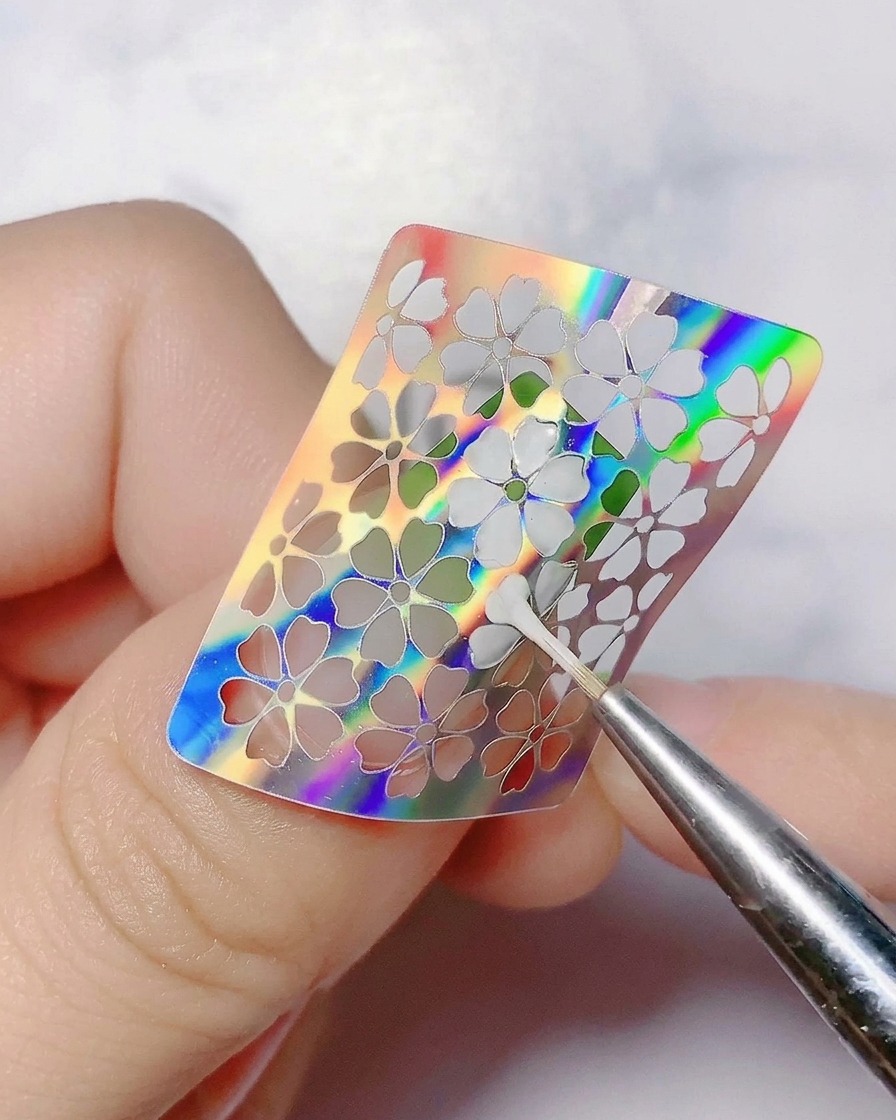
Use a fine dotting pen with yellow gel to carefully place a small dot in the center of each white flower.
Tip: Wipe the dotting pen clean between applications to keep the yellow centers perfectly round and uniform. - 11Pick up silver gel with a silicone stamper
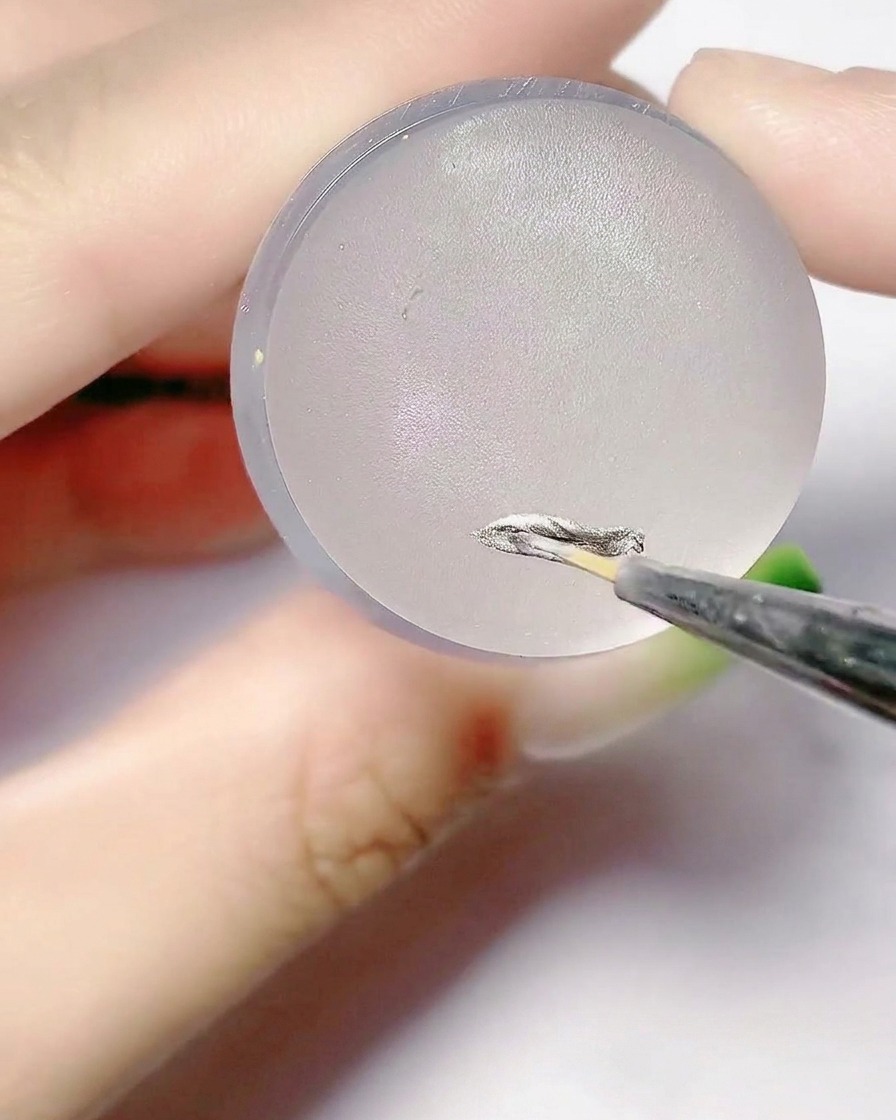
Apply a small amount of silver gel onto the surface of a silicone stamper pad using a fine nail art brush to prepare for creating the French tip detail.
Tip: Apply a thin layer of gel on the stamper to ensure a clean and sharp impression. - 12Stamp the silver French tip
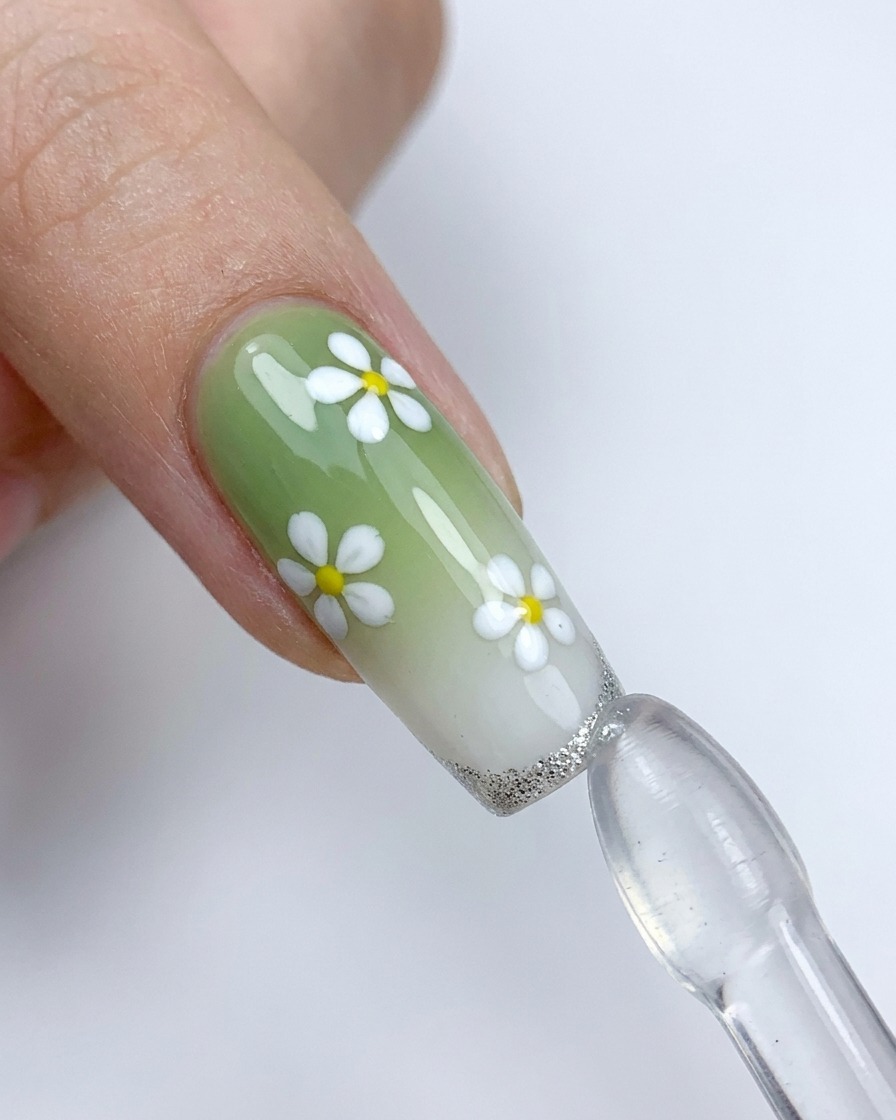
Carefully press the edge of the nail tip into the prepared silver gel on the silicone stamper to transfer a clean French tip line onto the nail.
Tip: Align the nail tip precisely with the gel on the stamper to avoid smudging. - 13Apply final sealing top coat
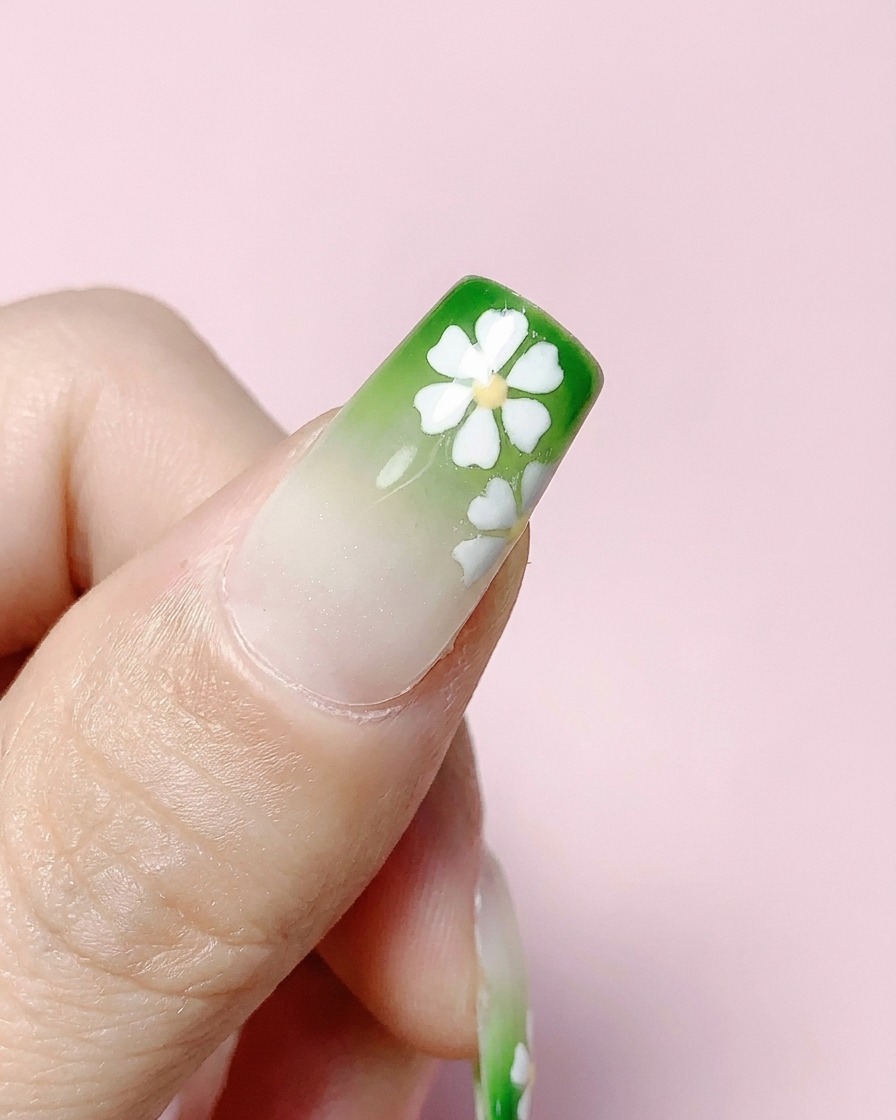
Apply a shiny top coat over the entire nail design to seal the nail art and protect the finish. Cure under the UV or LED lamp to complete the manicure.
Tip: Be sure to cap the free edge with top coat to prevent chipping and peeling.