Eiko Esaka Acetate Style Gel Nails — Step-by-Step Tutorial
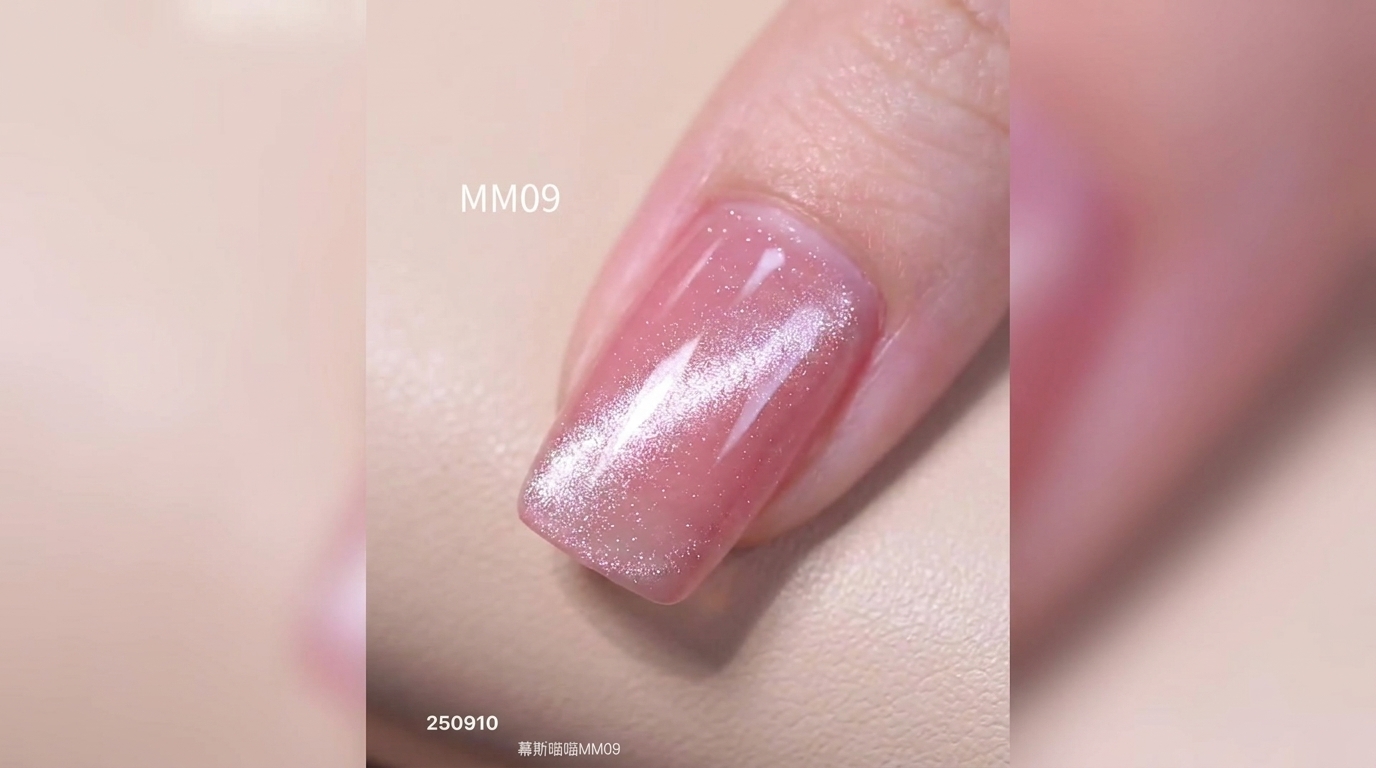
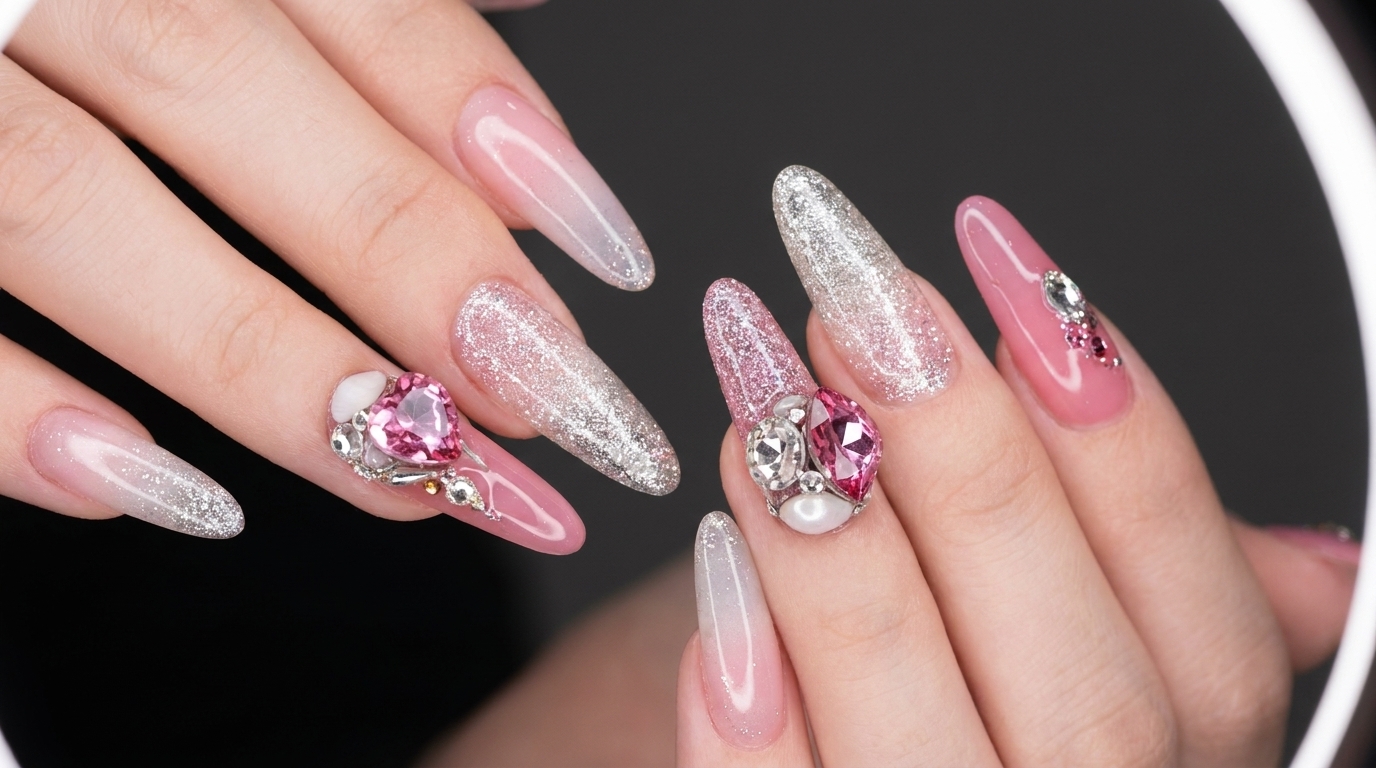
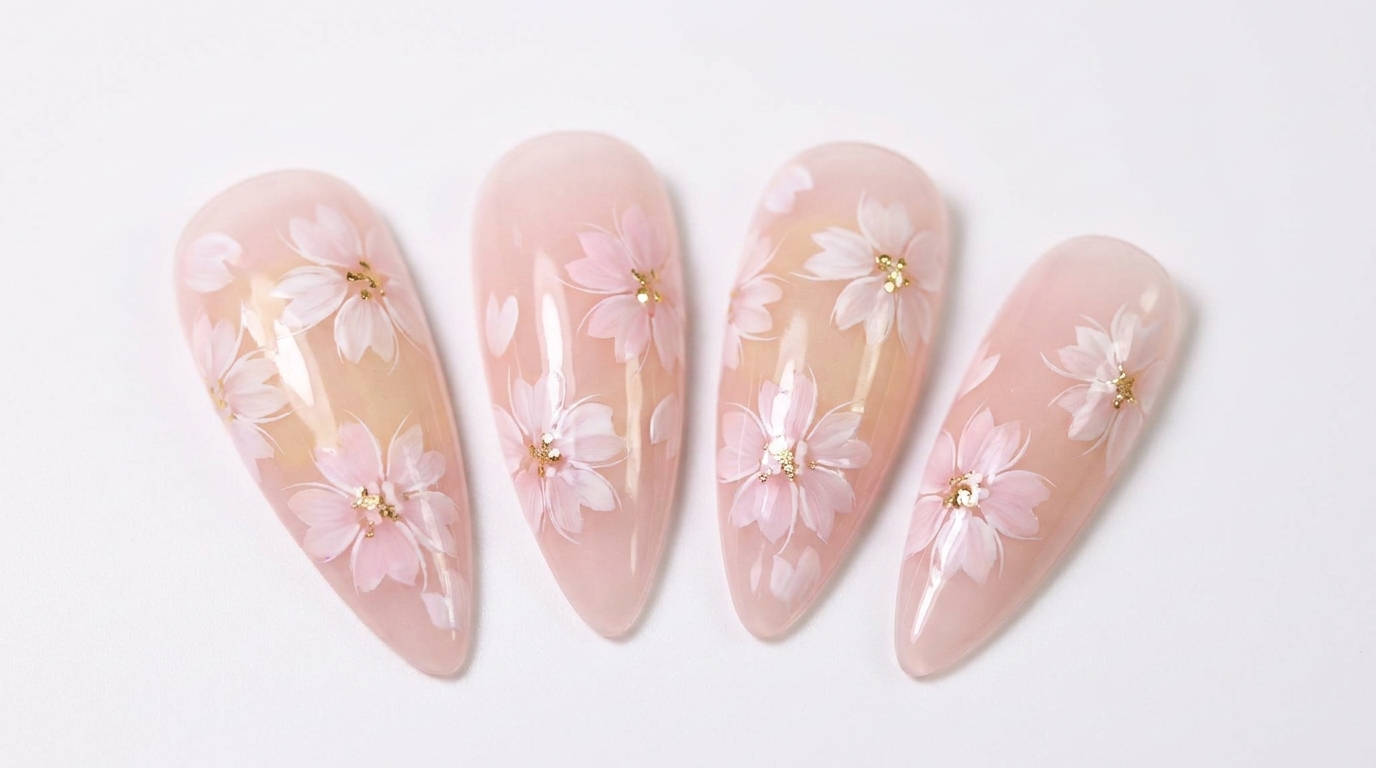
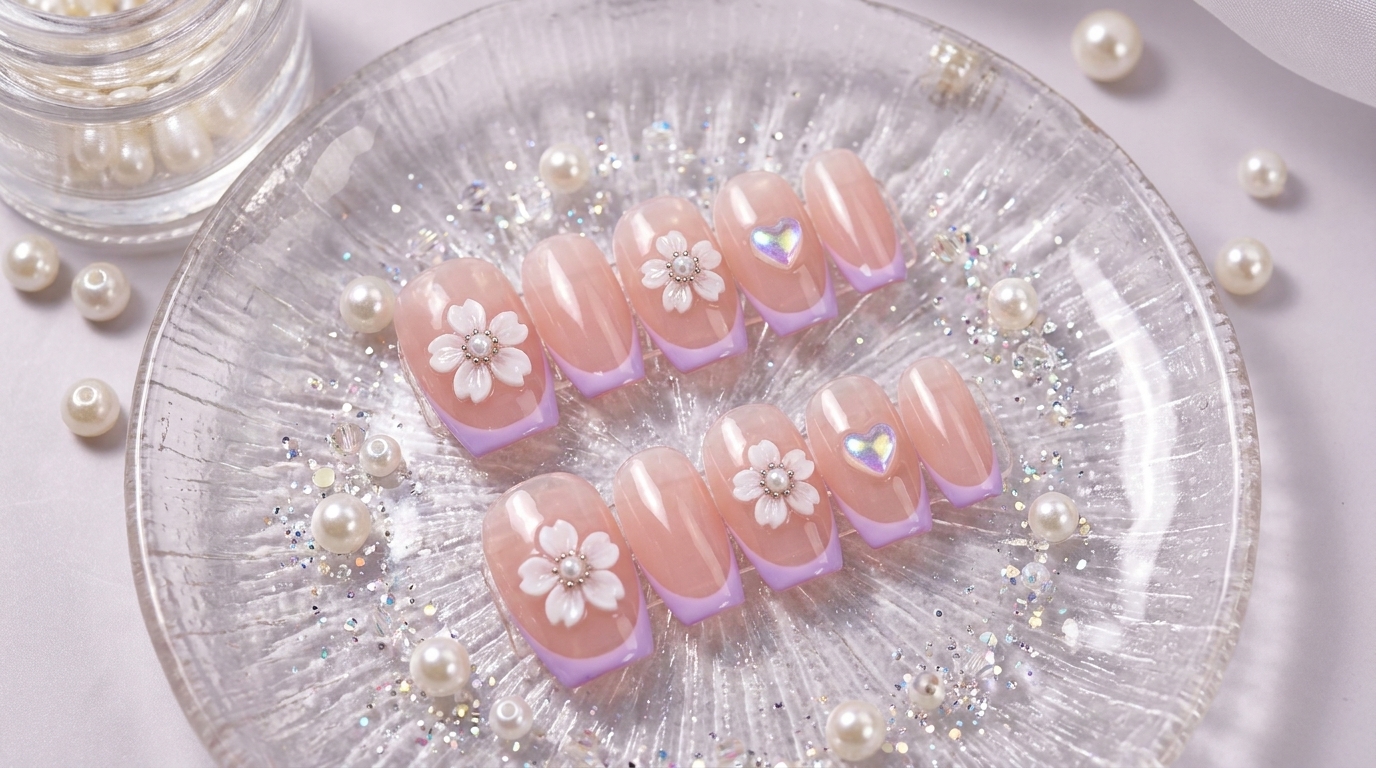
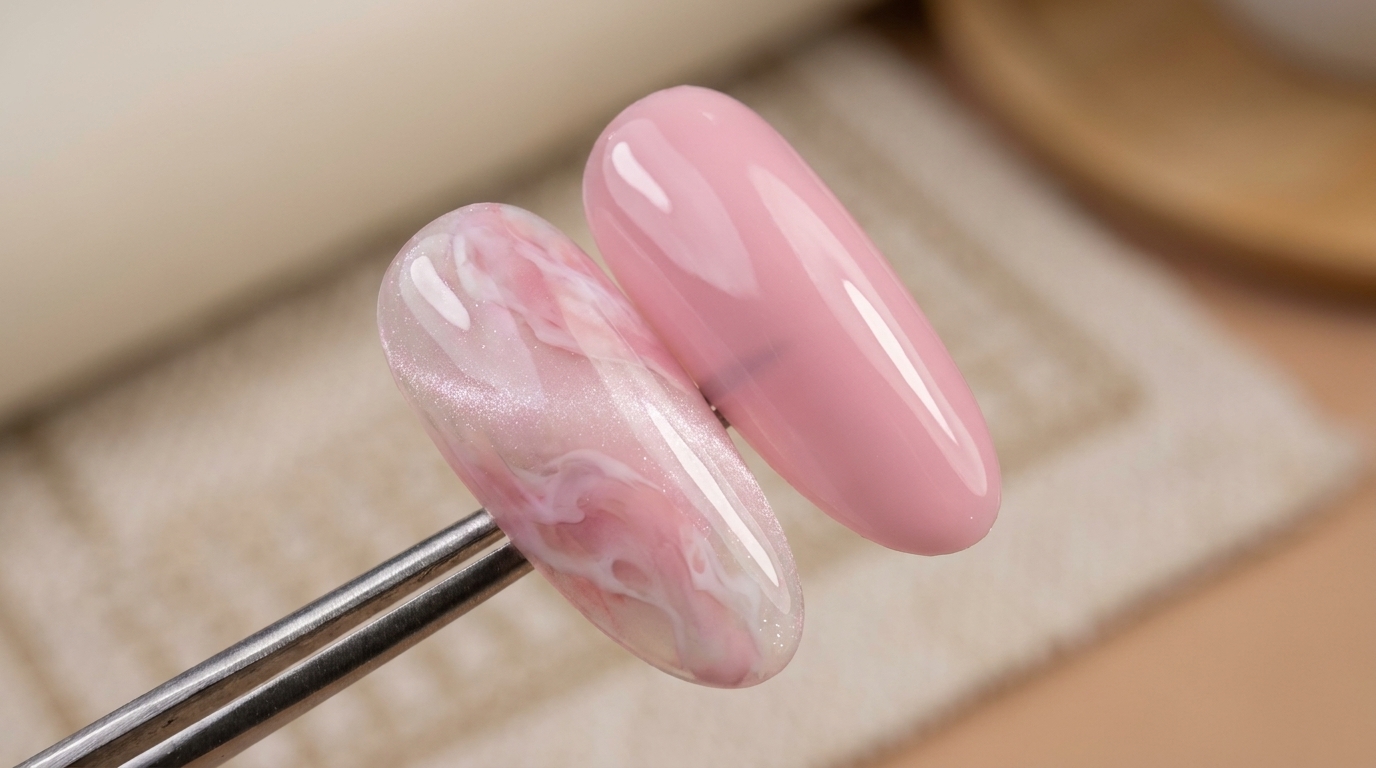
Create a delicate Eiko Esaka acetate style nail look featuring soft pink and white watercolor marbling, layered with a mesmerizing magnetic cat eye glass ball effect.
The acetate nail trend continues to captivate with its semi-translucent, cloudy layers that mimic natural stone or resin. This Eiko Esaka-inspired design elevates the watercolor aesthetic by introducing dimensional magnetic cat eye gels, creating a stunning glass ball focal point. Perfect for clients wanting a soft yet intricate look, this technique relies on gentle blending and strategic layering.
Steps
- 1Apply Pink Magnetic Cat Eye Gel
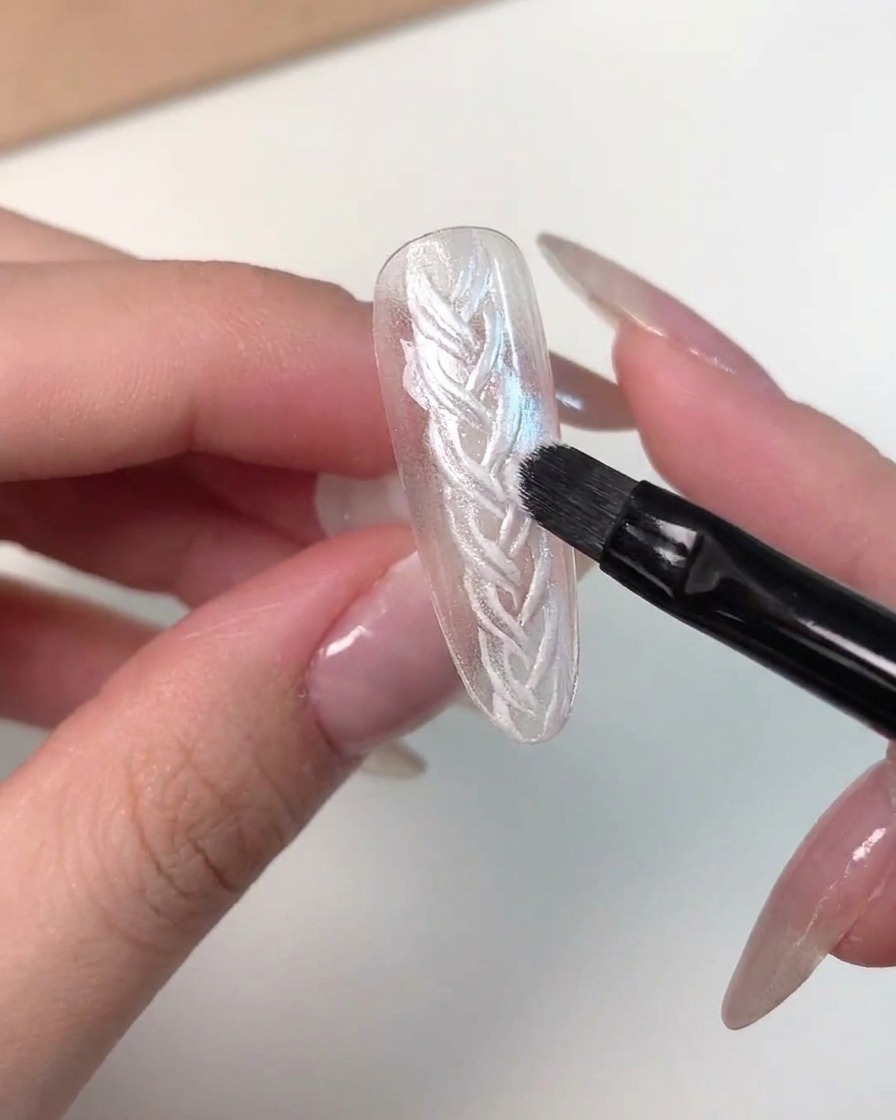
Using a fine brush, apply pink magnetic cat eye gel in the opposite direction over the base layer to build the multi-dimensional design.
Tip: Keep the layer thin to ensure the magnetic particles react effectively. - 2Apply Blue Gel to Edges
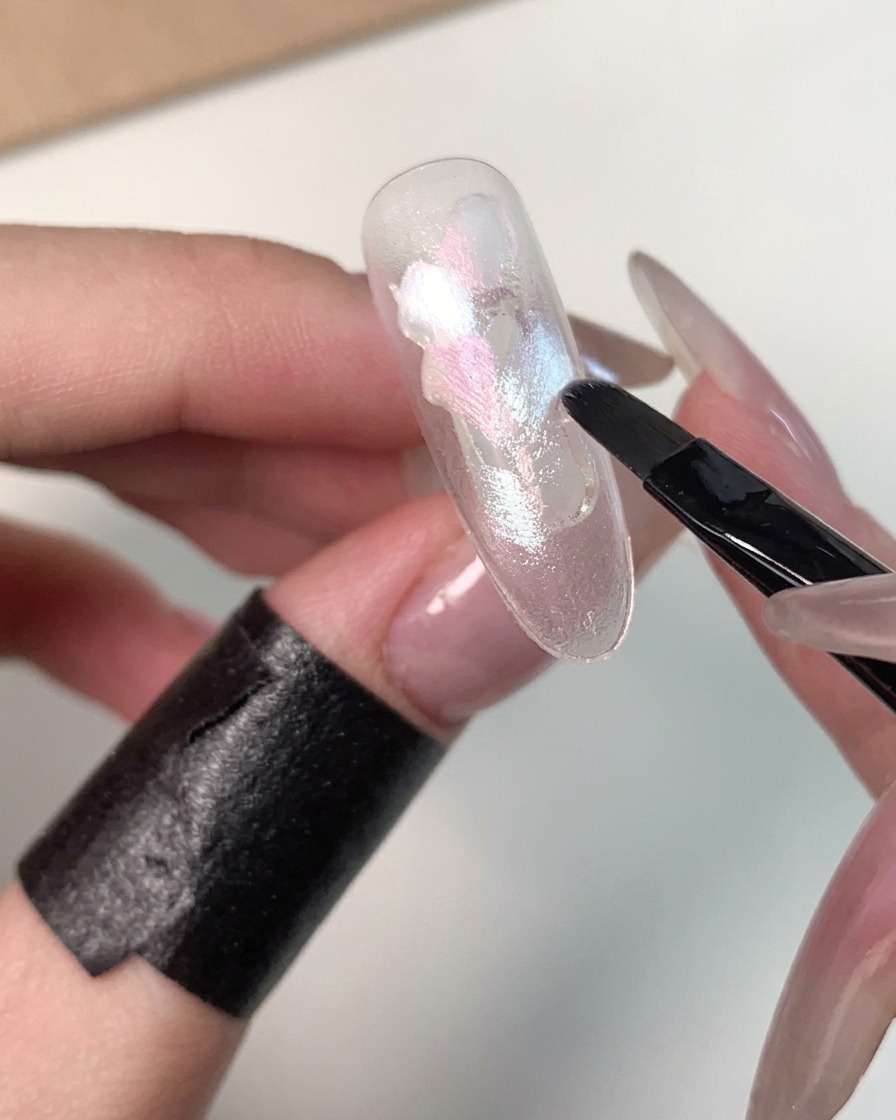
Apply blue gel into the empty spaces and edges of the nail to create a rich base contrast.
Tip: Carefully feather the edges so the colors transition smoothly. - 3Create Glass Ball Effect with Magnet
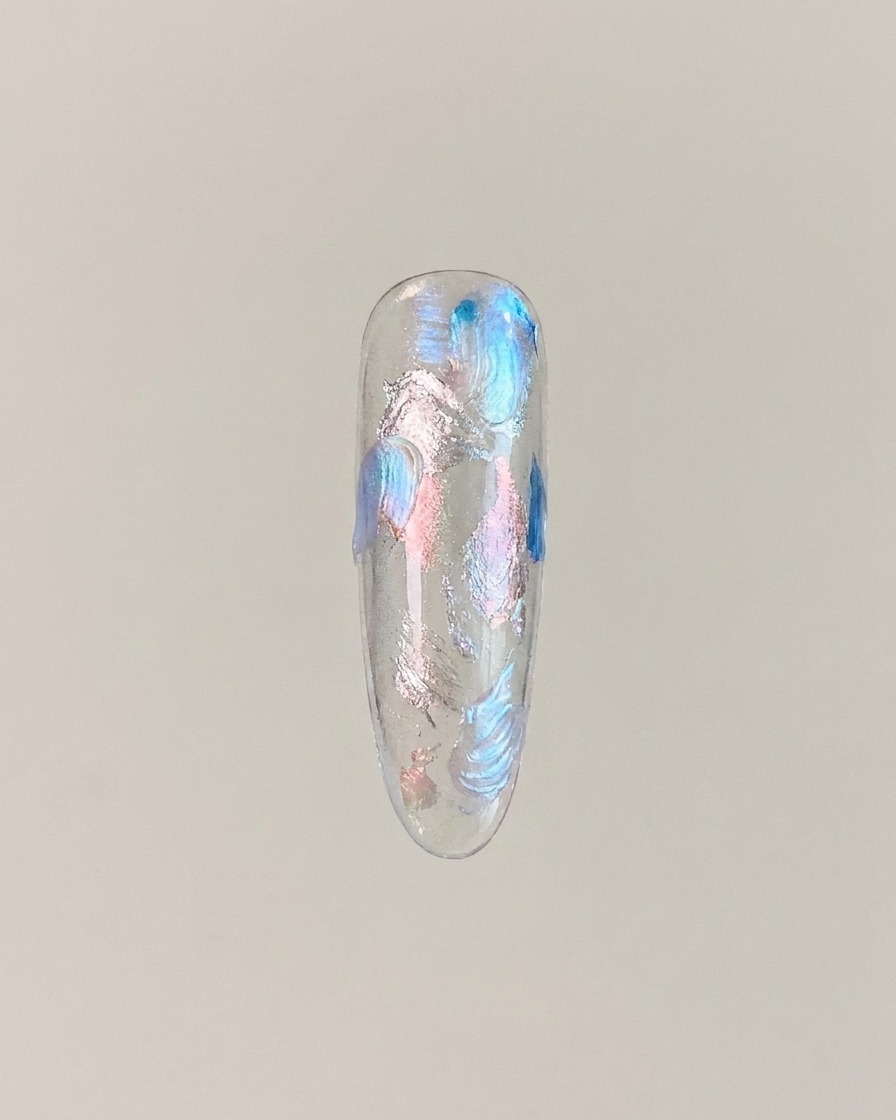
Place a drop of cat eye gel in the center of the nail plate, then use a magnet tool to pull and concentrate the particles into a glass ball effect.
Tip: Hold the magnet steady and close to the nail without touching the wet gel surface. - 4Add Cat Eye Gel to Lower Corner
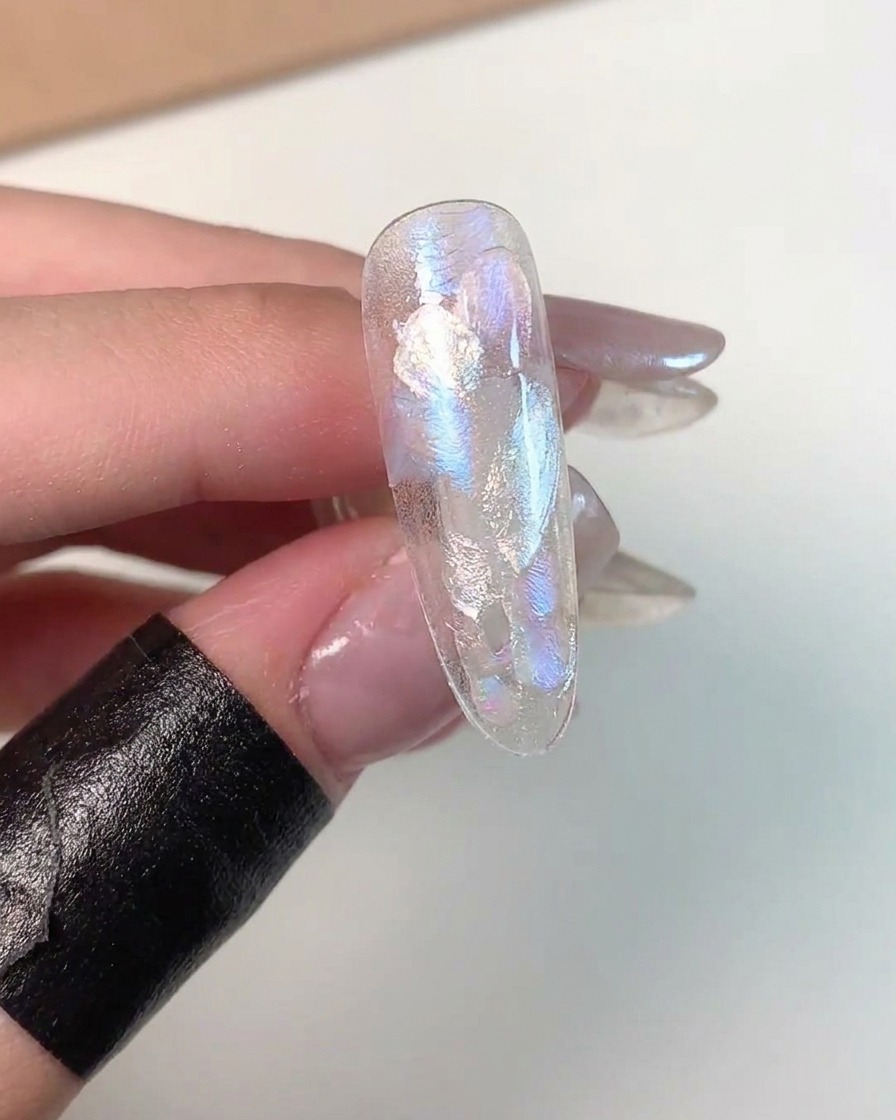
Add a small amount of cat eye gel into the lower left corner of the nail plate and magnetize it to balance the composition.
Tip: Work quickly before curing to ensure the magnetic shimmer catches the light properly. - 5Apply Eiko Esaka Color Gel
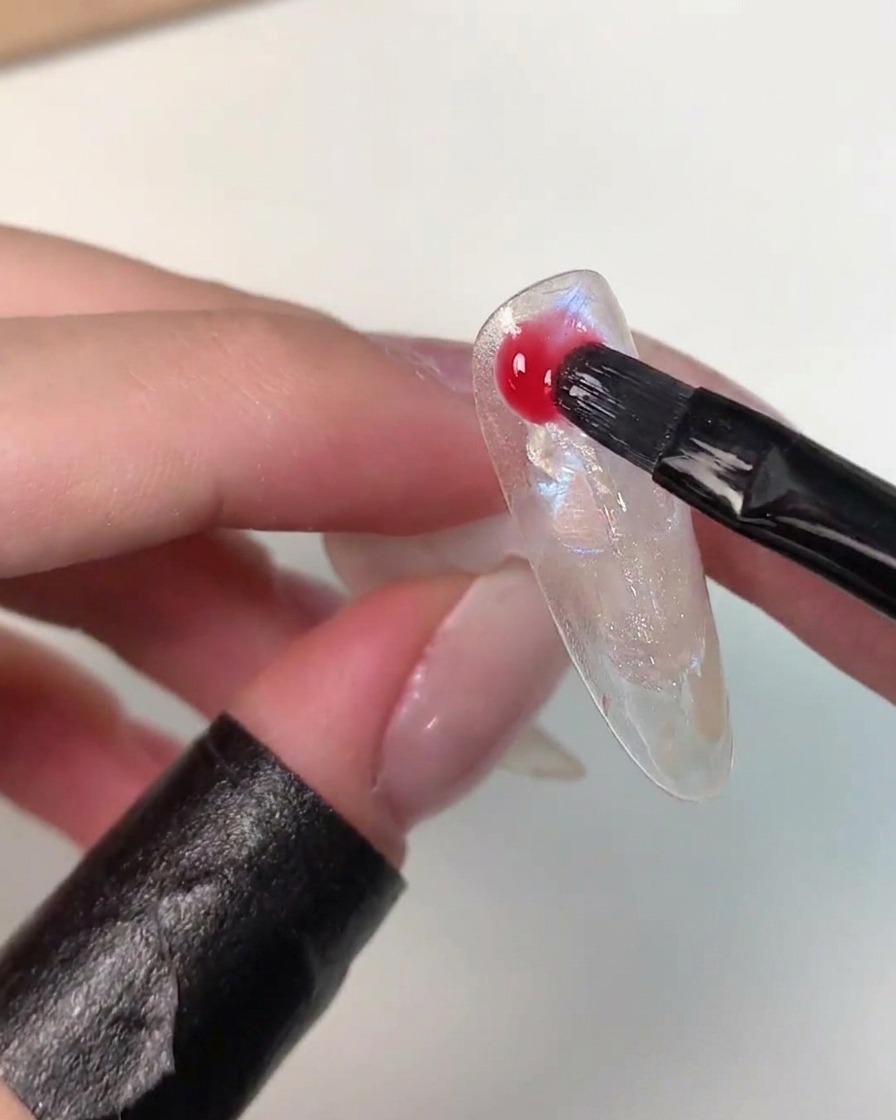
Randomly apply Eiko Esaka color gel across the nail surface using a brush to introduce an artistic watercolor effect.
Tip: Use light, sweeping motions to avoid overloading the nail with product. - 6Blend the Base Colors
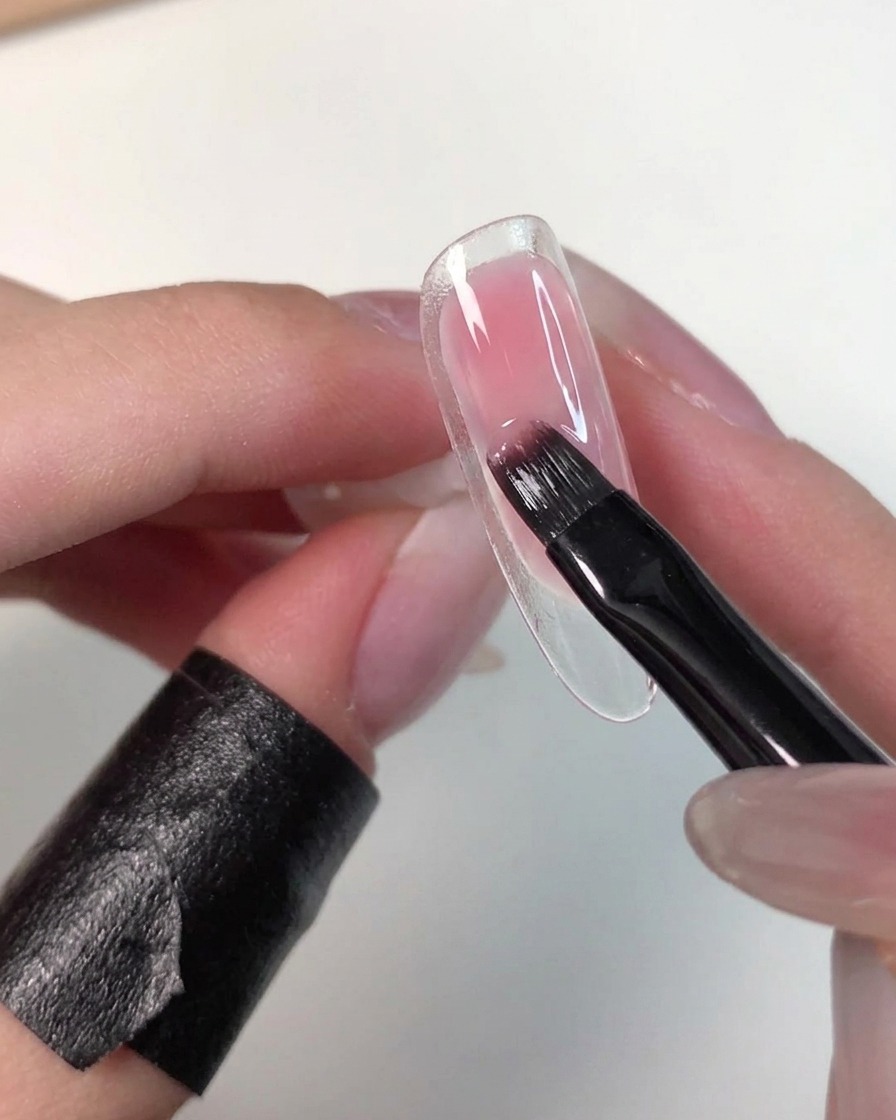
Using a flat or slightly rounded gel brush, gently pat and feather the edges of the applied pink and white gels. The goal is to soften the hard lines between the color blocks, creating a cloudy, semi-translucent acetate or watercolor effect across the nail plate. Keep a light hand so you dont completely muddy the distinct color zones.
Tip: If the gel is too stiff to blend easily, wipe your brush clean and use a tiny amount of clear mixing gel or base coat to help feather the edges smoothly. - 7Layer Magnetic Cat Eye Gel
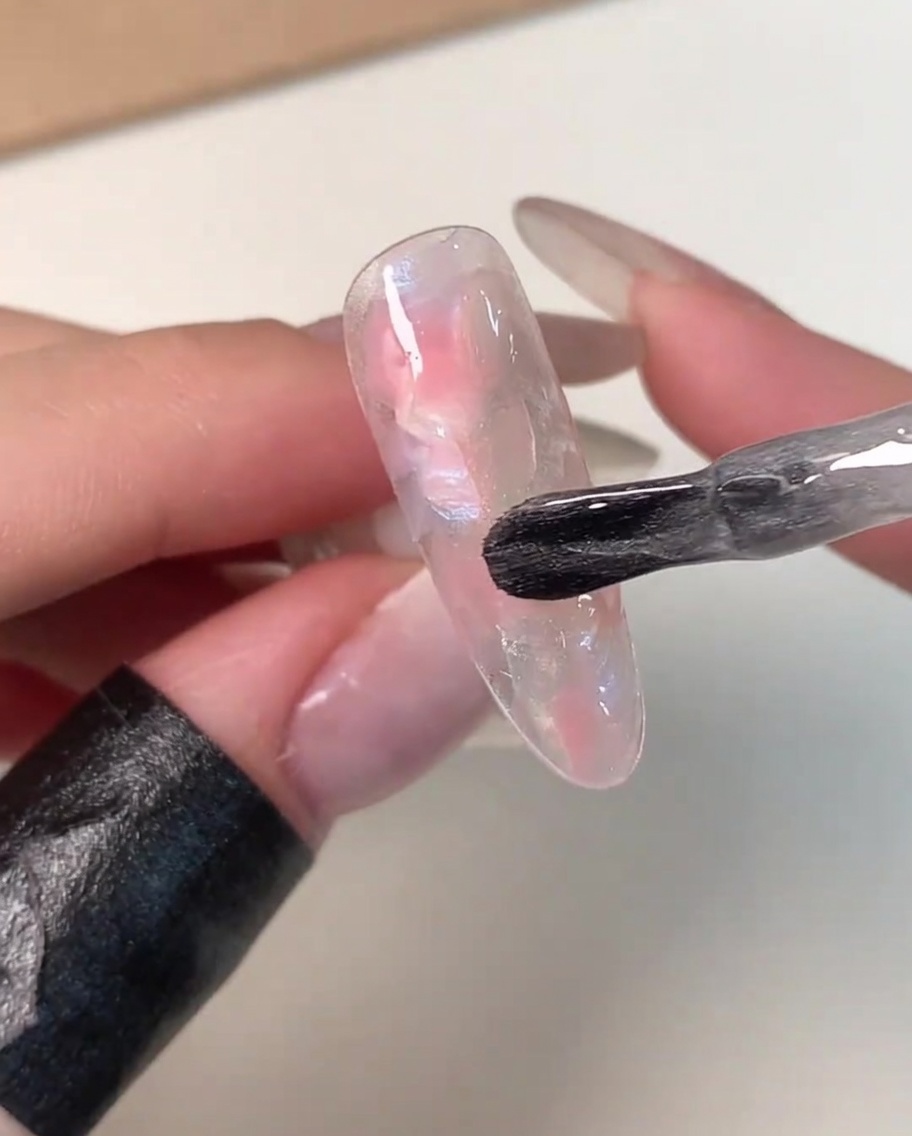
After blending your initial colors, apply another thin layer of magnetic cat eye gel over the entire design. This step adds depth and dimension to the acetate style, trapping the cloudy colors beneath a layer of glassy shimmer. Ensure the application is smooth and even to avoid adding bulk to the nail.
Tip: Apply this layer with a light touch so you dont disturb the delicate color blending underneath. - 8Add Depth with a Darker Shade
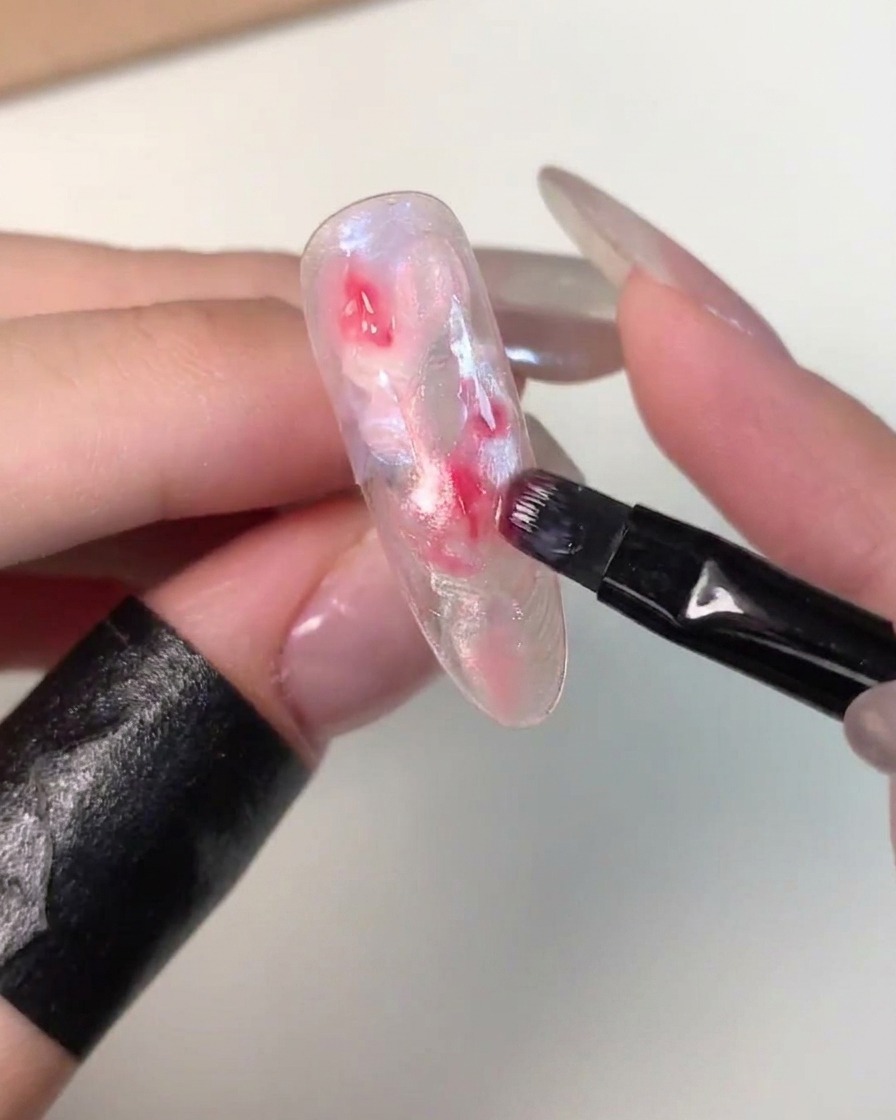
Take a deeper pink or reddish gel hue on a fine or flat brush and place a small amount directly onto the center of the nail pattern. This adds visual interest and creates a multi-dimensional core within the cloudy acetate look, making the center pop against the softer blended edges.
Tip: Use only a very small amount of the darker color to start. It is easier to add more depth later than to fix a dark spot that has overpowered the design. - 9Blend the Center Color
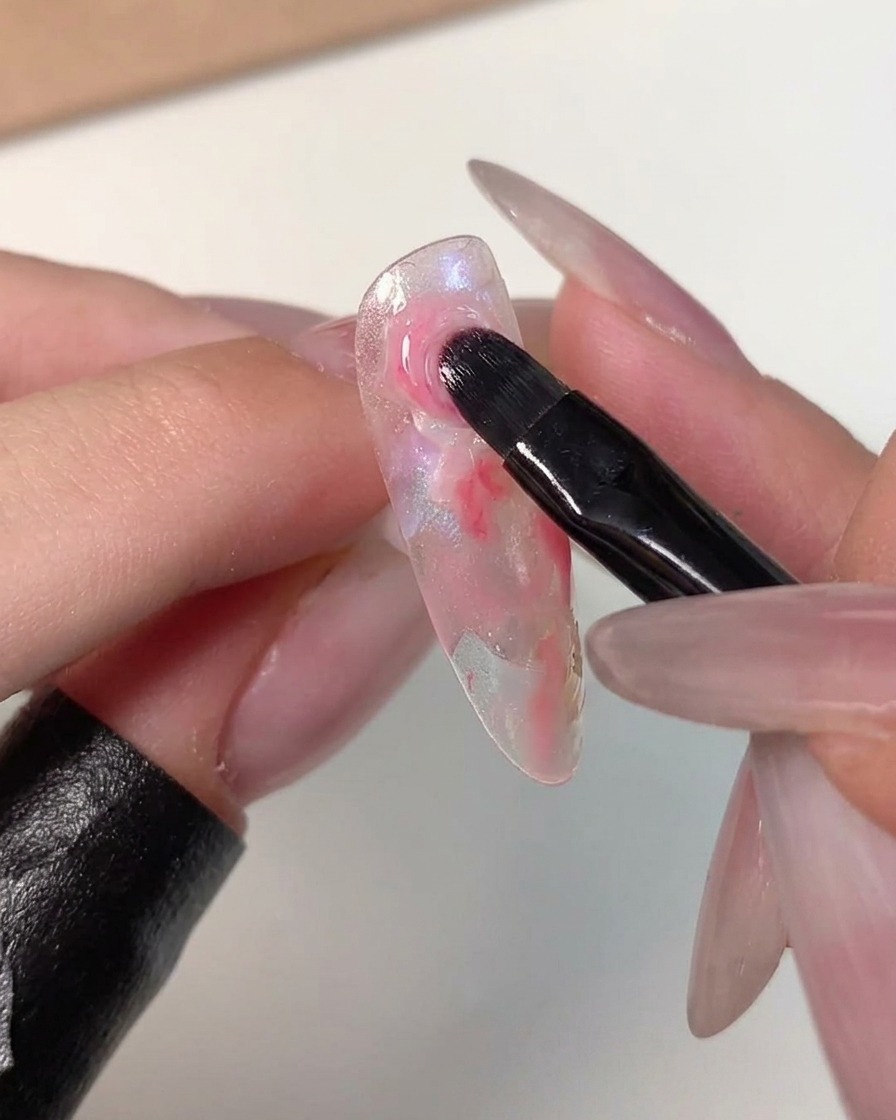
Use your brush to gently feather the edges of the deeper pink color you just applied. Blend it outward into the surrounding wet gels so it creates a smooth, soft gradient rather than sitting as a harsh, unblended spot. This seamless transition is key to achieving a natural glass-ball or gemstone effect.
Tip: Wipe your brush lightly on a lint-free wipe as you blend to prevent dragging too much dark pigment into the lighter translucent areas. - 10Refine with White Gel Accents
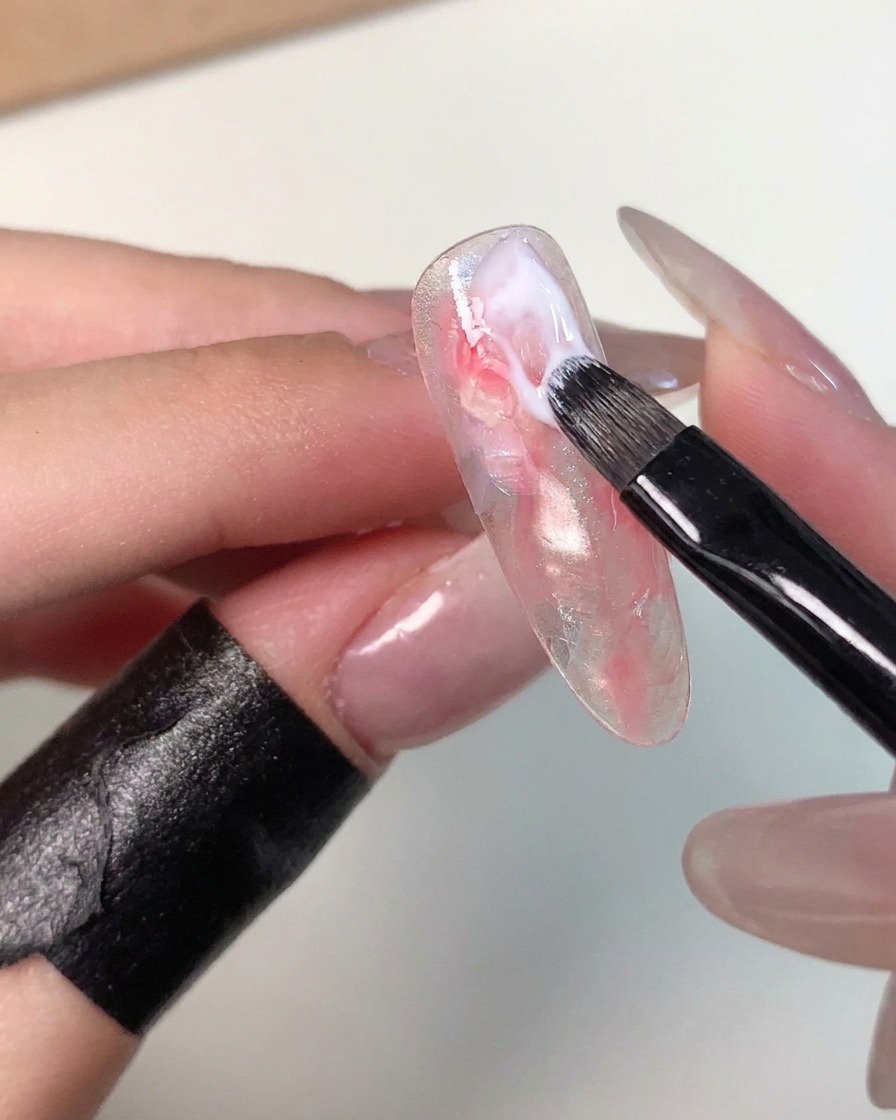
Examine the overall pattern and identify any areas that look empty, disconnected, or less natural. Pick up a tiny amount of milky white gel and dab it into these gaps, then lightly blend the edges. This step balances the design and creates overlapping layers that enhance the cloudy, realistic acetate texture.
Tip: Less is more with this step. Only place the white where the design needs balancing or brightening to pull the look together. - 11Apply Leveling Gel
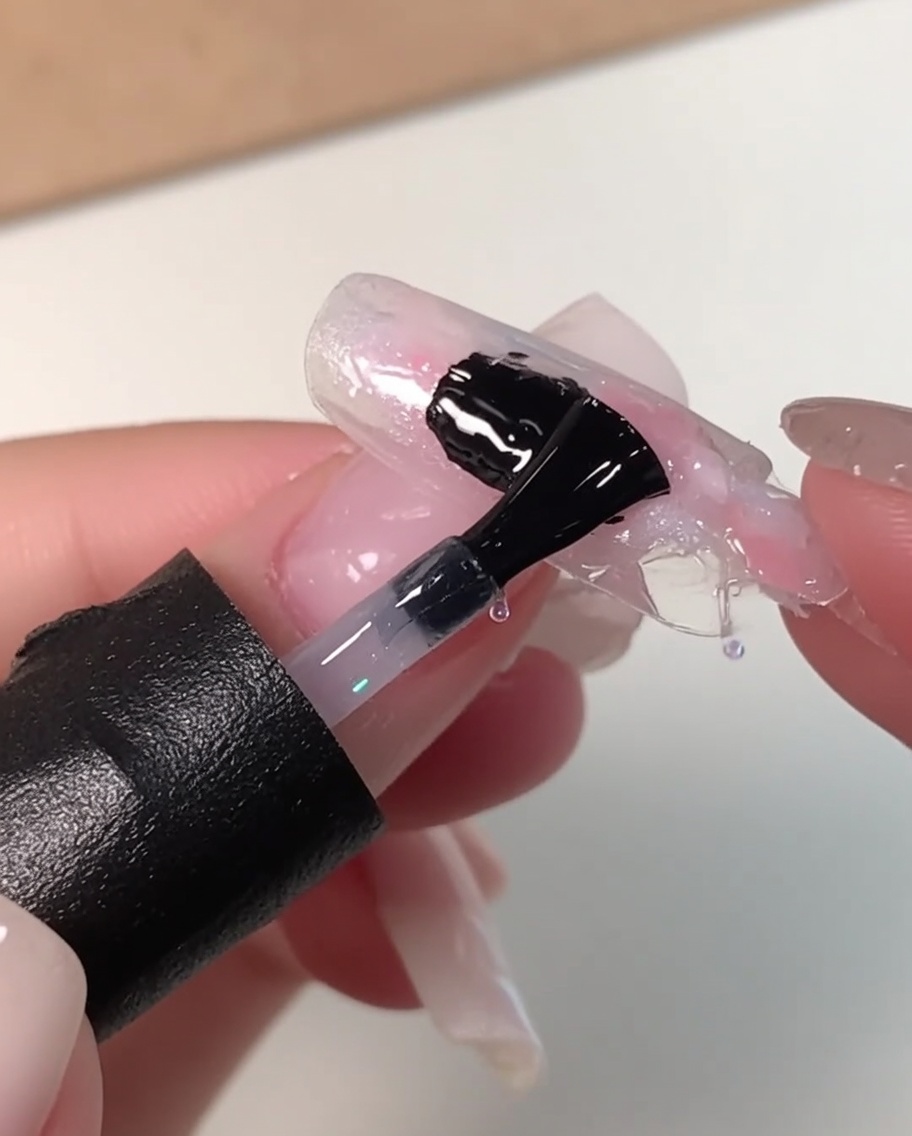
Apply a generous layer of clear leveling gel over the entire nail plate. This essential step smooths out any bumps or unevenness created by the overlapping magnetic and color gel layers, ensuring a perfectly even structure.
Tip: Allow the hand to rest upside down for a few seconds before curing to let gravity help the gel self-level perfectly. - 12Buff and Refine the Surface
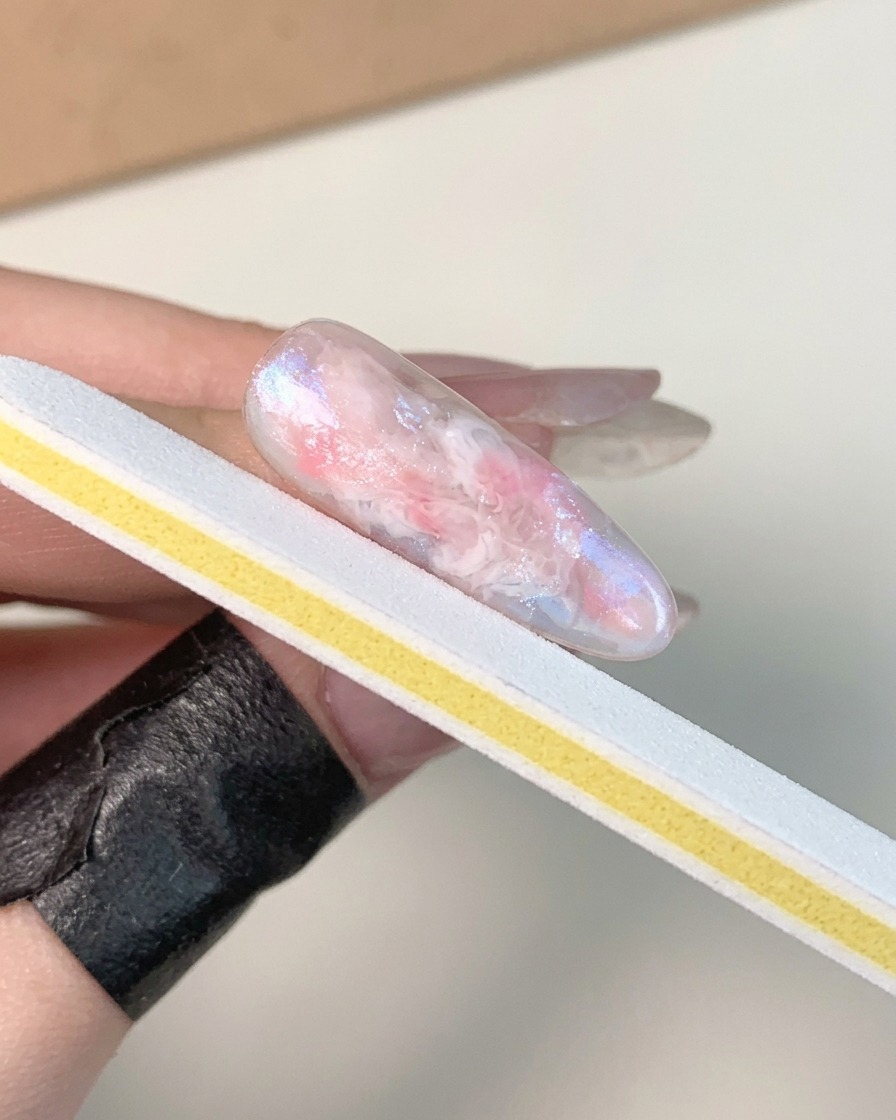
Once the leveling gel is fully cured, use a nail file strip to gently buff out any remaining uneven areas on the nail plate. This refinement step guarantees a flawlessly smooth and professional silhouette before the final finish.
Tip: Use a light hand and a fine-grit buffer to avoid filing away your intricate color work beneath the leveling gel. - 13Apply Glossy Top Coat
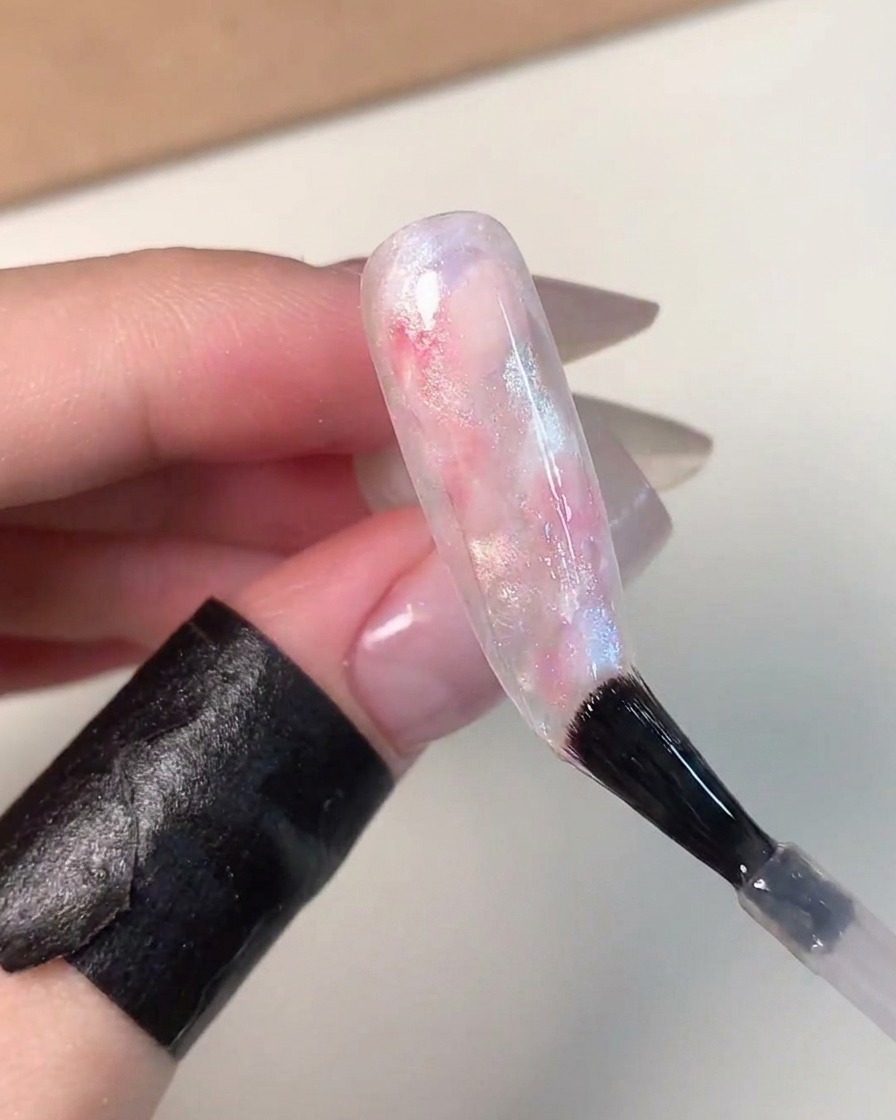
Seal your finished Eiko Esaka-inspired design by applying a final layer of glossy top coat. This adds a brilliant, glass-like shine that enhances the depth of the magnetic cat eye effects and protects your nail art from chipping.
Tip: Always remember to cap the free edge of the nail with the top coat to seal the layers and ensure longevity.