Aurora Garden Floral Press-On Nails — Step-by-Step Nail Art Tutorial
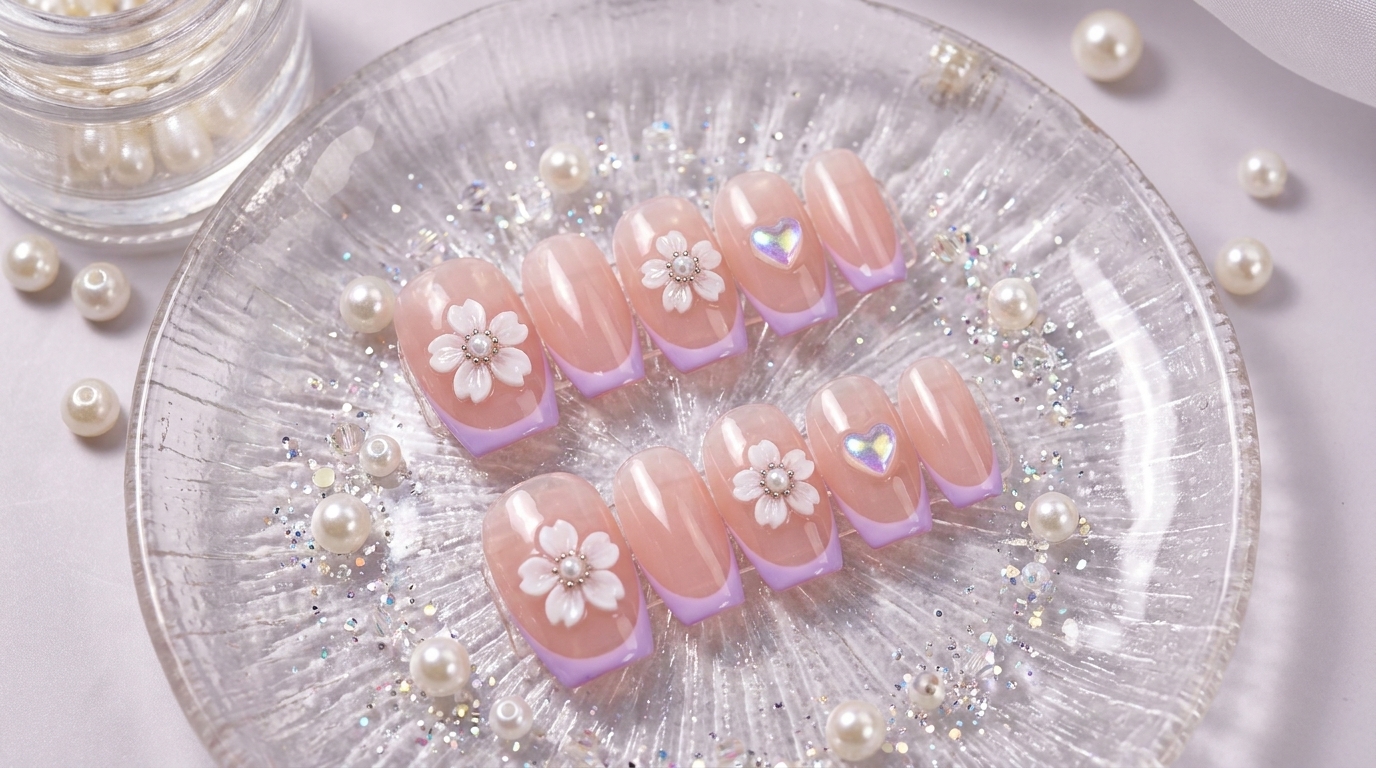
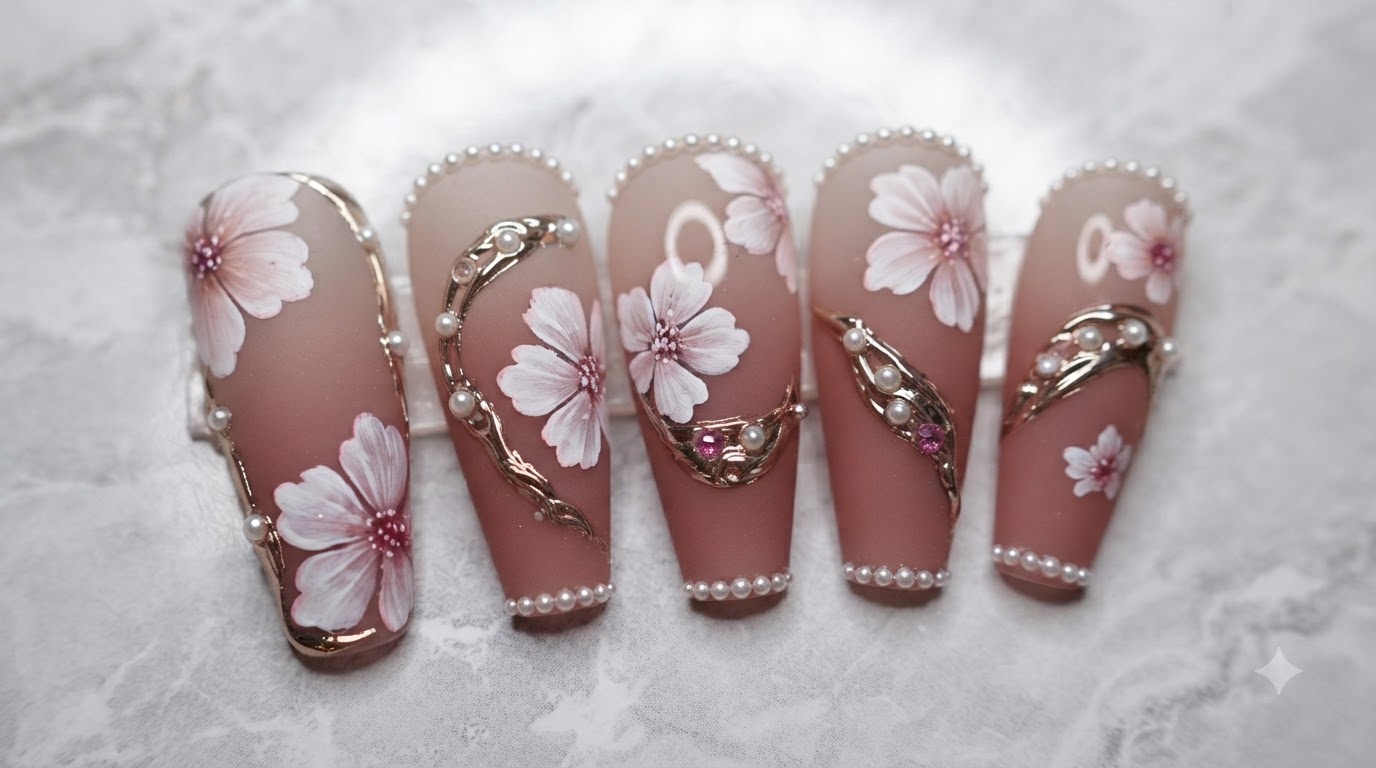
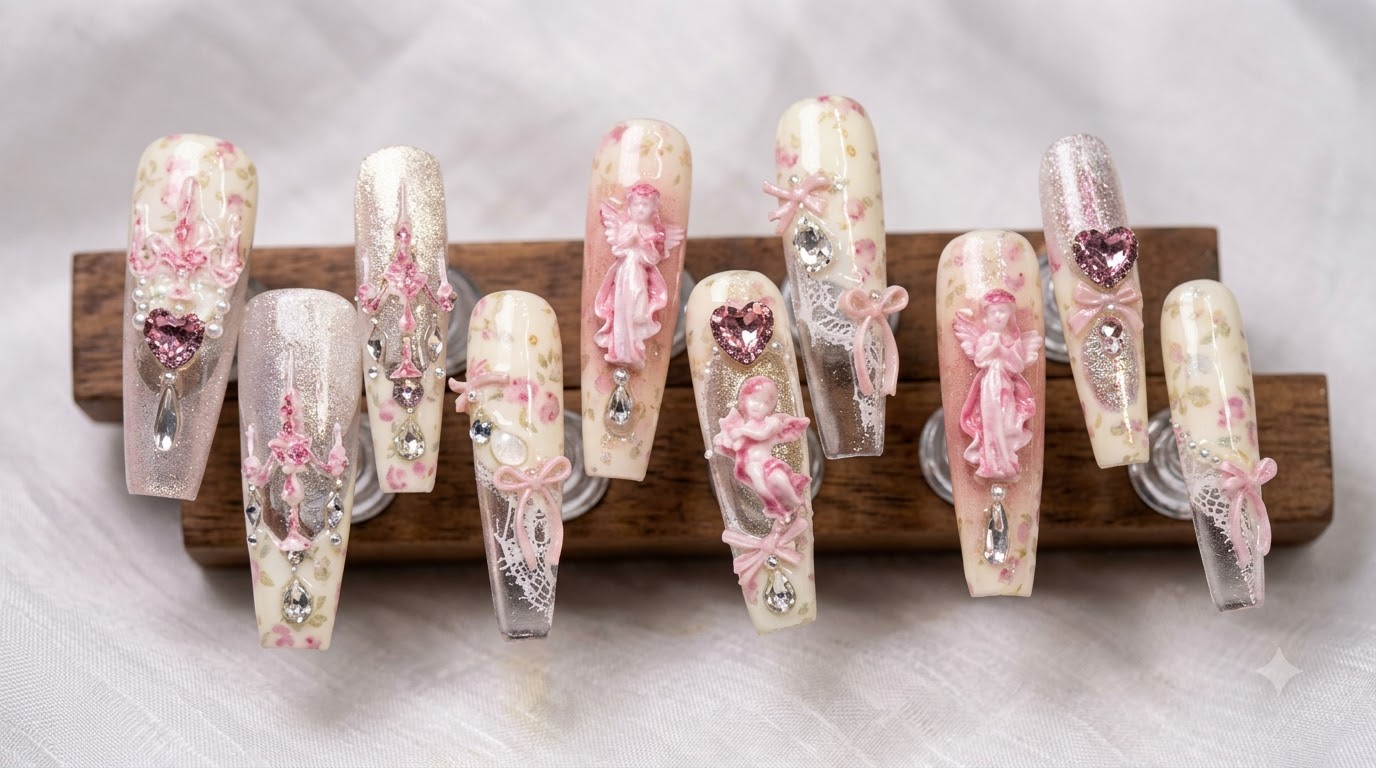
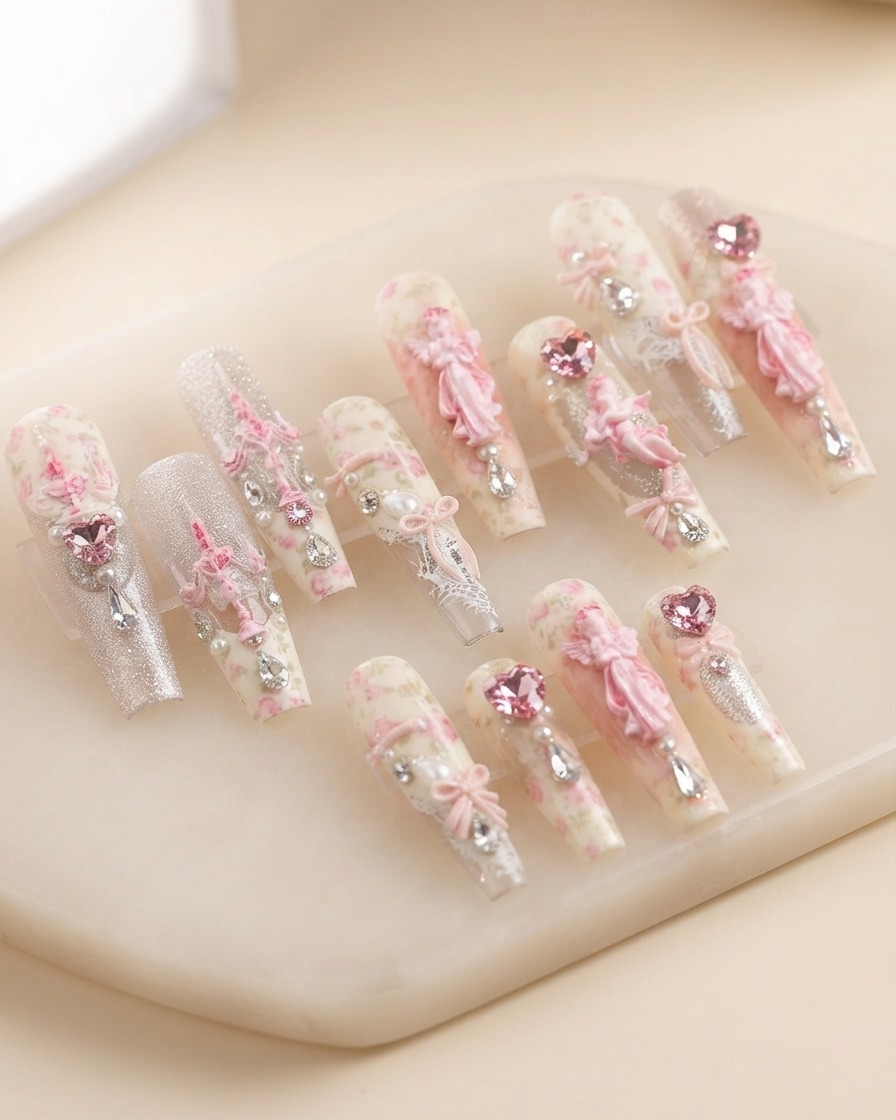
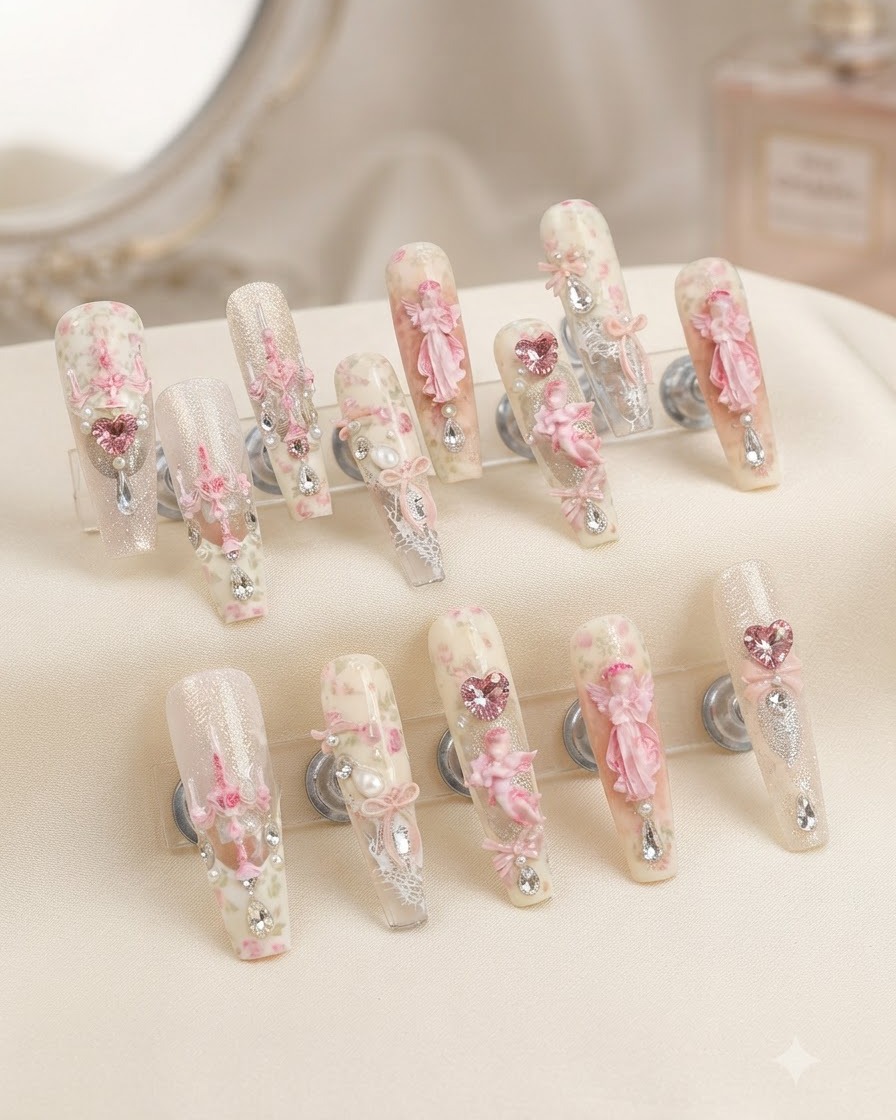
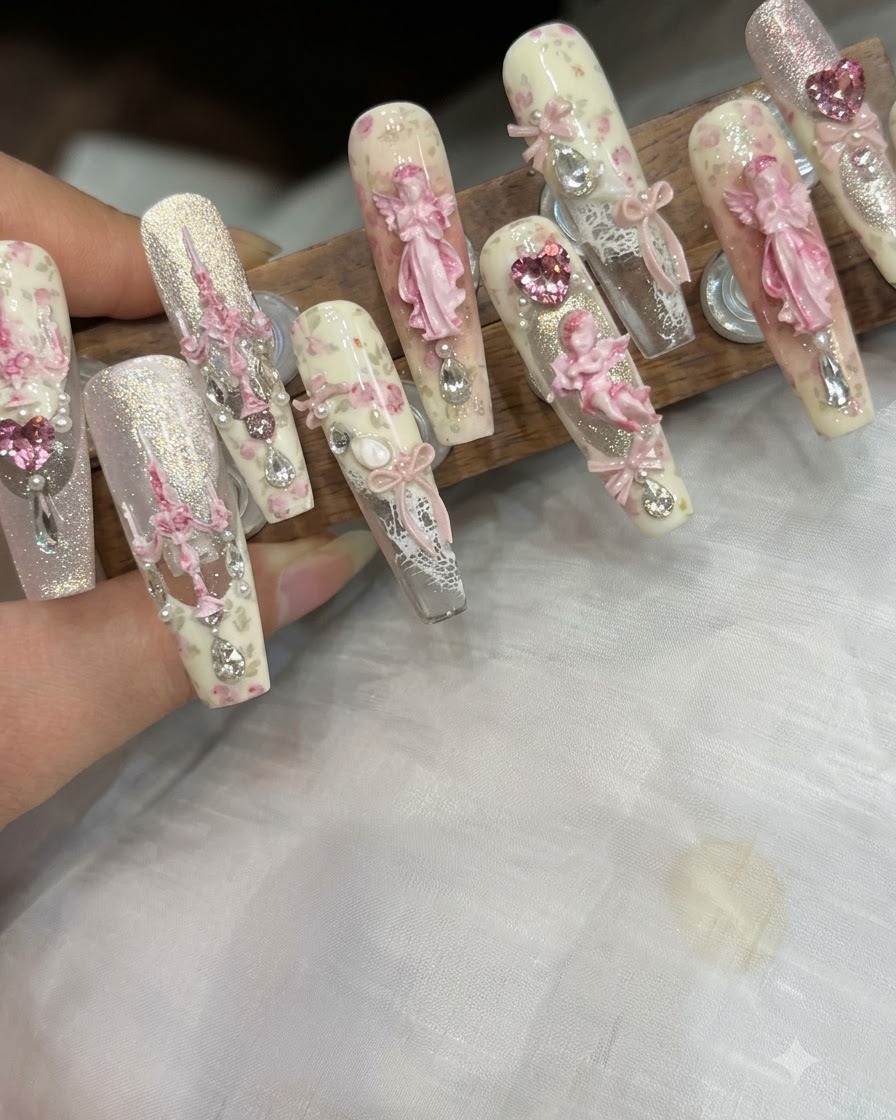
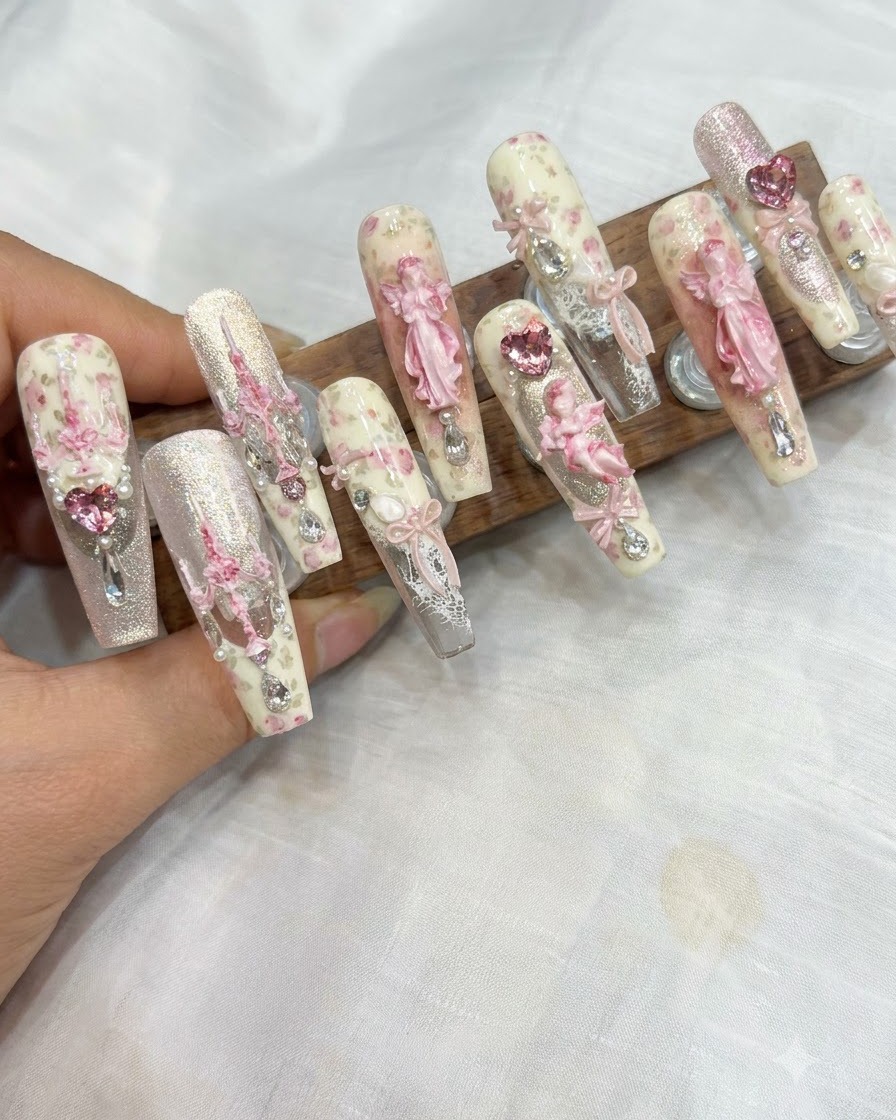
Create the ultimate romantic look with these Aurora Garden floral press-on nails. This tutorial combines vintage floral transfer foils, soft pink blush gradients, and dazzling 3D embellishments.
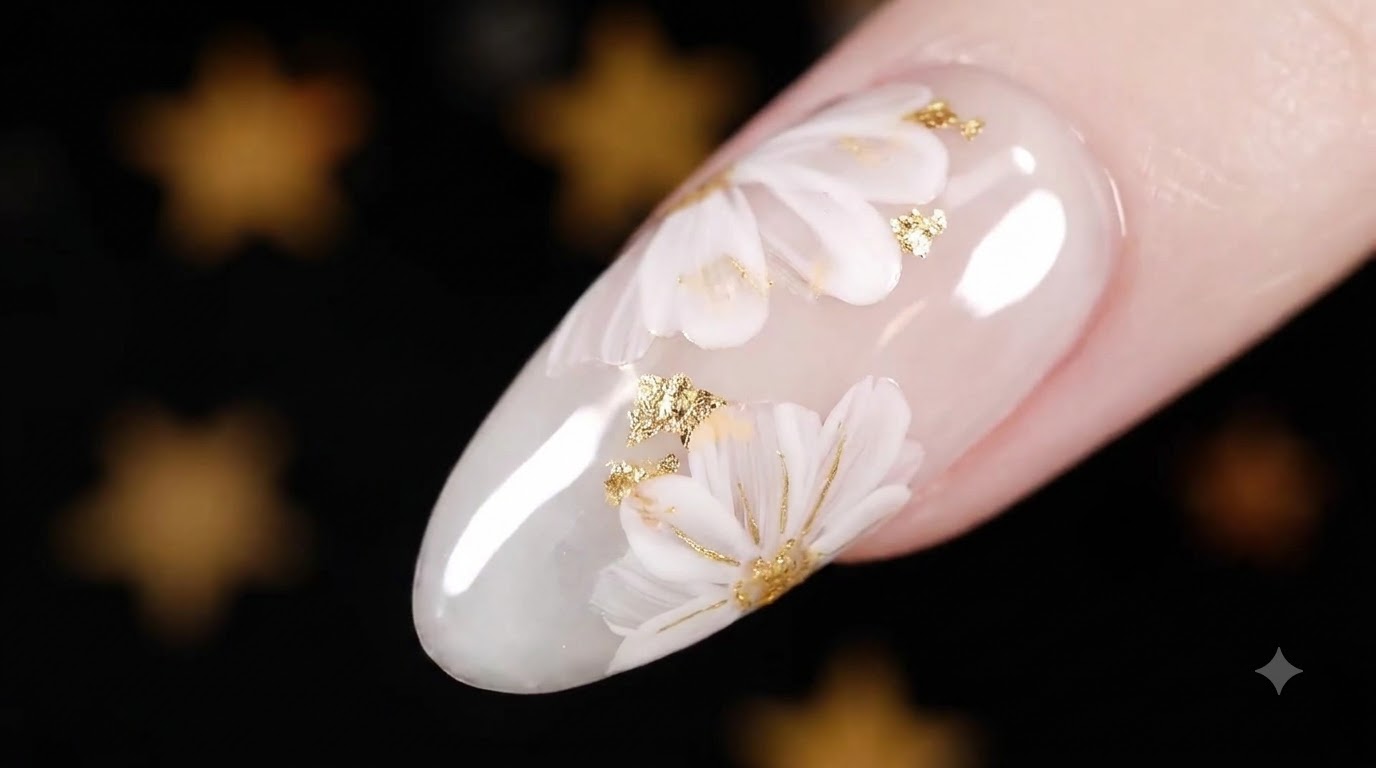
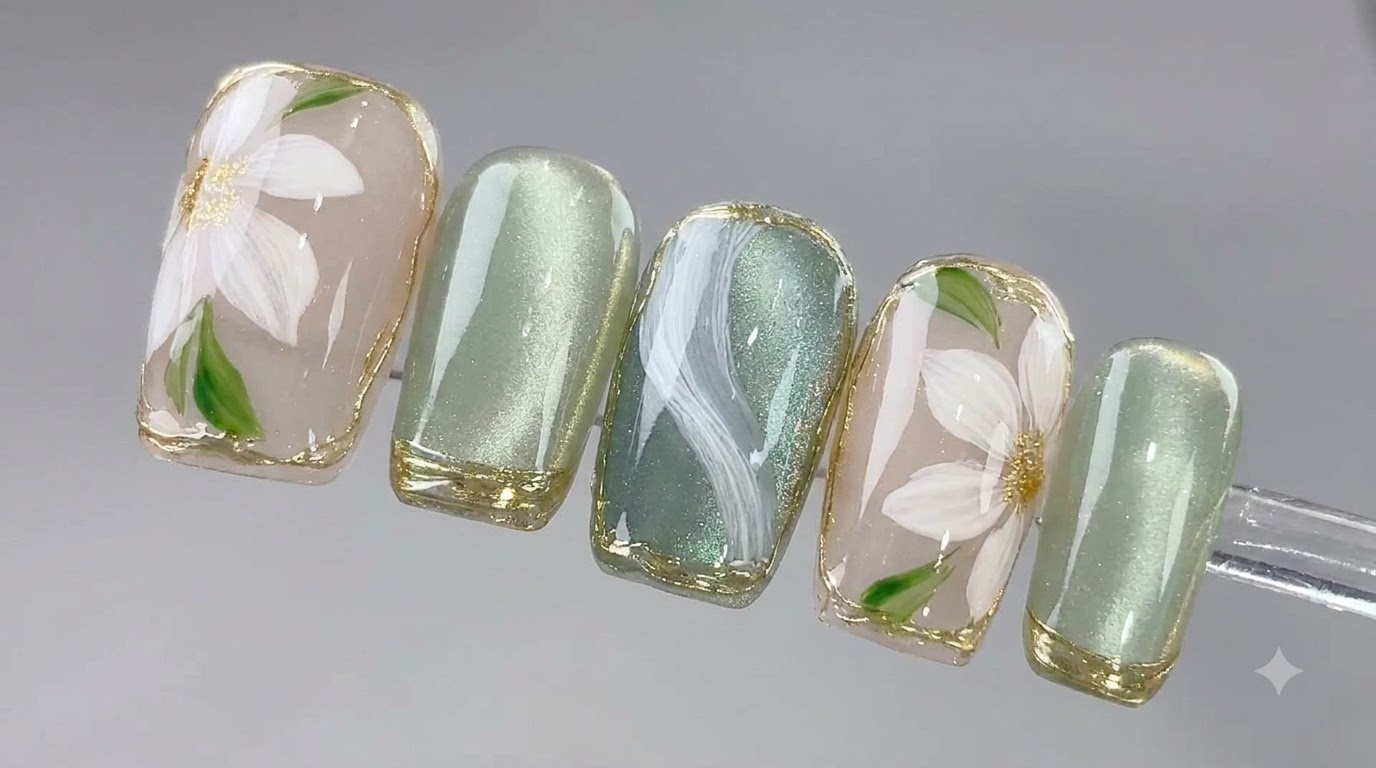
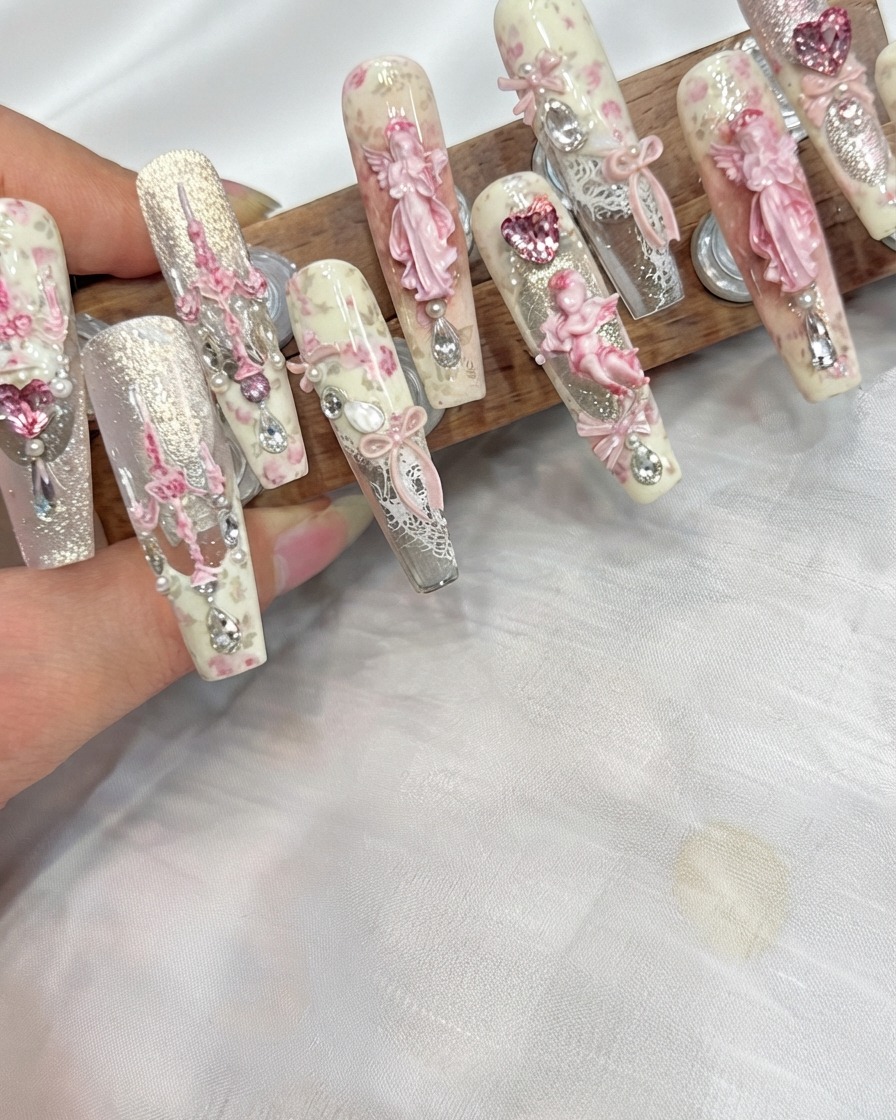
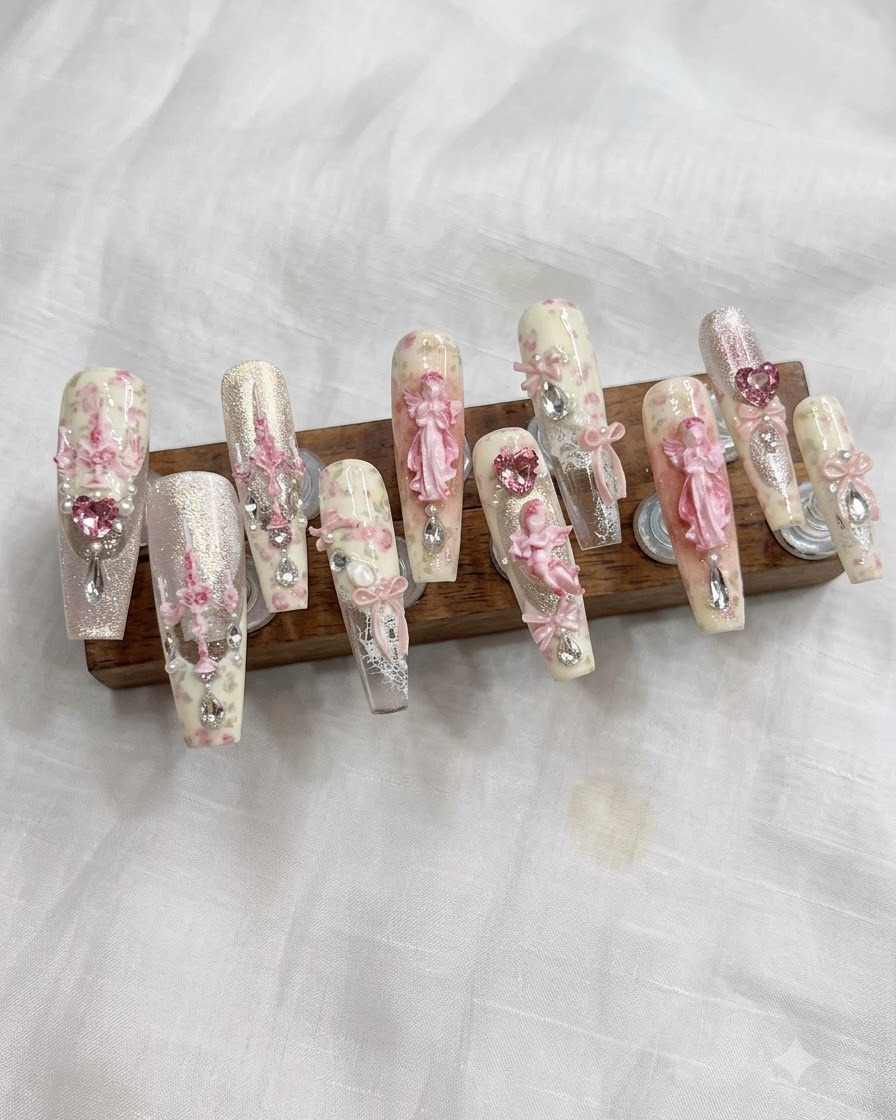
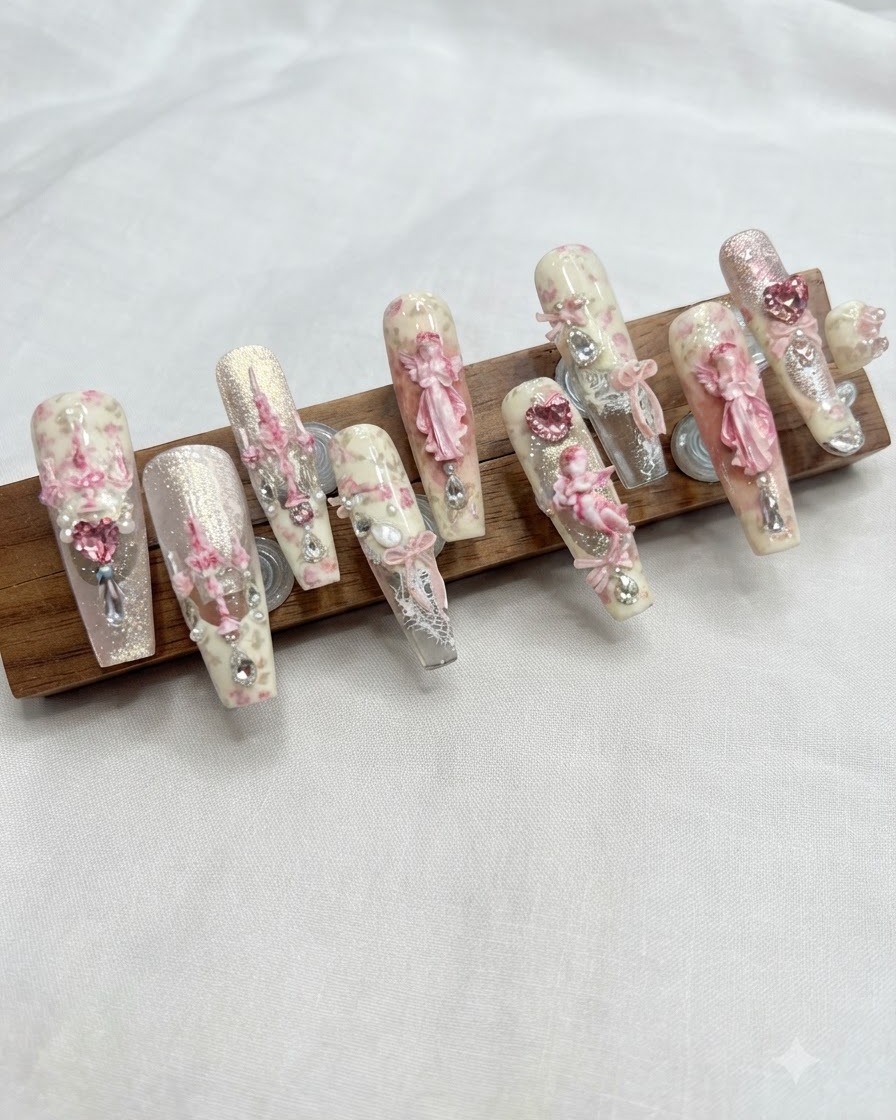
Hello darlings, the tutorial for the gorgeous Aurora Garden nail look is finally here. This elegant design perfectly captures the romance of vintage aesthetics by blending creamy bean paste white gel with delicate floral transfer foils. We enhance the aesthetic with a soft pink blush gradient and encapsulate it all beneath dazzling 3D ribbons and rhinestone charms. It is a breathtaking, multi-dimensional style perfect for any special occasion.
Steps
- 1Apply soft base gel
Apply an even layer of soft base gel across the entire surface of each nail using a brush. Make sure to coat the nail uniformly to provide a secure foundation for the subsequent layers of gel color.
Tip: Ensure the base gel is applied in a thin, controlled layer to prevent pooling around the cuticles. - 2Apply first coat of bean paste white gel
Apply the first thin coat of bean paste white gel color to the nail. This creates the soft, opaque foundational shade required for the vintage floral aesthetic.
Tip: Keep strokes smooth and thin to avoid streaking or uneven curing. - 3Apply second coat of bean paste white gel
Apply a second thin coat of bean paste white gel color to ensure completely even opacity and a flawless backdrop for the nail art.
Tip: Cure the first coat fully before applying the second layer for optimal results. - 4Apply transfer gel
Apply a layer of transfer gel onto the cured white nail surface. This specialized gel provides the sticky tacky layer needed to grip and transfer foil patterns successfully.
Tip: Cure the transfer gel for the specific duration recommended by the product manufacturer to ensure proper tackiness. - 5Apply floral transfer foil
Press a small piece of floral transfer foil paper firmly onto the nail surface. Rub gently across the backing to ensure the vintage floral design transfers completely onto the tacky gel layer.
Tip: Press firmly into the corners and edges to prevent missing patches on the pattern. - 6Apply matte top coat
Apply a layer of matte top coat over the transferred floral design to seal it and create a muted, velvety texture across the nail surface.
Tip: Cap the free edge carefully with the matte top coat to protect the edges from peeling. - 7Apply first layer of pink blush gel
Using a sponge applicator, gently dab a small amount of pink blush gel onto the center nail tip area to create a soft, diffused gradient effect. Lightly tap the sponge to blend the edges outward for a smooth transition. Cure under the UV or LED lamp as recommended.
Tip: Tap lightly with the sponge rather than pressing hard to prevent harsh lines and keep the gradient smooth. - 8Apply second layer of pink blush gel
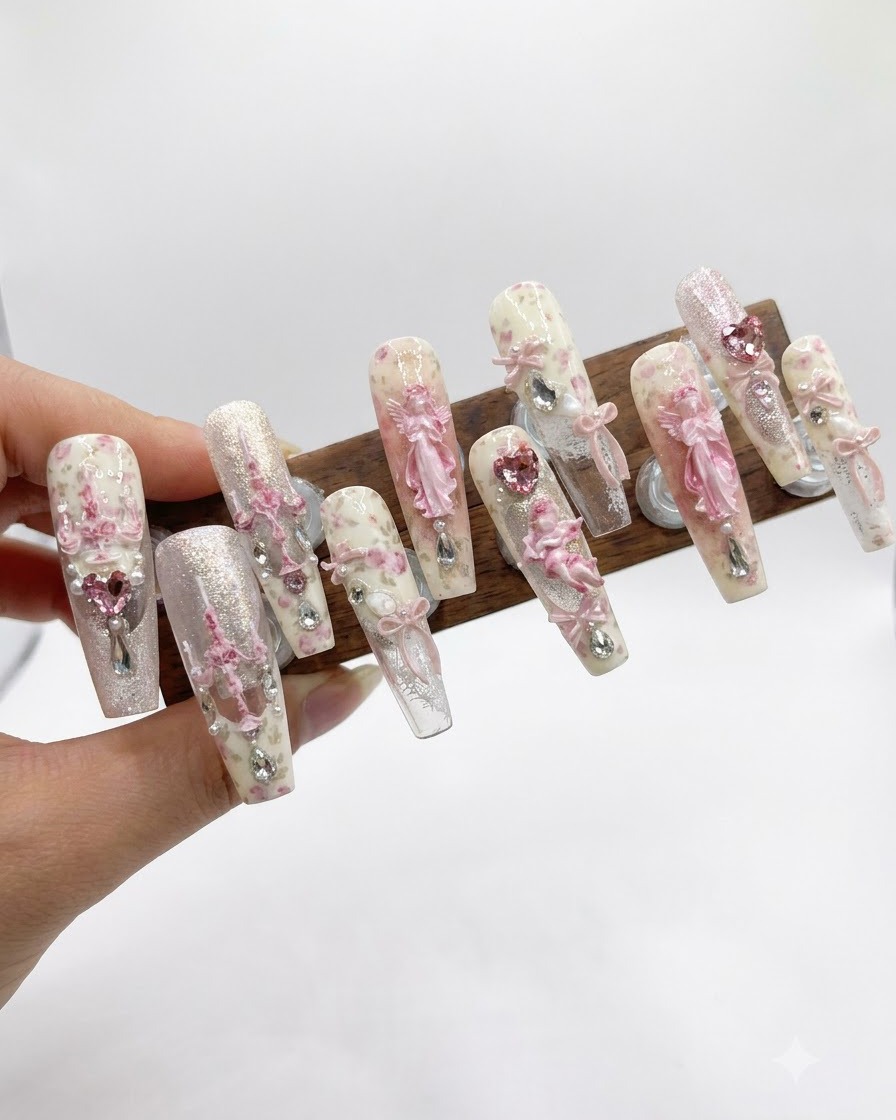
Apply a second layer of pink blush gel using the sponge applicator directly over the previous blush area to intensify the color and depth. Focus the concentration slightly more toward the center tip. Cure the gel under the lamp.
Tip: Building the gradient in thin layers prevents the gel from shifting and keeps the color evenly saturated. - 9Add fine glitter gel dots
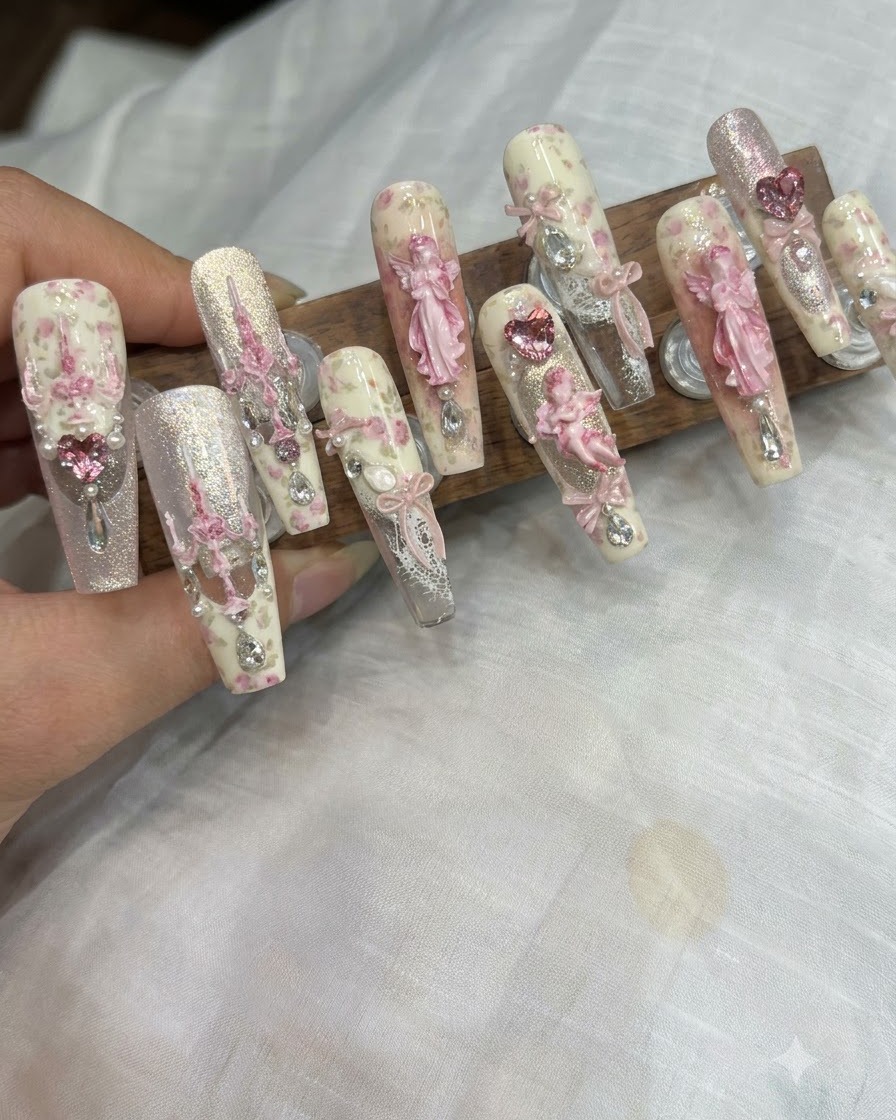
Dip a fine detail brush into the fine glitter gel and carefully place small, precise dots right in the center of the nail design. This adds a subtle sparkling accent that enhances the overall aesthetic. Flash cure briefly to secure the placement.
Tip: Use the tip of a fine detail brush for maximum control so the glitter dots stay small and neat. - 10Apply soft builder gel
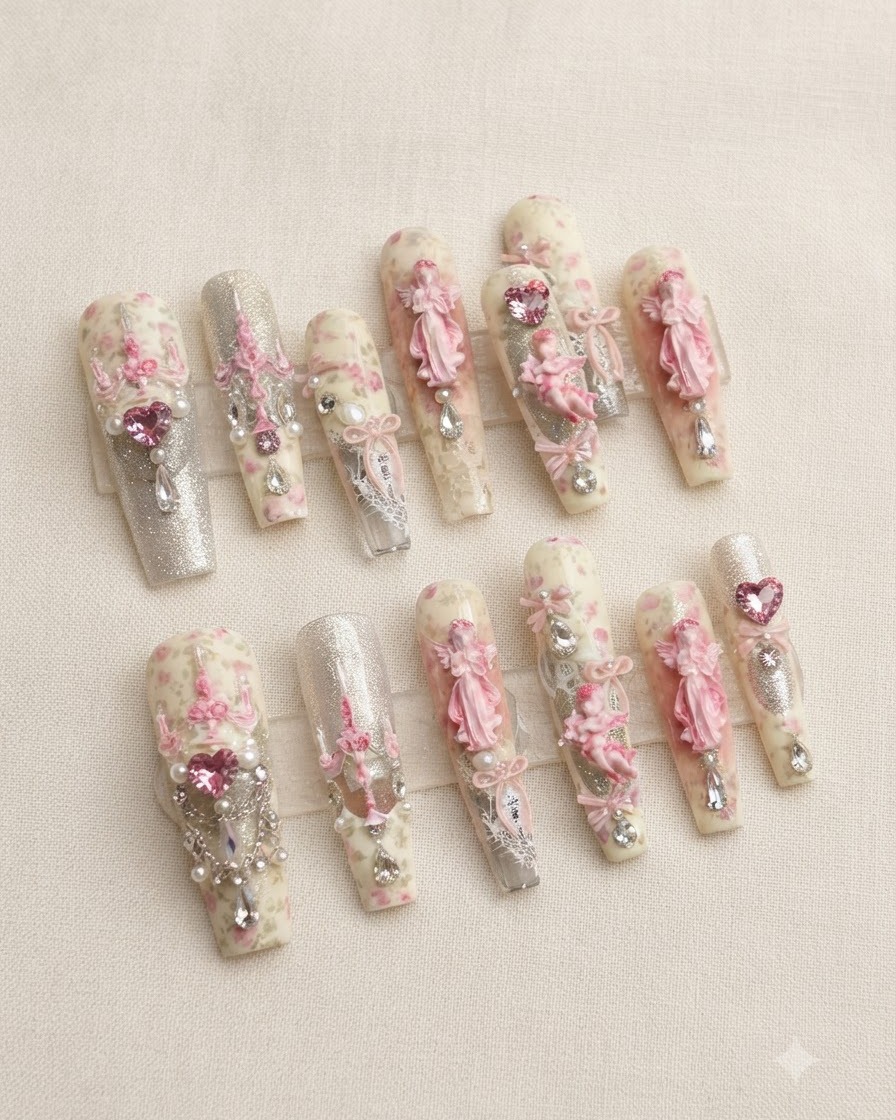
Apply a thin layer of soft builder gel across the entire surface of the nail to encapsulate the design elements and level out any uneven texture. Ensure the gel covers the edges smoothly before fully curing under the UV or LED lamp.
Tip: Hover your brush gently over the surface to let the builder gel self-level into a smooth, even coat. - 11Place 3D ribbon and rhinestone decorations
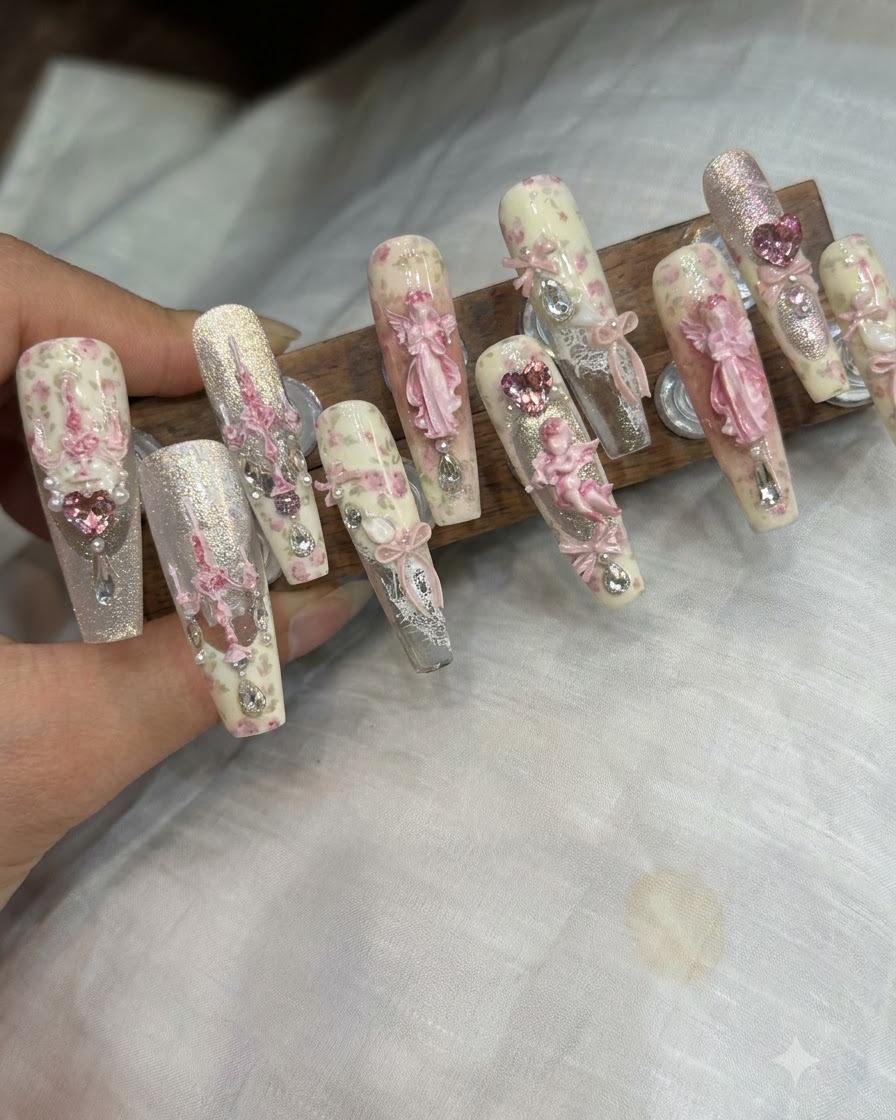
Using a wax pencil or pickup tool, carefully place 3D ribbon charms and sparkling rhinestones onto the tacky surface of the nail or into a small drop of gem glue. Secure the placement and cure completely to lock the charms in place.
Tip: Seal around the edges of the 3D charms with top coat using a fine liner brush to prevent them from catching or falling off.