Autumn and Winter Double-Layer Daisy Nail Art Tutorial
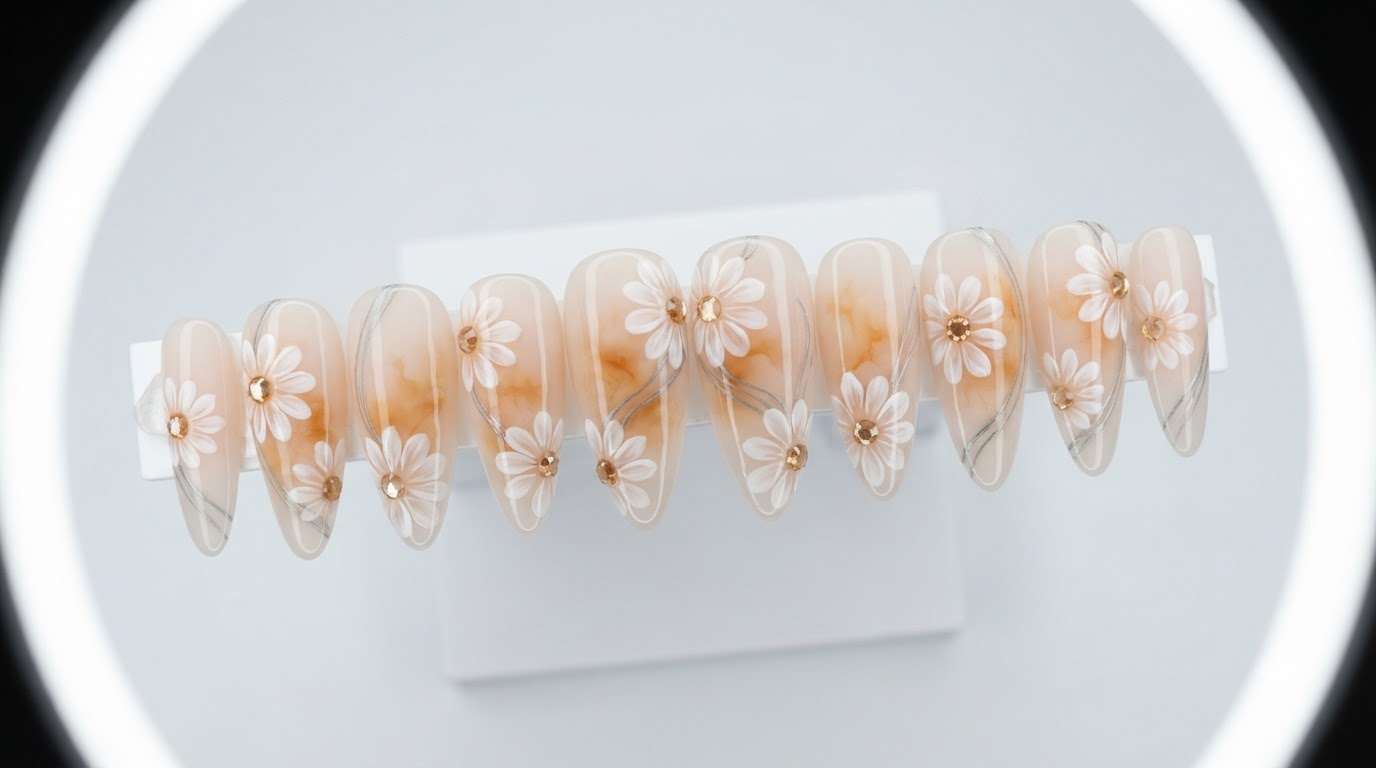
Learn how to create gorgeous double-layer daisy nail art featuring sheer nude bases, amber watercolor gradients, and delicate silver-gray accent lines.
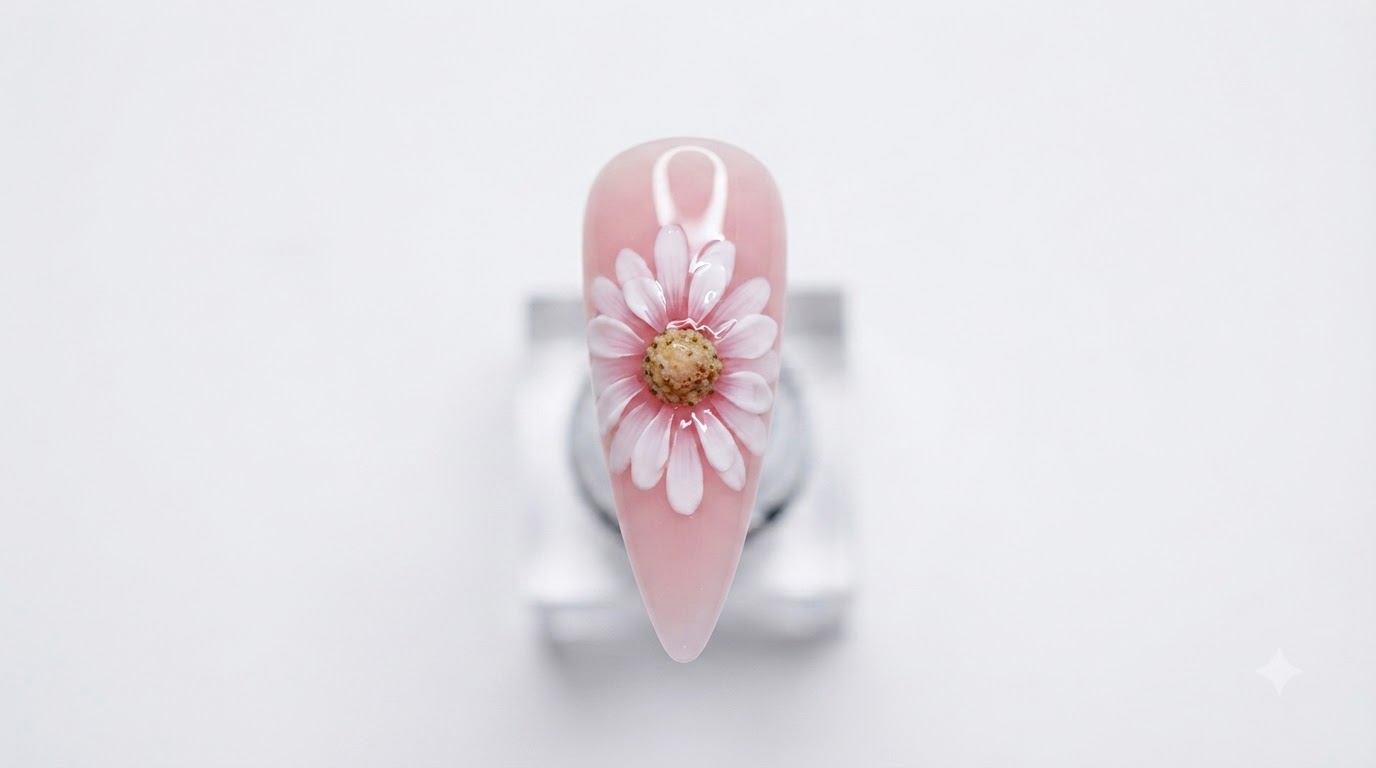
Double-layer daisies bring a wonderful dimension and tactile charm to seasonal nail art designs. By pairing translucent amber watercolor centers with crisp white layered petals and fine metallic line work, this style captures an elegant autumn and winter aesthetic that elevates any set.
Steps
- 1Draw the first layer of daisy petals
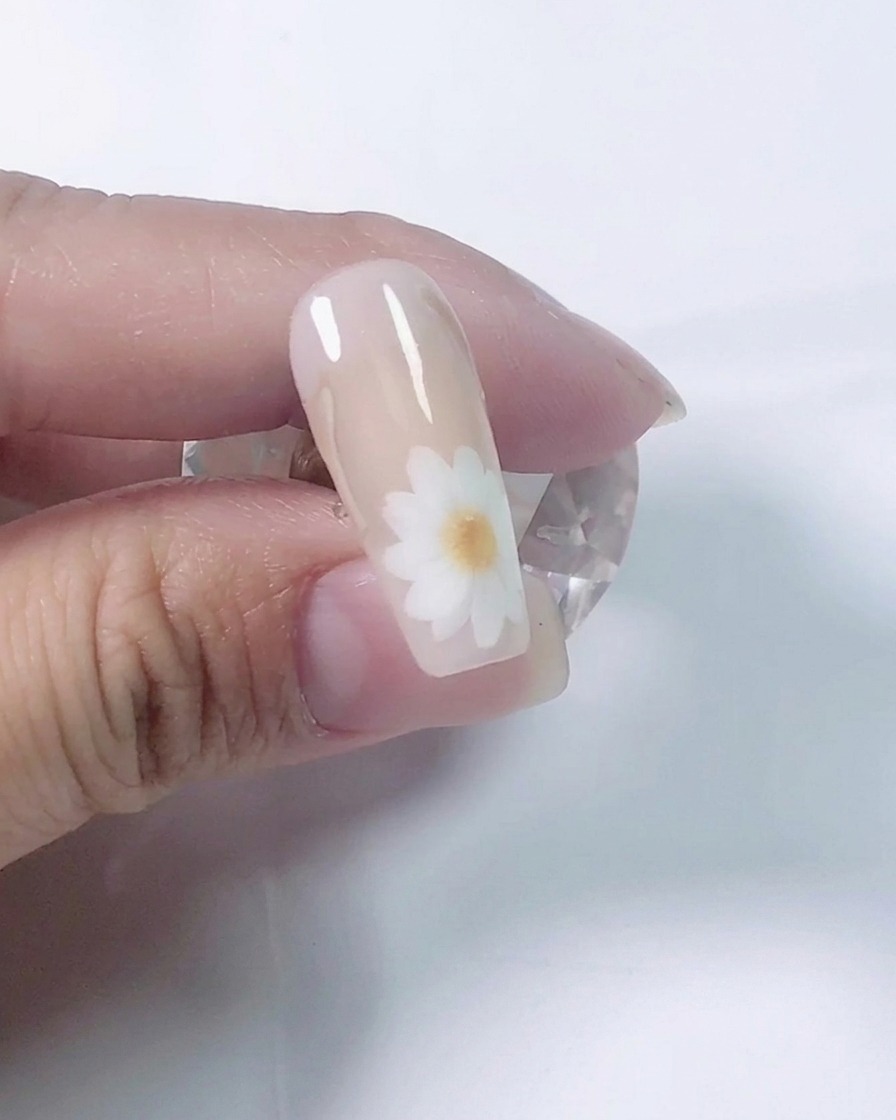
Using a universal liner brush, pick up white painting gel and begin drawing the first layer of daisy petals on the nude-painted practice nail. Leave small, even spaces between the individual petals as you form the blossom shape.
Tip: Keeping spaces between the petals allows the background color to show through and creates definition for the dual-layer effect. - 2Continue spaced white petals
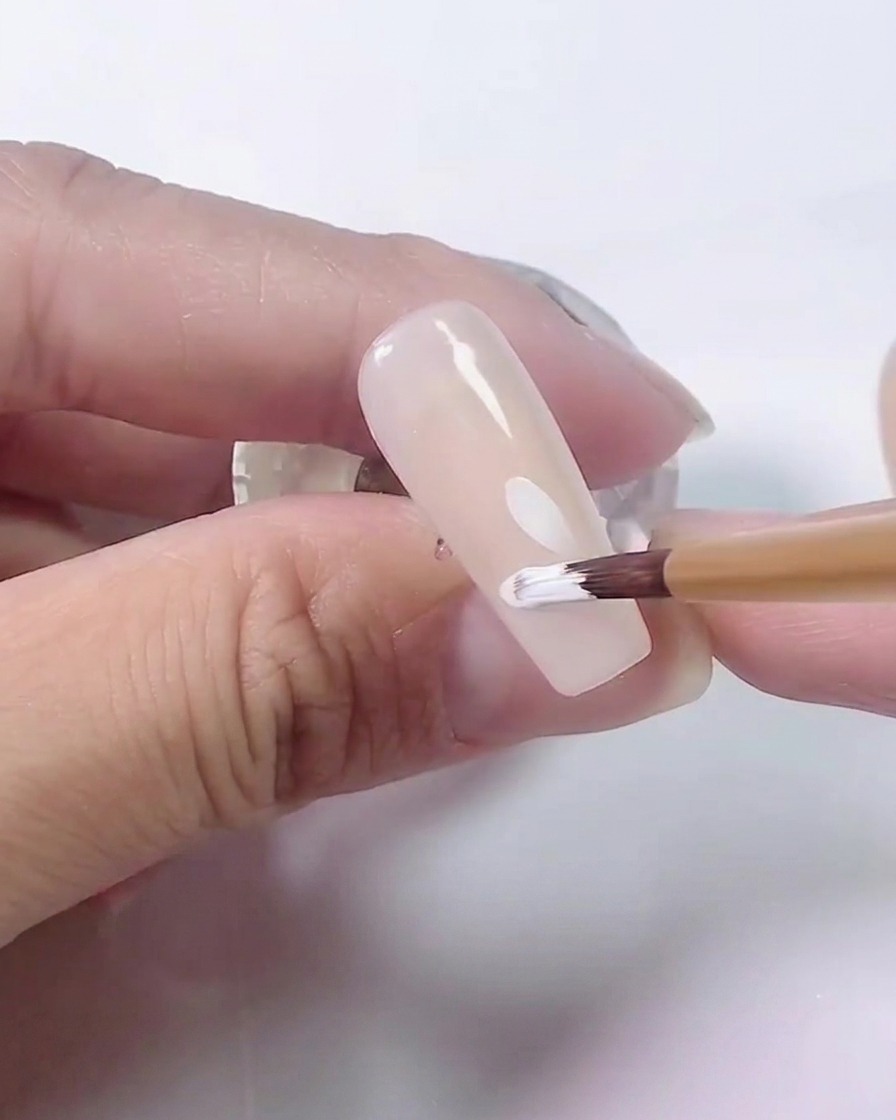
Continue painting more spaced-out white petals to complete the first layer of the daisy flower. Maintain consistent spacing and petal sizing around the central area.
Tip: Rotate your practice hand or nail stand to comfortably reach all angles of the flower. - 3Cure the first layer
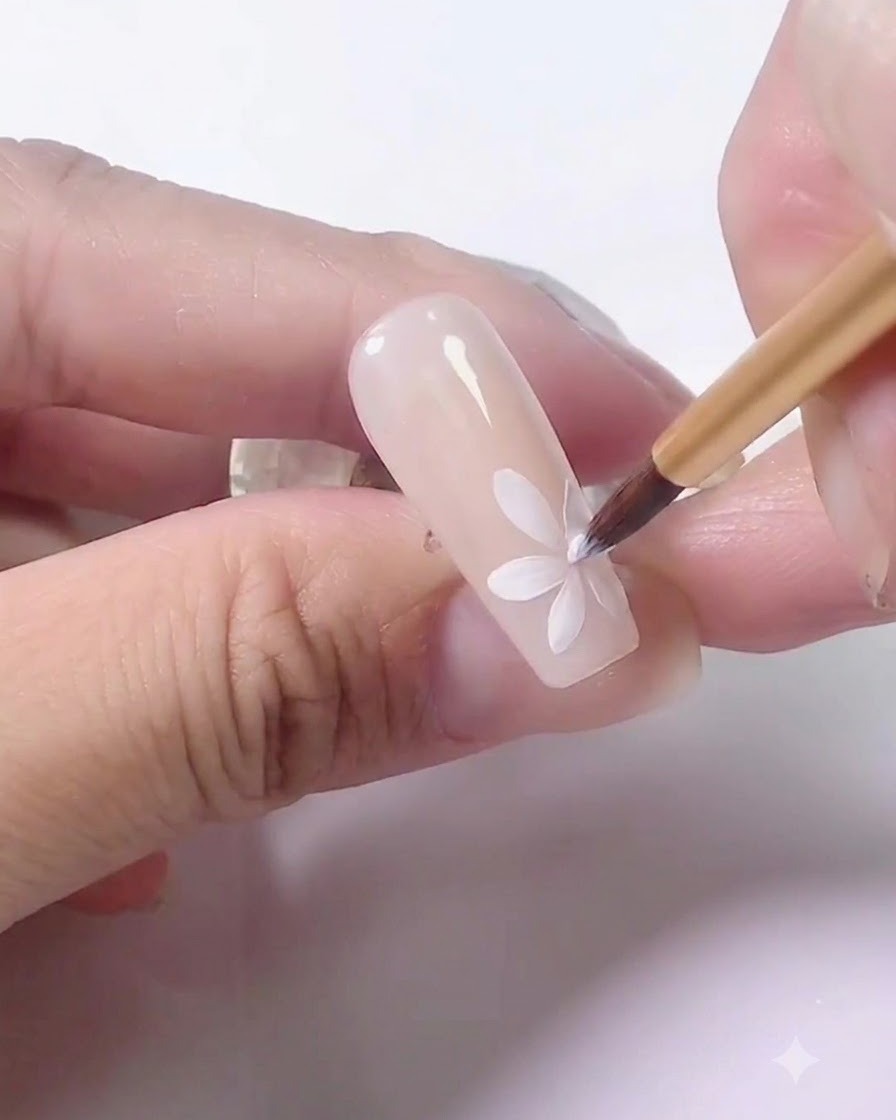
Place the nail under the UV or LED lamp to fully cure the first layer of white daisy petals before moving on to the next design elements.
Tip: Ensure proper curing time to prevent the white gel from shifting when the second layer is applied. - 4Add amber flower center
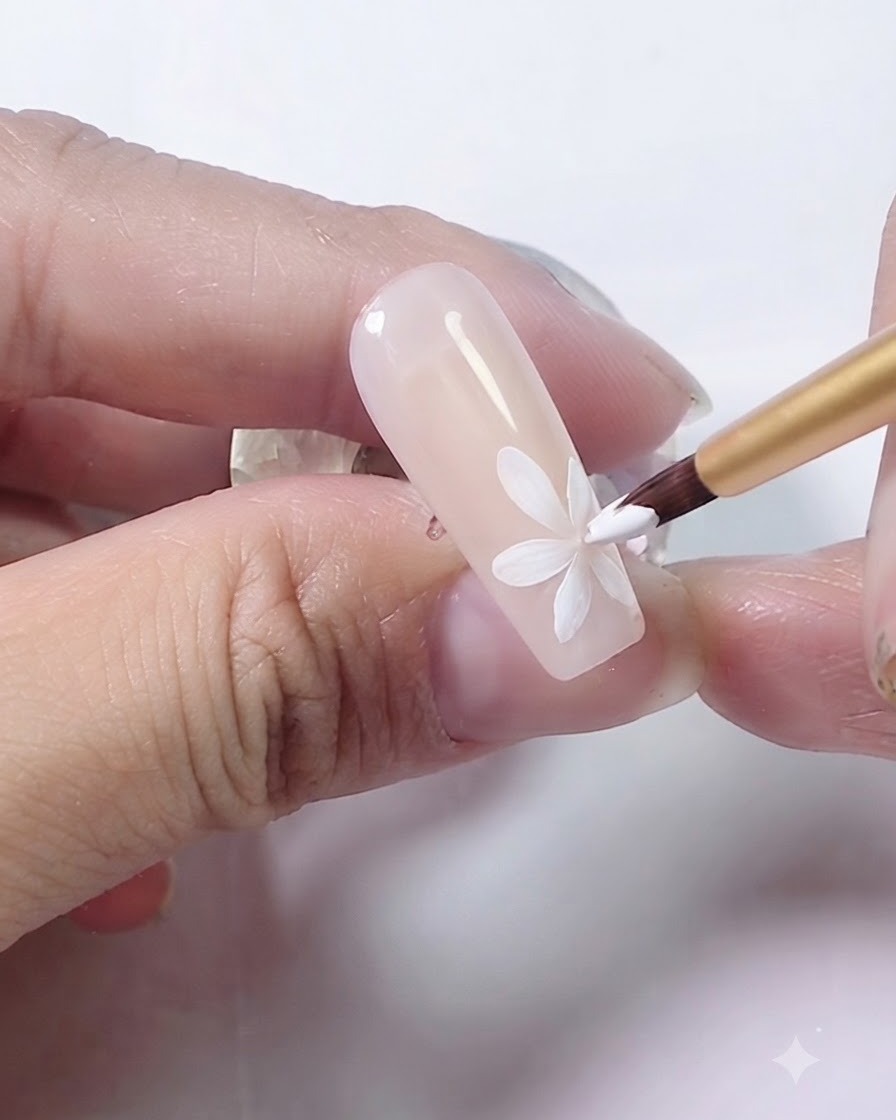
Use a fine detail brush to dot amber-colored gel right onto the center of the cured white daisy flower, creating warmth and dimension.
Tip: A translucent amber gel gives a realistic, glass-like depth to the flower center. - 5Paint the second petal layer
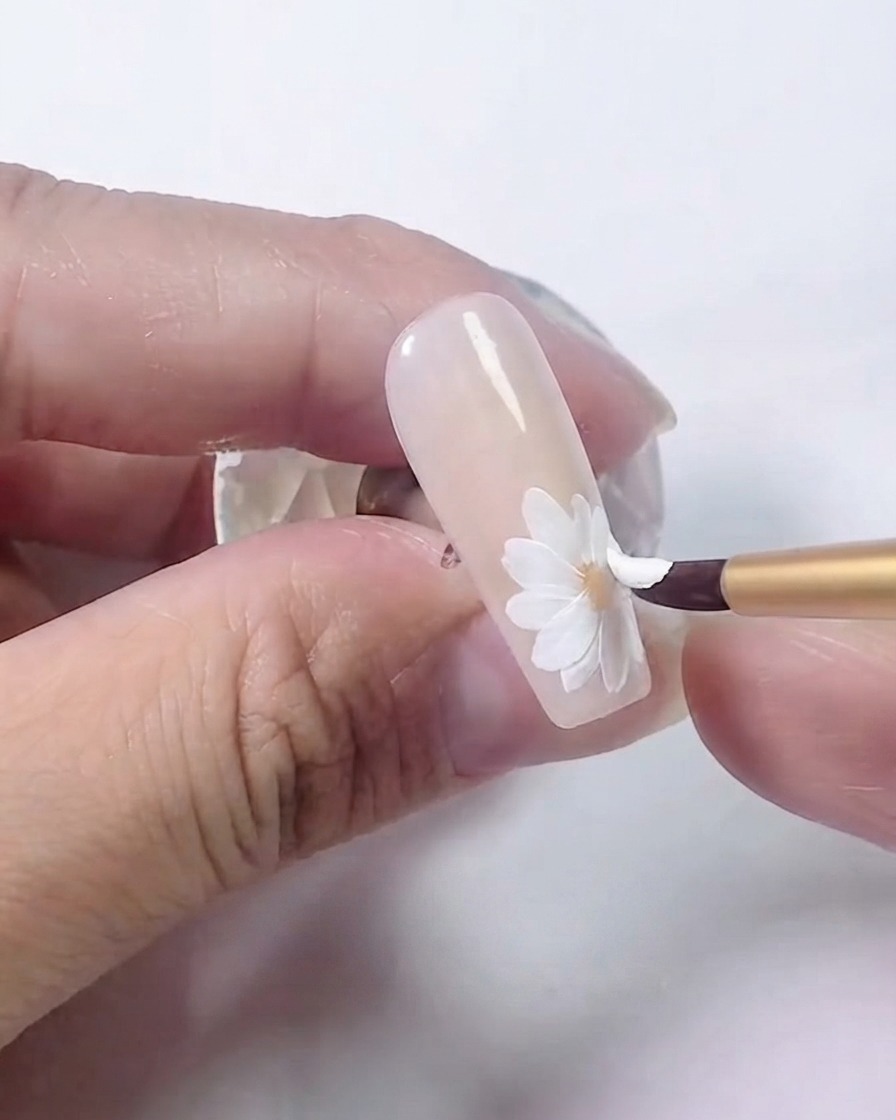
Apply a second layer of white petals overlapping and layered directly on top of the first daisy flower petals to create a rich 3D depth effect.
Tip: Slightly offset the second layer of petals from the first layer to make the flower look fuller and more dimensional. - 6Draw side accent lines
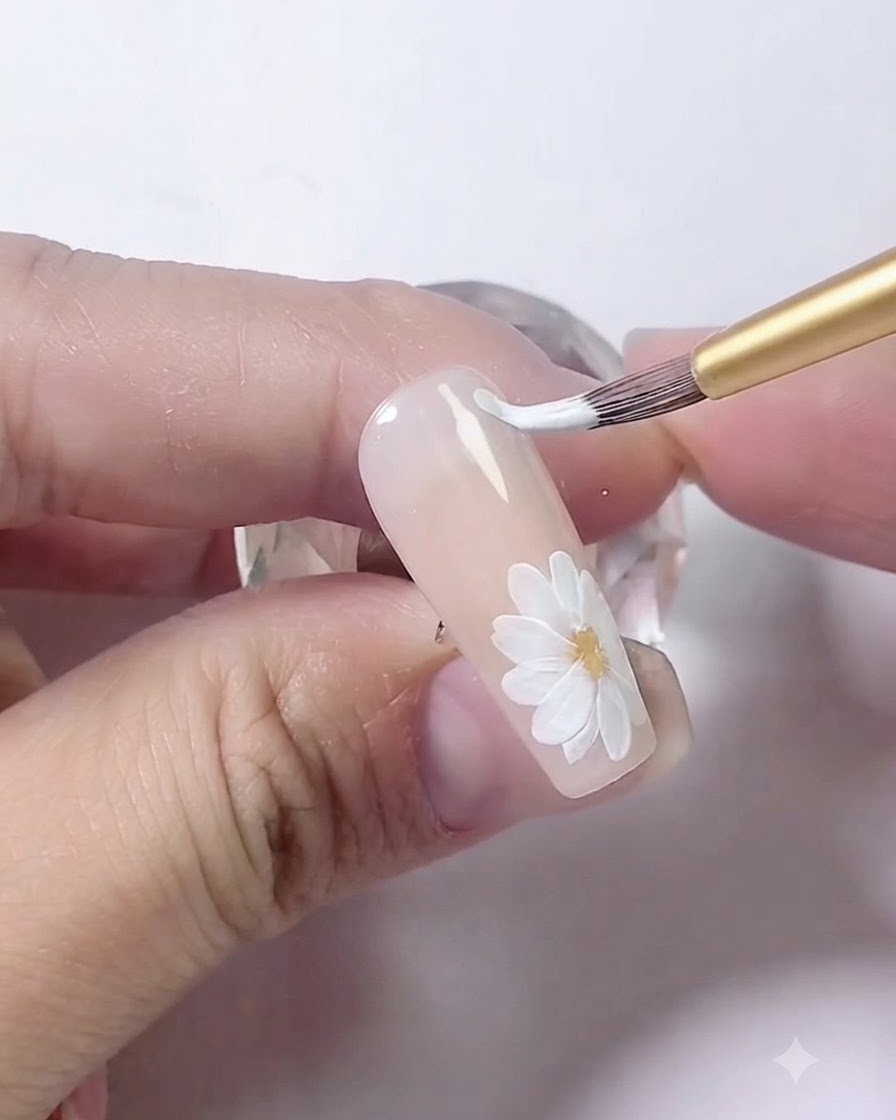
Use the white gel and brush to draw two parallel white curved lines along the side edge of the nail to accent the overall design.
Tip: Keep your hand steady and use light pressure to achieve smooth, even curved lines. - 7Blend with Gray Liner Brush
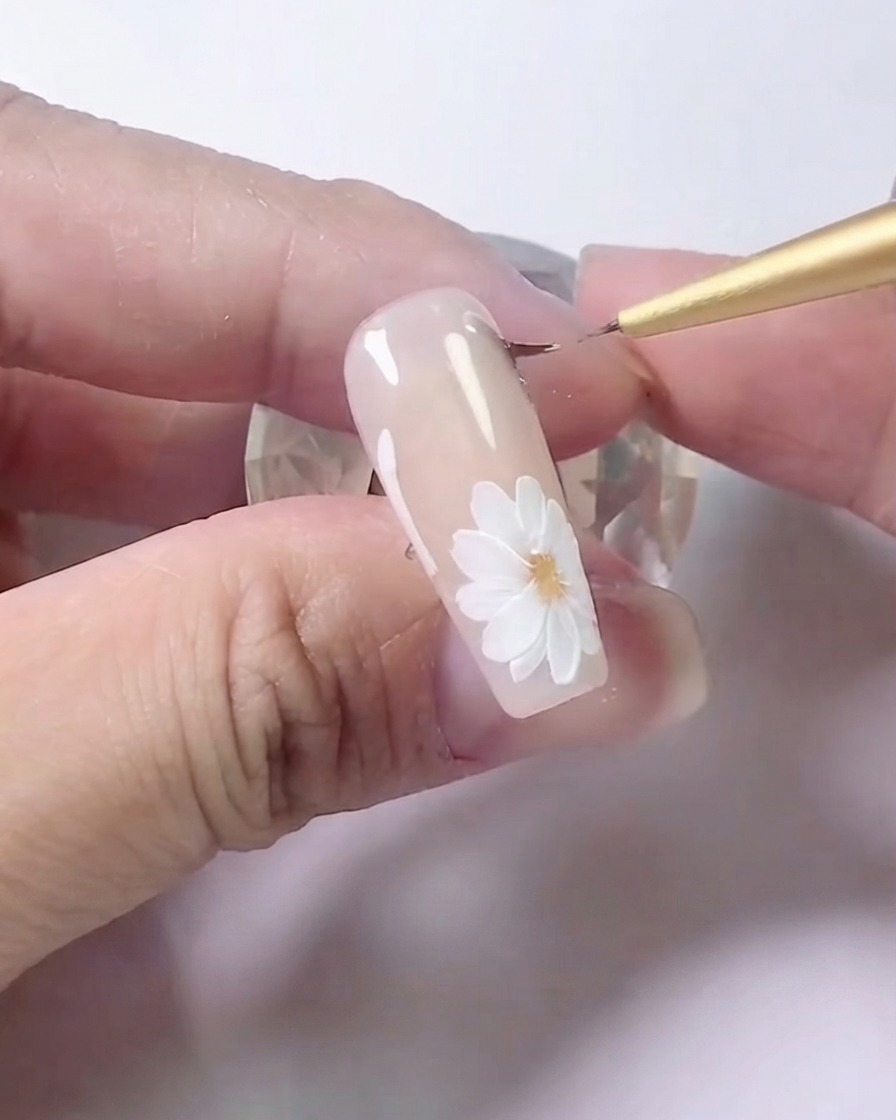
Using a fine liner brush with a touch of gray color, gently blend along the outer edges of the white side lines to create a soft, seamless transition and shadow effect.
Tip: Keep your hand light and use very little product on the brush to achieve a delicate, gradient look rather than harsh lines.