Ethereal Layered Daisy Floral Nail Art — Step-by-Step Tutorial
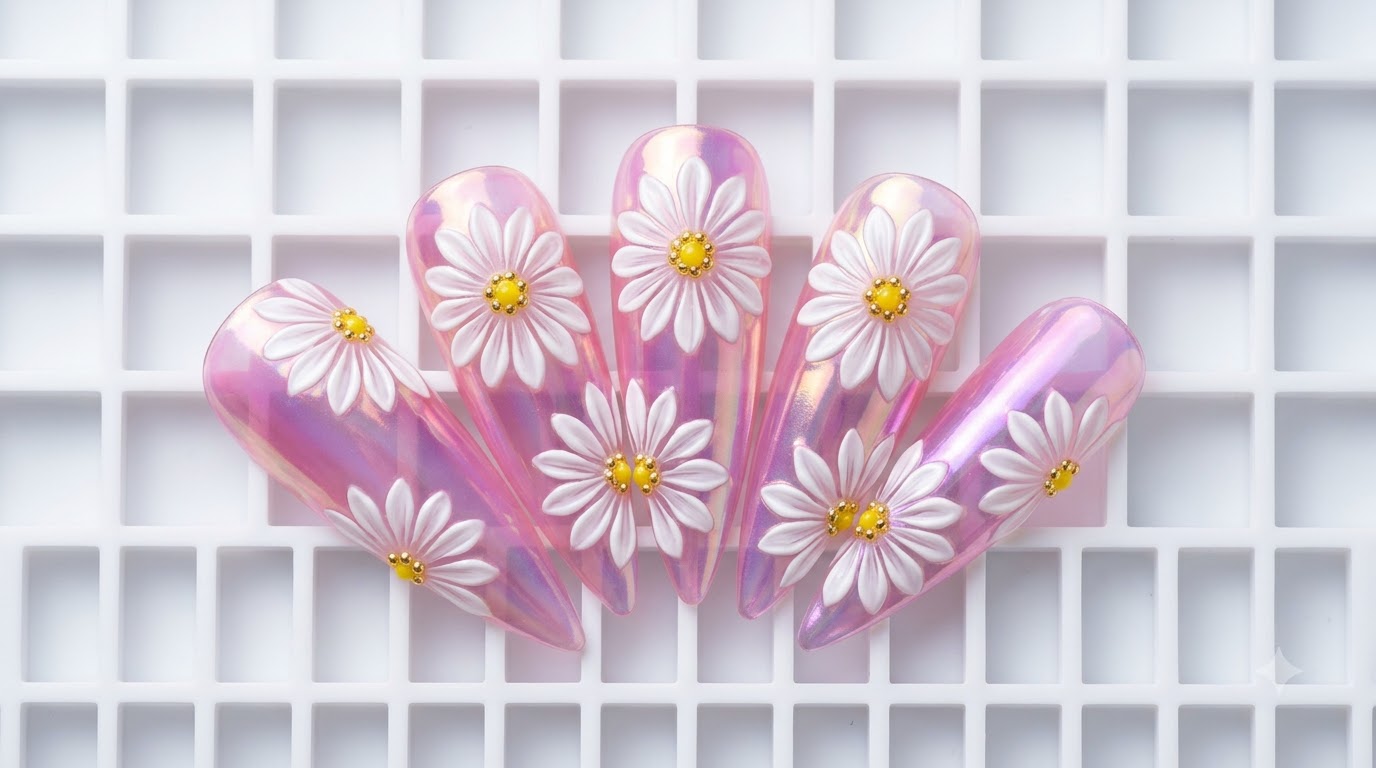
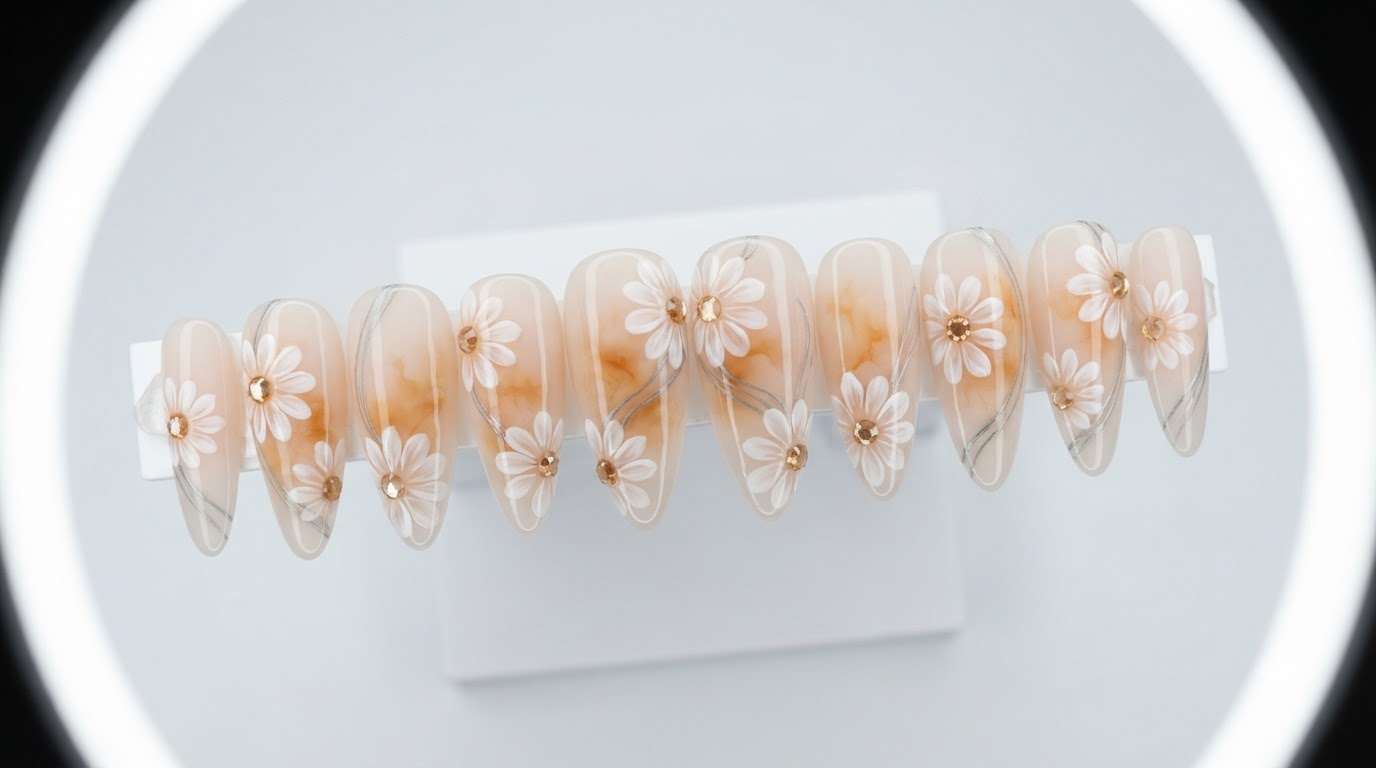
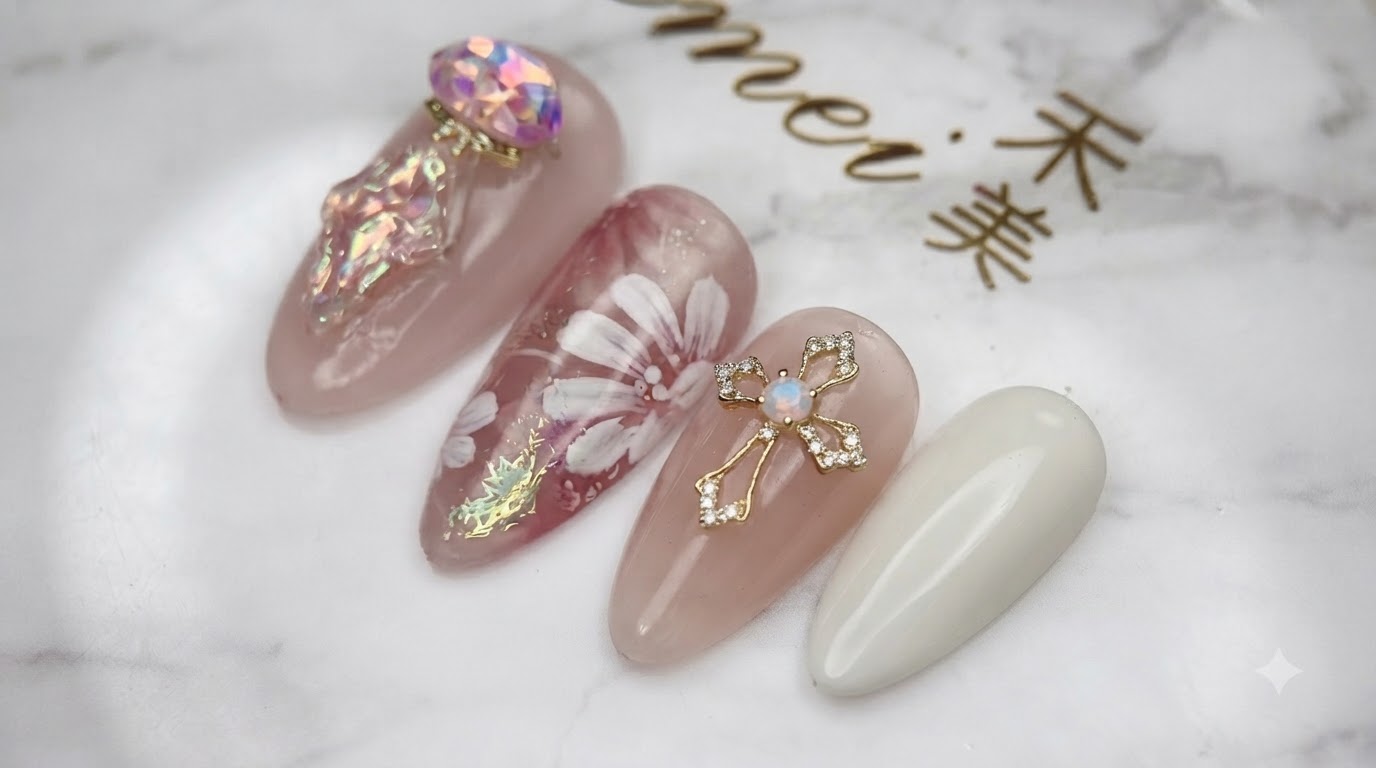
Create an ethereal press-on nail look featuring translucent pink gel, multi-layered white daisies, iridescent opal flakes, and a crystal-encrusted cross charm.
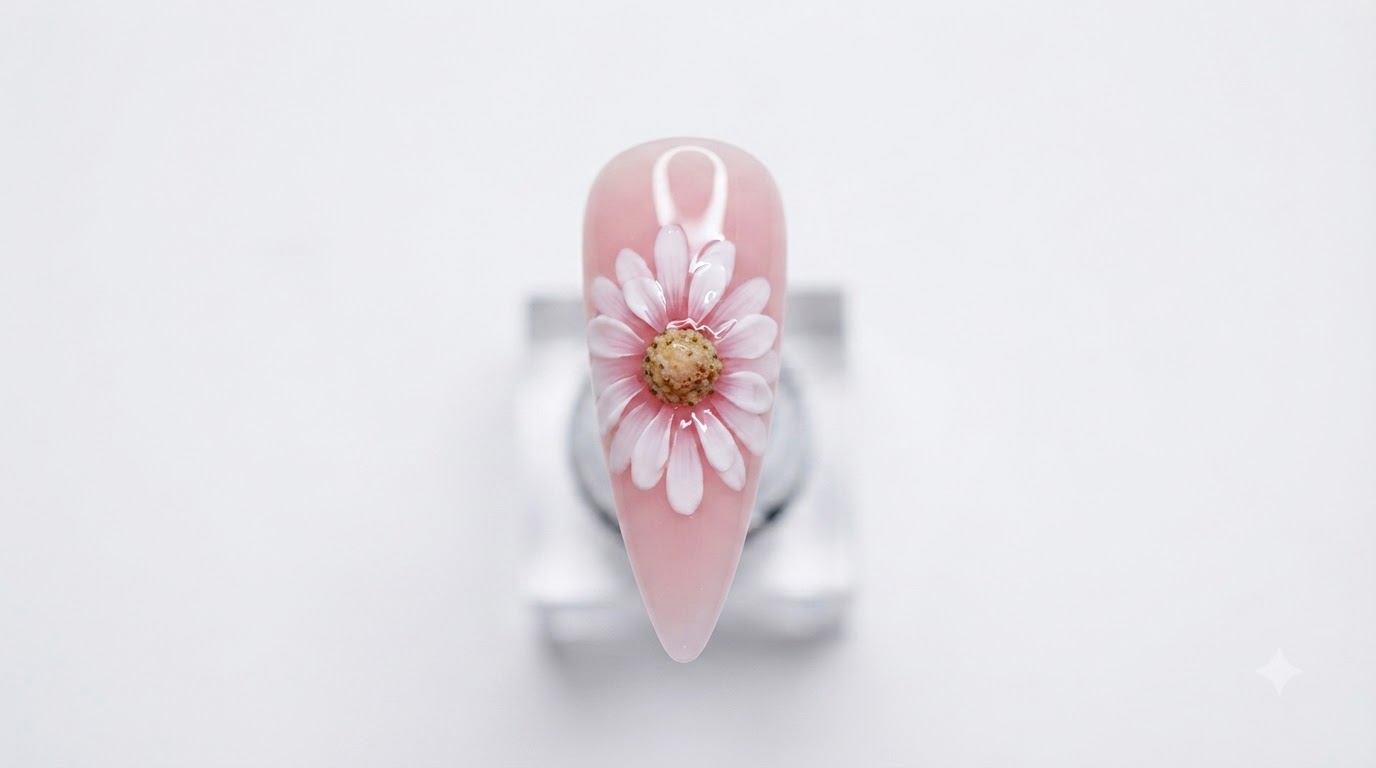
Encapsulated floral designs offer a stunning dimensional effect that looks like delicate artwork floating beneath the surface of the nail. By layering hand-painted white petals between sheer pink gel coats, you achieve a professional, multi-dimensional depth that captures light beautifully. Accentuated with opal flakes, gold glitter, and a statement cross charm, this aesthetic blends romantic softness with elevated luxury.
Steps
- 1Paint Initial Daisy Petals
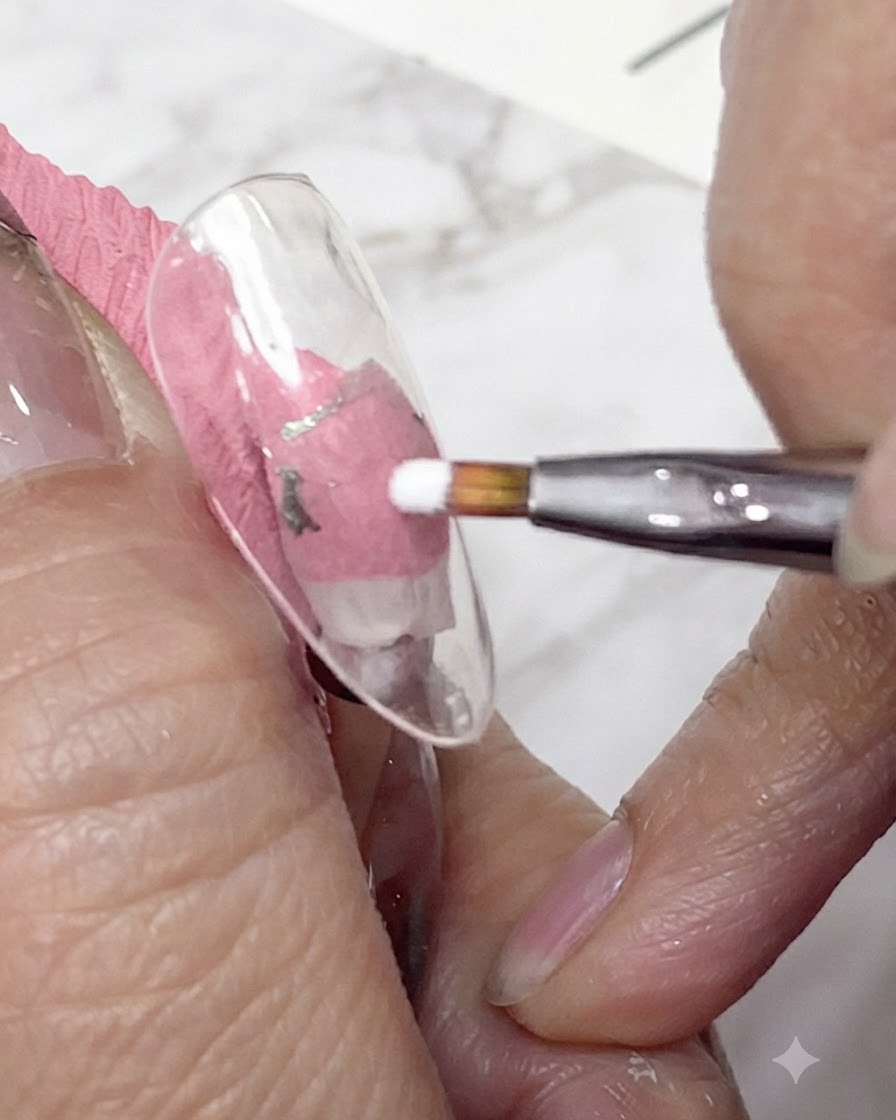
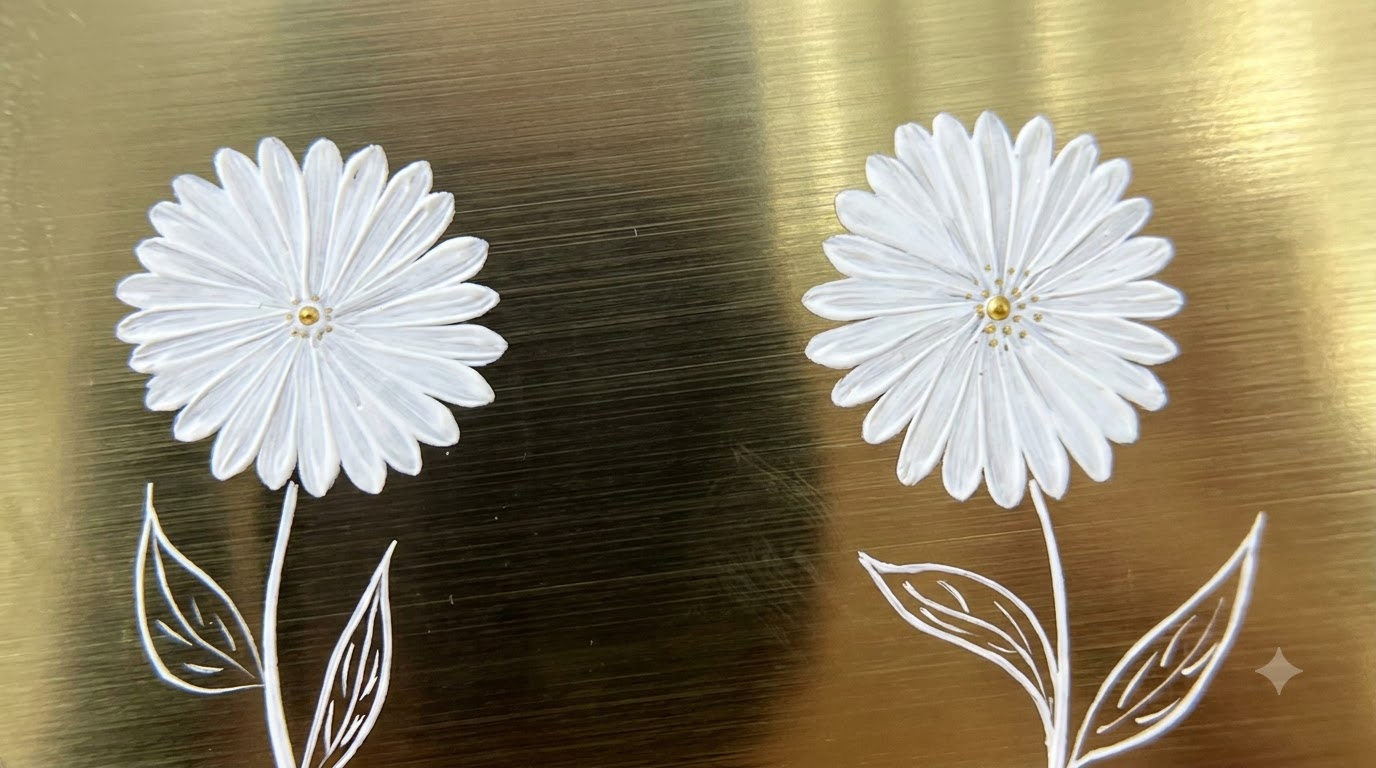
Using a fine liner brush loaded with white gel, carefully paint the initial petal strokes for a daisy flower directly onto the clear extension stand nail tip. Position the strokes to form the foundational layout of the floral design, keeping the lines crisp and well-defined.
Tip: Wipe your liner brush on a lint-free pad with a tiny bit of alcohol before starting to ensure a super sharp tip for delicate petal strokes. - 2Define Additional Daisy Petals
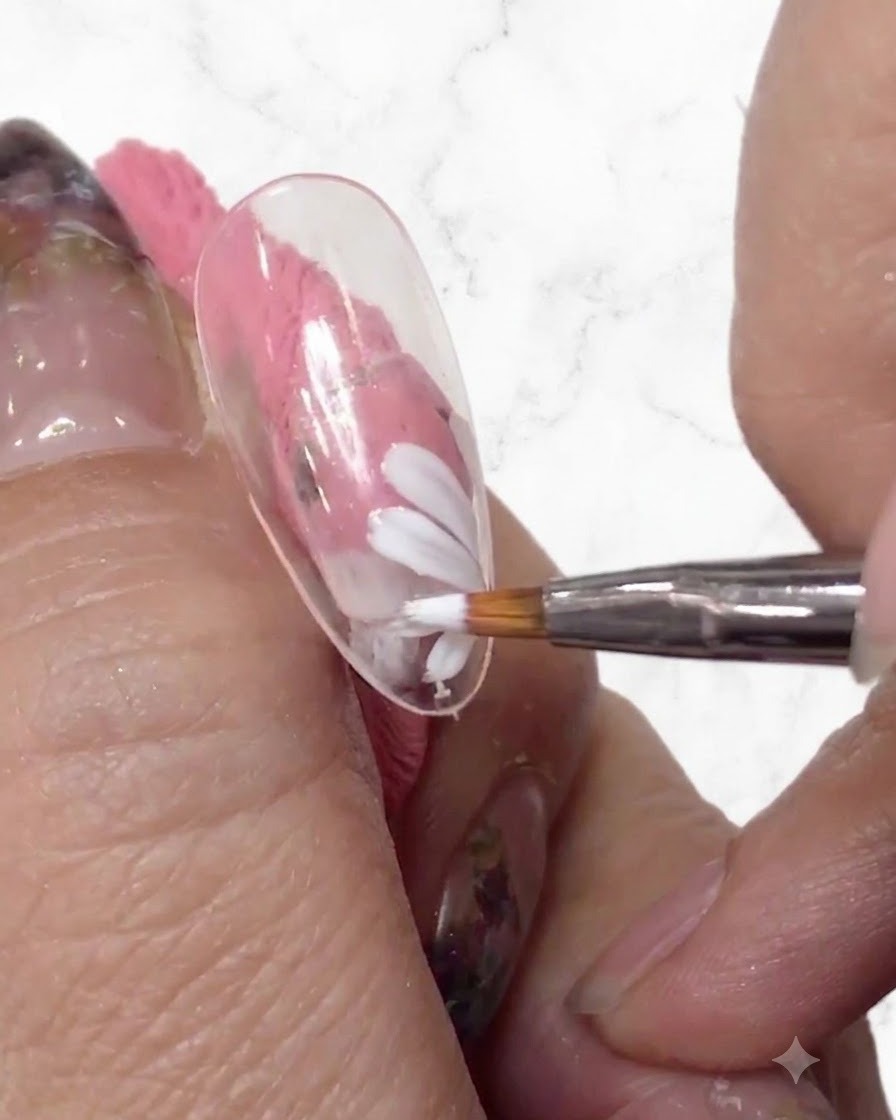
Continue filling in and defining additional white daisy petals radiating outward from the center point across the clear nail surface. Build up the shape and fullness of the flower to create a balanced composition.
Tip: Keep your hand steady by resting your pinky finger against your working hand for maximum control during detailed floral work. - 3Complete White Floral Layout
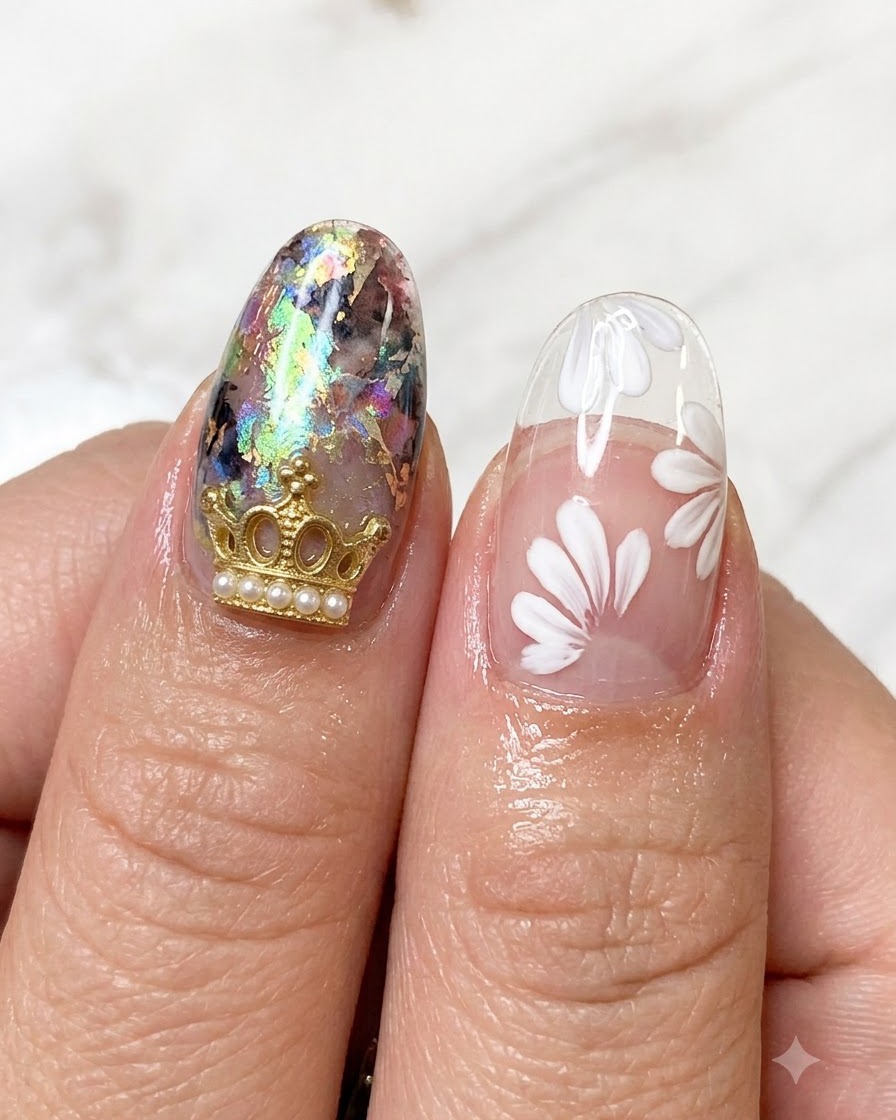
Add more detailed strokes to complete the white floral design layout across the transparent nail tip. Ensure all petals are evenly spaced and well-formed before moving on to the next phase of the overlay.
Tip: Flash cure for 5 seconds between petal layers if you notice the white gel spreading or losing its sharp definition. - 4Apply Sheer Pink Gel Layer
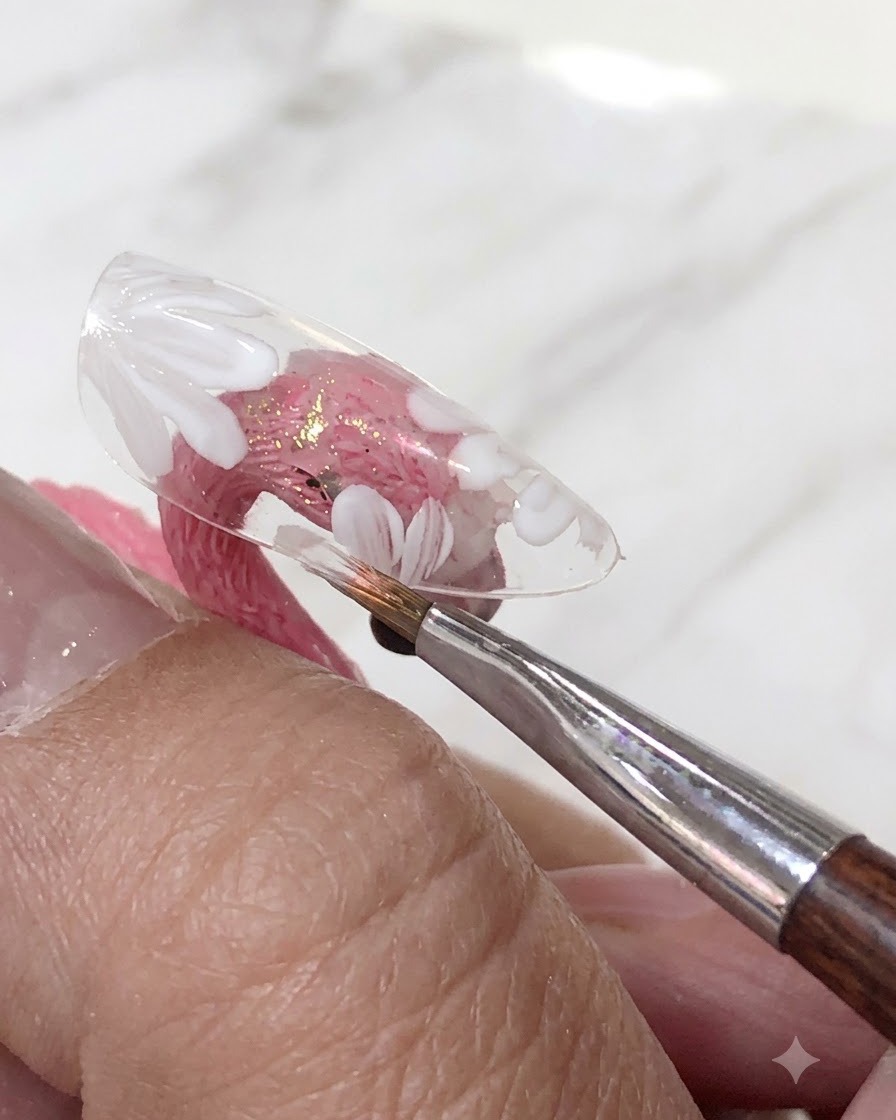
Apply a sheer pink gel polish layer directly over the previously painted white daisy art using the polish bottle brush. This translucent layer will tone down the initial white artwork and create a dimensional, encapsulated look.
Tip: Apply the sheer tint smoothly and evenly to avoid creating patchy dark spots over the white nail art design. - 5Cure Gel Layer with Mini Lamp
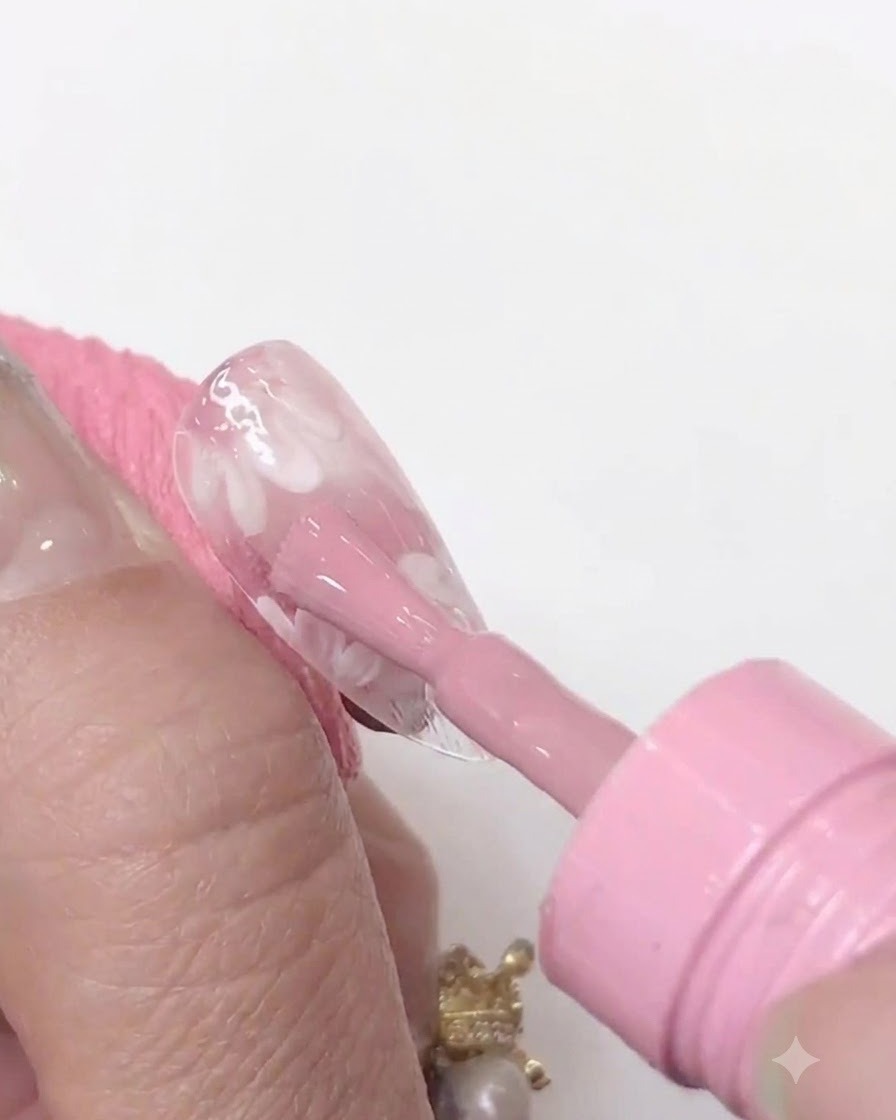
Cure or flash the gel layer under a mini UV/LED nail lamp held closely over the nail to set the pink tint in place. Ensure the light covers the entire nail surface evenly to prevent shifting or wrinkling of the gel.
Tip: Hold the mini lamp steady and close to the nail tip for a quick 10-second flash cure before doing a full cure. - 6Paint Second Layer of Petals
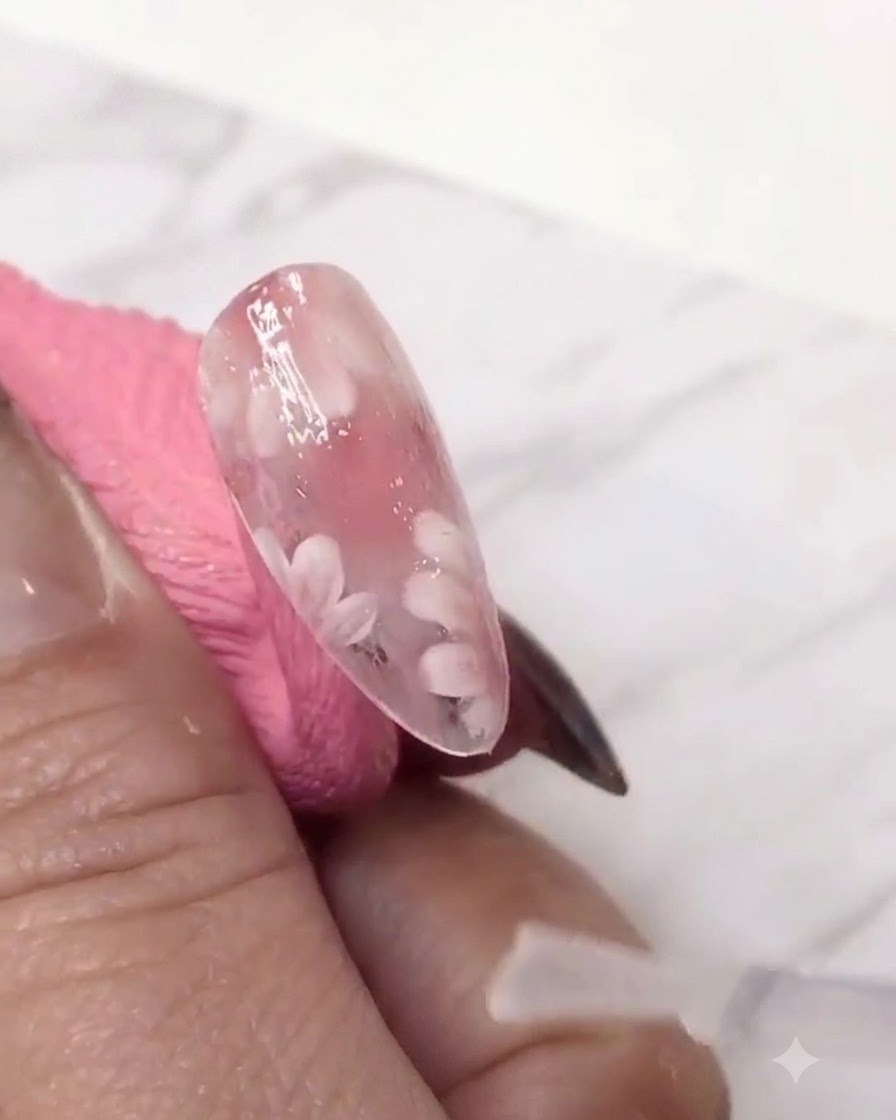
Using a fine liner brush with white gel, paint a second layer of daisy petals directly over the translucent pink tint. This technique creates a beautiful layered depth effect, making the flowers look like they are floating inside the nail.
Tip: Layering the art gives a stunning 3D encapsulated illusion, so make sure the second flower layer is slightly offset or varied in size from the first. - 7Refine the White Floral Petals
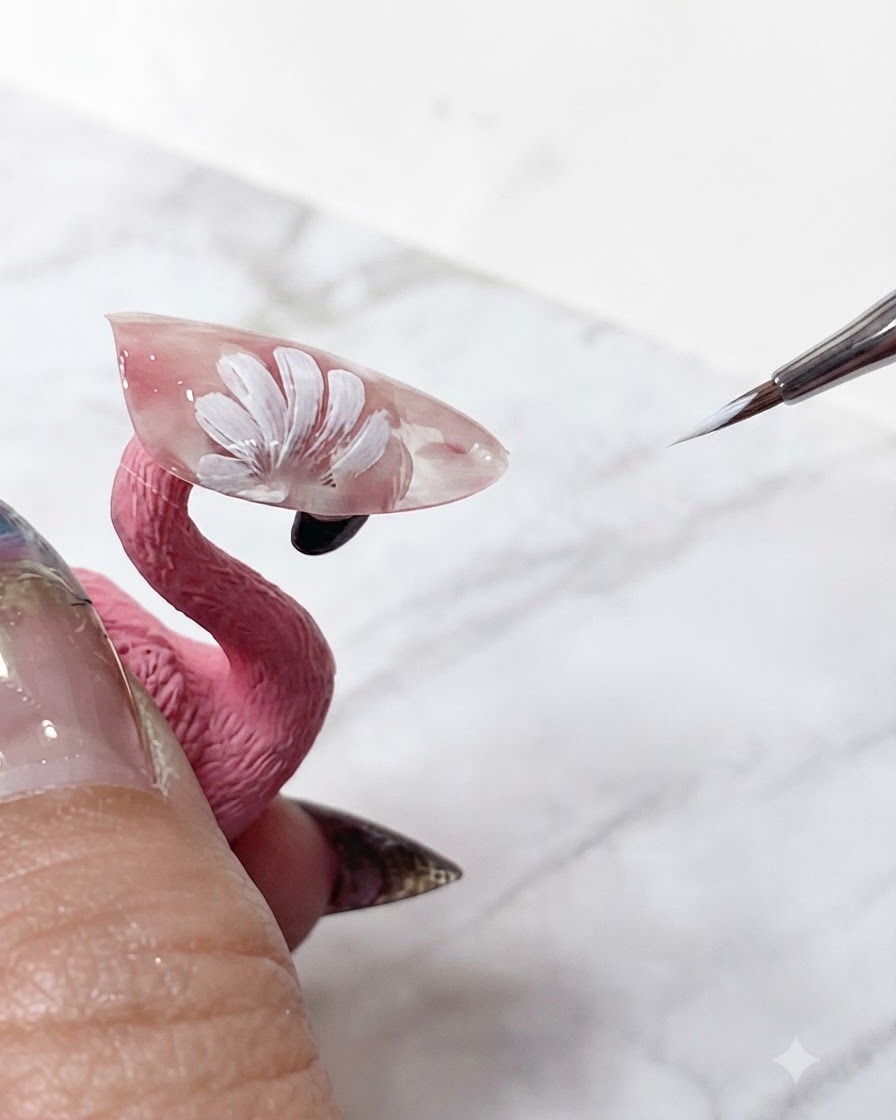
Using a fine detailing brush, carefully refine the tips and edges of the second layer of white floral petals to enhance depth and dimension within the transparent gel design.
Tip: Keep your brush strokes light and precise to ensure the layered petals maintain a delicate, translucent look. - 8Apply Sheer Pink Gel Layer
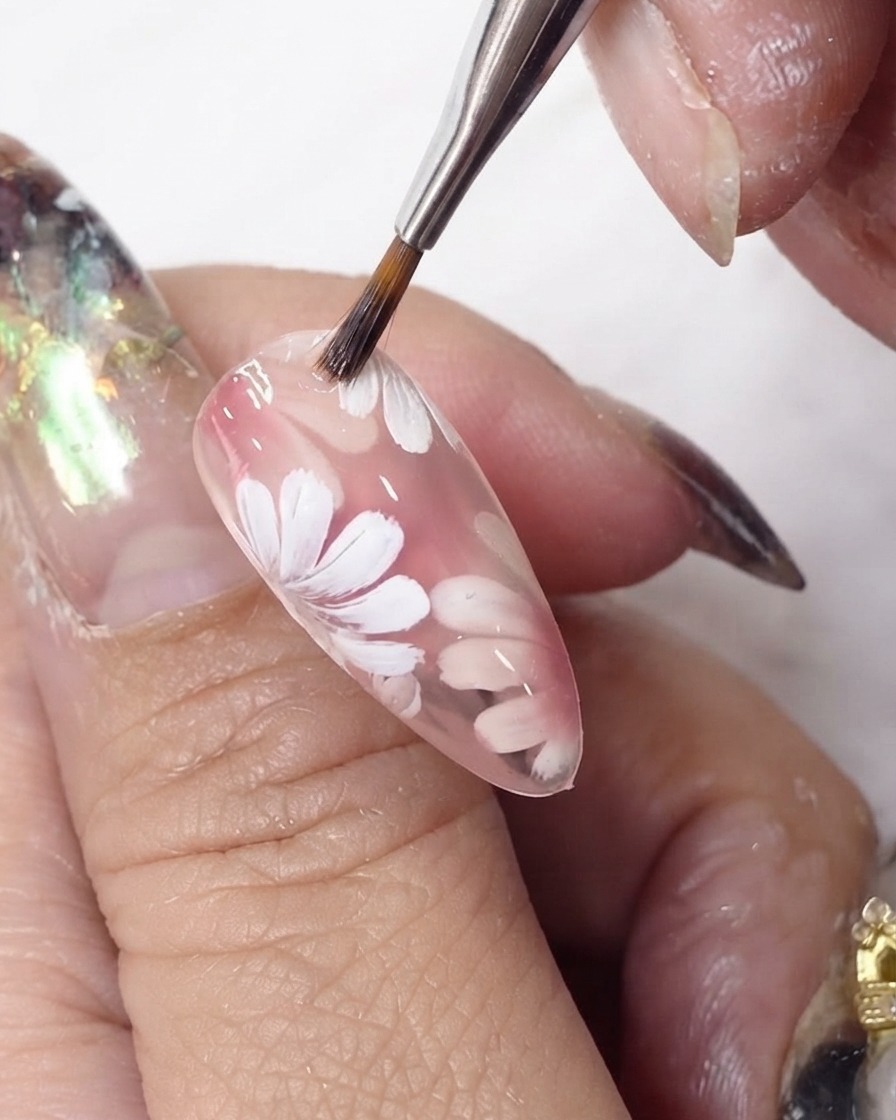
Apply a thin layer of sheer pink gel polish over the newly painted flower layer to lock in the depth and create the signature encapsulated watercolor effect.
Tip: Ensure the gel layer is applied smoothly and thinly so the underlying petals remain clearly visible. - 9Smooth and Level the Gel Coat
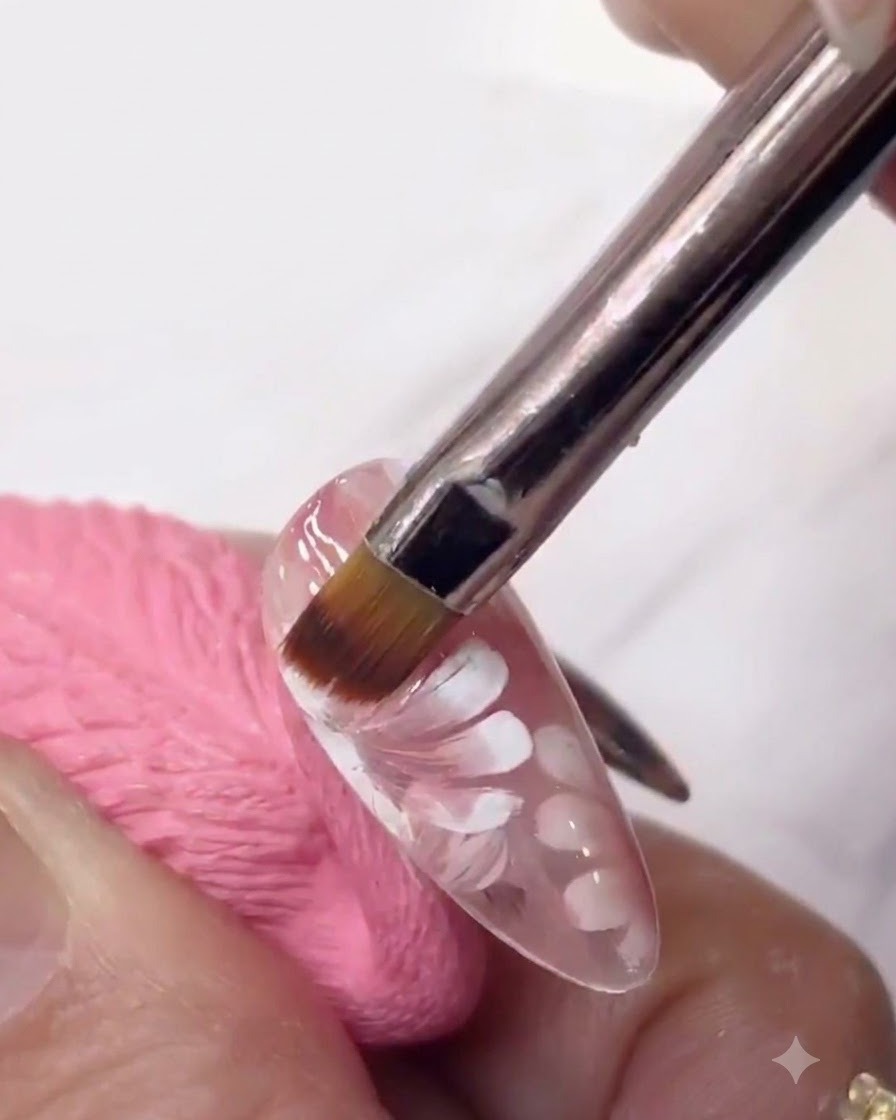
Use a fine brush or allow the self-leveling formula to gently smooth out the pink gel coat, ensuring an even and polished surface across the entire nail structure.
Tip: Check the nail surface from various angles under the light to catch any uneven bumps before curing. - 10Add Center Accent Dots
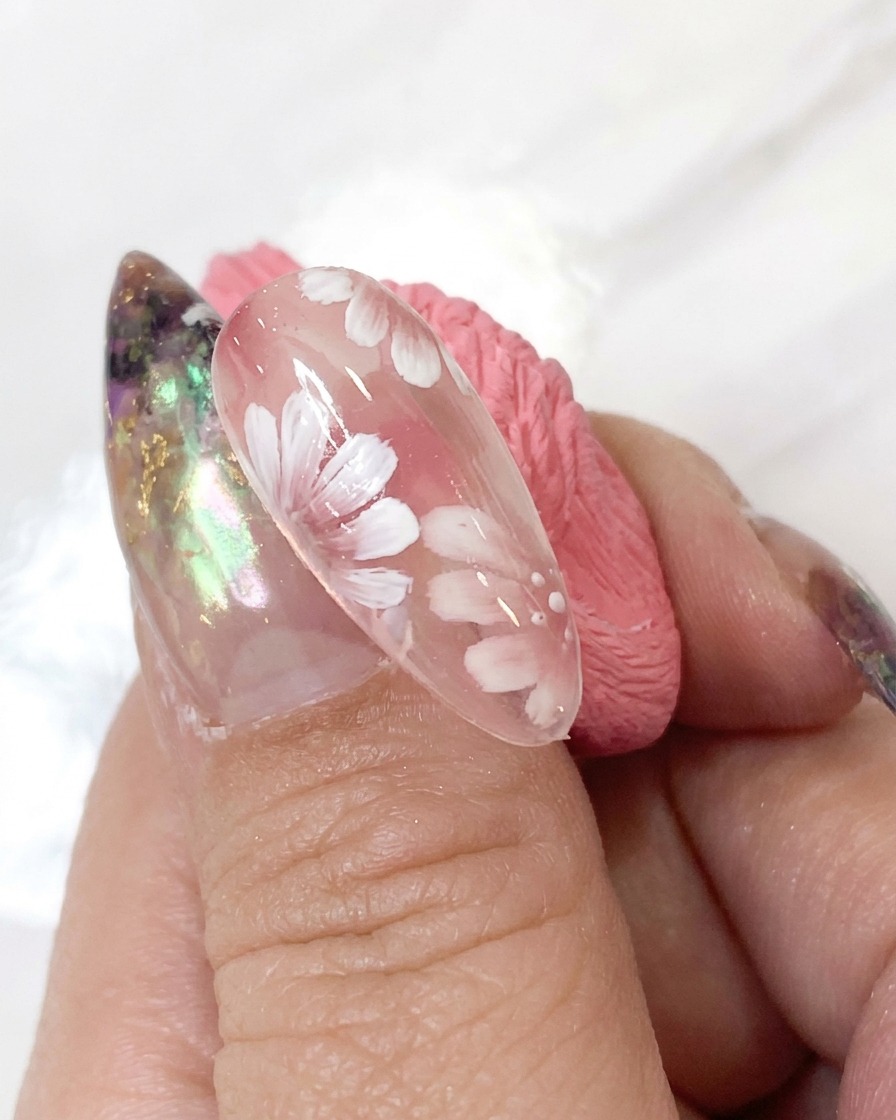
Dip a fine dotting tool into white gel and place tiny accent dots around the center of the daisy flowers to add intricate detail and texture.
Tip: Vary the pressure slightly on your dotting tool to create natural-looking variations in dot size. - 11Cure the Nail Design
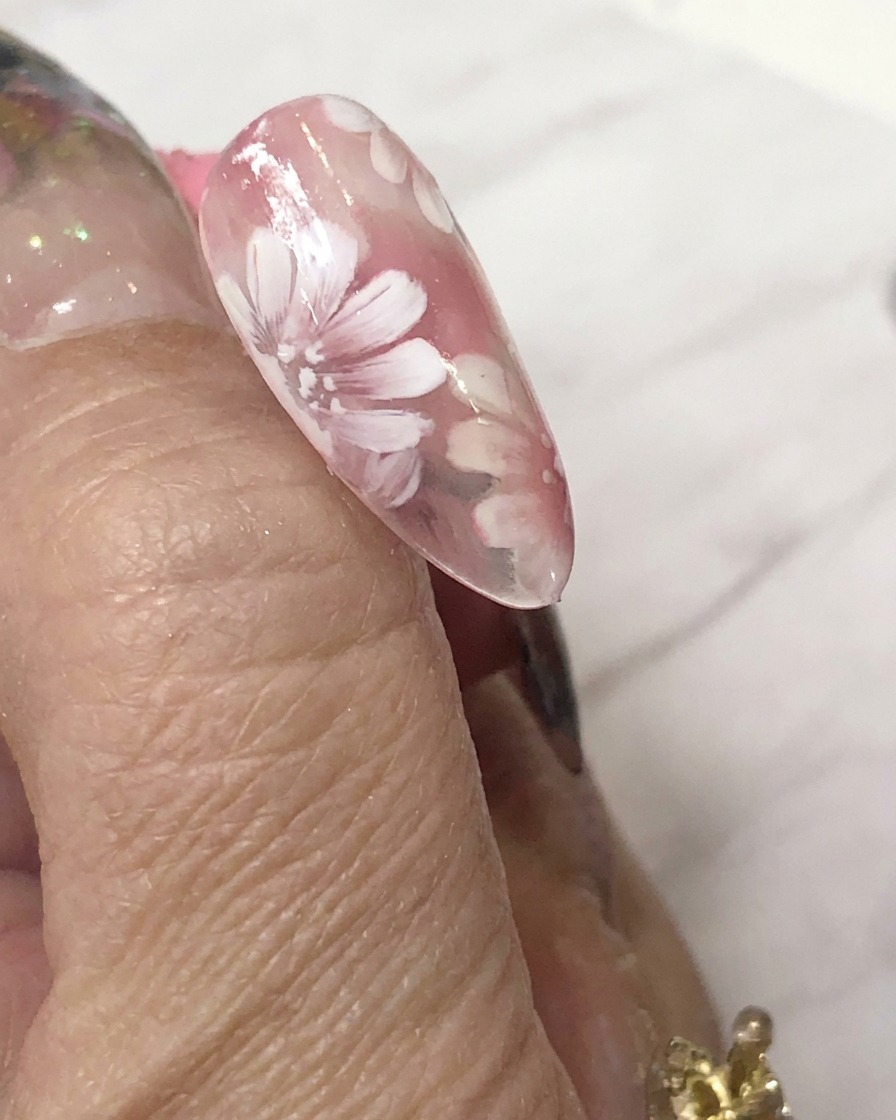
Place the nail under a mini handheld UV/LED curing lamp to securely cure the final layers and decorative details in place.
Tip: Hold the mini lamp steady over the nail to prevent any shifting of uncured gel details during the initial flash cure.