Double-Layer Daisy Floral Nail Art
Aurora and Chrome Effects — Step-by-Step Tutorial
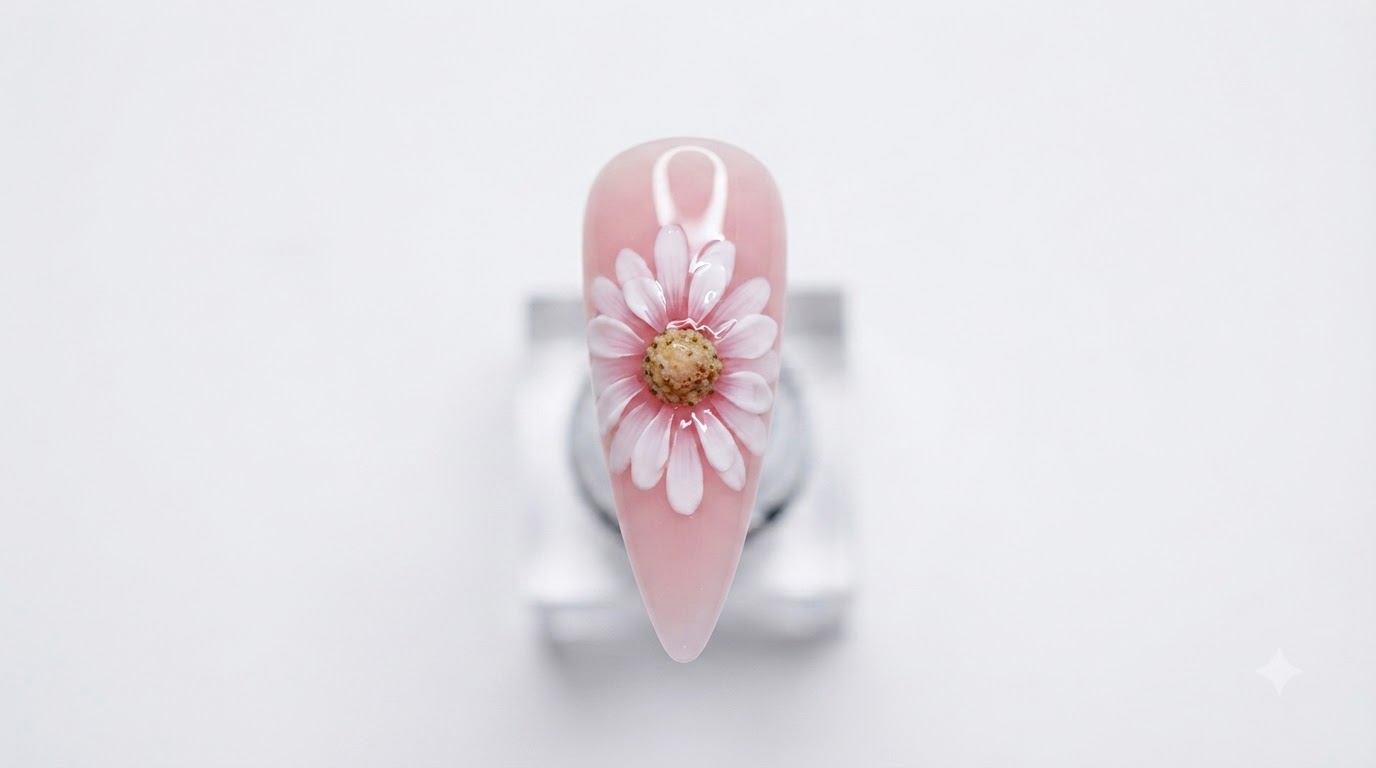
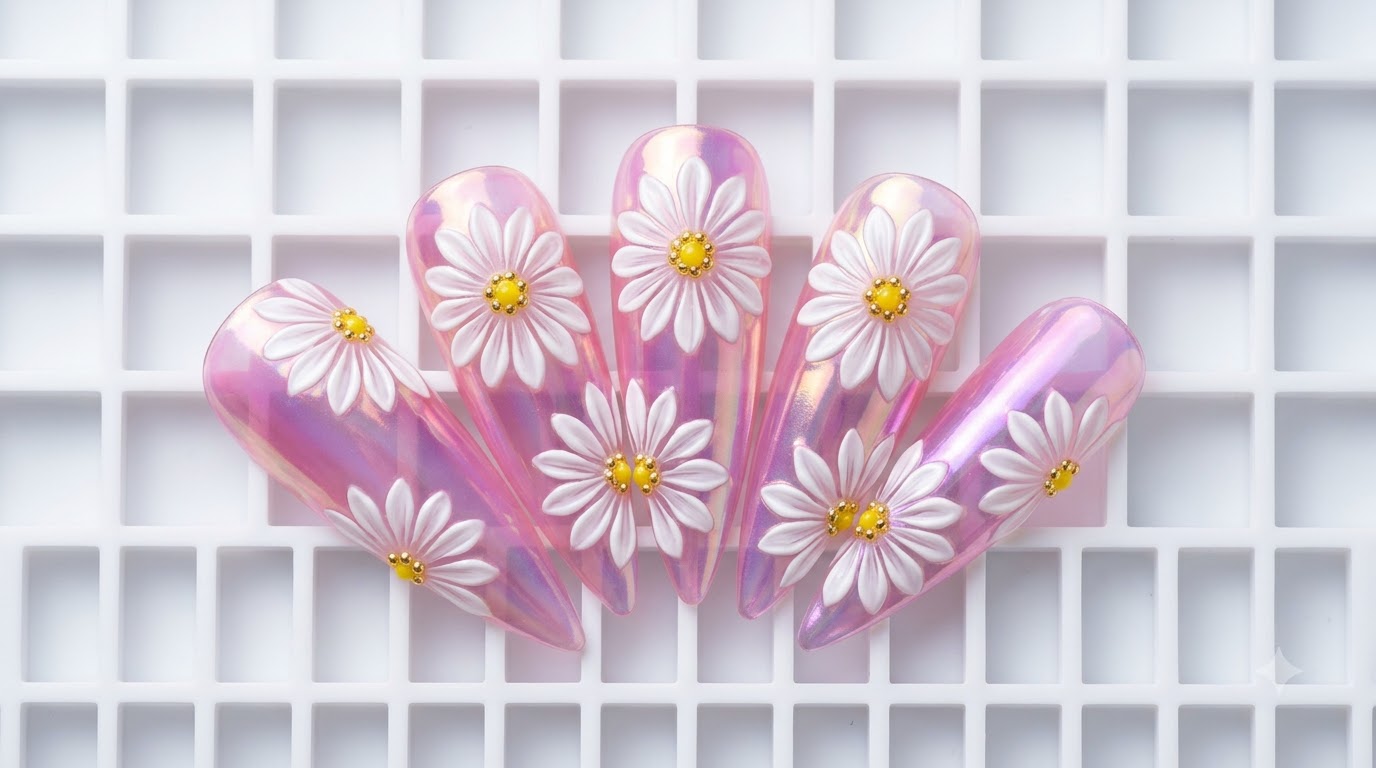
Create stunning multi-dimensional floral gel nails featuring shimmering aurora chrome finishes, layered white daisy petals, and encapsulated translucent pink depth.
Layered floral nail art brings a fresh, blooming elegance to your fingertips, combining iridescent aurora chrome backgrounds with realistic, multi-dimensional petals. By alternating fine hand-painted white gel details with translucent pink jelly coats, this technique creates an encapsulated glass effect that catches the light from every angle. Whether you are prepping for spring or looking to master intricate dimensional gel work, this step-by-step guide will help you achieve salon-quality results at home.
Steps
- 1Display pre-painted aurora nail model
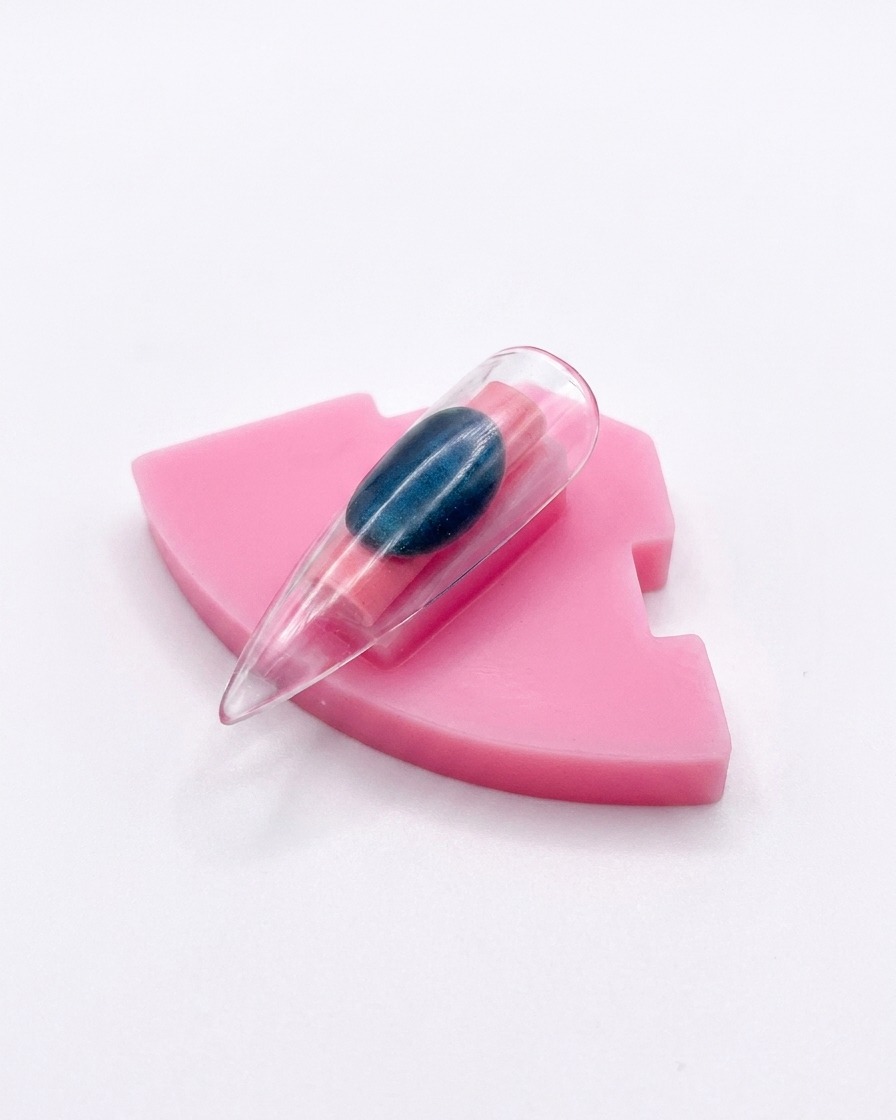
Place the pre-painted aurora effect nail model securely onto a pink support stand to begin the decorative artwork phase. This serves as the foundation layer featuring a color-shifting aurora polish that sets the iridescent background for the daisy design.
Tip: Ensure the aurora base is fully cured and free of dust before starting hand-painted details. - 2Dip fine brush into white gel
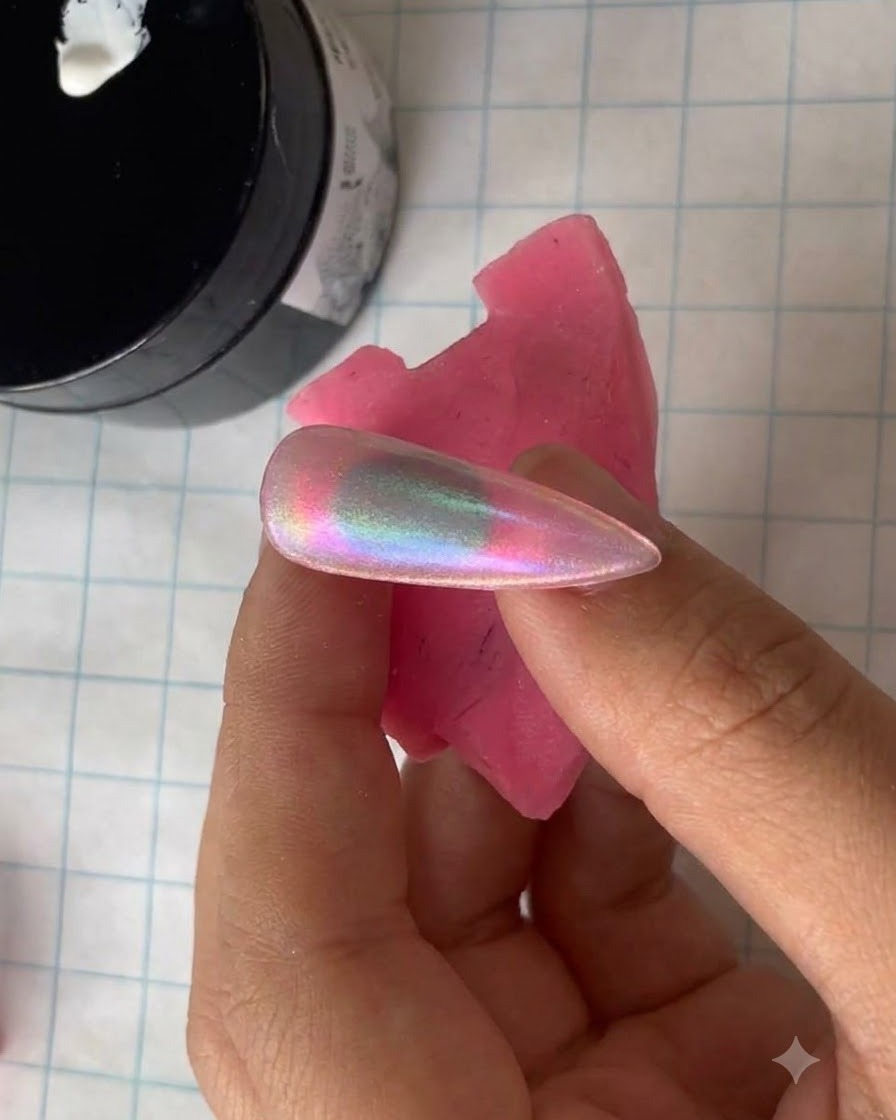
Take a fine nail art liner brush and lightly dip the tip into the white gel paint from the black jar. Load just enough pigment onto the brush tip to ensure sharp, clean lines when painting fine flower petals.
Tip: Wipe excess gel from the brush bristles to maintain a razor-sharp point for precise detailing. - 3Apply matte top coat over aurora base
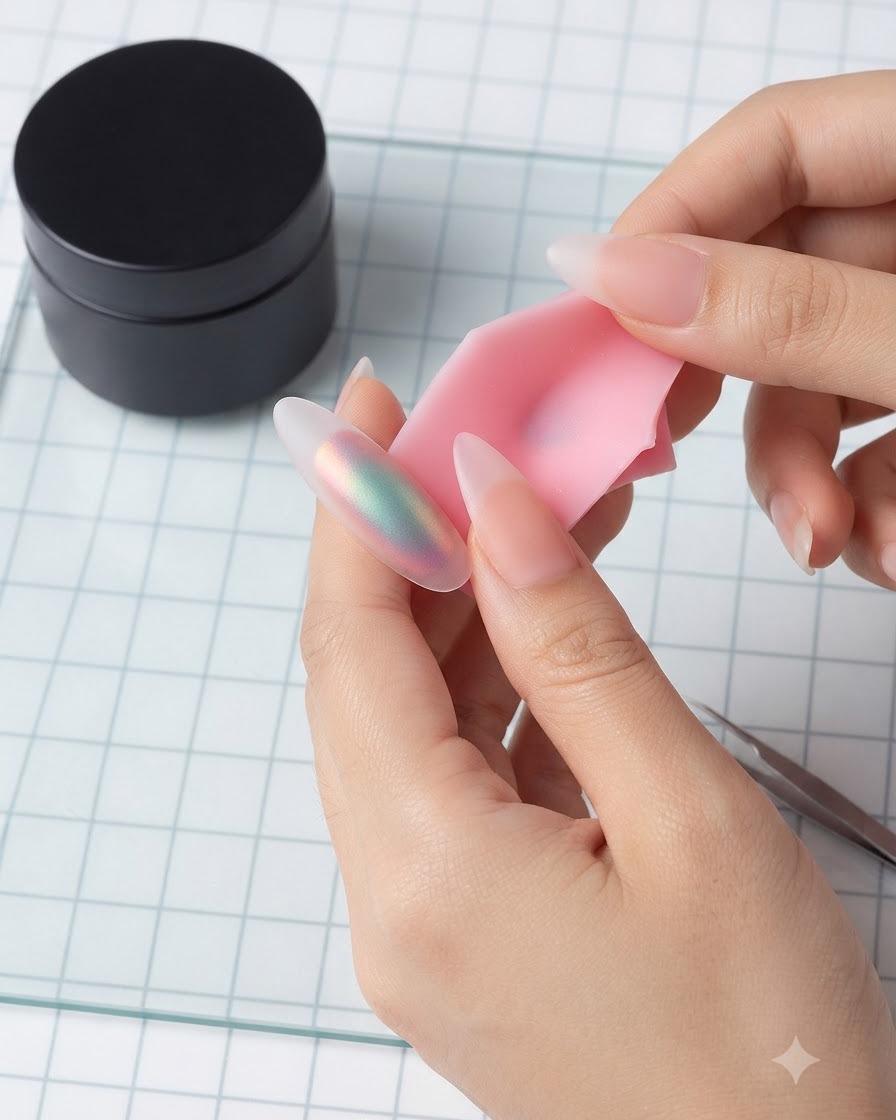
Using a brush, apply an even layer of matte top coat over the cured aurora effect nail surface. The matte finish cuts down shine and provides a smooth texture that helps subsequent gel layers grip effectively.
Tip: Apply in smooth, thin strokes to prevent pooling or streaking across the curved surface. - 4Cure matte top coat under UV or LED lamp
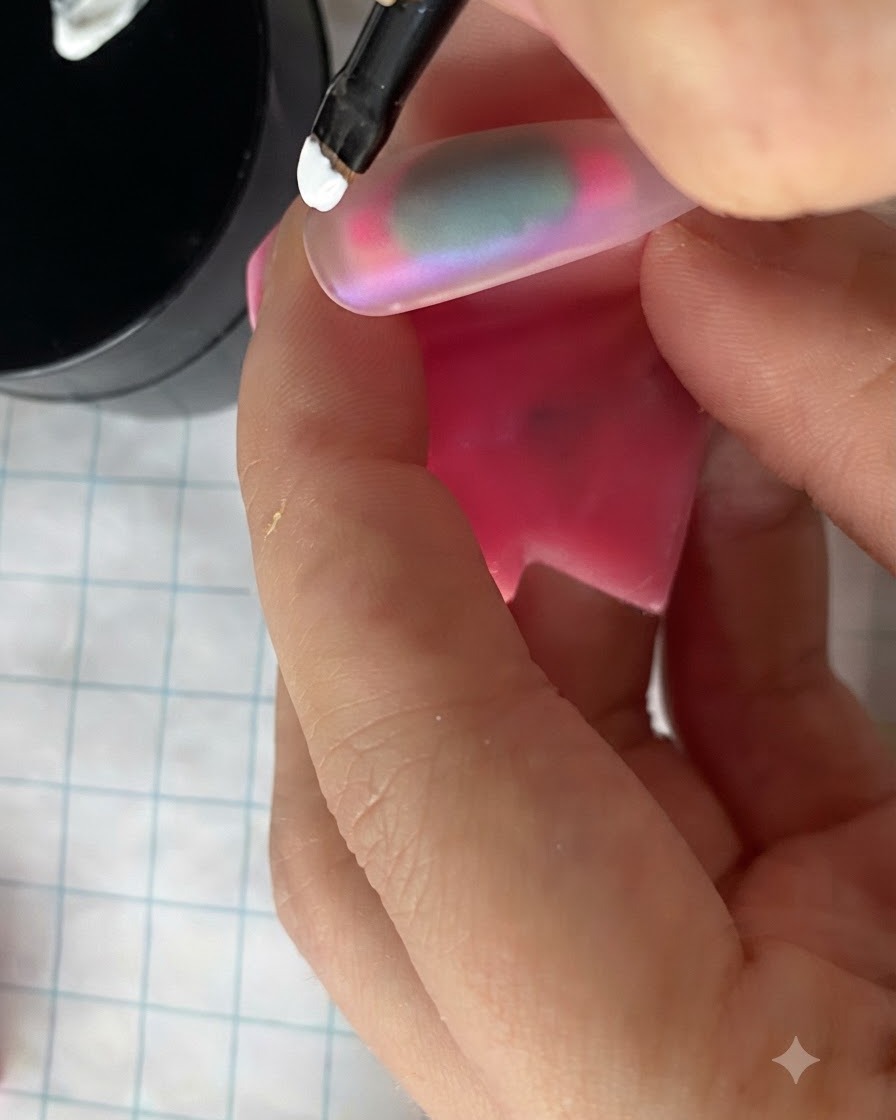
Position the nail model under a UV or LED nail lamp to fully cure the newly applied matte top coat layer. Follow standard curing times to ensure the surface is completely dry and ready for hand-painting.
Tip: Keep hands steady and centered under the lamp light source for uniform curing. - 5Paint the first petal of the larger daisy
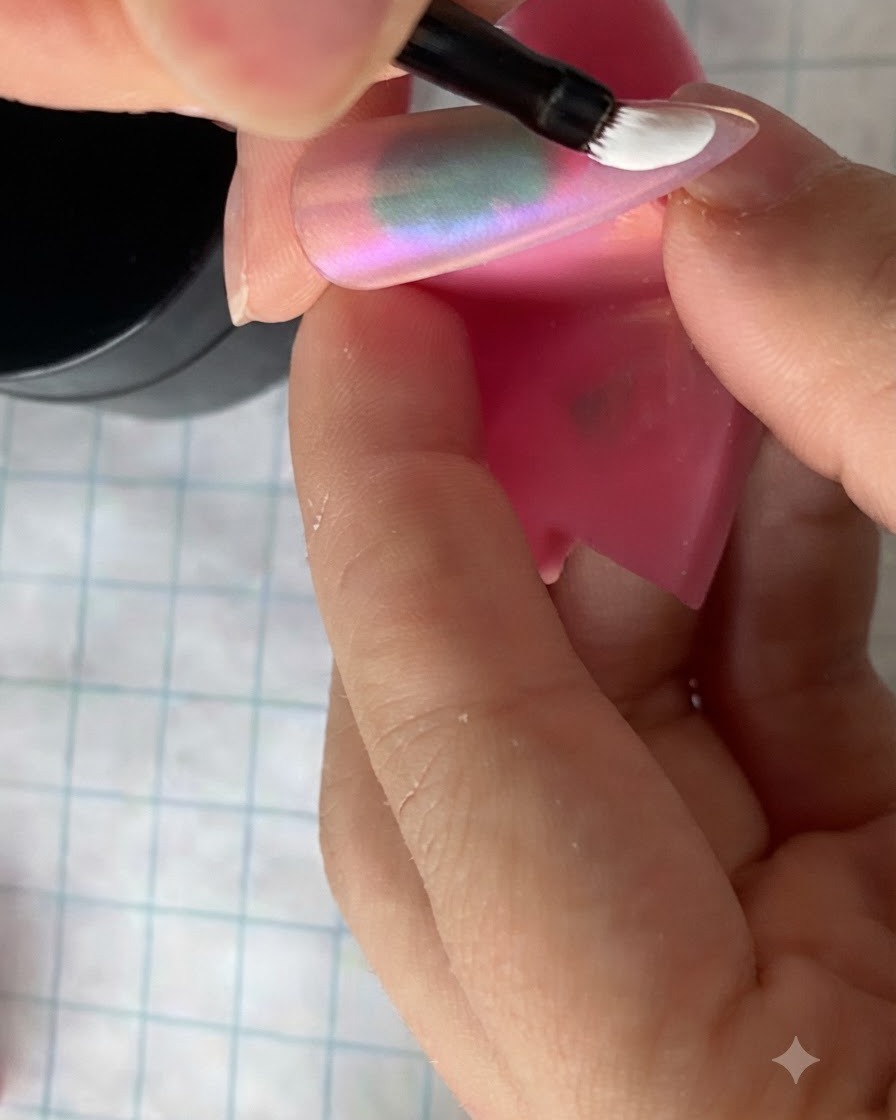
Using the fine liner brush loaded with white gel, carefully draw the initial petal of a larger daisy near the nail tip. Keep the pressure light and consistent to form a clean, rounded petal shape.
Tip: Anchor your pinky finger for stability when executing fine hand-painted nail art strokes. - 6Complete the first layer daisy petals
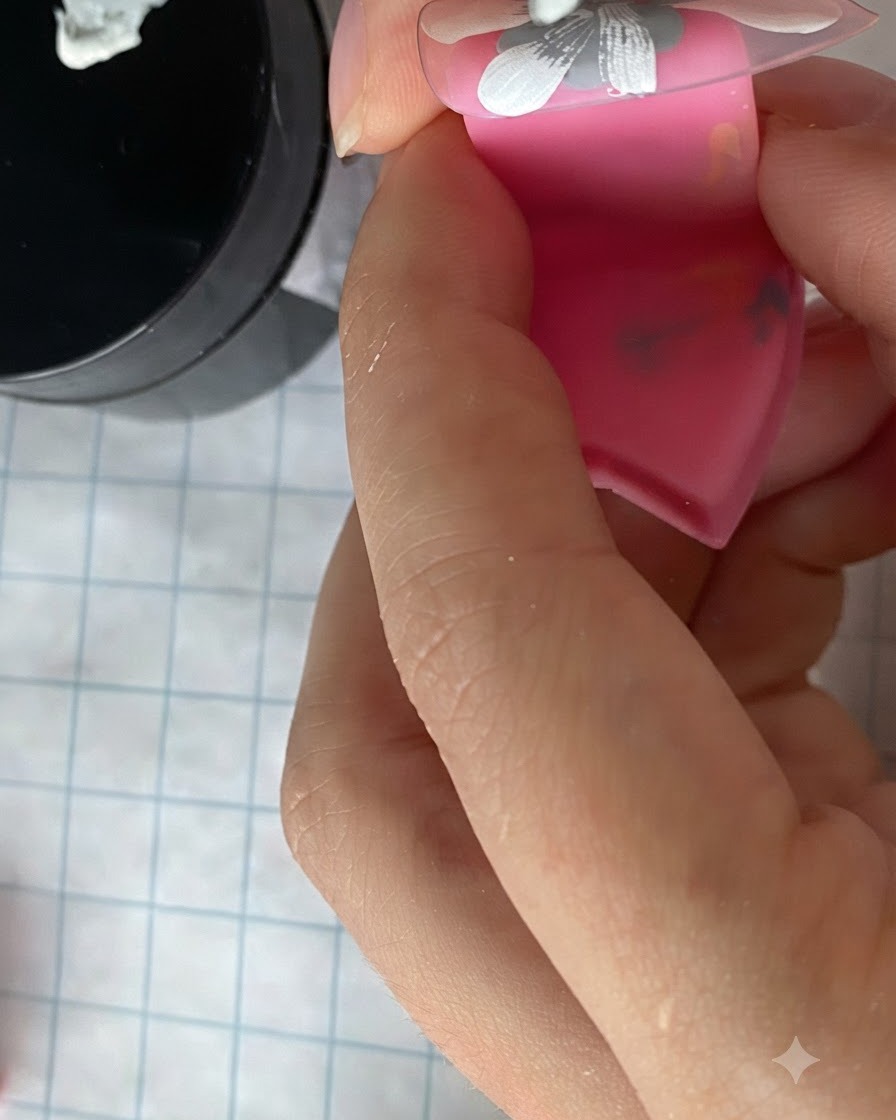
Continue using the fine brush and white gel to paint and fill in the remaining petals, forming a complete first layer of larger daisies across the nail surface. Balance the spacing to allow room for subsequent design layers.
Tip: Cure the petals briefly if you are worried about lines bleeding before moving to the next step. - 7Cure the first white daisy layer
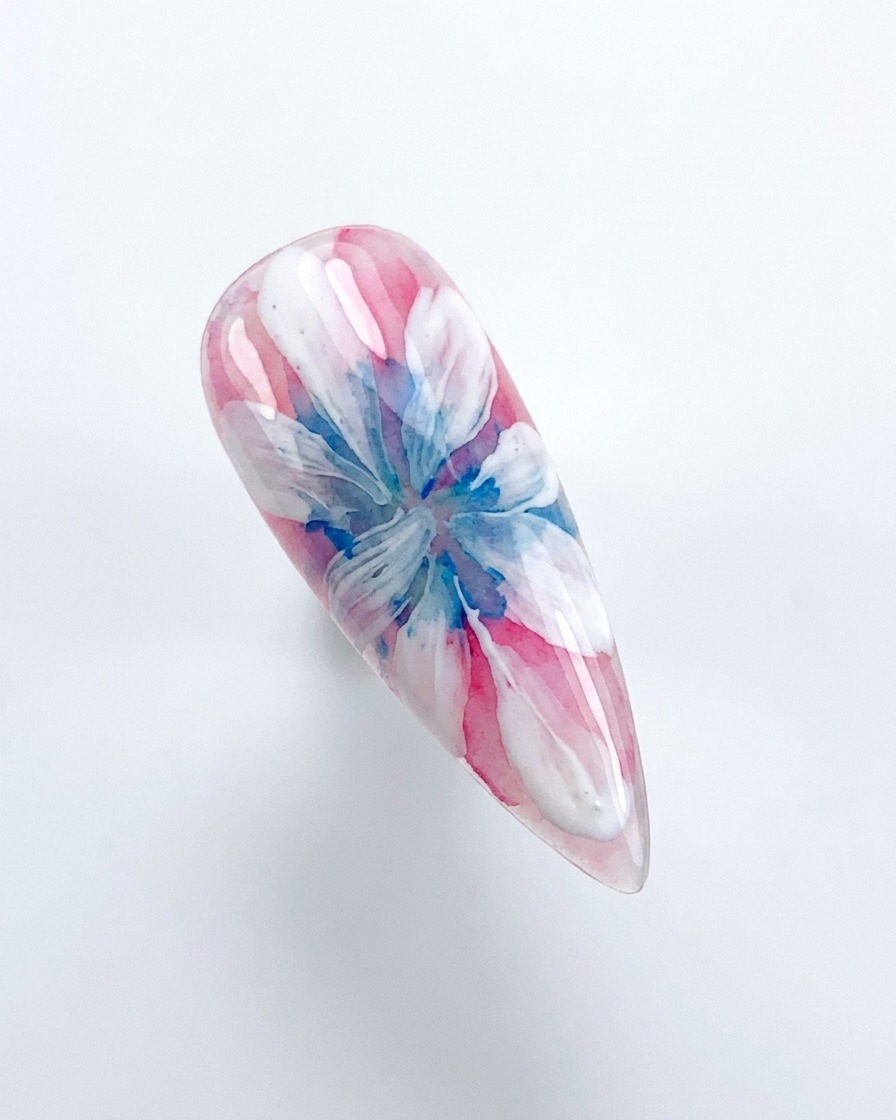
Place the nail under a UV/LED lamp to completely cure the first layer of painted white daisy petals. Ensuring this layer is fully cured creates a stable, solid base for the subsequent translucent overlay and prevents smudging during the next steps.
Tip: Make sure your hand is positioned correctly under the lamp to cure the edges of the nail thoroughly. - 8Apply translucent pink gel
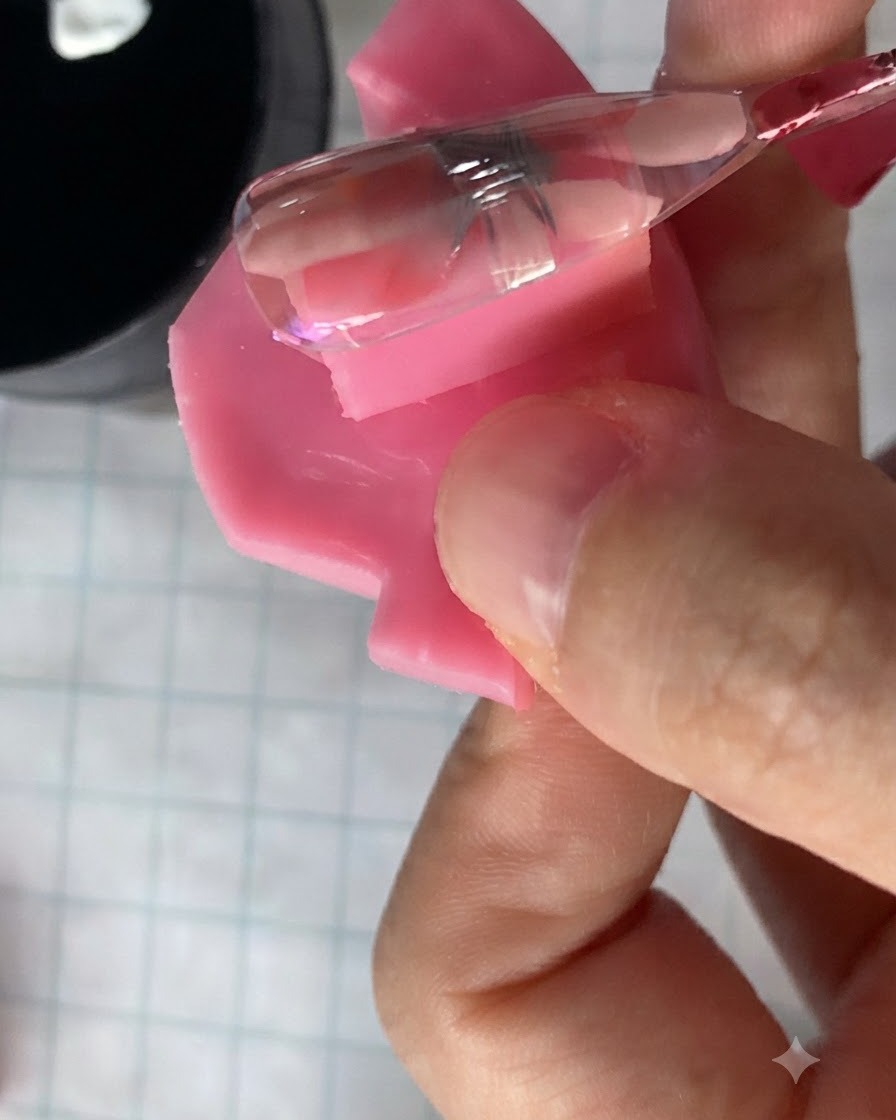
Using a brush, evenly apply a layer of translucent pink color gel over the cured daisy design. This technique adds depth and creates a layered, encapsulated glass effect, softening the petals beneath while preparing the surface for the next step of nail art.
Tip: Keep the gel layer thin and even to ensure it cures thoroughly and maintains transparency. - 9Apply a coat of matte top coat
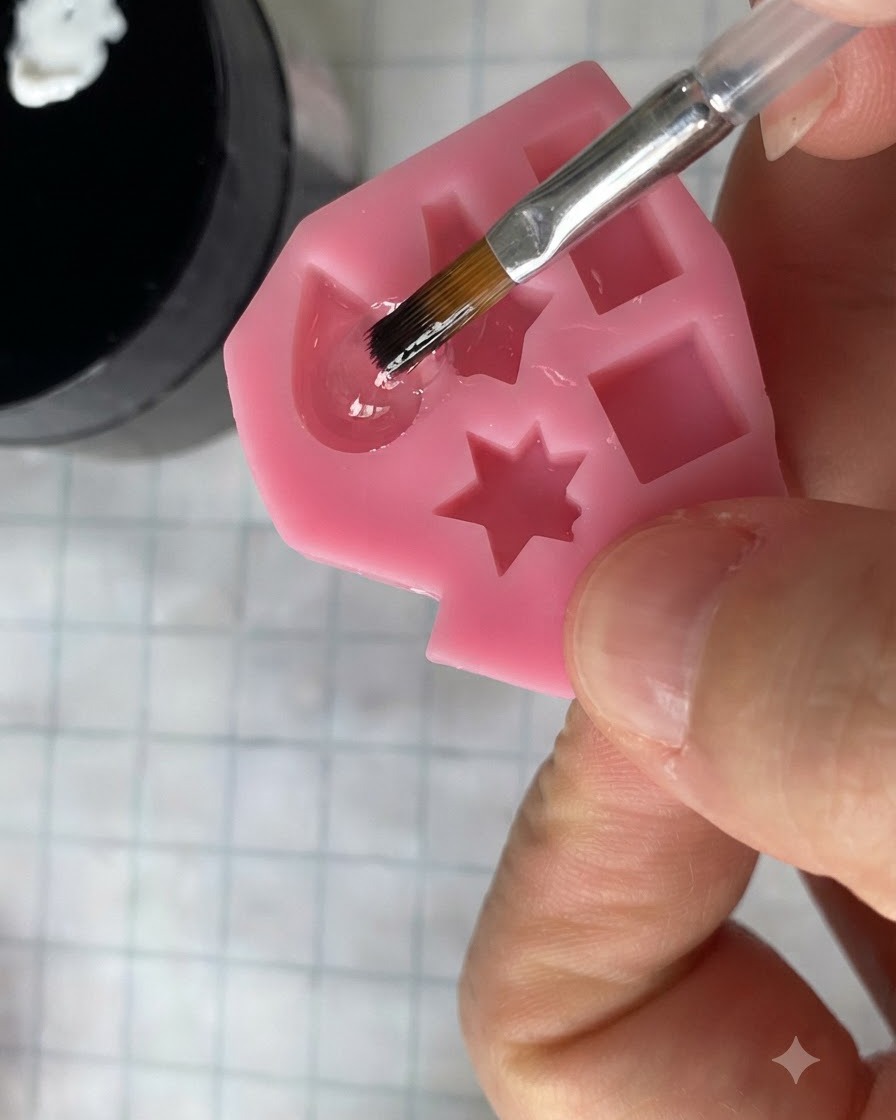
Apply an even layer of matte top coat over the pink gel layer to prepare a textured surface for painting the next element. The matte finish helps grip the subsequent gel paint layers so they do not slide or pool.
Tip: Ensure the entire surface is covered smoothly without any bald spots before curing. - 10Cure the matte top coat layer
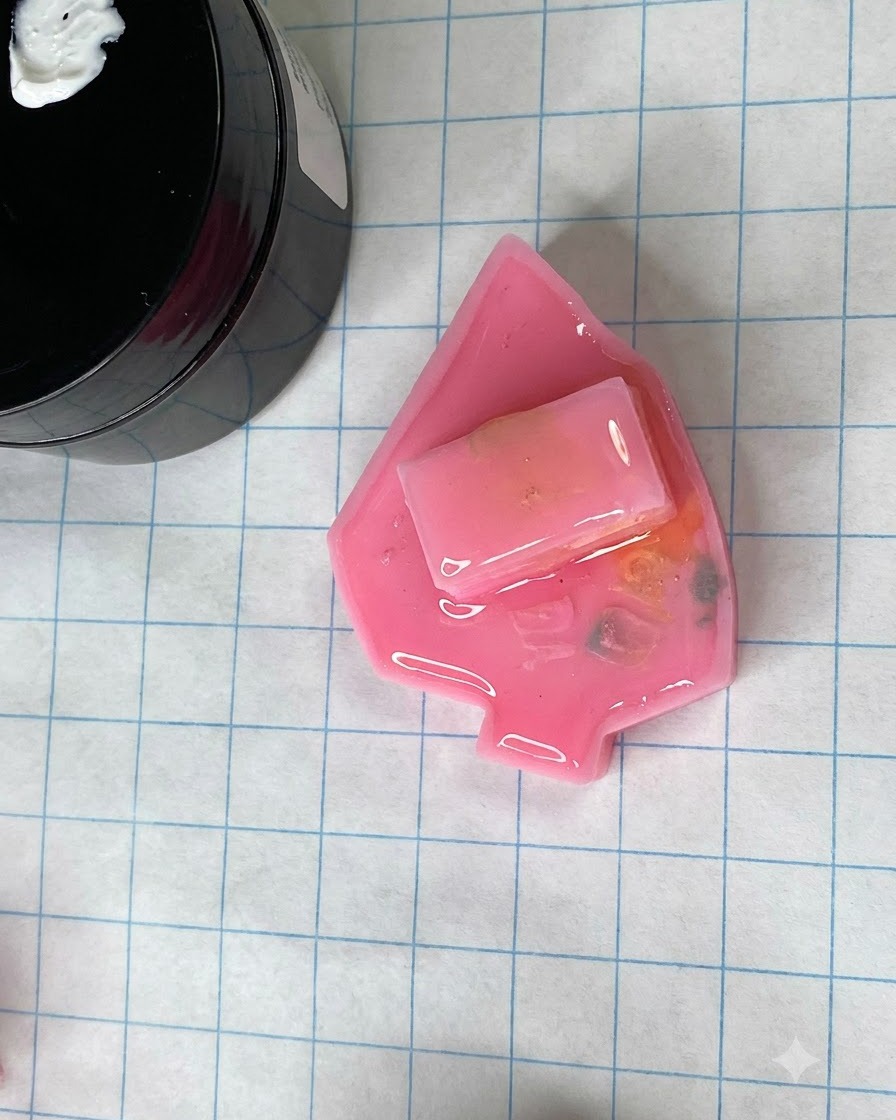
Place the nail under the UV/LED lamp to cure the matte top coat completely. This locks in the pink color layer and sets the matte texture for the next phase of petal detailing.
Tip: Do not skip full curing time, as a tacky matte coat will interfere with precision painting on top. - 11Paint second layer of petals
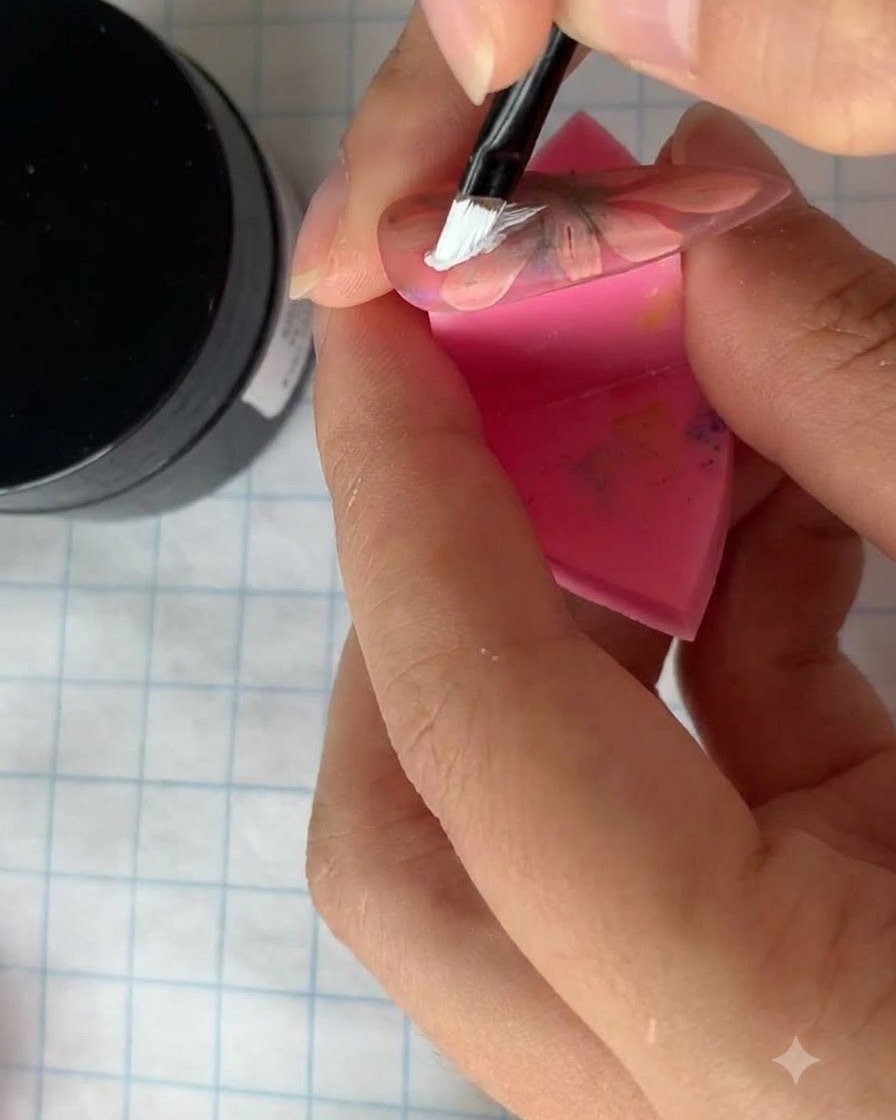
Take a fine liner brush and white gel to paint a second layer of smaller daisy petals, carefully positioning them in the gaps between the petals of the first layer. This creates a multi-dimensional, blooming flower effect with realistic depth.
Tip: Varying the size and placement of the petals in each layer makes the floral art look more natural and dynamic. - 12Complete and adjust second petal layer
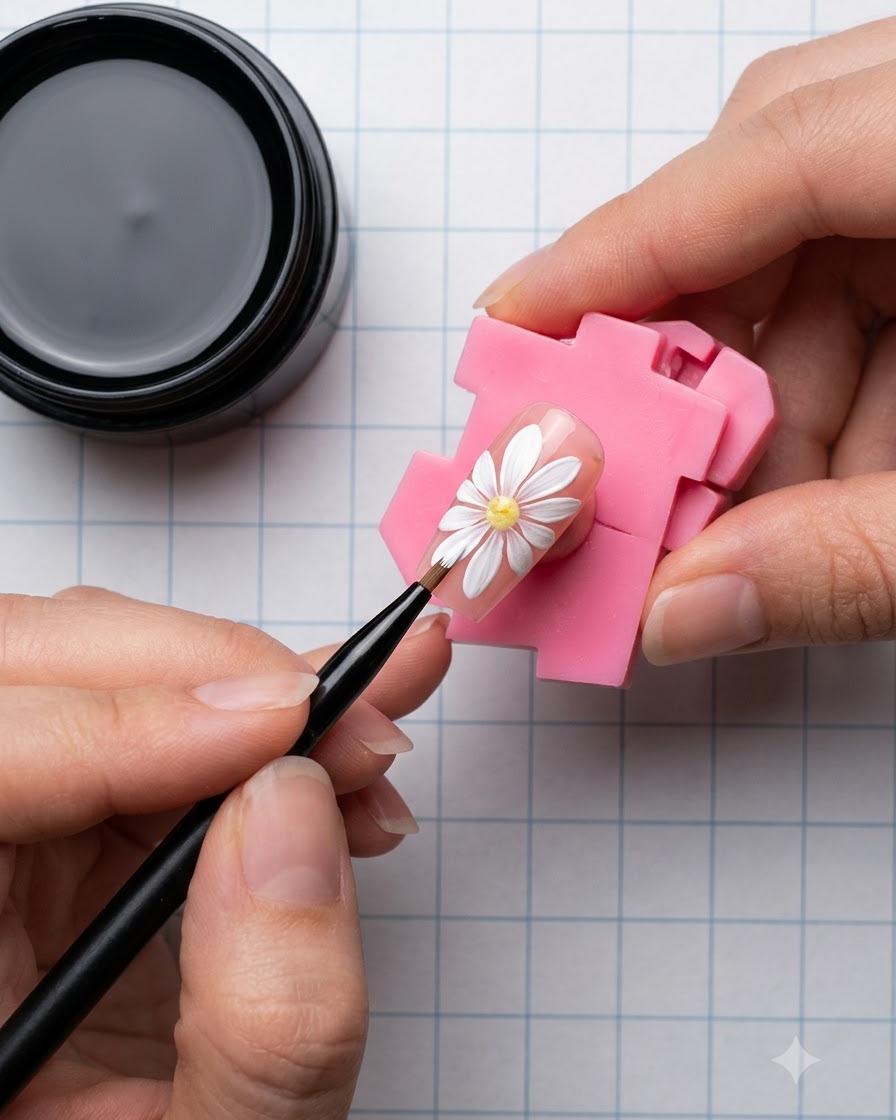
Finish painting all the petals for the second layer, adjusting their lengths and proportions to complement the underlying flower structure. Check symmetry and fill out any sparse areas before heading to the next curing step.
Tip: Step back or rotate the nail under good lighting to inspect the balance of the double-layer flower effect. - 13Cure second petal layer
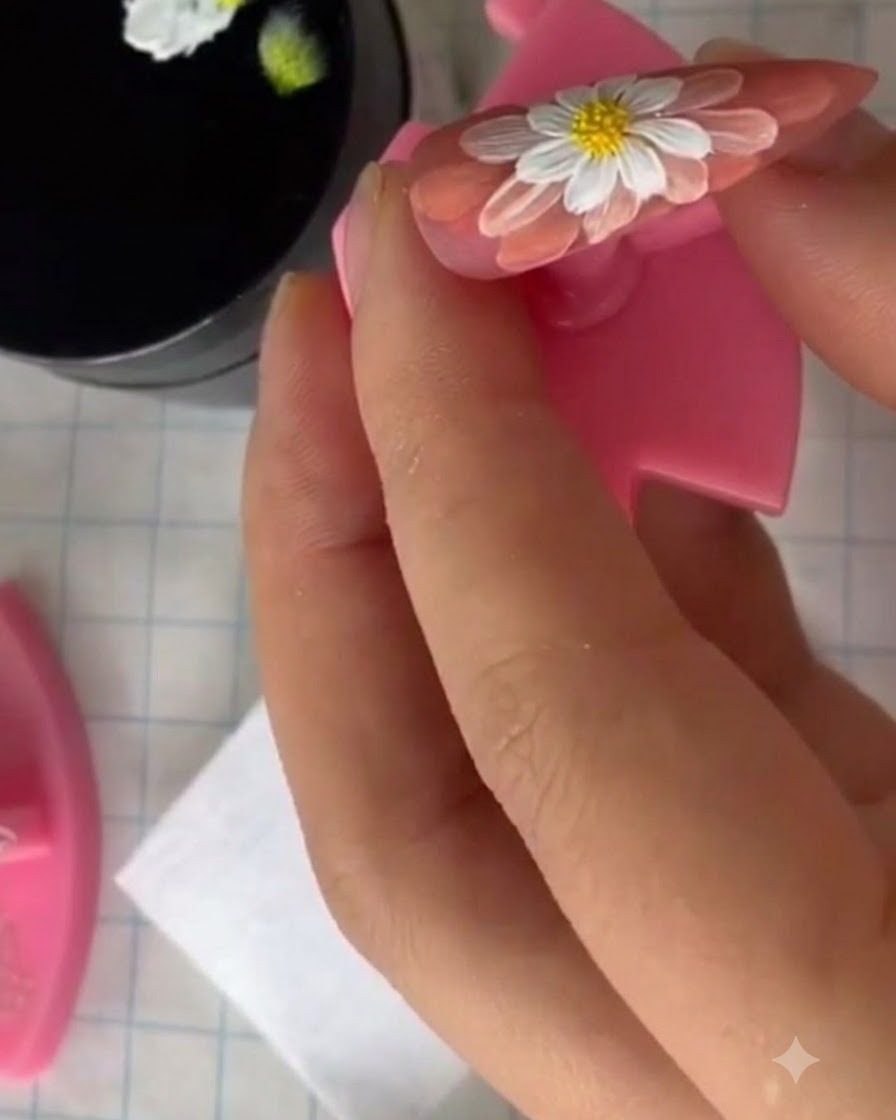
Place the nail under a UV or LED lamp to cure the freshly painted white gel petals. Curing between layers locks the delicate artwork in place, preventing smudging before you apply subsequent coats or details.
Tip: Ensure your hand is positioned correctly under the lamp to cure all edges evenly. - 14Apply translucent pink coat
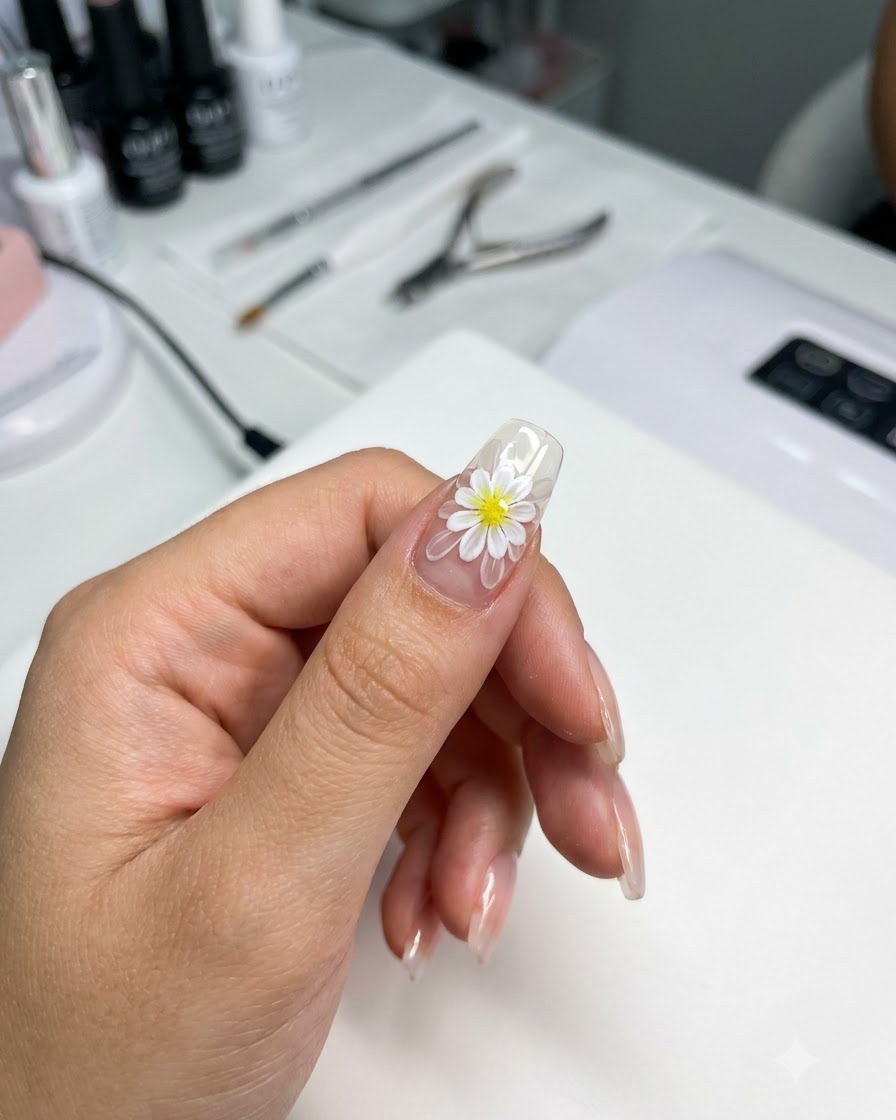
Apply another even coat of translucent pink color gel over the second flower layer using a brush. This deepens the translucent jelly effect and further enhances the multi-layered depth of the double-layer daisy design.
Tip: Brush gently to avoid disturbing the cured white gel paint underneath. - 15Cure pink gel layer
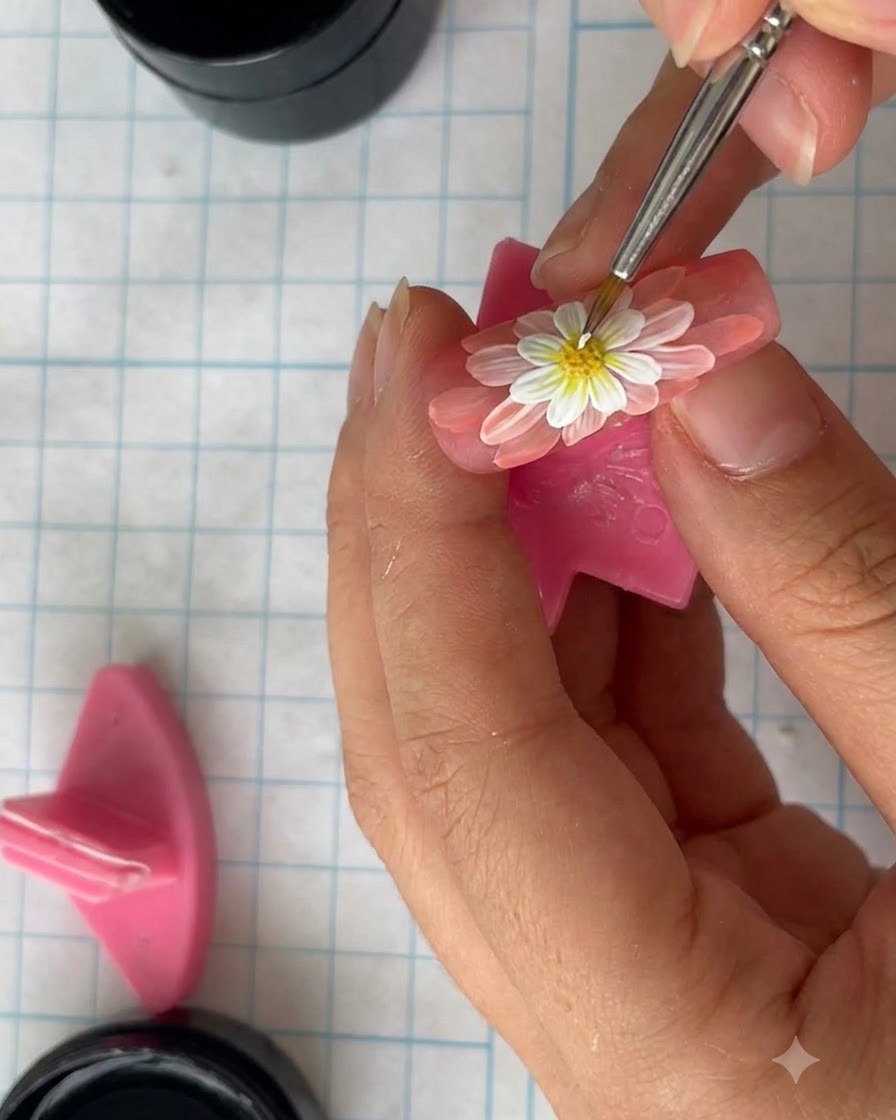
Place the nail under the UV or LED lamp to fully cure the pink gel layer. This step sets the translucent color coat securely over the second set of flower petals, creating a smooth and durable foundation for the final details.
Tip: Follow standard curing times to ensure the pink gel hardens completely. - 16Apply matte top coat
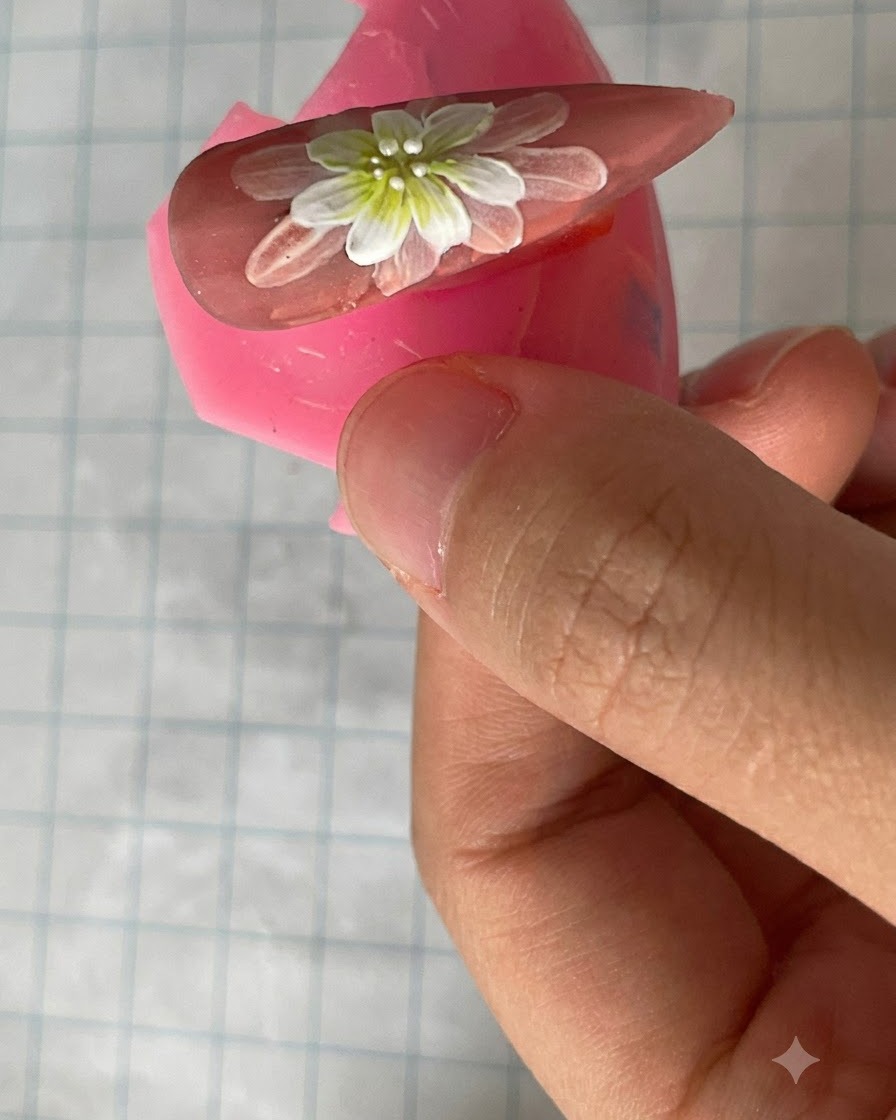
Apply a final matte top coat evenly across the entire nail surface. The matte finish diffuses light to beautifully highlight the multi-layered translucent depth of the daisy design underneath, completing the sophisticated look.
Tip: Cap the free edge with the matte top coat to protect the design from chipping. - 17Cure the matte top coat
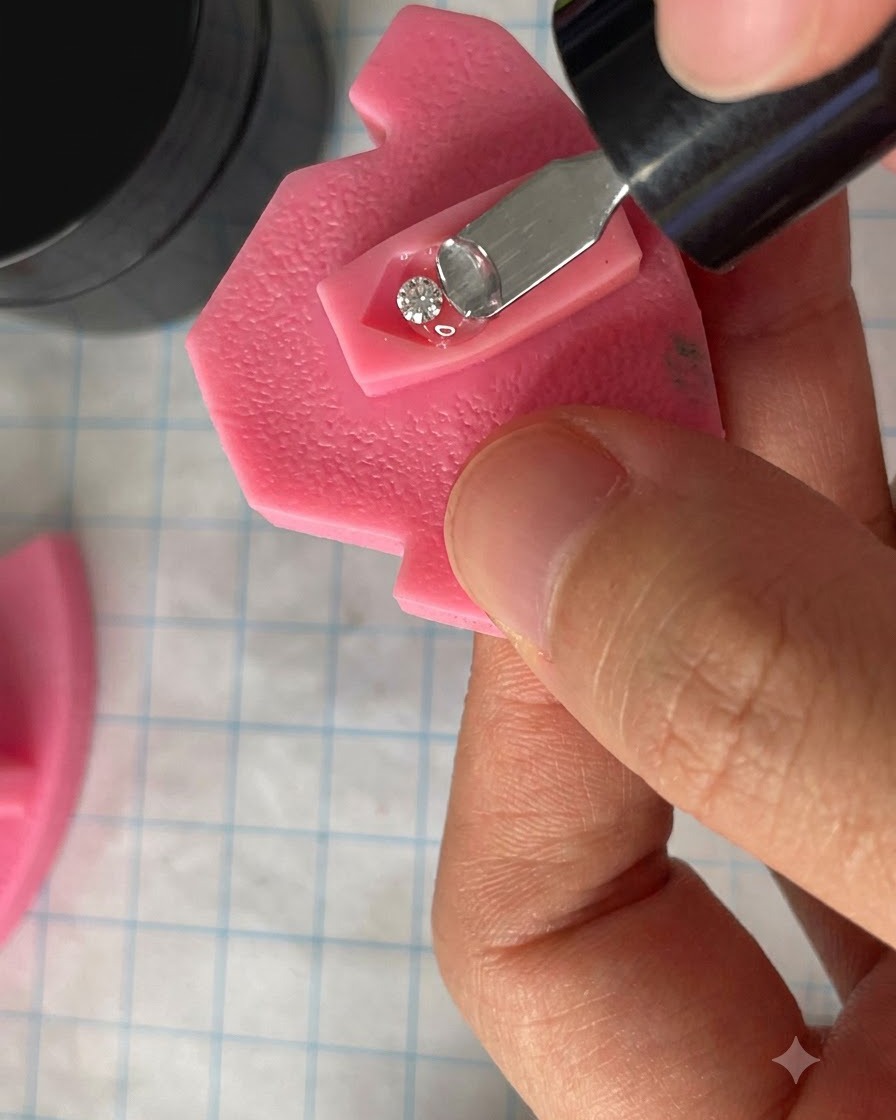
Place the nail model under a UV or LED lamp to fully cure the matte top coat layer. Proper curing ensures the finish hardens correctly and provides a smooth, non-shiny surface for the next step of nail art.
Tip: Make sure your hand is positioned correctly inside the lamp to ensure all sides cure evenly. - 18Paint the third layer of daisy petals
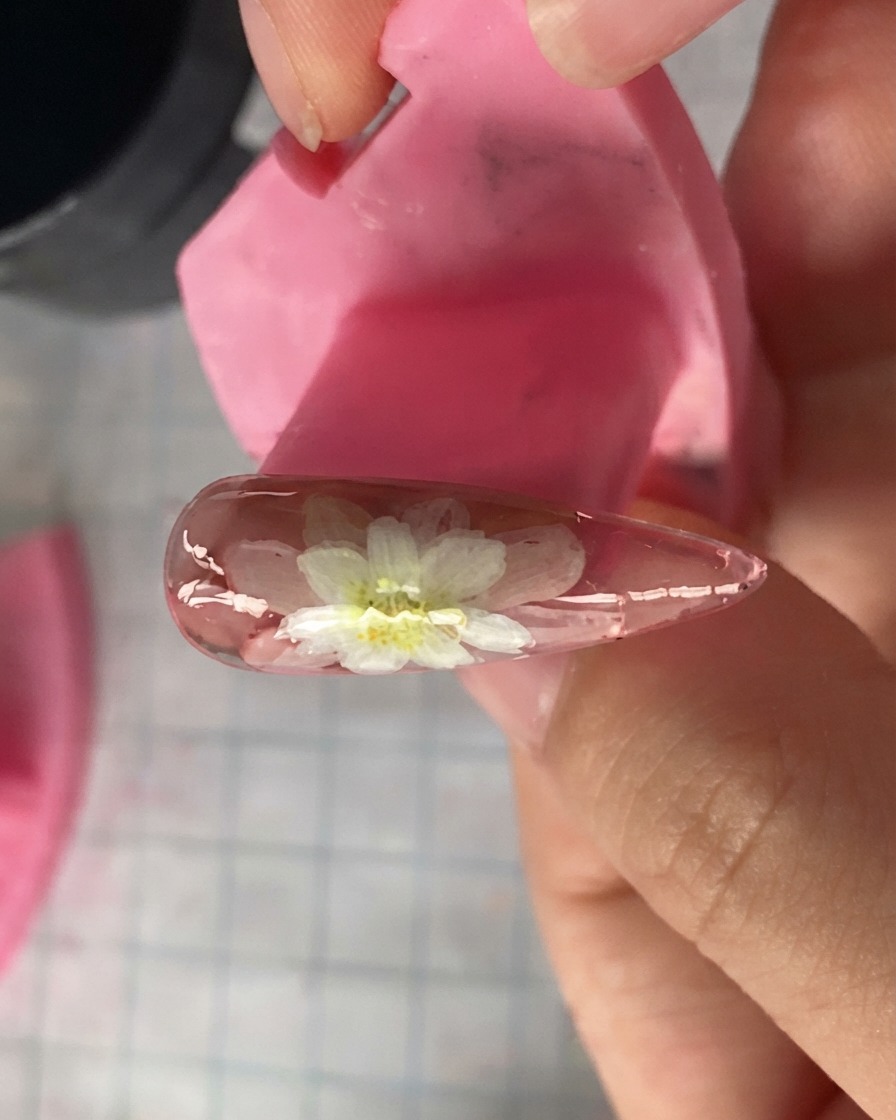
Using white gel and a fine detail brush, paint a third set of even smaller daisy petals carefully positioned in the gaps of the previous layers. This adds depth and creates a rich, multi-dimensional double-layer floral design across the nail surface.
Tip: Keep your brush strokes light and precise to ensure the smallest petals maintain clean definition.