Double-Layer Hand-Painted Small Daisy Nail Art Tutorial
Master the art of delicate double-layer daisies with this step-by-step hand-painted tutorial designed for precision and depth.
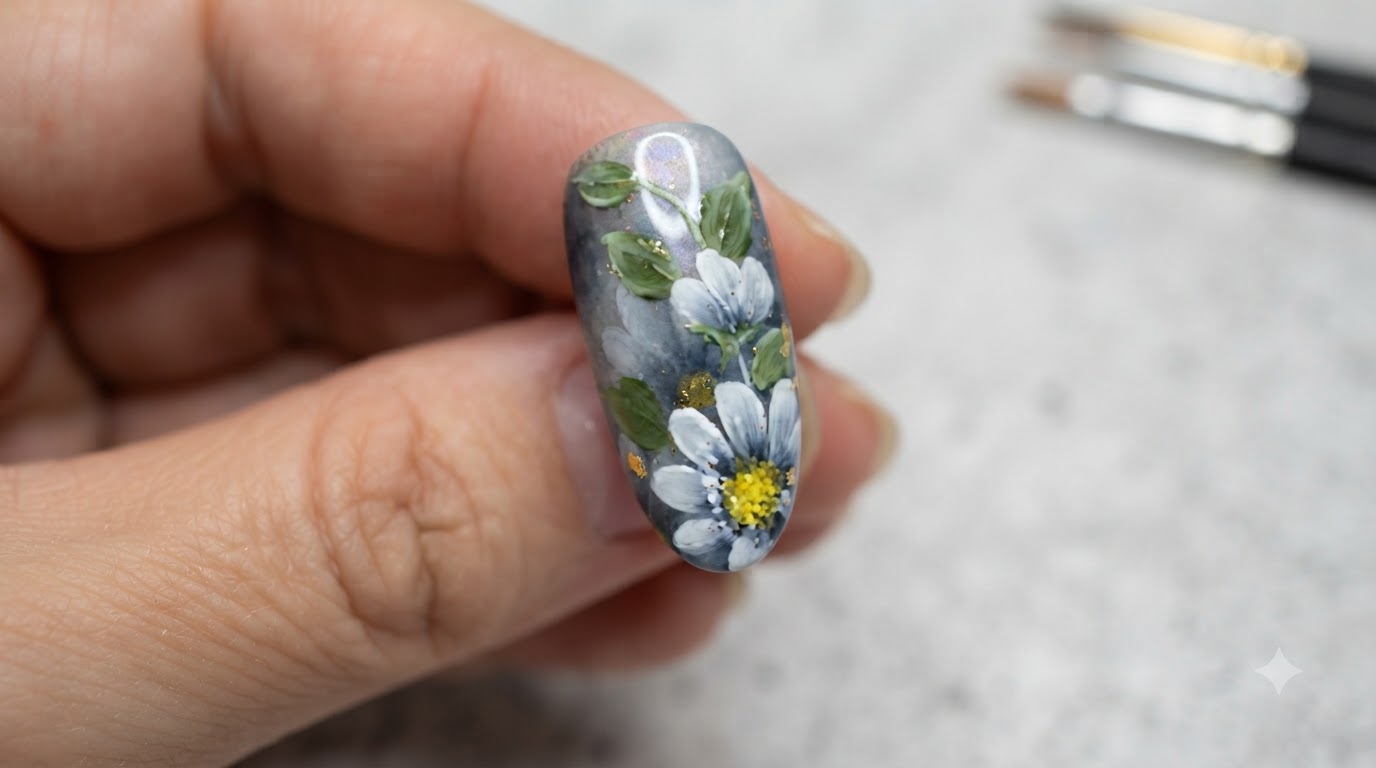
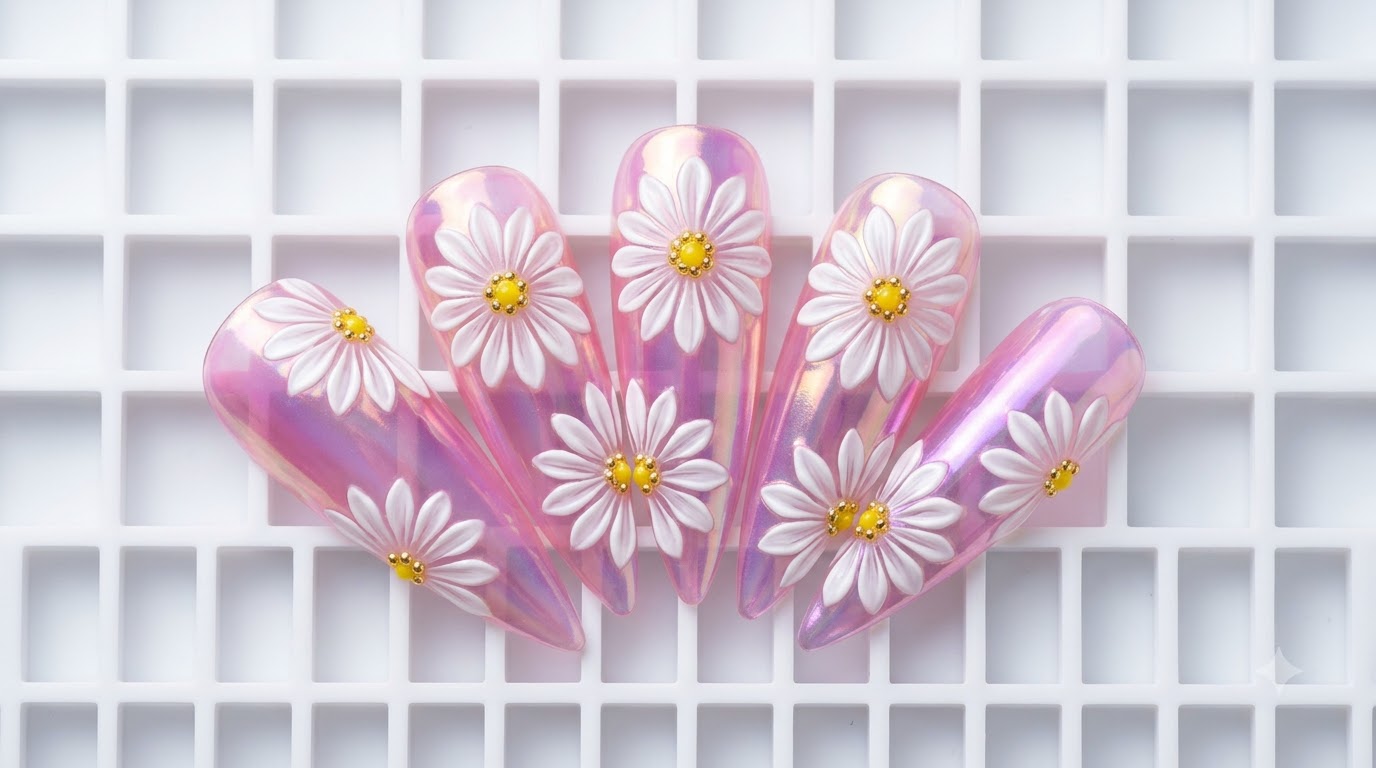
Hand-painted floral nail art adds an exquisite, bespoke touch to any manicure. This detailed tutorial guides you through creating stunning double-layer small daisies using precise guide lines, careful pressing and lifting brush techniques, and brilliant accent dotting.
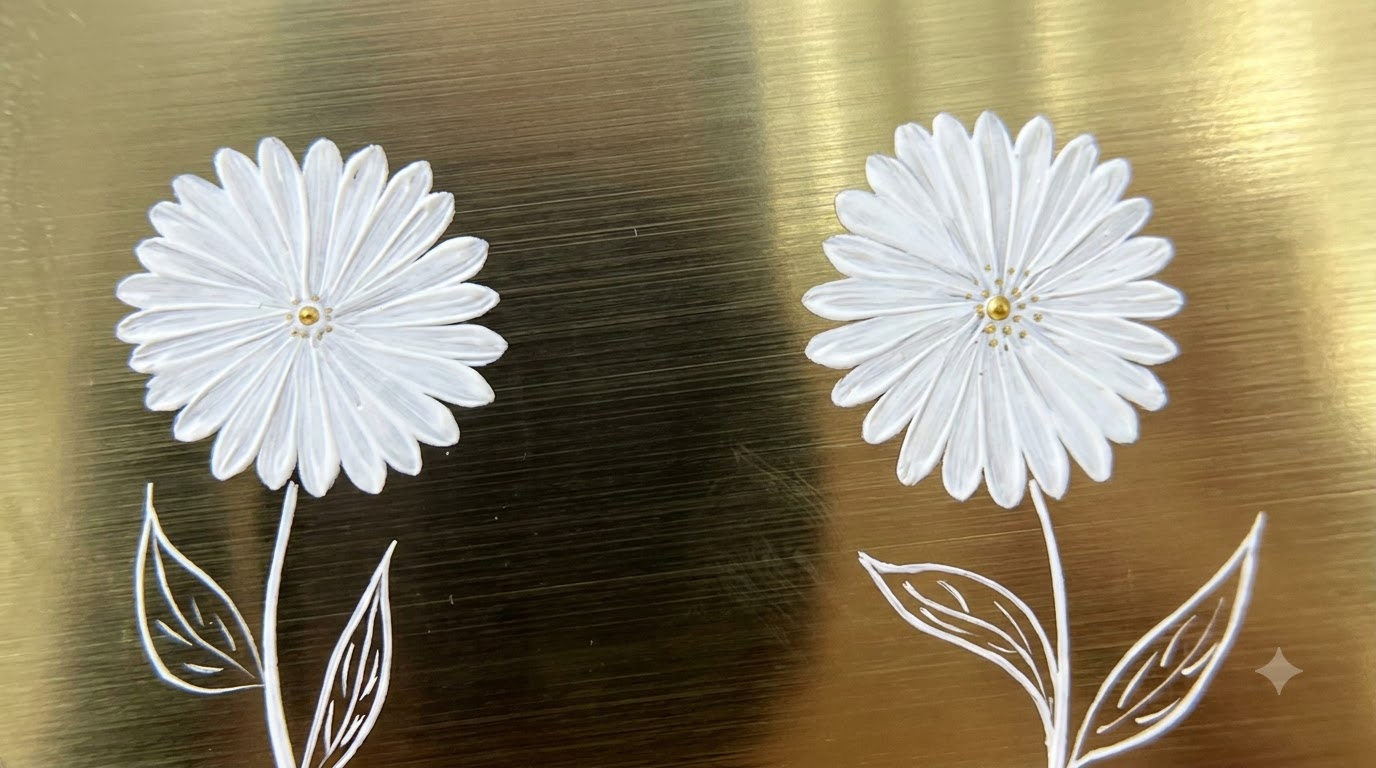
Steps
- 1Draw Guide Lines
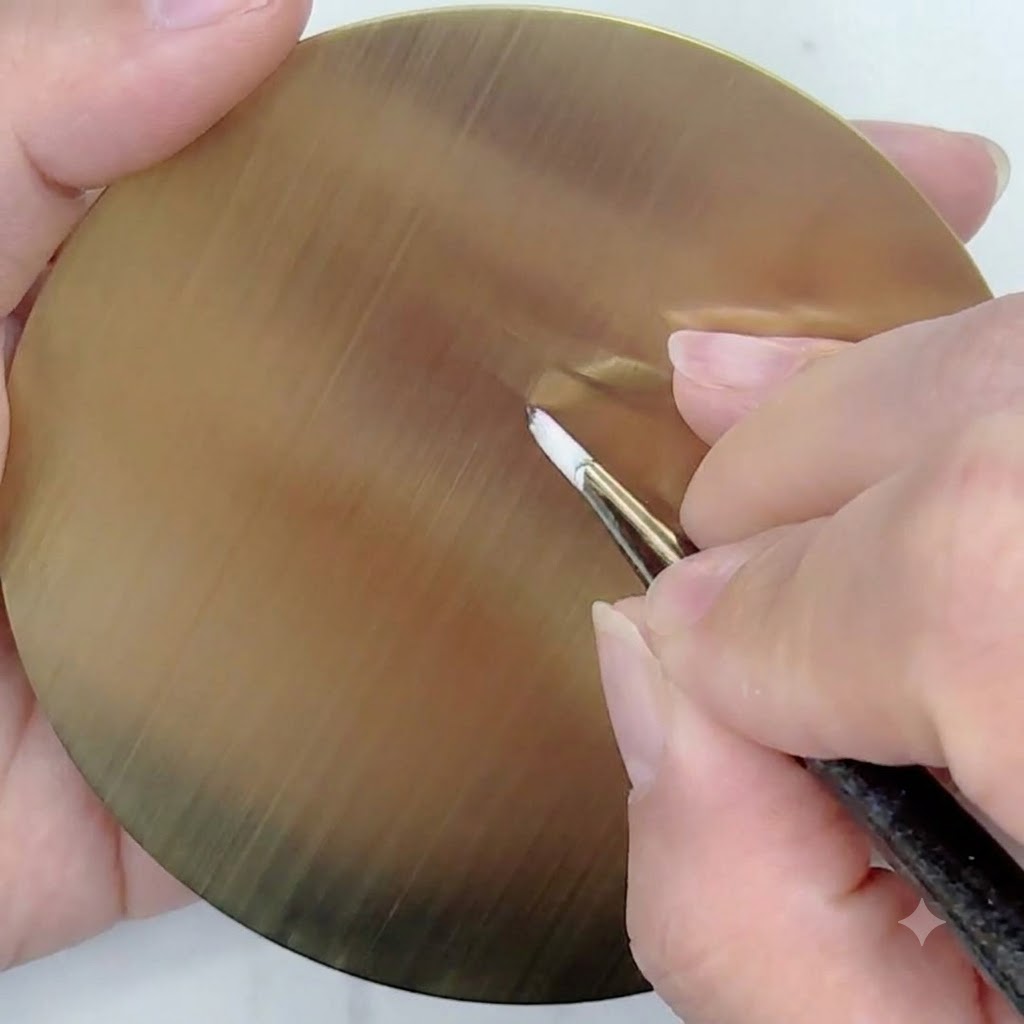
Using a fine liner brush loaded with white gel, draw neat guide lines radiating outward from the center point on the golden practice surface. These lines act as precise pathways to ensure every petal is evenly spaced and perfectly proportioned.
Tip: Keep your hand steady and use light pressure to make the guide lines as thin and clean as possible. - 2Paint First Petal Layer
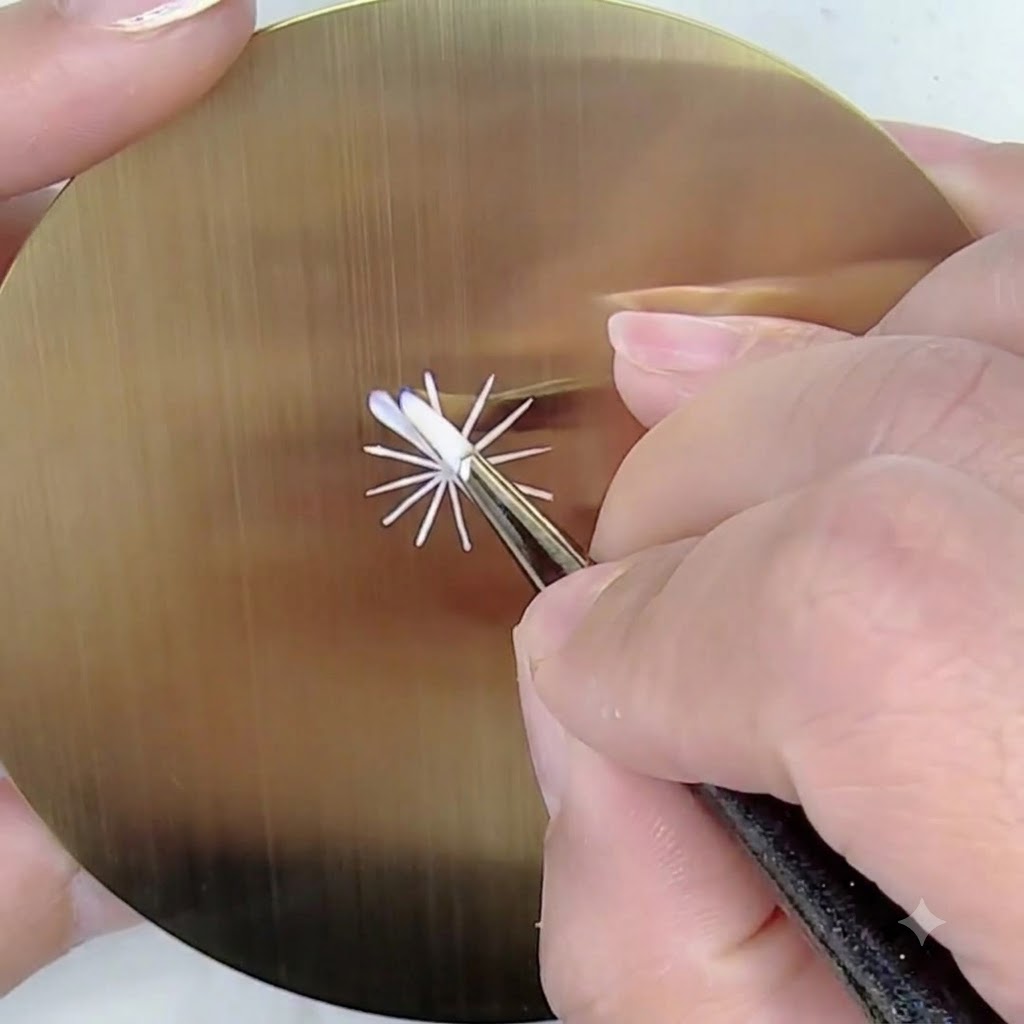
Apply the pressing and lifting brush technique to paint the first petal. Start near the center and press down slightly while pulling outward, lifting the brush at the end to create a sharp, pointed tip facing away from the center.
Tip: The lifting motion at the end of the stroke is crucial for creating the delicate, tapered tip characteristic of small daisies. - 3Complete First Petal Layer
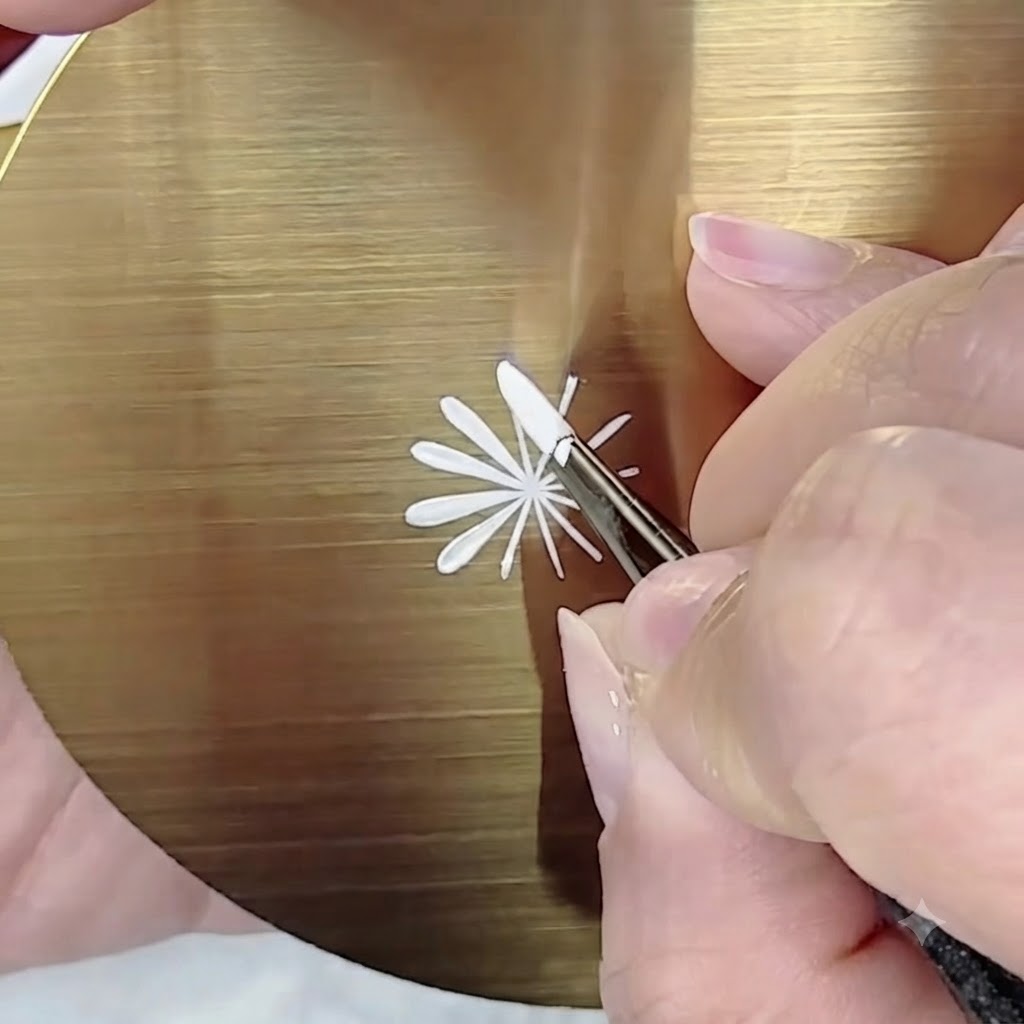
Continue around the center point, evenly drawing each subsequent petal of the first layer. Ensure that every petal radiates outward uniformly with a sharp tip pointing toward the center.
Tip: Maintain a consistent amount of gel on your brush for each stroke to keep the petal thickness uniform. - 4Plan Second Petal Layer Spacing
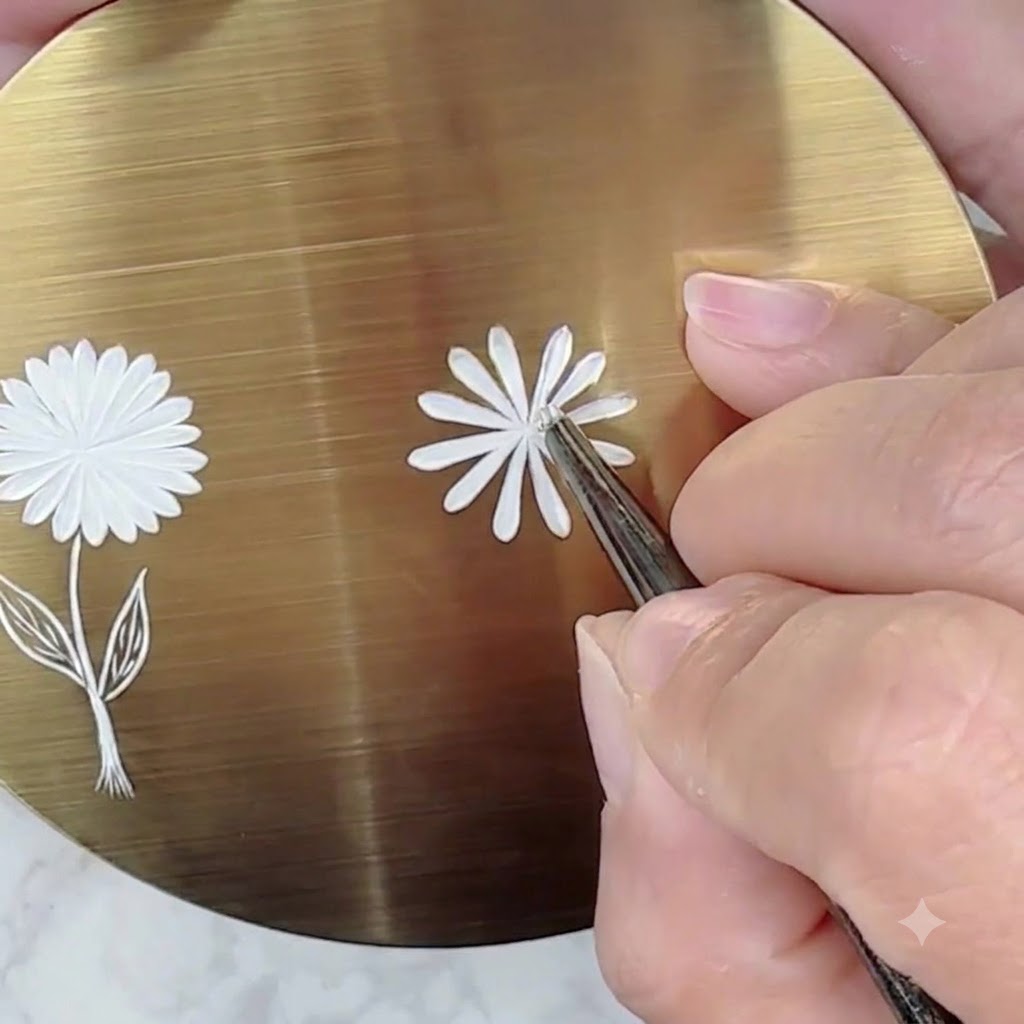
Leave a good distance and clear spacing between each petal of the first layer. This empty space is necessary to place and paint the second inner layer of petals correctly.
Tip: Visualizing the gaps beforehand helps you alternate the second layer cleanly between the gaps of the first layer. - 5Paint Second Inner Petal Layer
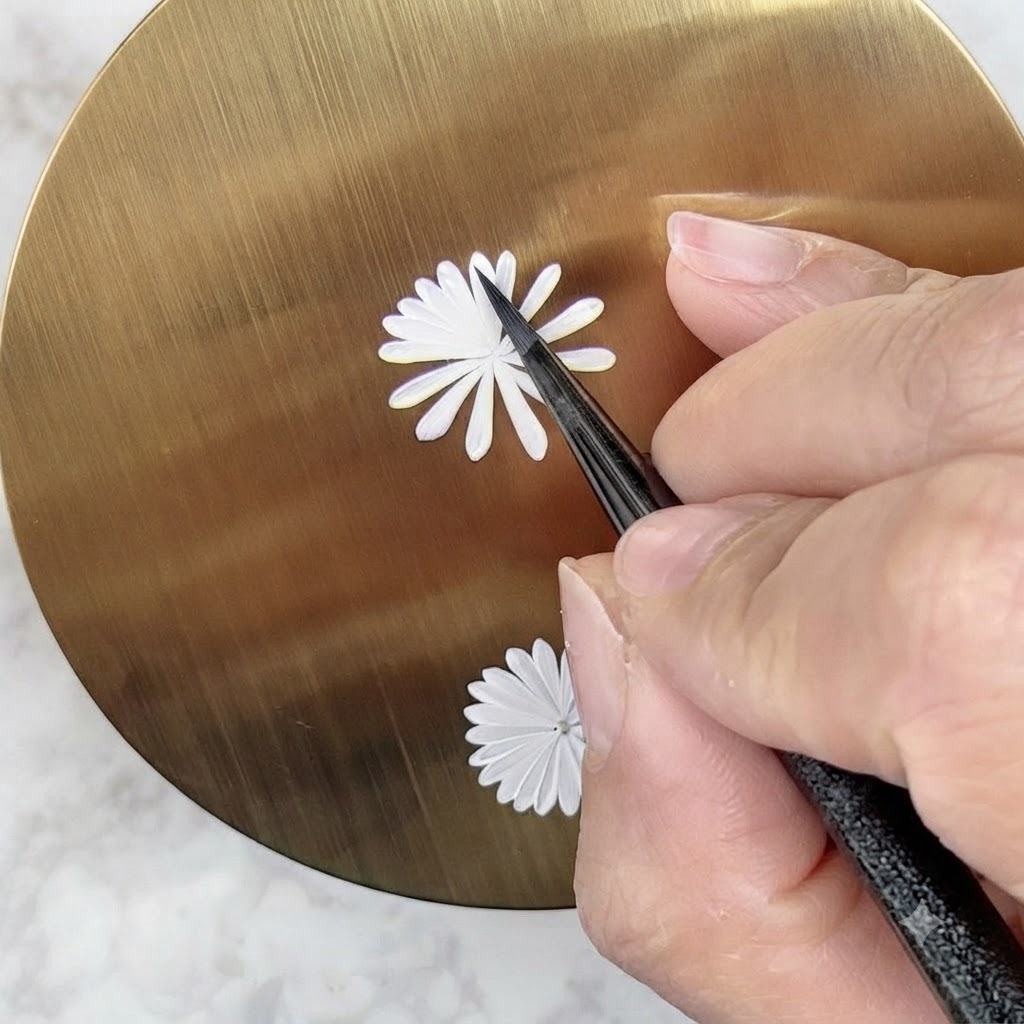
Paint the second layer of smaller petals, filling in the gaps left between the first layer. Ensure each petal is directed toward the center with a sharp tip.
Tip: Make these inner petals slightly shorter than the first layer to create depth and a realistic double-layer effect. - 6Adjust Brush Angle with Wrist
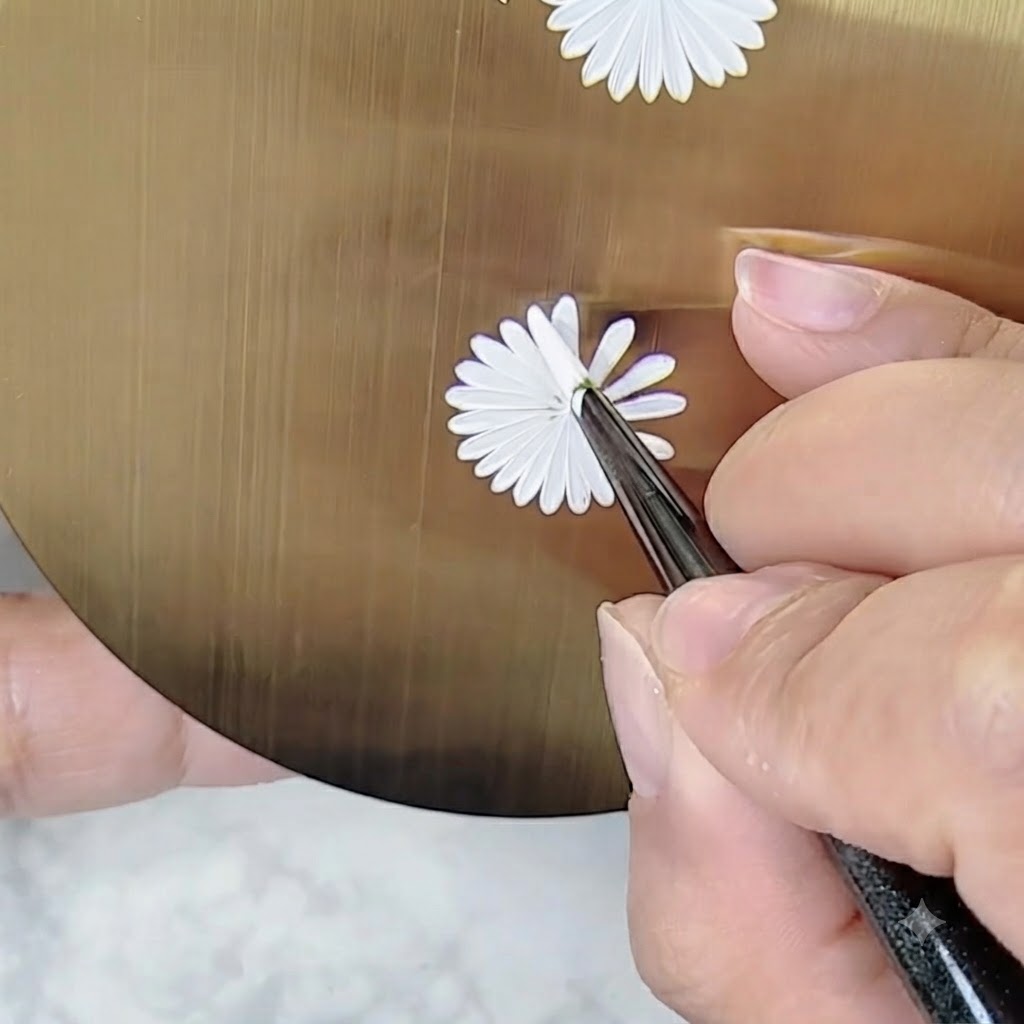
Use your wrist to adjust the angle of holding the pen so the nail or practice surface doesnt need to rotate too much. This technique allows you to comfortably complete the remaining petals from a stable perspective.
Tip: Flexible wrist movement prevents hand fatigue and keeps your placement accurate without disturbing your workspace orientation. - 7Dot the flower center
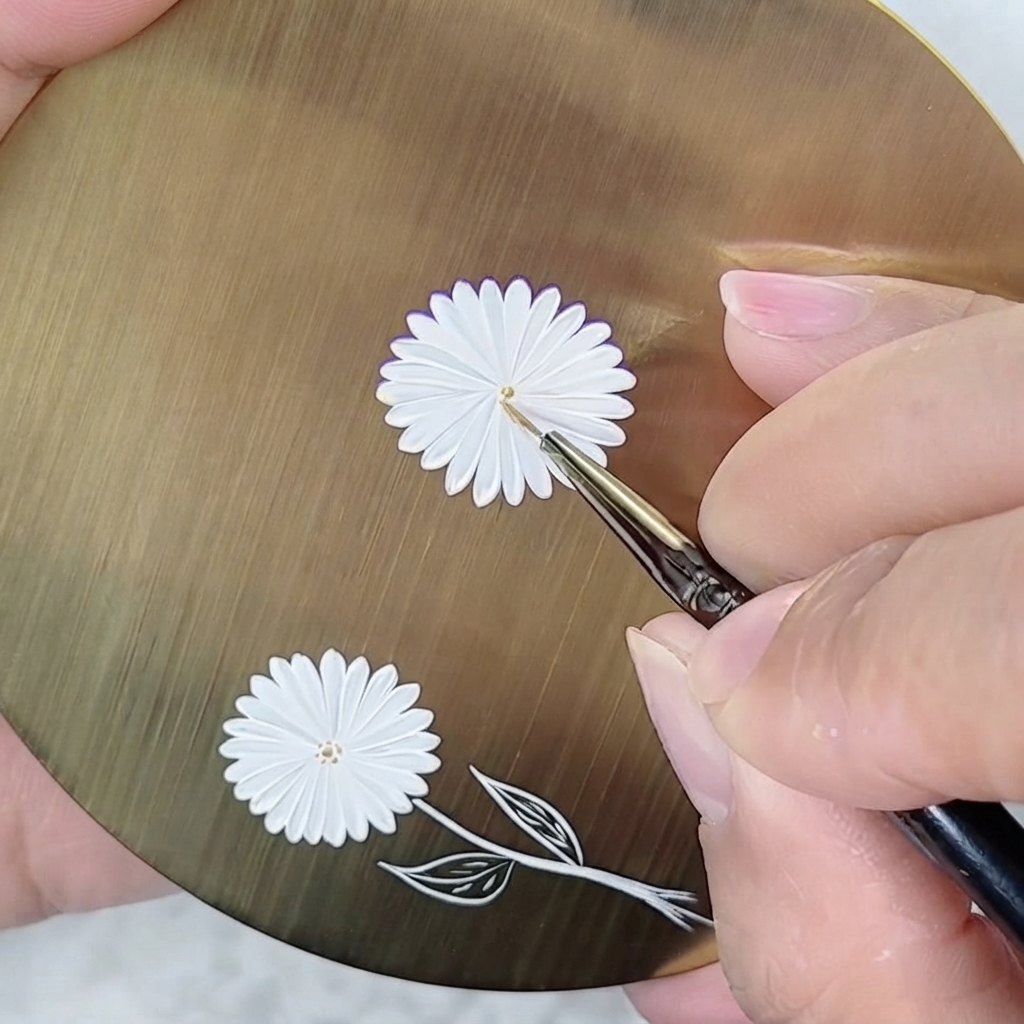
Dip a small round detail brush into your accent color and carefully place a single dot right in the center of the double-layer daisy. This anchors the petals and gives the painted flower a realistic, finished appearance.
Tip: Keep a light hand when dotting so the paint doesnt spread too wide and obscure the inner tips of the petals.