Nordic Style Daisy Gel Nails Part 2 — Step-by-Step Tutorial
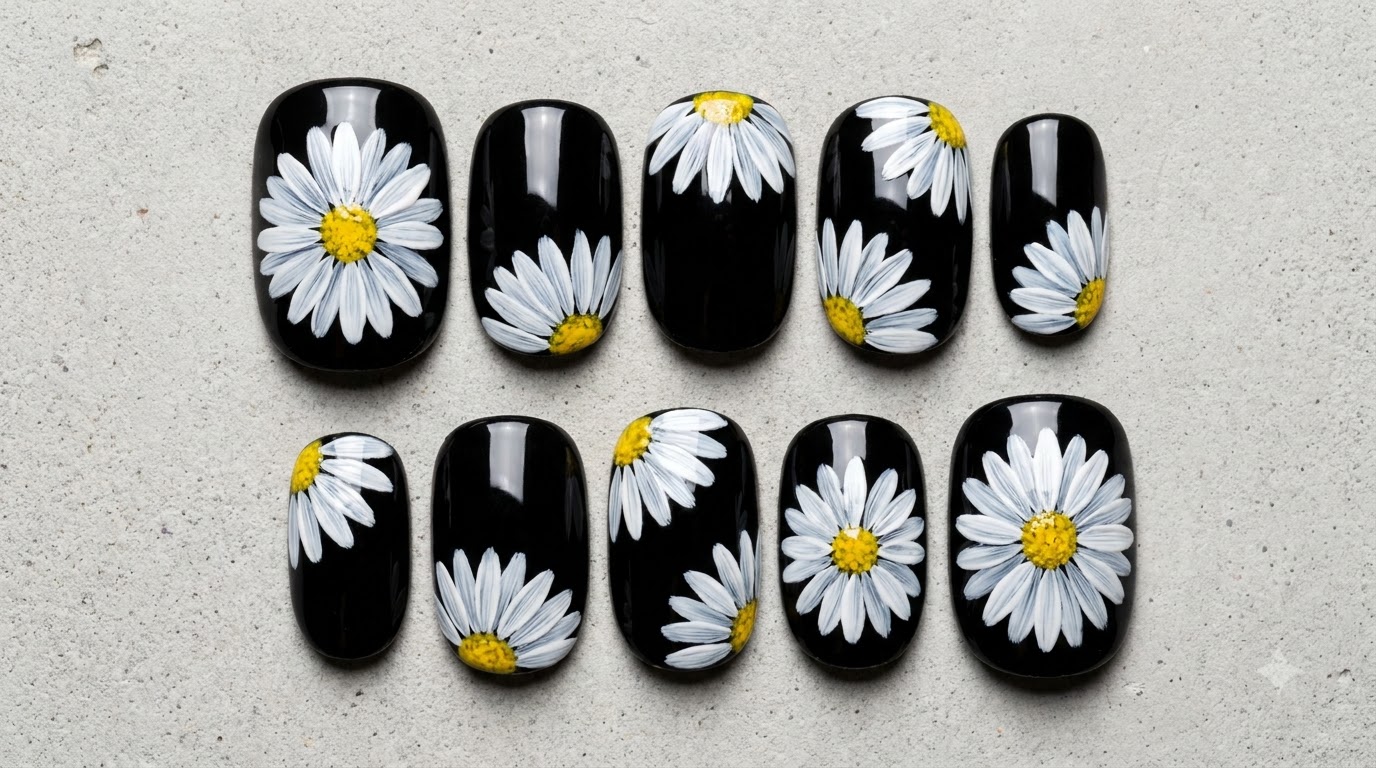
Master delicate botanical nail art with this step-by-step tutorial on painting white Nordic daisies, textured yellow centers, and fine green leaves on a moody grey gel base.
Continuing our exploration of Nordic inspired botanicals, this tutorial focuses on adding intricate floral details, fine foliage, and gold accents to elevate a grey gel base. By carefully layering white petals, texturizing the yellow flower centers with micro-dots, and balancing the composition with elegant green leaves, you can achieve a sophisticated hand-painted salon finish at home.
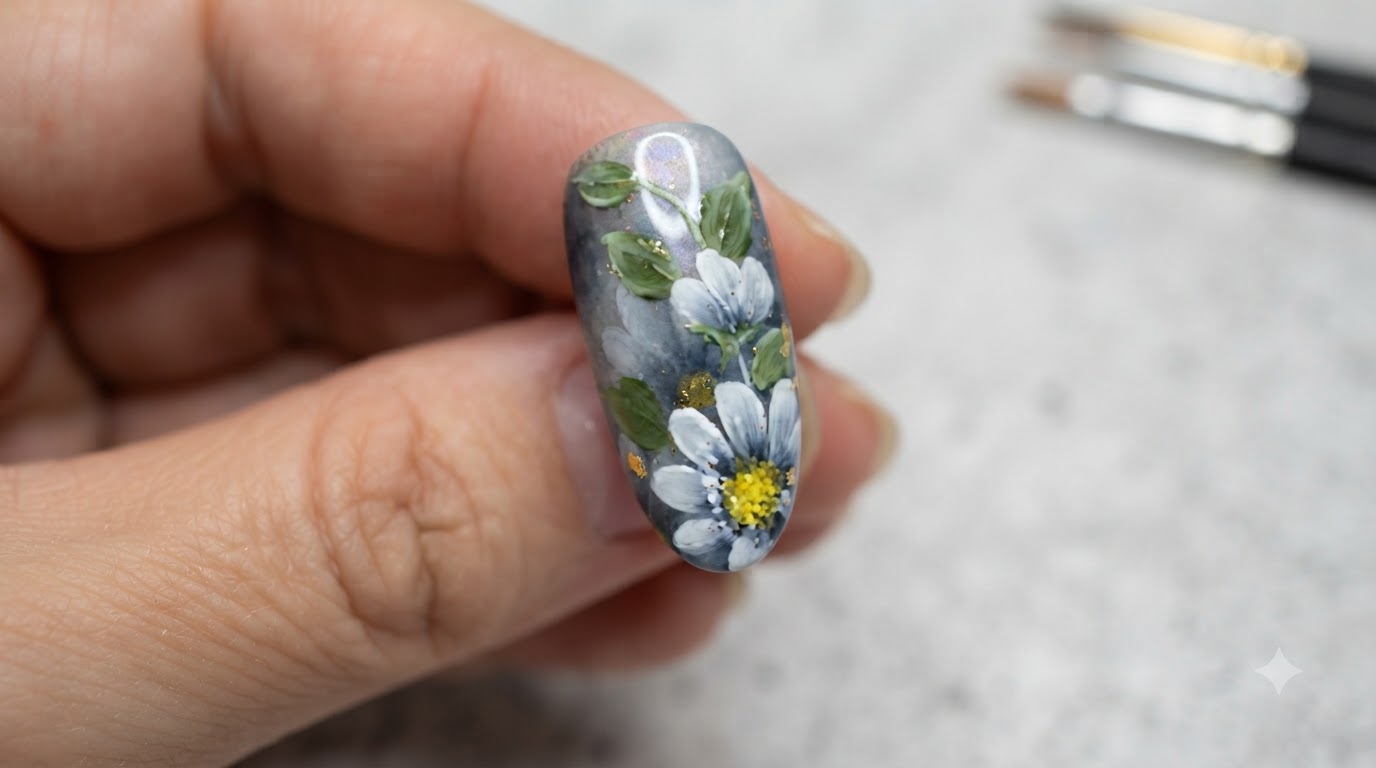
Steps
- 1Refine Daisy Petals
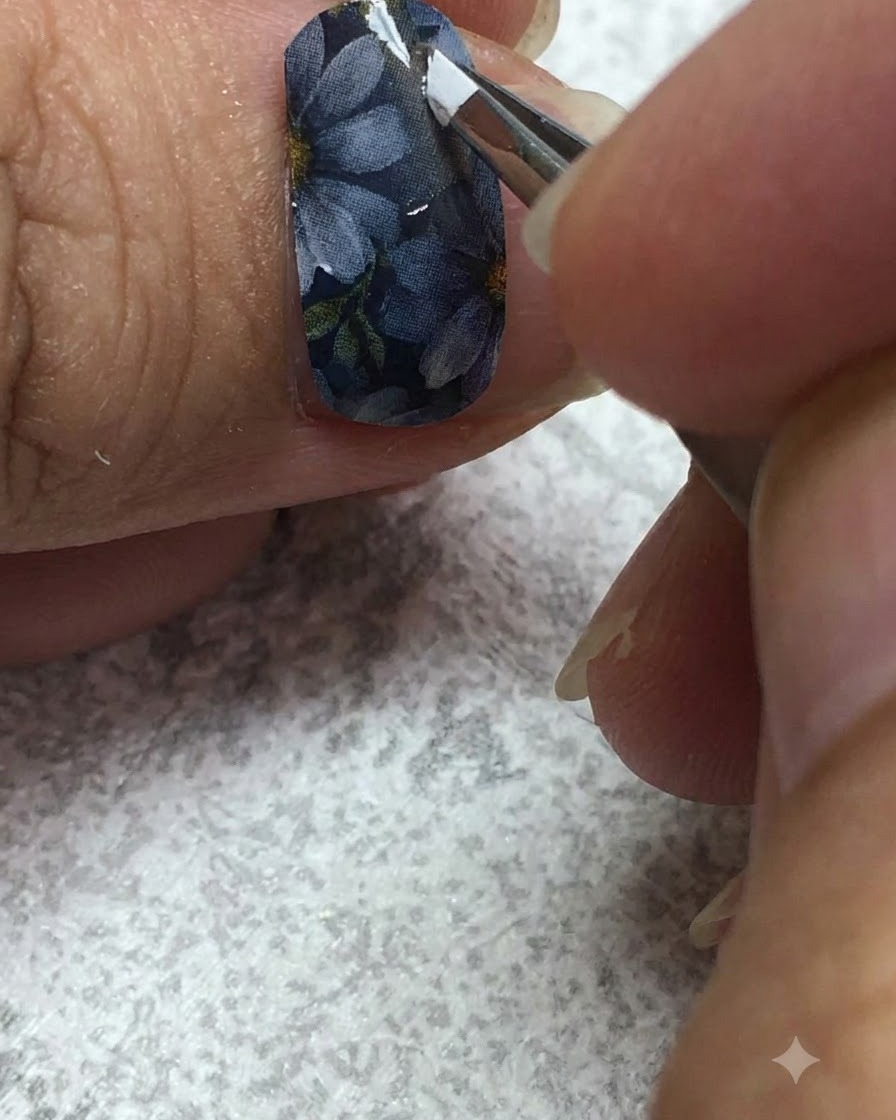
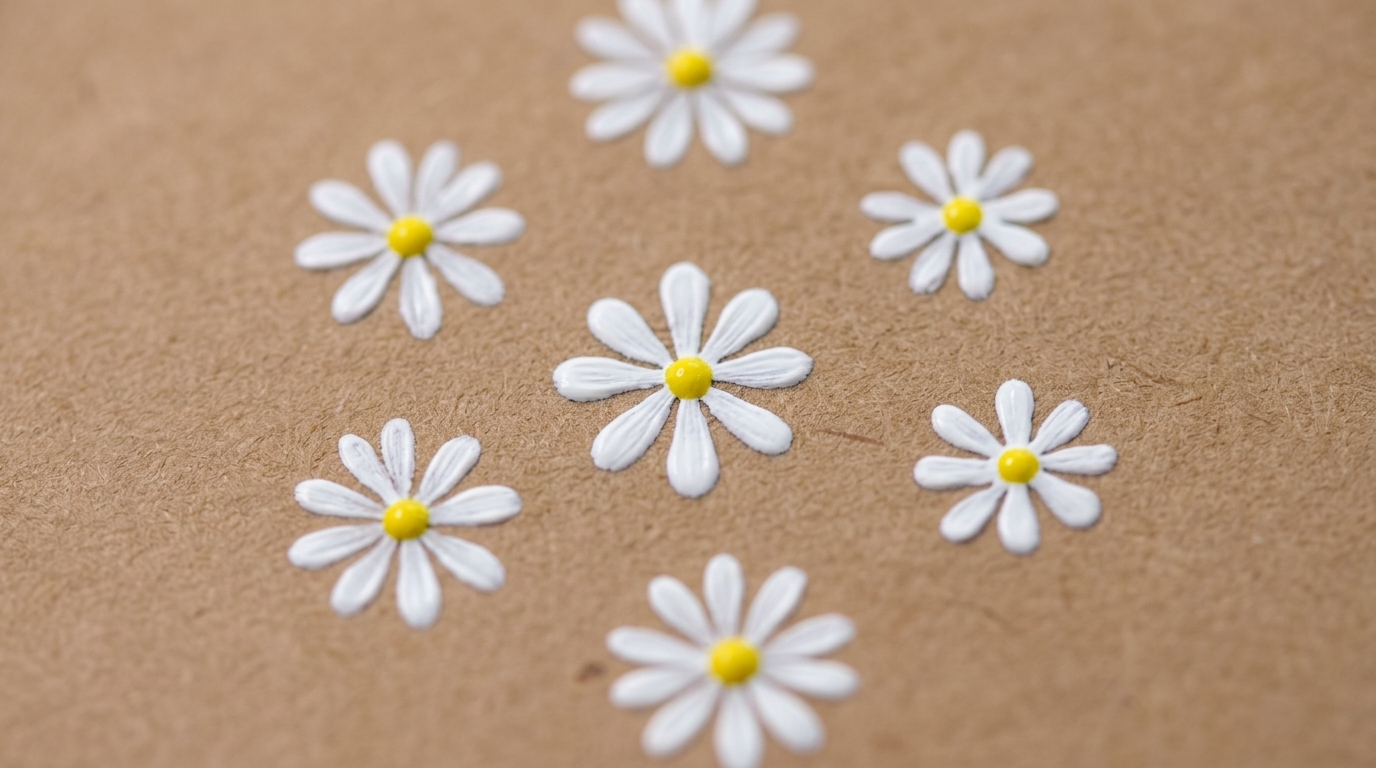
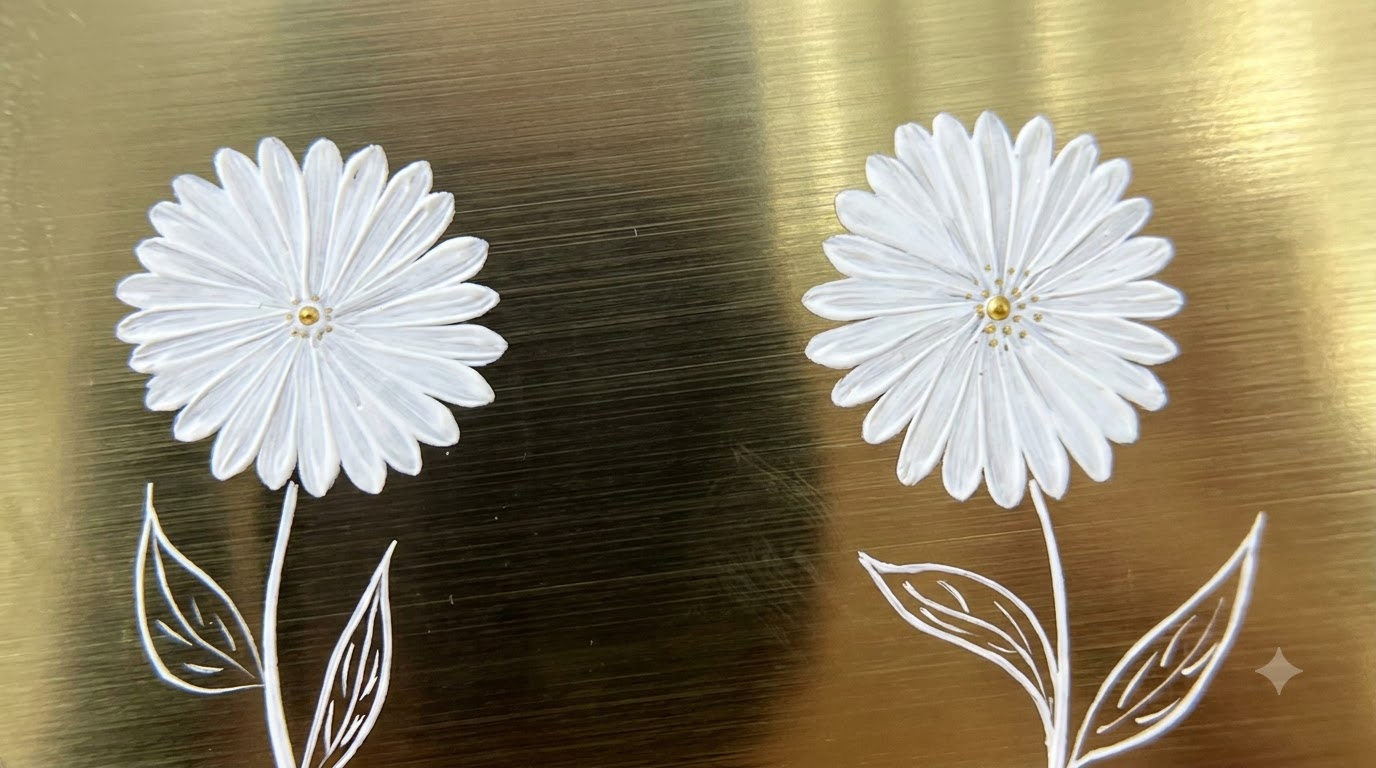
Take a fine liner brush loaded with white gel to carefully shape and refine the petals of the existing white daisy located on the upper nail plate. Ensure each petal has clean lines and defined edges against the grey gel base.
Tip: Keep a very light touch with the liner brush to maintain sharp, delicate petal outlines. - 2Apply yellow center to daisy
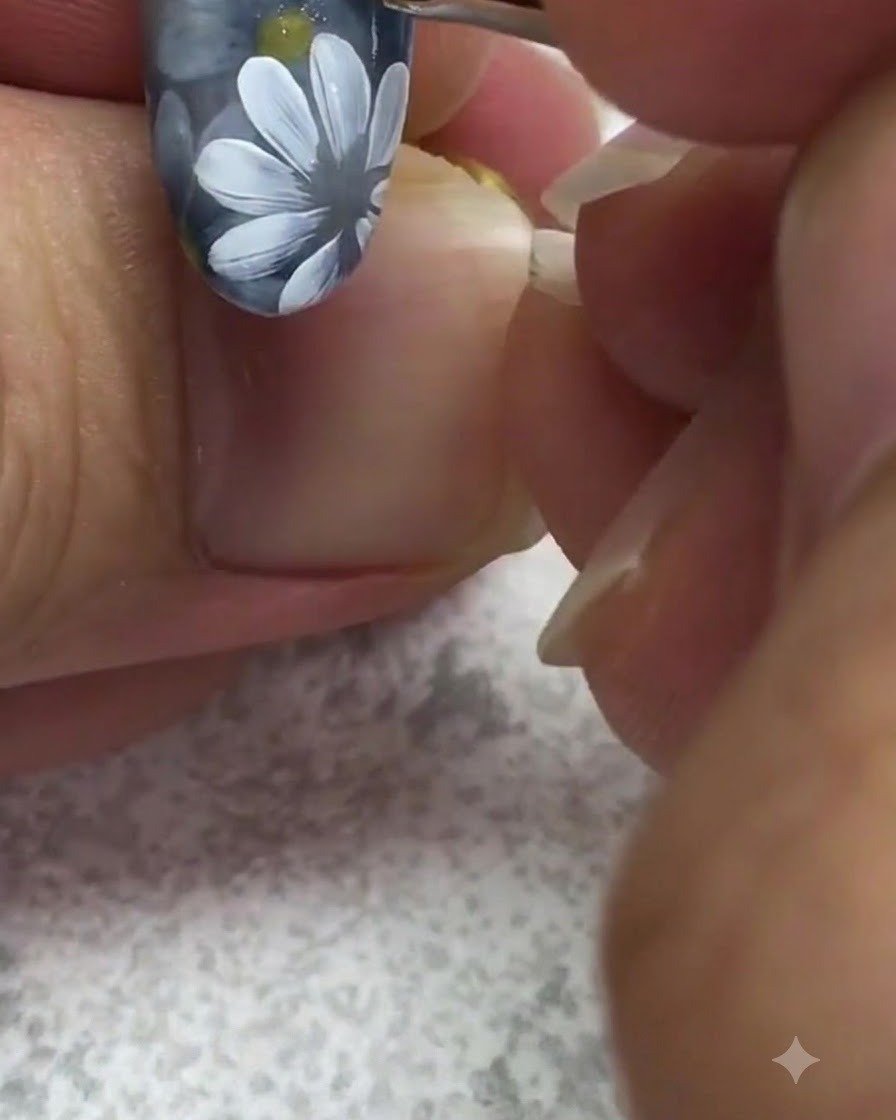
Using a fine detail brush, pick up a small amount of yellow gel and place a neat dot right at the center of the white daisy flower. This anchors the floral design and gives the daisy a realistic appearance against the dark grey gel background before curing.
Tip: Keep the dot compact and centered so the petal tips remain clean and well-defined. - 3Pick up green gel
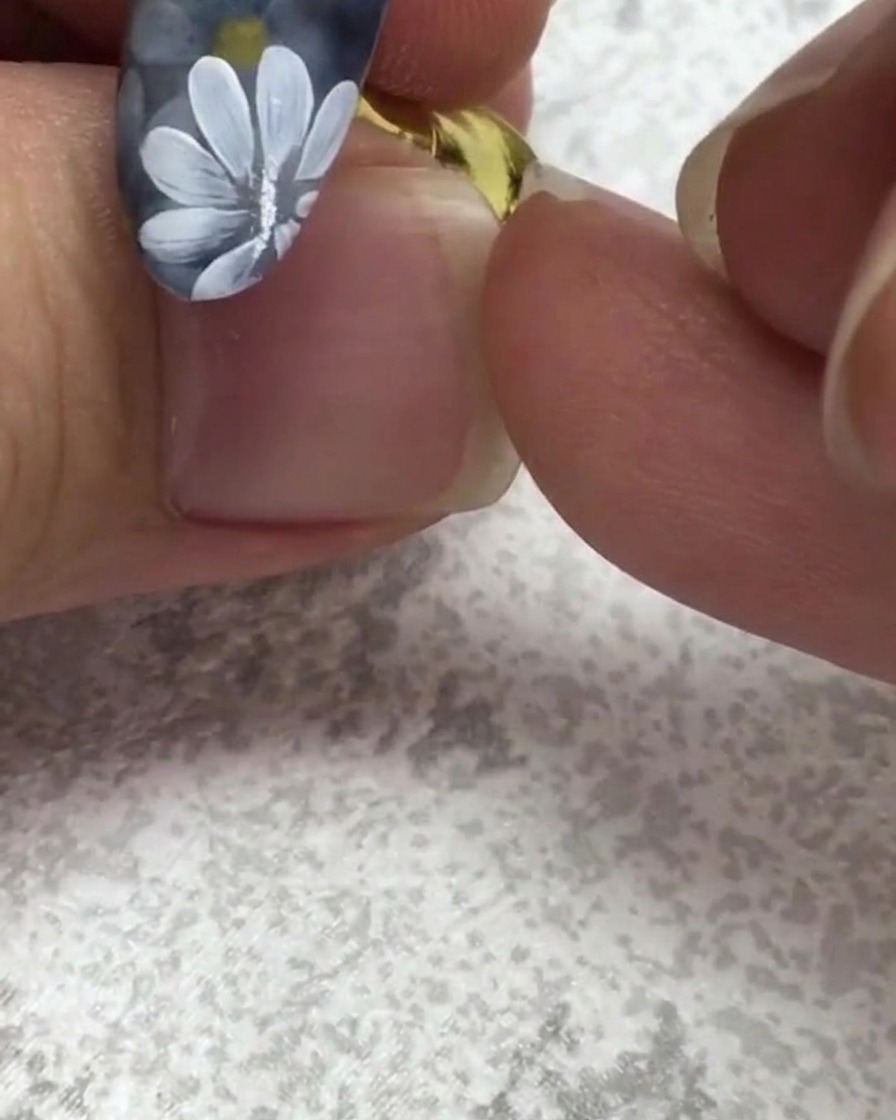
Load a flat brush with a small amount of green gel to prepare for painting botanical leaves around the floral design. Ensure the brush tip is neatly shaped to allow for precise strokes.
Tip: Keep the amount of gel on your brush minimal to prevent pooling and achieve sharp leaf tips. - 4Paint the first leaf
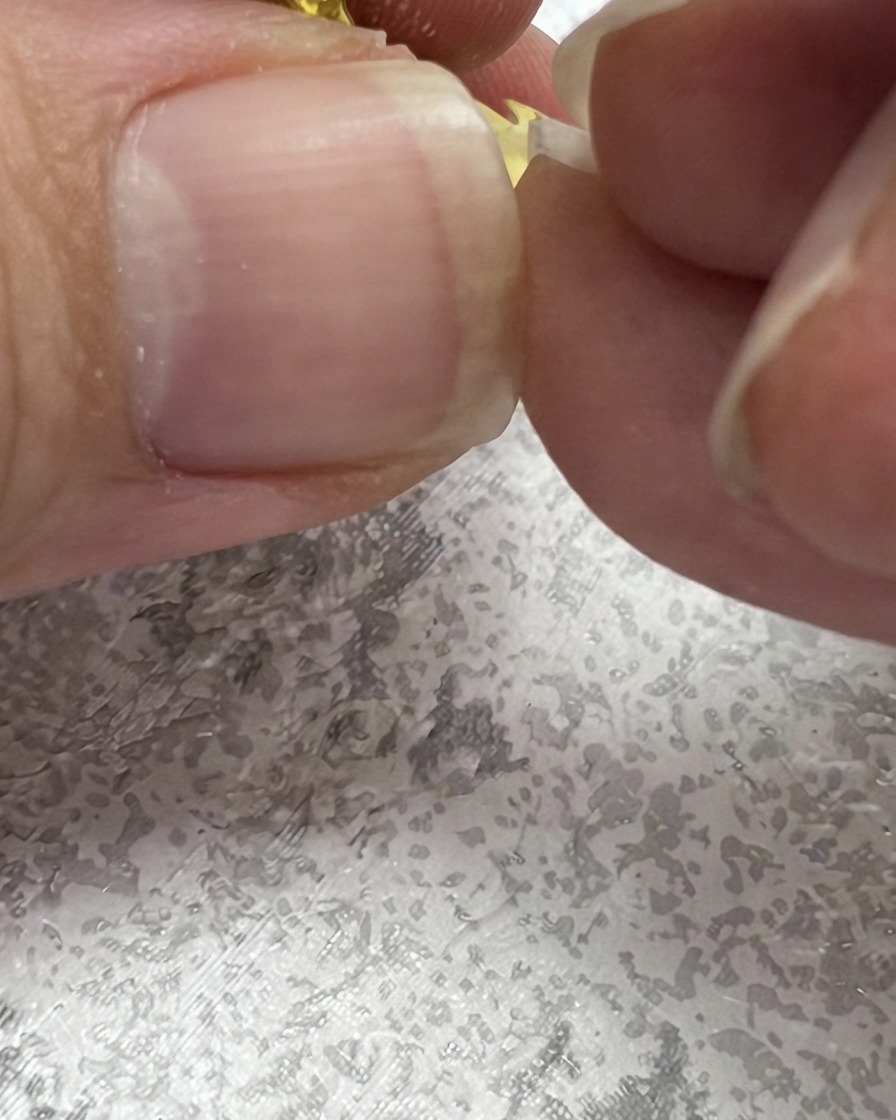
Gently stroke the green gel upward from the base of the floral arrangement to form the first leaf shape. Guide the brush to taper smoothly toward the tip for a natural botanical look.
Tip: Use light pressure when lifting the brush at the end of the stroke to create a sharp, clean point. - 5Refine leaf edges
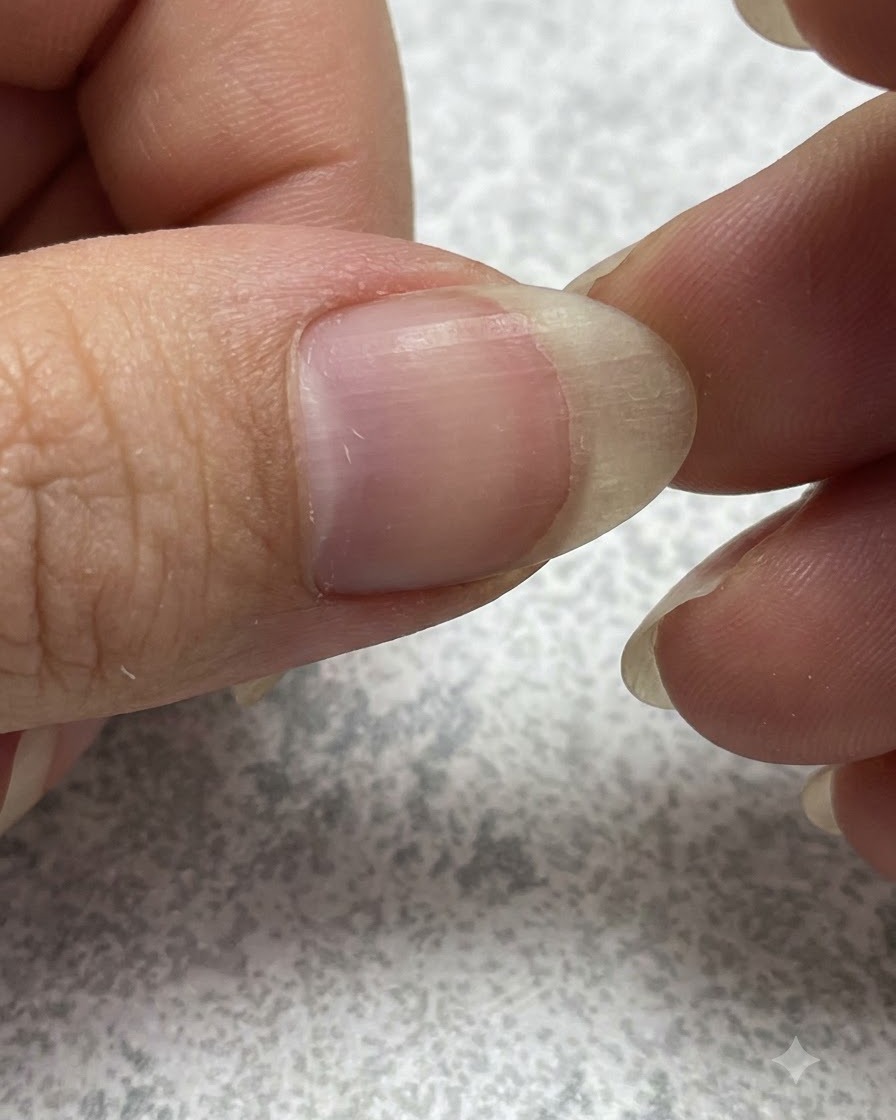
Using the fine tip of your detail brush, carefully refine the edges of the green leaf to give it a clean, sharp, and realistic botanical look. Take your time to correct any uneven lines and ensure the shape is crisp before moving on to final details.
Tip: Keep a small amount of thinner or cleanser on hand to quickly fix minor mistakes without disturbing the underlying base. - 6Add texture to the flower center
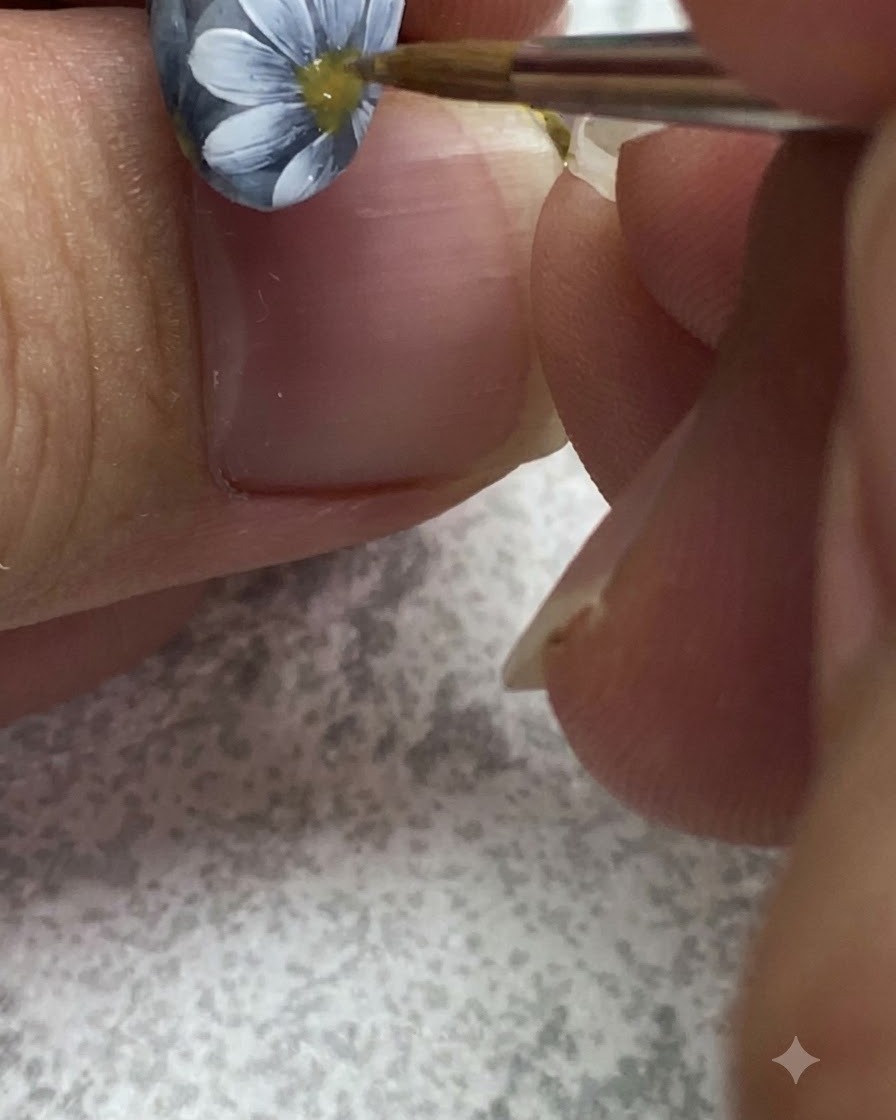
Using a fine brush or dotting tool, add subtle textured dots of a slightly deeper or lighter shade inside the yellow center of the daisy. This creates visual depth and dimension, making the floral nail art look intricate and dimensional.
Tip: Work with small amounts of gel to avoid creating uneven bumps that could disrupt the top coat smoothness. - 7Enhance daisy centers
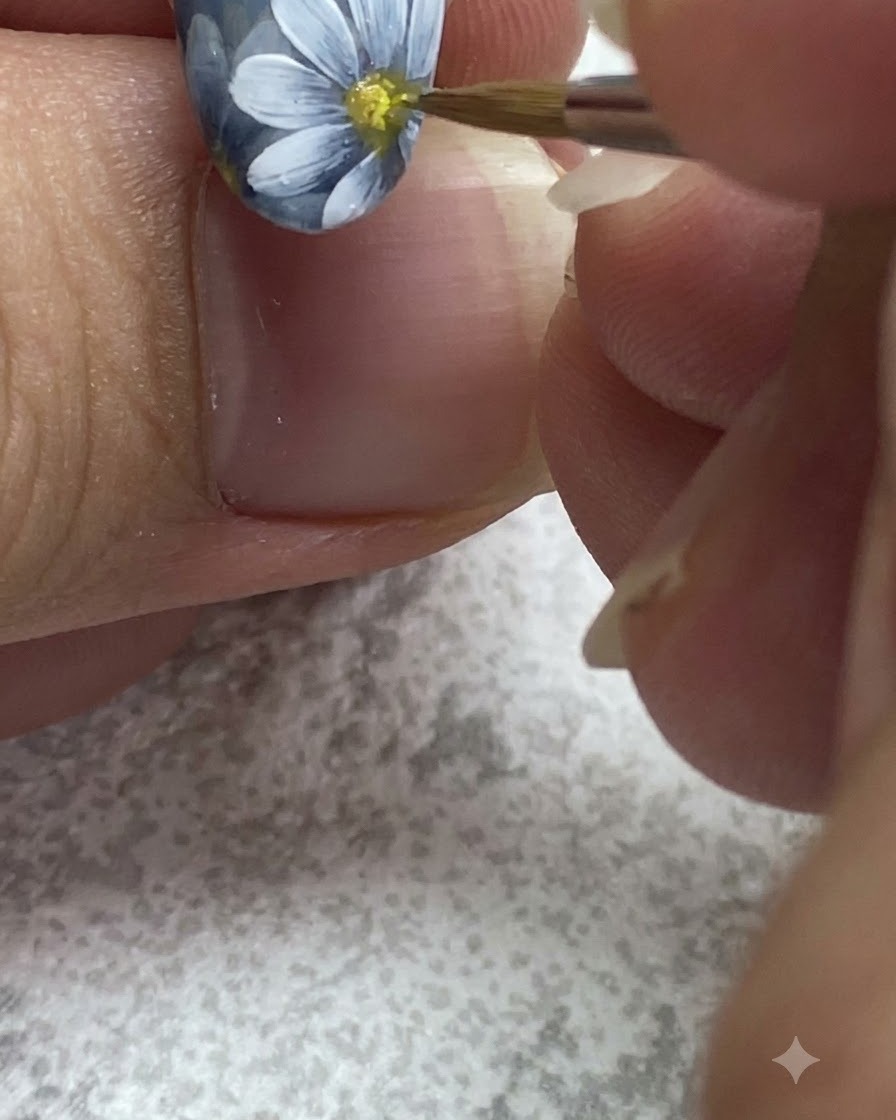
Take a fine dotting tool or brush loaded with vibrant yellow pigment and gently dab it into the center of the daisy. This adds dimension and depth to the floral center, making the design pop against the grey background.
Tip: Layering the yellow pigment gives a textured, realistic appearance to the flower center. - 8Paint a second leaf
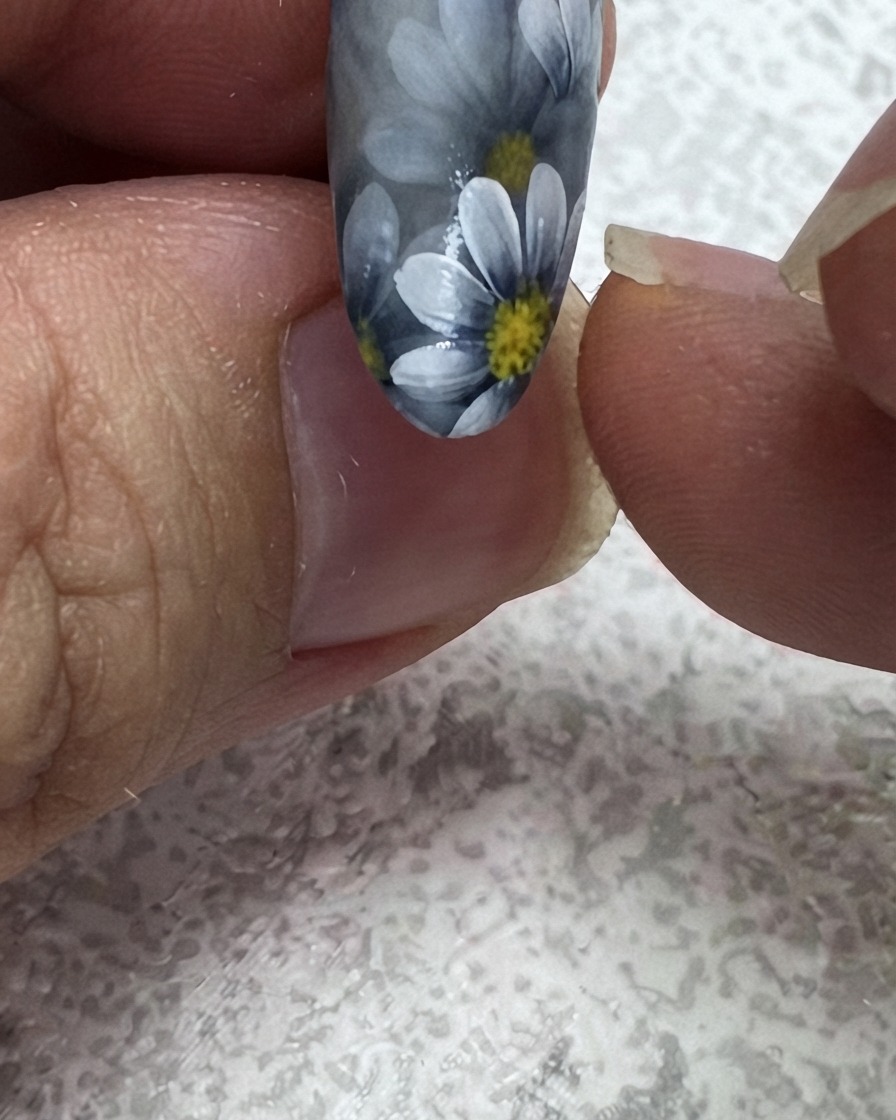
Load a fine liner brush with green gel and position it near the upper corner of the nail. Carefully paint a second leaf balancing the composition of the floral arrangement.
Tip: Vary the size and direction of leaves to keep the botanical pattern looking organic and dynamic. - 9Define leaf tips
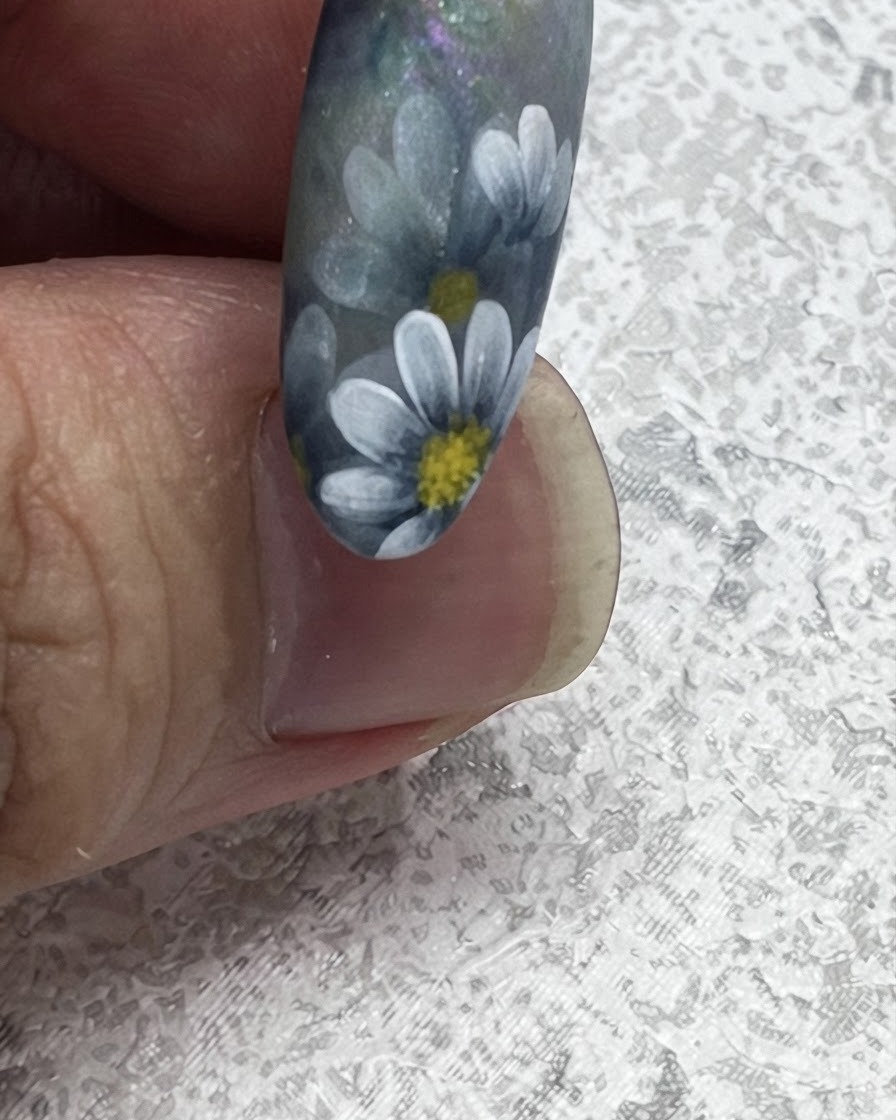
Lightly pull the brush outward from the body of the leaf to create a sharp, tapered point. This technique adds dimension and elegance to your botanical nail art design, making the leaves look delicate and well-defined.
Tip: Use very light pressure as you flick the brush outward to achieve a ultra-fine, tapered point. - 10Branch Out New Leaves
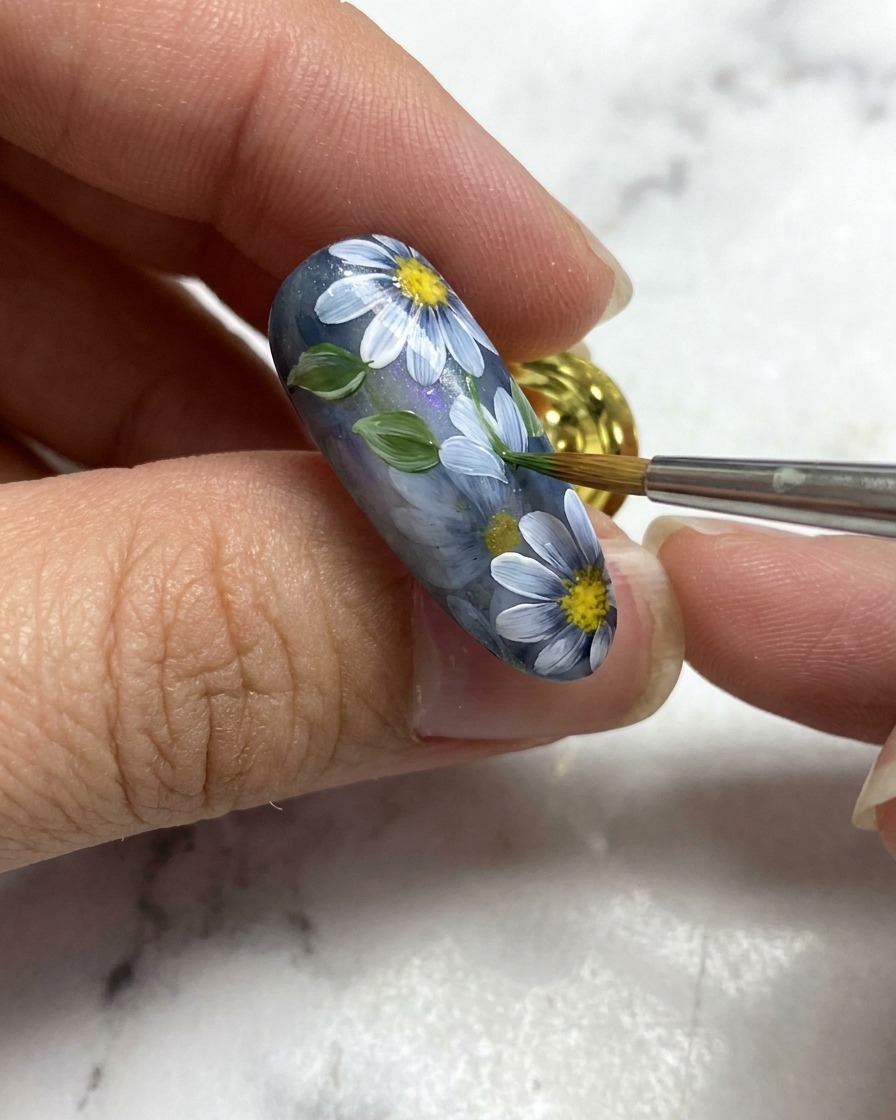
Add another leaf structure branching out near the middle section of the floral design using green gel. Use light pressure to create a natural tapering shape that complements the surrounding white daisies.
Tip: Vary the direction of the leaves slightly to make the overall botanical arrangement look more organic. - 11Highlight Green Leaves
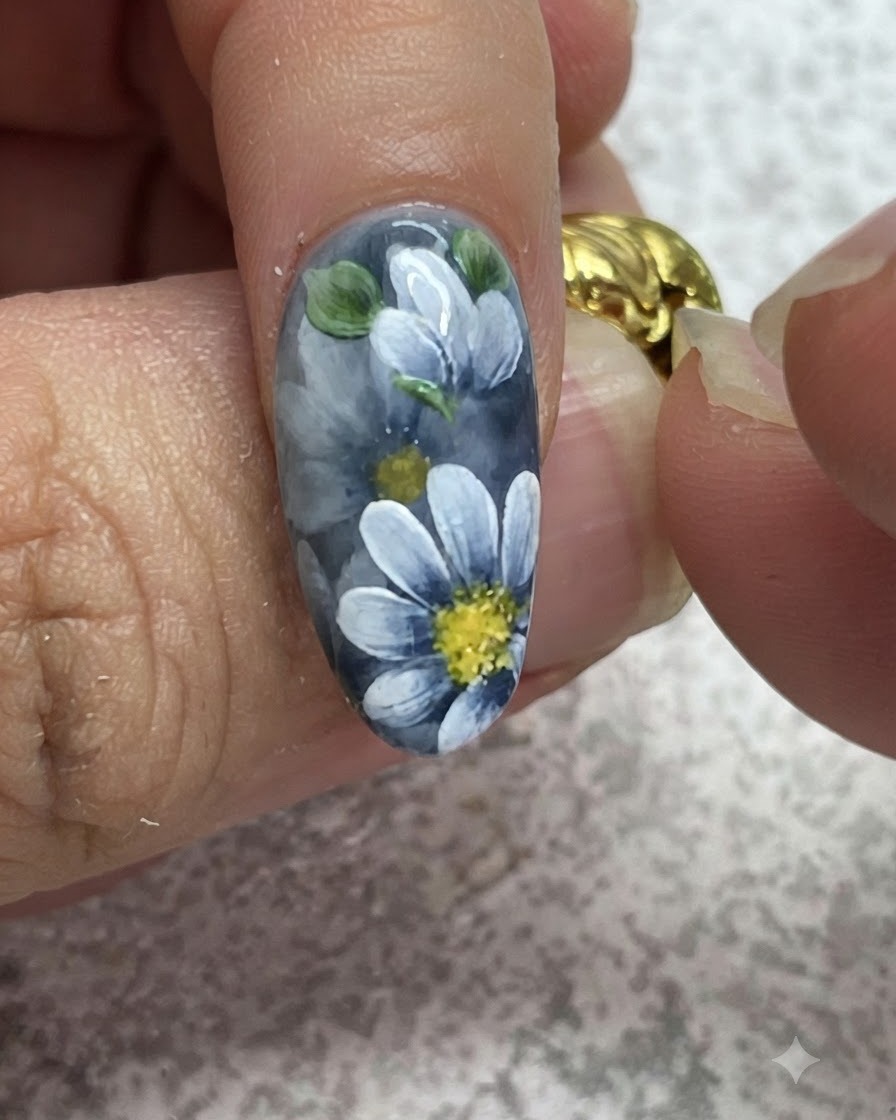
Apply delicate highlights and shading to the green leaves using a fine brush to give them depth and dimension. This enhances the contrast against the dark grey background and makes the foliage pop.
Tip: Use a mix of lighter green or white mixed with green for the subtle highlight stroke along the edge. - 12Final Details and Touches
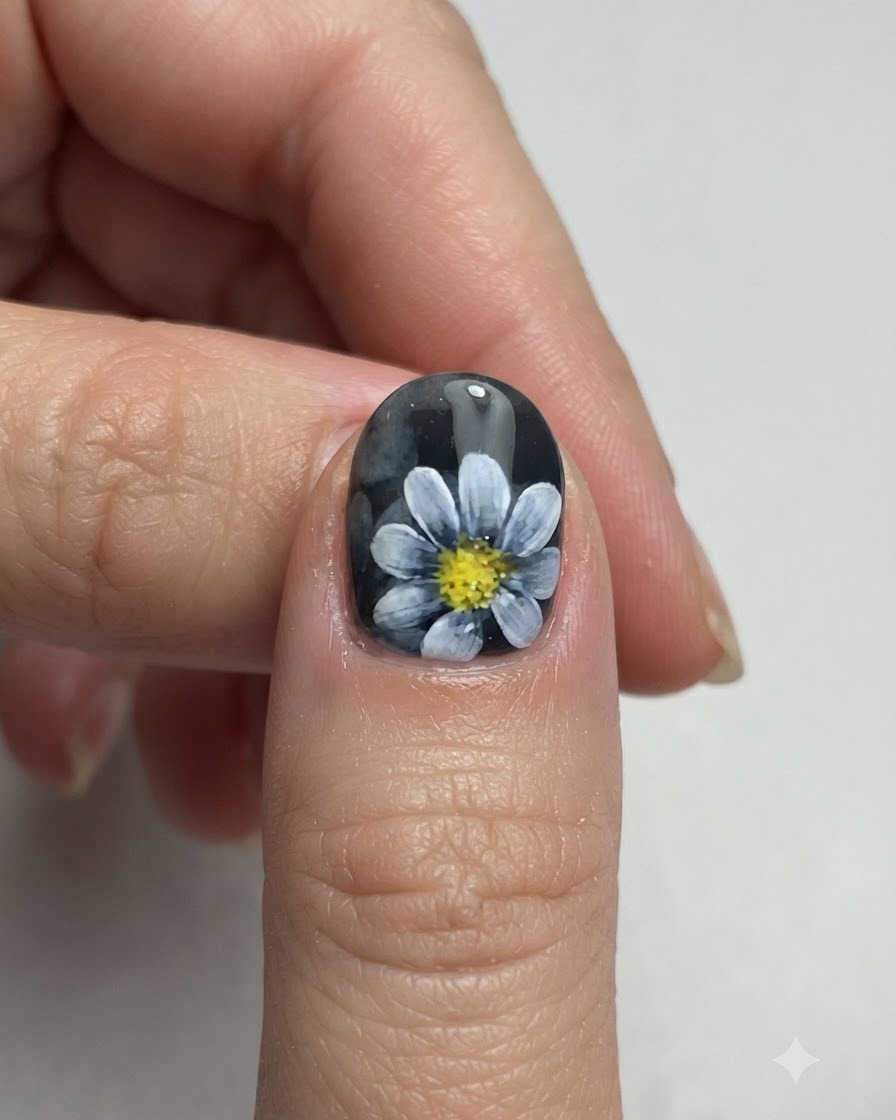
Add final touches and details around the floral cluster to polish the design before applying the top coat. Check all elements for balance, symmetry, and neatness, then cure briefly if needed.
Tip: Double-check that all painted elements are fully dry or cured before sealing with top coat to prevent smudging.