Hand-Painted Daisy Nail Art
Black — Step-by-Step Tutorial
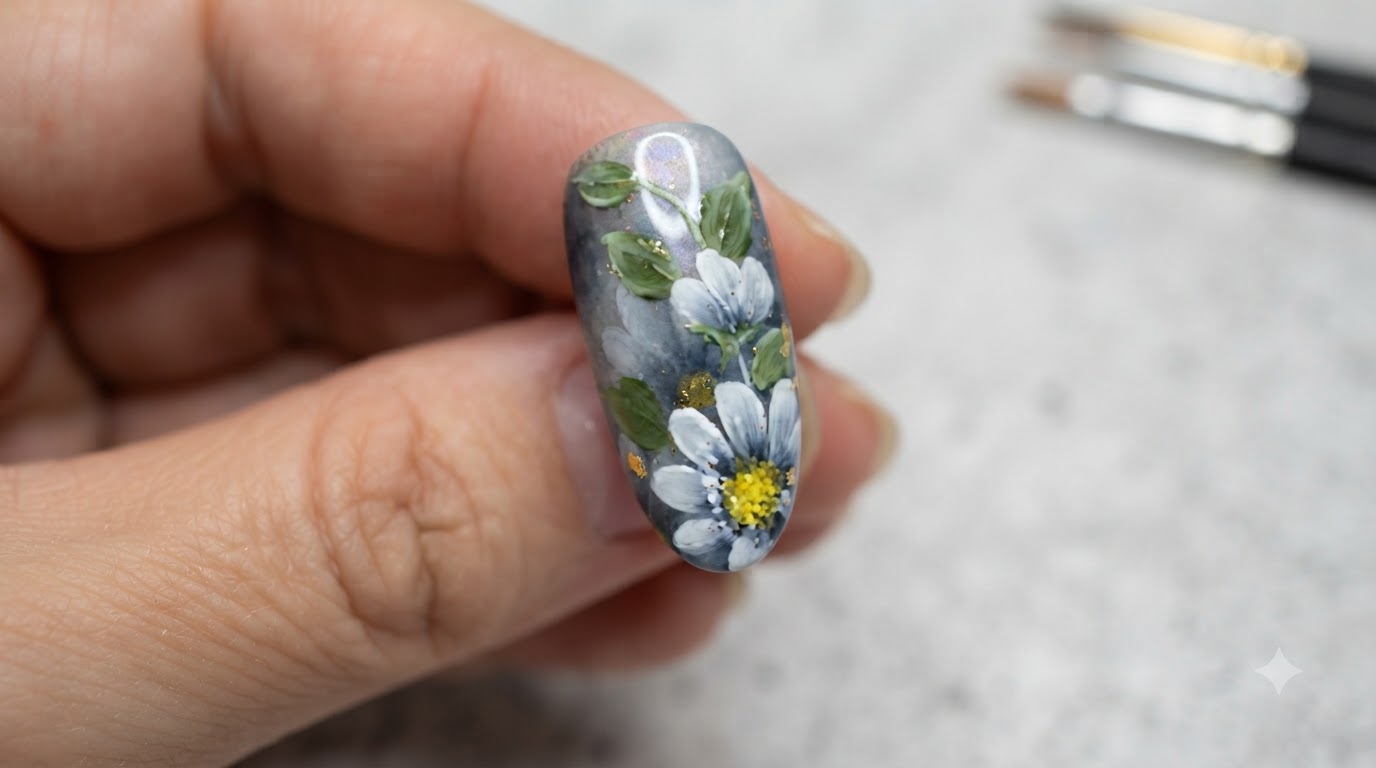
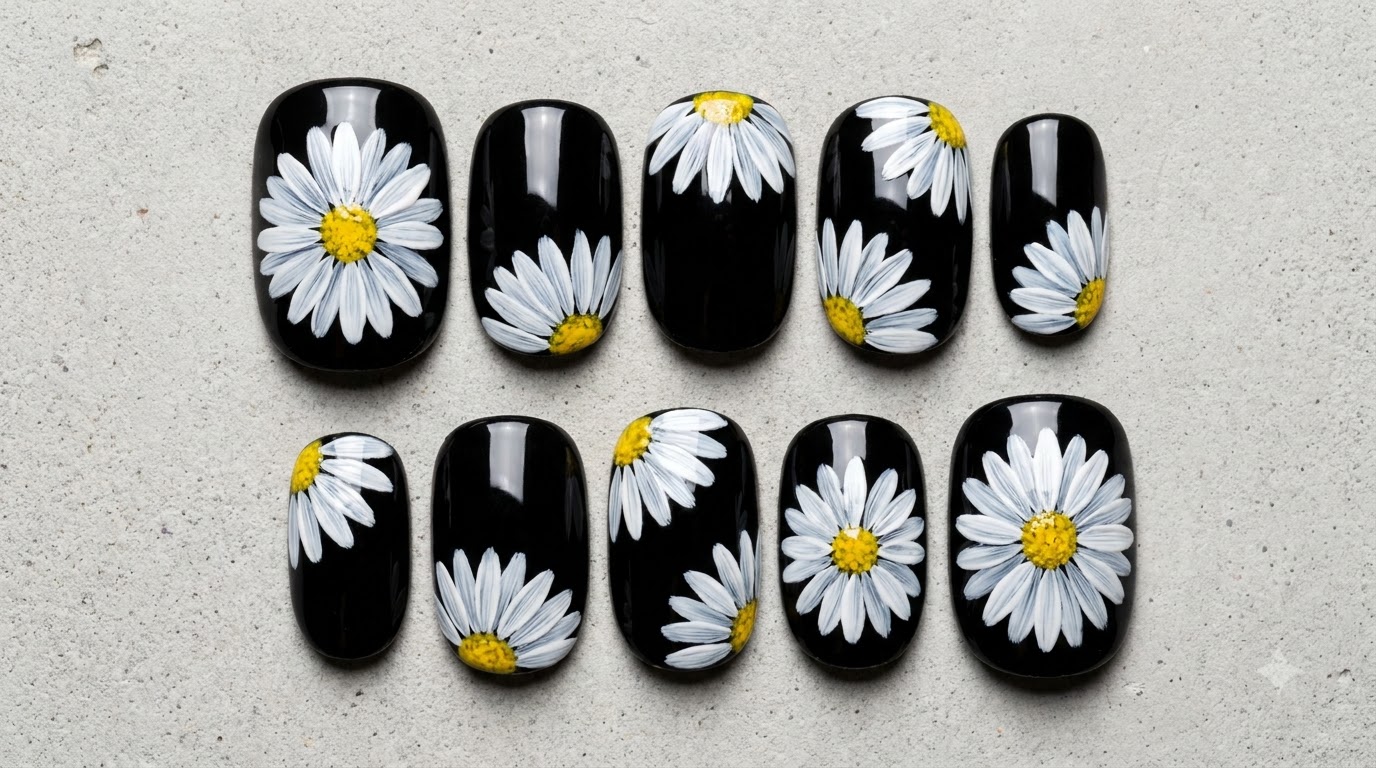
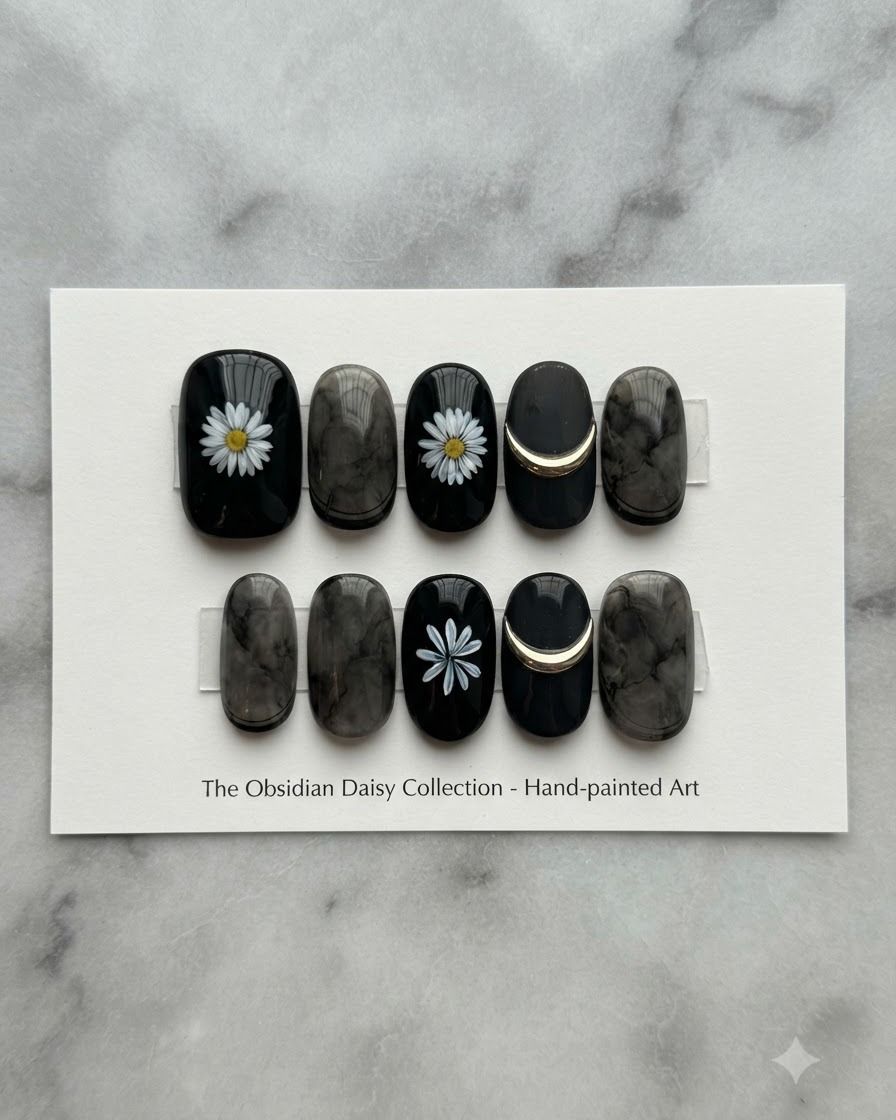
Create stunning contrast with crisp white daisy nail art set against a sleek black gel background, complete with metallic yellow centers and a high-gloss finish.
Dark-base nail art offers a striking canvas that makes vibrant floral designs instantly pop. This tutorial walks you through painting detailed multi-layered daisies using a fine detail brush, giving you salon-quality botanical nail art right at home.
Steps
- 1Paint the first layer of daisy petals
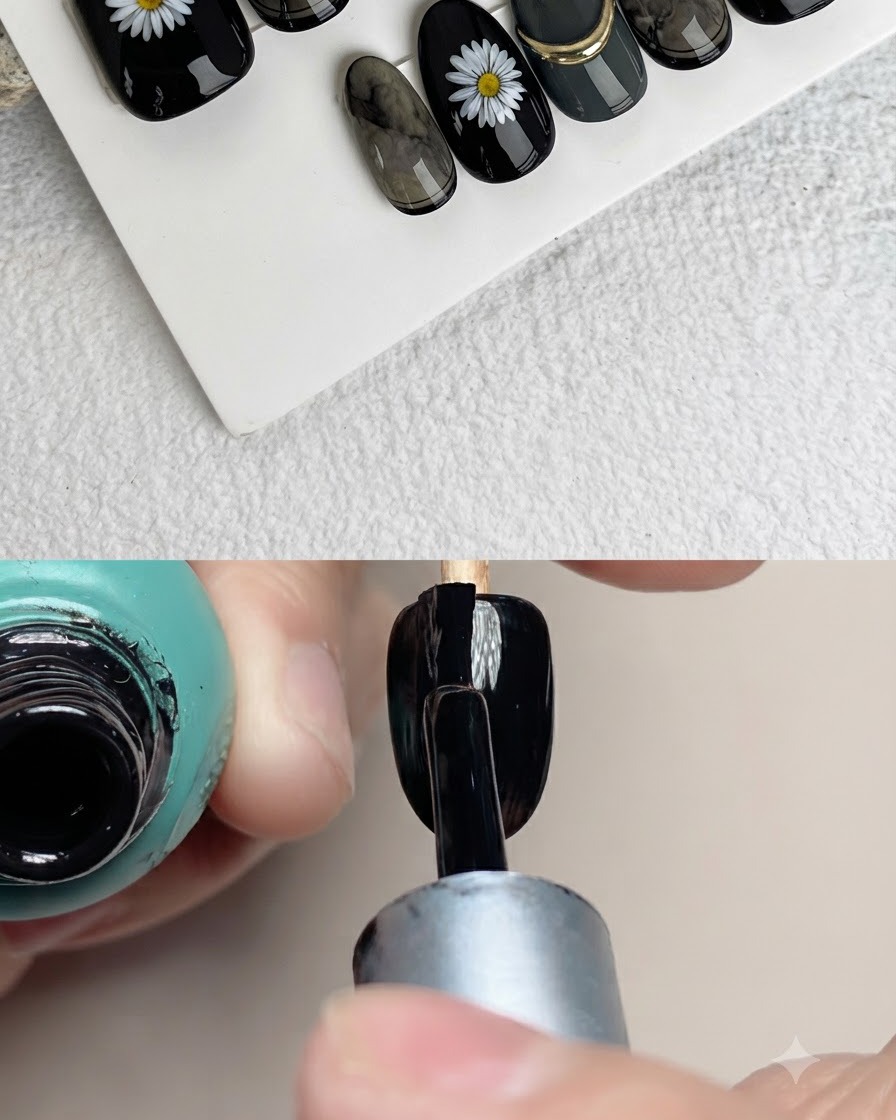
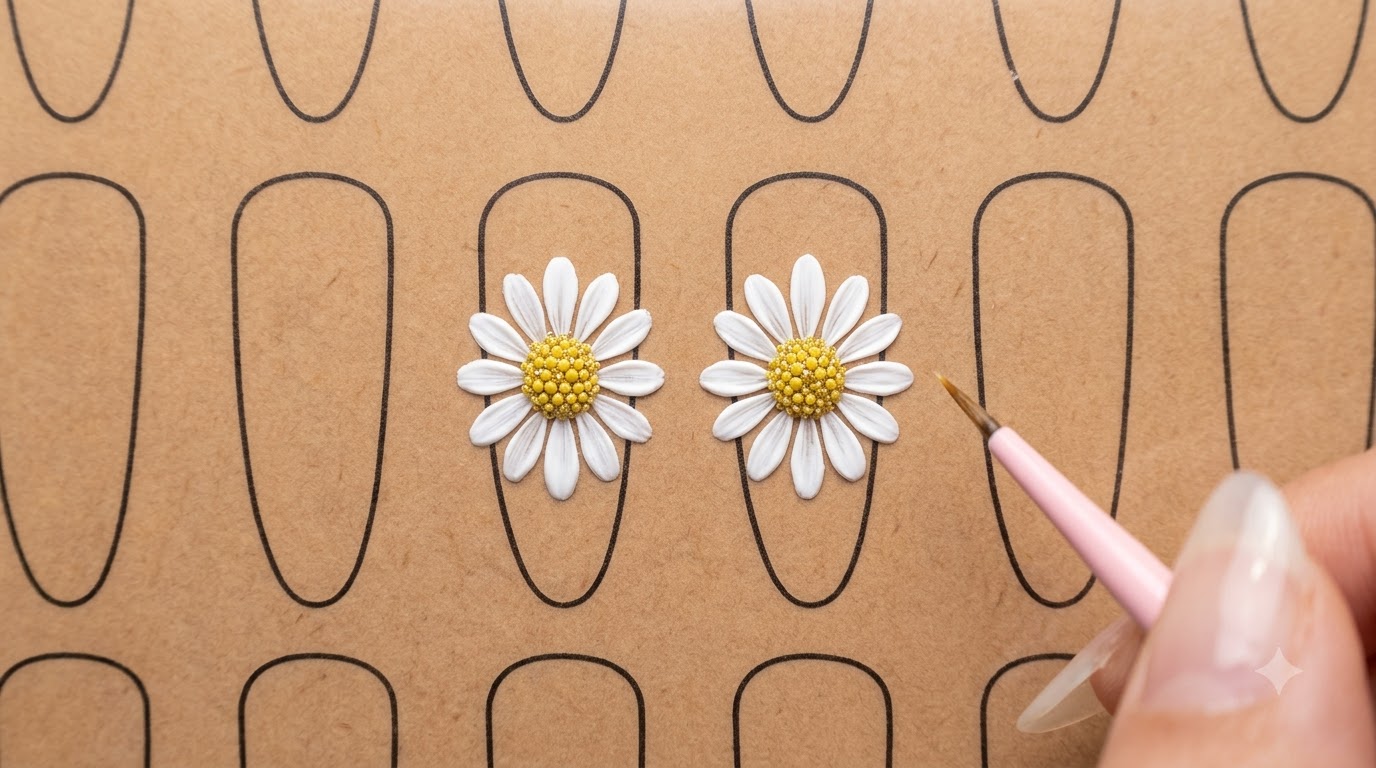
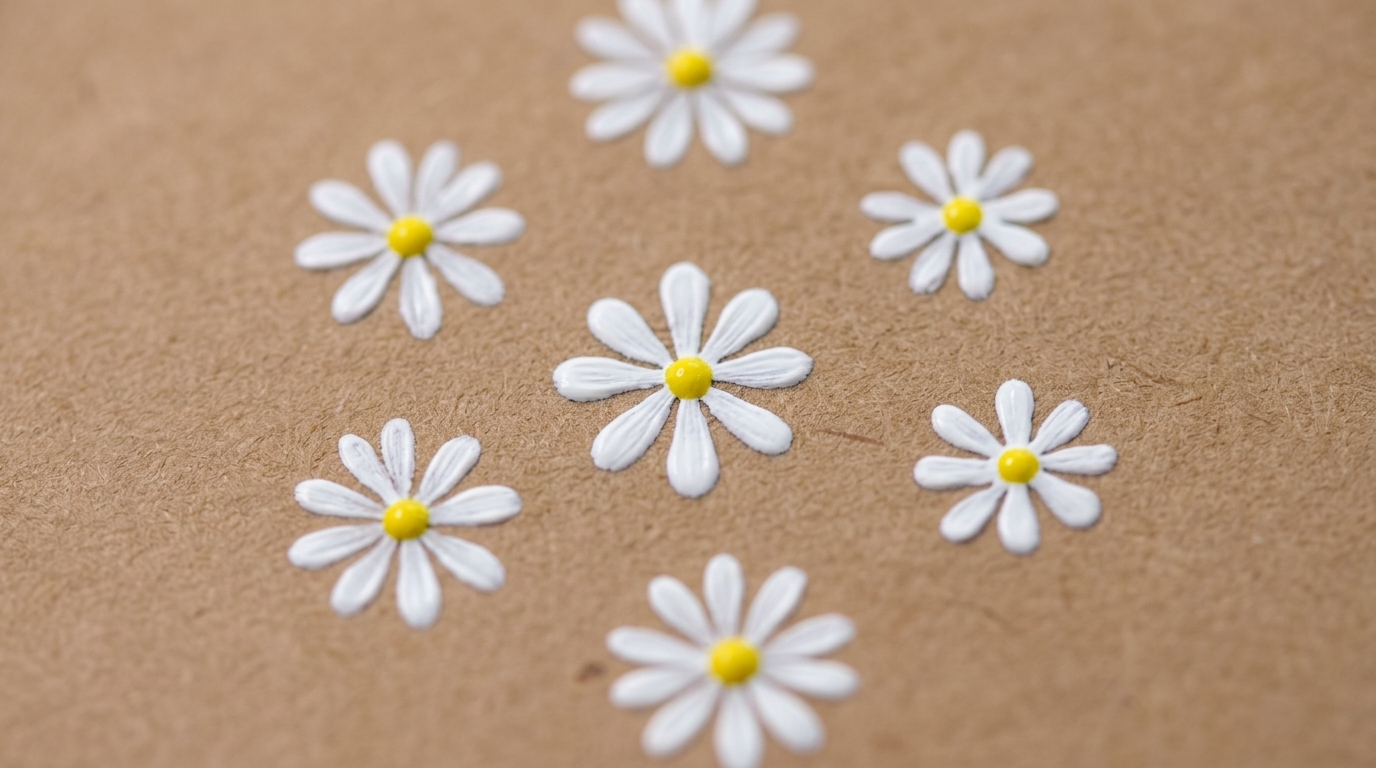
Using an 8090 number 4 small detail brush, pick up white color gel and paint the first layer of petals radiating outward on the black nail surface. Take your time to keep the spacing even and the petal lengths balanced around the center.
Tip: Keep your brush strokes light and pull outward from the center point to create a tapered petal shape. - 2Complete the first layer of petals
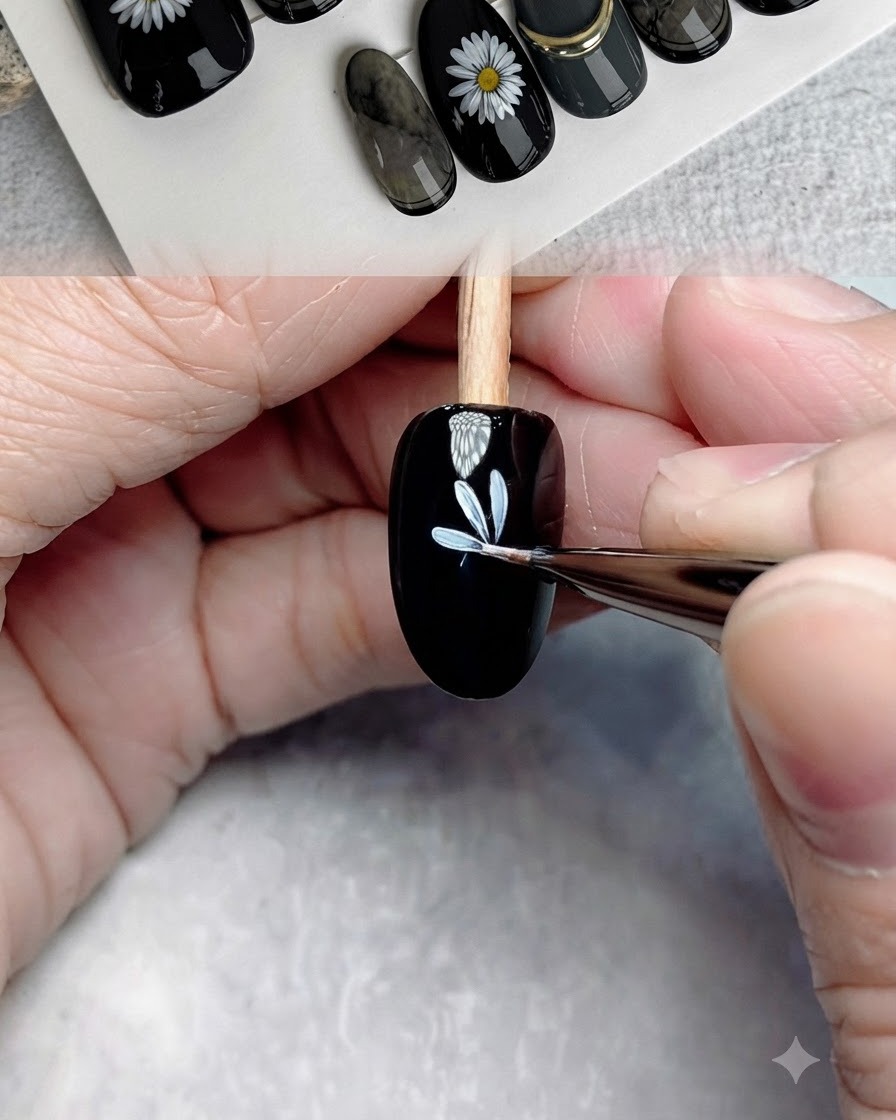
Continue painting the remaining petals to finish the first full layer of the daisy design. Ensure the composition is well-balanced across the black background before moving on to cure.
Tip: Work systematically around the flower center so the petals look proportional. - 3Cure the first petal layer
Place the nail under the UV or LED lamp to cure the first layer of white petals fully. Curing between layers prevents the white gel from bleeding into subsequent steps and locks your line work in place.
Tip: Ensure proper placement under the UV or LED light source to prevent uncured gel spots. - 4Paint the second layer of petals
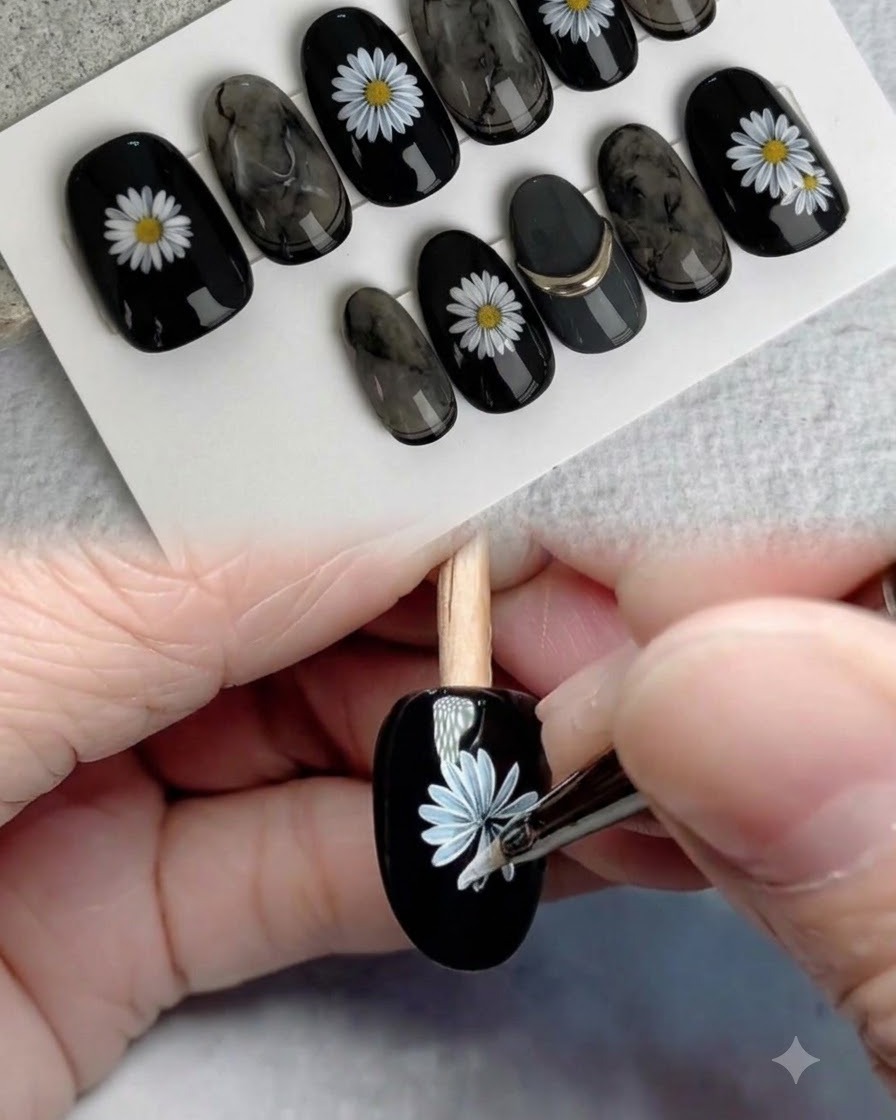
Paint a second layer of white petals directly over the cured first layer to build dimension and opacity. Layering the petals creates a natural, multi-dimensional floral effect against the dark background.
Tip: Slightly offset the second layer of petals to give the flower a richer, fuller appearance. - 5Define petal contours and fill in color
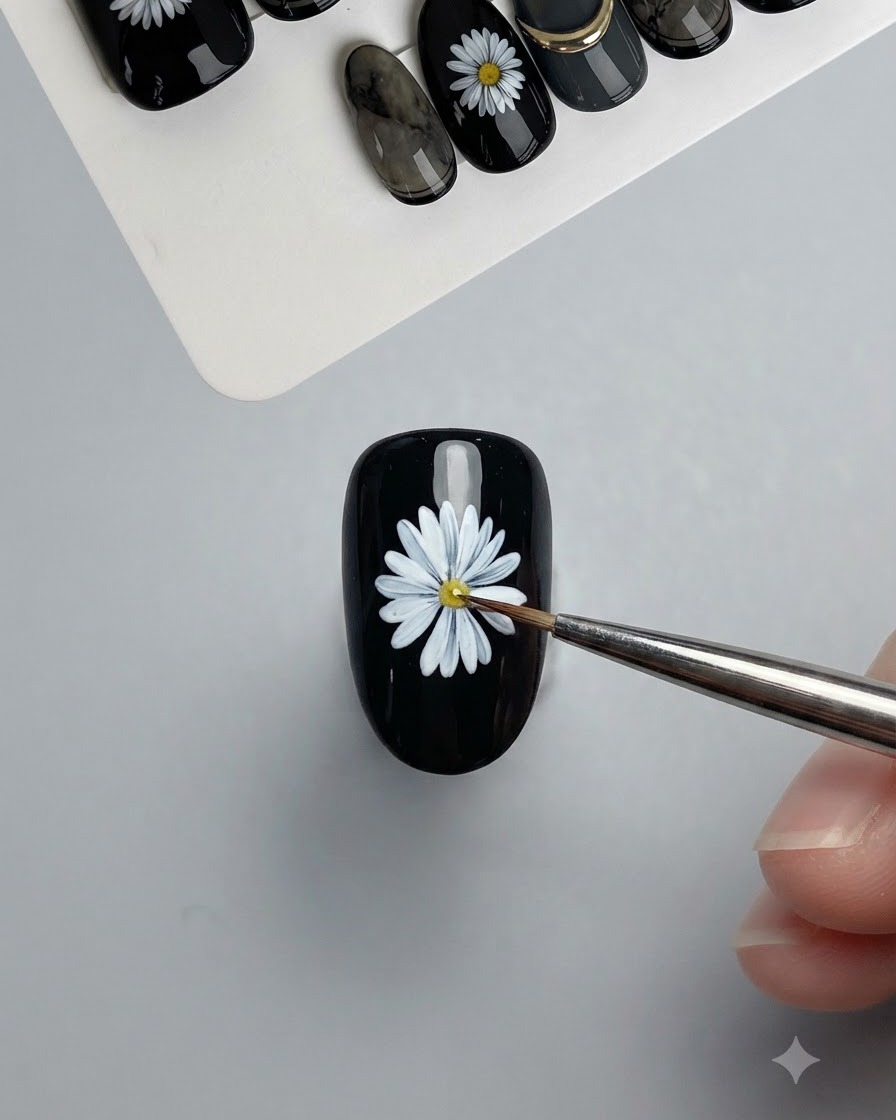
Using a fine lining brush, carefully fill in any sparse areas and outline the petal contours to sharpen their edges. Clean lines enhance the definition and overall realism of the hand-painted daisy.
Tip: Wipe your lining brush clean frequently to maintain a razor-sharp tip for precise detailing. - 6Paint the flower center base
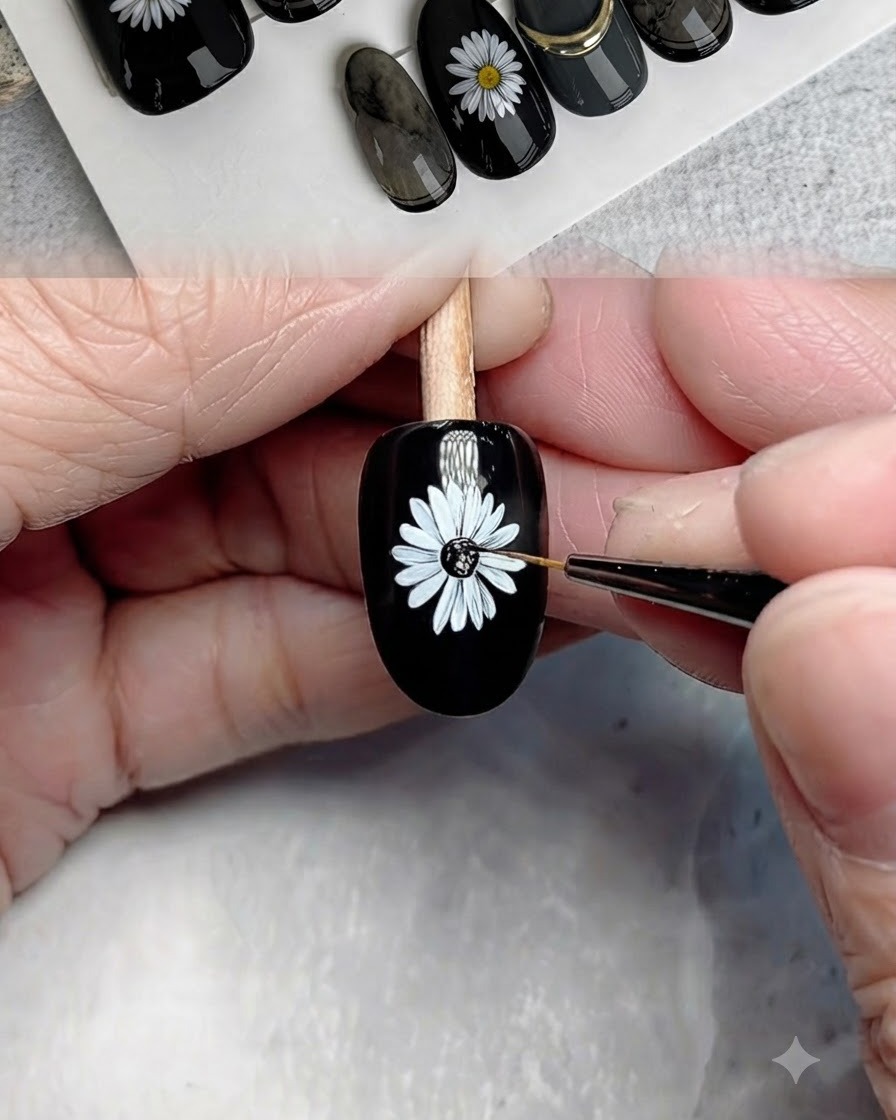
Using black color gel and a fine brush, fill in the very center of the daisy flower to create depth. This dark base prepares the core for subsequent bright highlight details.
Tip: Keep the black center compact and concentrated right at the intersection of all the petals. - 7Add details to the flower center
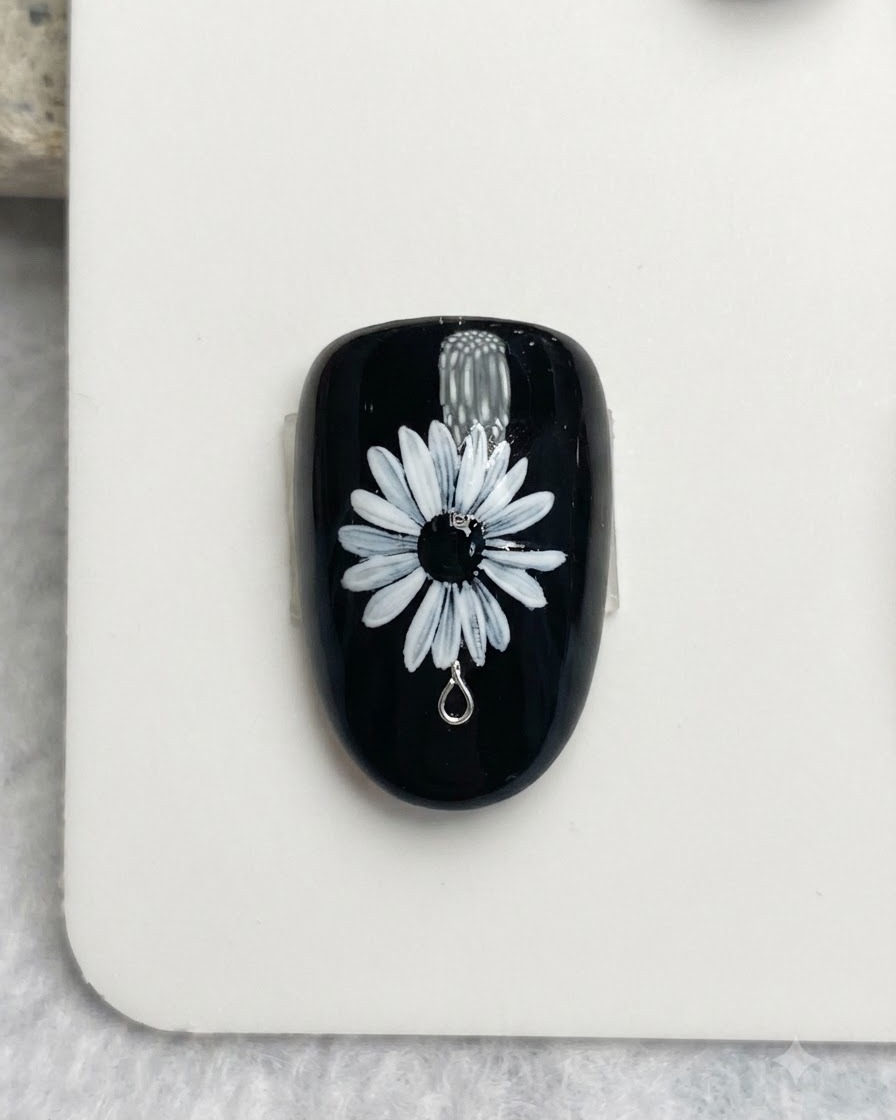
Using a fine brush, add precise white and yellow color details into the center of the black flower base to create depth and dimension. This highlights the floral texture and makes the nail art pop against the dark background.
Tip: Keep your brush strokes light and controlled to avoid muddying the black base color. - 8Apply sealing top coat
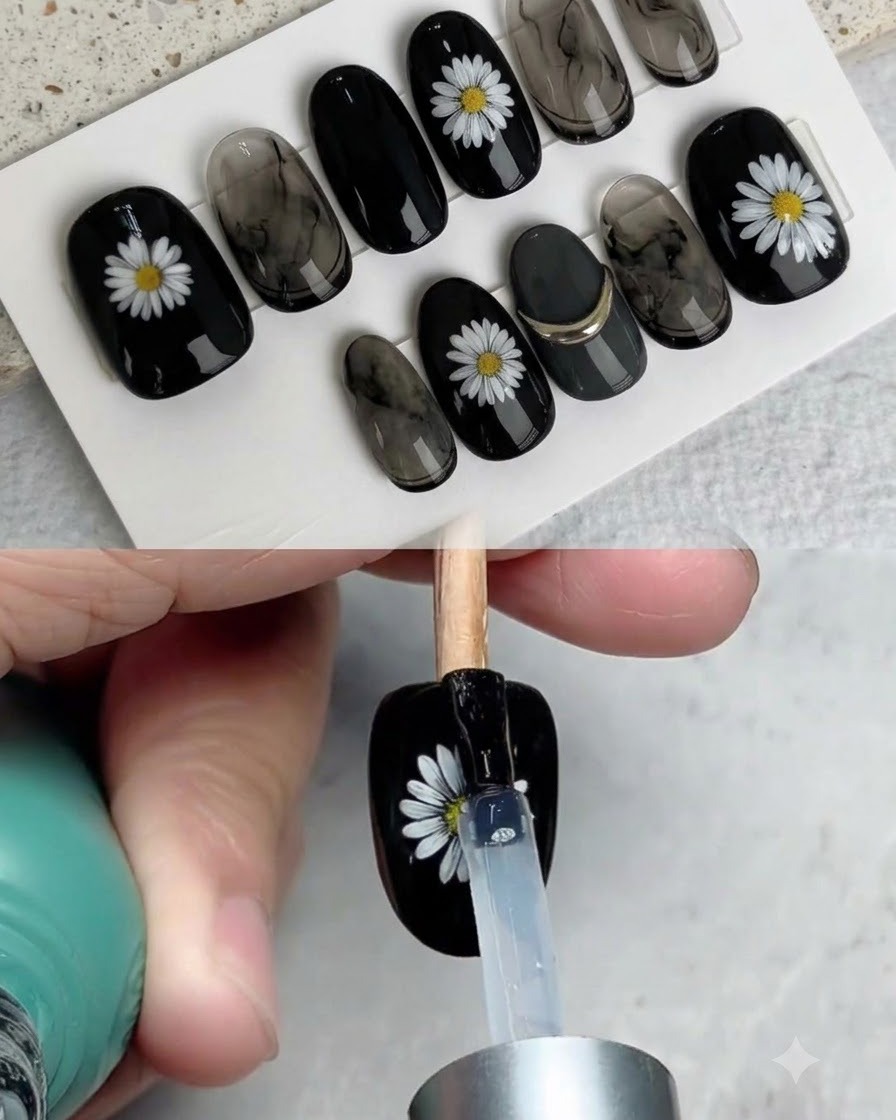
Apply a final layer of sealing top coat over the entire completed nail design to protect the hand-painted art and provide a high-gloss finish. Cap the free edge and cure under the lamp to lock everything in place.
Tip: Ensure the top coat covers all painted details completely to prevent chipping and premature wear.