Daisy Positioning Nail Art — Beginner Hand-Painted Floral Tutorial
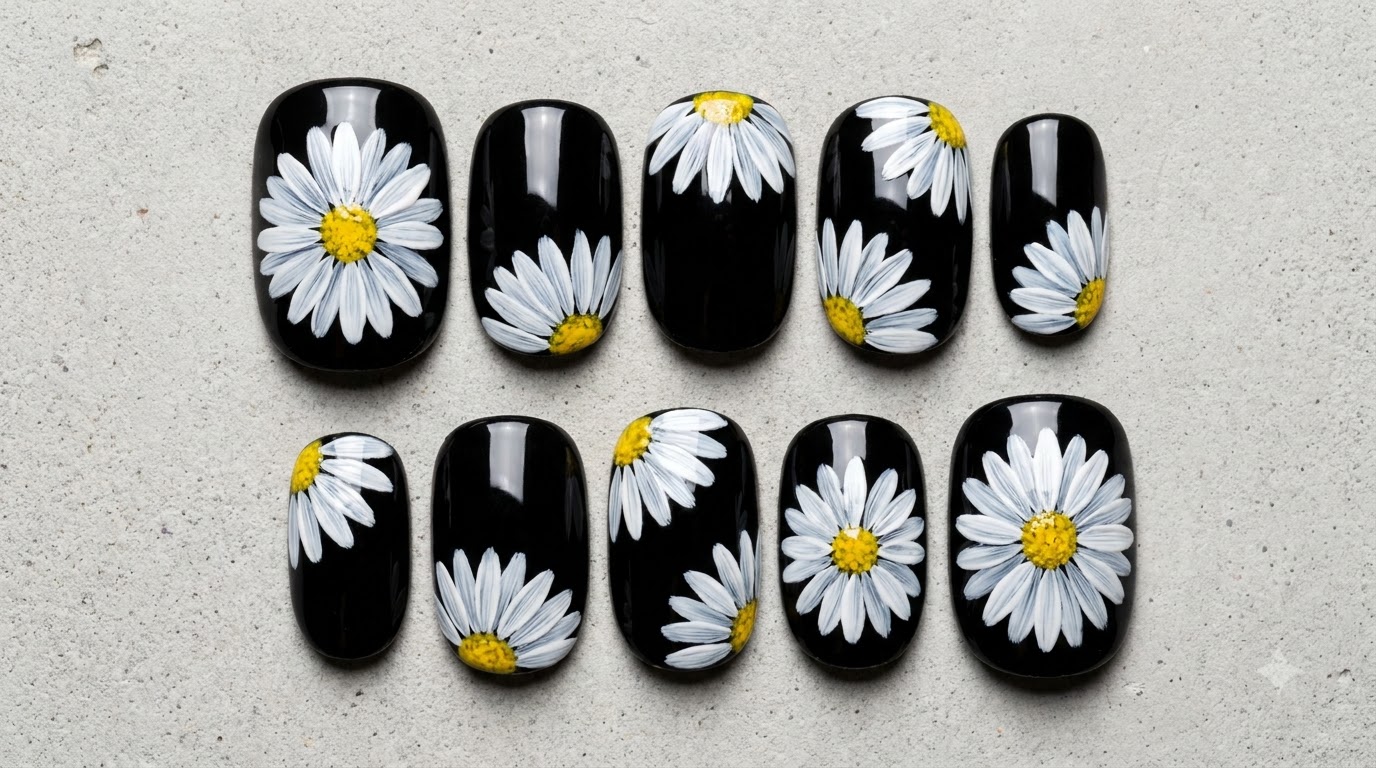
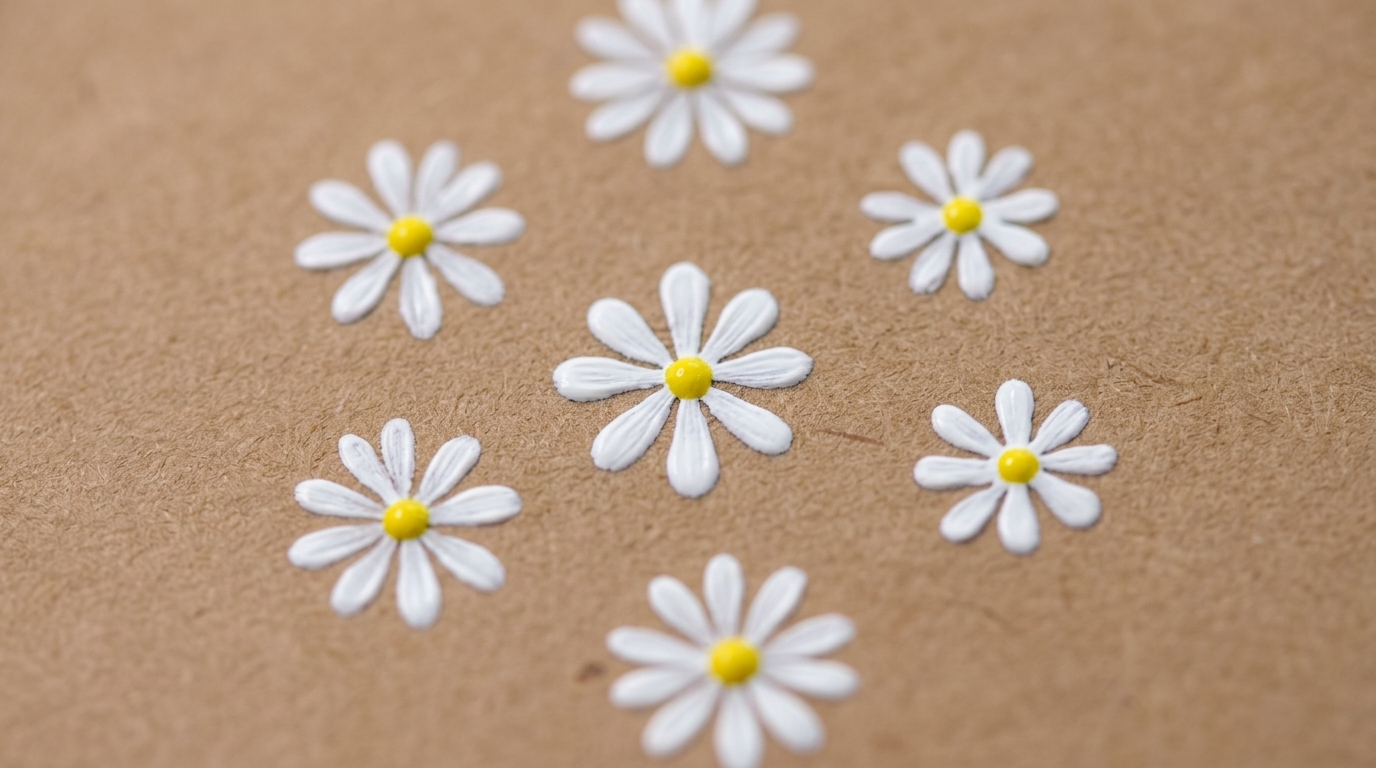
Master hand-painted floral nail art with a simple crosshair positioning method, creating neat and perfectly proportioned white daisies with bright yellow centers.
Floral nail designs are a timeless classic, but achieving symmetry and balanced placement can be tricky for beginners. This step-by-step guide introduces a clever positioning technique using simple crosshair guides to help you map out clean, beautifully proportioned daisy clusters effortlessly.
Steps
- 1Draw reference crosshair dots
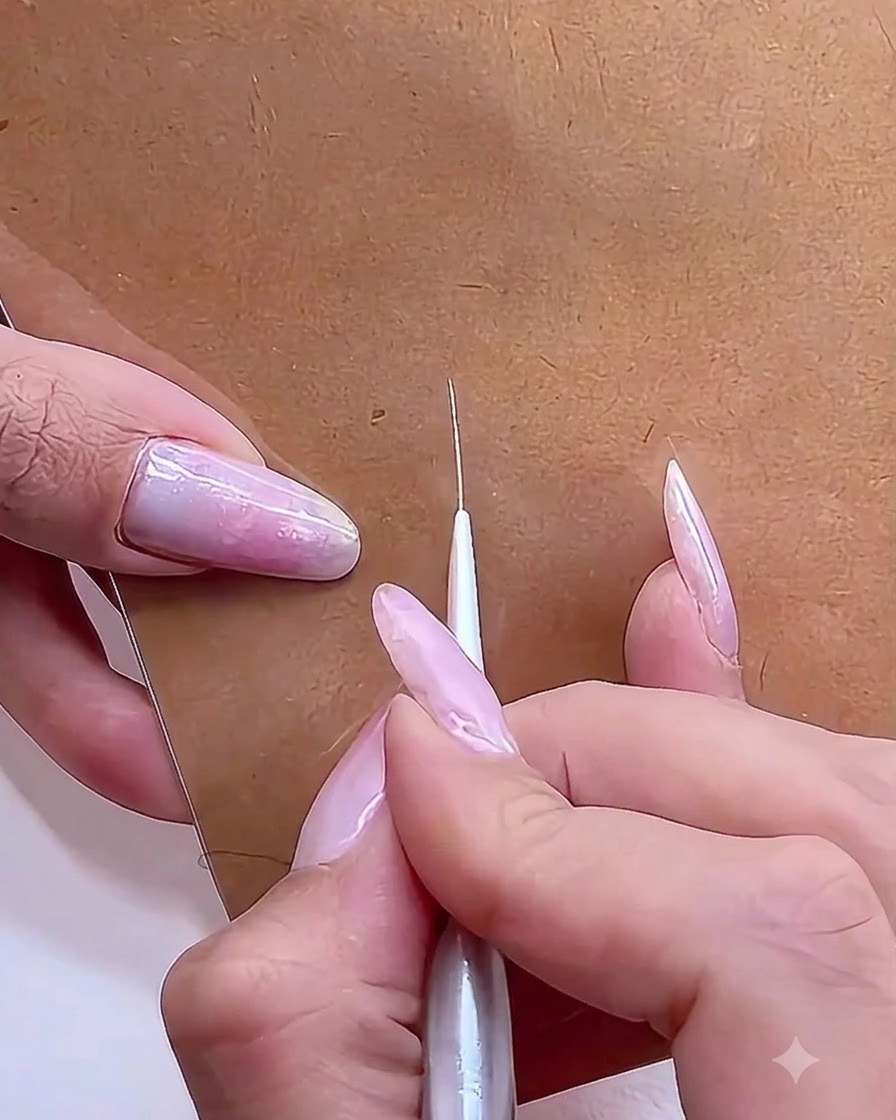
Take a fine liner brush loaded with white gel and gently plot reference crosshair dots onto the brown practice surface to map out the exact placement for the daisy flowers.
Tip: Keep your hand steady and use light pressure to make the reference marks precise and neat. - 2Mark the center intersection
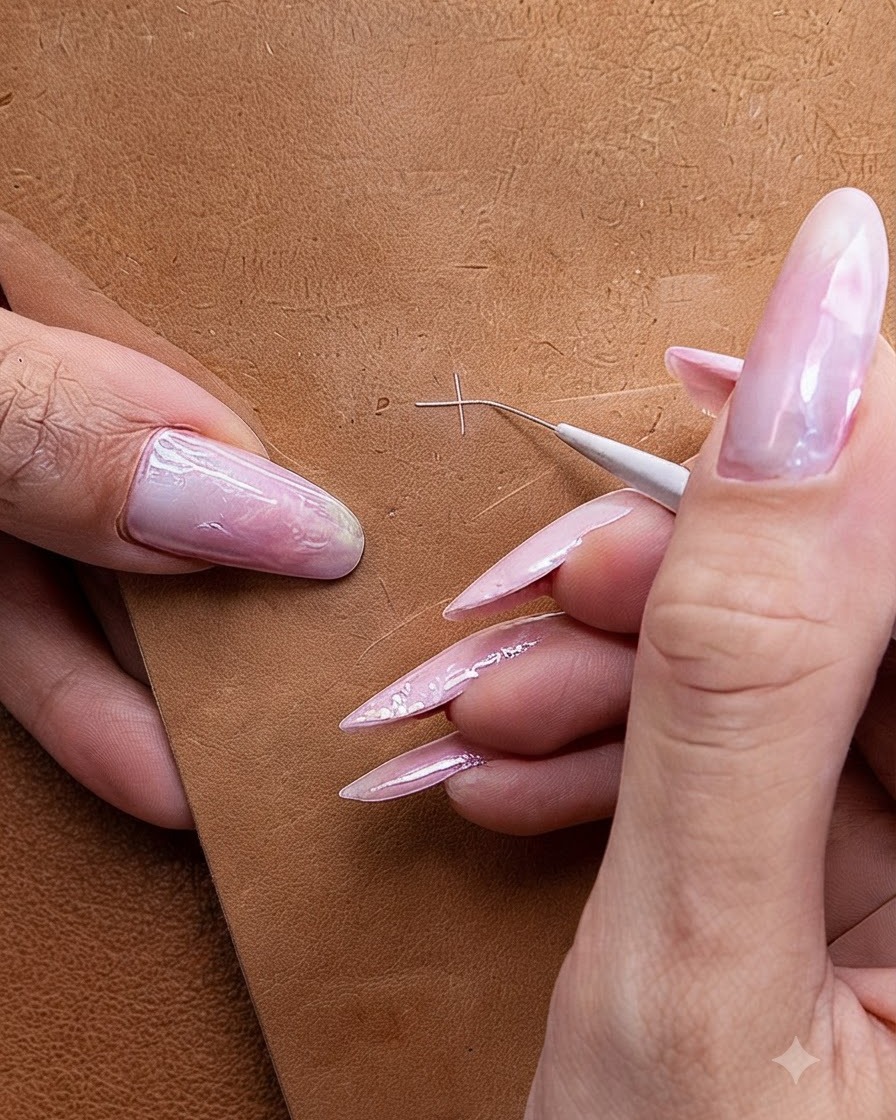
Carefully draw the intersecting lines of the crosshair guide using the fine liner brush to establish the precise center point where the daisy will be built.
Tip: Ensure the intersecting lines cross cleanly to act as a reliable anchor for the petals. - 3Apply the center dot
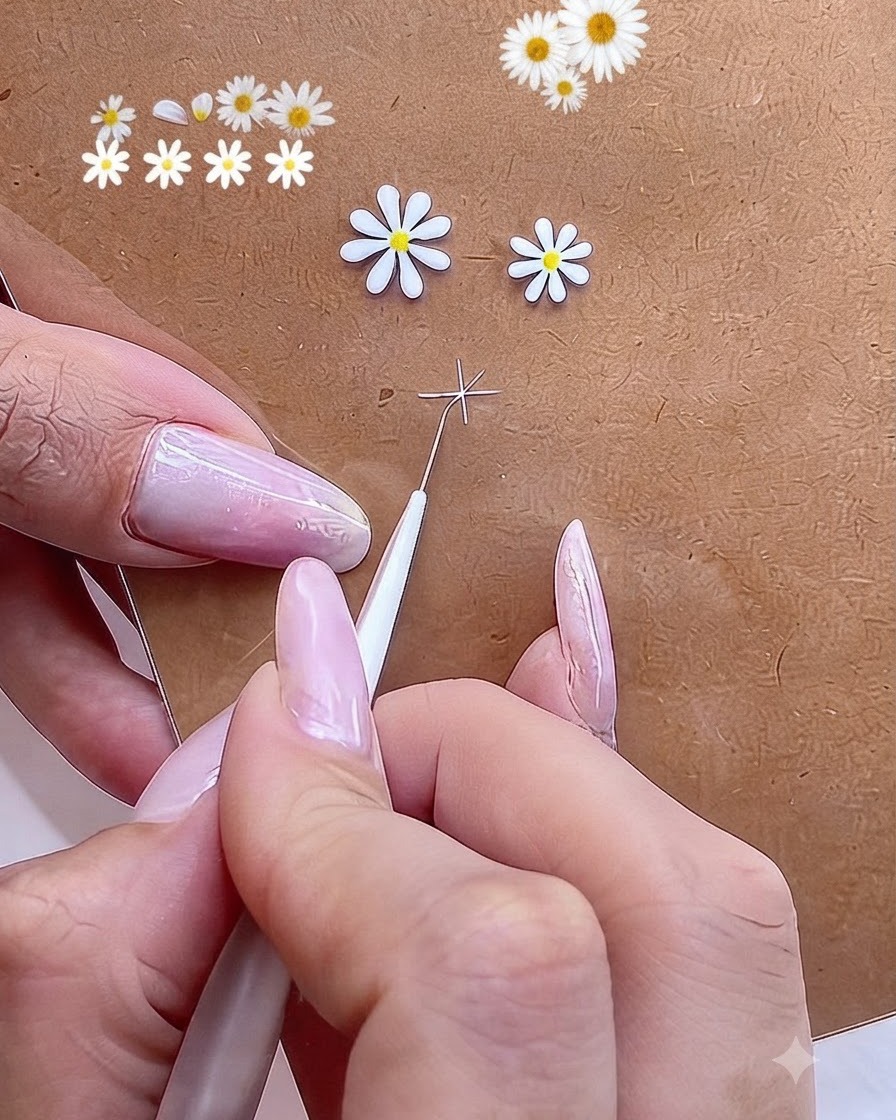
Place a small, concentrated dot of white gel right at the center intersection of the positioning guide to form the base or core from which the petals will extend.
Tip: Avoid making the center dot too large so that the petals maintain a balanced proportion. - 4Pull the first petal stroke
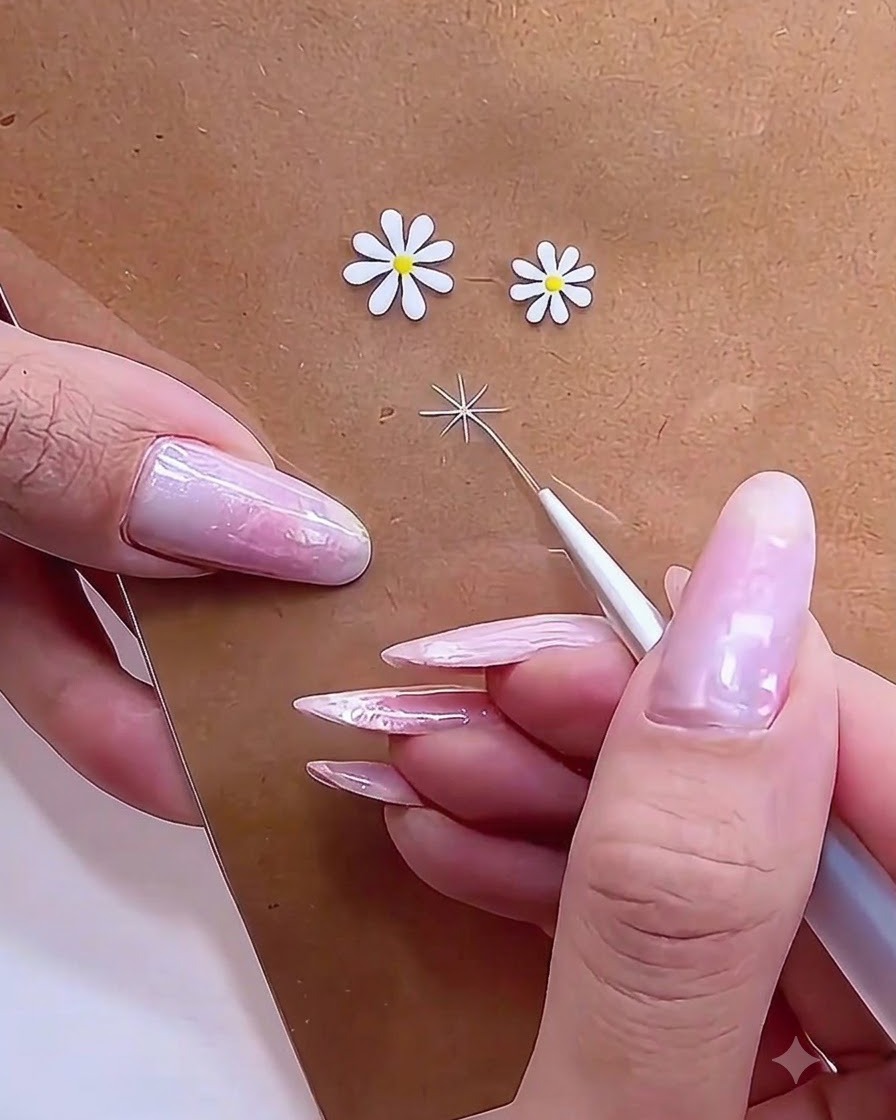
Using the fine nail art brush, gently pull the first petal stroke outward from the central white dot toward one of the guide lines.
Tip: Lighten the pressure at the outer tip of the stroke to create a tapered, natural-looking petal shape. - 5Paint surrounding petals
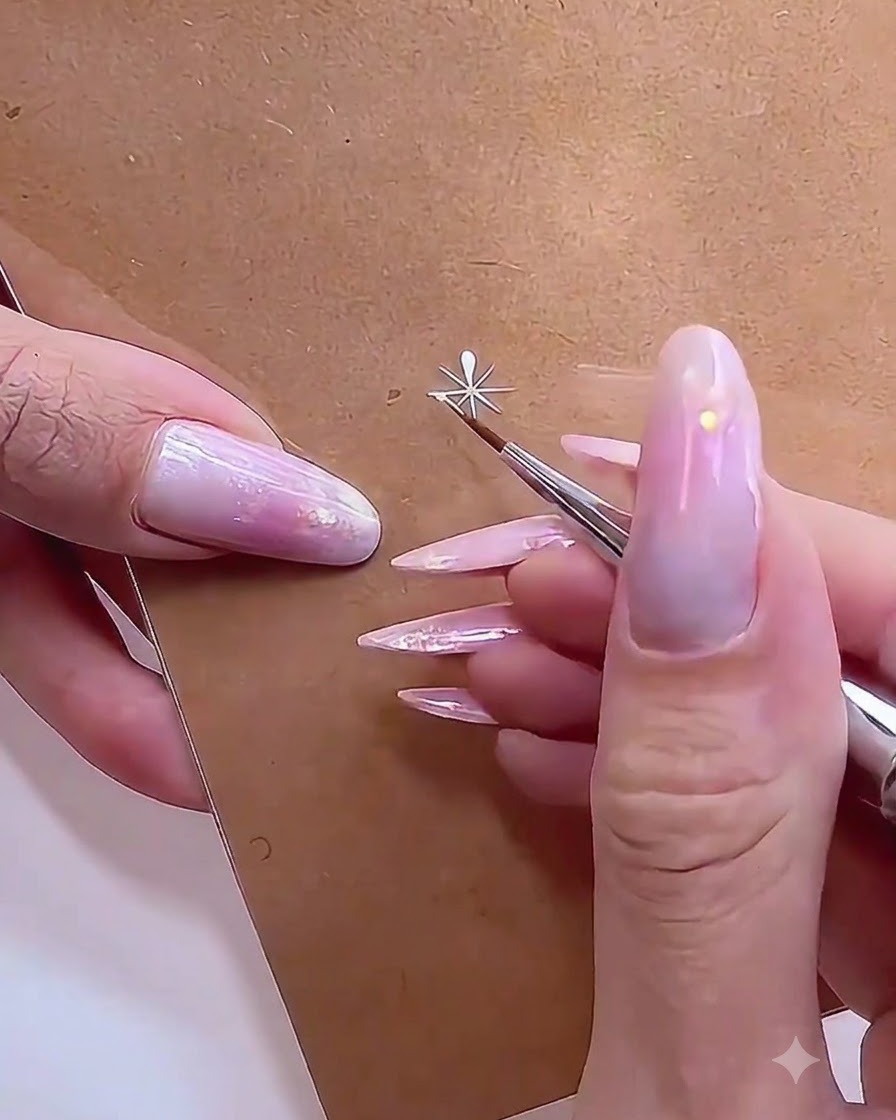
Continue painting additional petals around the center dot, evenly spacing them to form a complete and balanced daisy flower shape.
Tip: Work symmetrically by painting opposite petals next to each other to keep the flower well-proportioned. - 6Refine and complete the petals
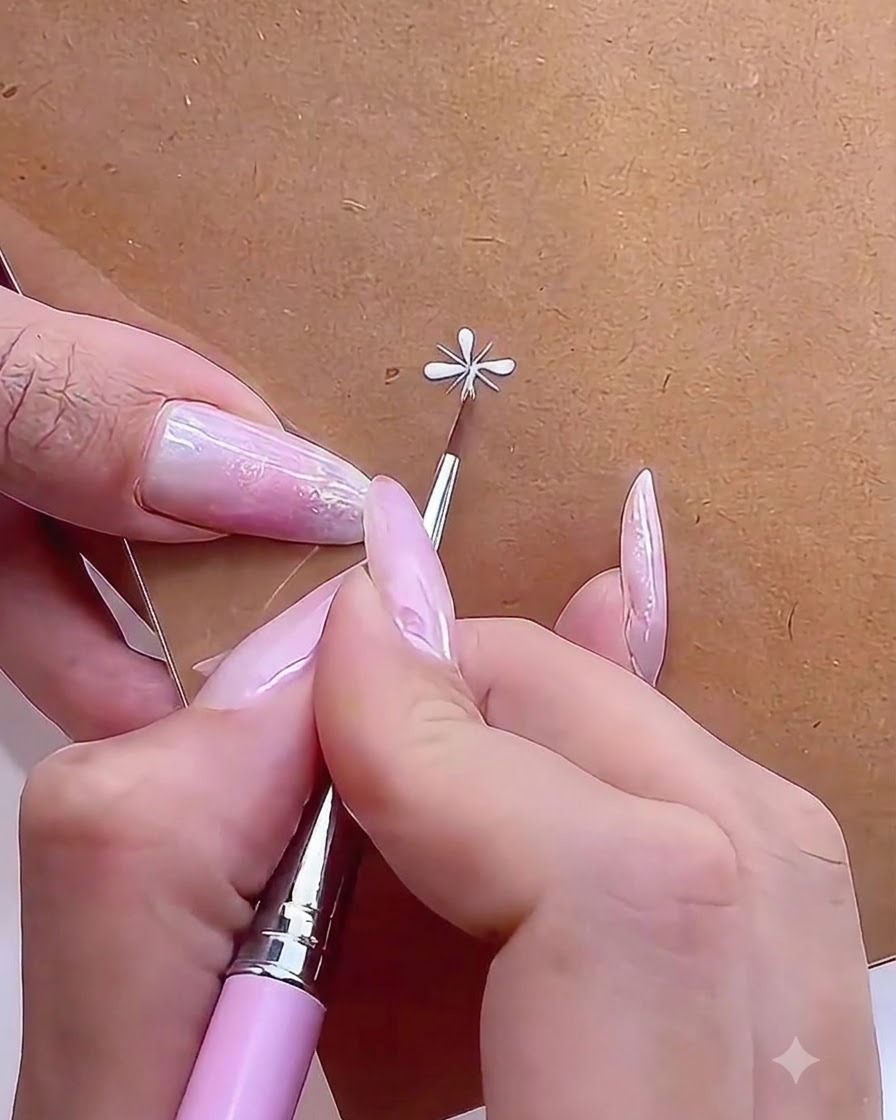
Carefully inspect all surrounding petals of the daisy flower, touching up any edges or thickness to finalize the hand-painted floral design.
Tip: Clean up any uneven lines with a clean brush dipped in a tiny bit of alcohol if needed before curing. - 7Add a second daisy
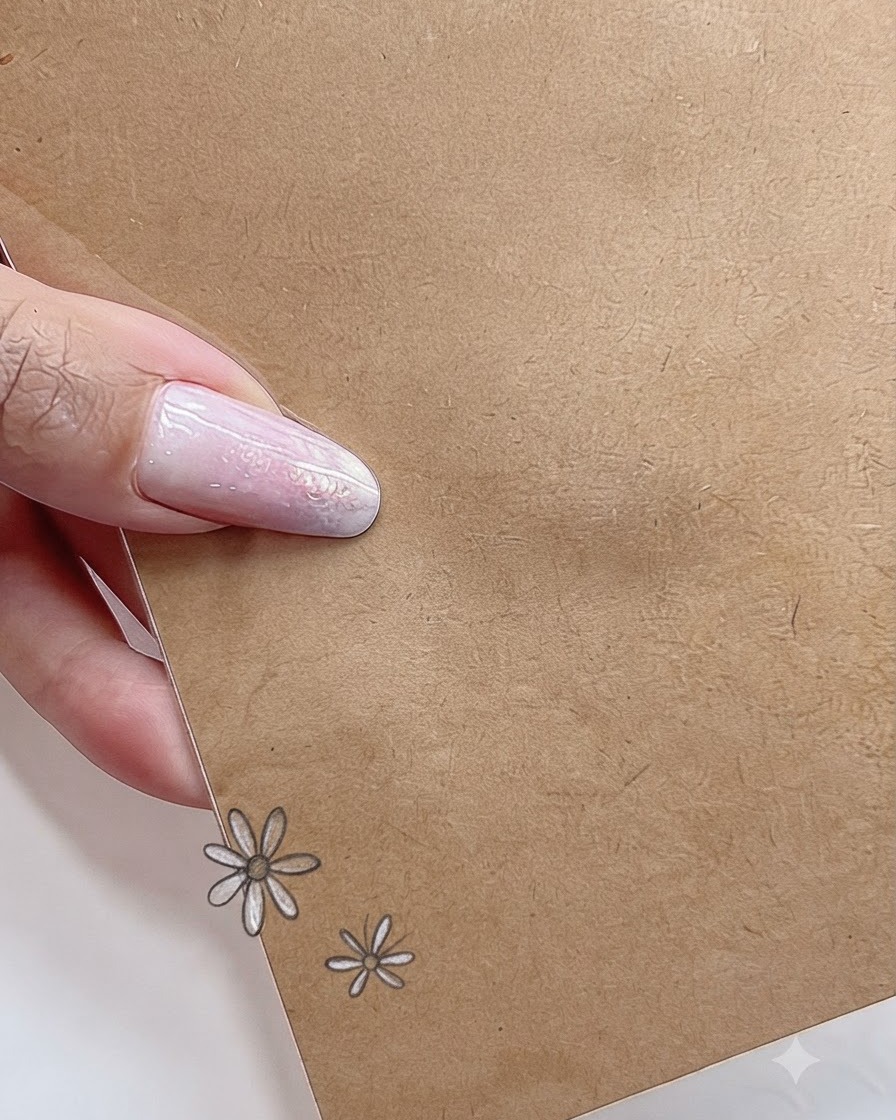
Position and paint a second, smaller daisy flower directly beside the first daisy to create a balanced cluster. Keep the petals delicate and consistent in shape to match the overall design layout.
Tip: Varying flower sizes slightly adds a more natural and organic look to floral nail art compositions. - 8Cure the daisy design
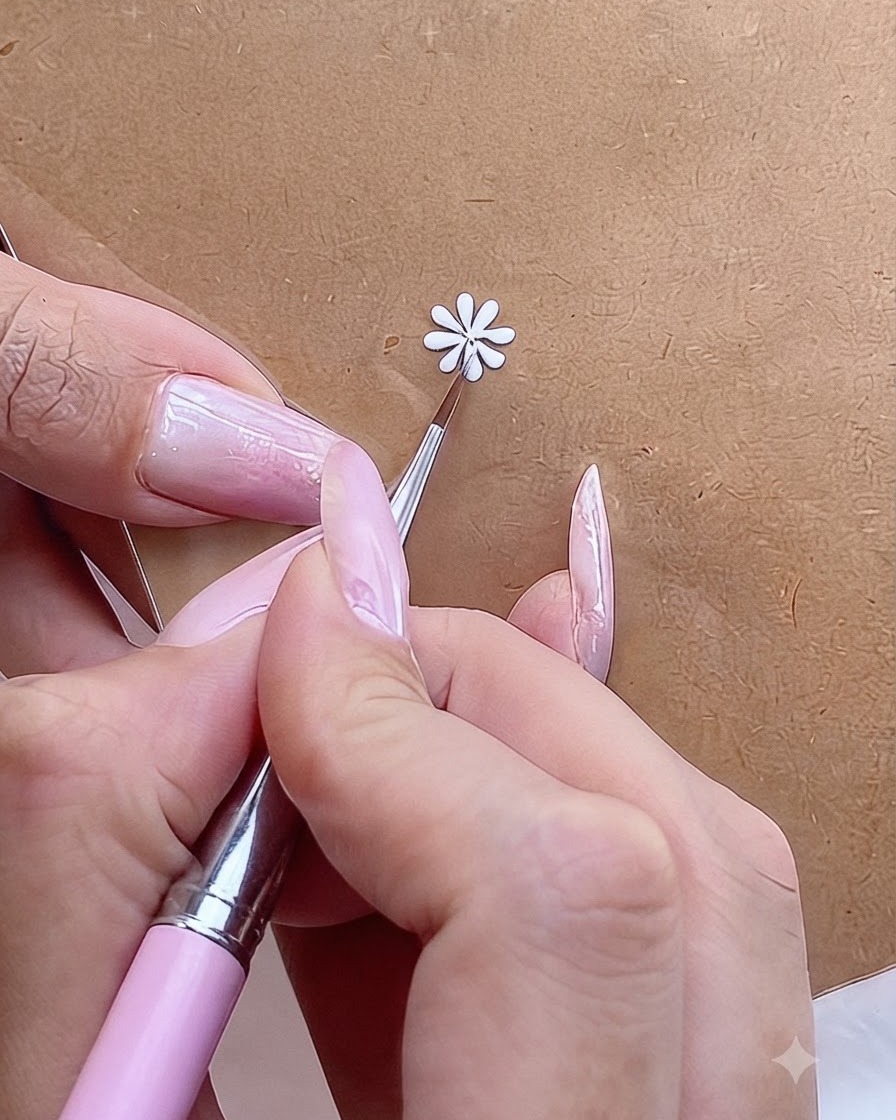
Hold a portable mini UV or LED flashlight lamp directly over the newly painted daisy design to flash-cure the gel. This quick cure locks the flower petals in place so they will not smudge or shift before adding the center details.
Tip: Flash-curing intricate details individually prevents gel from running or losing its shape before the full hand cure. - 9Add yellow flower centers
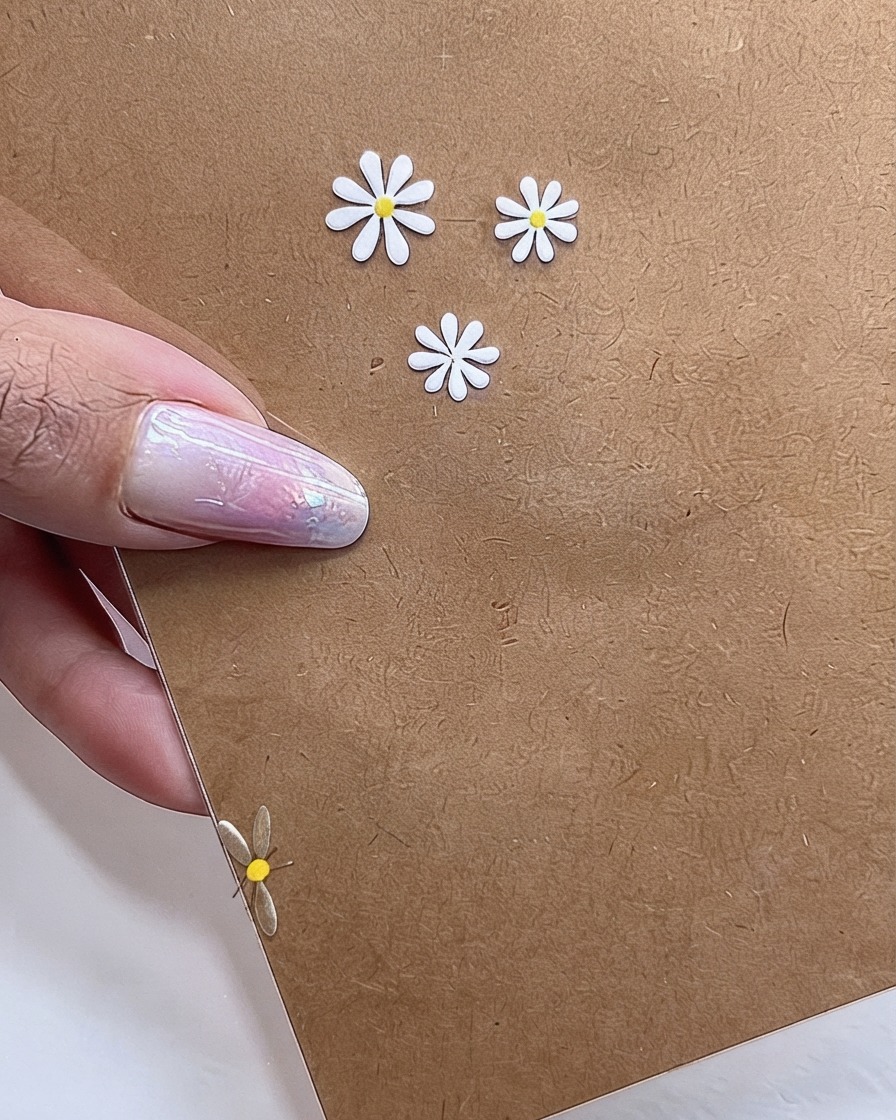
Dip a fine dotting tool into yellow gel polish and place a neat dot right in the center of each cured white daisy. Once the yellow centers are dotted, cure the entire design completely under your main lamp to finish the look.
Tip: Use a light touch with the dotting tool to ensure the yellow center stays perfectly round and centered inside the petals.