Summer Daisy Glitter Textured Nail Art — Step-by-Step Tutorial
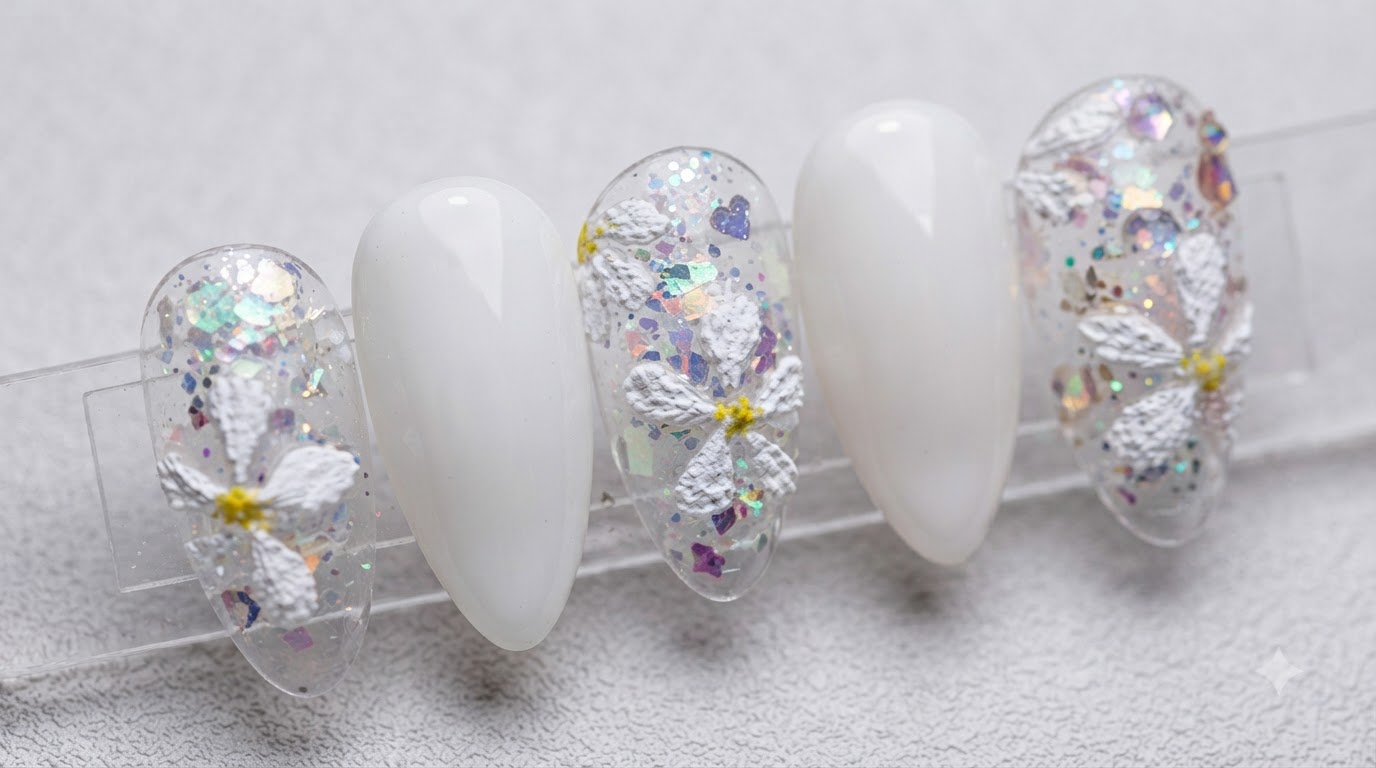
Create refreshing summer daisy nail art featuring a glitter sequin base, smooth builder gel leveling, and raised 3D textured white plaster petals.
Embrace the bright, joyful spirit of summer with this charming textured daisy nail art tutorial. Combining multi-dimensional iridescent chunky glitter flakes with handcrafted 3D white plaster petals and milky white accent nails, this design delivers an eye-catching tactile finish that stands out effortlessly.
Steps
- 1Prepare the glitter and sequin elements
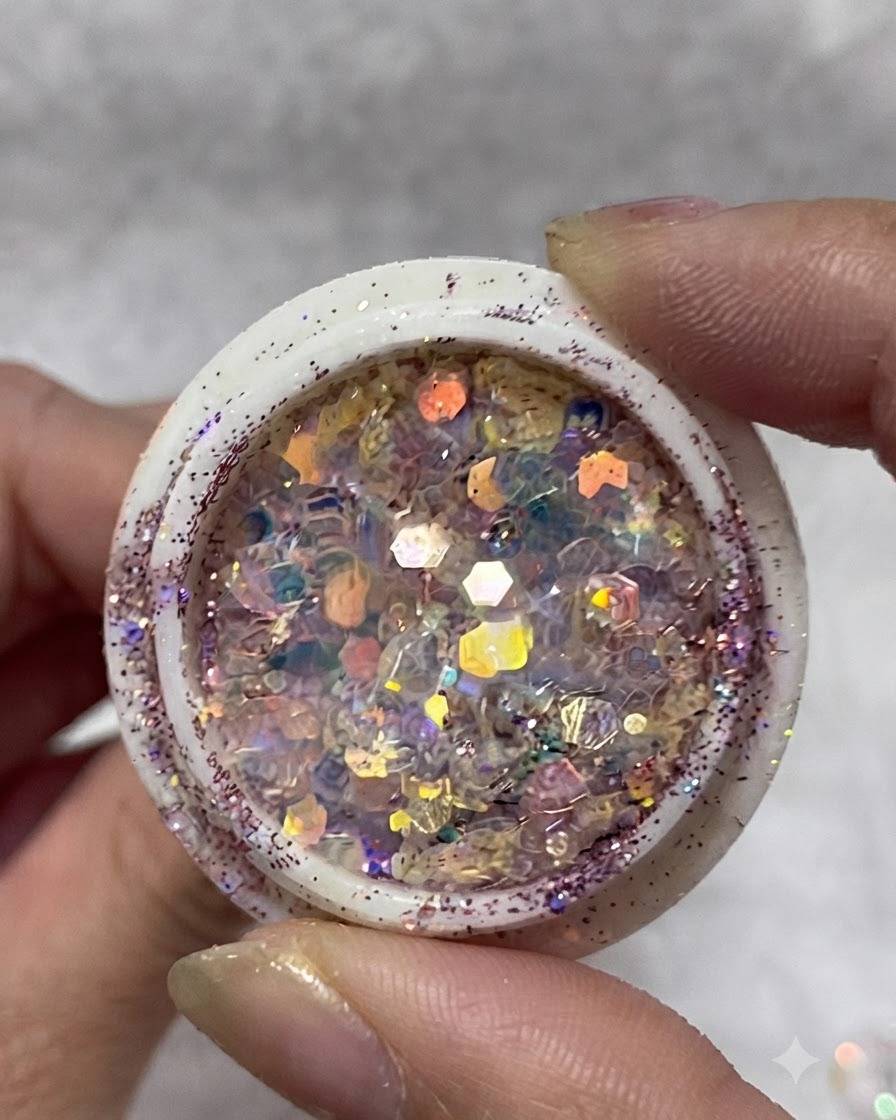
Take a container of iridescent multi-sized chunky glitter flakes and sequins. These sparkling pieces will serve as the textured, glowing base layer on the clear press-on nail to create a rich multi-dimensional effect.
Tip: Mix different sizes of glitter and sequins for a more organic and reflective finish. - 2Buff and smooth the reinforcement layer
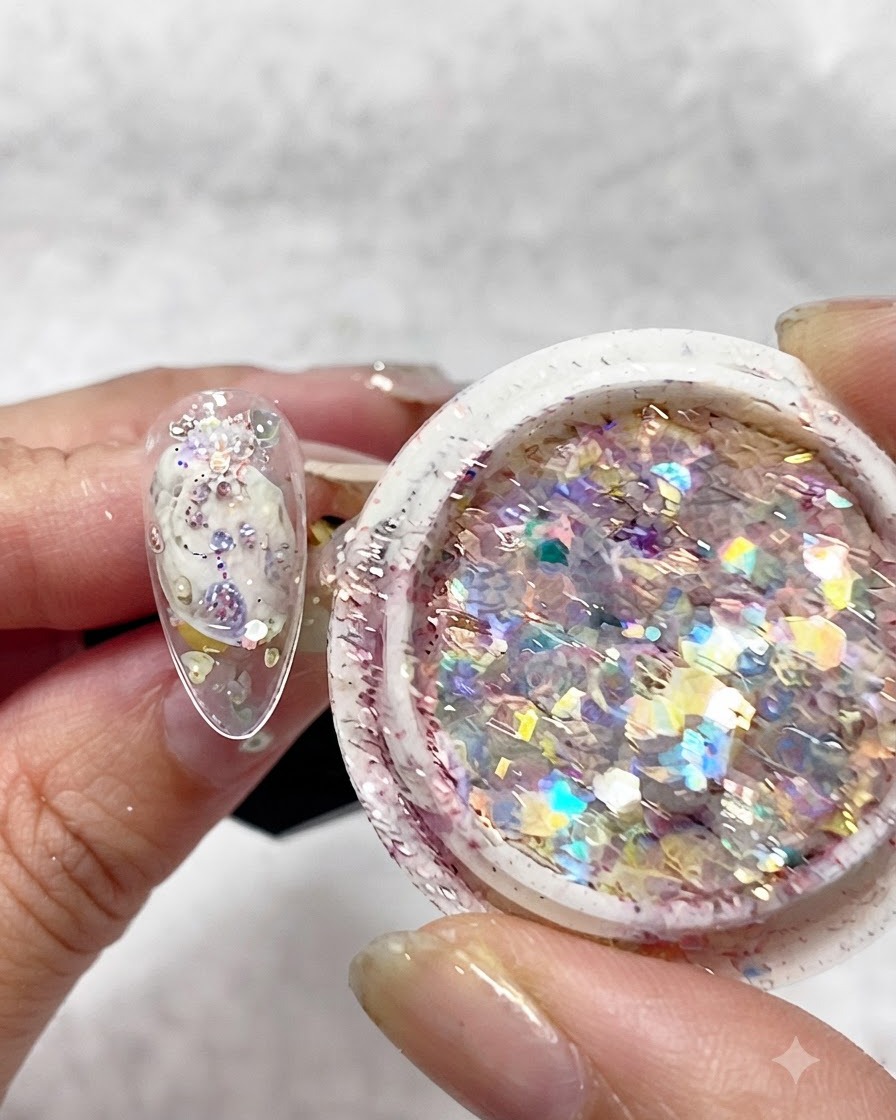
Take a nail buffer block and gently file and smooth down the cured reinforcement gel surface that covers the embedded glitter flakes. This levels out any bumps and creates an even plane for subsequent coats.
Tip: Buff gently in smooth strokes to avoid scratching or exposing the encapsulated glitter pieces underneath. - 3Apply clear leveling top coat
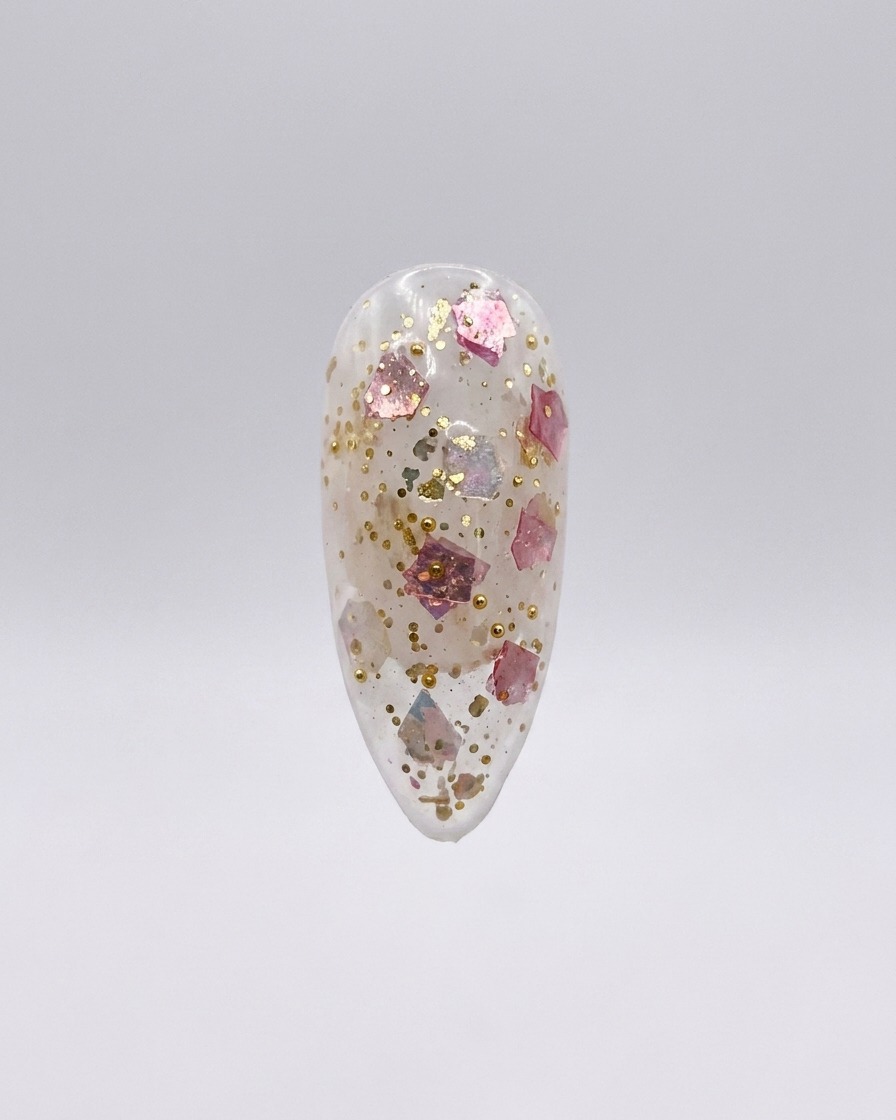
Brush a coat of clear leveling top coat gel evenly over the buffed glitter nail surface using the bottle brush. Ensure complete and uniform coverage across the entire nail plate to seal the design and restore high gloss.
Tip: Apply an even stroke from cuticle to free edge, making sure not to pool product at the edges. - 4Invert the nail for self-leveling
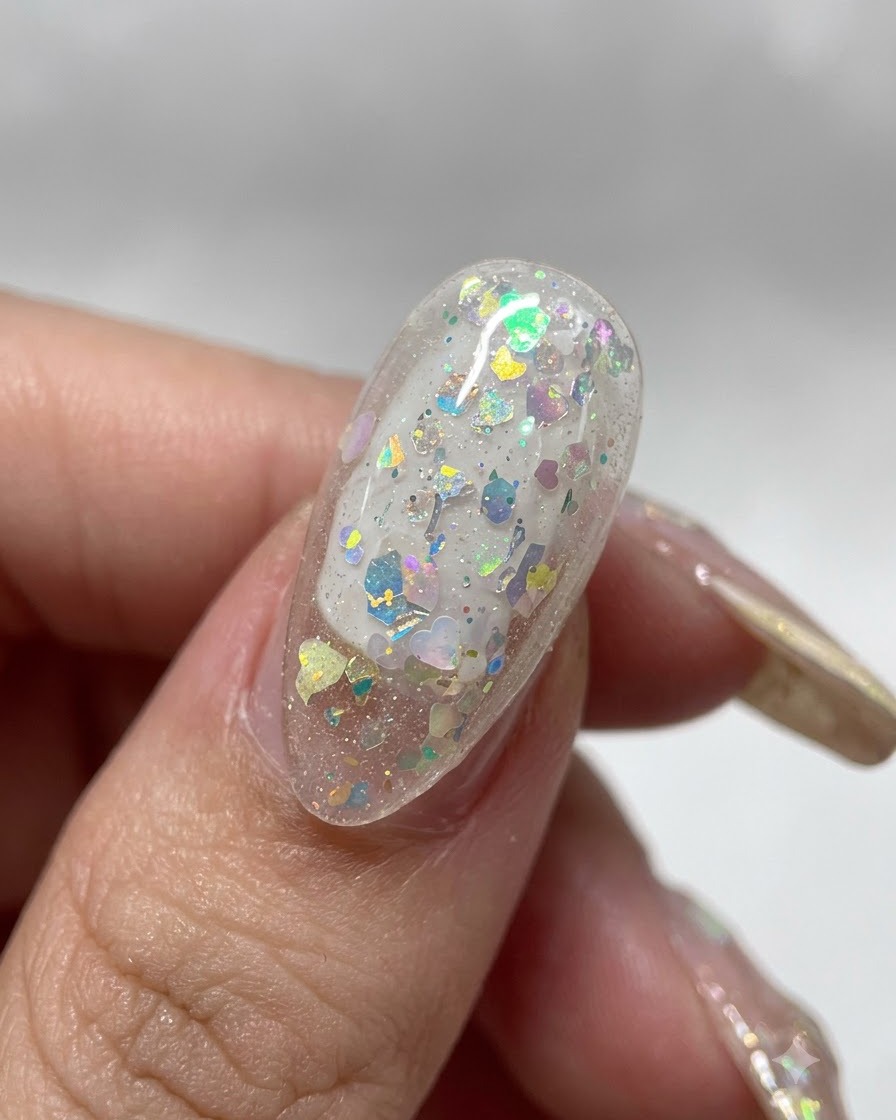
Invert the nail tip upside down briefly, allowing gravity to naturally pull and self-level the top coat gel into a perfectly smooth, flawless apex without brush marks.
Tip: Keep the nail inverted for only a few seconds before flash curing to prevent the gel from running off the sides. - 5Sketch the first daisy petal
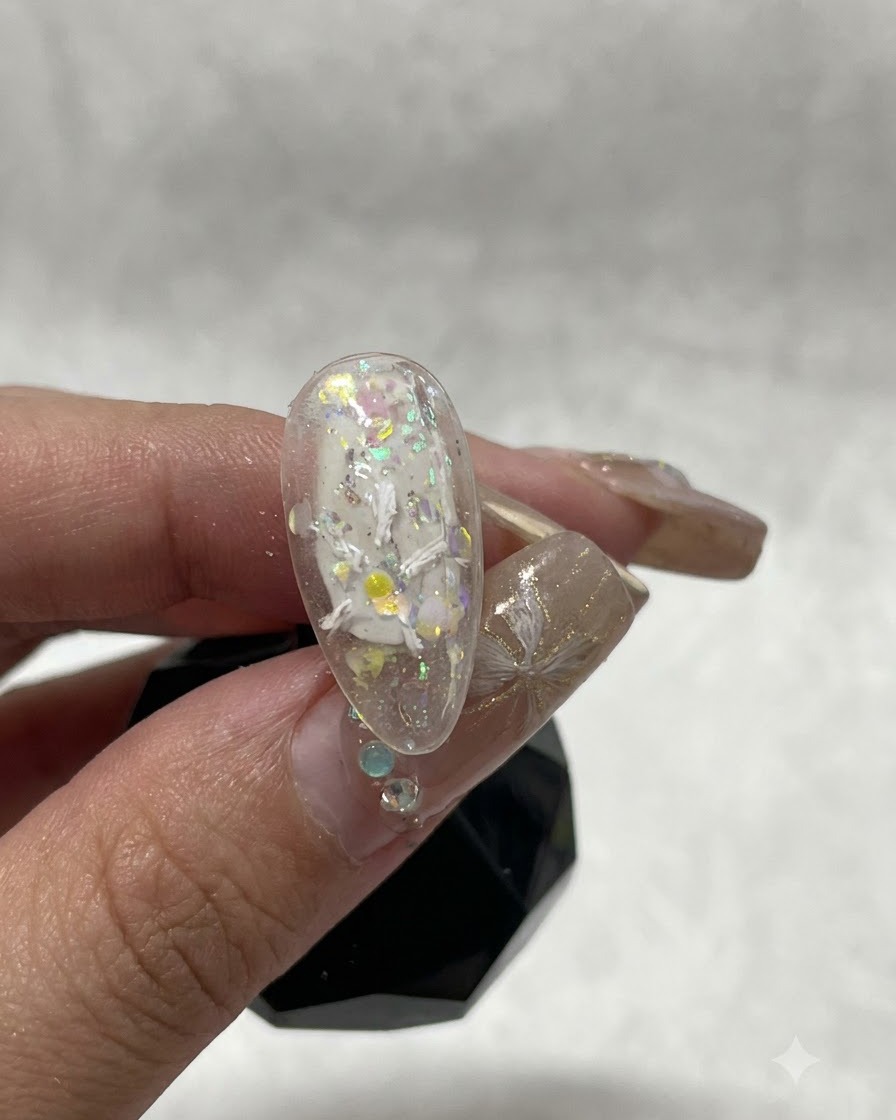
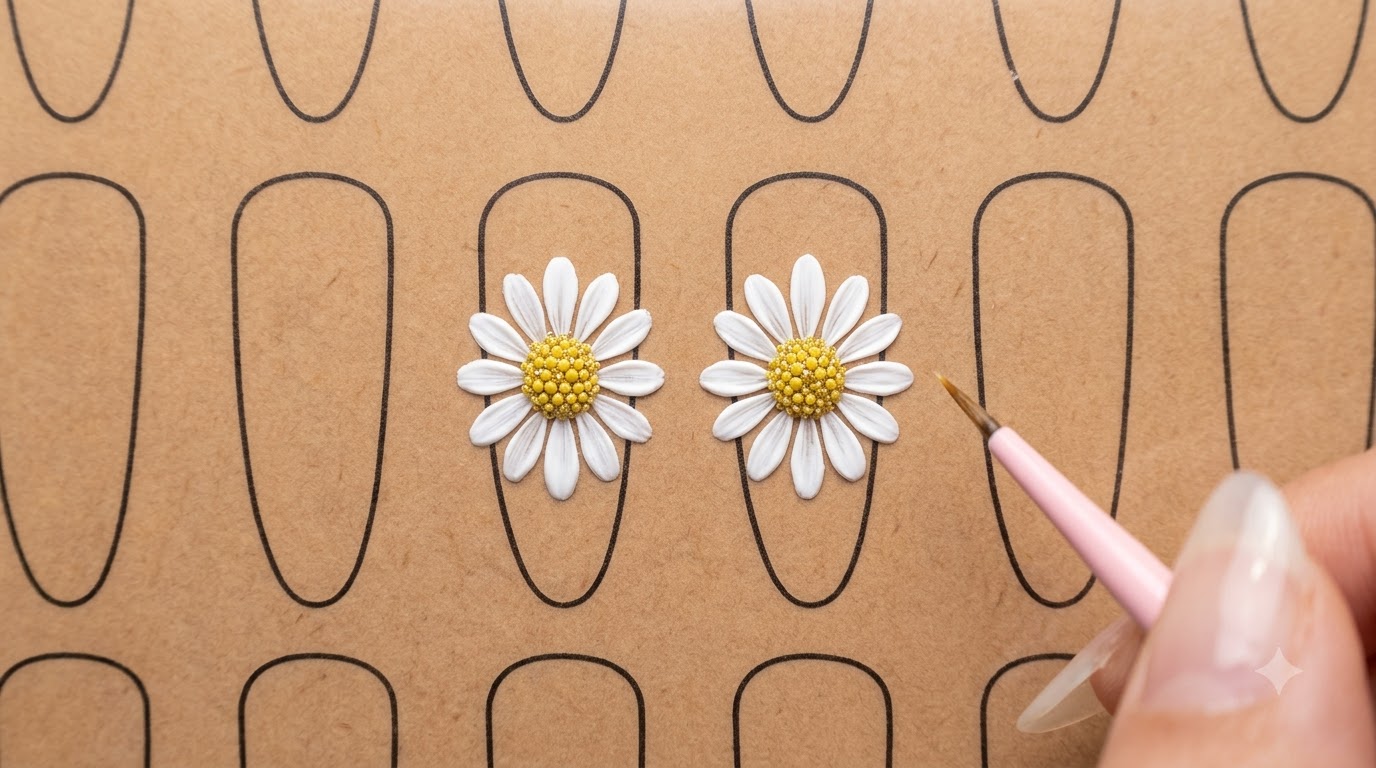
Using a fine liner detail brush loaded with white plaster embossing gel, carefully sketch the first petal of the daisy near the center of the nail. The thick consistency of the plaster gel helps maintain a raised 3D form.
Tip: Use light pressure and press the brush gently to deposit the thick plaster gel without flattening it completely. - 6Paint the remaining flower petals
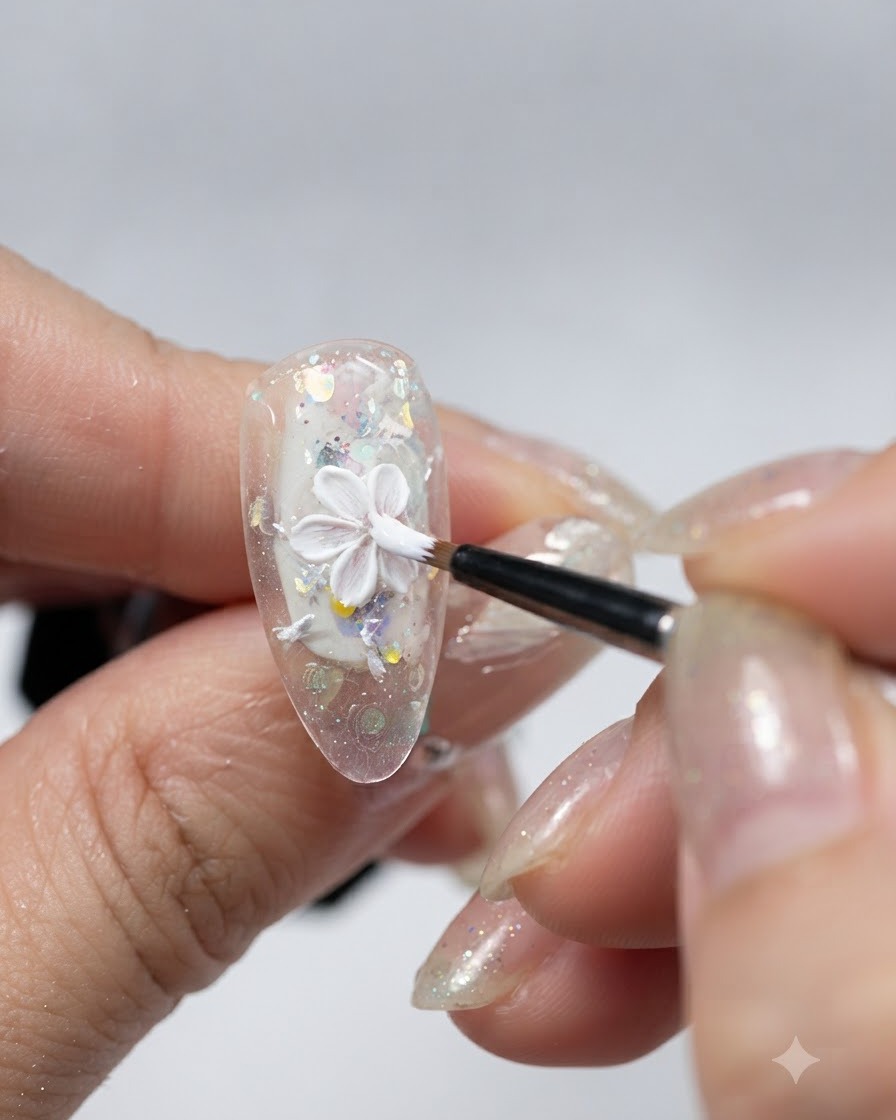
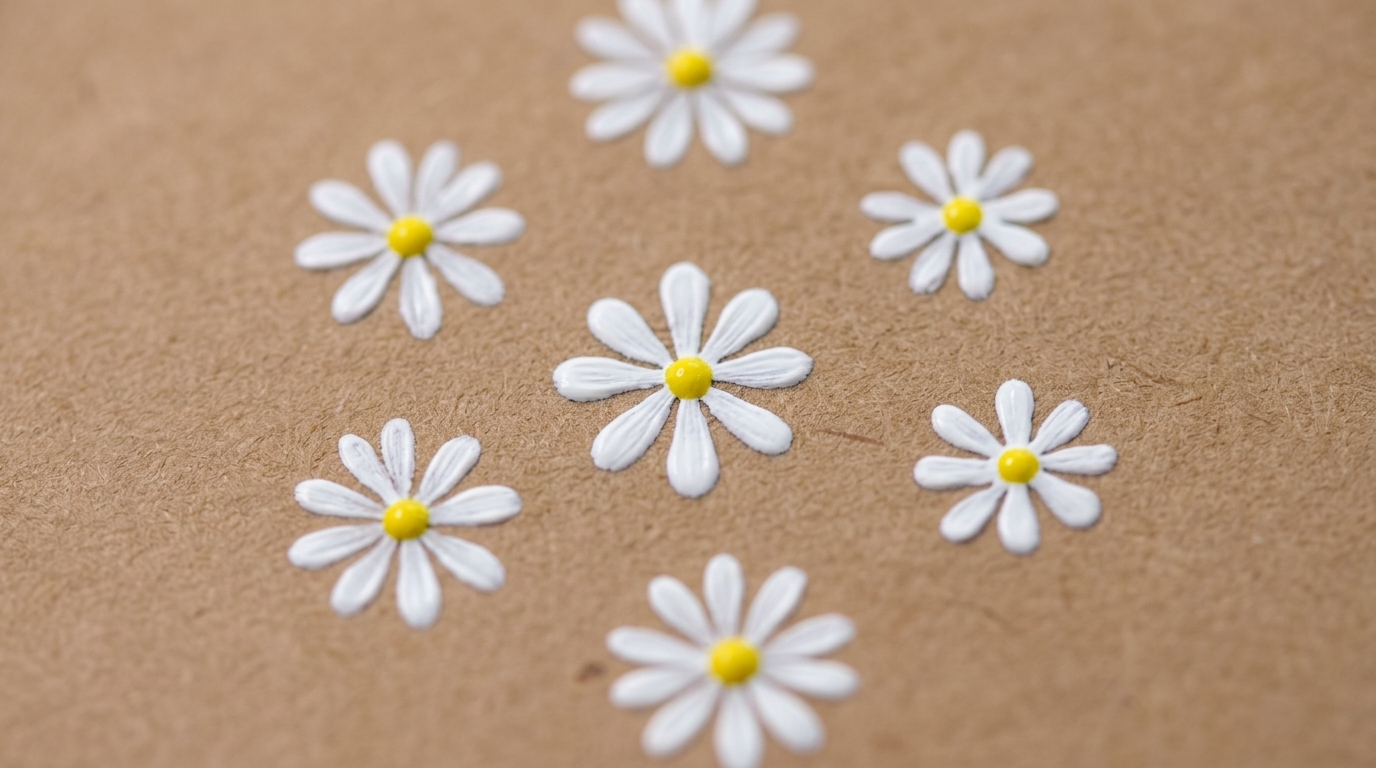
Extend additional white plaster gel petal strokes outward from the center point to complete a structured five-petal daisy layout. Apply multiple light layering strokes if needed since the plaster gel is less fluid than regular painting gel.
Tip: Dot five light positioning points first if you are unsure of the petal placement to keep the flower symmetrical. - 7Draw partial daisy petals
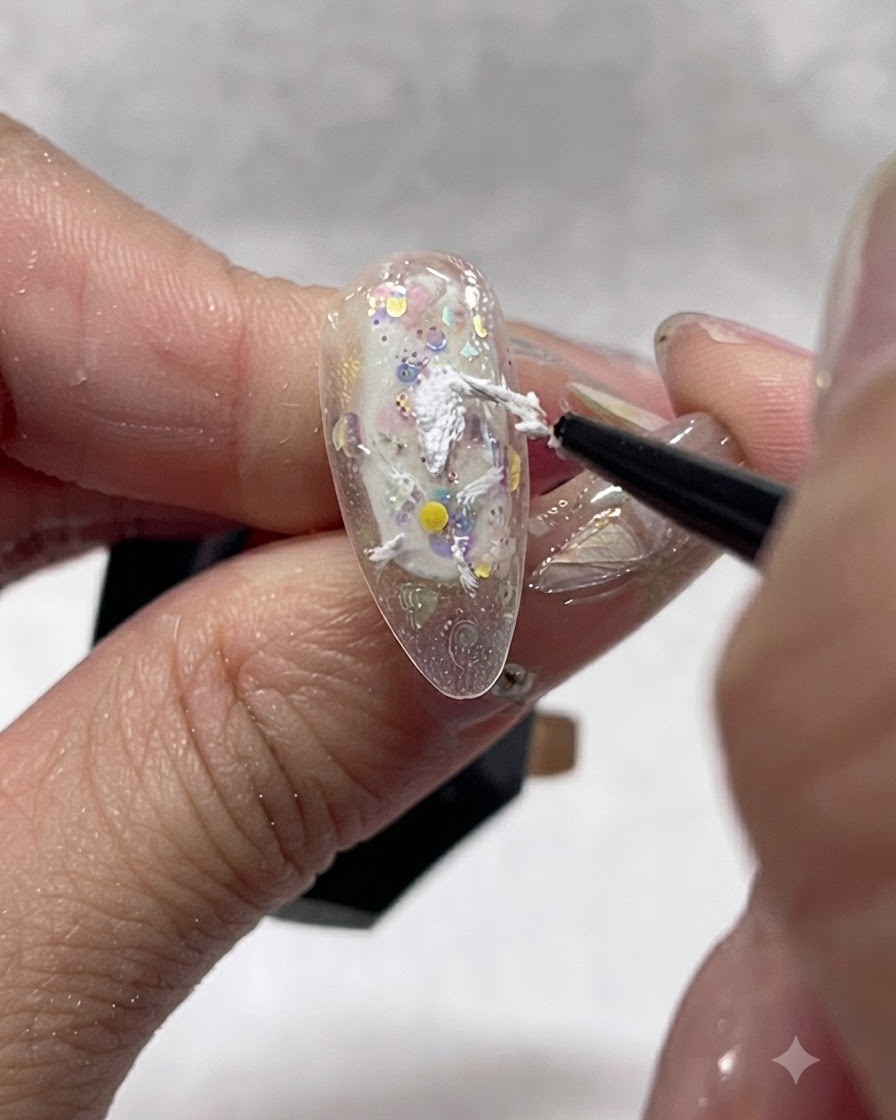
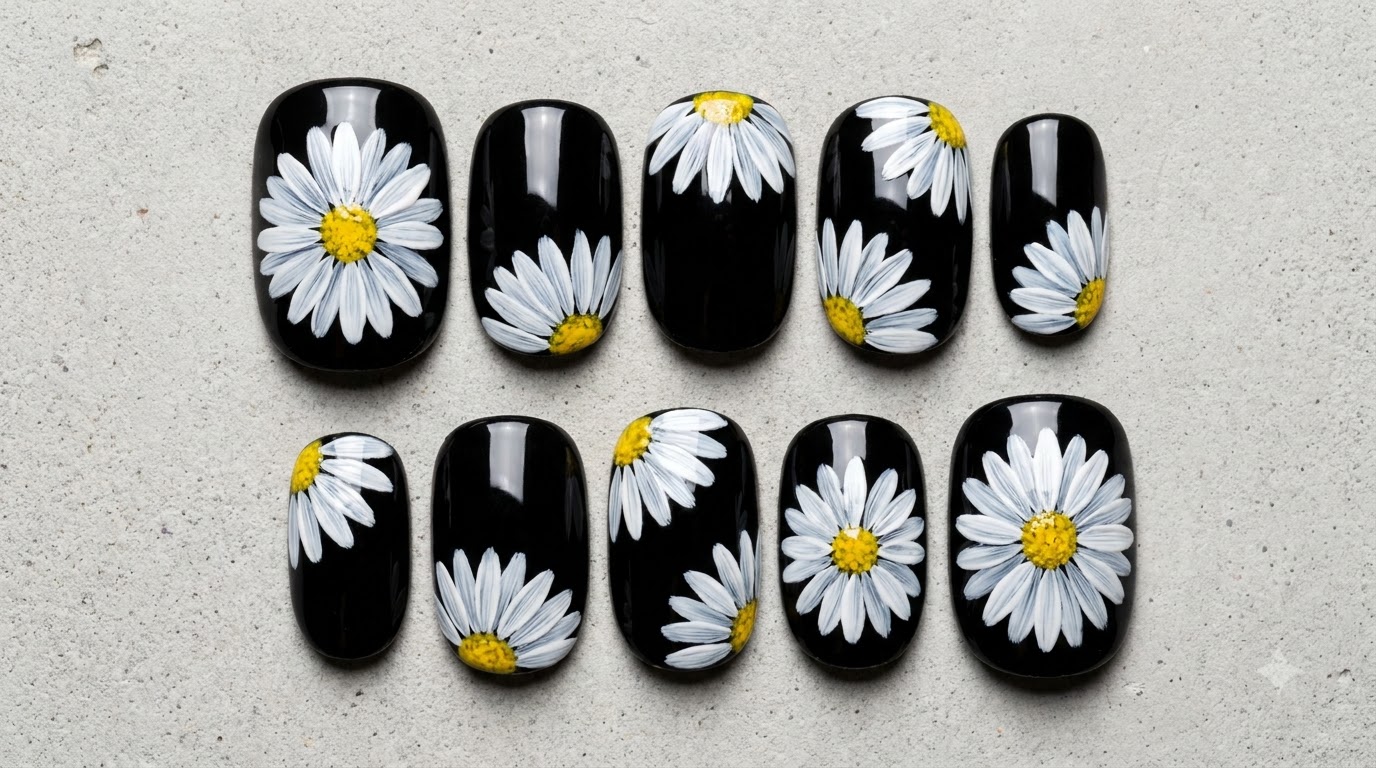
Using a detail liner brush and textured plaster gel, draw partial daisy petals along the nail edge and tip area. Pull the brush outward with delicate strokes to create textured, raised petal tips.
Tip: Textured plaster gel isnt as fluid as regular painting gel, so apply it in light, multiple layering strokes for better control. - 8Layer white plaster gel for 3D texture
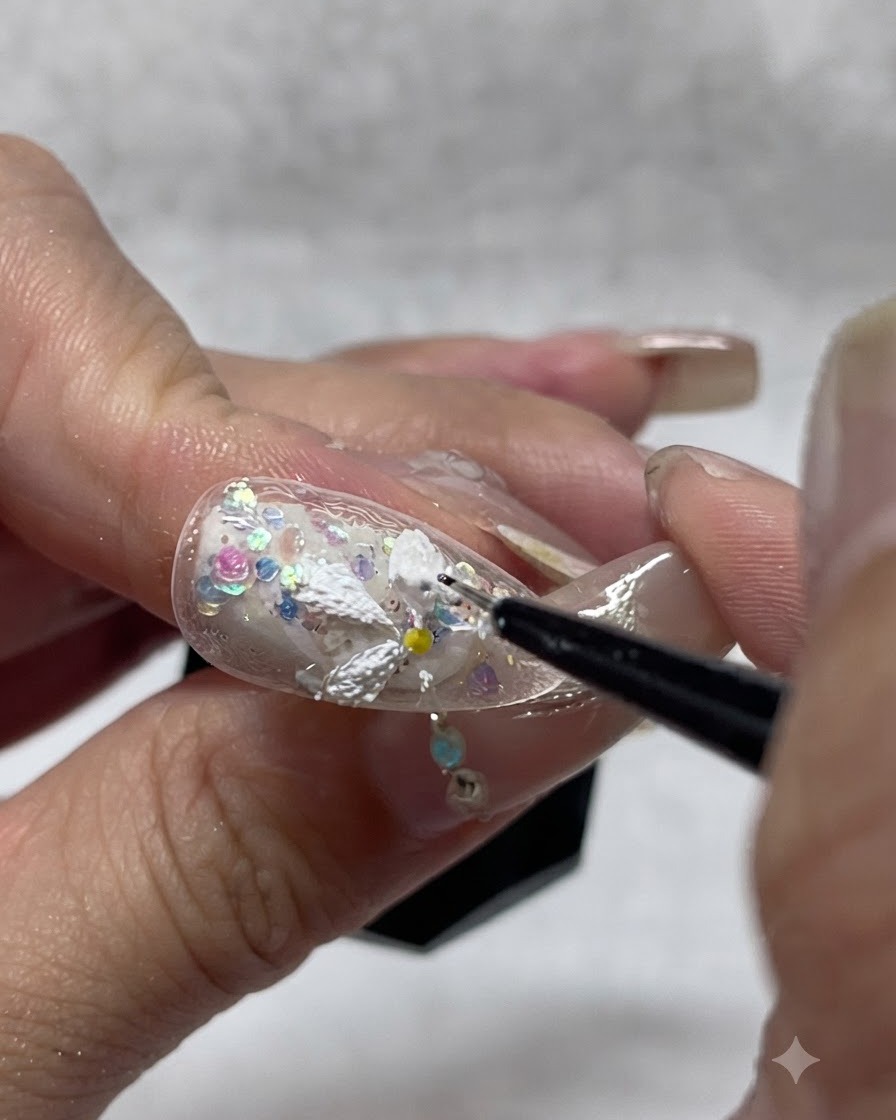
Layer extra white plaster gel onto the petals in multiple light passes. This builds up a rich, 3D embossed texture and ensures full opacity for the flower design.
Tip: Keep each layer thin to ensure proper curing and prevent the thick plaster gel from losing its shape. - 9Refine petal tips and edges
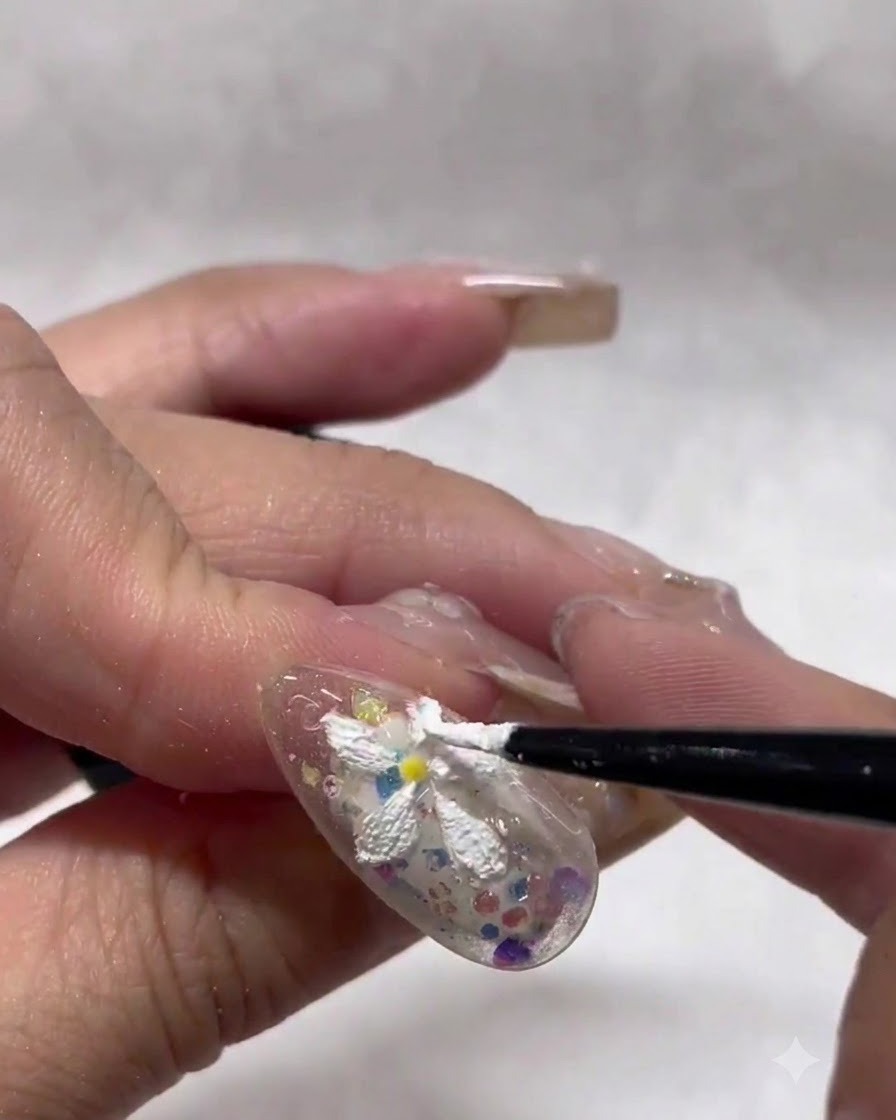
Use the liner brush to refine the tips and edges of the textured daisy petals, ensuring clean shapes before moving on to the final curing step under the nail lamp.
Tip: Check the petal edges closely from different angles to make sure the 3D shape looks neat and balanced.