Yellow Floral Short Nail Art — Step-by-Step Tutorial
Delicate hand-painted yellow flowers blooming on a sheer nude shimmer base, perfect for short nail styles and brightening your fingertips.
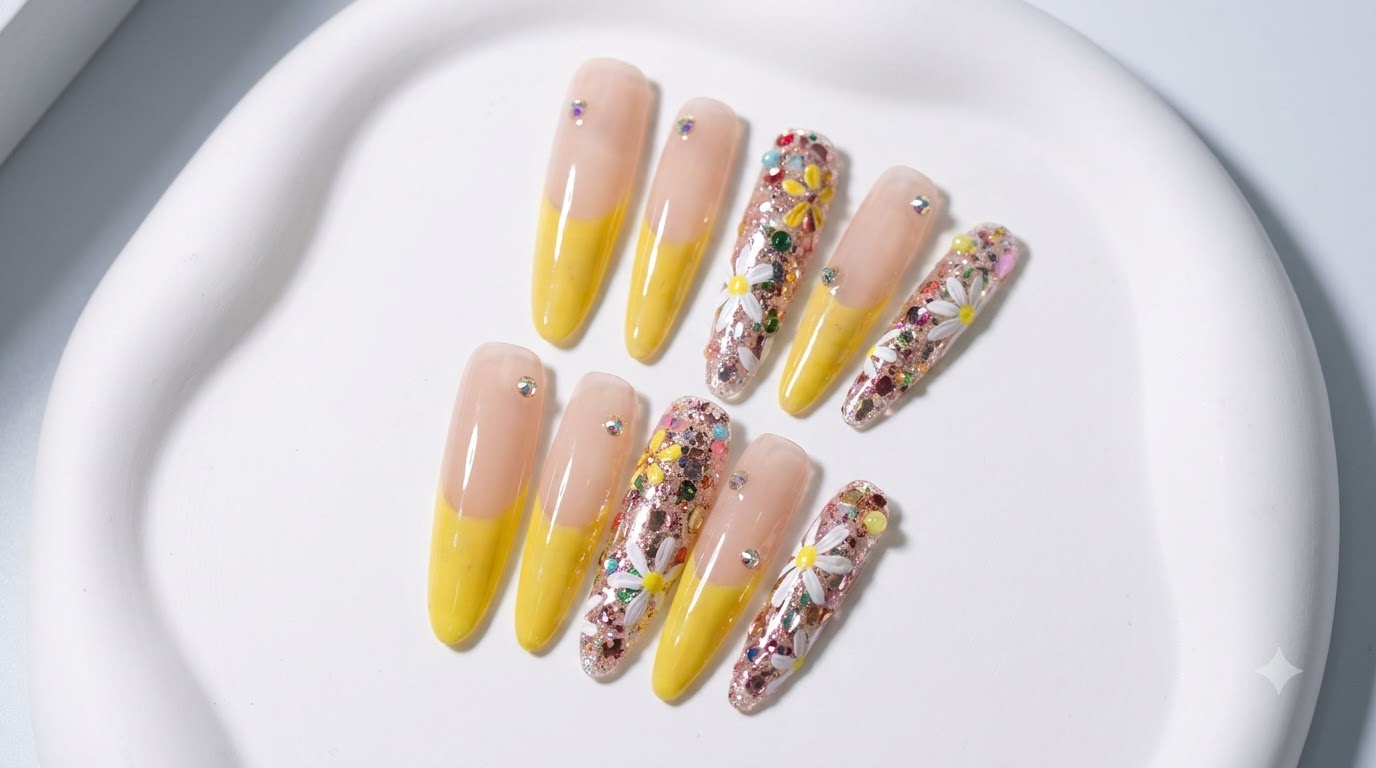
Short nail art has evolved into a canvas for refined, elegant designs that prove you do not need long extensions to make a statement. This tutorial combines a sheer nude shimmering base with charming hand-painted yellow florals for a fresh and cheerful aesthetic.
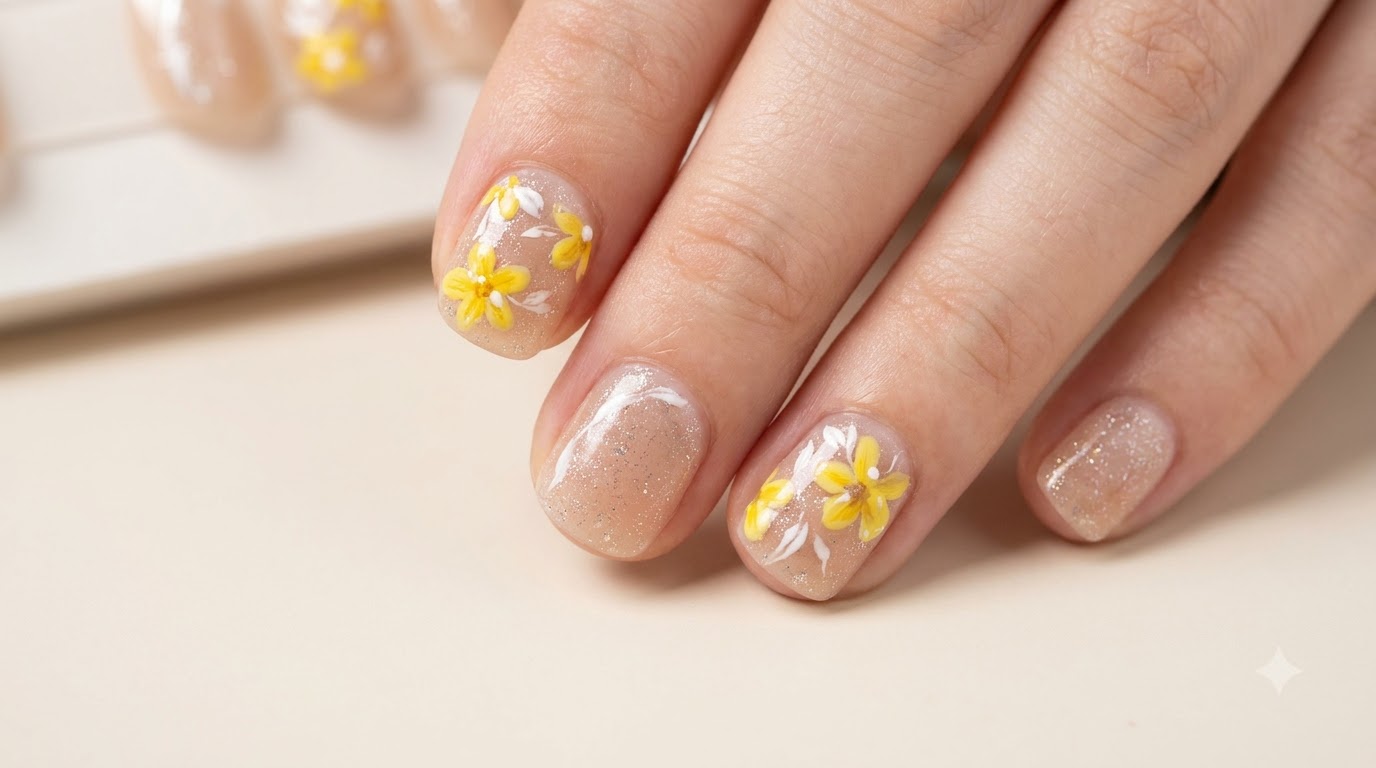
Steps
- 1Highlight the glossy top coat
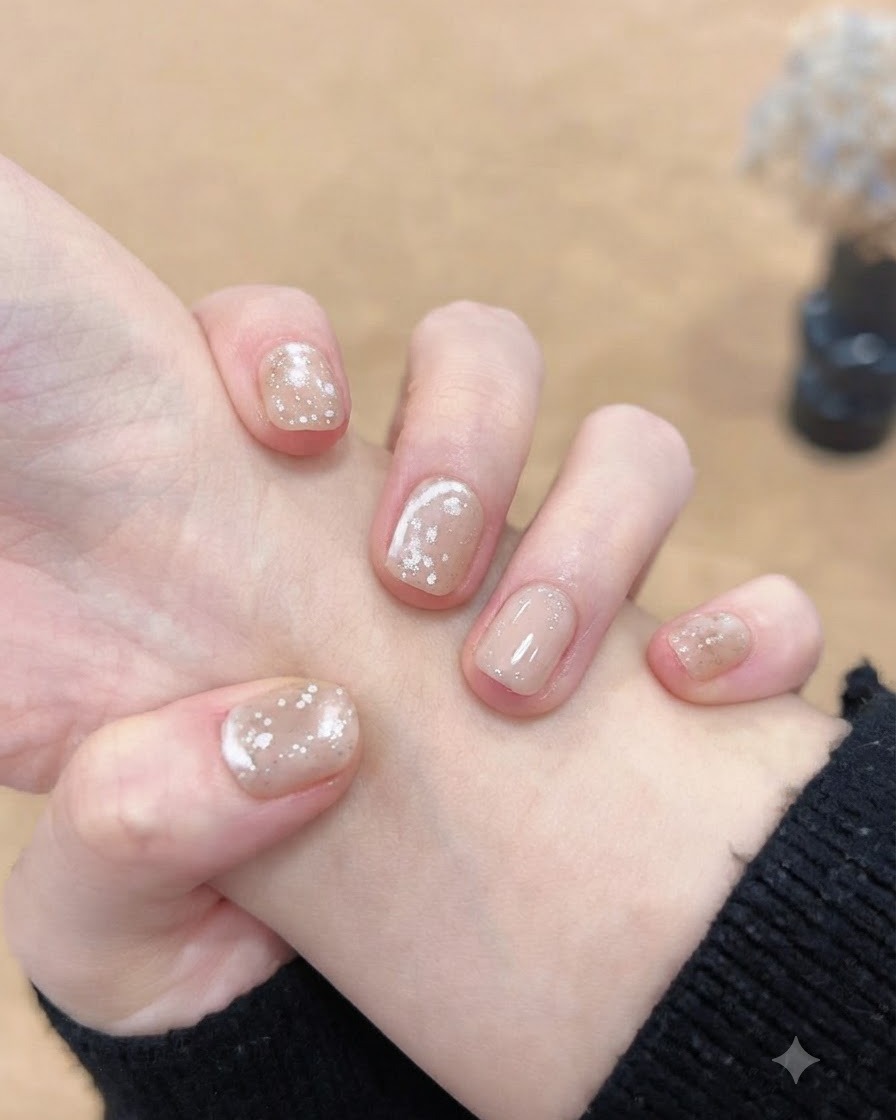
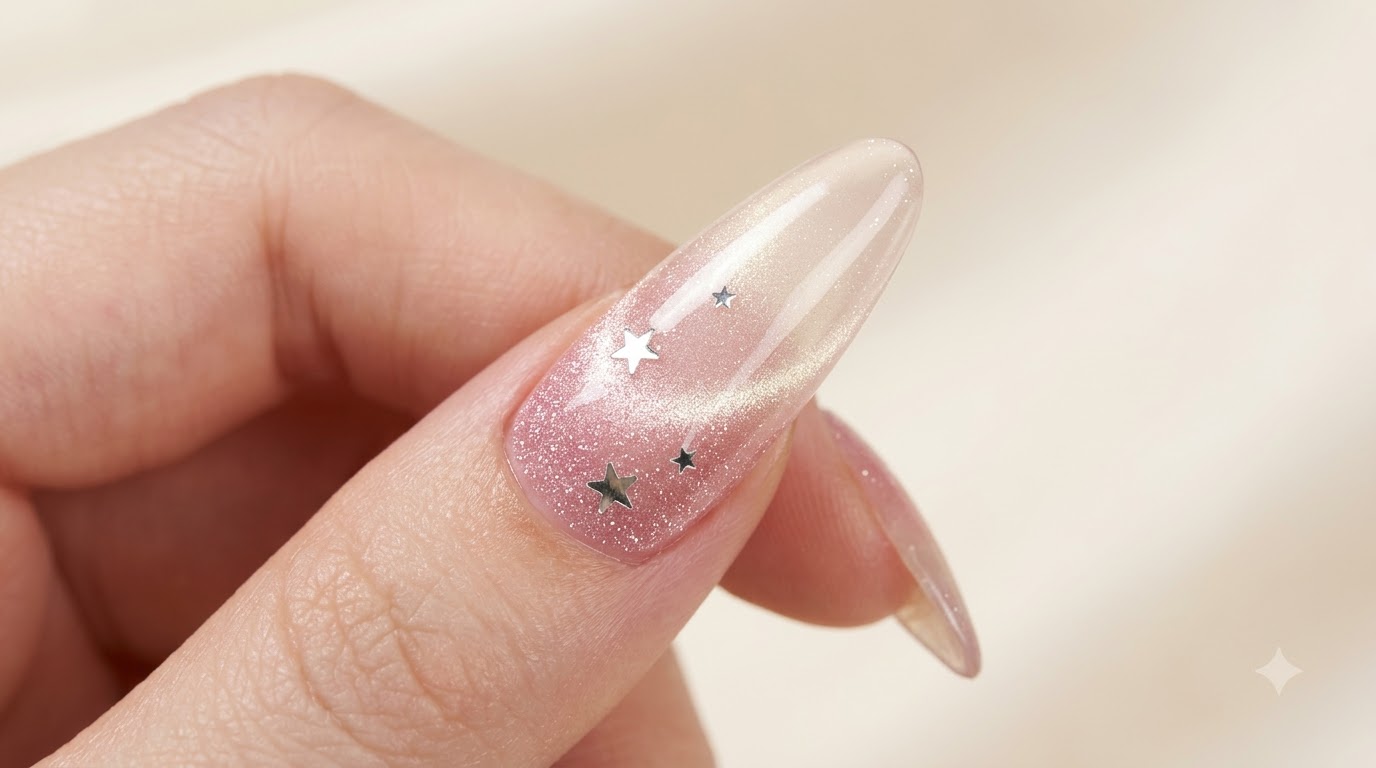
Observe the light reflecting off the smooth, glossy surface of the nude shimmer base. Ensure the top coat covers every part of the nail evenly to lock in the underlying layers and provide a durable, shiny protective shield.
Tip: Check the light reflection from multiple angles to ensure there are no dull spots or uneven areas in the top coat application. - 2Paint detailed yellow floral art
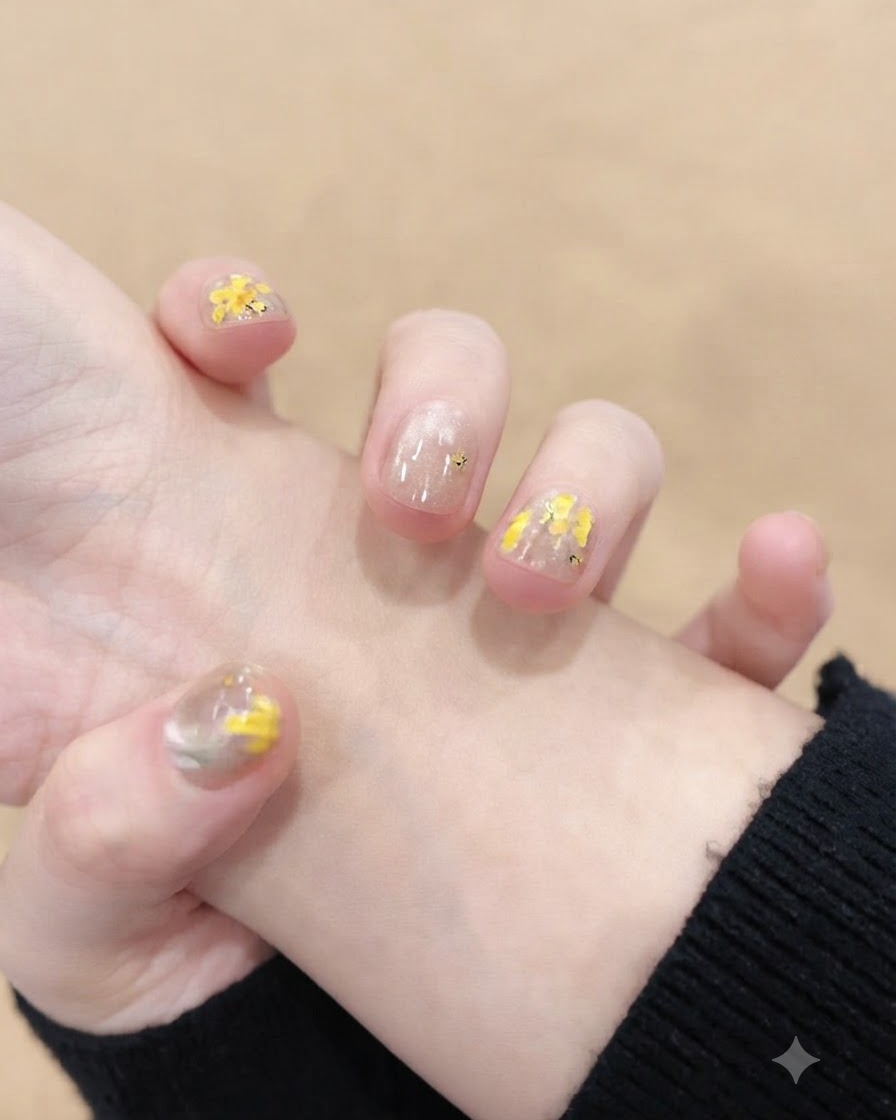
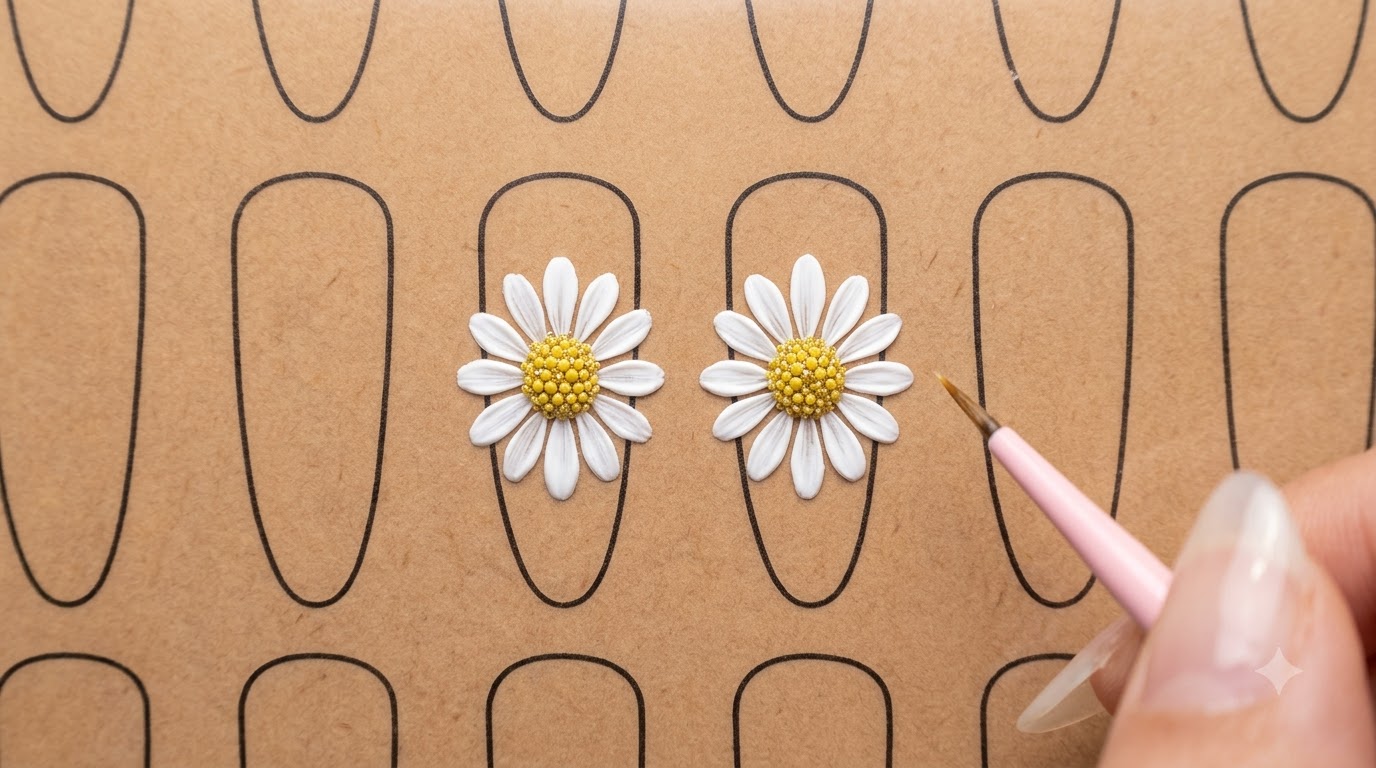
Using a fine detailing brush and vibrant yellow gel polish, carefully paint delicate petals onto the ring finger nail plate. Keep the strokes light and precise to form small, charming flowers over the shimmering nude background.
Tip: Flash cure for 5 to 10 seconds after painting each flower to prevent the wet gel from running before you seal it. - 3Inspect thumb and index finger design
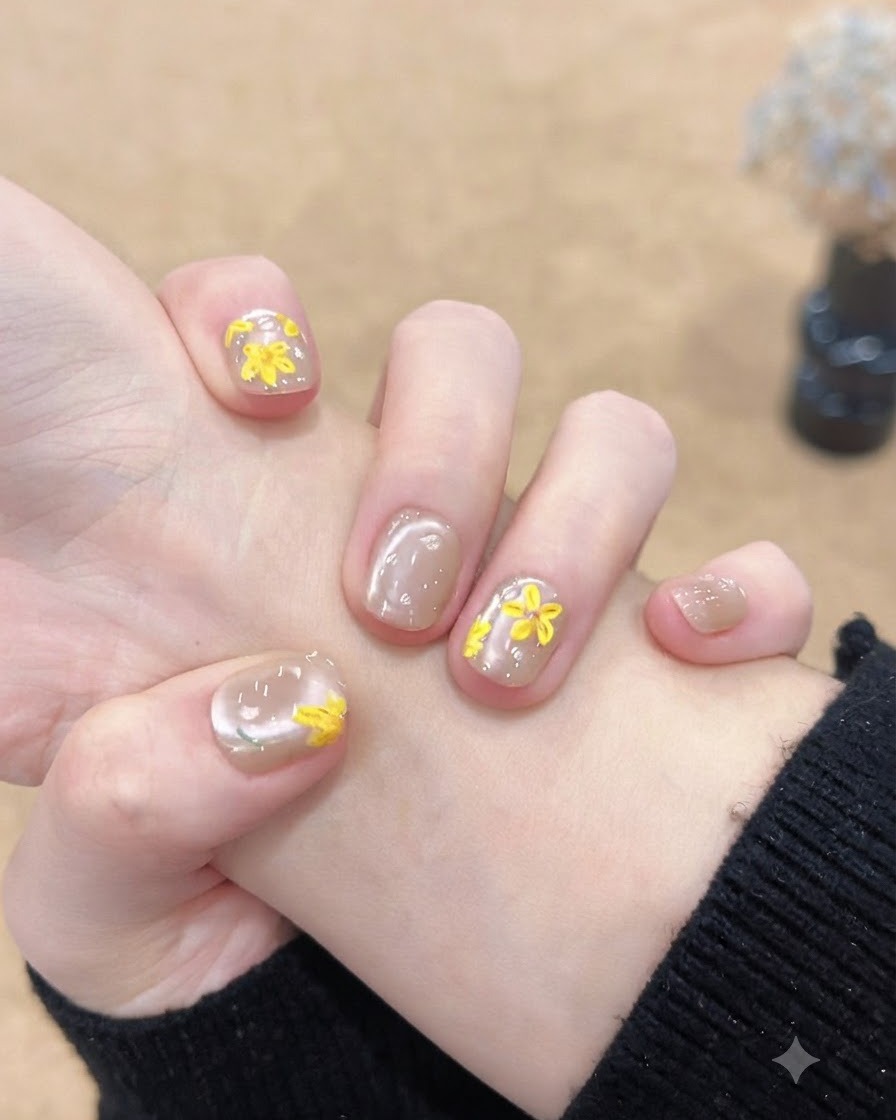
Shift the hand angle to inspect the thumb and index fingers, confirming that the shimmer distribution and yellow floral accents match the rest of the manicure. Make any minor adjustments before final curing.
Tip: Consistency across both hands is key; verify that the placement of floral elements looks balanced. - 4Refine floral petal placement
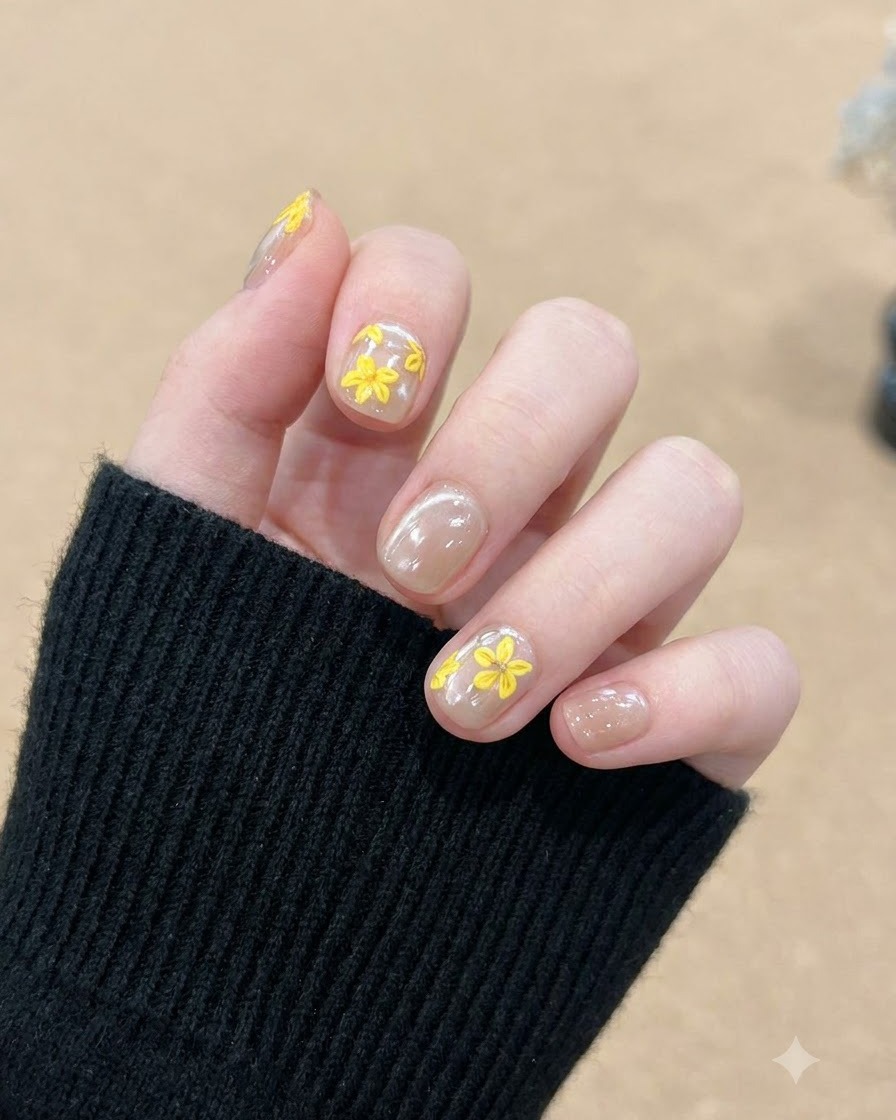
Focus closely on the index finger to evaluate the placement and neatness of the yellow floral petals. Ensure the center dots of the flowers are clean and well-defined against the sheer nude shimmer backdrop.
Tip: A dotting tool can help create uniform center dots for your hand-painted flowers effortlessly. - 5Demonstrate short nail length and clean cuticles
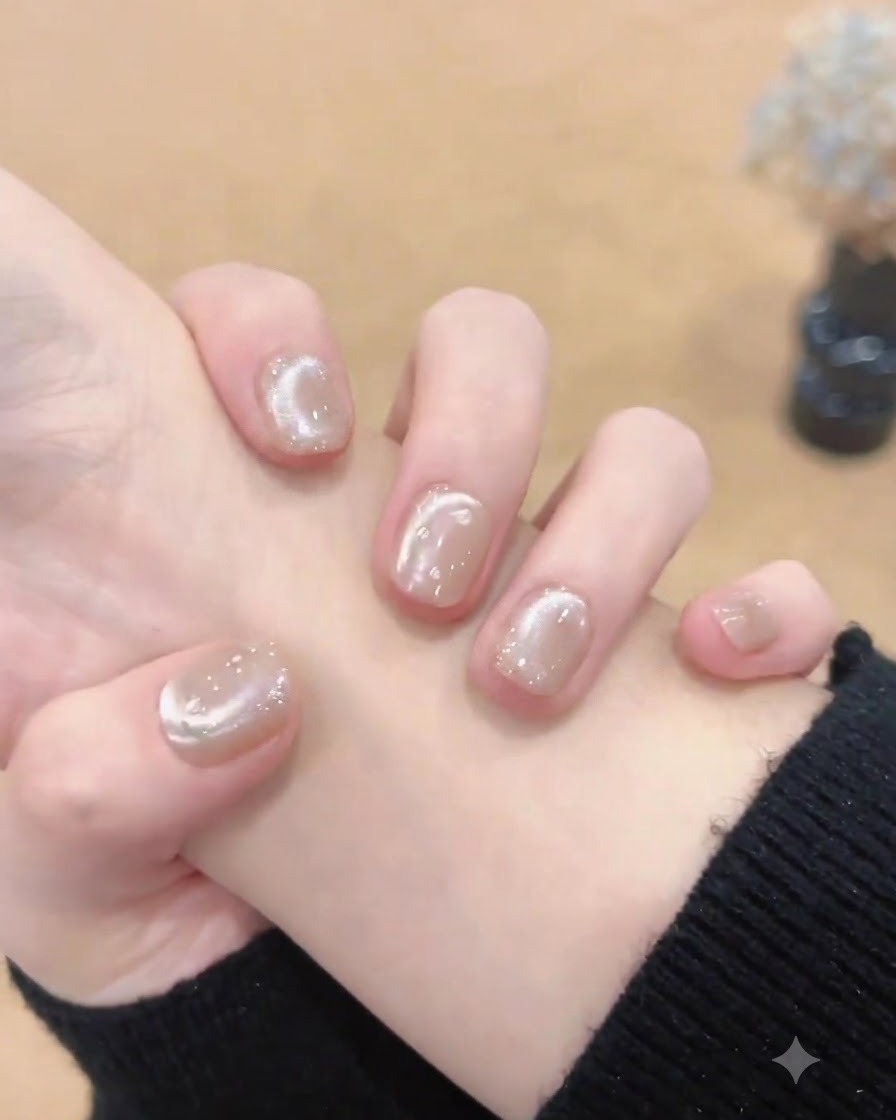
Gently flex the fingers to showcase the clean, well-groomed cuticle lines and the neat short nail length. This angle proves that short nails can look exceptionally tidy, elegant, and beautifully styled.
Tip: Clean cuticles make even the shortest nail lengths look professionally manicured and elongated.