Spring Daisy
Yellow French Tip Gel Nails — Step-by-Step Tutorial
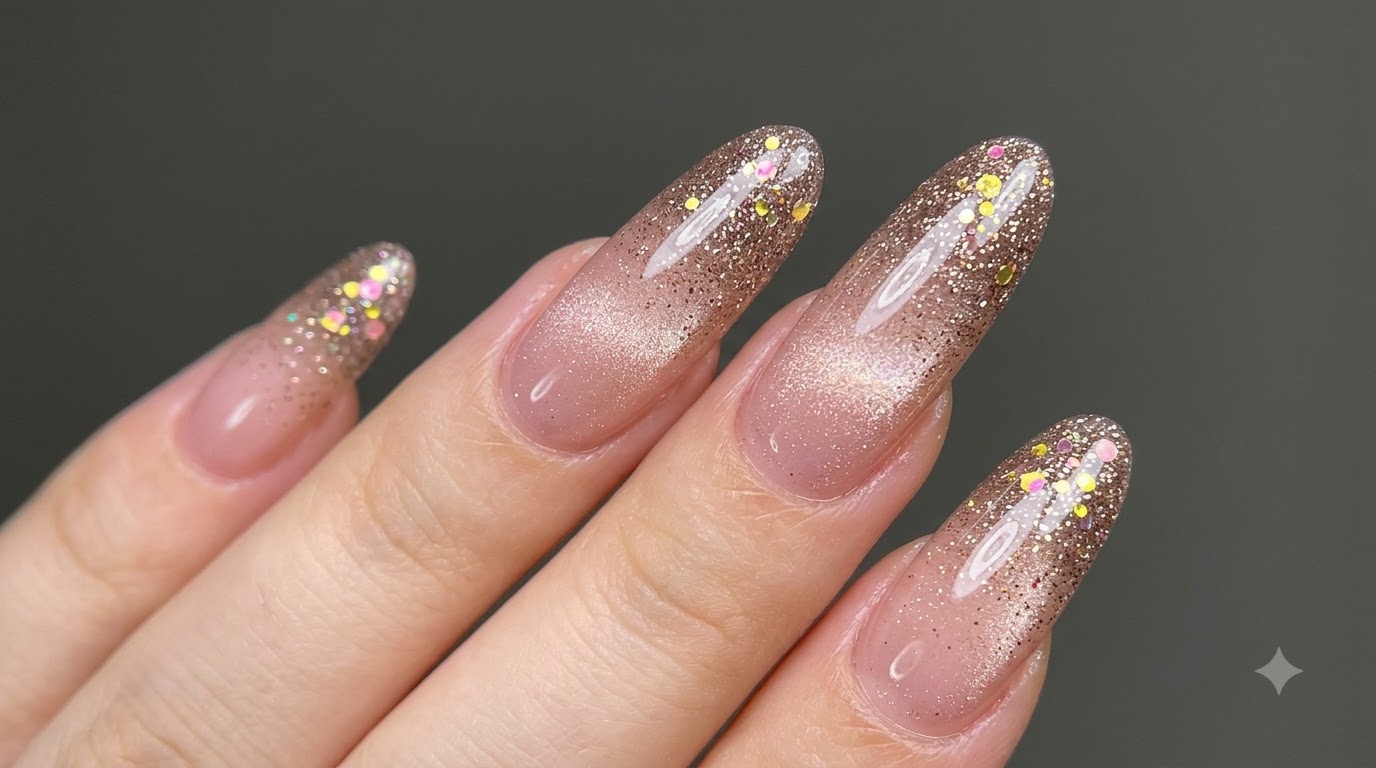
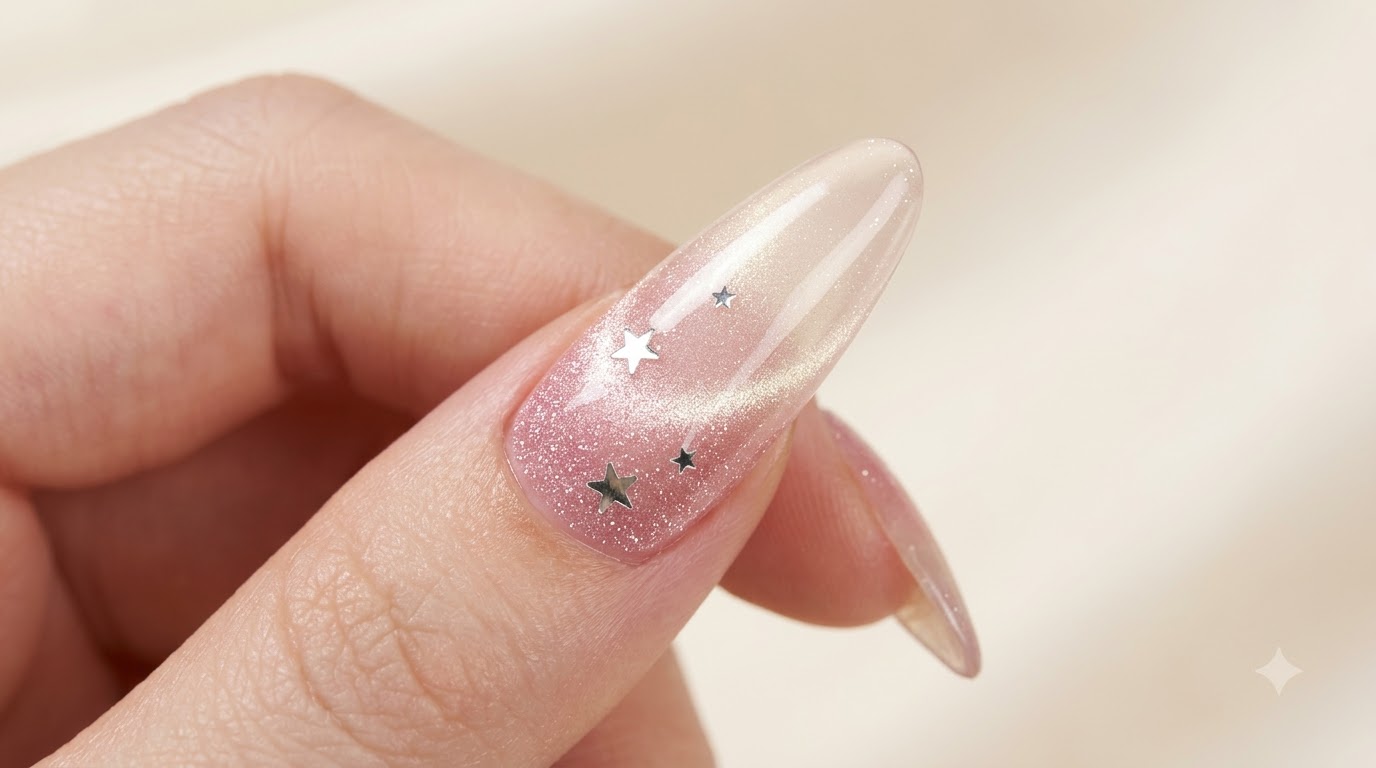
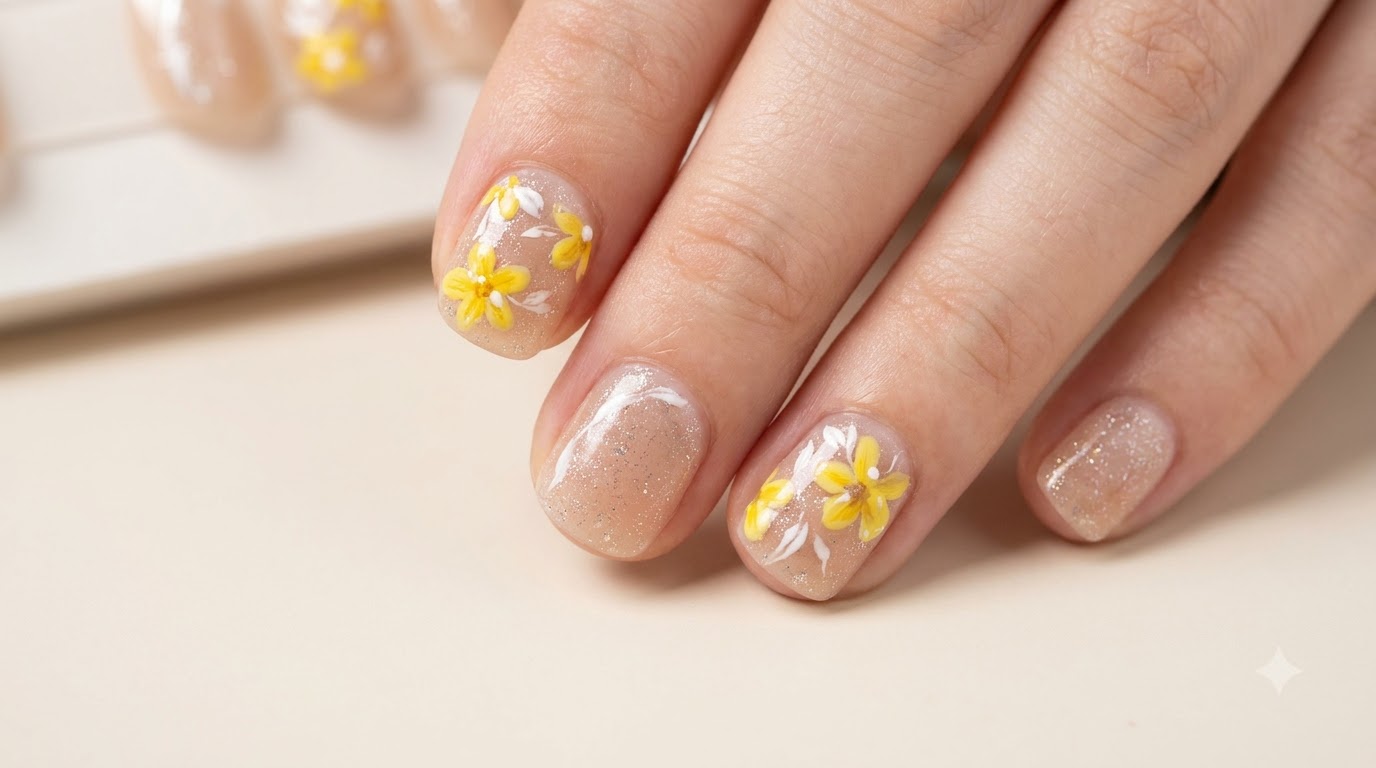
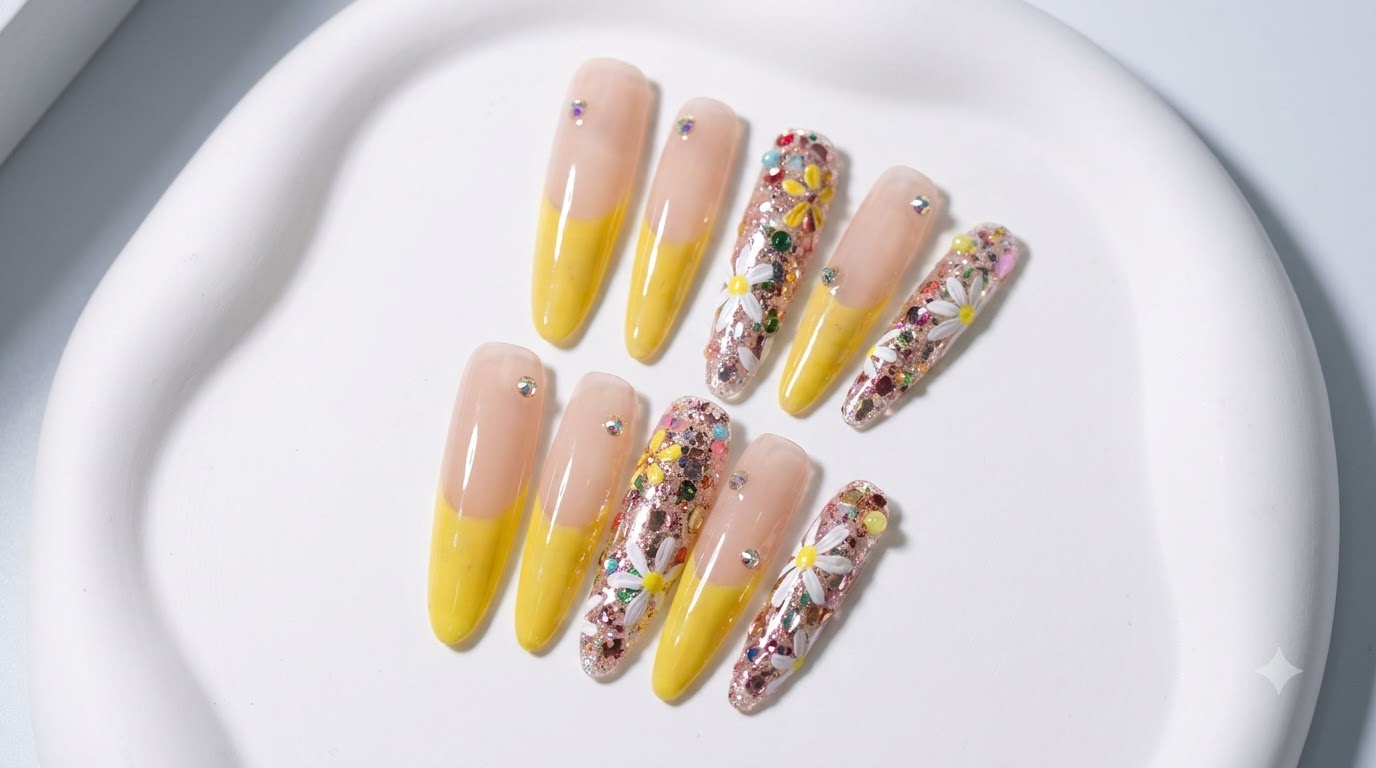
Welcome spring with this bright and cheerful nail art tutorial. Learn how to combine lemon yellow French tips, encapsulated glitter, and hand-painted daisies with sparkling rhinestones.
Who hasnt tried the classic spring daisy nail trend yet? This challenging but rewarding tutorial takes a fresh post-00s aesthetic and beautifully transforms it into a wearable, dimensional gel manicure. By blending crisp lemon yellow French tips with carefully encapsulated holographic glitter and intricate floral details, this look offers a stunning mix of textures. It is the perfect vibrant design to welcome the warmer weather.
Steps
- 1Apply Nude Base Color
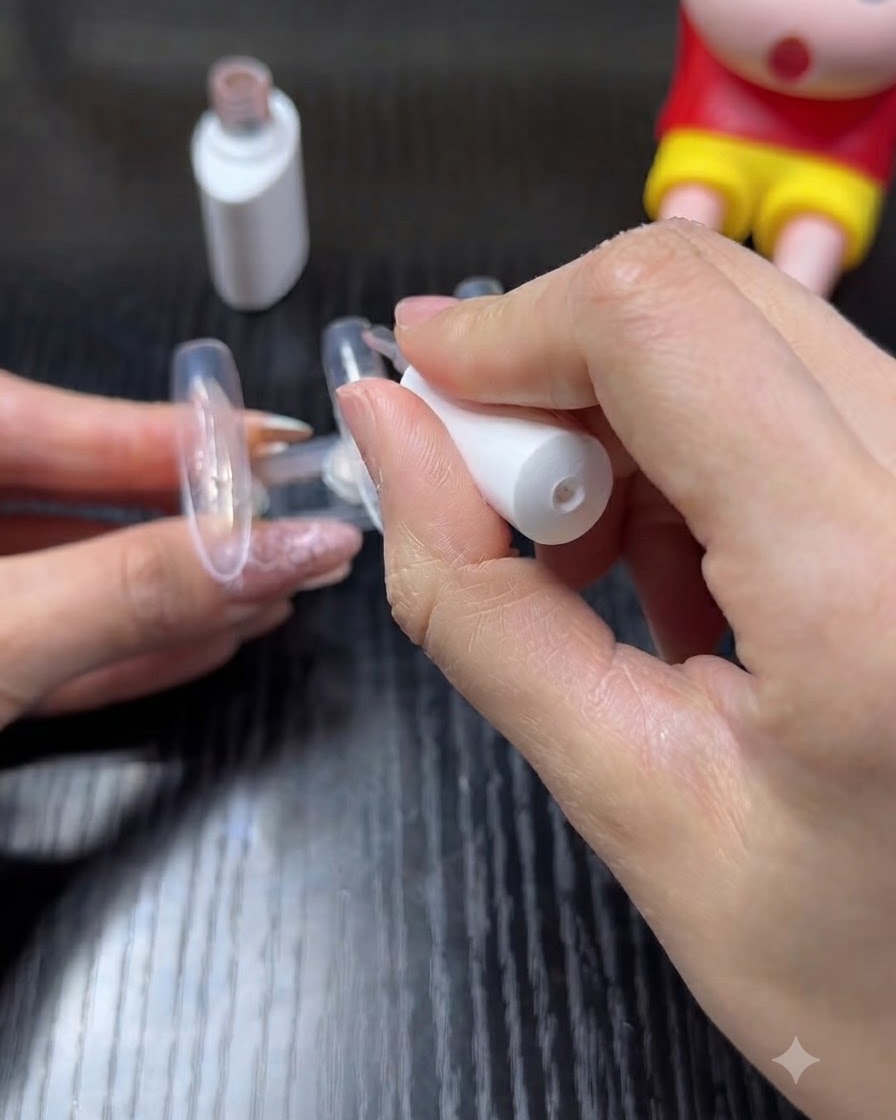
Begin by applying an even layer of nude gel polish to the clear practice nails using the bottles brush. Cover the entire nail surface smoothly to create a natural-looking base for the daisy design.
Tip: Apply thin coats to prevent pooling around the edges and to ensure the gel cures completely. - 2Apply Nude Base Color
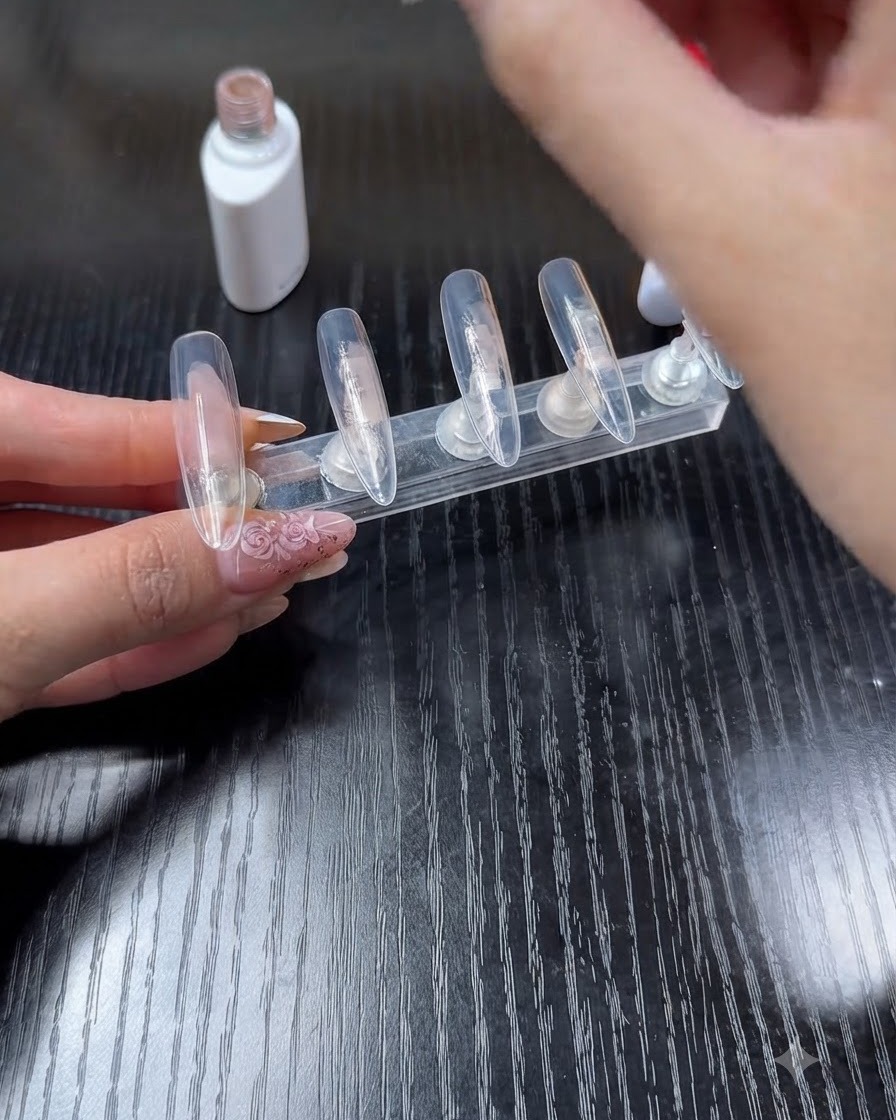
Begin by applying a single, even coat of nude gel polish to the middle and ring fingers on your practice stand. This sheer layer creates a smooth canvas for the glitter and nail art to follow. Cure fully under your LED or UV lamp before moving on to the next step.
Tip: Keep your application thin and steady to avoid pooling at the edges of the nail tip. - 3Apply Silver Fine Glitter
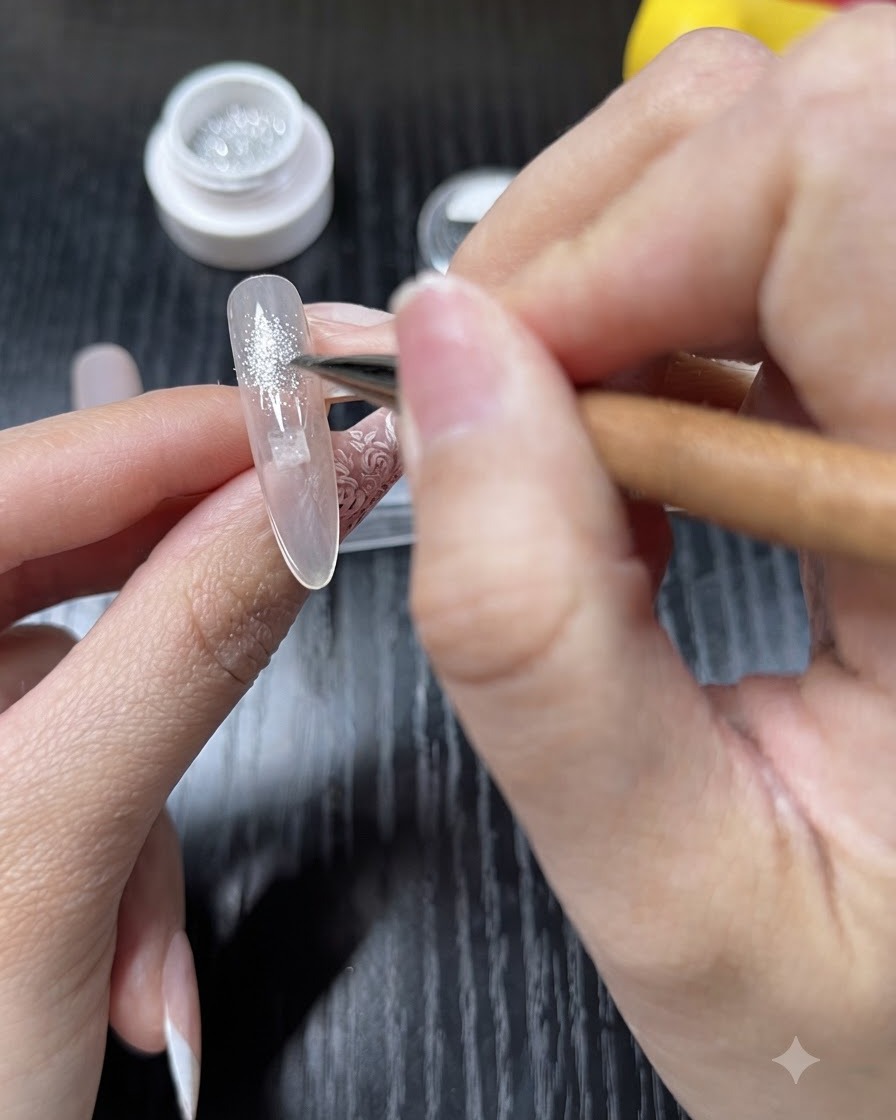
Apply a thin layer of silver fine glitter onto the middle and ring fingers over the nude base to add a subtle shimmering effect to the nail design.
Tip: Apply the glitter thinly to maintain a smooth surface before adding additional nail art elements. - 4Apply Lemon Yellow French Tips
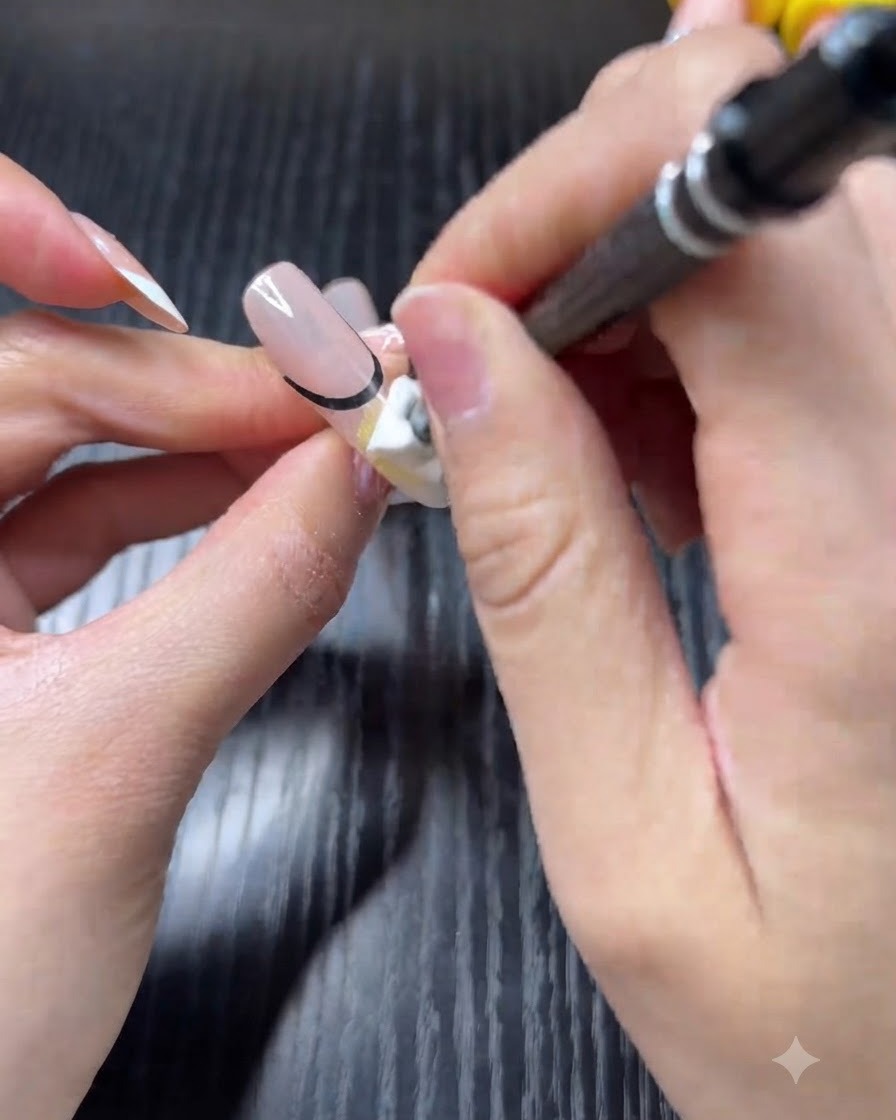
Using a fine nail art brush, apply lemon yellow tapping gel to create clean French tip shapes on the thumb, index, and ring fingers. Ensure the smile lines are neat and symmetrical before moving on to cure or detailing.
Tip: Work with a light hand when applying tapping gel to keep the French tip line crisp and prevent pooling. - 5Apply Glitter Flakes
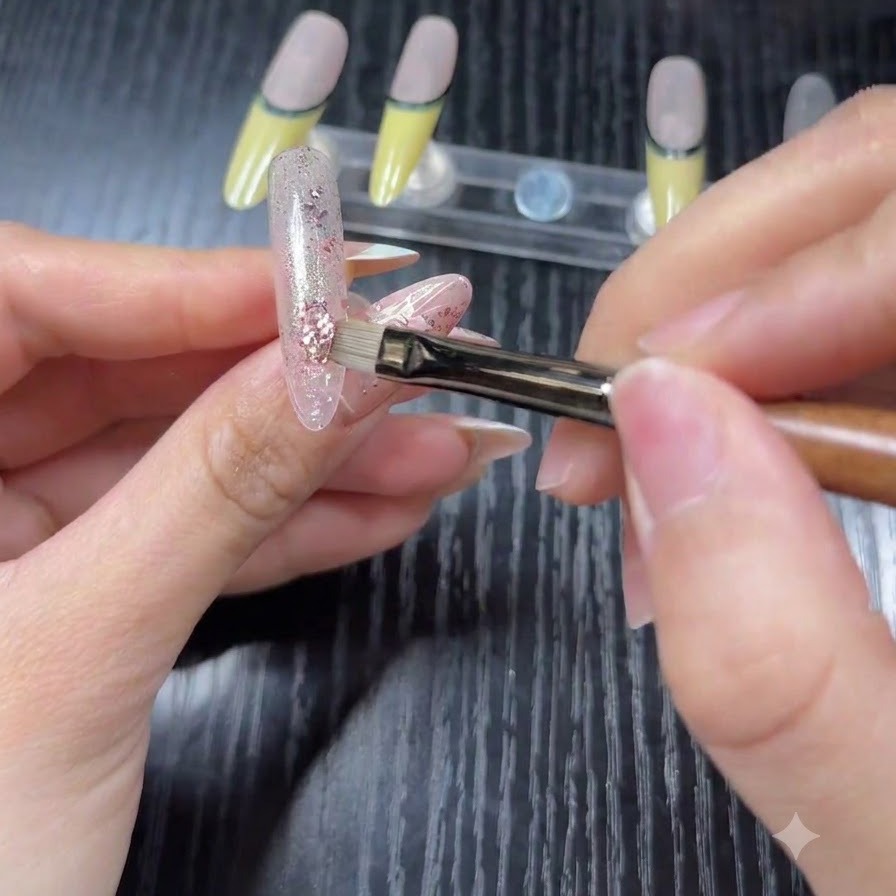
Using a gel brush, carefully pick up and place holographic glitter flakes onto the middle and ring fingers. Gently pat and manipulate the flakes into place, ensuring the colors are evenly distributed and coordinate well with the overall design. Keep the glitter relatively flat to make the encapsulation process easier.
Tip: If the glitter pieces are too chunky, gently press them down with your brush so they lie flush against the nail curve. - 6Encapsulate Glitter with Reinforcement Gel
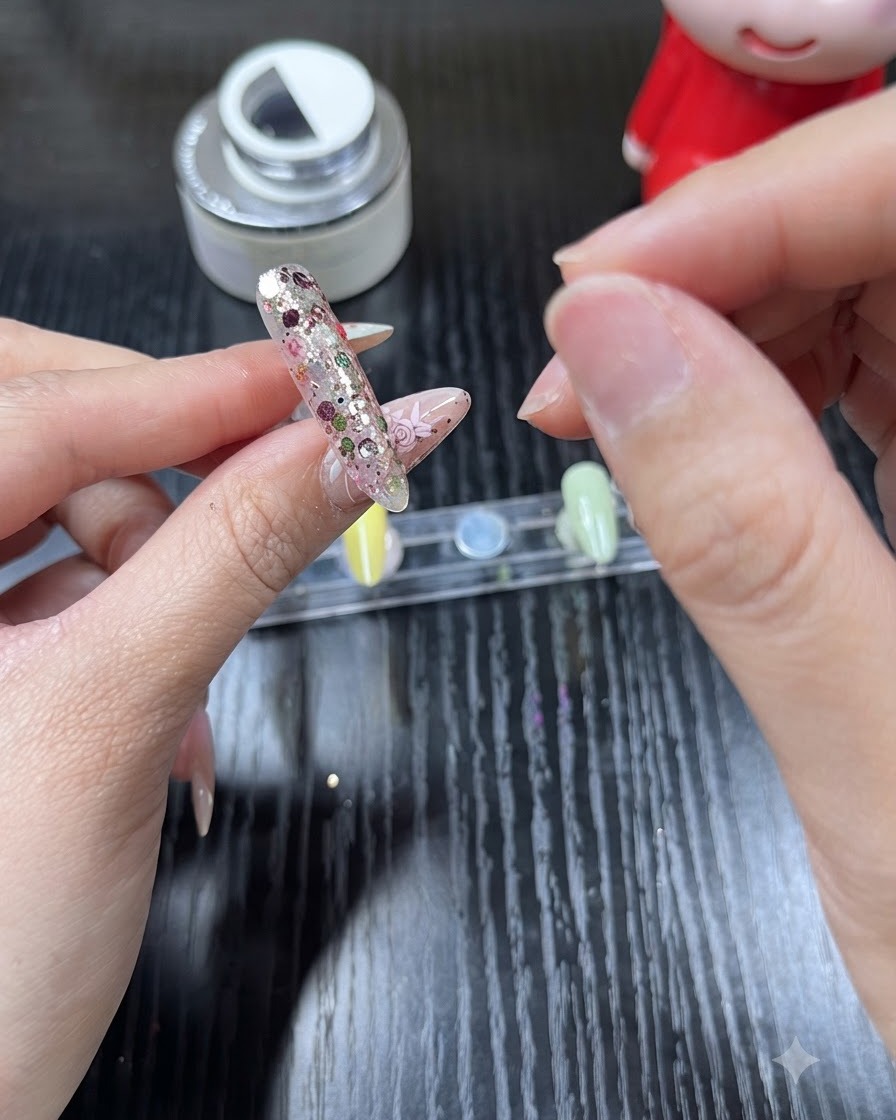
Apply a layer of reinforcement gel over the embedded glitter flakes to completely encapsulate them and level out any uneven texture on the nail surface. This ensures a smooth, glossy finish and protects the nail art design underneath.
Tip: Make sure to cover all edges of the glitter flakes completely with the reinforcement gel so they dont catch or peel off. - 7Cure Under a UV/LED Lamp
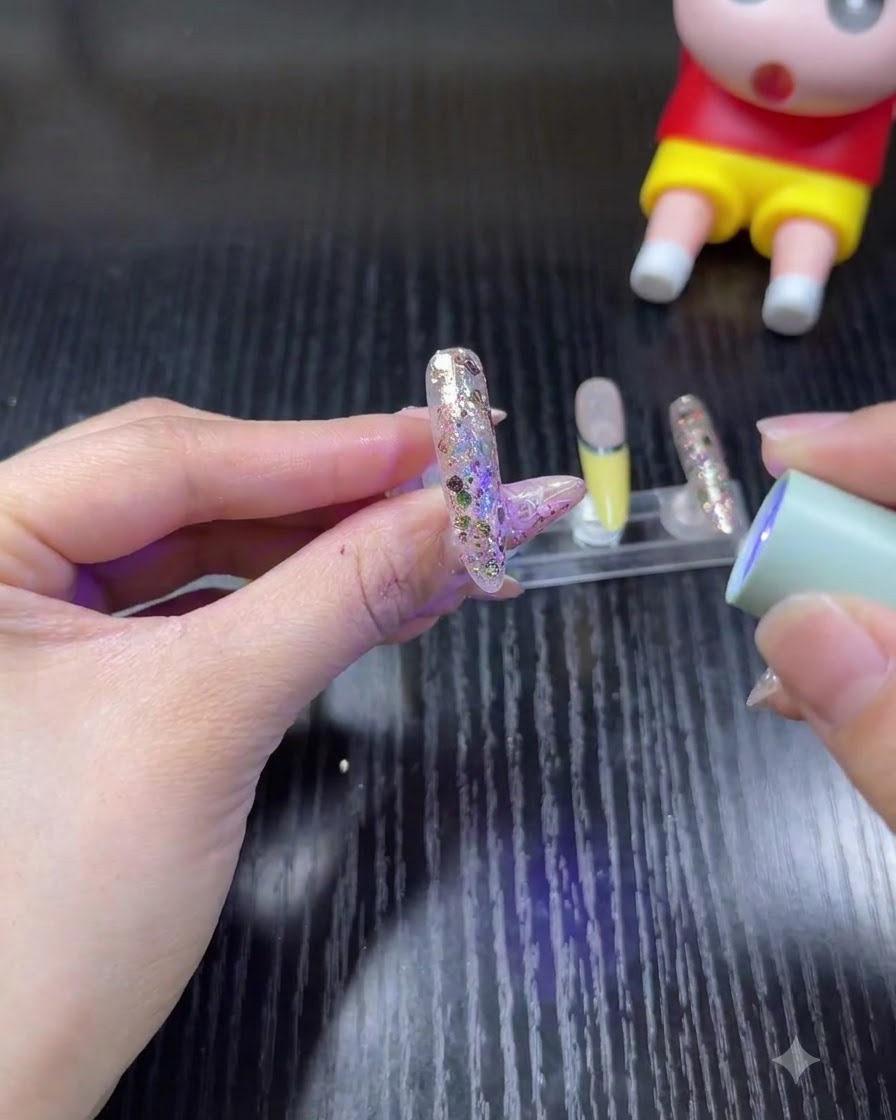
Once the glitter is fully encapsulated and the surface is smooth, cure the nail under a portable UV/LED nail lamp. Ensure the light hits all angles of the nail so the reinforcement gel hardens completely.
Tip: Flash curing each nail individually as you work helps prevent the gel from shifting or running. - 8Apply Top Coat
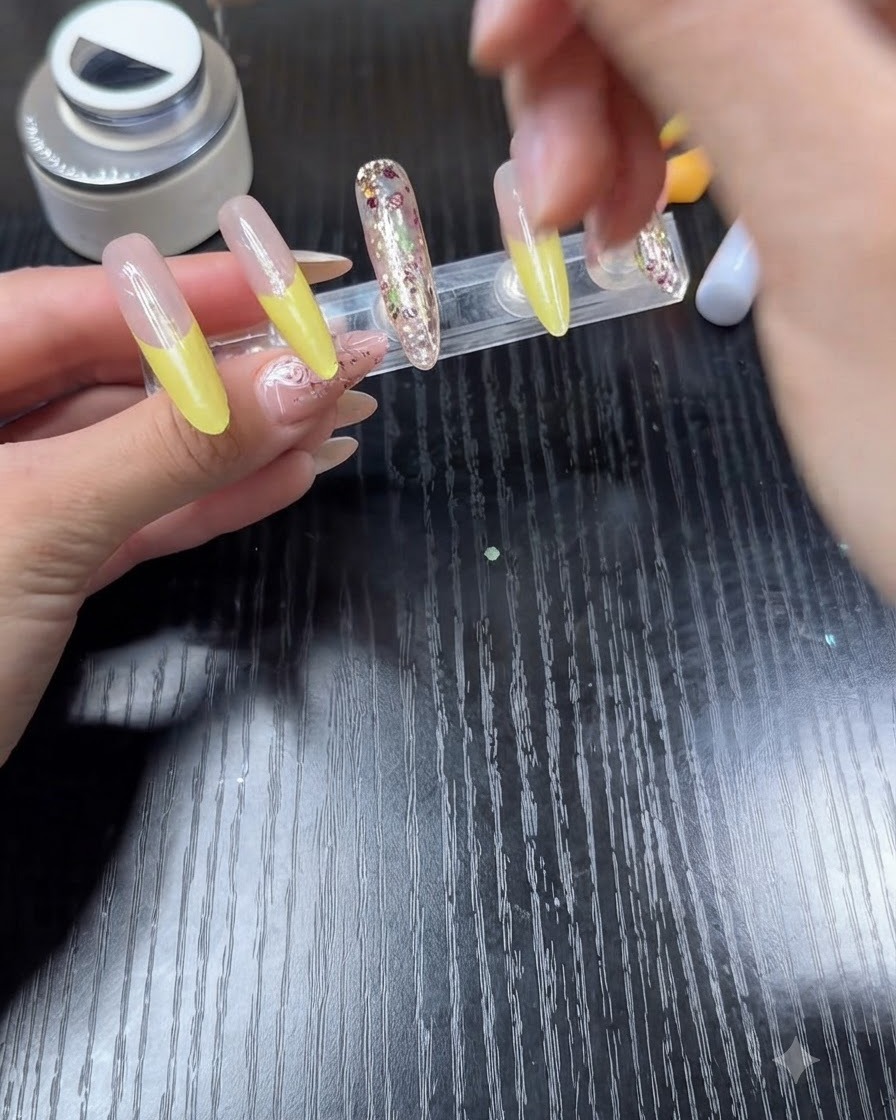
Apply a layer of clear top coat over the entire nail to seal in the gel layers and add a smooth, high-gloss finish. Be sure to cap the free edges to ensure your manicure lasts as long as possible.
Tip: Applying the top coat before painting your nail art details provides a smooth canvas for drawing the daisies. - 9Paint Small Daisy Petals
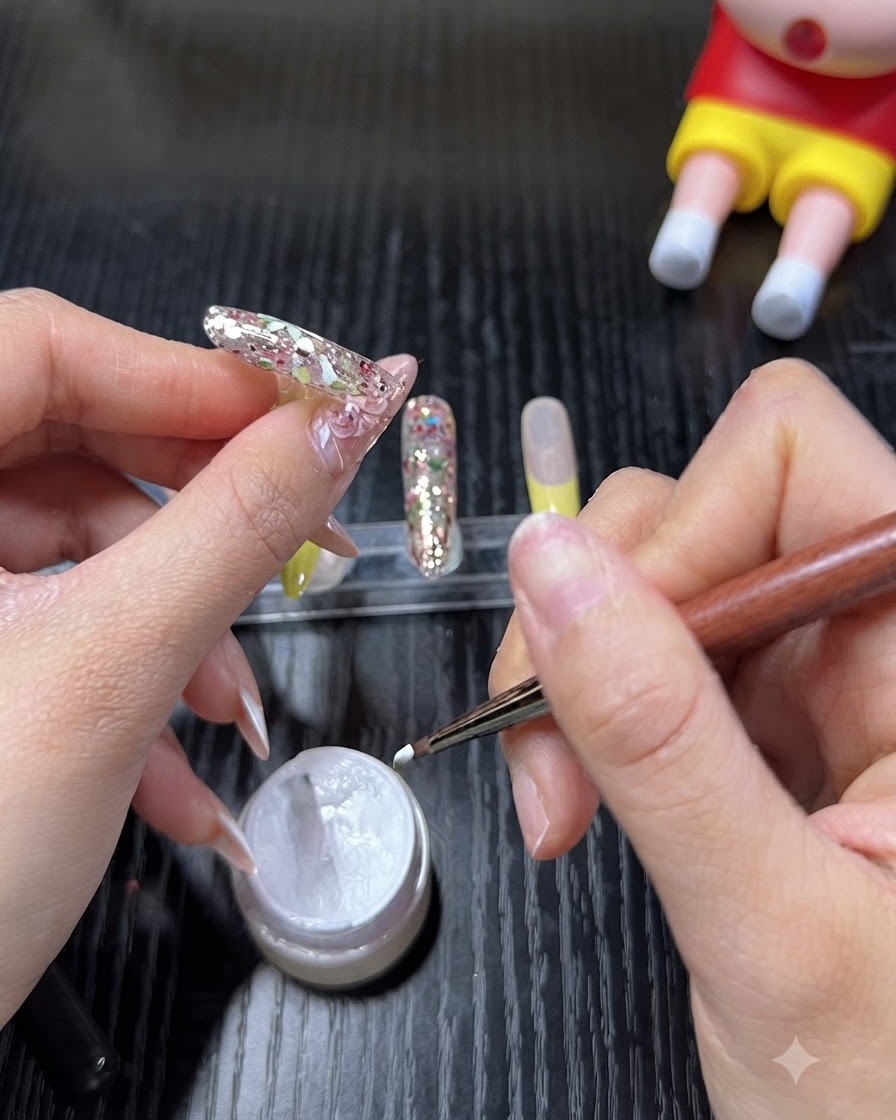
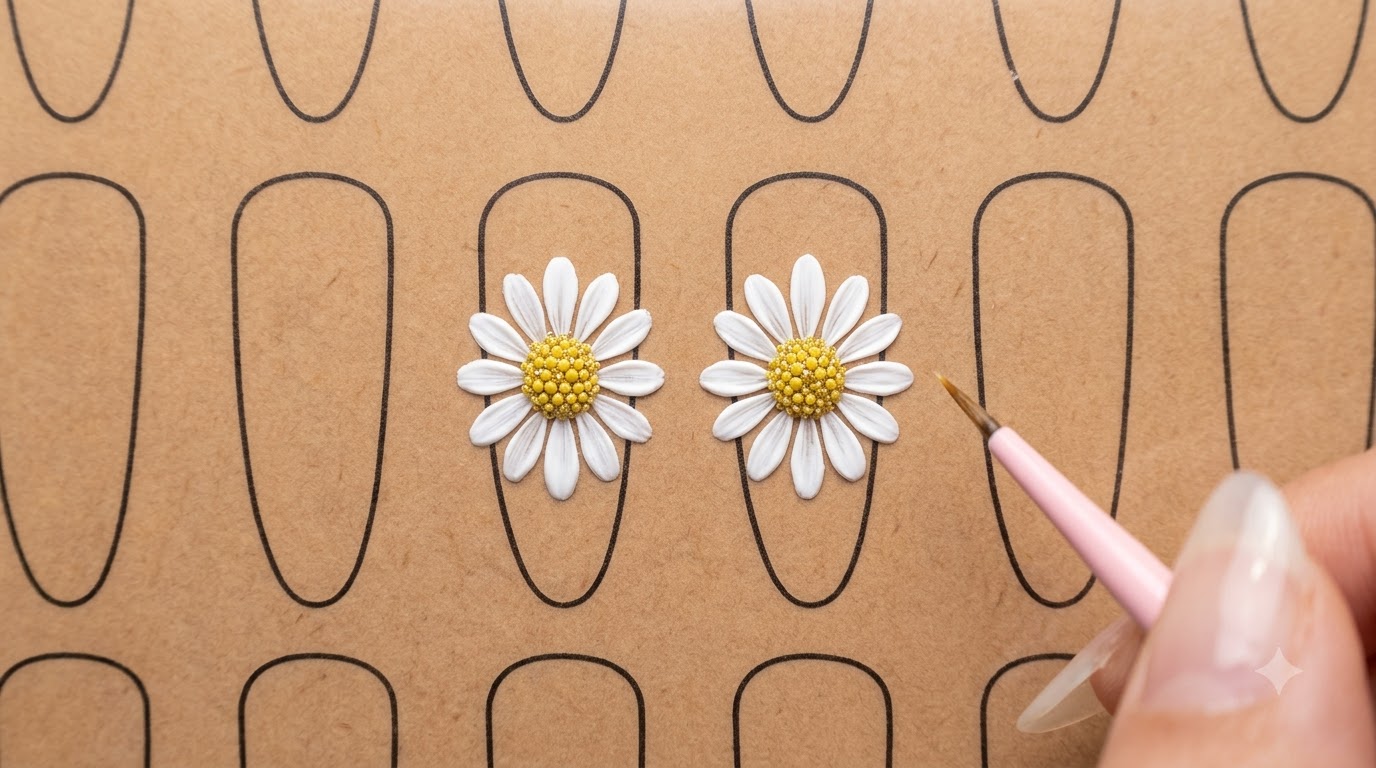
Using wipe-free white painting gel and a fine detail brush, carefully draw small daisy flower petals directly onto the glitter-accented nail surface. Keep the petals evenly spaced around where the flower centers will be placed.
Tip: Use a steady, light tapping motion with your brush tip to create nicely rounded flower petals. - 10Paint Daisy Flower Centers
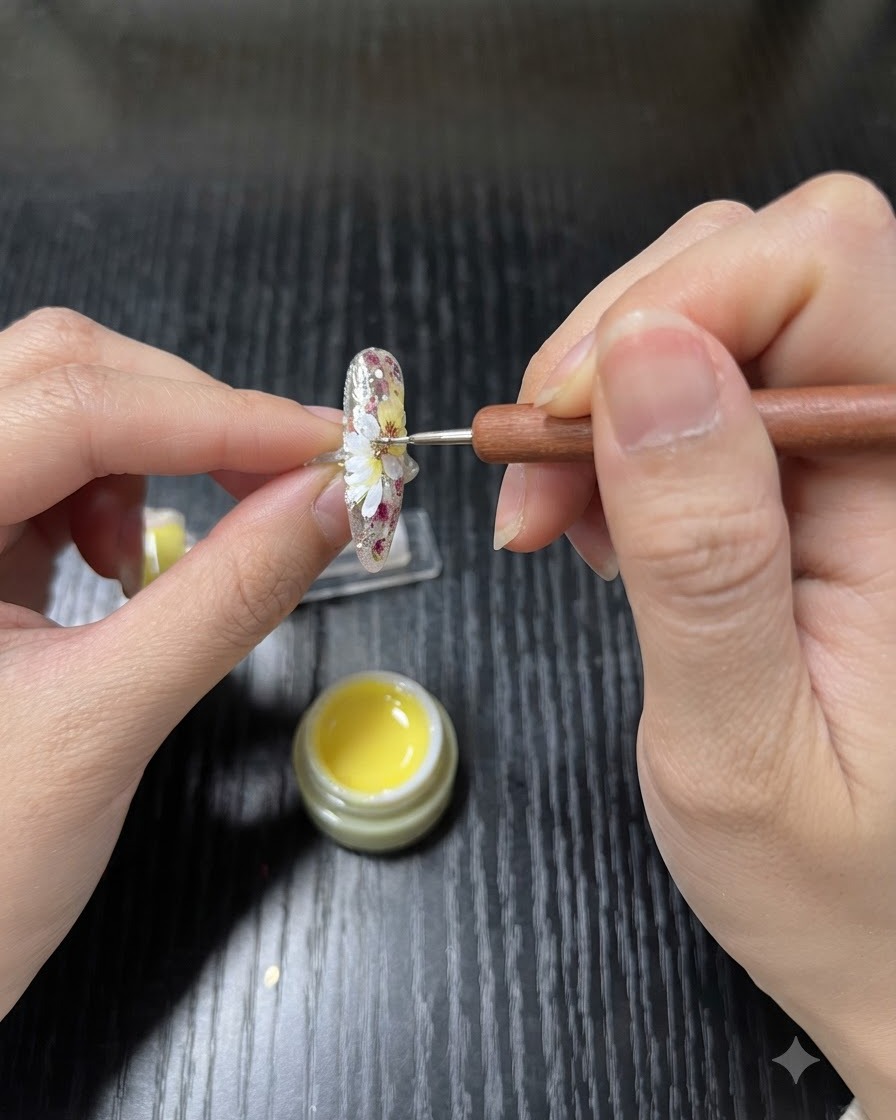
Using lemon yellow gel and a dotting tool or fine brush, carefully dot the center of each painted small daisy flower. Ensure the yellow dot sits neatly in the middle of the white petals.
Tip: A dotting tool gives perfectly round flower centers with minimal effort compared to a brush. - 11Buff Embellishment Placement Areas
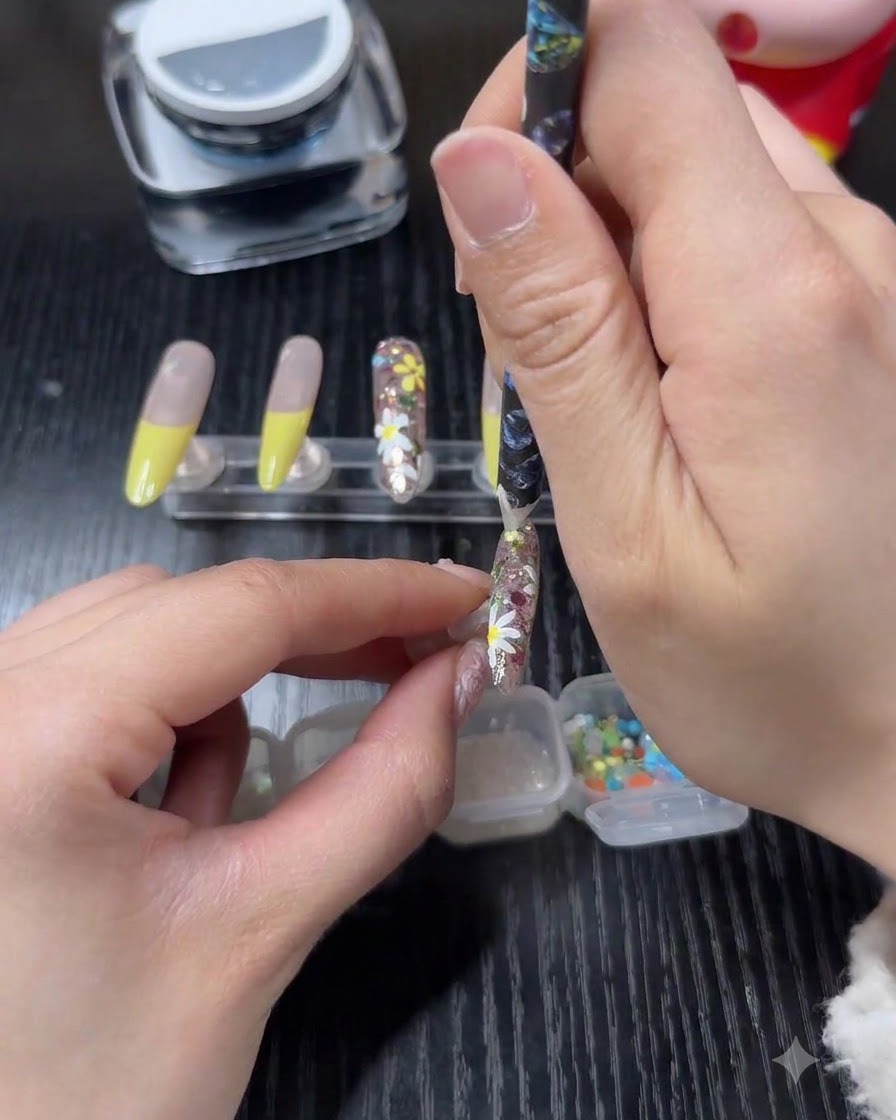
Lightly buff the specific placement areas on the nail surface where beads and rhinestones will be attached to ensure maximum adhesion for the embellishments.
Tip: Buff only the exact spots where decorations will sit to avoid unnecessary wear on the rest of the nail. - 12Attach Beads and Rhinestones
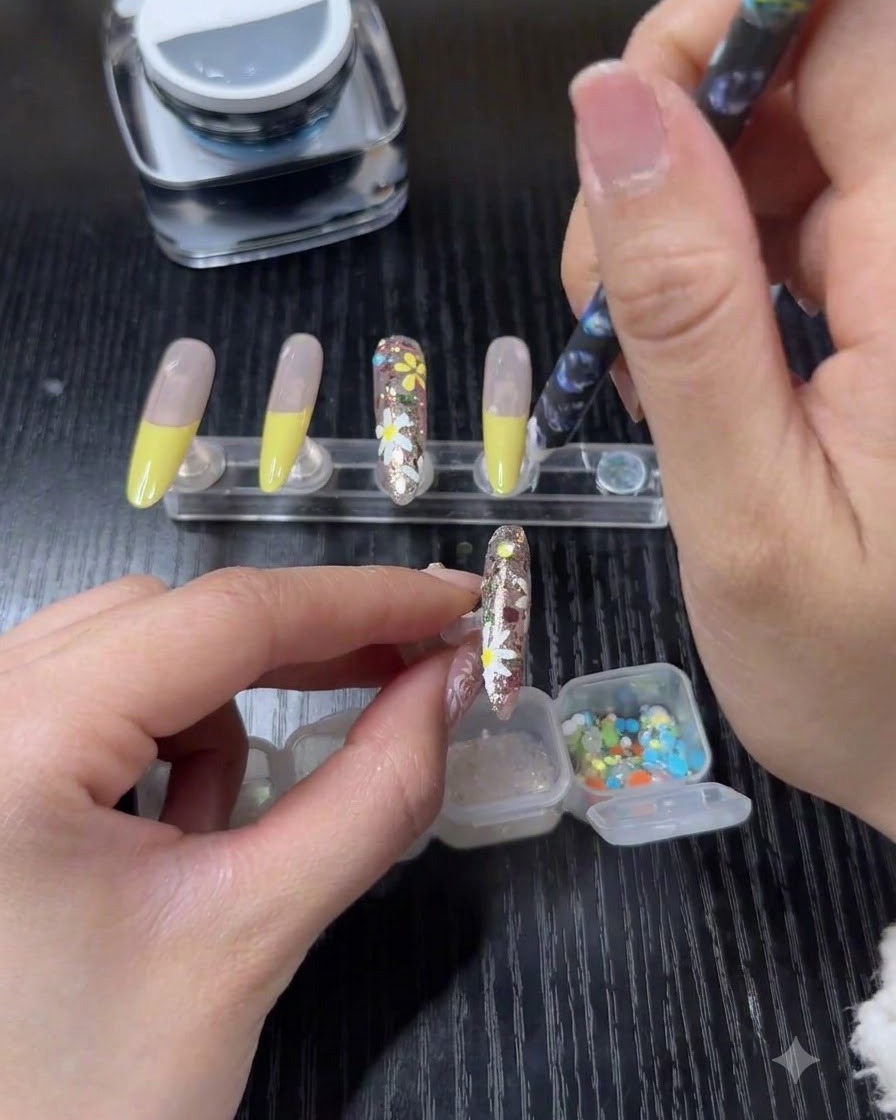
Carefully place colored small beads and stacked rhinestones onto the buffed spots on the nails to complete the decorative floral nail design.
Tip: Use a detail tool or wax picker to accurately position the small beads and stacked rhinestones.