Sparkly Glitter Ombre Cat-Eye Gel Nails — Step-by-Step Tutorial
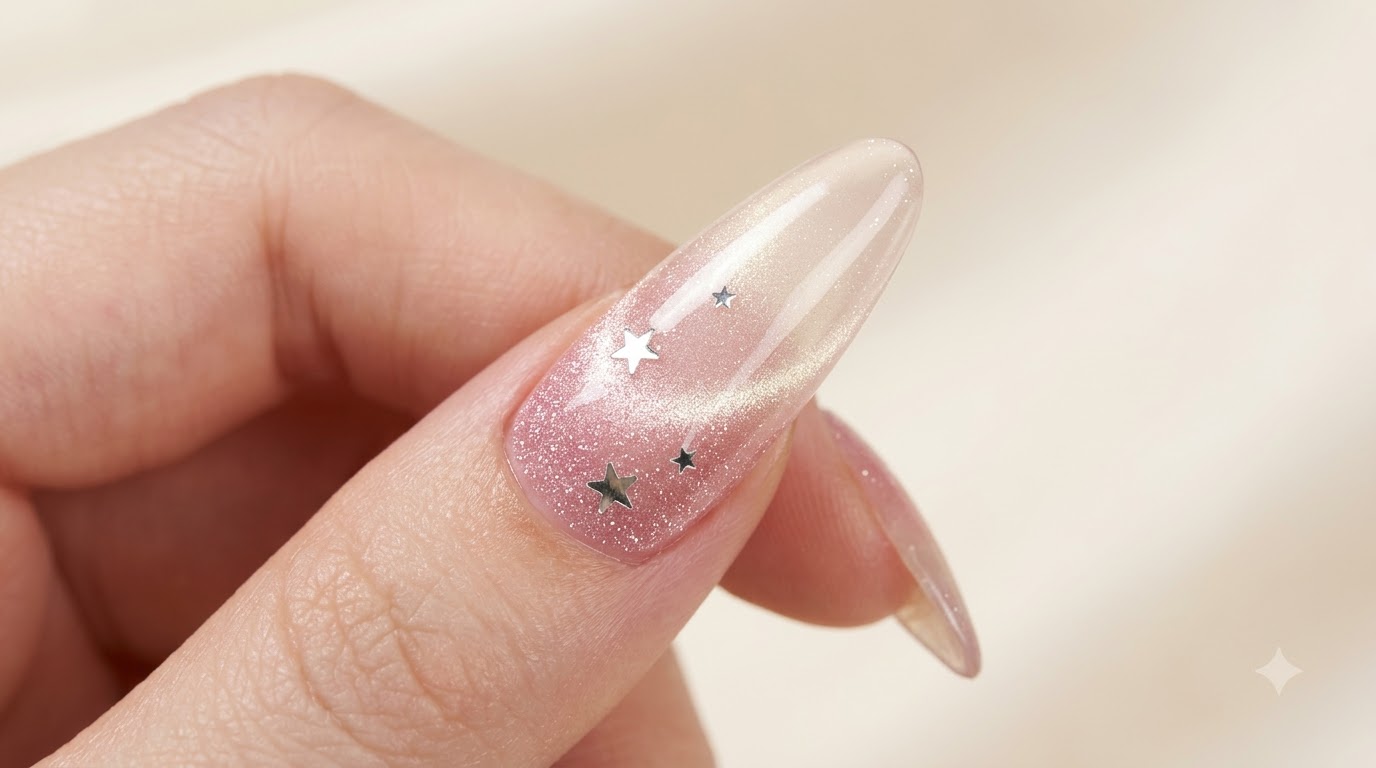
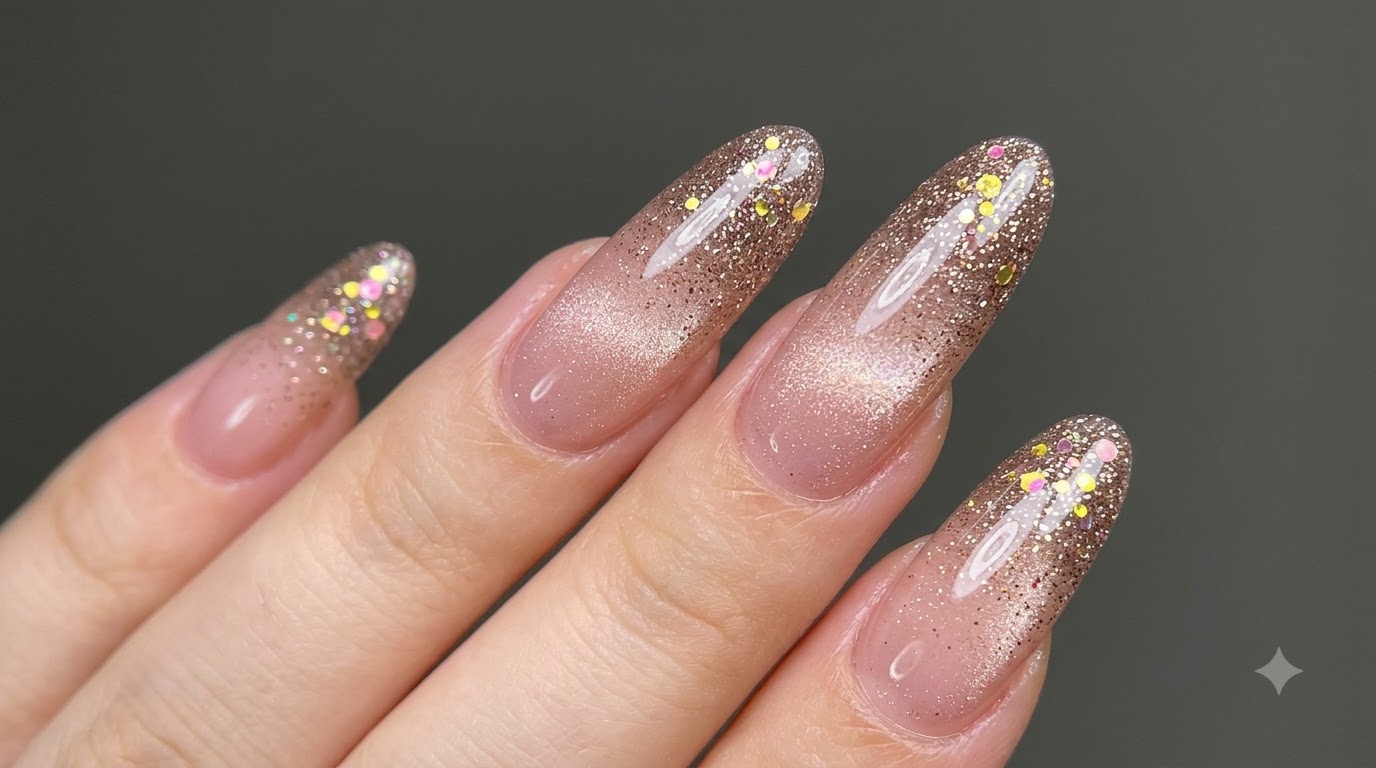
Create stunning sparkly glitter ombre cat-eye gel nails featuring a nude pink magnetic base, coffee-toned broken diamond glitter, and mixed sequins.
Cat-eye gel nails combined with dimensional glitter gradients create a mesmerizing multi-dimensional look that catches the light from every angle. This tutorial guides you through layering a magnetic nude pink base with fine coffee-toned sparkles and chunky pink and gold sequins for a high-end salon finish.
Steps
- 1Apply cat-eye base layer
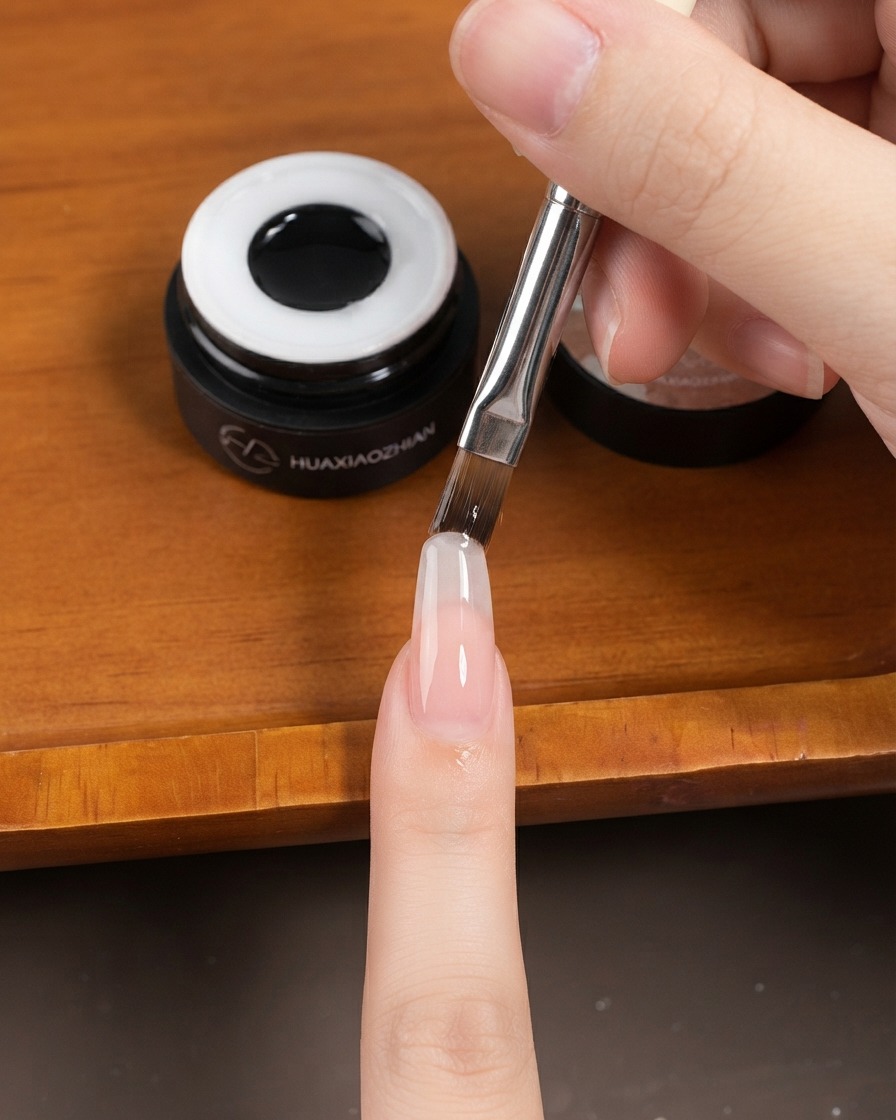
Using a flat gel brush, pick up a small amount of nude pink gold cat-eye gel. Apply a thin, even layer over the entire prepped almond nail. Ensure the coverage is smooth as this will serve as the base for the beautiful glass bead magnetic effect.
Tip: Applying a thin layer prevents pooling at the cuticles and allows the fine magnetic particles to move more easily. - 2Create the glass bead effect
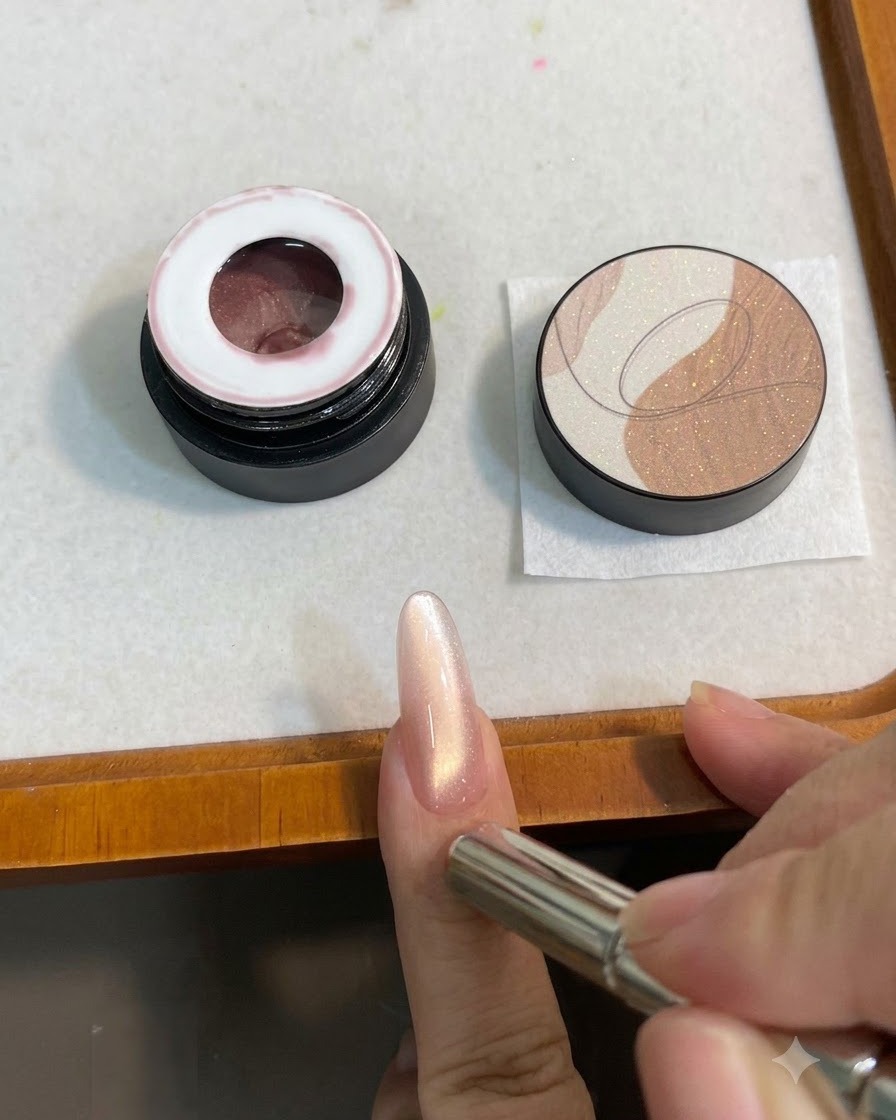
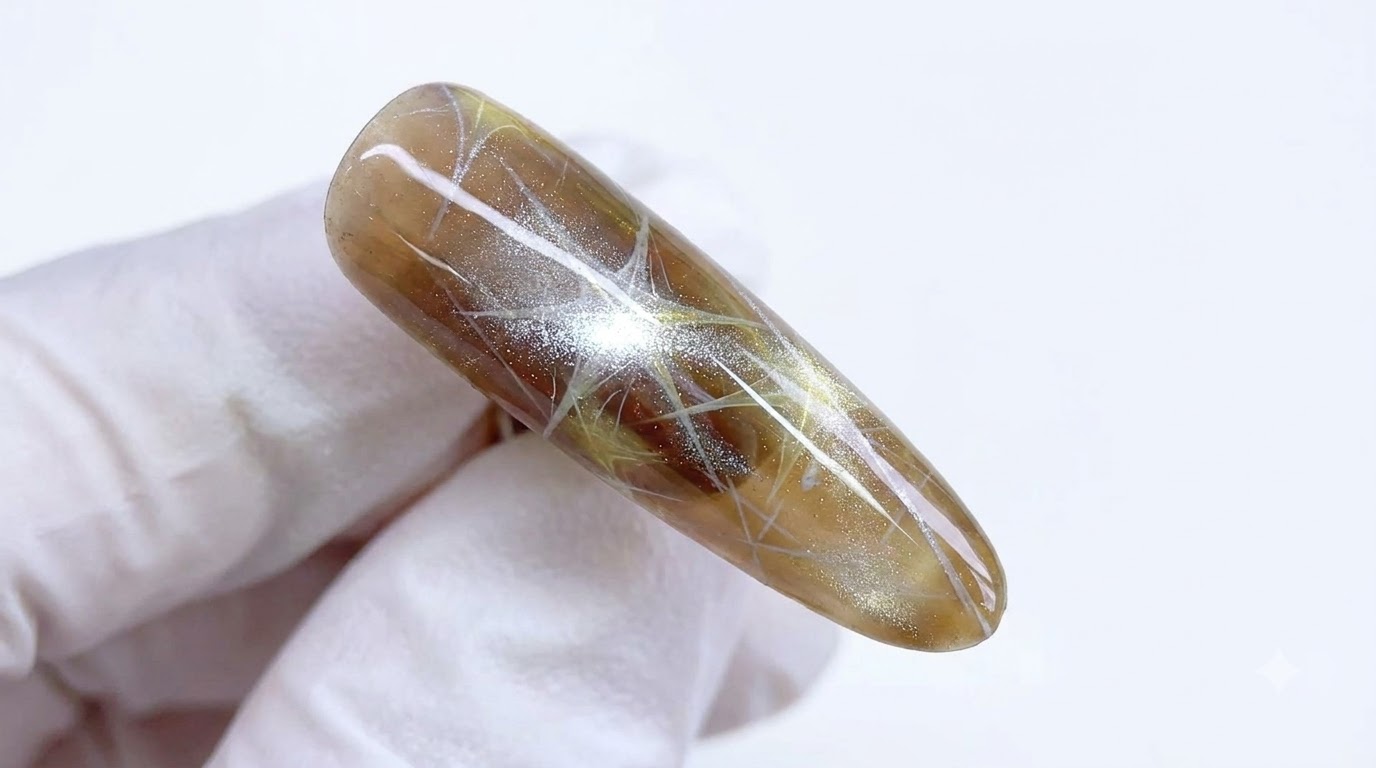
While the cat-eye gel is still wet, hover a cylindrical magnet directly over the nail. Keep it steady to pull the fine magnetic powder into a bright, vertical streak down the center, creating a glowing, dimensional glass bead illusion.
Tip: Do not touch the wet gel with the magnet; hold it a few millimeters above the nail surface until the desired effect fully appears. - 3Cure the cat-eye layer
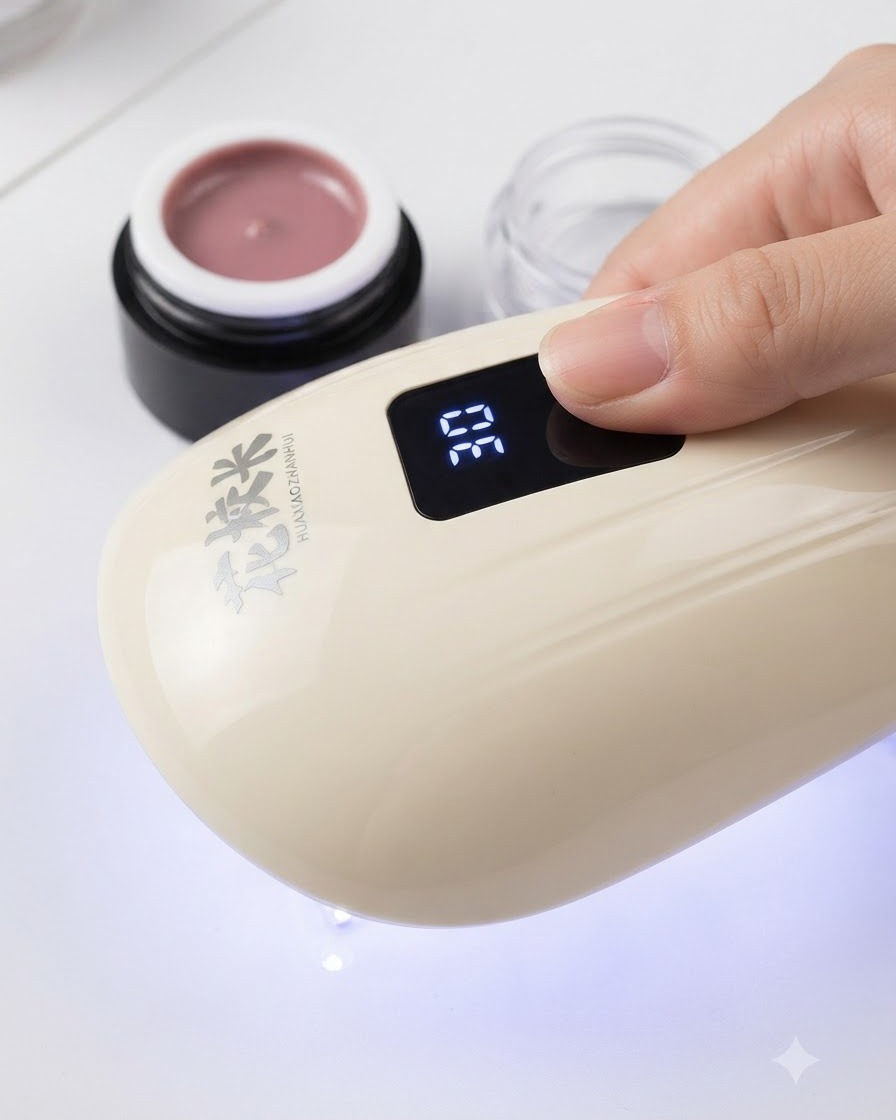
Once you are happy with the magnetic effect, immediately place the finger under a UV or LED nail lamp. Cure fully according to the gel manufacturers instructions to lock the magnetic particles in place and prevent them from shifting.
Tip: Cure one finger at a time immediately after using the magnet so the particles do not disperse or lose their crisp line. - 4Pick up broken diamond gel
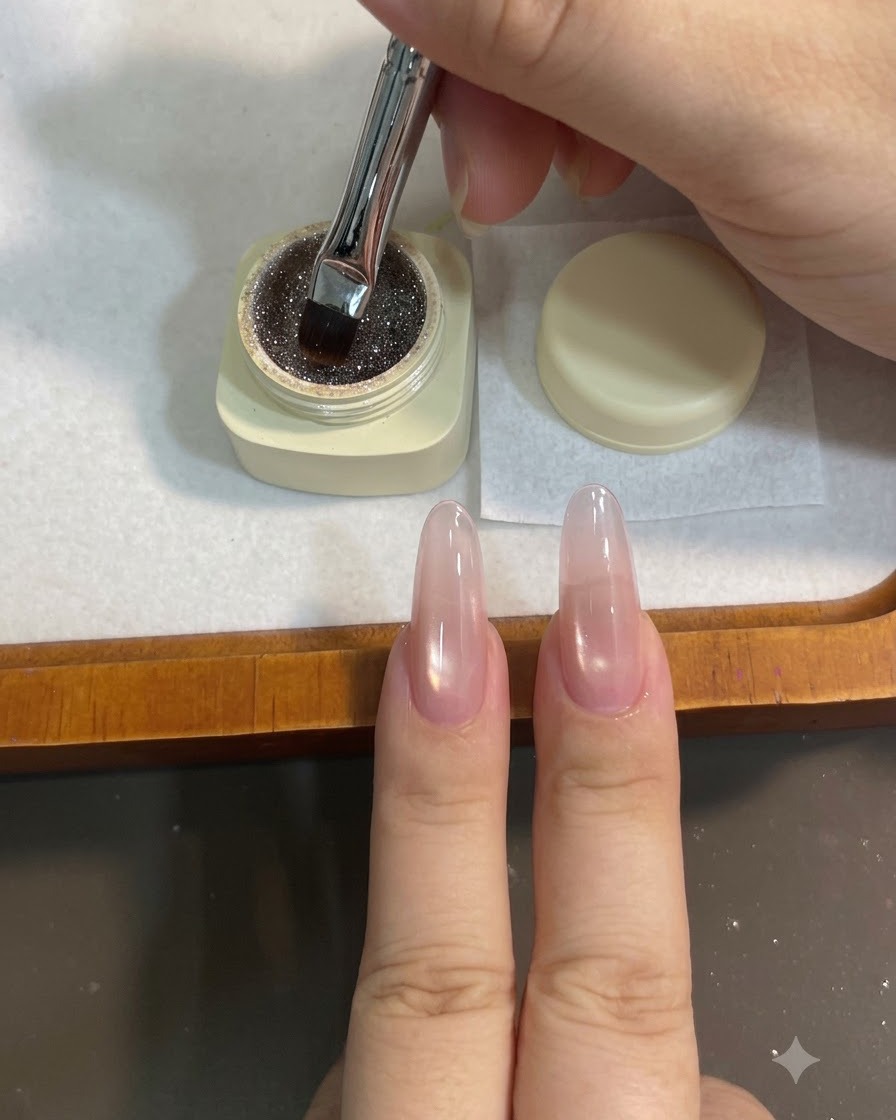
Open your pot of coffee-toned broken diamond glitter gel. Using a clean flat gel brush, gently dip into the pot to pick up a modest amount of the fine, sparkling glitter product on one side of the bristles.
Tip: Only pick up a small amount at a time; you can always add more glitter to build up the gradient if needed without flooding the nail. - 5Apply the glitter gradient
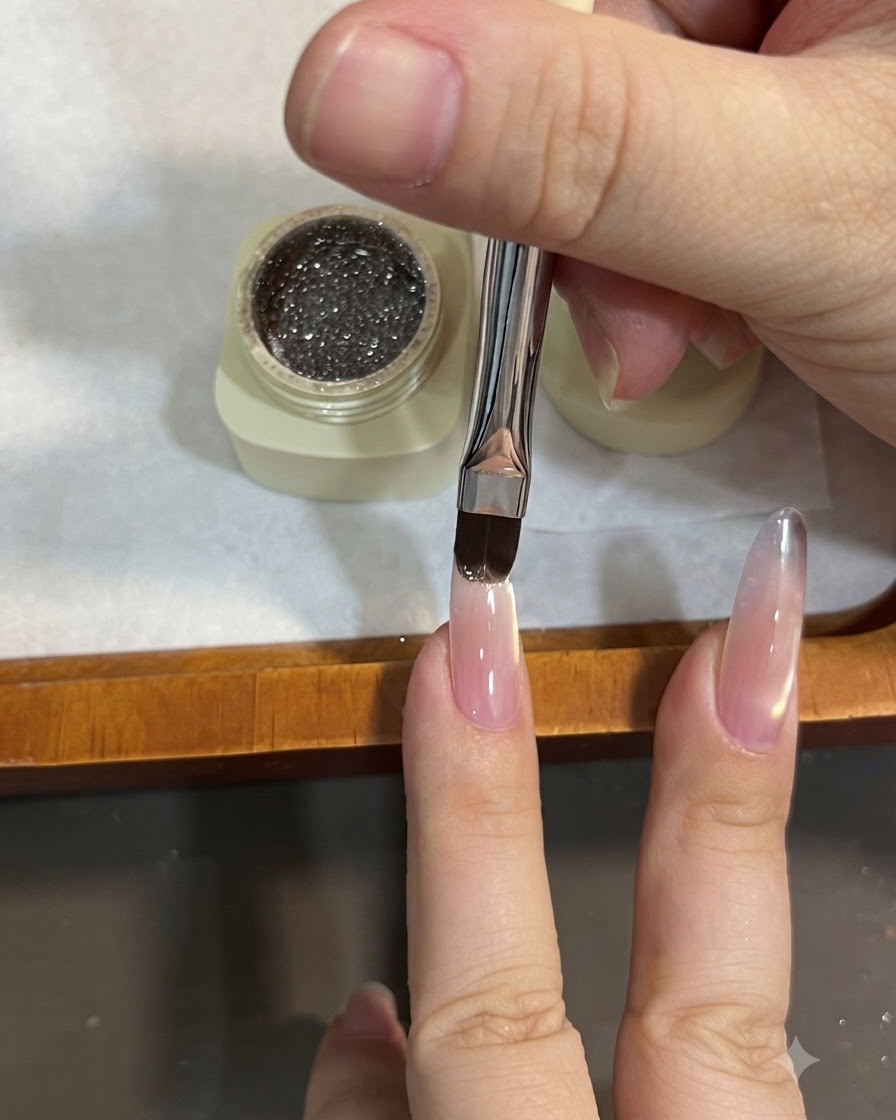
Place the picked-up broken diamond gel onto the free edge of the nail. Using light, sweeping motions, gently drag the glitter downwards toward the middle of the nail bed, blending the edges to create a soft, fading gradient effect over the cat-eye base.
Tip: Wipe excess product off the brush before blending downwards to ensure a smooth, seamless transition with no harsh lines. - 6Cure the gradient layer
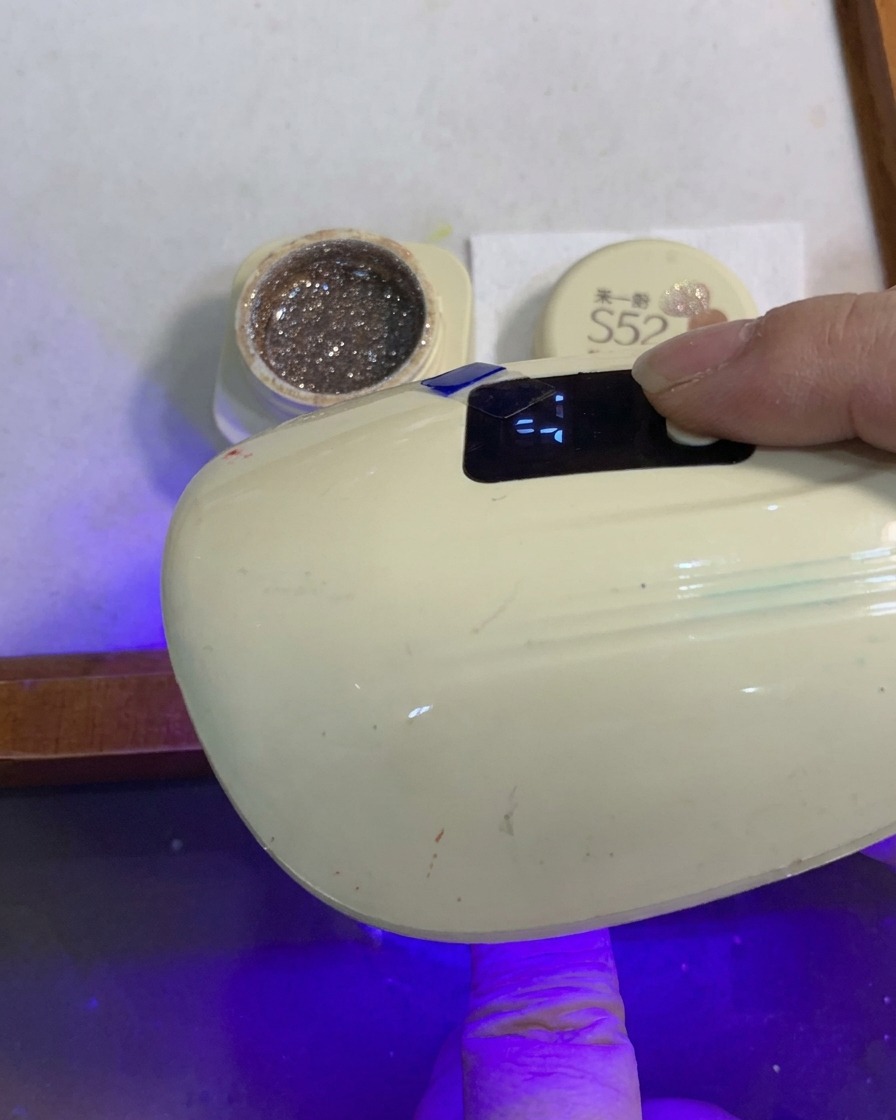
After achieving the perfect glitter gradient transition, carefully place the nail back under the UV/LED lamp. Cure completely to set the broken diamond gel in place, preparing a solid base for any remaining embellishments or the final top coat.
Tip: Make sure the glitter lays completely flat against the nail before curing to avoid a bumpy surface. - 7Dip brush into chunky sequin gel
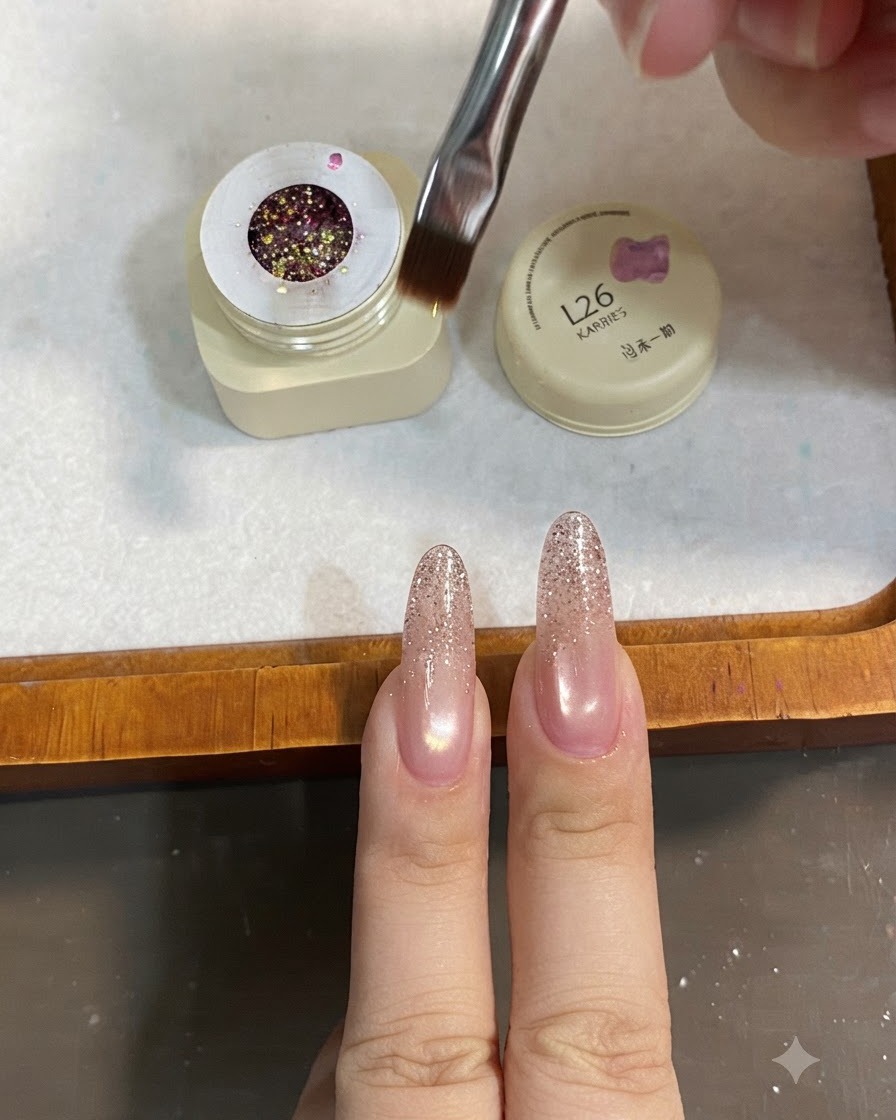
Dip your fine gel brush into the second pot containing a chunky, mixed gold and pink sequin gel. Ensure you pick up a balanced mix of the fine glitter particles and larger reflective flakes to achieve the desired multi-dimensional sparkle.
Tip: Swirl the brush gently in the pot to pick up larger flakes without overloading the bristles. - 8Apply sequins to the nail tip
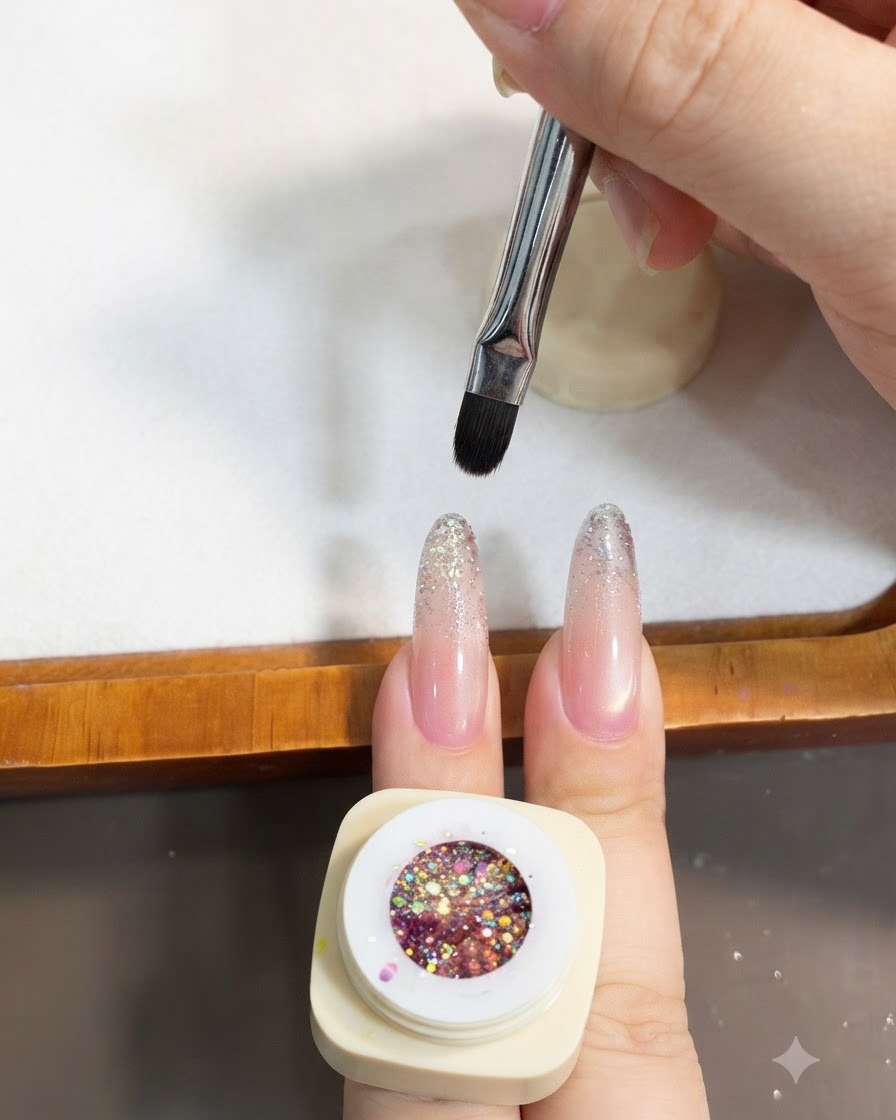
Dab the chunky sequin gel specifically onto the very tip of the nail, carefully overlapping it with the existing fine glitter gradient. This layering technique adds incredible depth, texture, and intense sparkle to the gradient design.
Tip: Position individual larger flakes manually with the tip of the brush for a clean, intentional placement. - 9Cure the sequin layer
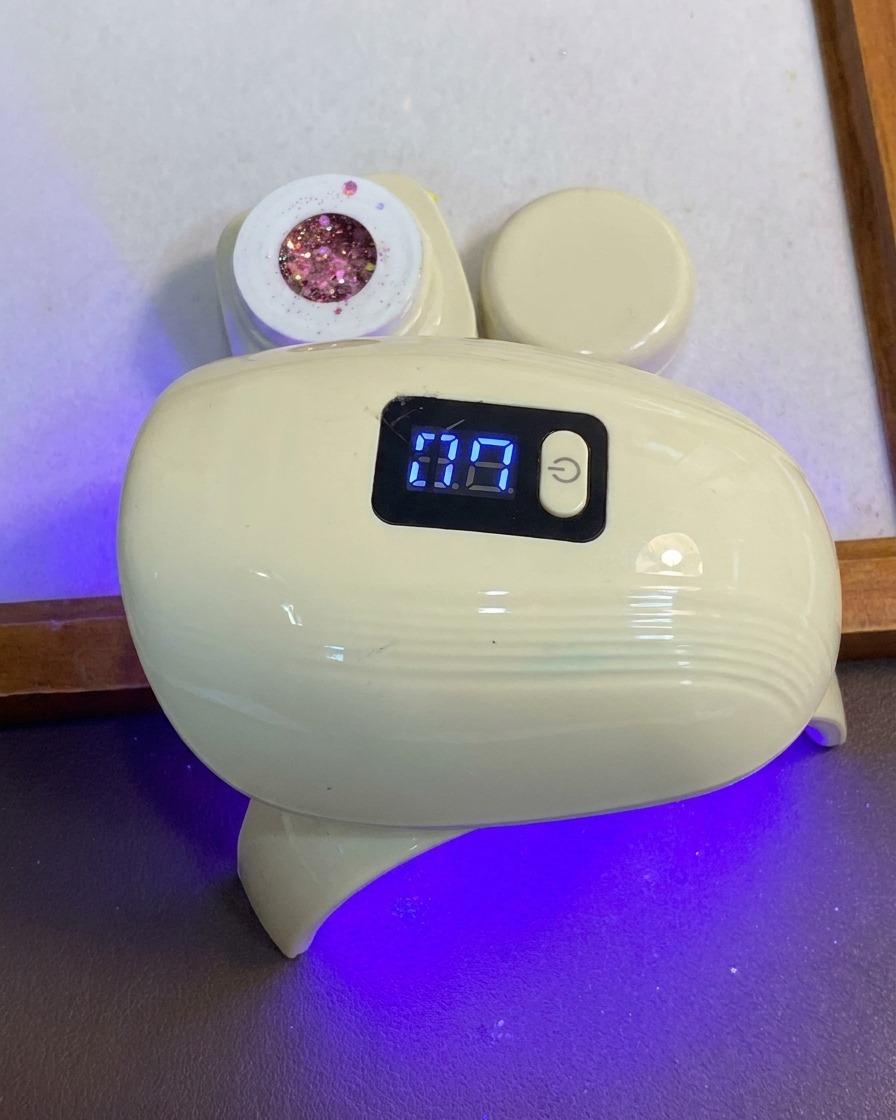
Place the nails under your UV/LED lamp and cure the chunky sequin gel layer completely to lock the glitter and sequins firmly in place before applying the final top coat.
Tip: Make sure the thick pieces of glitter are fully embedded and flattened so they dont catch on clothing later. - 10Apply top coat and seal
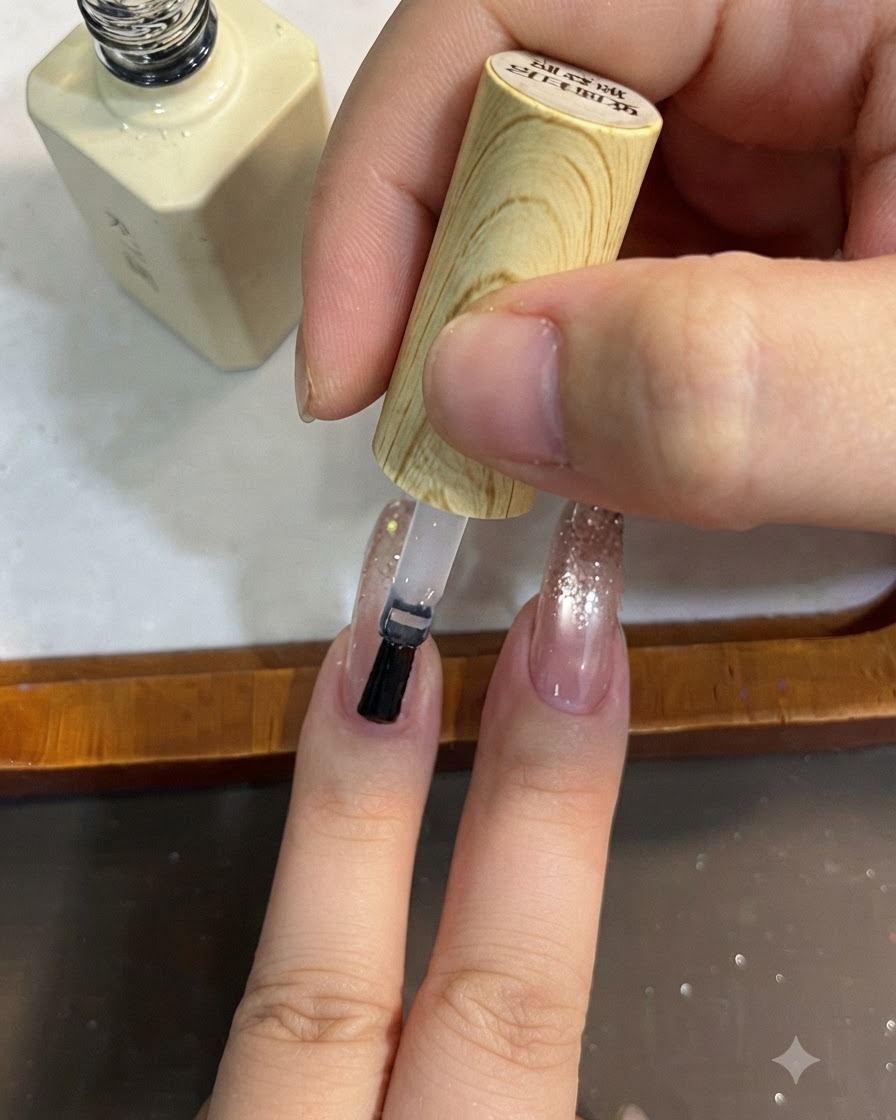
Brush a clear glossy top coat or builder gel evenly over the entire surface of each nail. This seals in all the underlying glitter and sequin layers, smoothing out any bumps to create a perfectly structured, high-shine finish. Cure under the lamp to complete the look.
Tip: Cap the free edge with top coat to prevent chipping and protect the intricate glitter layers.