Daisy Field Hand-Painted Nail Art — Step-by-Step Tutorial
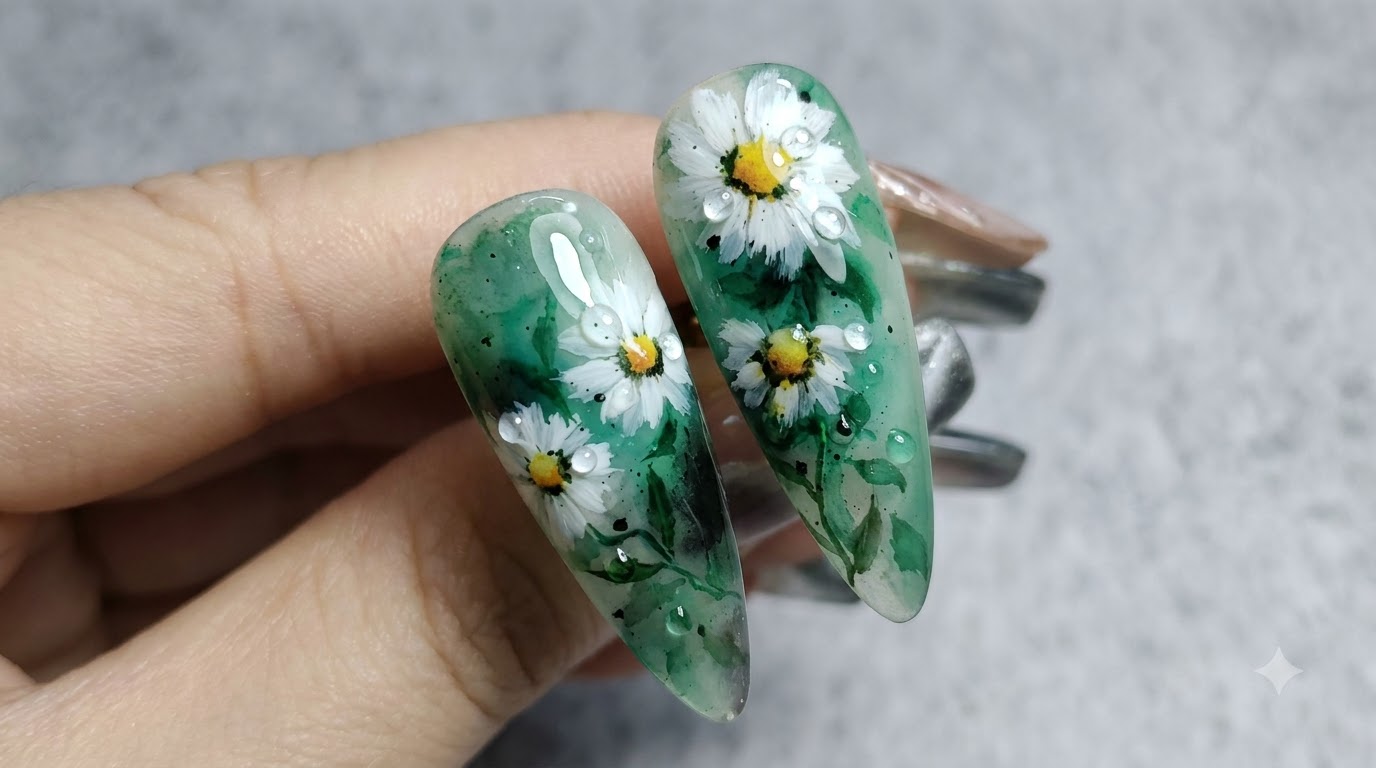
Create a stunning layered daisy garden design on your nails using a soft yellow base, white fine lines, and delicate pink and yellow accents[cite: 1].
Bring a charming garden directly to your fingertips with this intricate hand-painted daisy nail designcite: 1. Featuring a multi-layered petal technique over an ice-translucent yellow background, this tutorial walks you through creating professional salon-quality botanical nail art at homecite: 1.
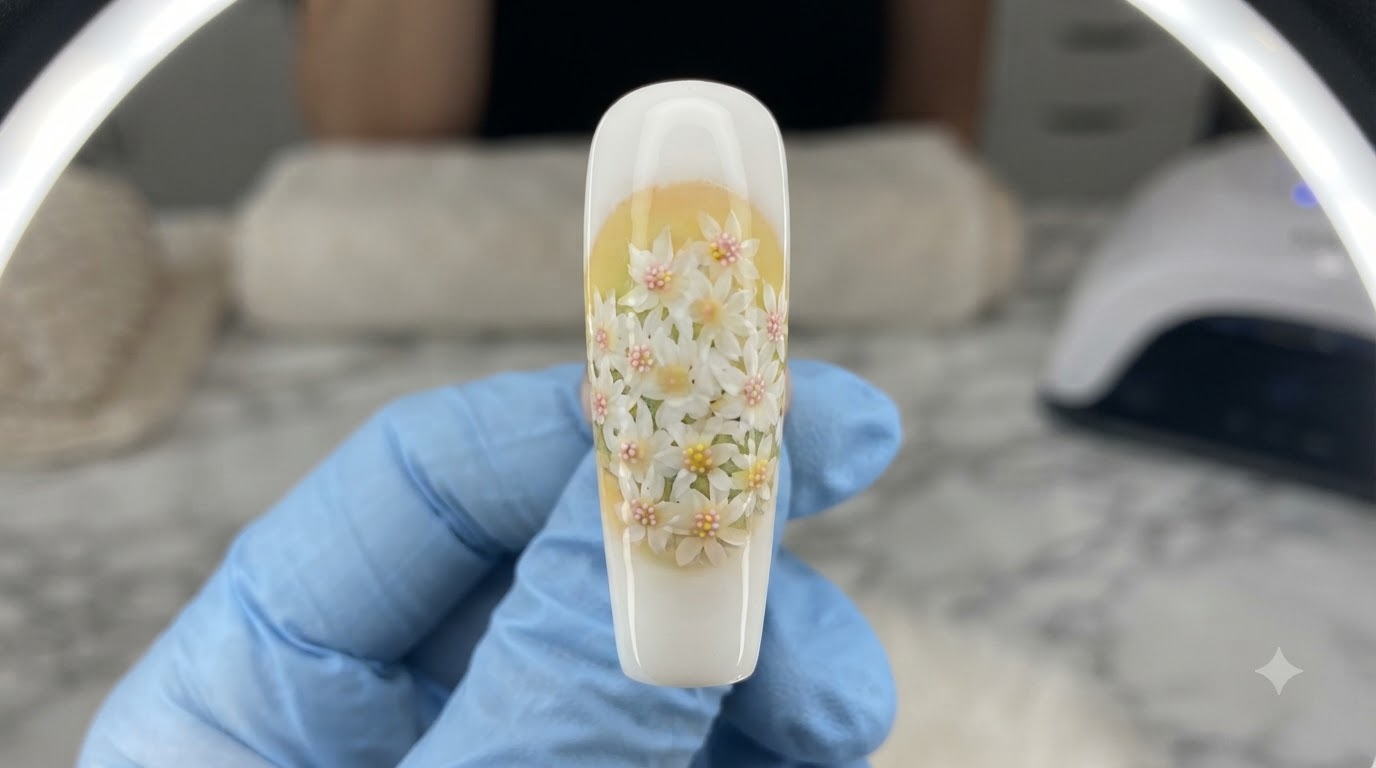
Steps
- 1Apply Light Yellow Base Coat
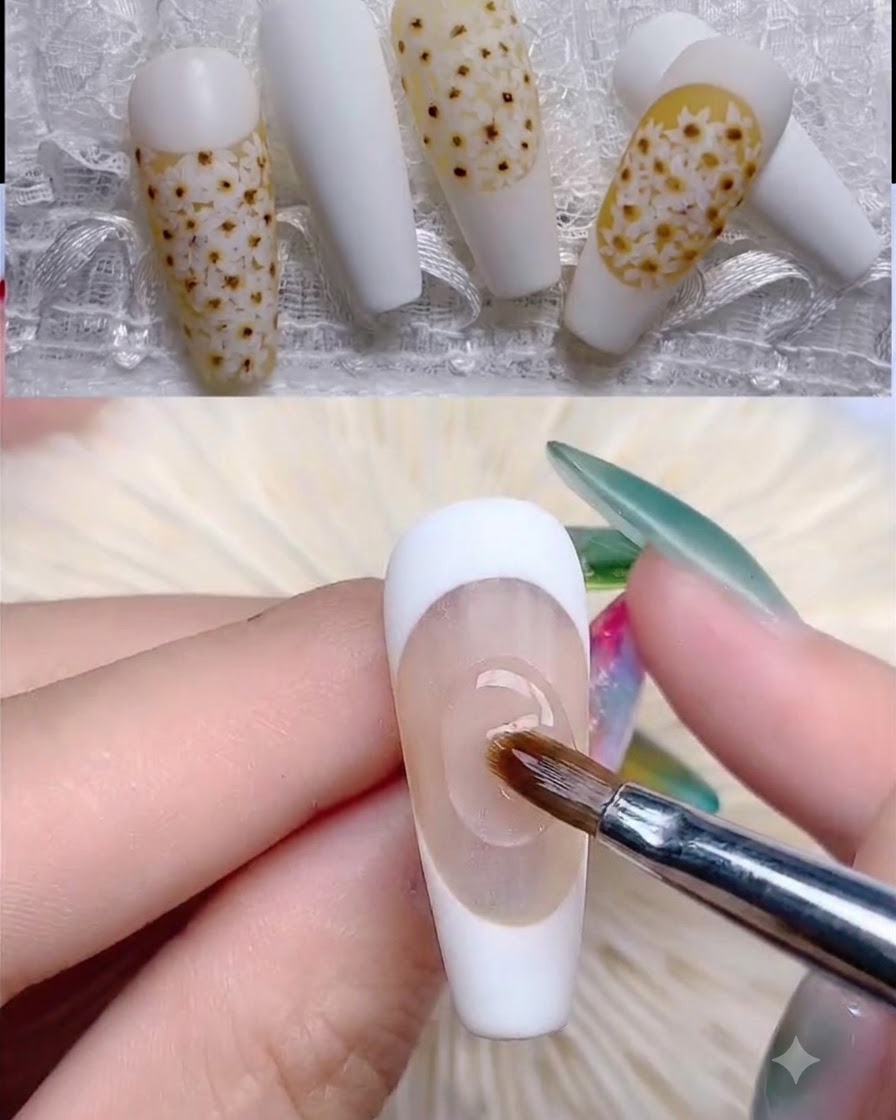
Apply a light yellow semi-transparent ice-translucent gel as the base coat evenly across the nail tip to create a soft background for the daisy nail art design.
Tip: Ensure the gel base is applied thinly and evenly to maintain a translucent effect. - 2Paint French Tip Border
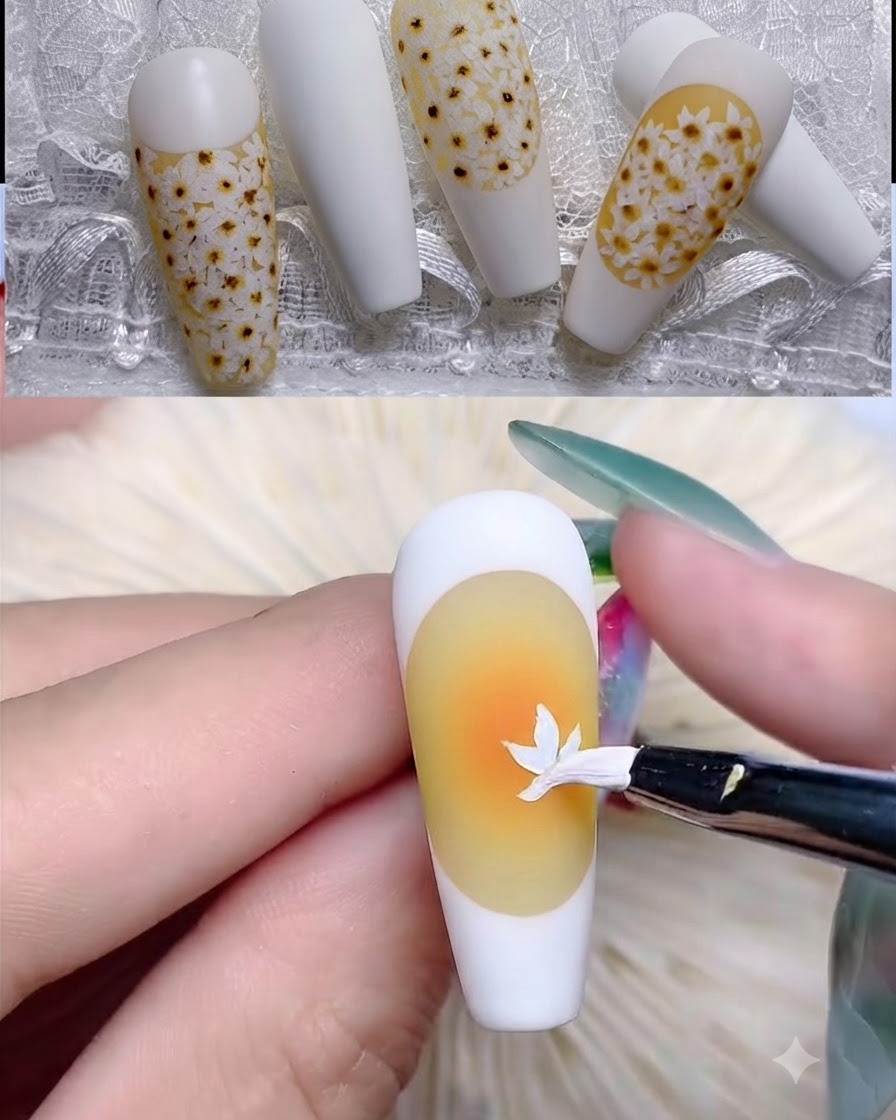
Using a fine liner brush and white gel polish, carefully paint the outer border of the nail in a French tip style.
Tip: Keep a steady hand and use light strokes to achieve a clean French tip border line. - 3Paint First Set of Daisy Petals
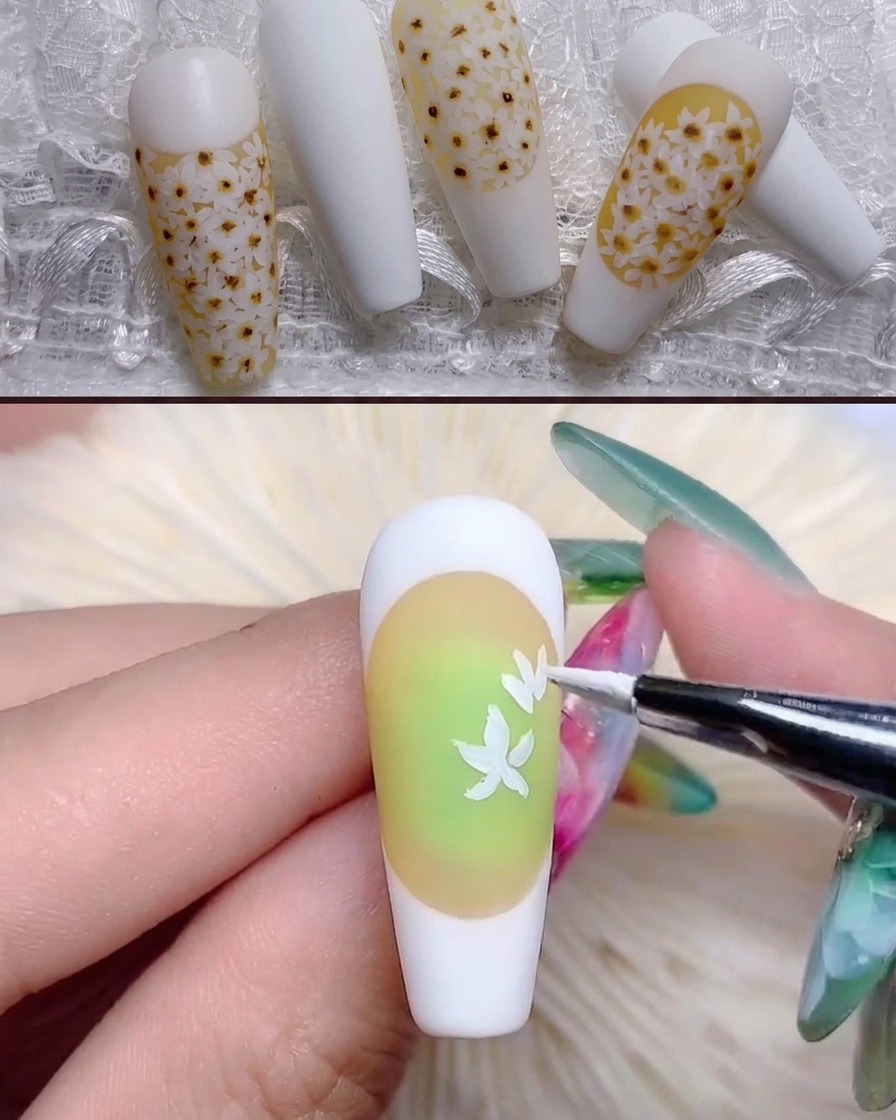
Using white gel, paint the first set of daisy petal shapes onto the nail surface over the base.
Tip: Make sure the first layer of petals is not too dense to leave room for the second layer. - 4Mix Rubber Base with Colored Gel
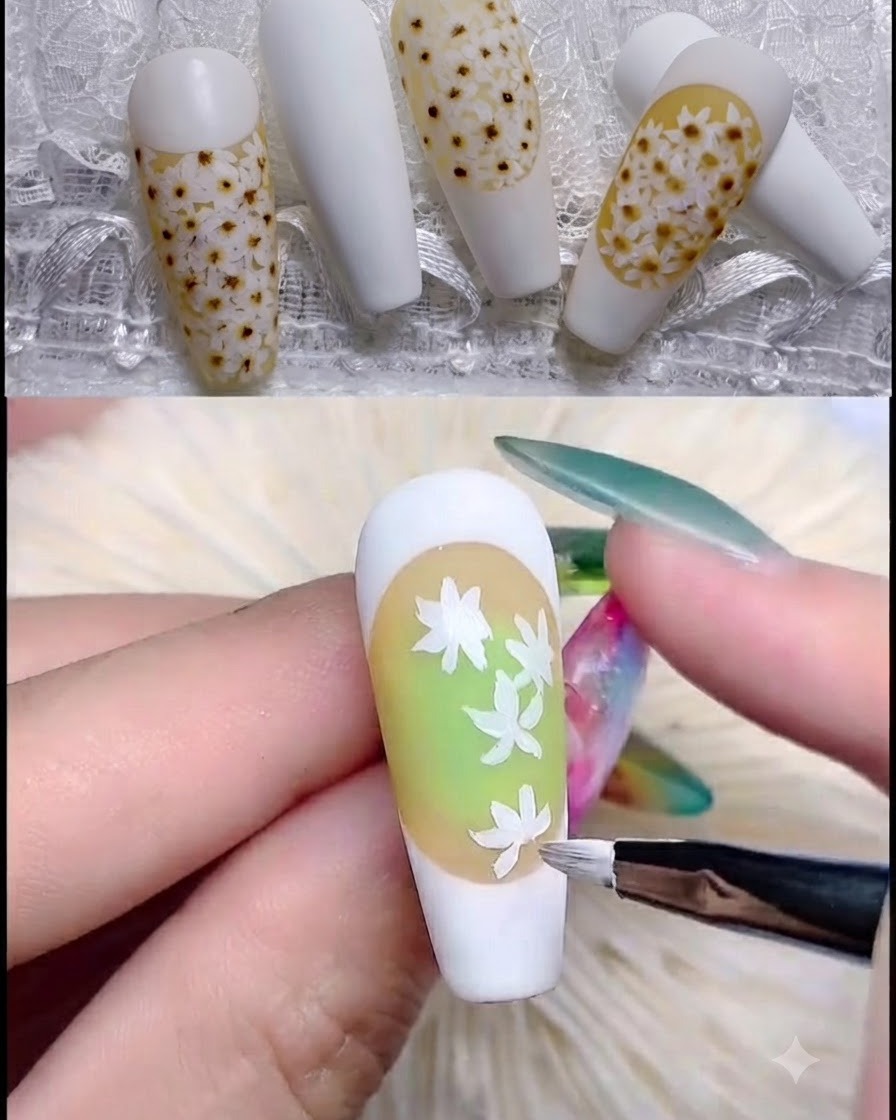
Mix rubber top coat with colored gel in a 1 to 9 ratio to achieve the ideal thin consistency needed for subsequent painting layers.
Tip: Mix thoroughly to ensure an even ratio and consistent texture. - 5Complete First Layer of Petals
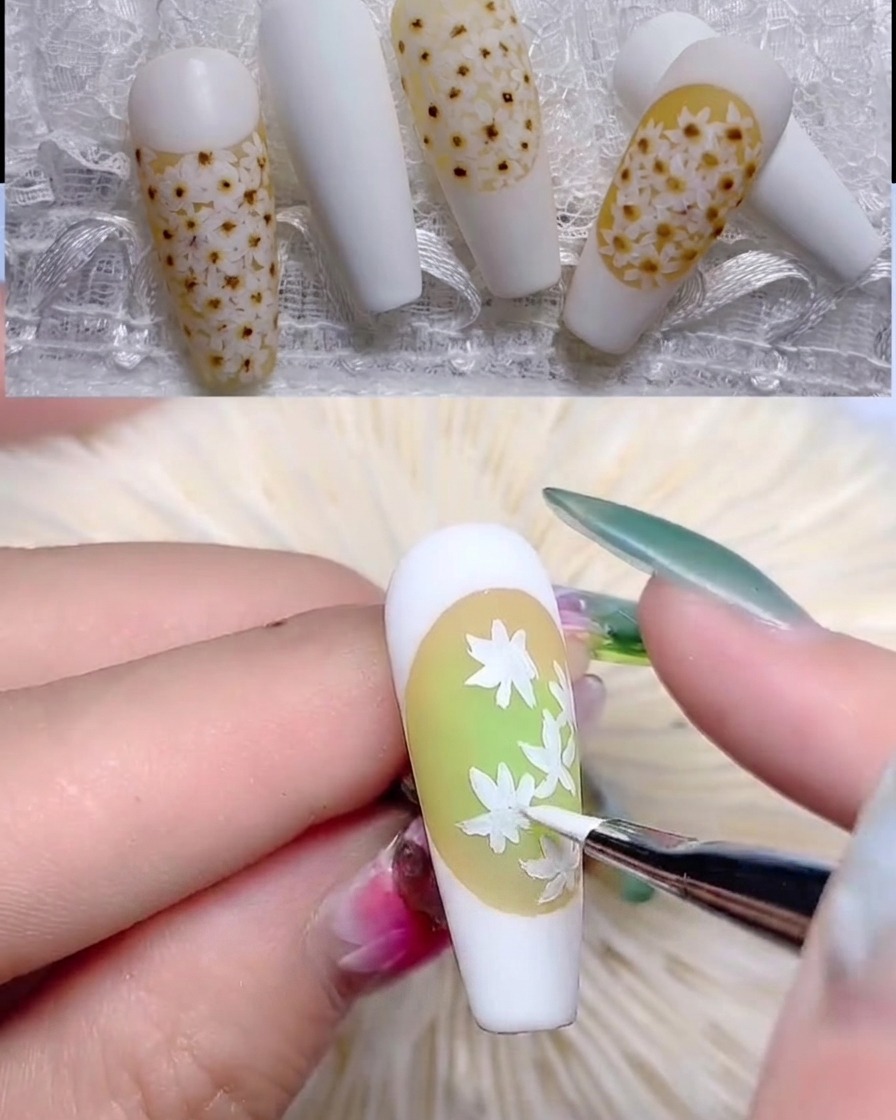
Add more detailed, fine-stroke daisy petals using the mixed gel consistency to complete the first layer.
Tip: Vary the angles of the petals slightly to create a natural, hand-painted look. - 6Add Center Dots to Petals
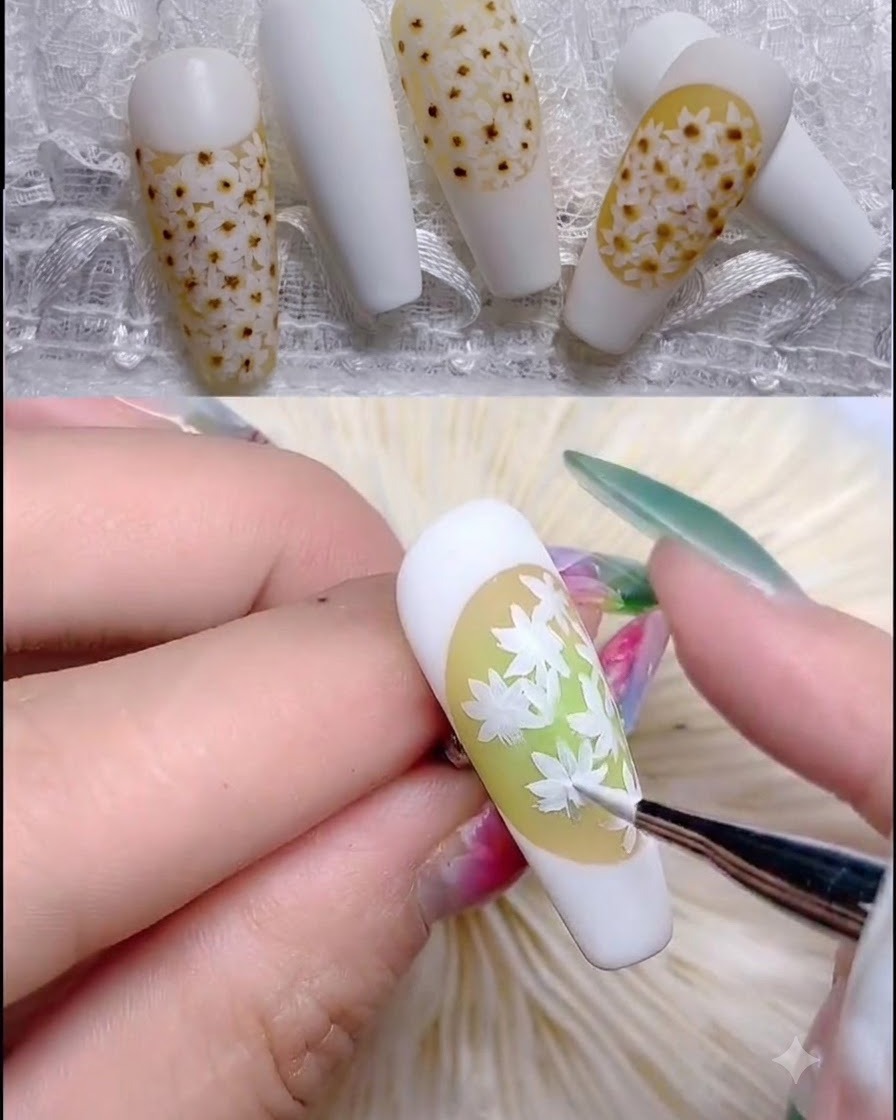
Apply small dots of light pink translucent gel directly to the centers of the white daisy petals.
Tip: Use a dotting tool or a fine tip brush for precise control over dot size. - 7Apply rubber top coat
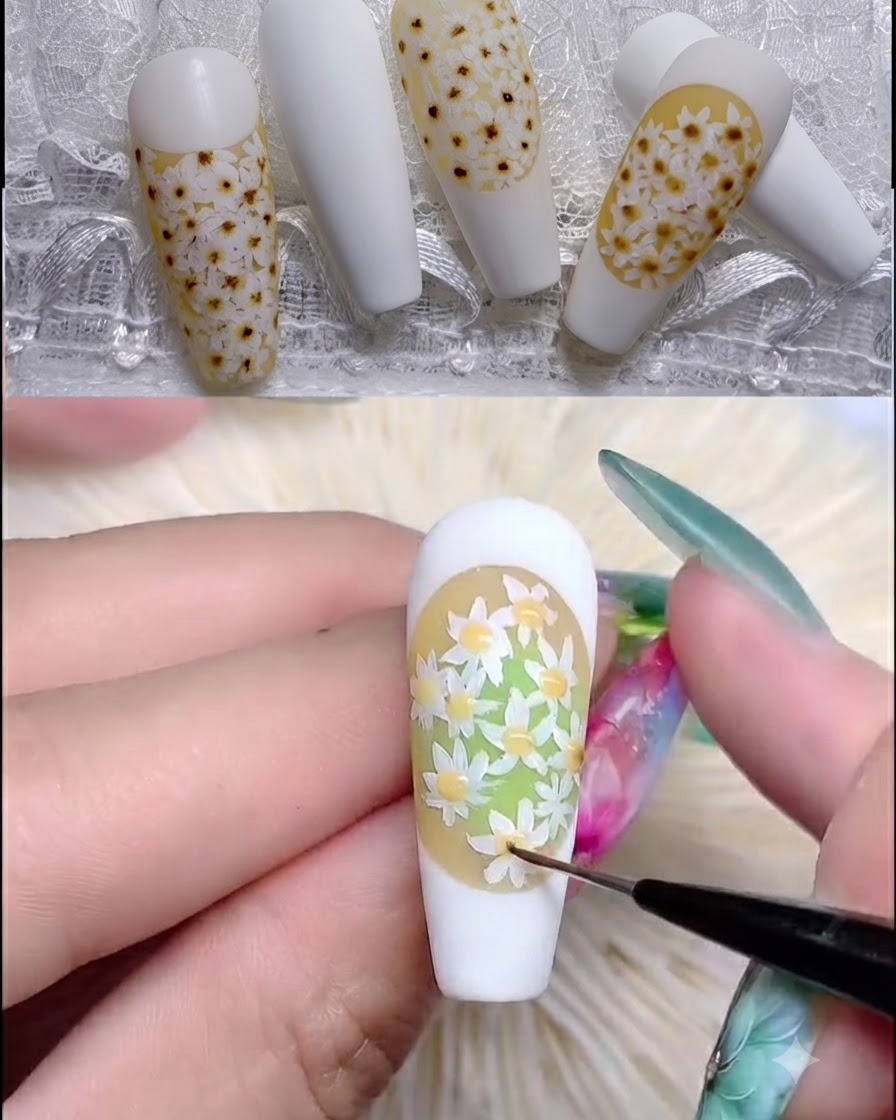
Apply a layer of rubber top coat over the first daisy nail art layer to seal and protect the design, creating a smooth base before adding the second layer of petals.
Tip: Ensure the top coat is applied evenly to create a flat surface for the next set of details. - 8Cure under UV lamp
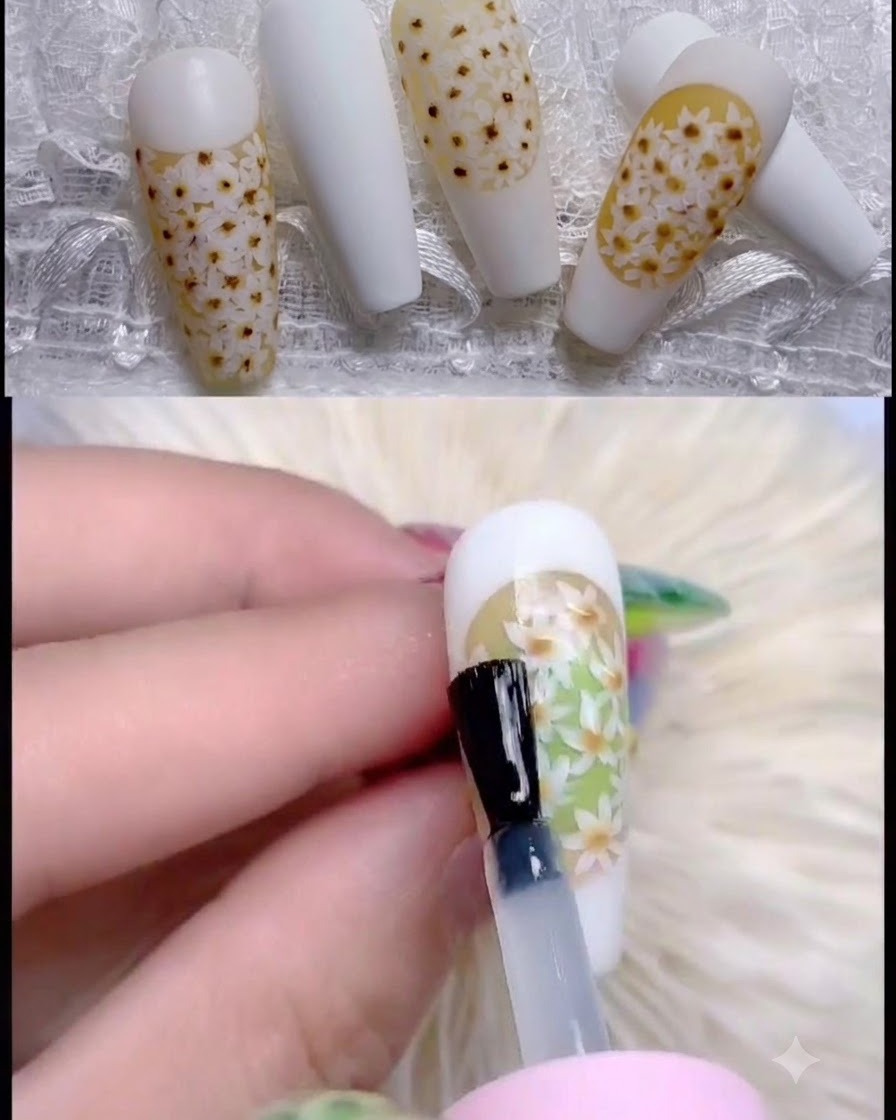
Place the nail under a UV or LED lamp to fully cure and set the first layer of petals and the protective rubber top coat.
Tip: Follow standard curing times to ensure the gel layer is completely hardened before moving on to additional nail art.