Gypsum Gel Daisy Press-On Nails — Step-by-Step Tutorial
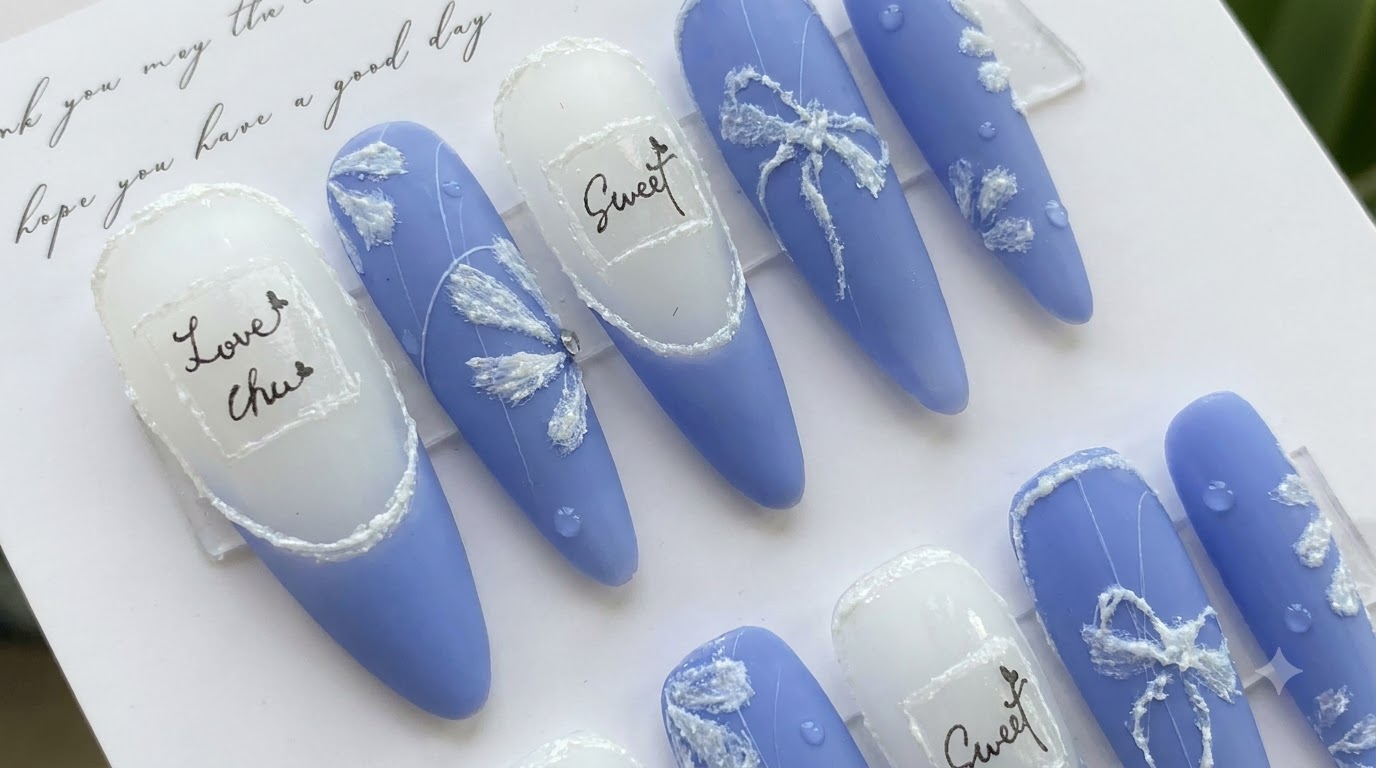
Create stunning blue and milky white press-on nails featuring delicate white gypsum daisies, French tips, and 3D water droplet effects.
Elevate your nail art skills with this detailed tutorial on creating custom press-on nails. Combining matte blue and milky white bases with raised gypsum gel flowers and chic lettering stickers, this look offers a unique textured finish that stands out.
Steps
- 1Apply base gel to the tips
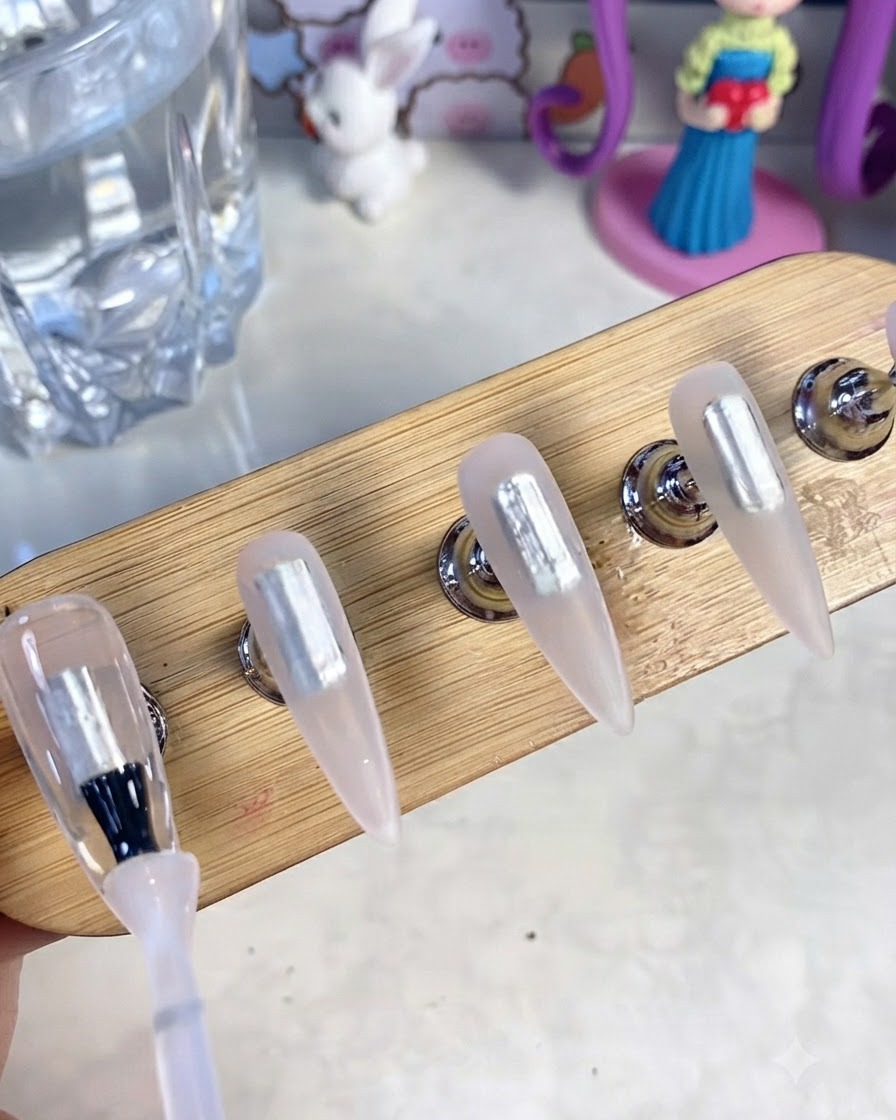
Begin by preparing your practice nail tips. Using a gel brush, apply a smooth, even layer of base gel onto each clear tip mounted on the stands. This base layer creates a foundation that helps the colored gel polish adhere properly to the smooth surface of the artificial tips.
Tip: Make sure your practice tips are firmly secured to the stand with putty or mounting tape so they dont shift while you are brushing on the gel. - 2Cure base gel
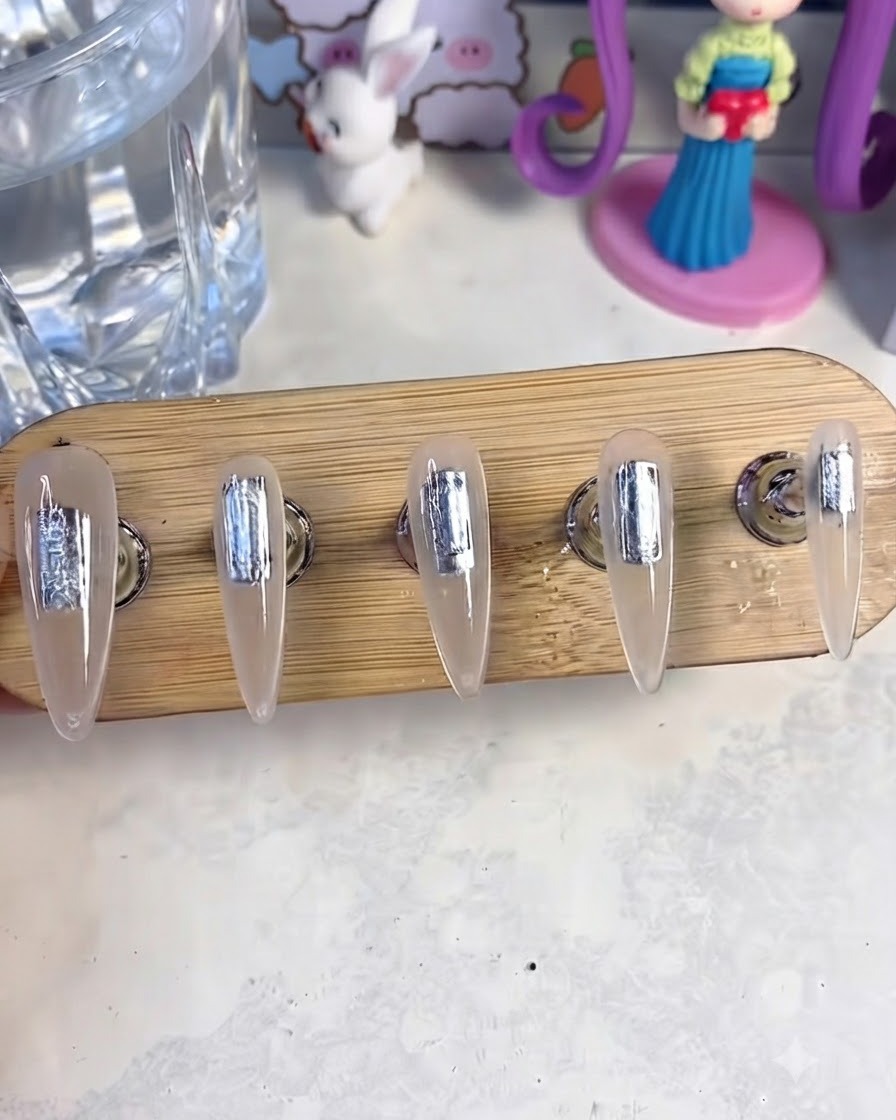
Place the nail stand under the UV/LED lamp and cure the base gel completely according to your lamp specifications. Ensure the gel is fully set before moving on to the color application stage.
Tip: Make sure your hand or stand is positioned evenly under the UV/LED light for uniform curing across all nails. - 3Apply the base colors
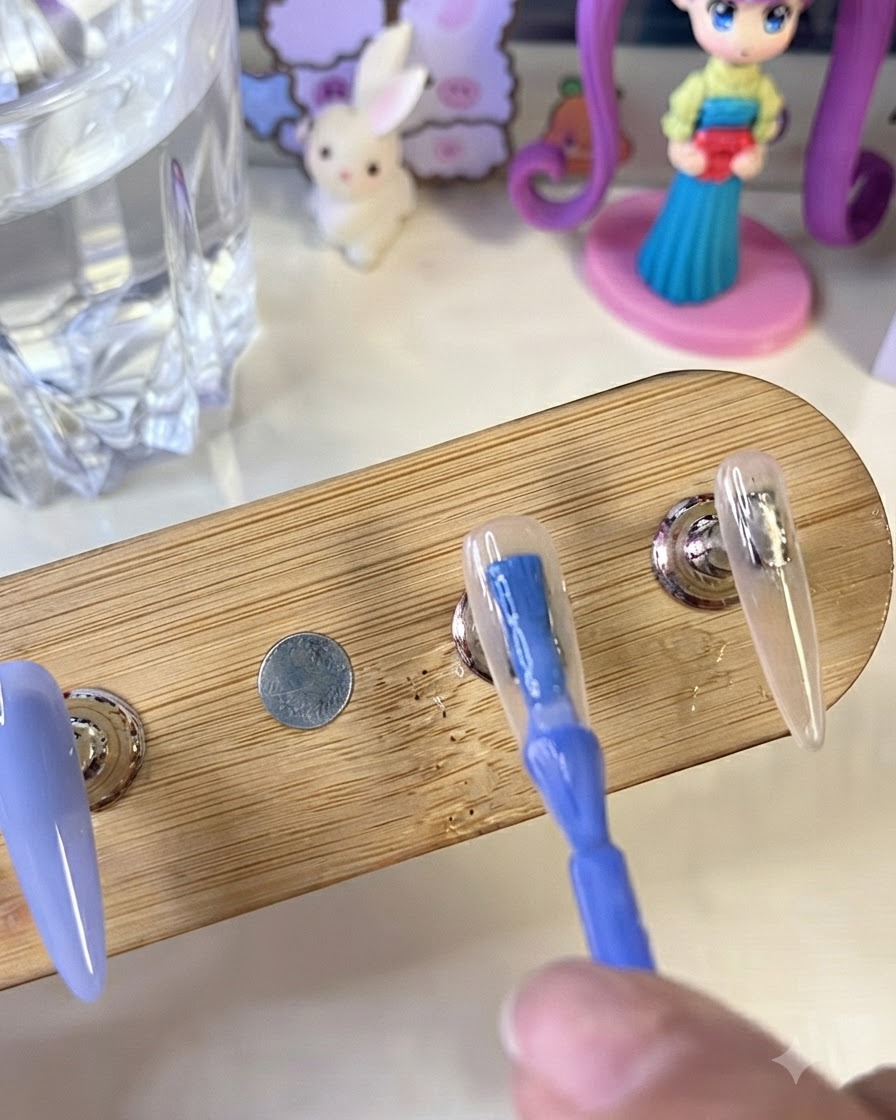
Next, apply the base colors to your prepped tips. Paint the index, ring, and pinky nails with a solid, vibrant blue gel polish. For the thumb and middle fingers, apply a semi-sheer milky white gel polish. Ensure the application is smooth and covers the entire surface of each nail tip evenly.
Tip: Apply thin coats of color rather than one thick coat. Thin coats self-level better and cure completely without wrinkling. - 4Cure color base coat
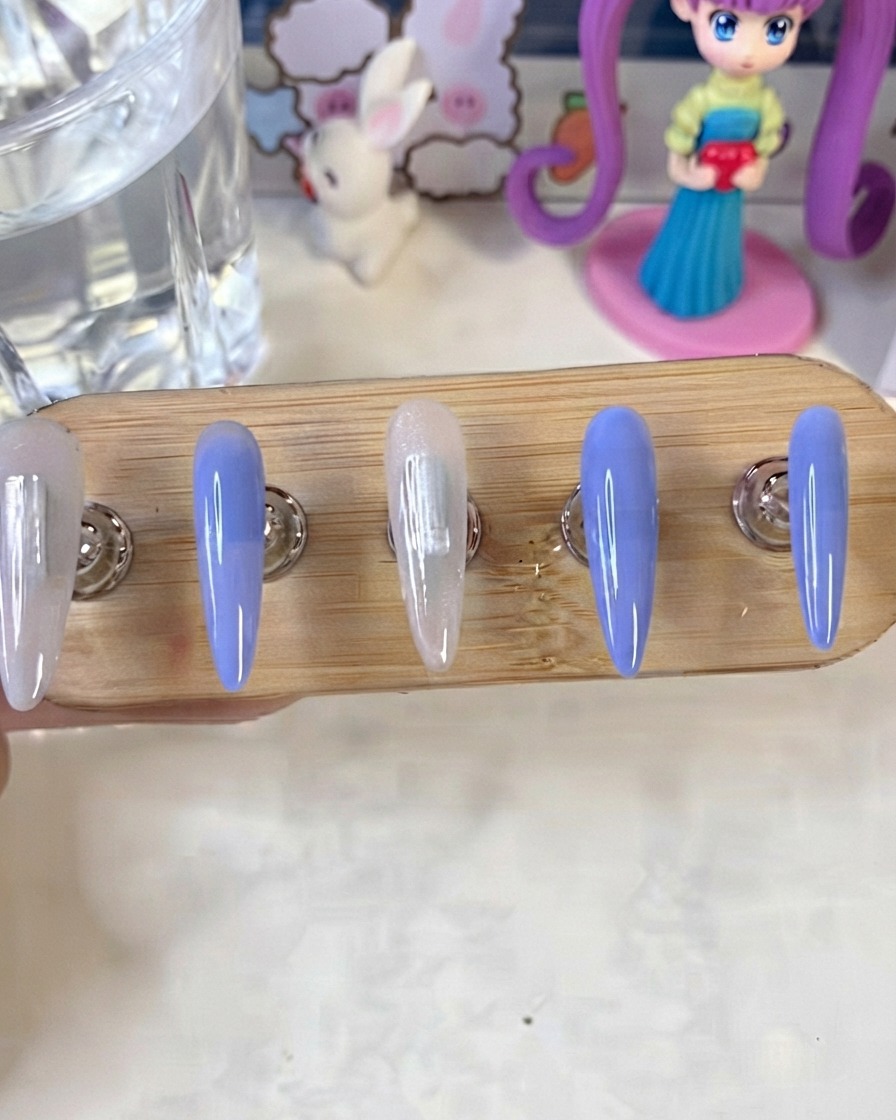
After applying the blue and milky white gel for the base color, place the nails into the UV/LED lamp to cure the coat. This locks in the foundation color before proceeding to the French tip details.
Tip: Keep color layers relatively thin to prevent wrinkling or incomplete curing underneath. - 5Paint the blue French tips
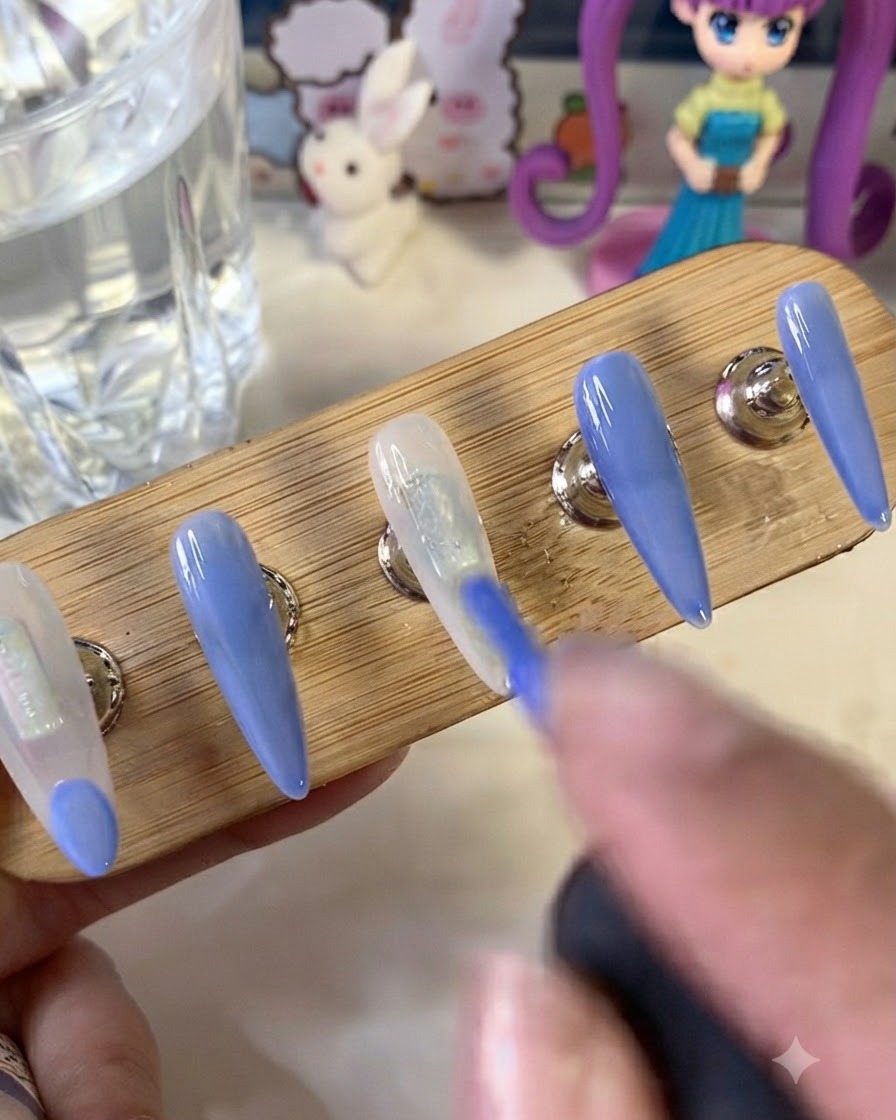
Focusing on the nails with the milky white base (the thumb and middle fingers), use the same vibrant blue gel to create a French tip design. Carefully paint a curved smile line across the free edge of the nail, filling in the tip completely to match the solid blue nails.
Tip: If your smile line isnt perfectly crisp on the first try, use a clean detail brush lightly dampened with alcohol to gently swipe and perfect the curve before curing. - 6Apply second coat of blue French tip
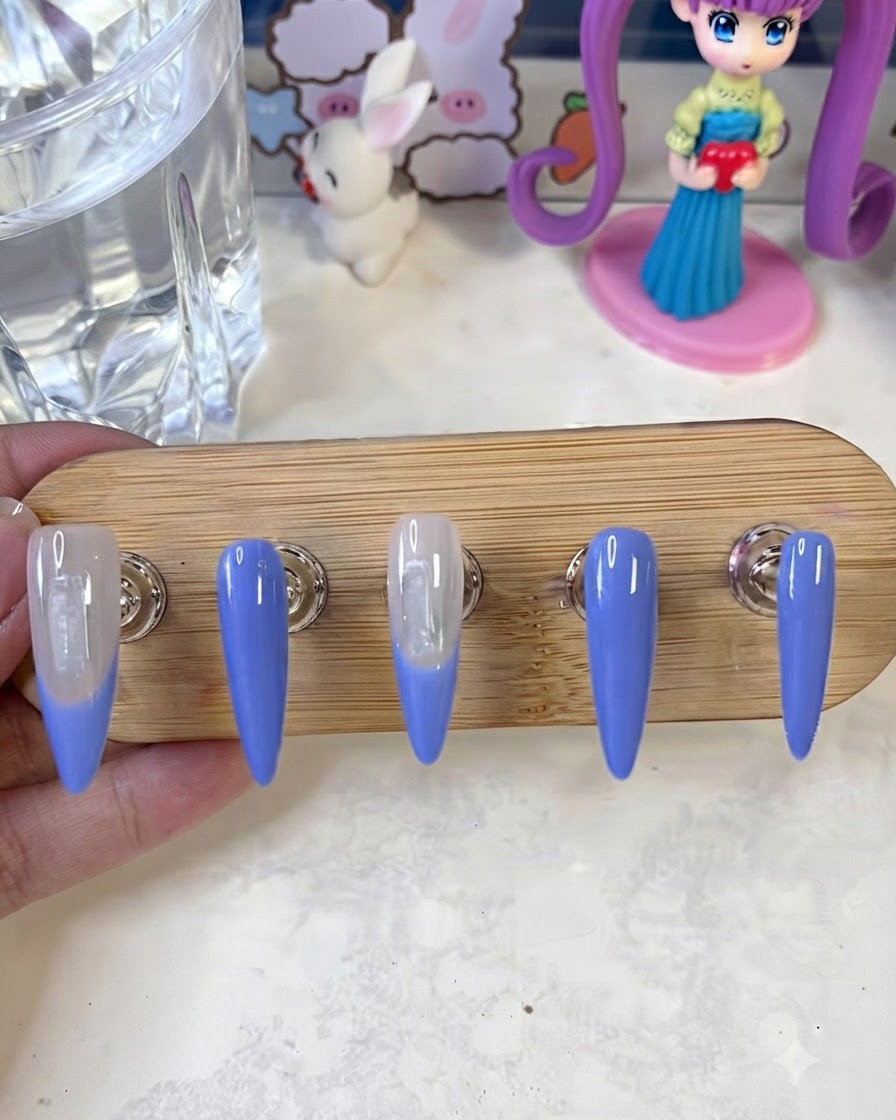
Paint a second layer of blue French tip effect onto the required fingers to achieve rich opacity and vibrant color saturation, then cure under the lamp.
Tip: Apply light, even strokes along the tip to keep the French smile line clean and sharp. - 7Apply letter stickers
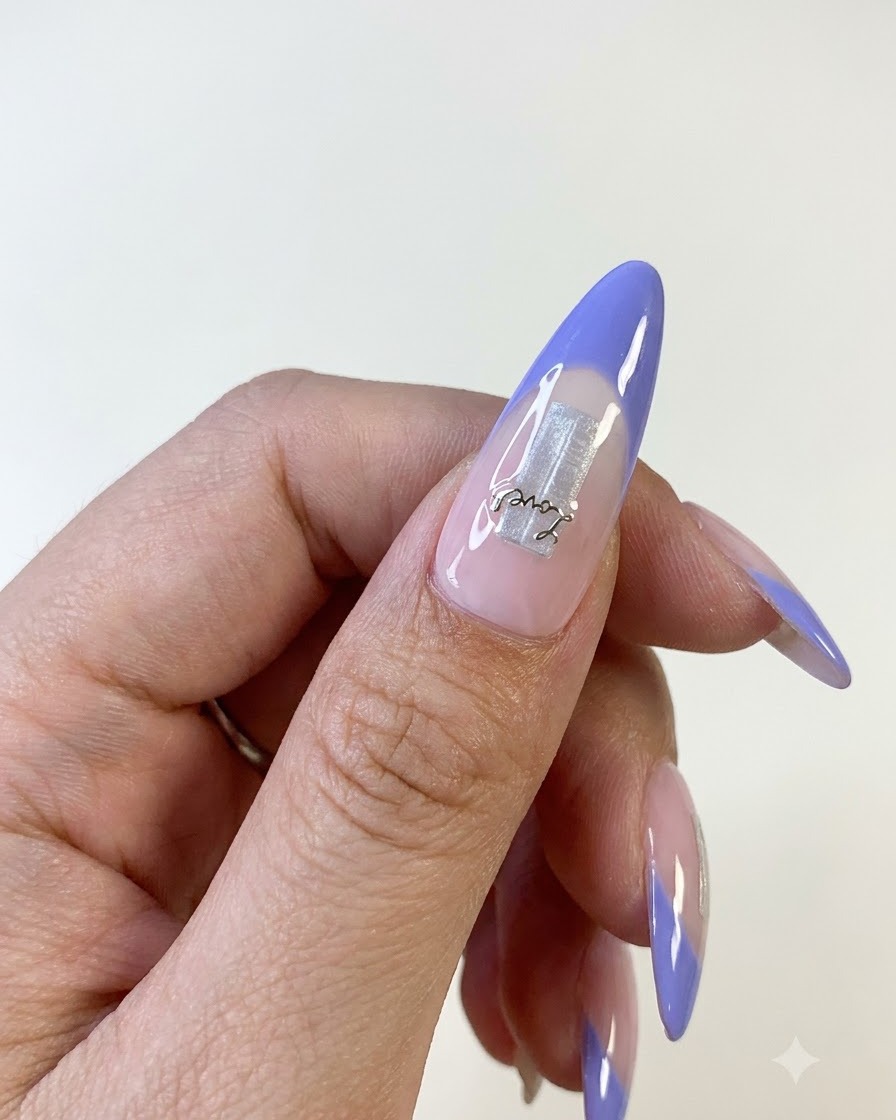
Carefully place decorative letter stickers onto the pre-designed areas of the thumb and middle finger nails. Press them down firmly to avoid any lifting edges.
Tip: Use a pair of tweezers or a silicone pen to press down stickers smoothly onto the curved nail surface. - 8Apply reinforcement gel
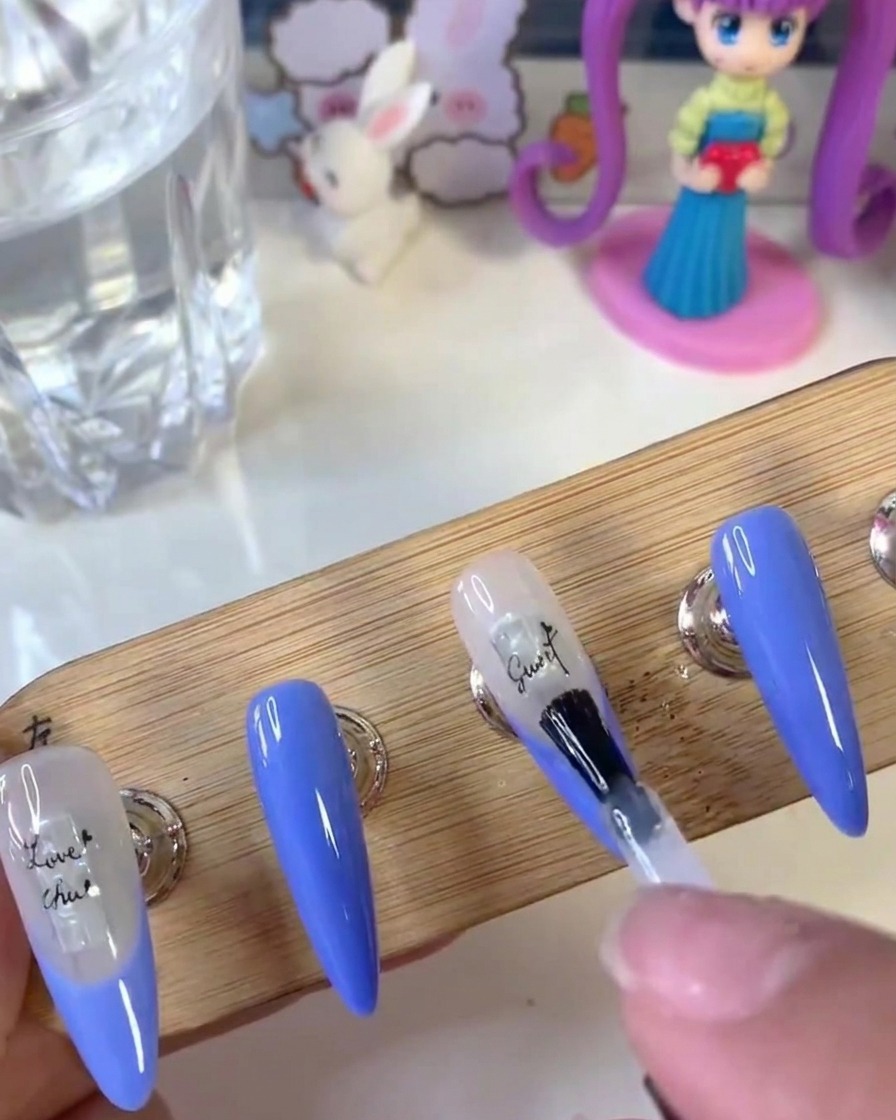
Brush a layer of reinforcement gel evenly over the entire surface of the nails. This adds structural strength, protects the stickers, and smooths out any uneven texture before the top coat, then cure under the lamp.
Tip: Reinforcement gel helps encapsulate stickers and thin decorations securely so they wont peel off. - 9Apply matte top coat
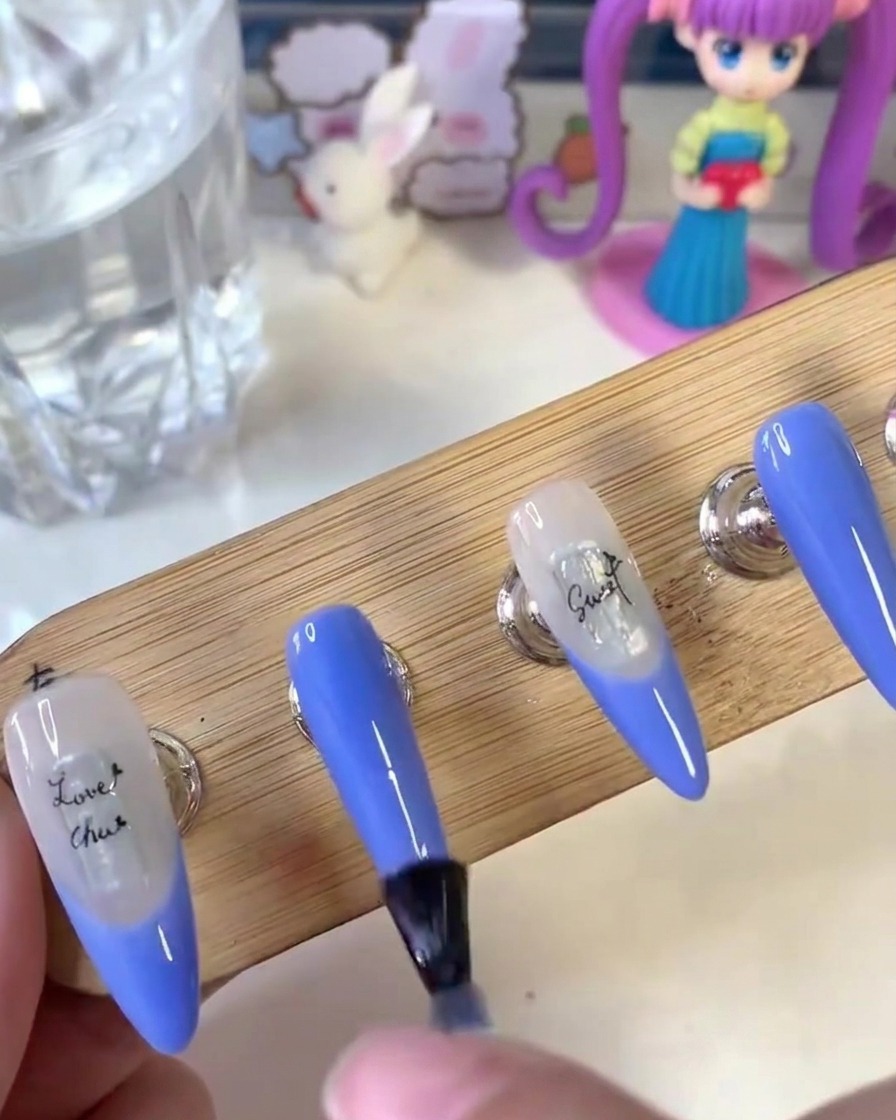
Apply a layer of matte top coat uniformly across the entire surface of all the nails to create a smooth velvet-like finish, and cure under the lamp.
Tip: Ensure full coverage with the matte top coat to achieve an even, streak-free texture across all nails. - 10Cure the Matte Top Coat
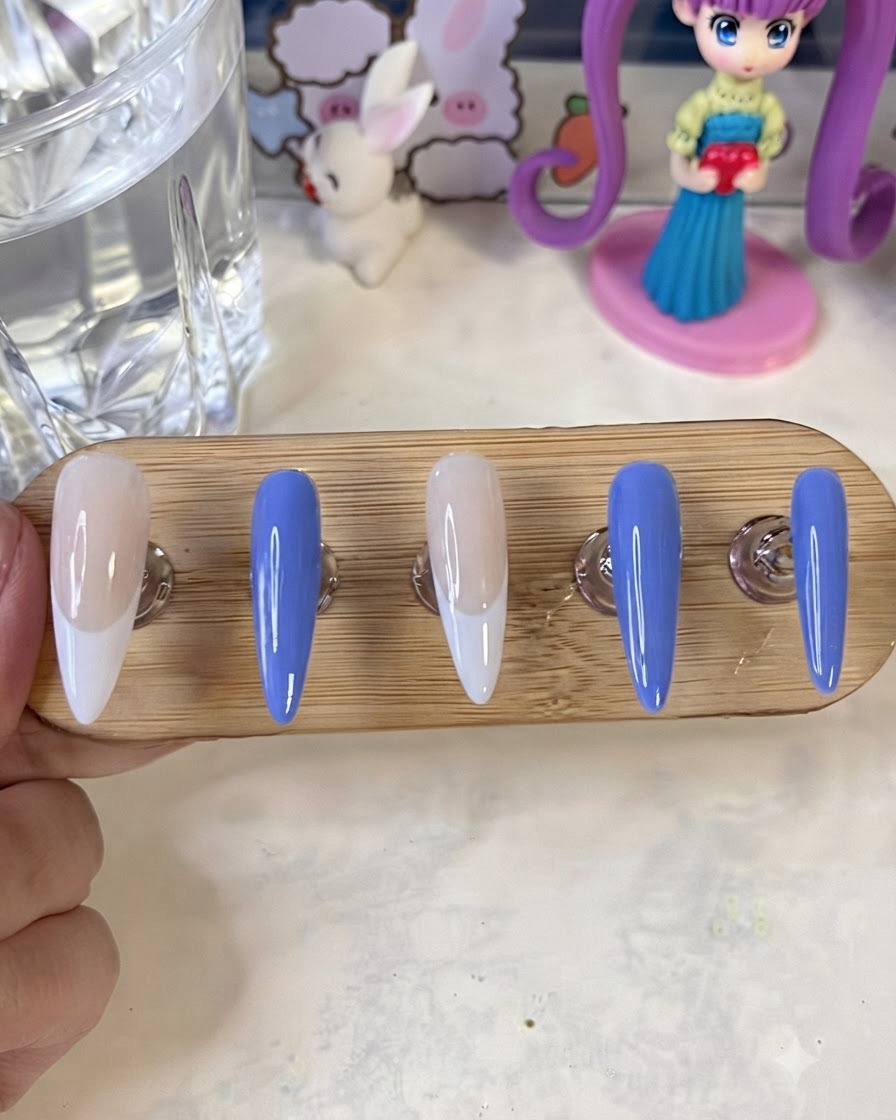
Place the nail stand under the UV/LED lamp and cure the matte top coat thoroughly. This ensures the entire surface is locked in, creating a smooth, velvety matte finish over the nails.
Tip: Make sure to cure for the full recommended time so the matte effect sets evenly without any glossy spots. - 11Draw White Lines with Liner Gel
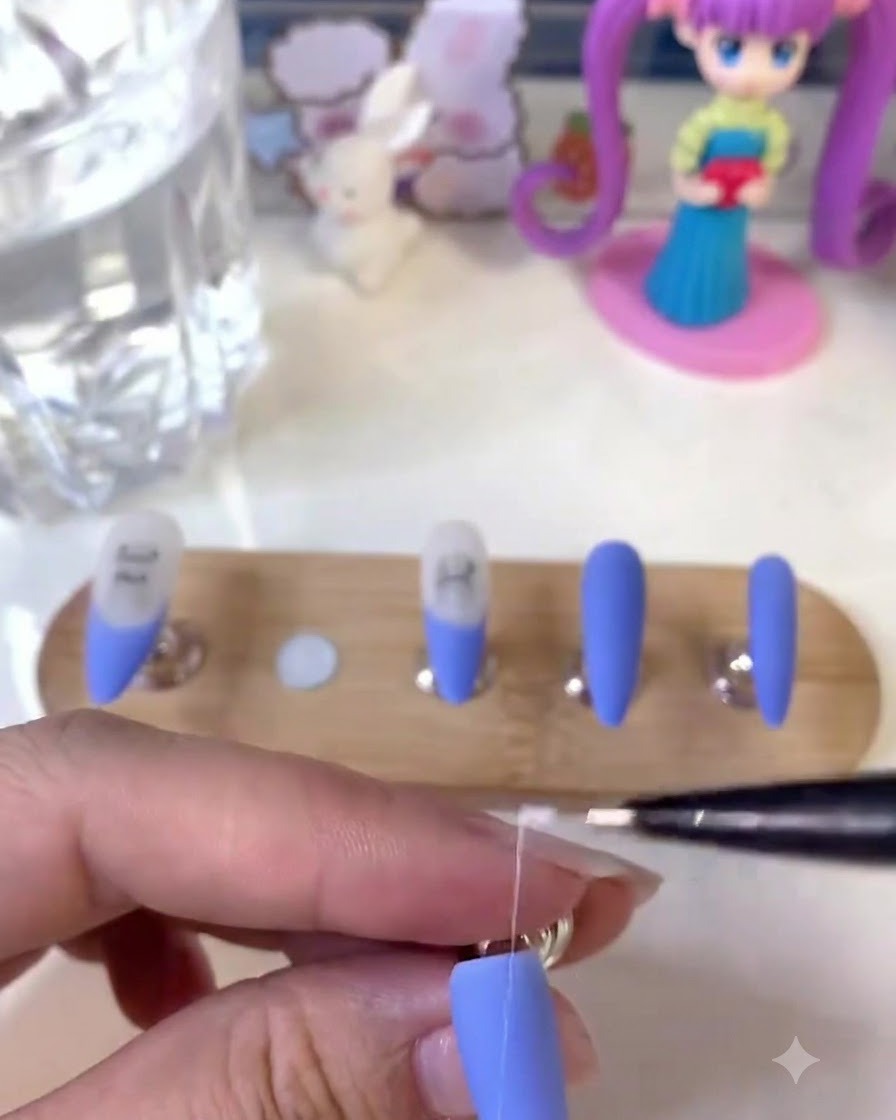
Take a fine detail brush dipped in white liner gel and carefully draw precise white lines on the index and ring fingers. Cure under the lamp once the lines are mapped out to set the design.
Tip: Keep your hand steady and use light pressure on the brush for clean, sharp linework. - 12Draw Lines and Small Flowers with Gypsum Gel
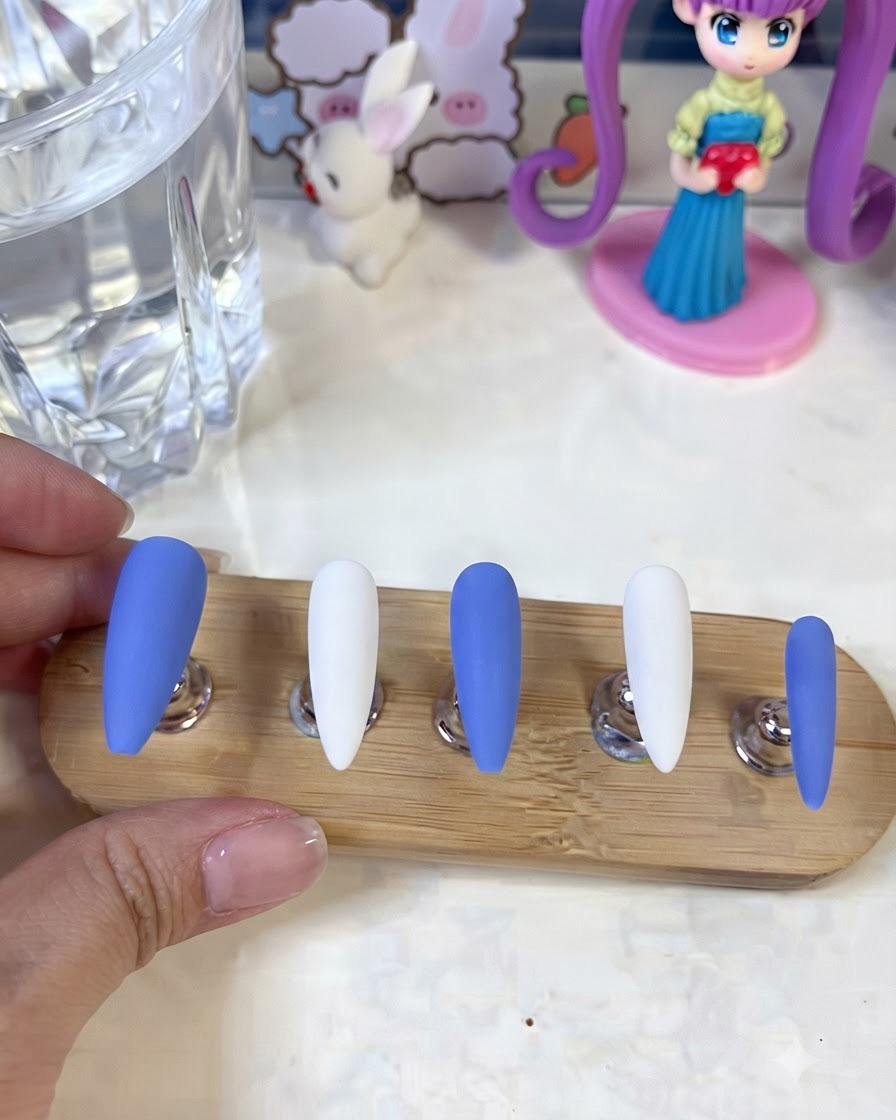
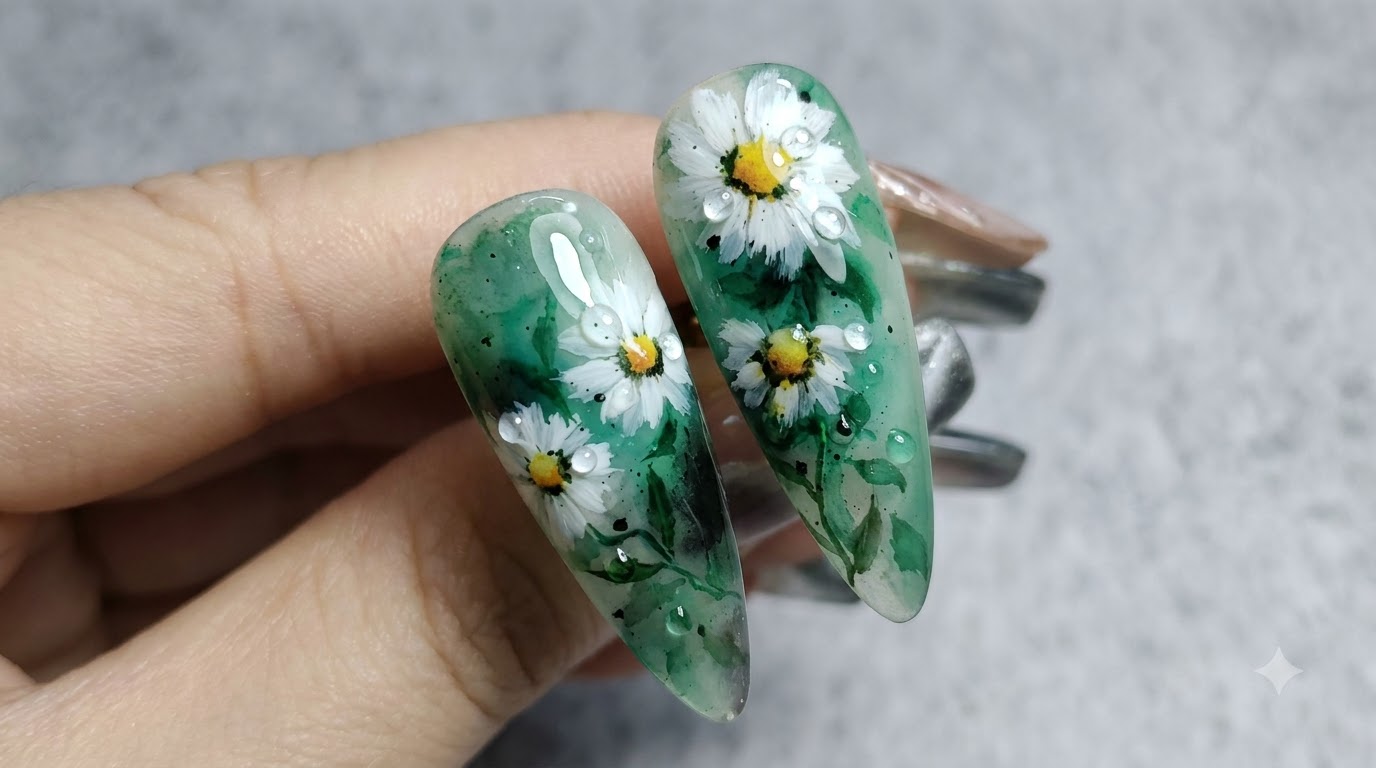
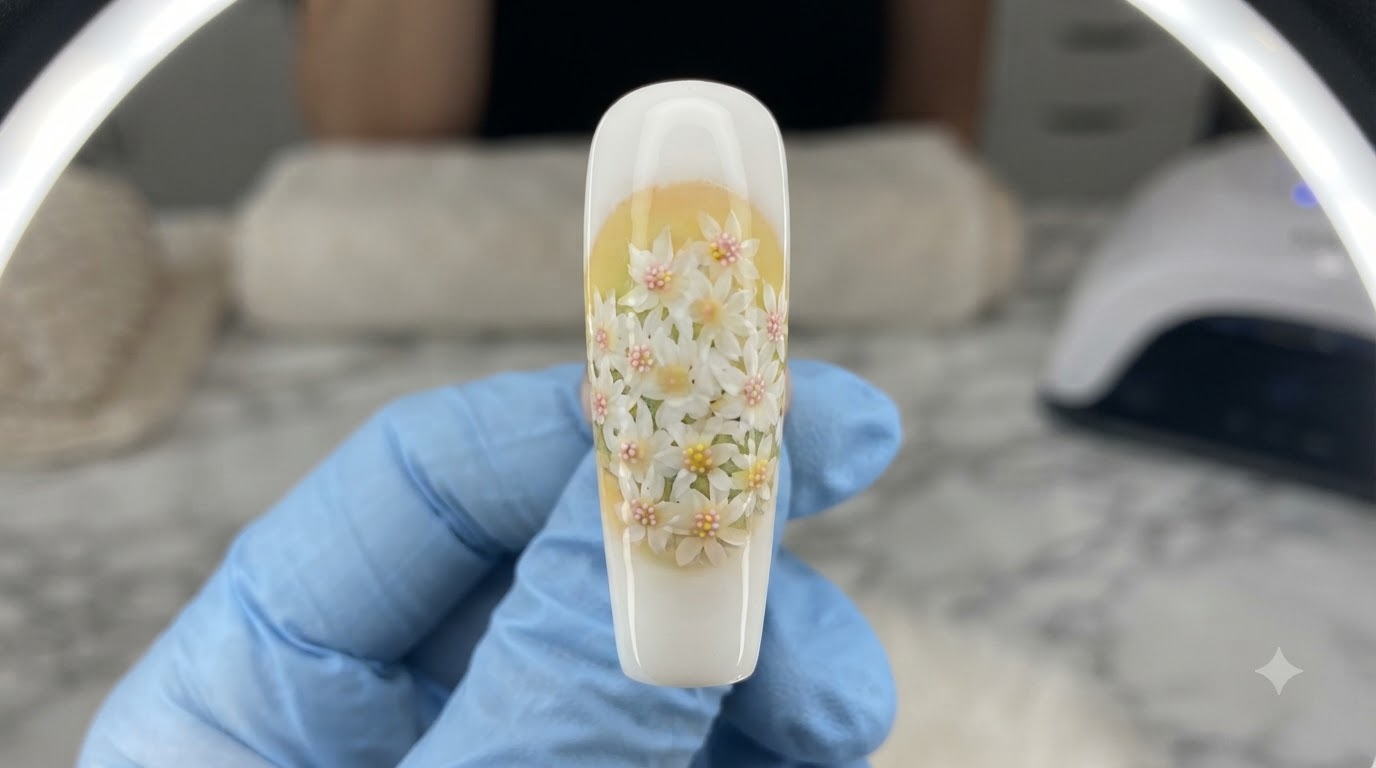
Using white gypsum gel, draw detailed lines and small flowers to add texture and dimension to the design. Cure under the lamp to harden the 3D gypsum details completely.
Tip: Gypsum gel is thicker, so work in thin, controlled strokes to maintain the raised 3D effect of the flowers.