Spring Milky Yellow
Nude Hand-Painted Floral Nail Art Tutorial
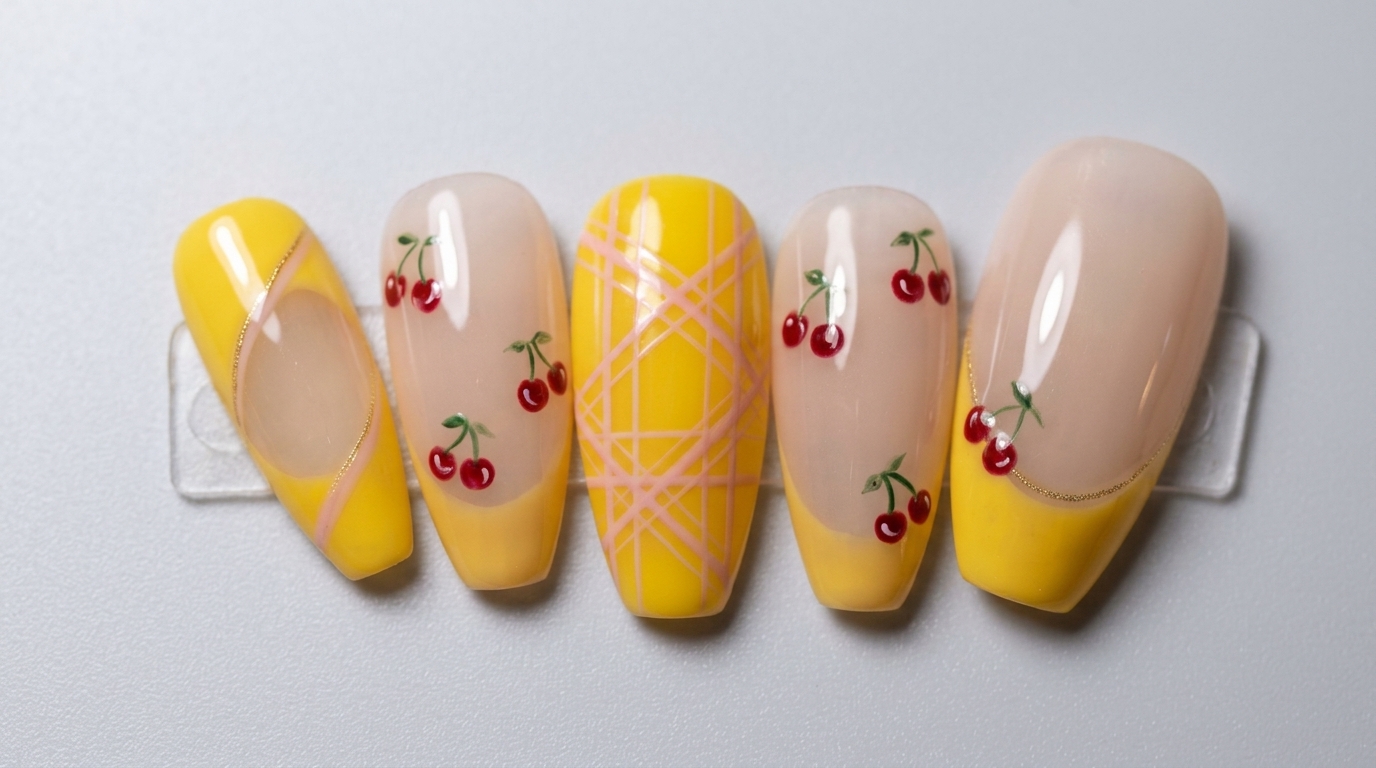
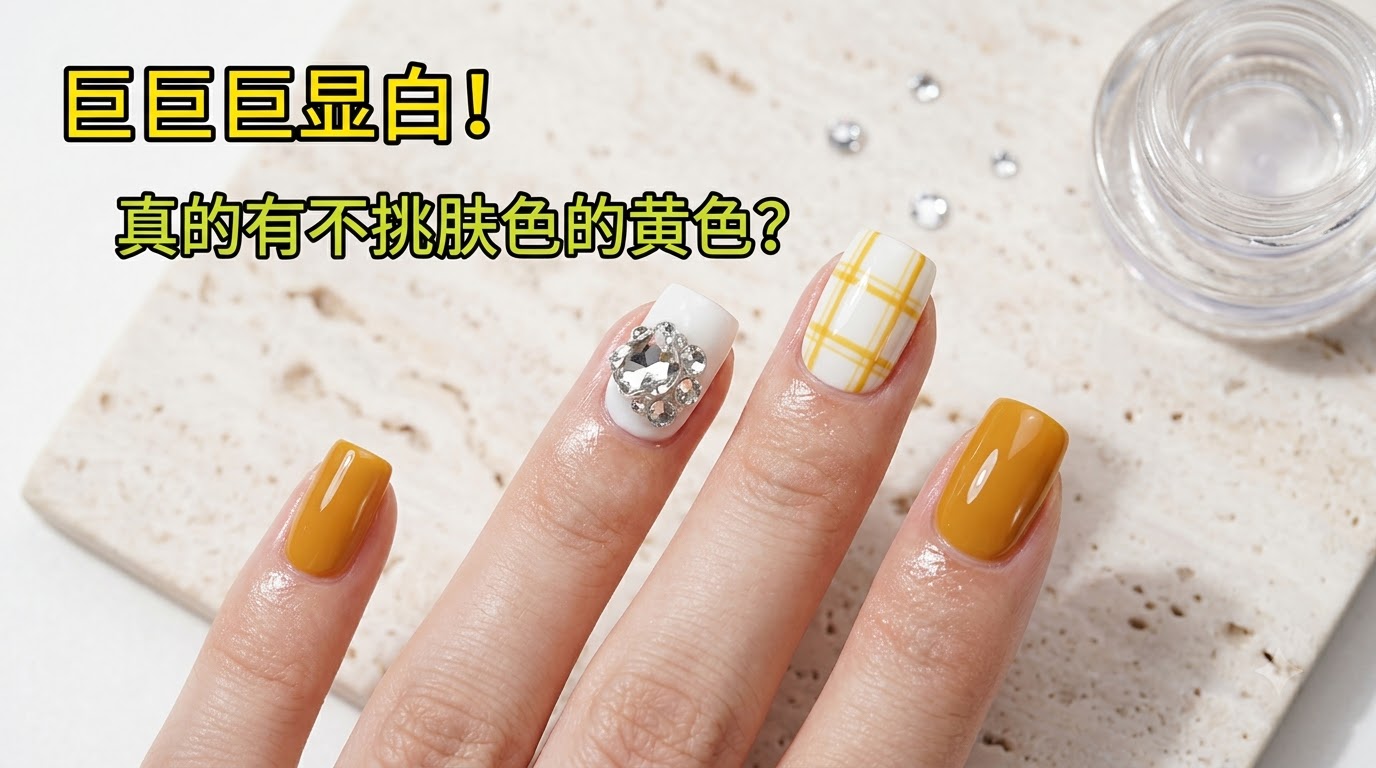
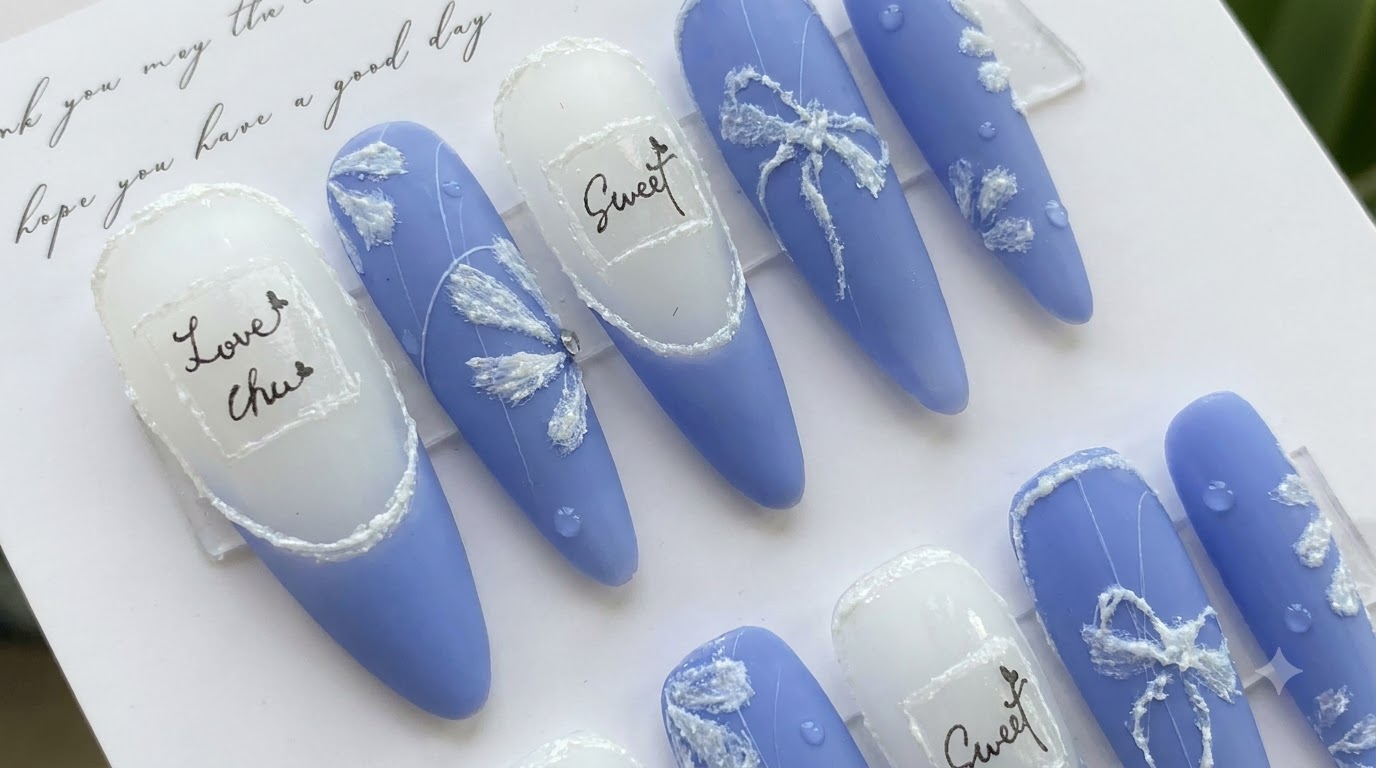
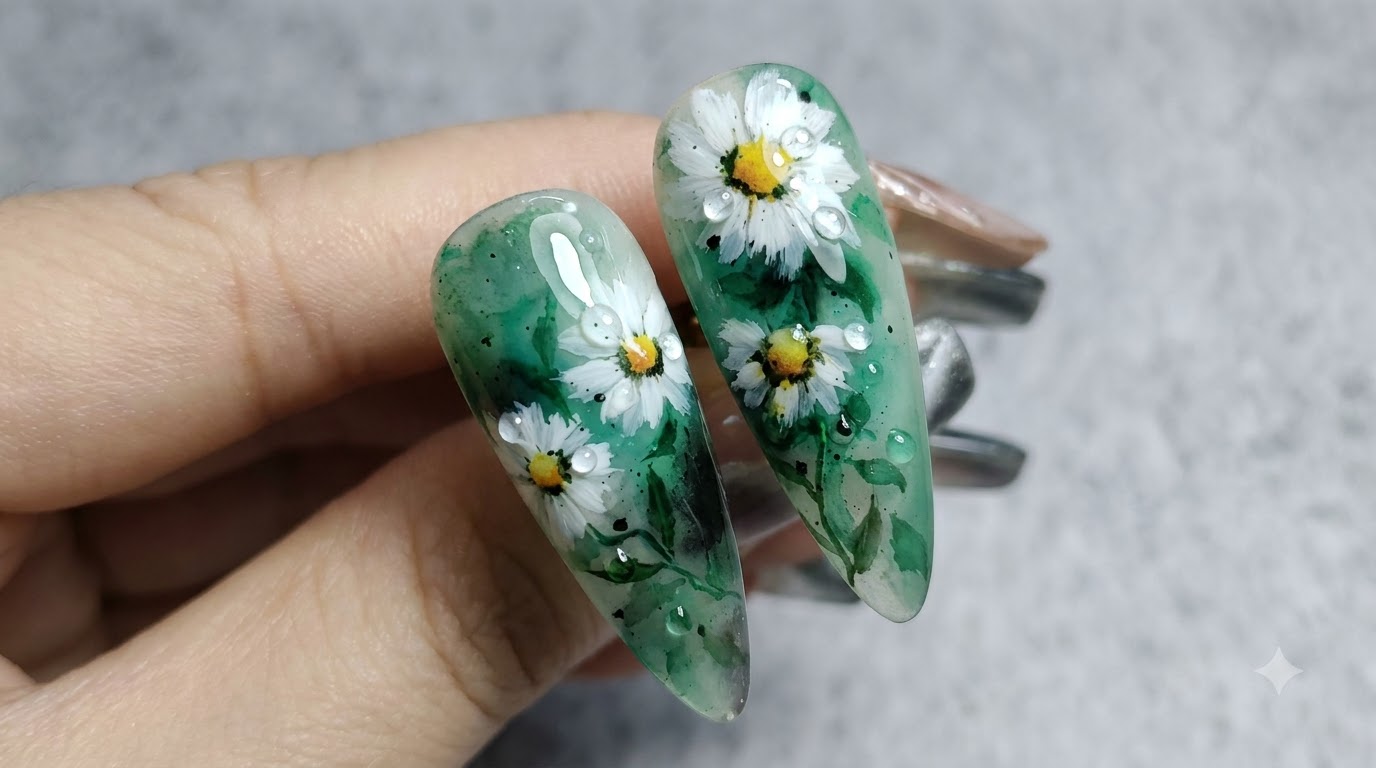
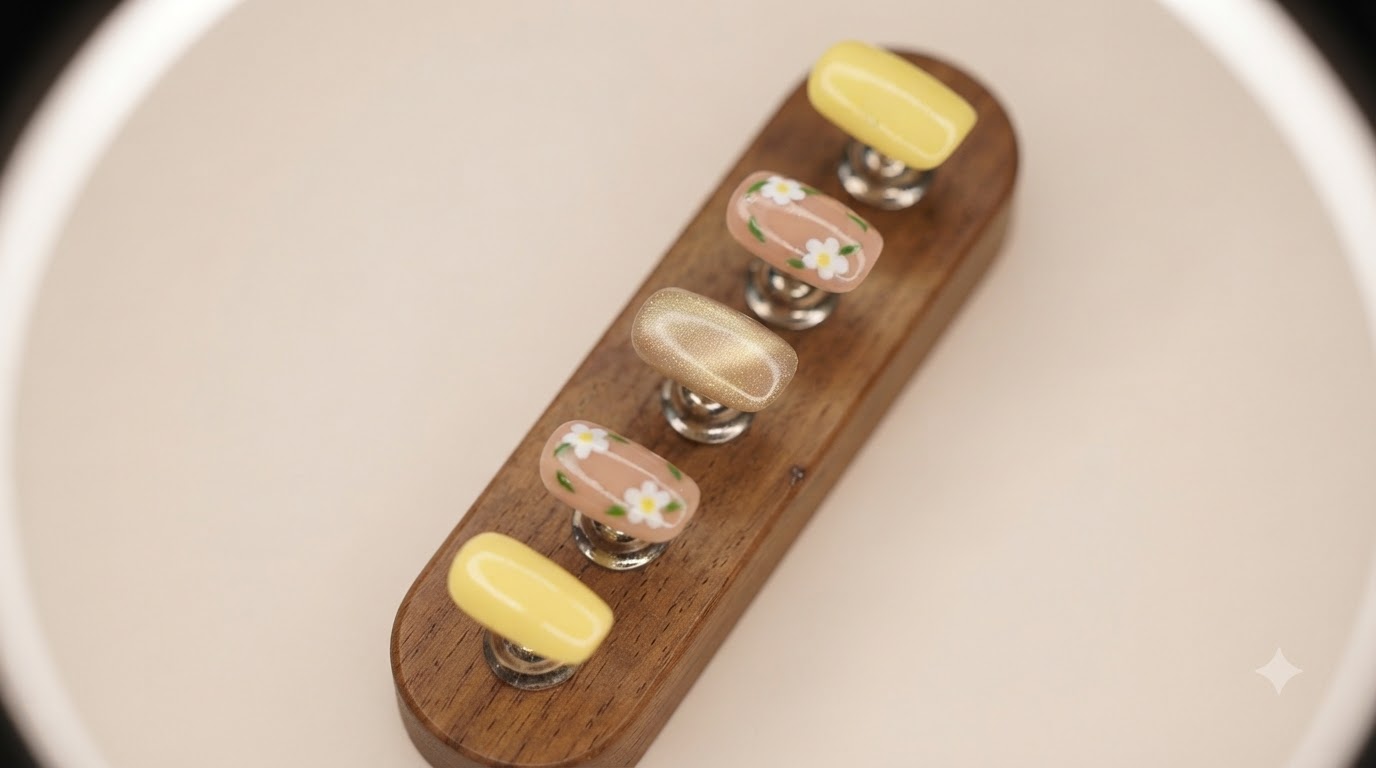
Create a charming spring look with milky yellow, delicate hand-painted white daisies, and shimmering cat-eye accents using step-by-step gel techniques.
Embrace the fresh transition of the season with this delightful spring nail art style featuring milky yellow tones, minimalist nude bases, and whimsical hand-painted daisies. Accented with a shimmering cat-eye finger for depth, this beginner-friendly tutorial guides you through precise dotting and flash curing to achieve a salon-quality finish right at home.
Steps
- 1Apply Base Coat
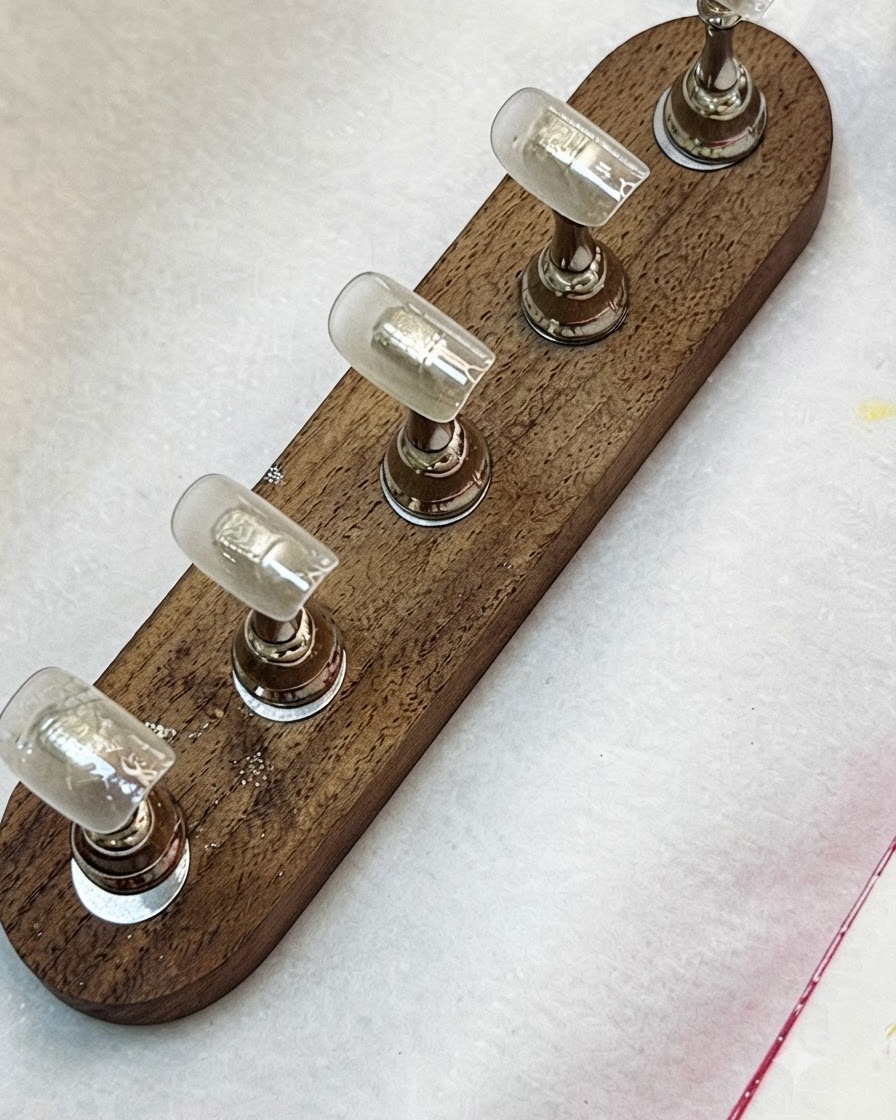
Begin by applying a clear gel base coat onto the clear nail display stand tips. This creates a strong adhesive foundation for the subsequent color layers and nail art.
Tip: Ensure the base coat is applied evenly across the entire surface of the tip. - 2Apply Milky Yellow Base Color
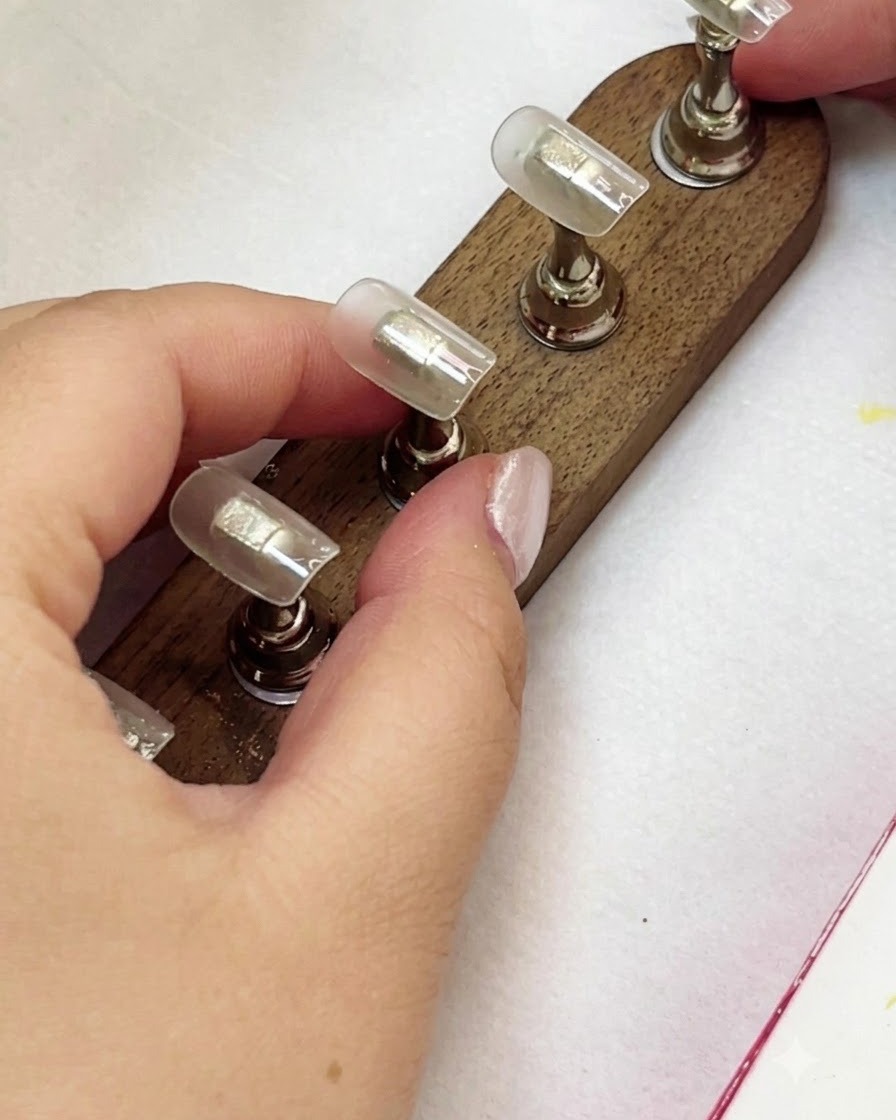
Select one of the nail tips and apply a milky yellow base color gel evenly over the surface to form the background for the floral accent nail.
Tip: Apply in thin strokes to avoid pooling or uneven thickness. - 3Apply Nude Base Color
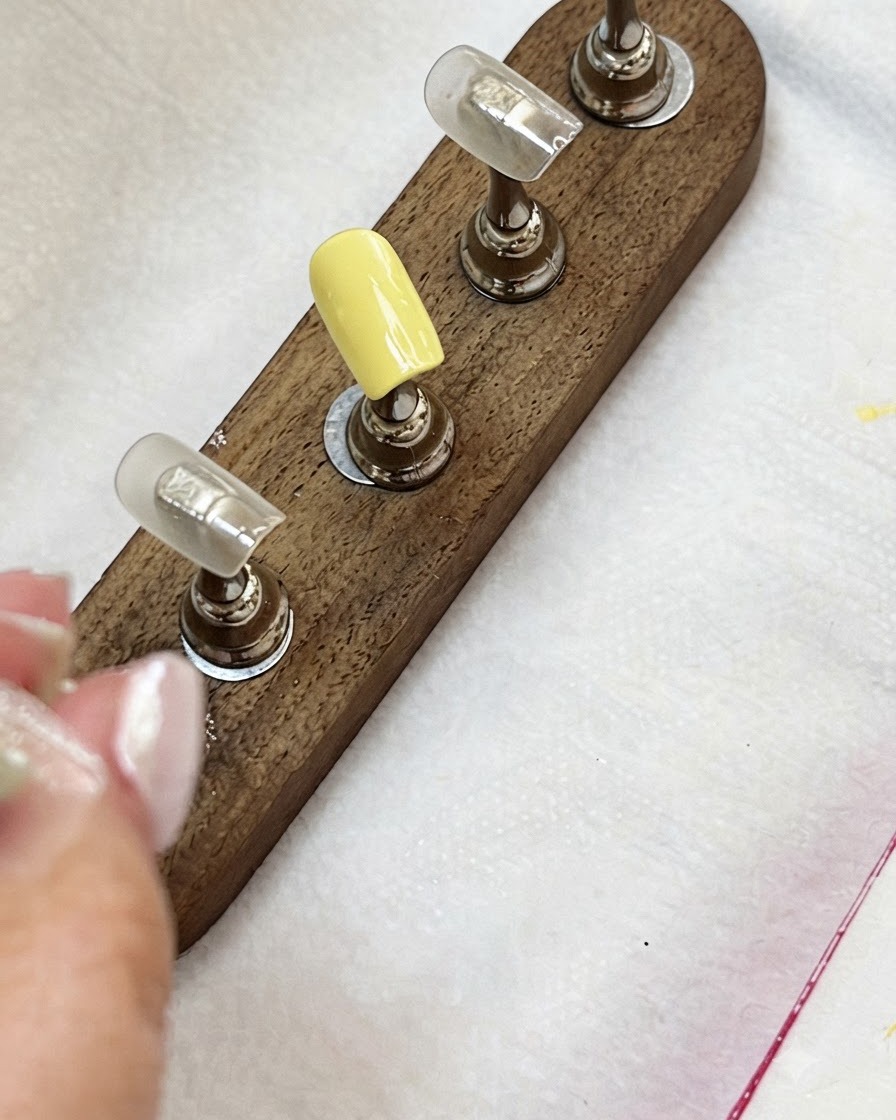
Apply nude base color gel onto the remaining nail tips on the display stand. This neutral shade will serve as the background for hand-painted floral designs.
Tip: Cover the nail evenly from cuticle to free edge for a clean look. - 4Cure First Coat
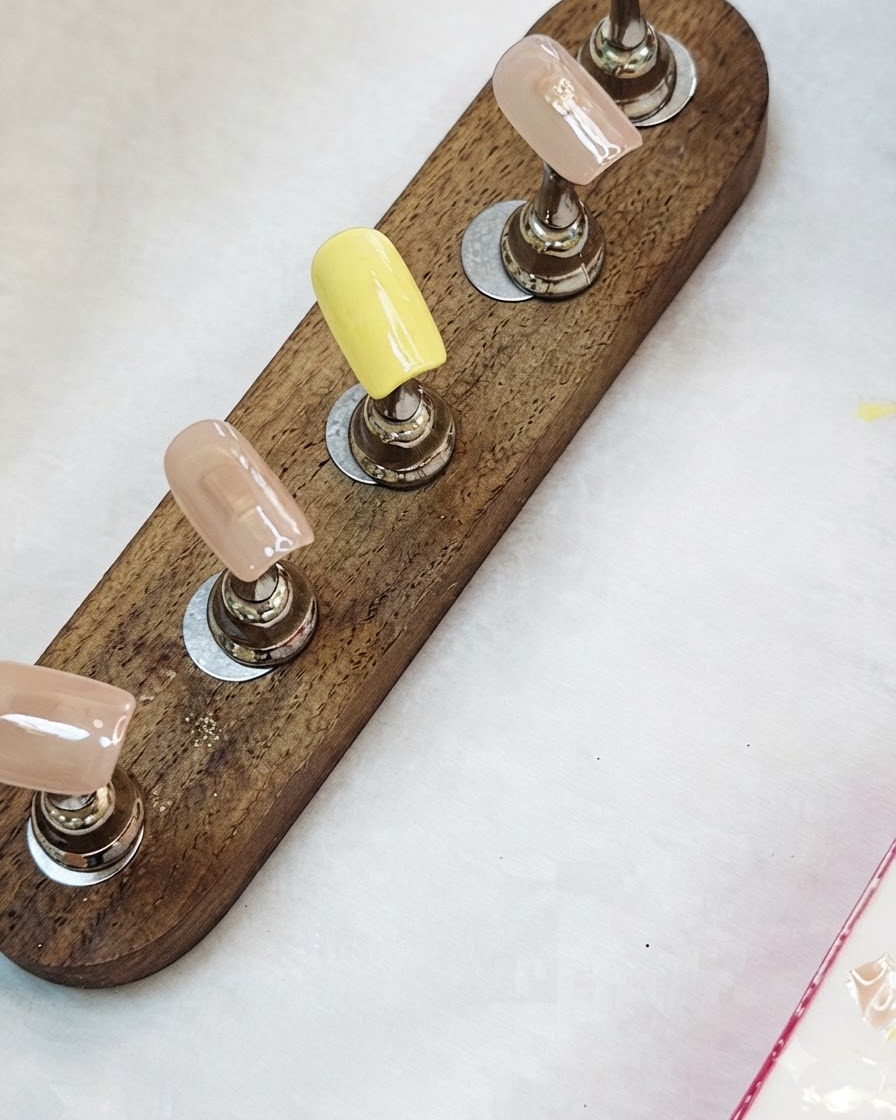
Place the display stand holding all the painted nail tips under the UV/LED lamp to cure the first coat of gel colors.
Tip: Follow standard curing times to ensure the base color sets properly. - 5Apply Second Coat
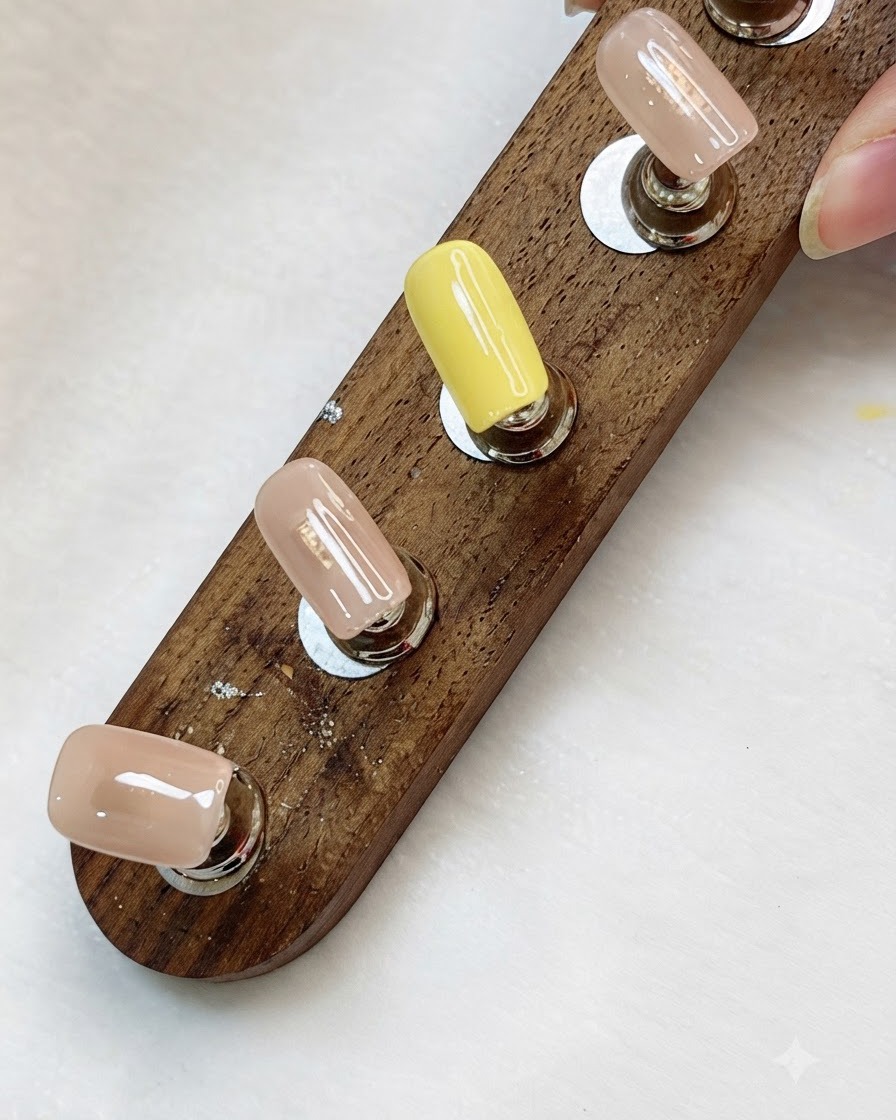
Apply a second coat of the base colors to all nail tips to achieve full opacity and a vibrant, smooth finish.
Tip: Remember to apply the base color twice for complete coverage. - 6Paint Flower Petals
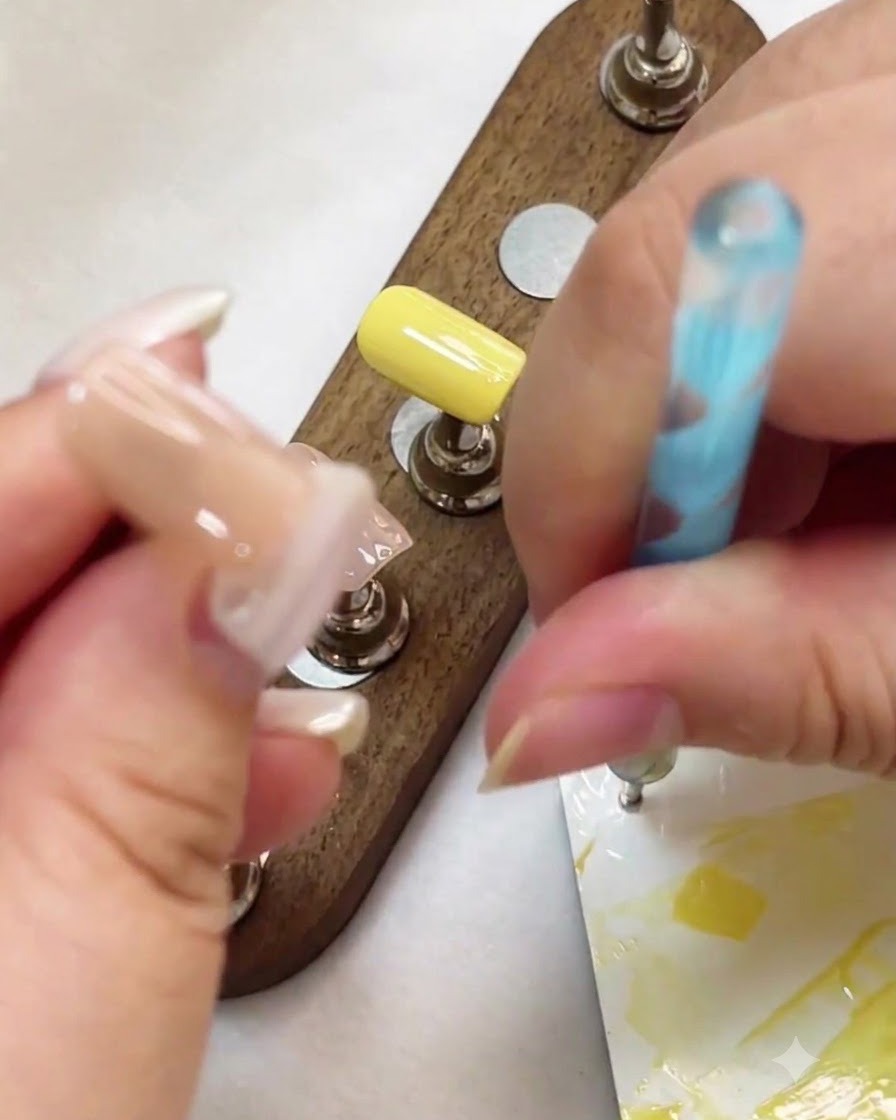
Use a dotting pen dipped in white gel to carefully place white dots onto a nude nail, forming the shape of flower petals.
Tip: Cure each flower with a pen light immediately after drawing to prevent the gel from running. - 7Cure White Flower Petals
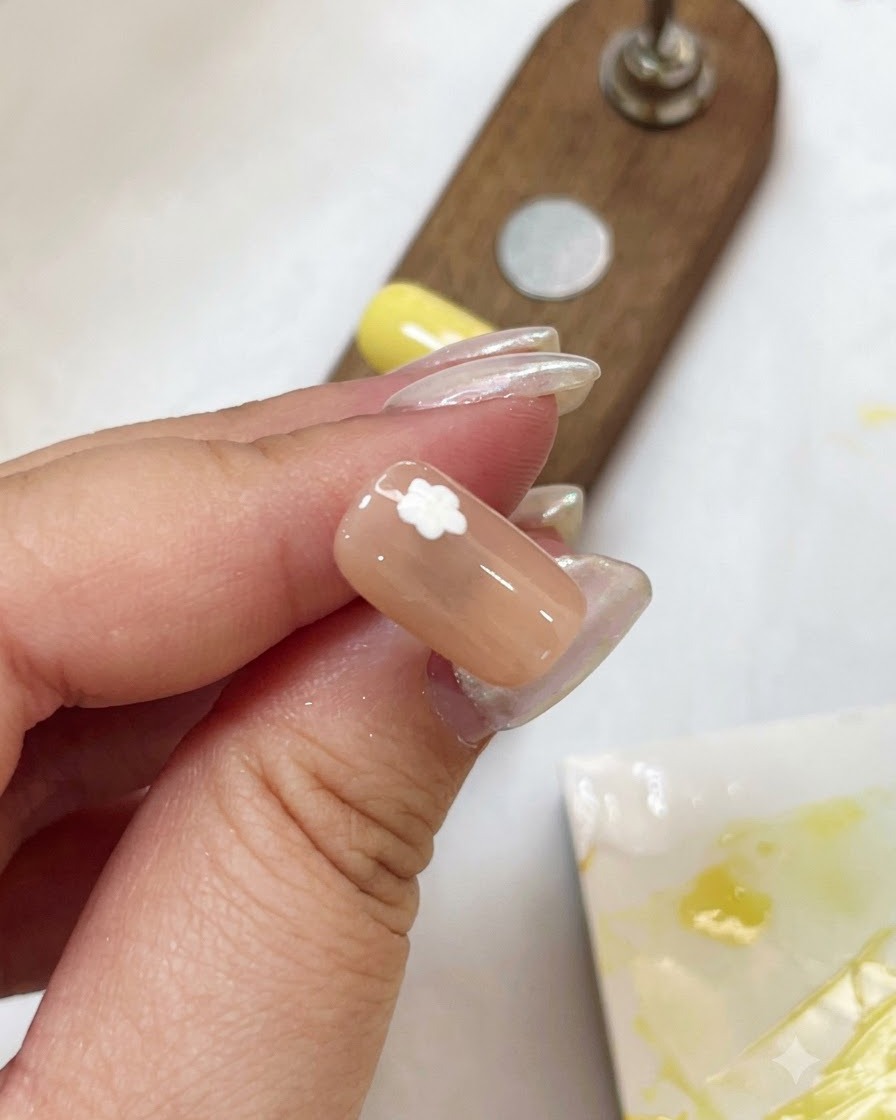
After dotting the white flower petal shapes onto the nude base, use a mini pen light to flash cure the petals. This quick flash cure locks the wet gel in place so it wont smudge or run before you can move on to the next design element.
Tip: Hold the pen light steady and close to the nail for about 5 to 10 seconds to ensure the 3D petal shape sets properly. - 8Paint Flowers on Thumb Nail
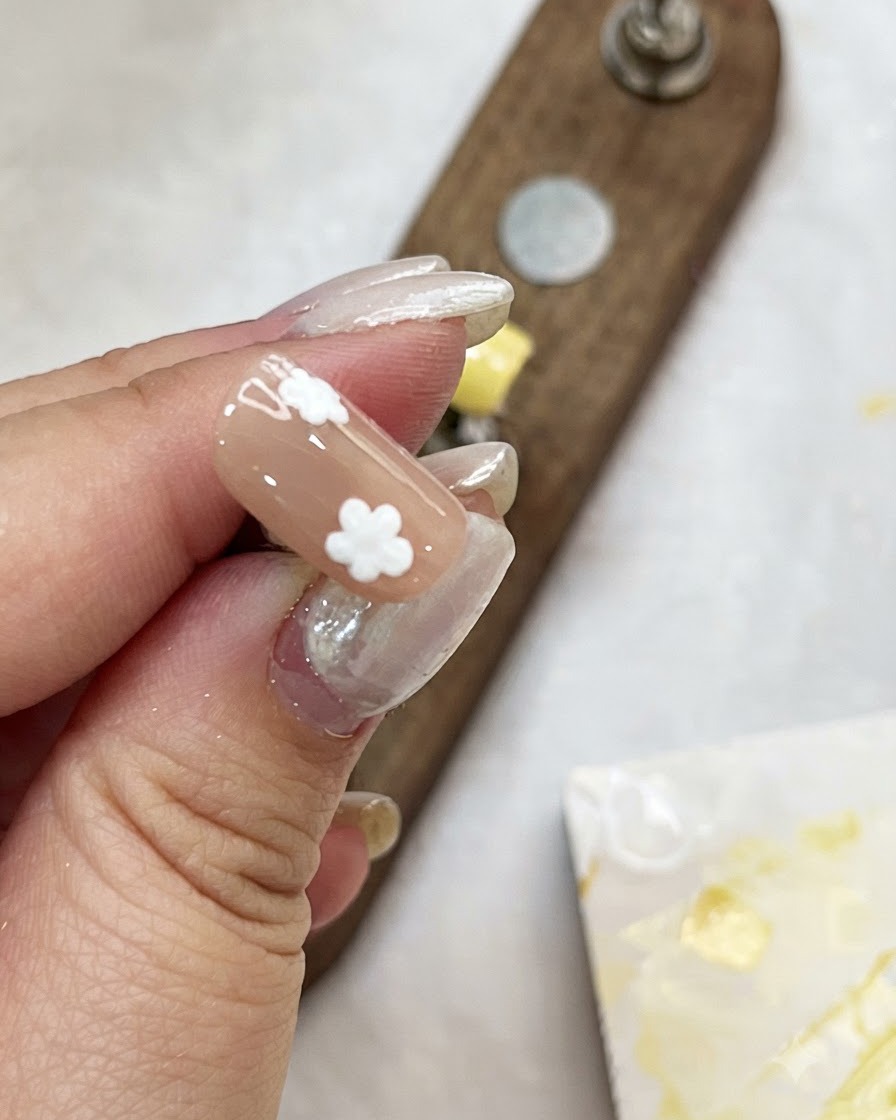
Repeat the same white flower dotting technique on the thumb nail. Using your dotting pen, carefully arrange multiple white petals to create consistent, delicate floral patterns across the surface.
Tip: Maintain an even amount of white gel on your dotting tool for each petal to ensure uniform size and thickness. - 9Full Cure Under Main Lamp
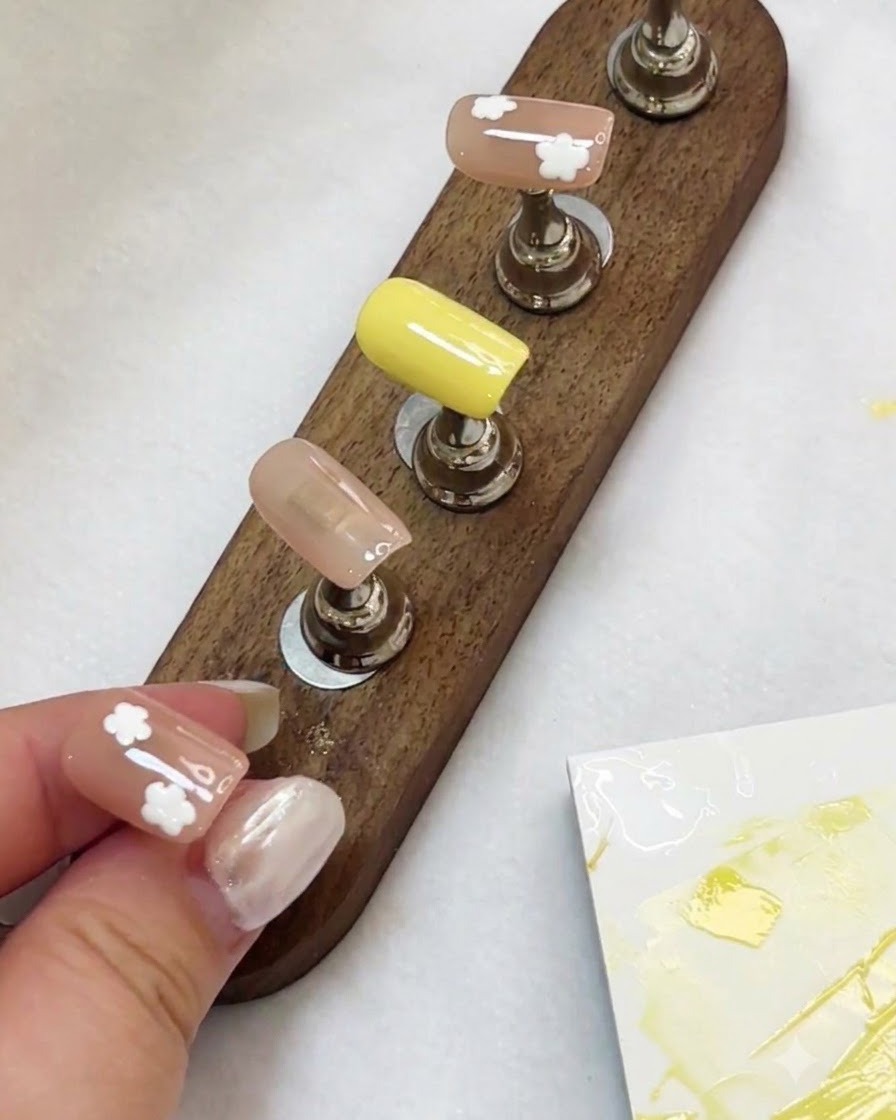
Place all the decorated nail tips back onto the display stand and cure the entire set under the main UV/LED lamp for 60 seconds. This ensures all the hand-painted floral elements are fully hardened before adding center details.
Tip: Ensure the nails are positioned flat and directly under the light source for an even cure. - 10Add Yellow Flower Centers
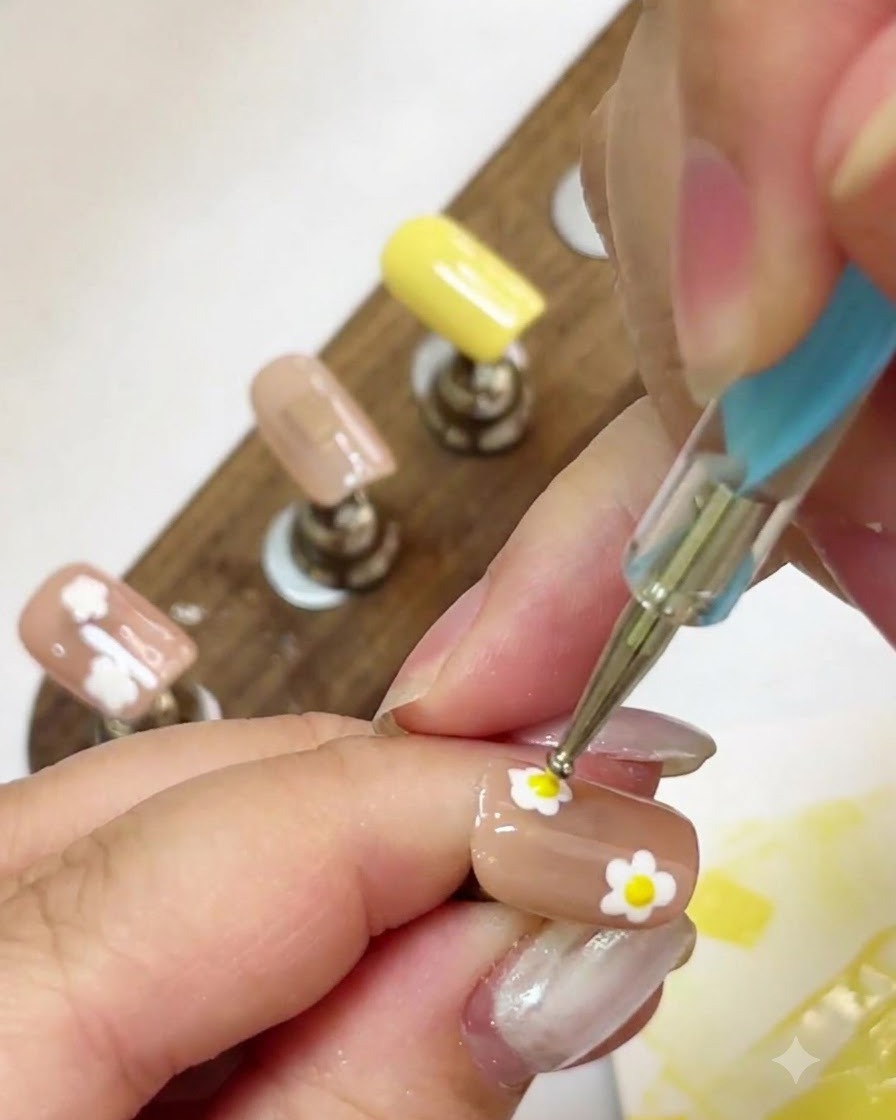
Using a fine dotting pen dipped in yellow gel, carefully drop a small dot right into the center of each white flower. This adds vibrant contrast and brings the floral design to life.
Tip: Use a light touch with the dotting tool to avoid pressing too hard into the cured white petals underneath. - 11Flash Cure Yellow Centers
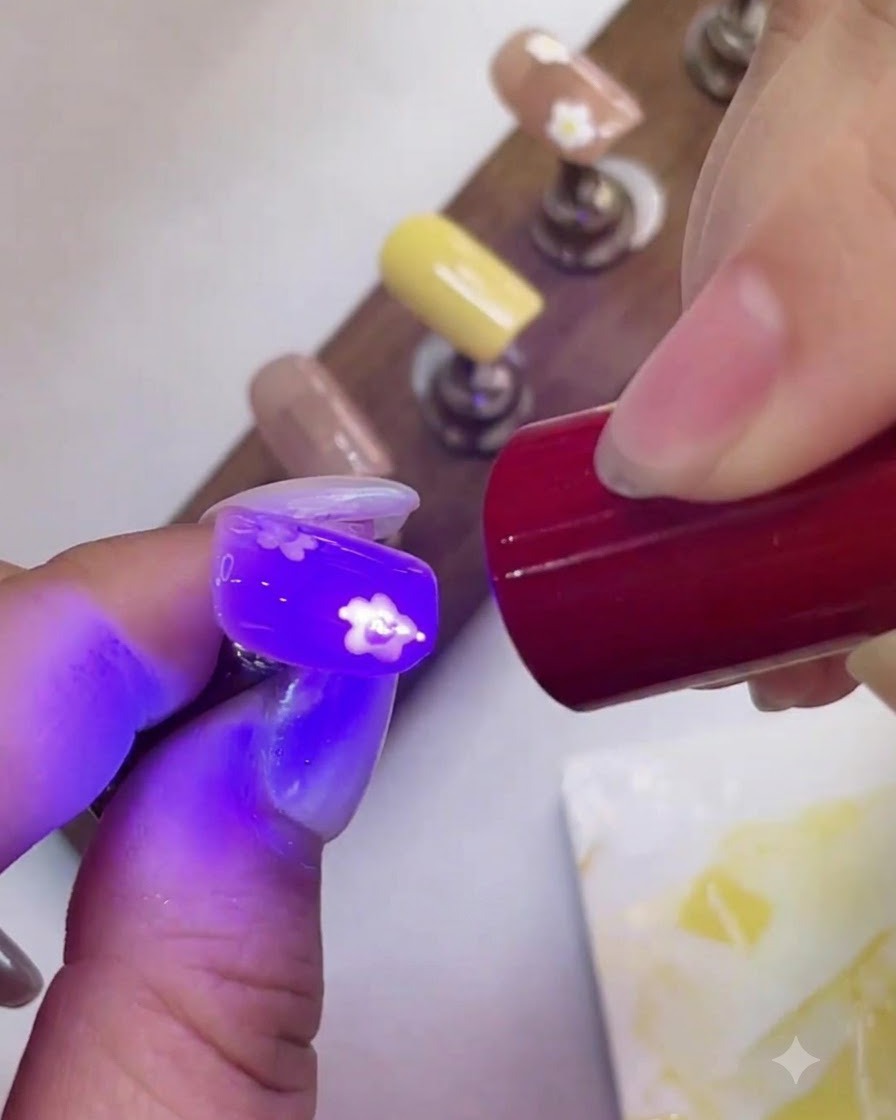
Immediately after placing the yellow dots, flash cure them using a portable pen light emitting purple UV light. This prevents the wet yellow gel from spreading or flattening out.
Tip: Flash cure each nail individually right after adding the center dot for clean, raised results. - 12Paint Green Leaves
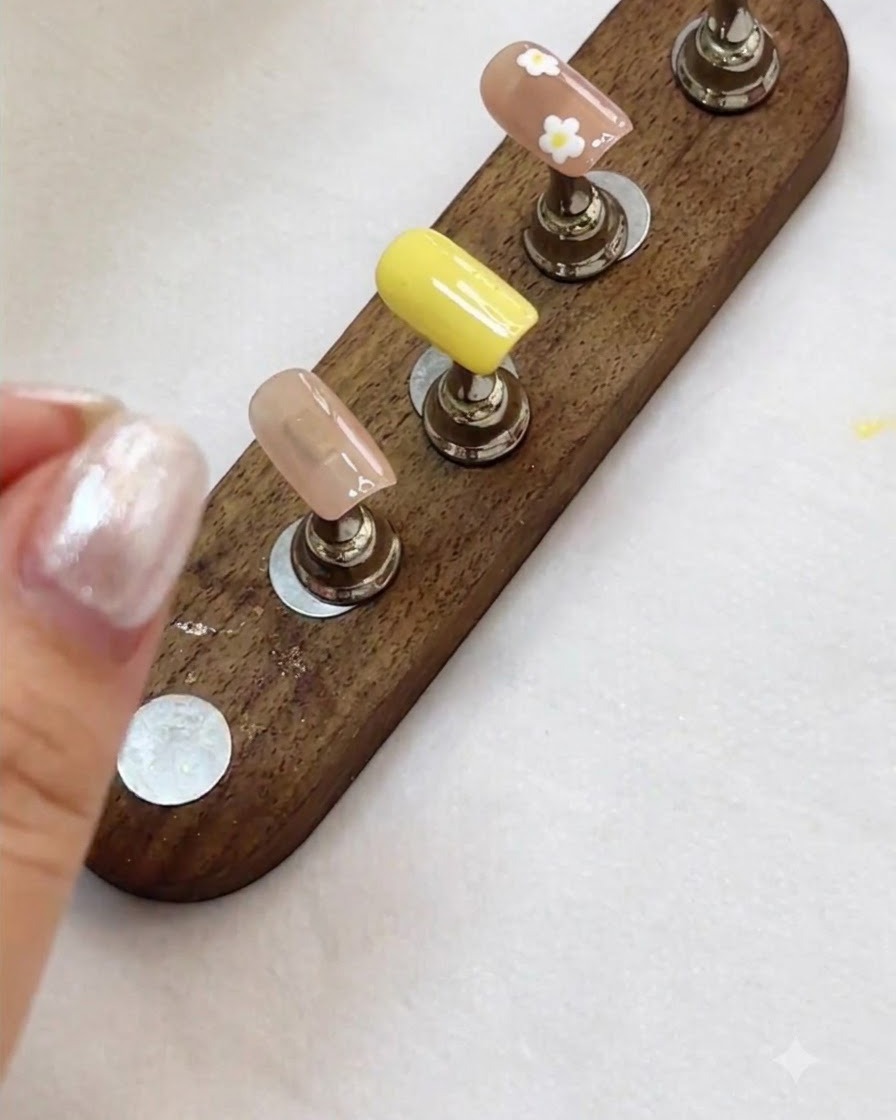
Take a fine liner brush dipped in green gel and paint delicate small leaves branching out next to the white flowers. This completes the hand-painted botanical aesthetic on the floral nails.
Tip: Wipe excess gel off your liner brush to maintain a sharp, thin tip for precise leaf strokes. - 13Apply Shimmering Cat-Eye Gel
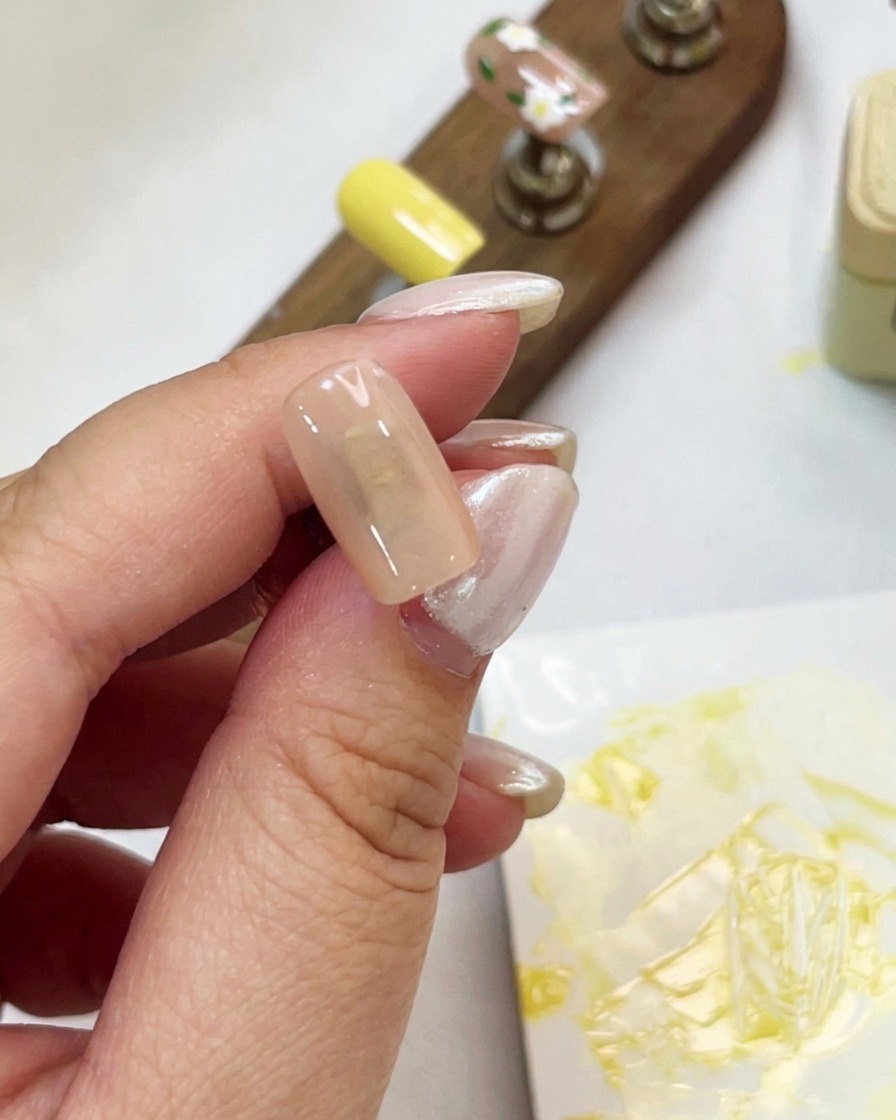
Apply the shimmering cat-eye gel onto the index fingernail tip. Ensure an even coating across the nail surface before using the magnet tool to create the desired cat-eye magnetic shimmer effect.
Tip: Apply a smooth, consistent layer to allow the magnetic particles to shift evenly. - 14Shape Cat-Eye Effect with Magnet
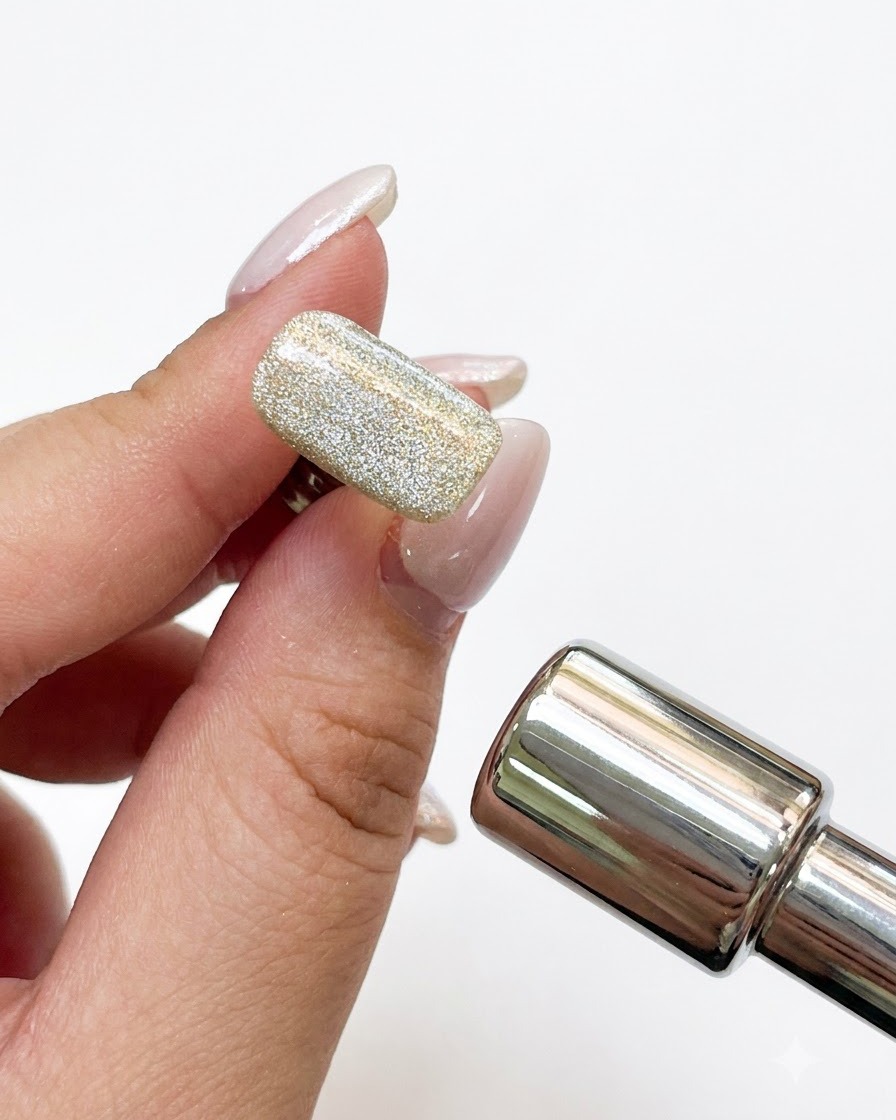
Hold the magnet tool close to the nail to shape the cat-eye magnetic shimmer effect. Hover over the gel to concentrate the shimmer into a bright line before curing.
Tip: Keep the magnet steady and close to the nail without touching the wet gel surface. - 15Cure Cat-Eye Nail
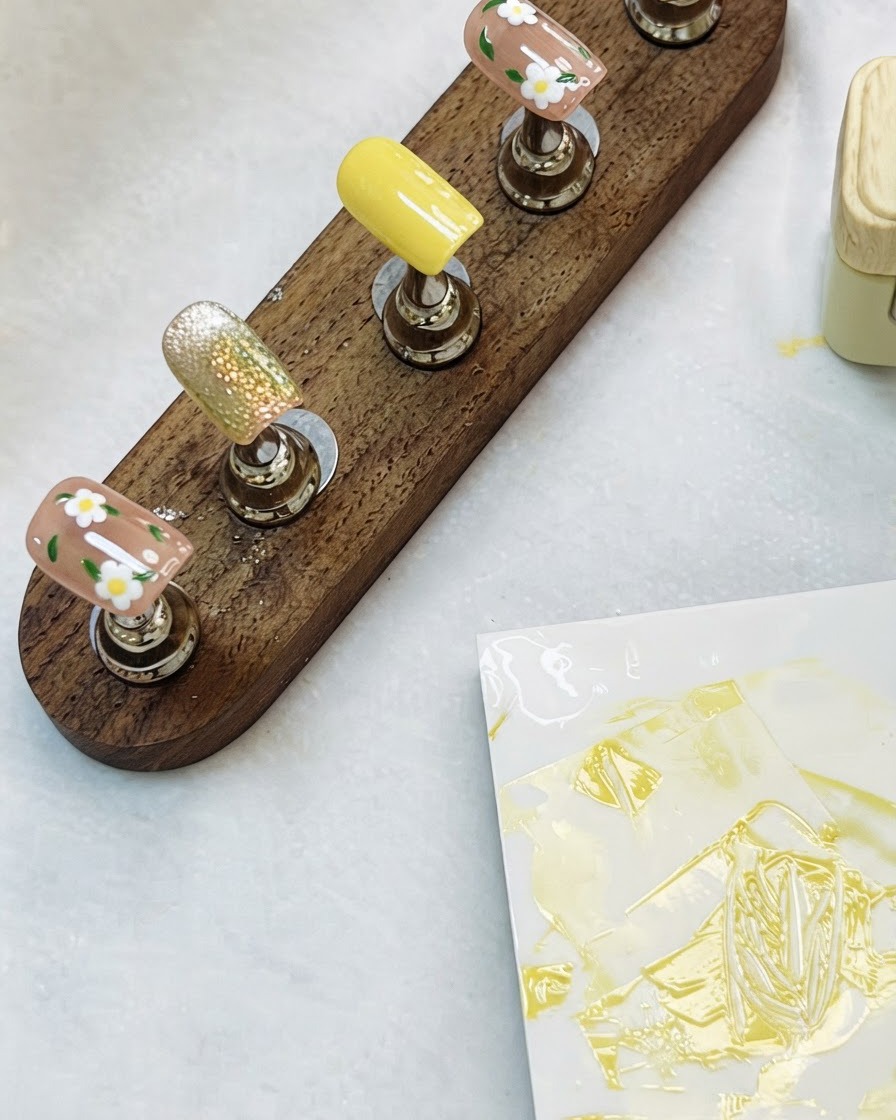
Place the styled cat-eye nail under the main UV/LED lamp and cure for 60 seconds. This locks the magnetic shimmer pattern permanently in place.
Tip: Ensure the hand or display stand is placed directly under the lamps light source for full curing. - 16Apply Glossy Top Coat
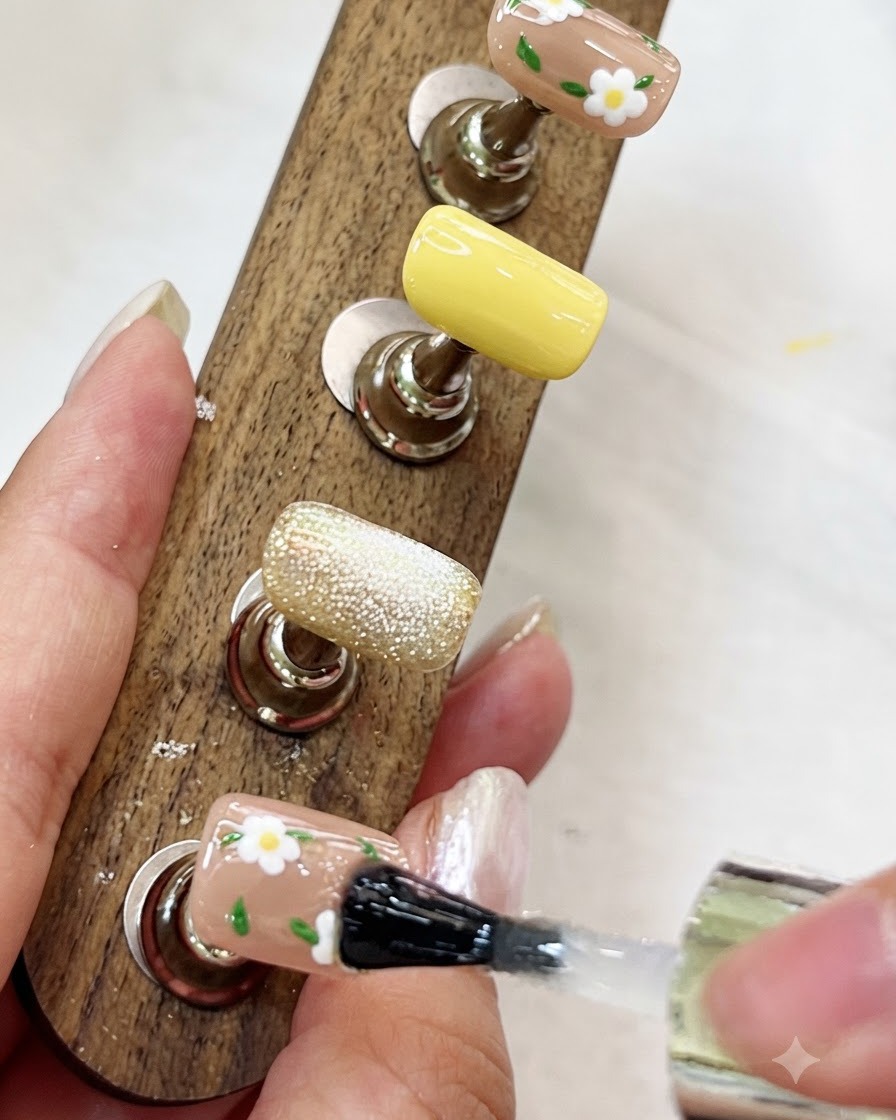
Apply a glossy top coat over all the finished nail designs. This seals in the hand-painted florals, cat-eye effects, and base colors while adding a brilliant high-shine finish.
Tip: Cap the free edge of each nail with top coat to prevent chipping and lifting. - 17Final Cure for the Complete Set
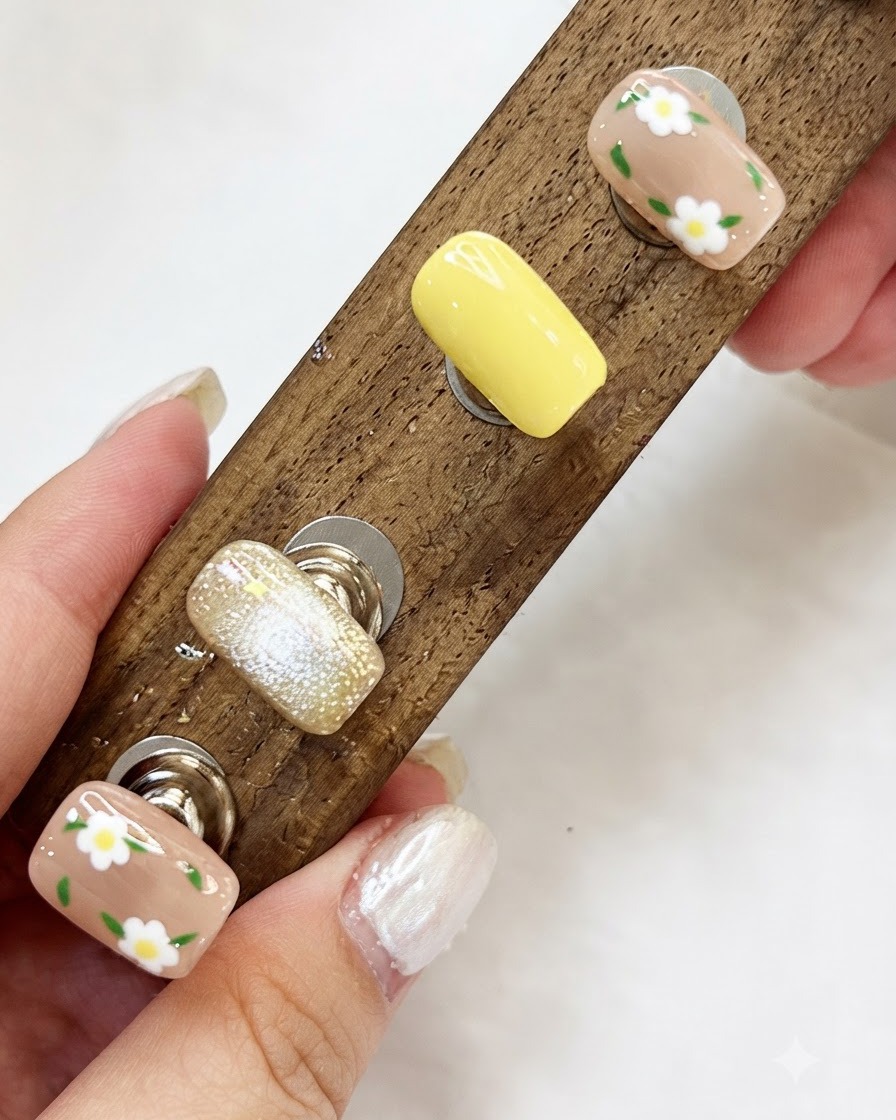
Cure everything under the UV/LED lamp for 120 seconds to completely finish the set. This ensures all layers, including the top coat and hand-painted details, are fully hardened.
Tip: Do not shorten the final cure time to guarantee maximum shine and durability. - 18Self-Leveling Hand-Painted Designs
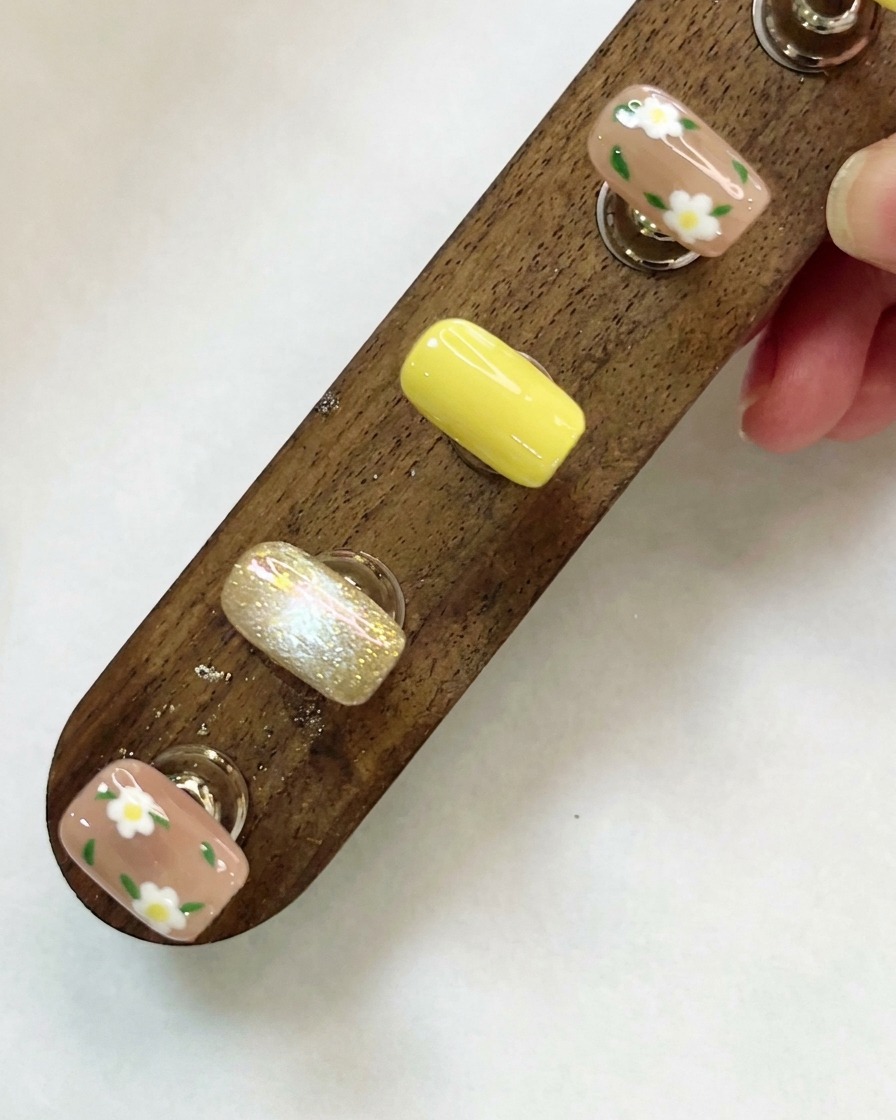
Invert the wooden display stand briefly to allow the hand-painted gel to self-level. This smooths out any brush marks or uneven texture in the top coat before curing.
Tip: Invert the stand for just a few seconds to let gravity even out the surface without causing runs.