Yellow French Plaid
Cherry Nail Art — Step-by-Step Press-On Tutorial
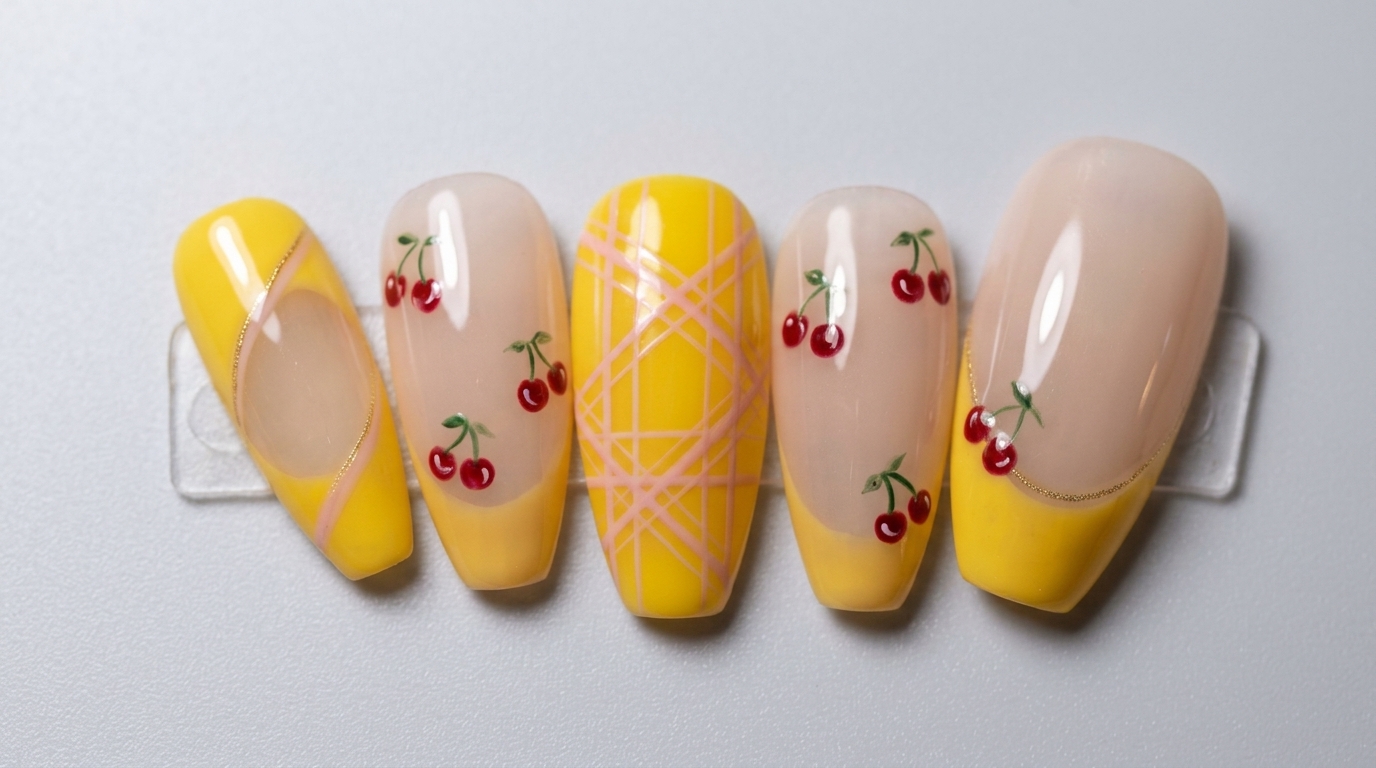
Create charming press-on nails featuring bright yellow French tips, soft pink plaid, and hand-painted cherries for a playful and fresh gel manicure.
Yellow French tips offer a vibrant twist on the classic manicure, especially when paired with whimsical details like tiny cherries and pastel plaid. This press-on nail look combines structural precision with freehand art to create a custom, high-gloss finish. Whether you are prepping a set for a weekend getaway or just practicing your fine-liner skills, this tutorial breaks down the process for a flawless application.
Steps
- 1Set Up Nail Tips for Painting
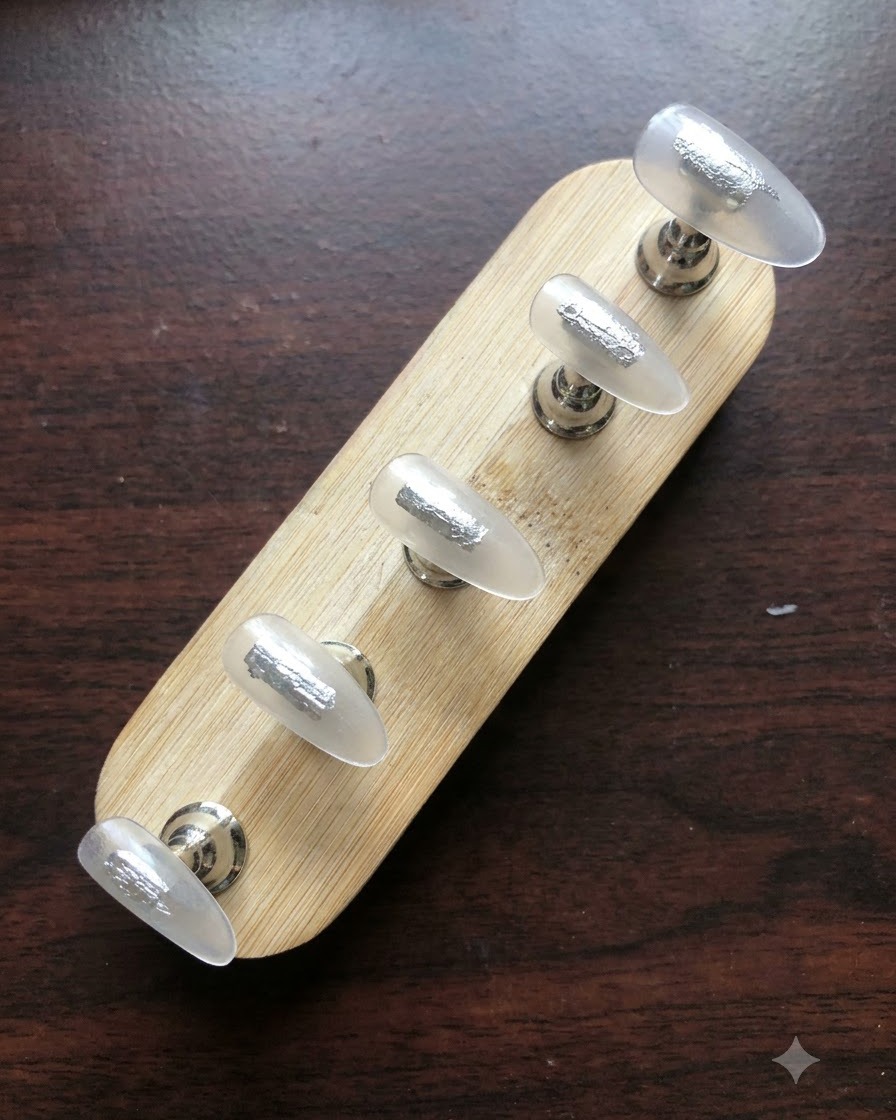
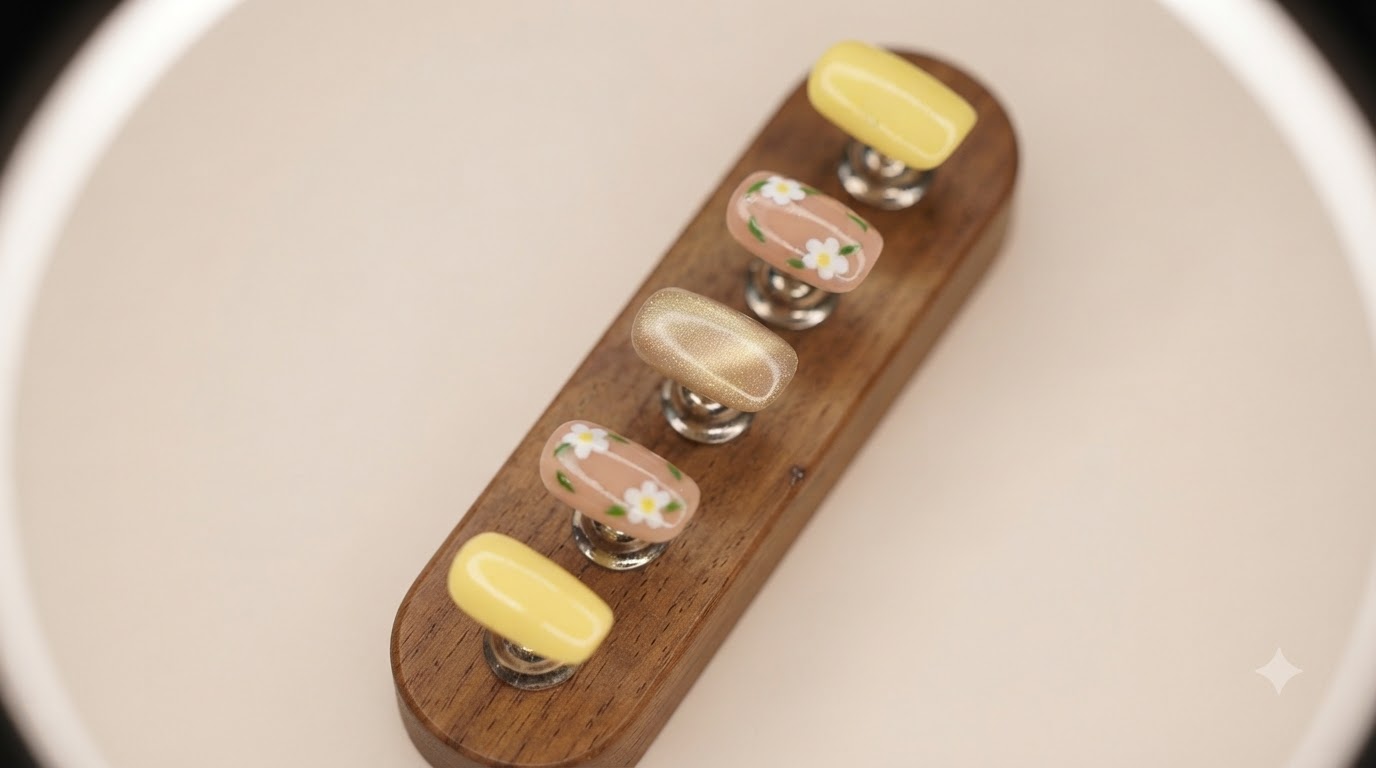
Mount your clear false nail tips onto a wooden display stand using adhesive putty. This setup allows you to easily maneuver and paint each nail without smudging the gel polish or touching the wet design during the art process.
Tip: Make sure the putty is firmly pressed down so the nail tips do not wobble while you are creating intricate details like plaid lines. - 2Apply Yellow French Tip Base
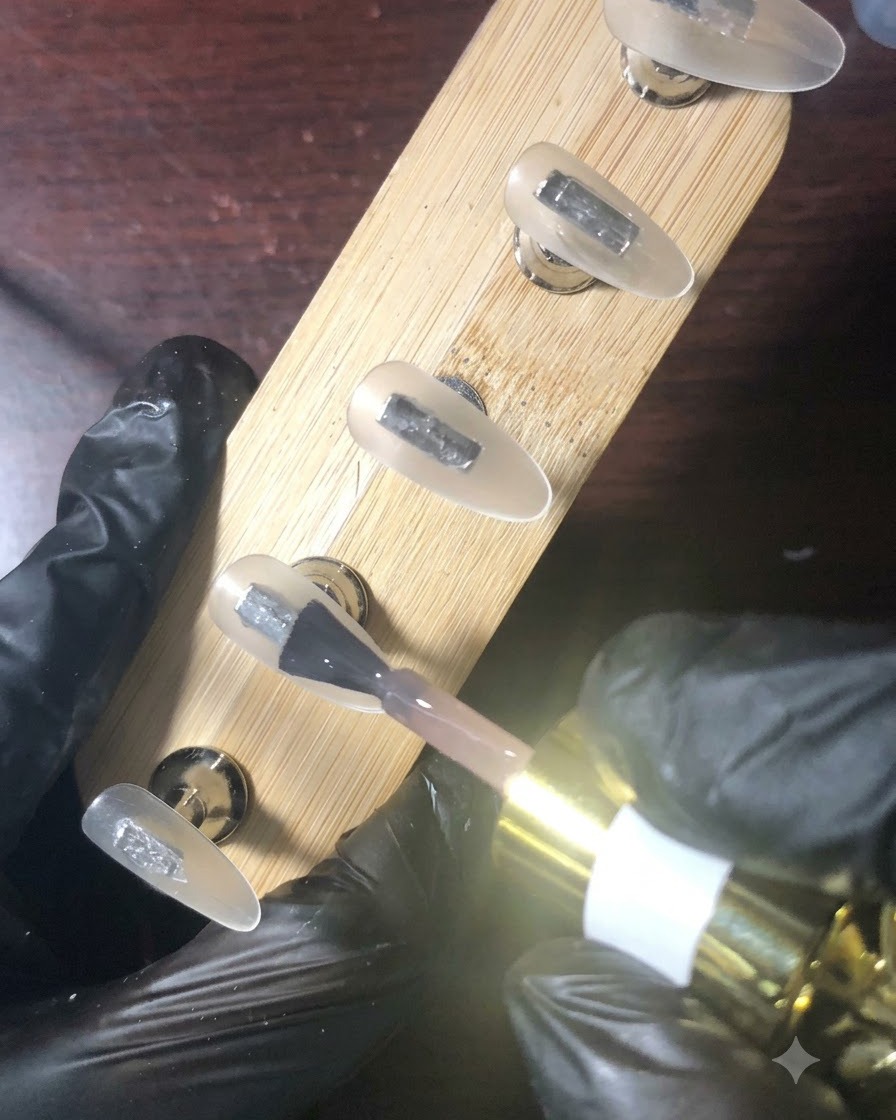
Apply a coat of bright yellow gel polish onto the tip of a false nail to create the French tip basecite: 1. Carefully shape the tip line and ensure smooth coverage before curing under a UV or LED lamp.
Tip: Keep your brush strokes steady along the smile line to maintain a clean and even French tip shape. - 3Draw White Diagonal Lines
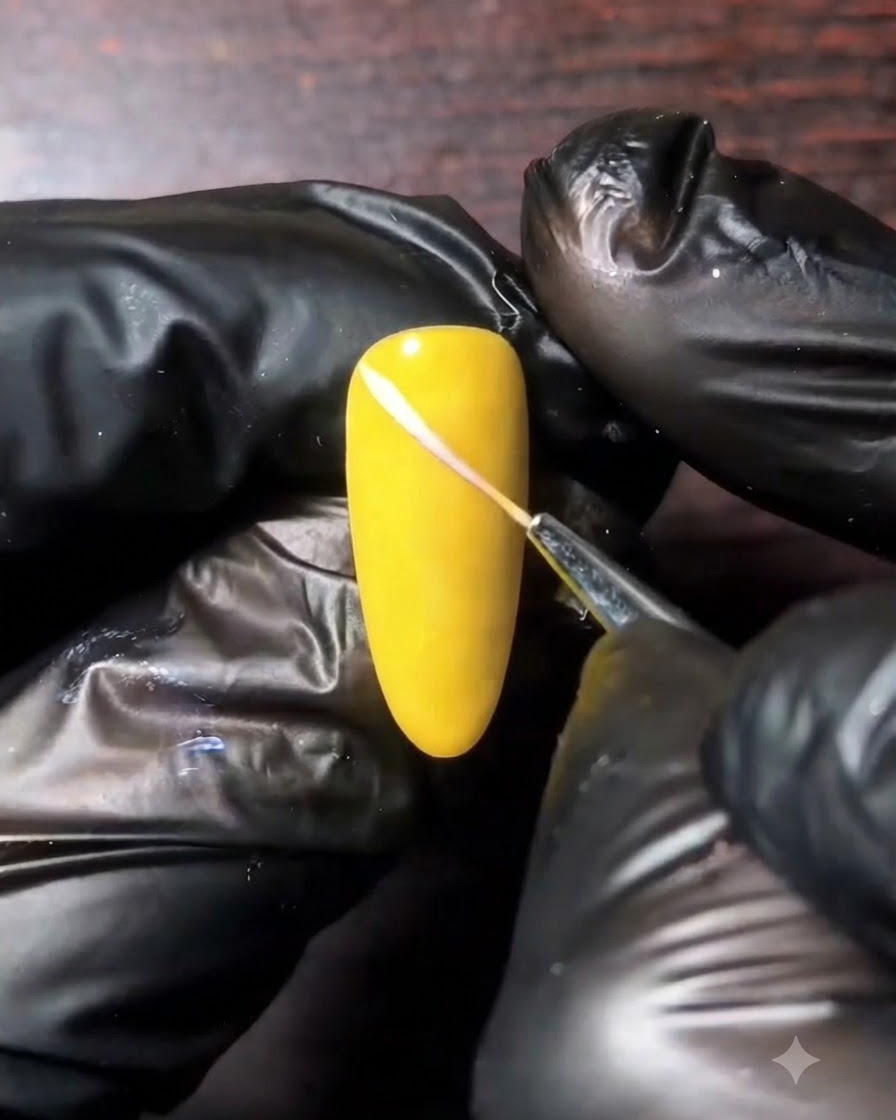
Use a fine liner brush dipped in white gel polish to draw diagonal lines across the yellow French-tipped nailcite: 1. Keep the lines straight and evenly spaced to set up the grid for the plaid pattern.
Tip: Lightly wipe excess polish off your liner brush to prevent blobs and ensure crisp, thin lines. - 4Add Intersecting Pink Lines
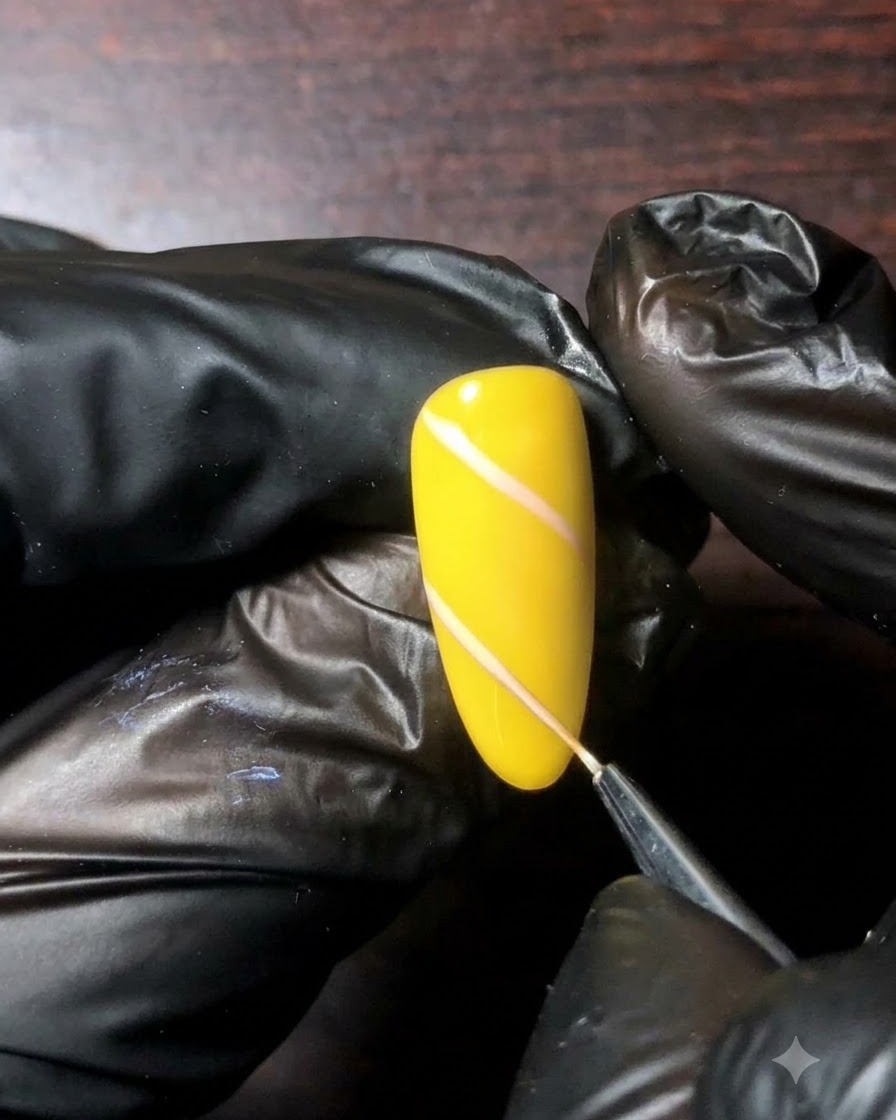
Use a fine liner brush with pink gel polish to draw intersecting diagonal lines directly over the white lines, forming a complete plaid patterncite: 1. Cure the design briefly if needed to lock the lines in place.
Tip: Ensure the white lines are cured or stable before overlaying the pink lines to avoid muddying the colors. - 5Paint Yellow French Tip on Nude Base
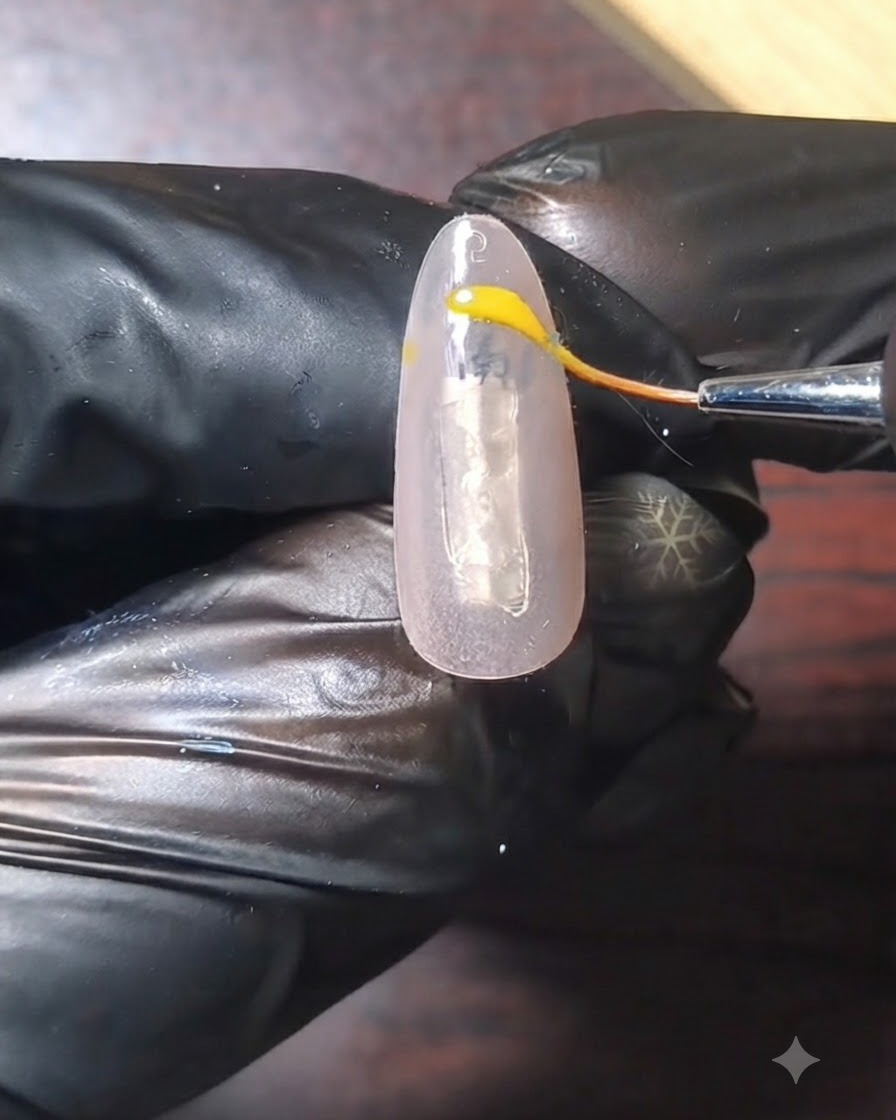
Apply a bright yellow curved French tip line on a separate nude-based nail tip using a fine brushcite: 1. Follow the natural curve of the nail tip for a clean, classic French manicure look.
Tip: Take your time outlining the smile line before filling in the tip area completely. - 6Paint Cherry Stem and Leaf
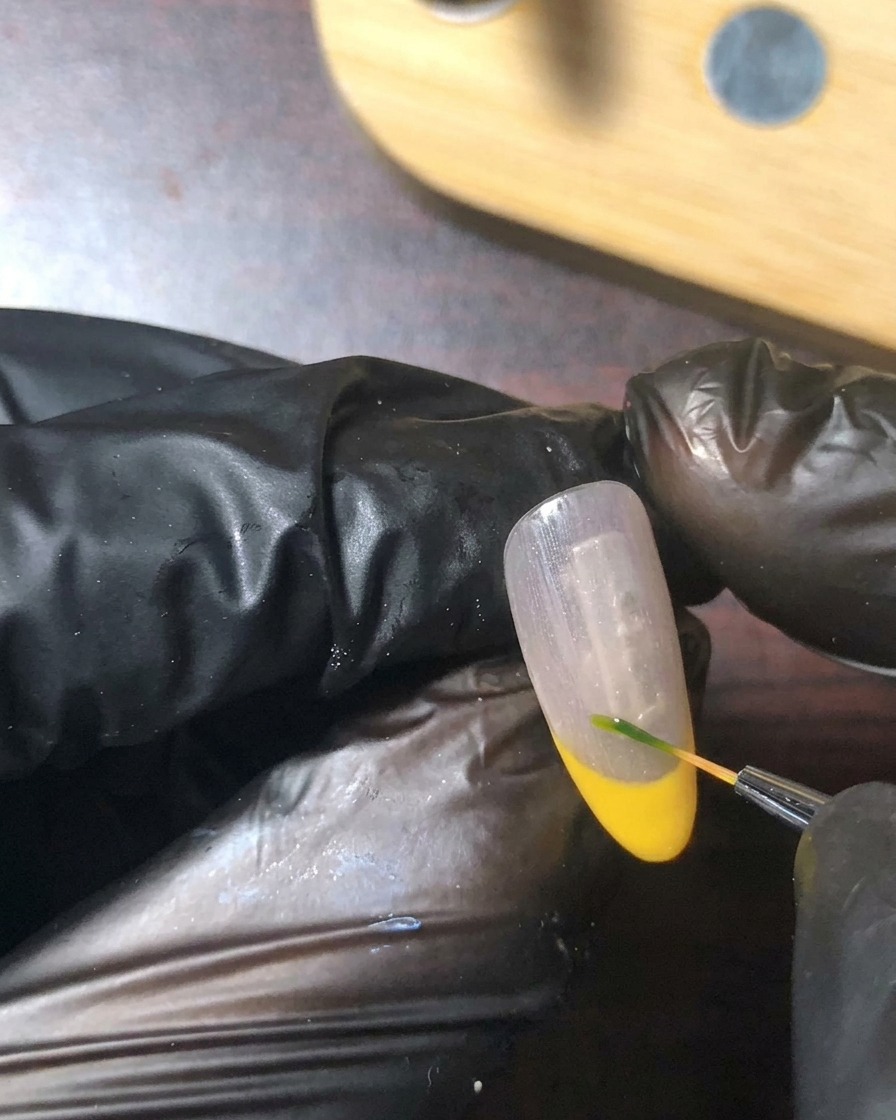
Paint a tiny green stem and leaf detail near the smile line of the nude nail using a fine detailing brushcite: 1. This acts as the anchor point for the cute cherry nail art design.
Tip: Use a minimal amount of green gel polish on the very tip of your detailing brush for ultimate precision. - 7Add Cherry Fruits
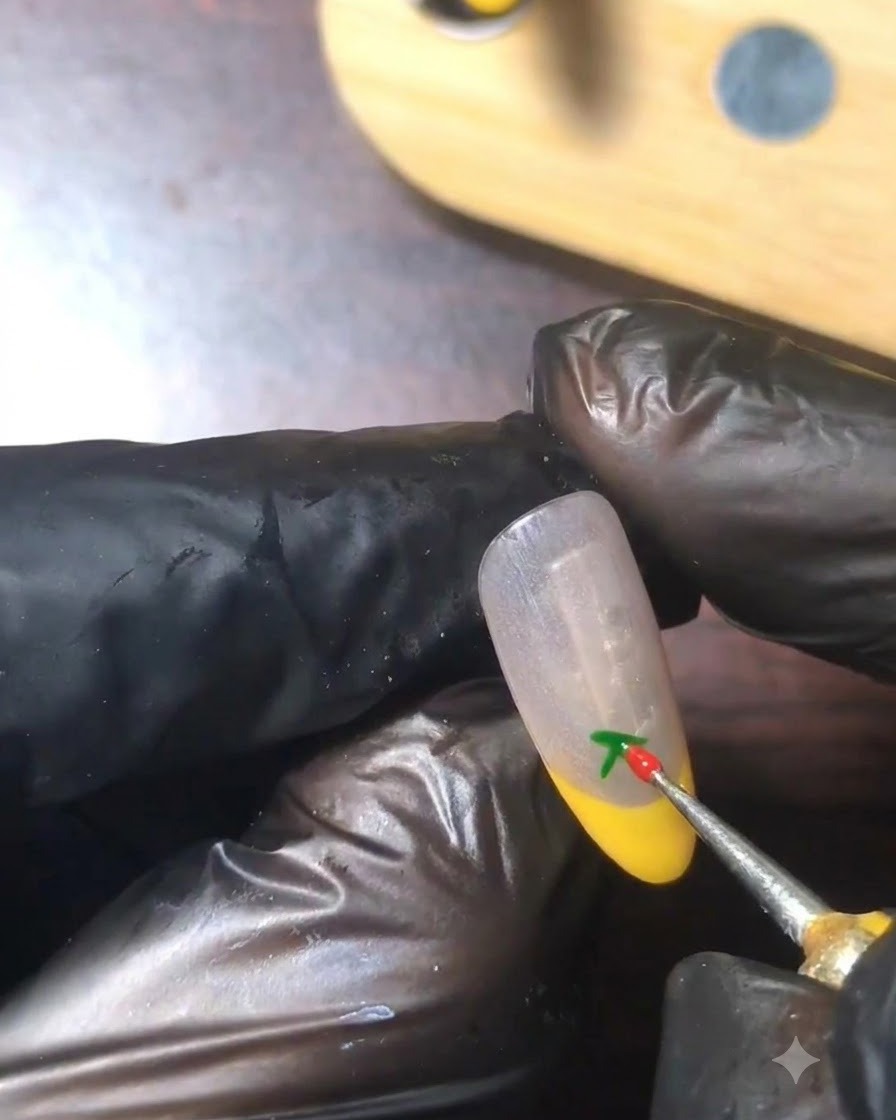
Add two small red dots at the base of the green stem using a dotting tool or fine brush to form tiny cherries on the nailcite: 1. Cure the final artwork and seal with a top coat.
Tip: Drop two uniform beads of red gel right touching the stem base to give the cherries a realistic, plump look. - 8Apply Glossy Top Coat
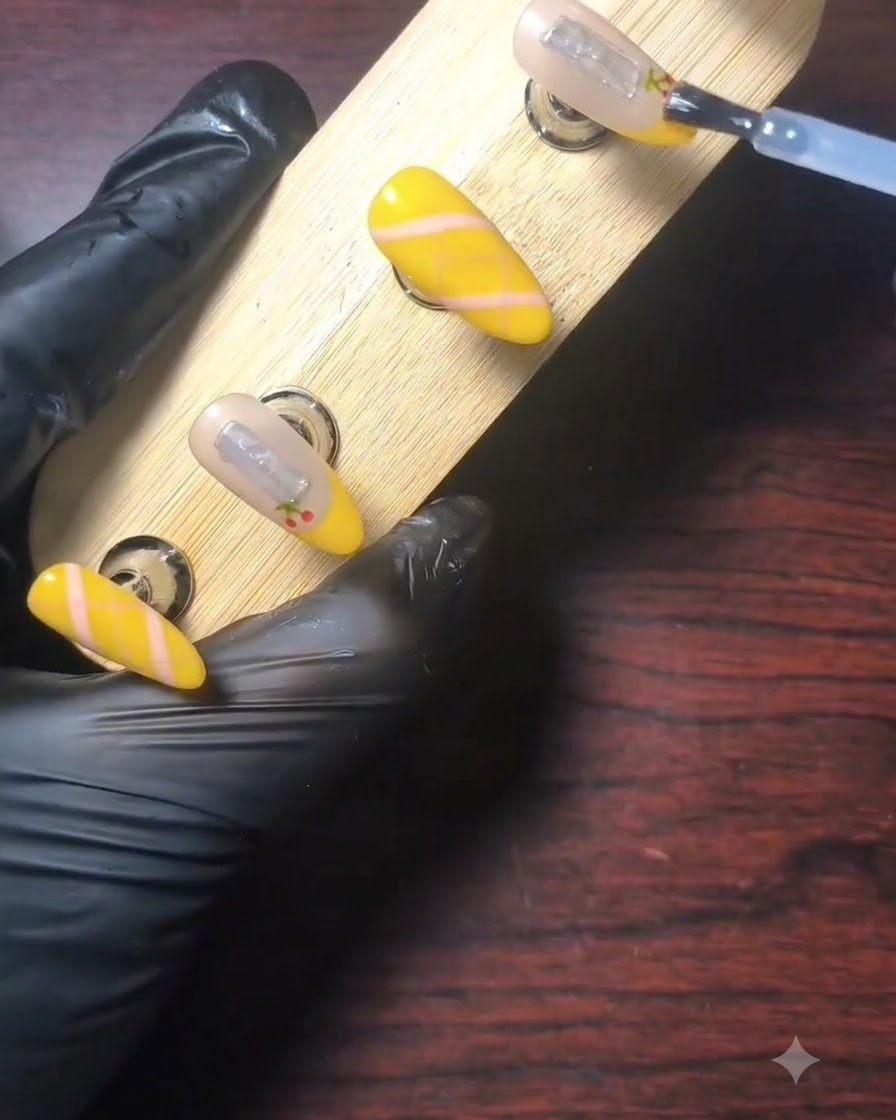
Apply a generous and even layer of glossy top coat over the completed nail art designs mounted on the display stand to seal the art and provide a brilliant shine. Ensure complete coverage over the yellow French tips, plaid patterns, and cherry details, then cure thoroughly under a UV or LED lamp.
Tip: Cap the free edge of each press-on nail with top coat to prevent chipping and extend the lifespan of the design.