French Manor Ditsy Floral Press-On Nails — Step-by-Step Tutorial
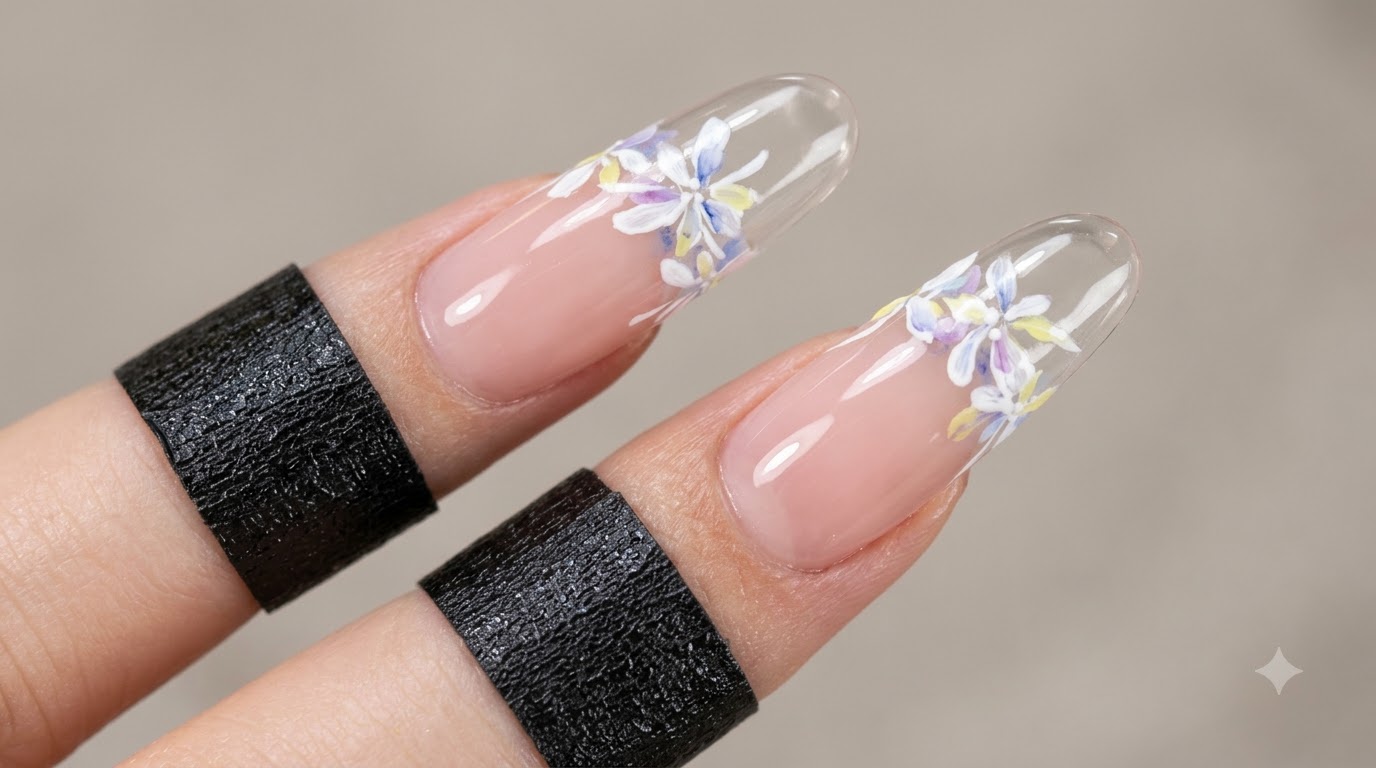
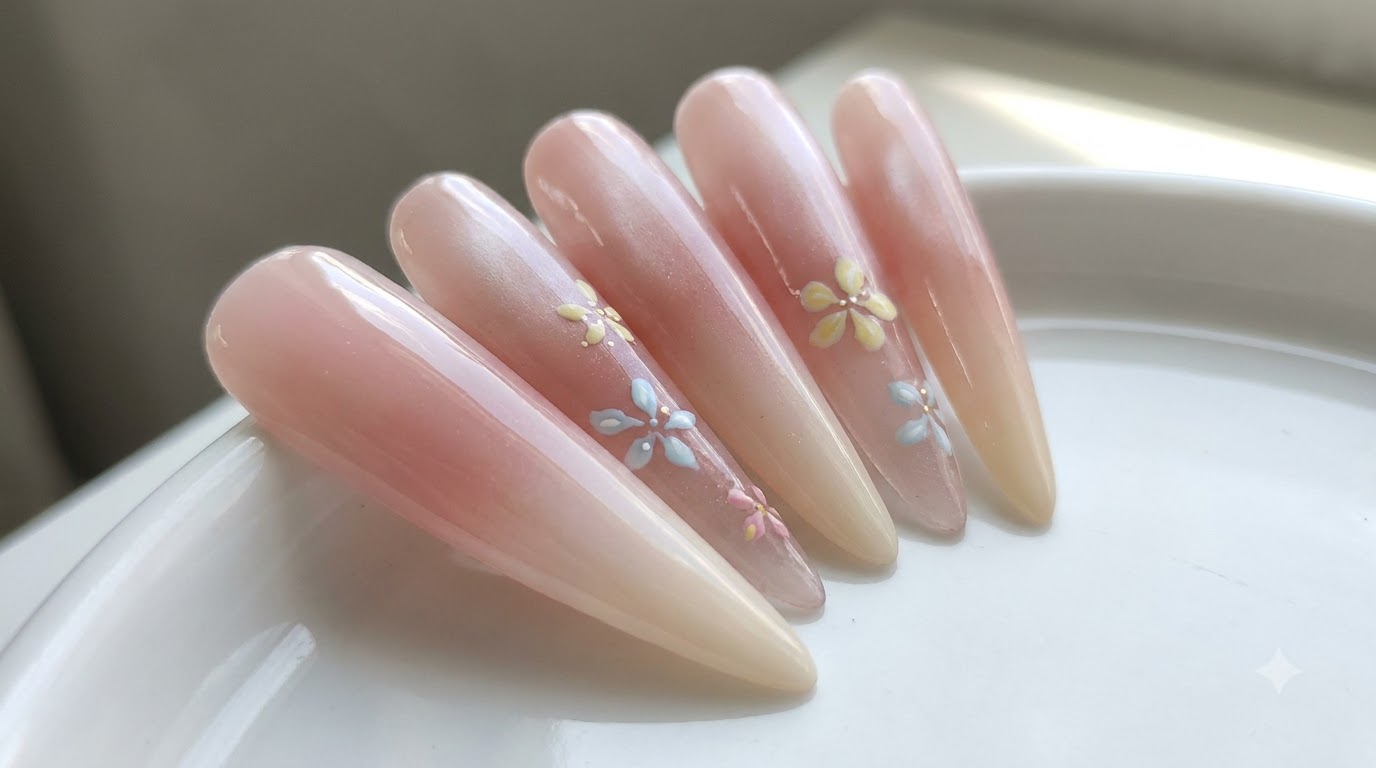
Create charming French Manor ditsy floral press-on nails featuring a nude base, split white and baby blue French tips, and delicate hand-painted blue flowers with bright yellow centers.
Bring timeless elegance to your press-on collection with this French Manor ditsy floral design. Combining classic diagonal French tips in creamy white and soft baby blue with whimsical hand-painted miniature florals, this style captures a romantic aesthetic that is perfect for any season.
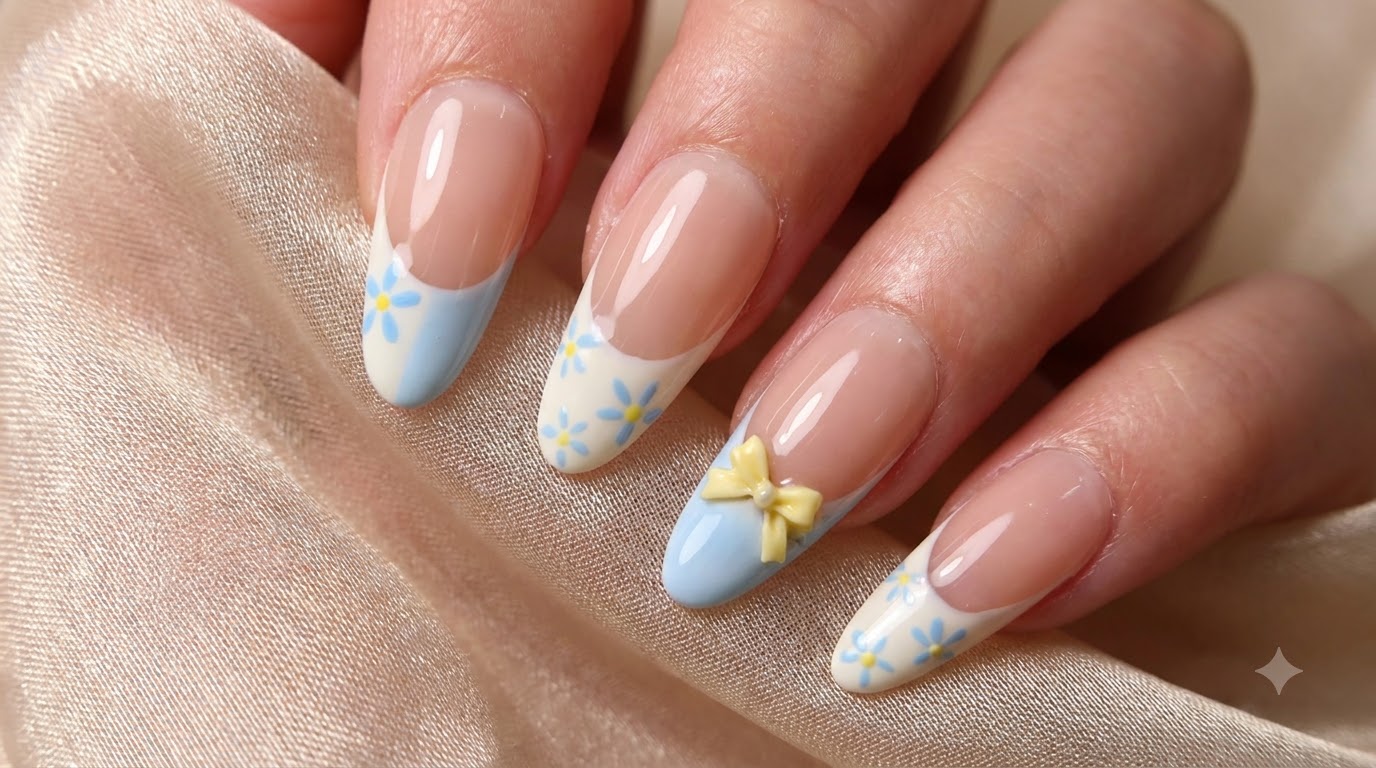
Steps
- 1Outline White French Tip
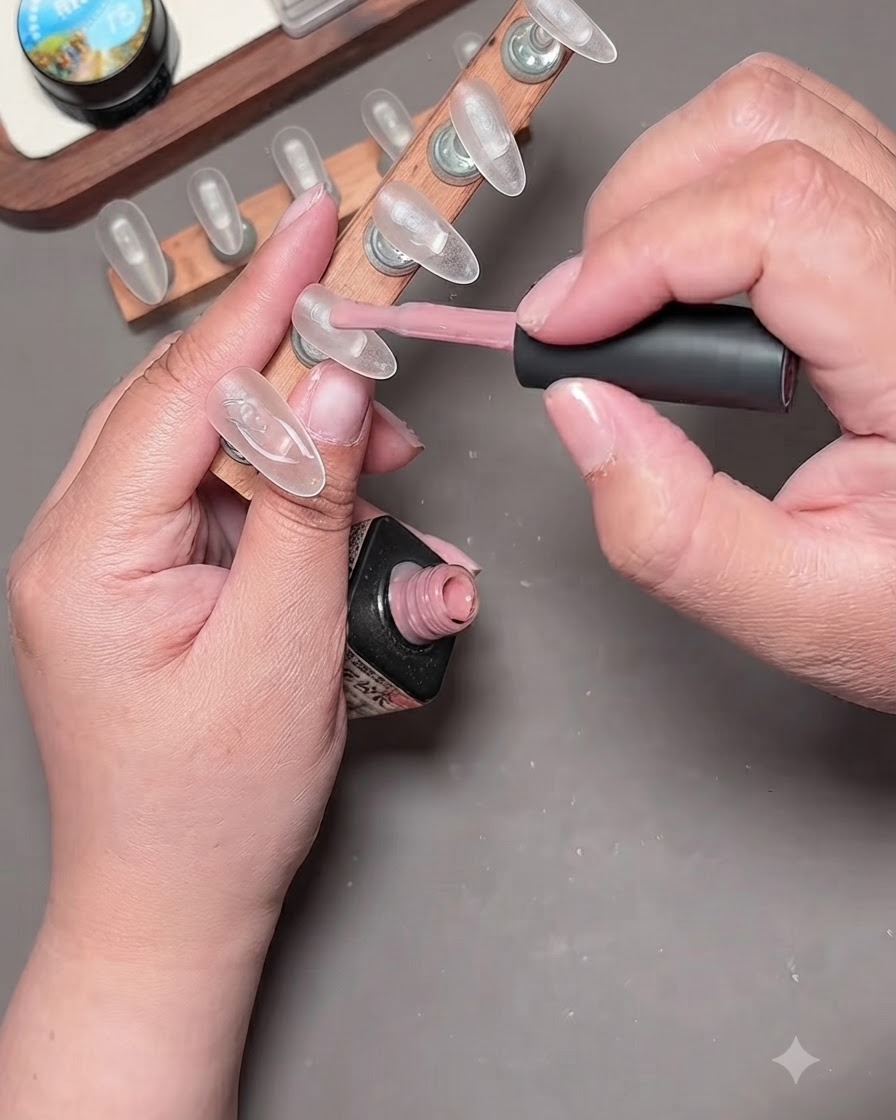
Using a fine liner brush, carefully outline the white French tip on the right side of the clear press-on nail over the previously cured nude base.
Tip: Keep your hand steady and use light pressure to get a smooth, even curve. - 2Fill in French Tip Opacity
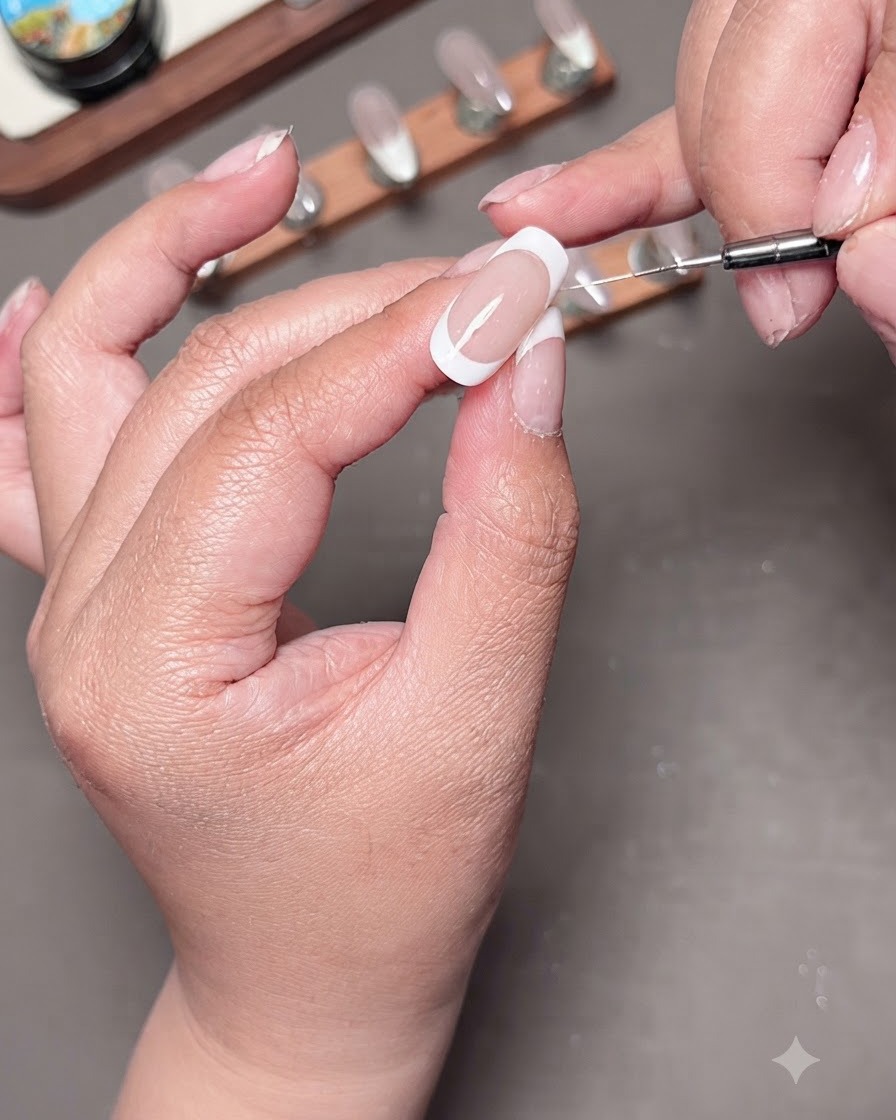
Fill in the lower section of the diagonal white French tip to ensure full, even opacity across the entire tip area.
Tip: Apply in thin layers if necessary to avoid clumping or uneven pooling. - 3Refine Smile Line
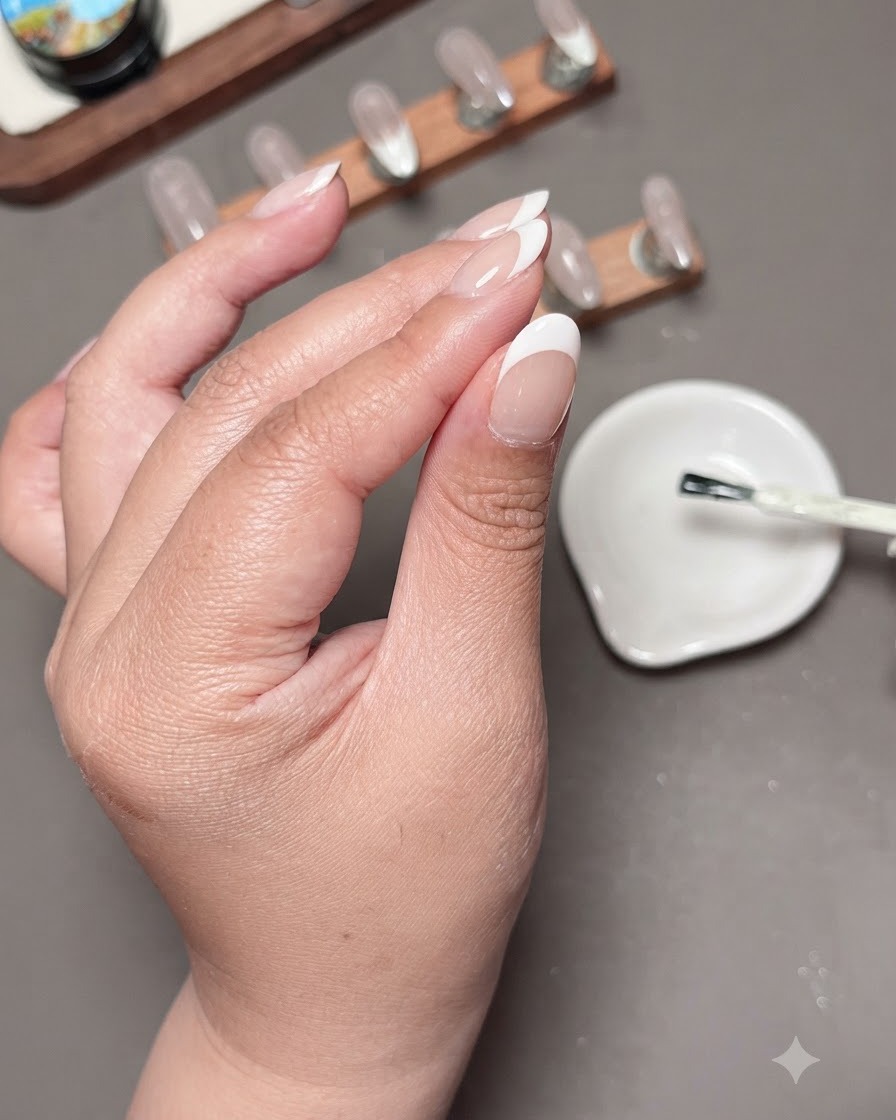
Refine the inner curved edge of the white French tip using the liner brush to create a crisp, clean smile line.
Tip: Clean the brush and use a tiny bit of base or alcohol to wipe away minor edges if needed before curing. - 4Draw Secondary Blue Line
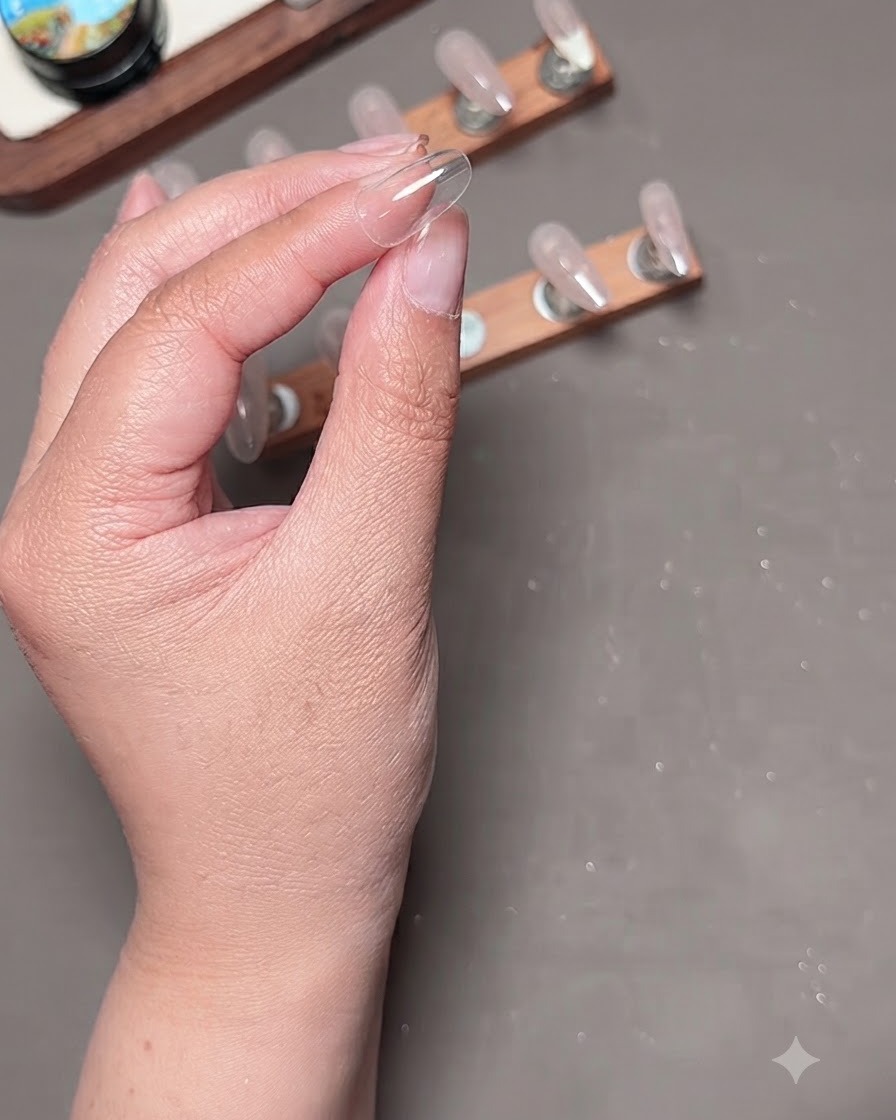
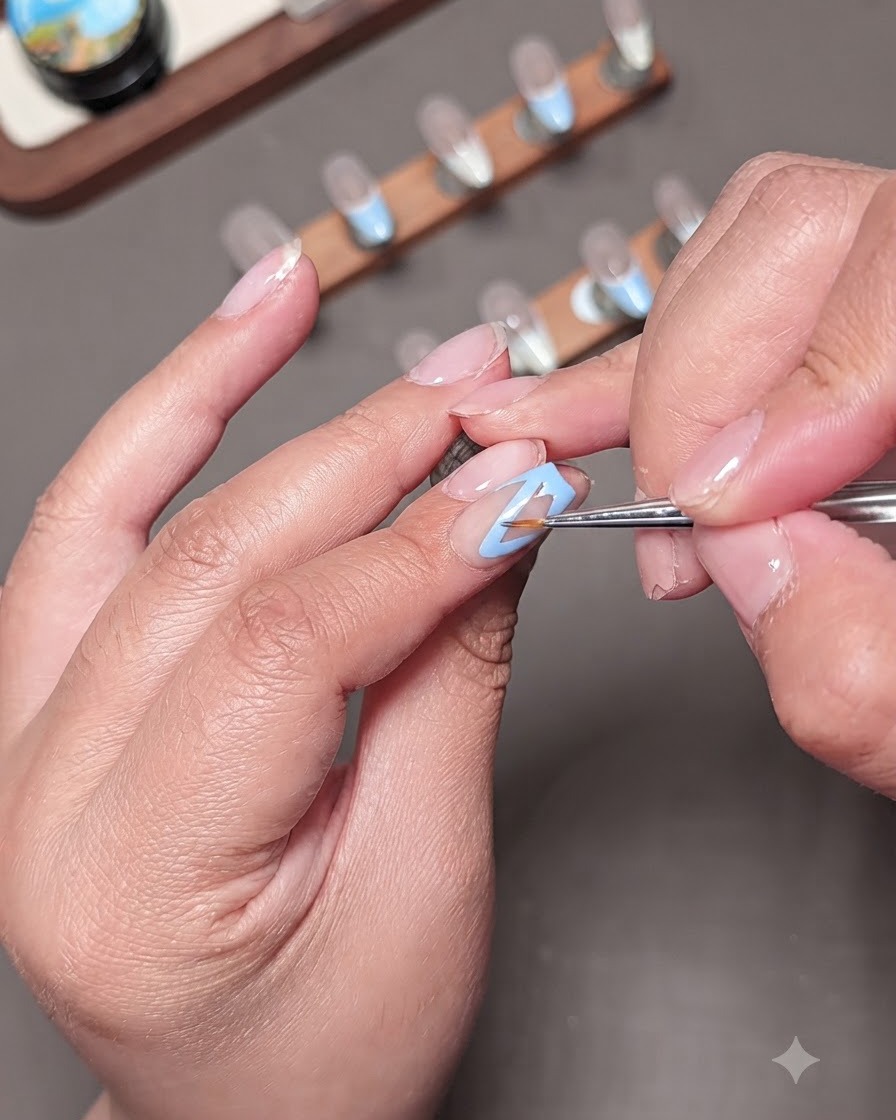
Using a liner brush loaded with light blue gel, draw a curved French line right alongside the inner edge of the white tip to create a layered look.
Tip: Follow the contour of the white smile line closely for a neat double-line effect. - 5Extend Blue Line
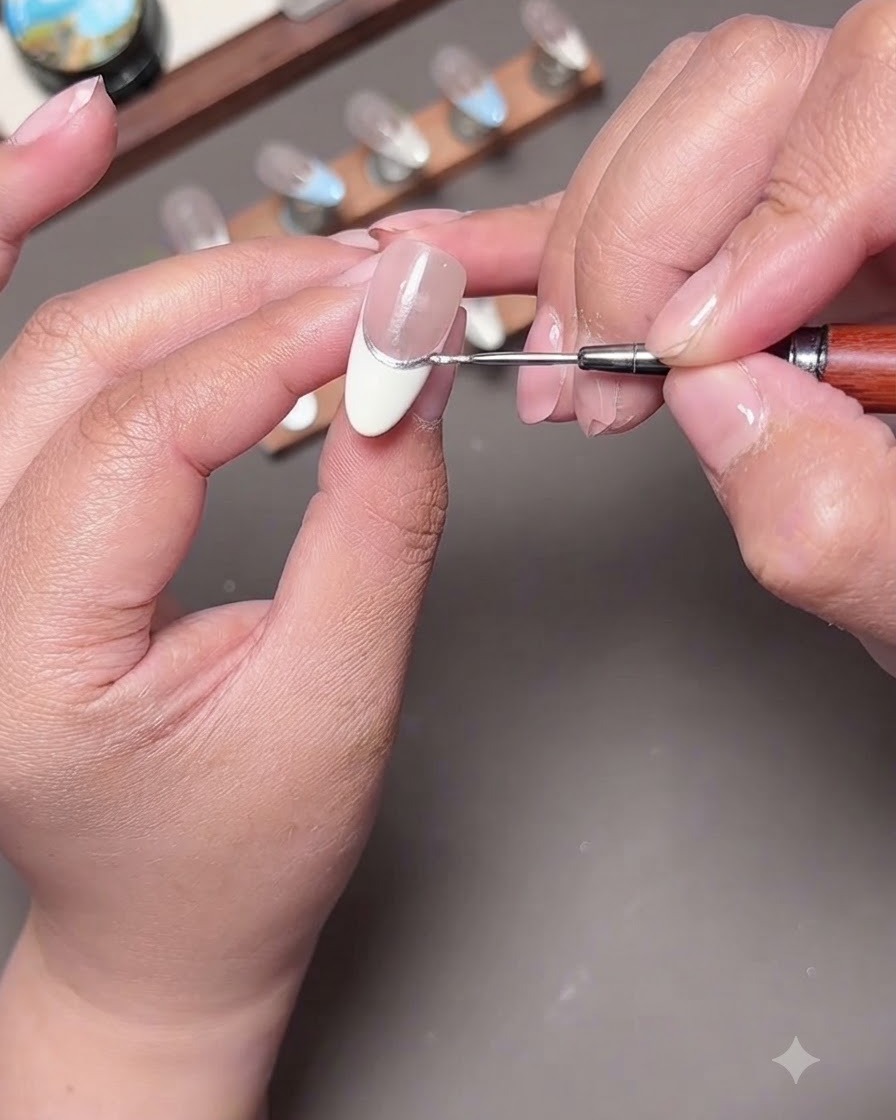
Extend and deepen the light blue French line downwards toward the cuticle area to build the layered design.
Tip: Maintain a consistent line width as you extend it down the nail bed. - 6Paint Ditsy Floral Petals
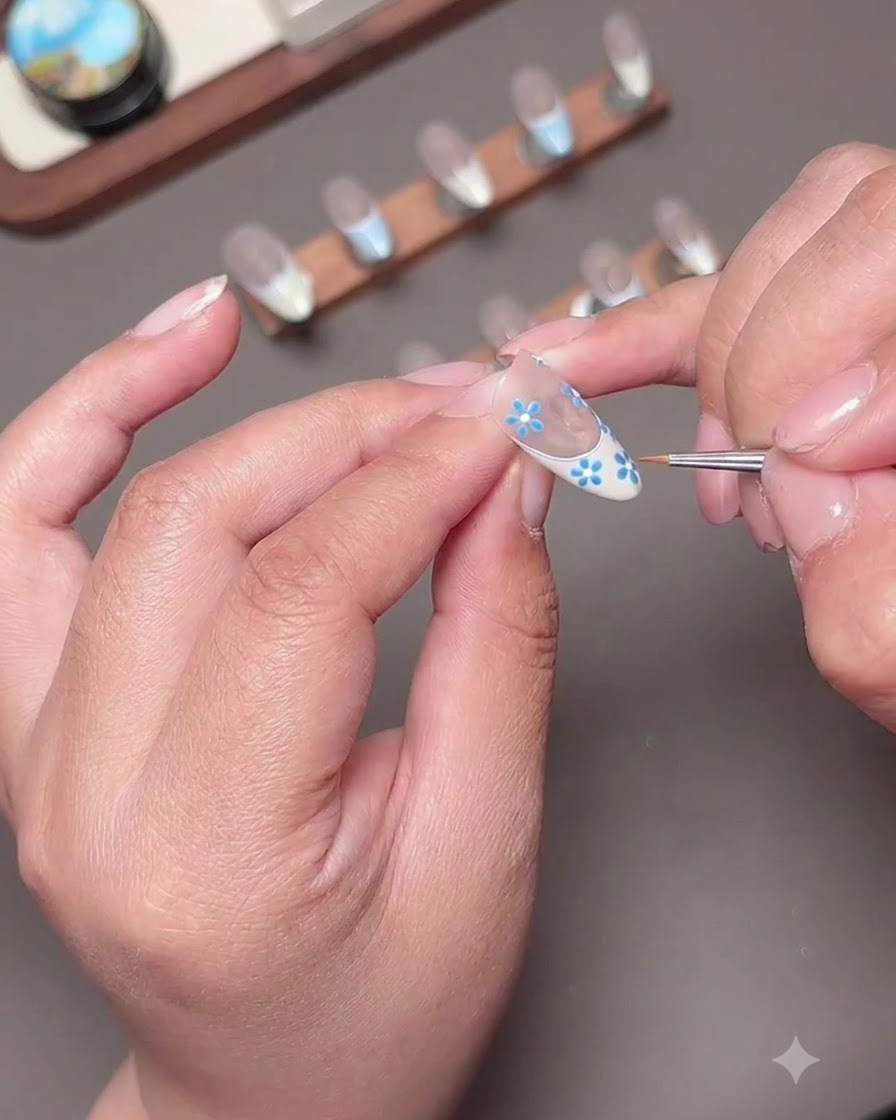
Using a fine detail brush and blue painting gel, paint small five-petal flowers onto the nail design.
Tip: Keep strokes short and uniform to form delicate miniature floral shapes. - 7Paint the Remaining Blue Petals
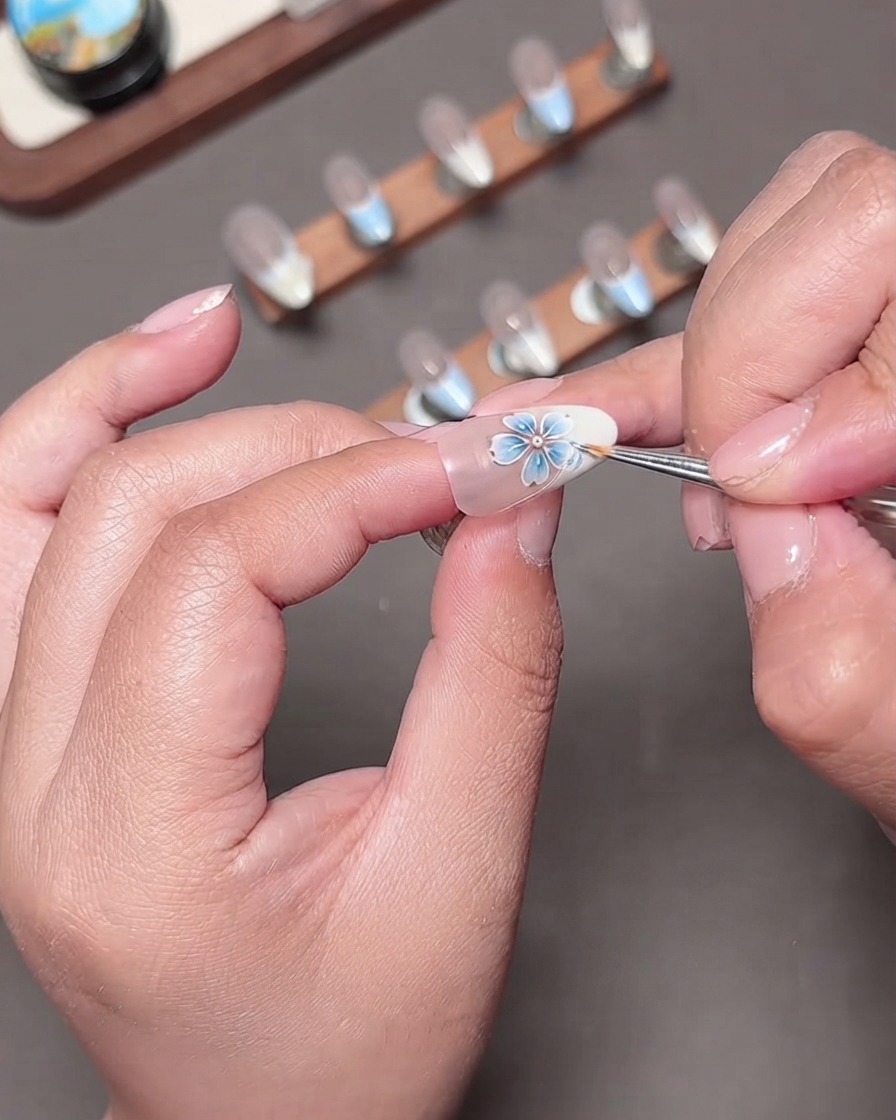
Continue painting individual strokes in a circular pattern using blue gel to form a complete, delicate five-petal floral design with light, evenly spaced strokes.
Tip: Keep your brush strokes consistent in length to ensure the flower shape looks balanced. - 8Refine the petal tips
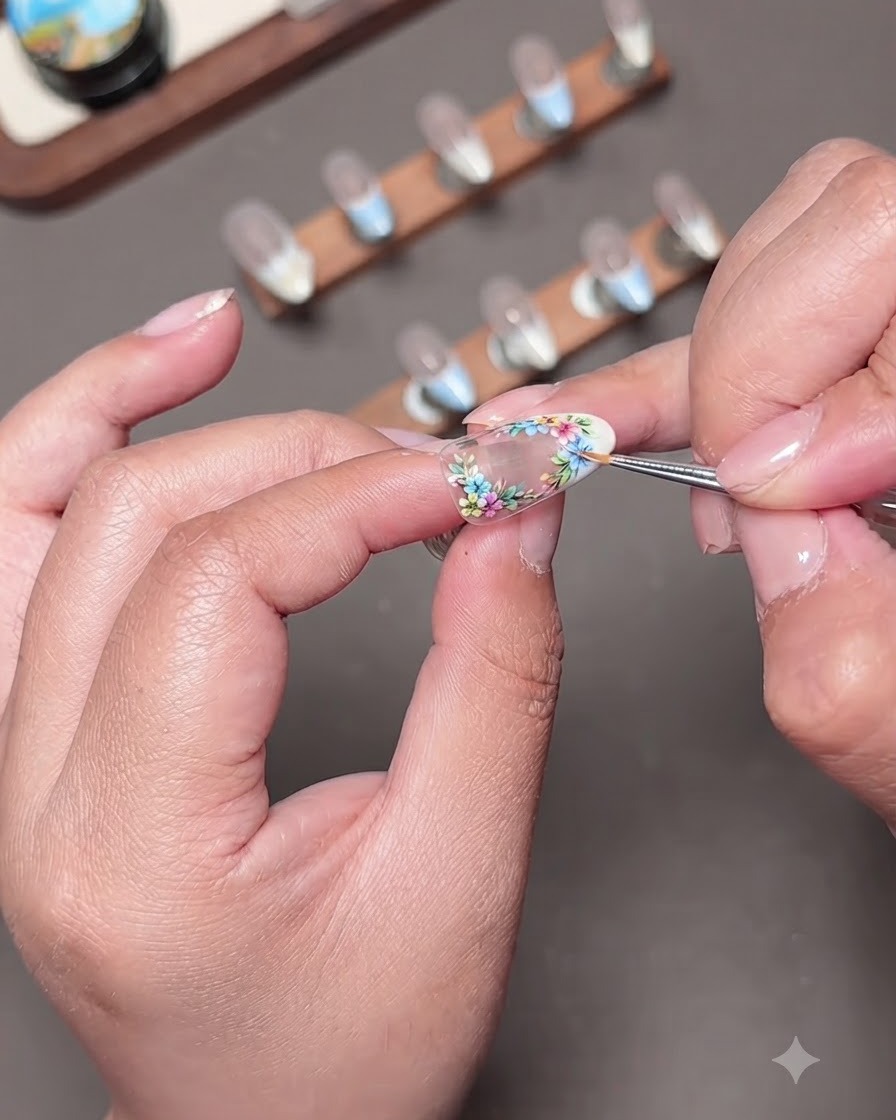
Using a fine liner brush, gently touch up and sharpen the tips of the blue petals across your floral elements. This creates a uniform and cleanly defined shape for your ditsy floral pattern.
Tip: Wipe your brush clean on a lint-free pad if you need extra precision for fine touch-ups. - 9Prepare to add flower centers
Load a fine-tipped dotting tool with bright yellow gel polish and bring it carefully toward the center of your painted flowers. Make sure you have just the right amount of gel on the tool tip to avoid smudging.
Tip: Test your dotting tool on a palette first to make sure the bead size is small and controlled. - 10Place the Flower Center
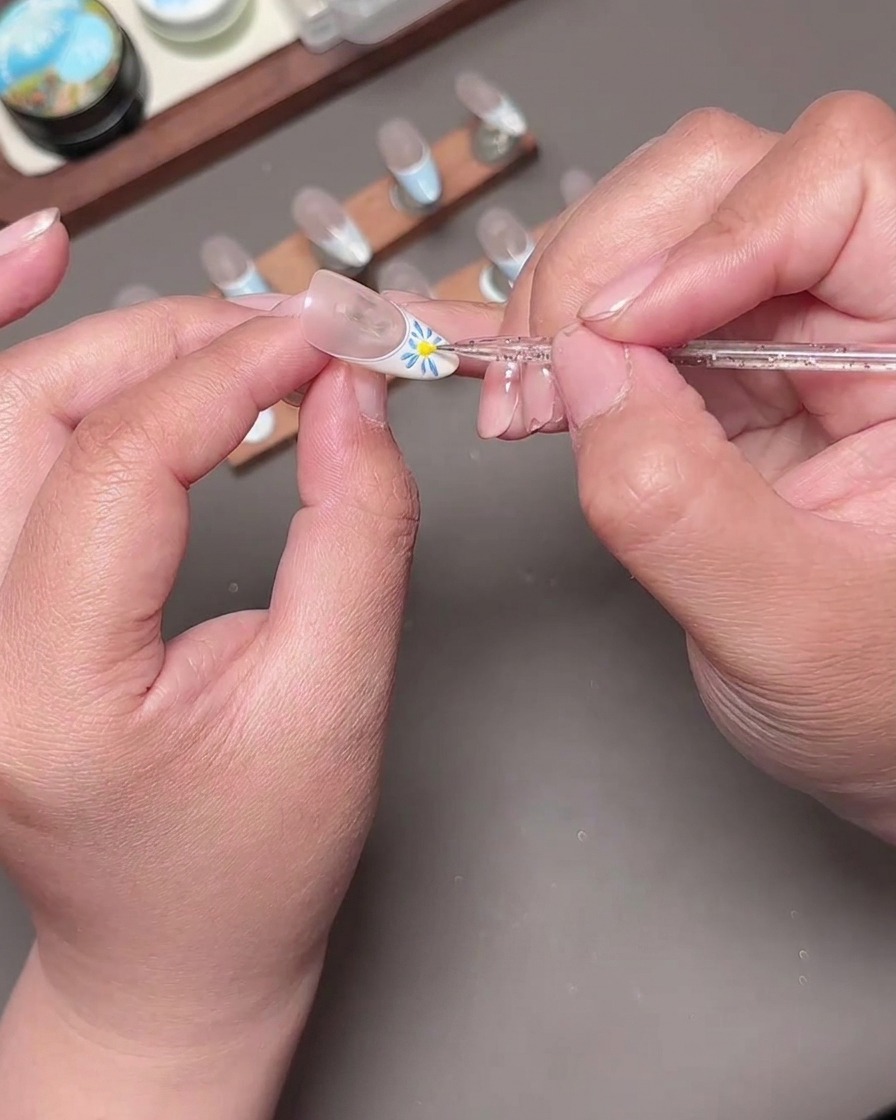
Carefully place a single, neat dot of bright yellow gel polish directly in the center of the blue five-petal flower to complete the floral core before curing.
Tip: Hold your hand steady and drop the gel straight down to create a perfectly round center dot.