Spring Creamy Yellow Floral Nail Art — Step-by-Step Tutorial
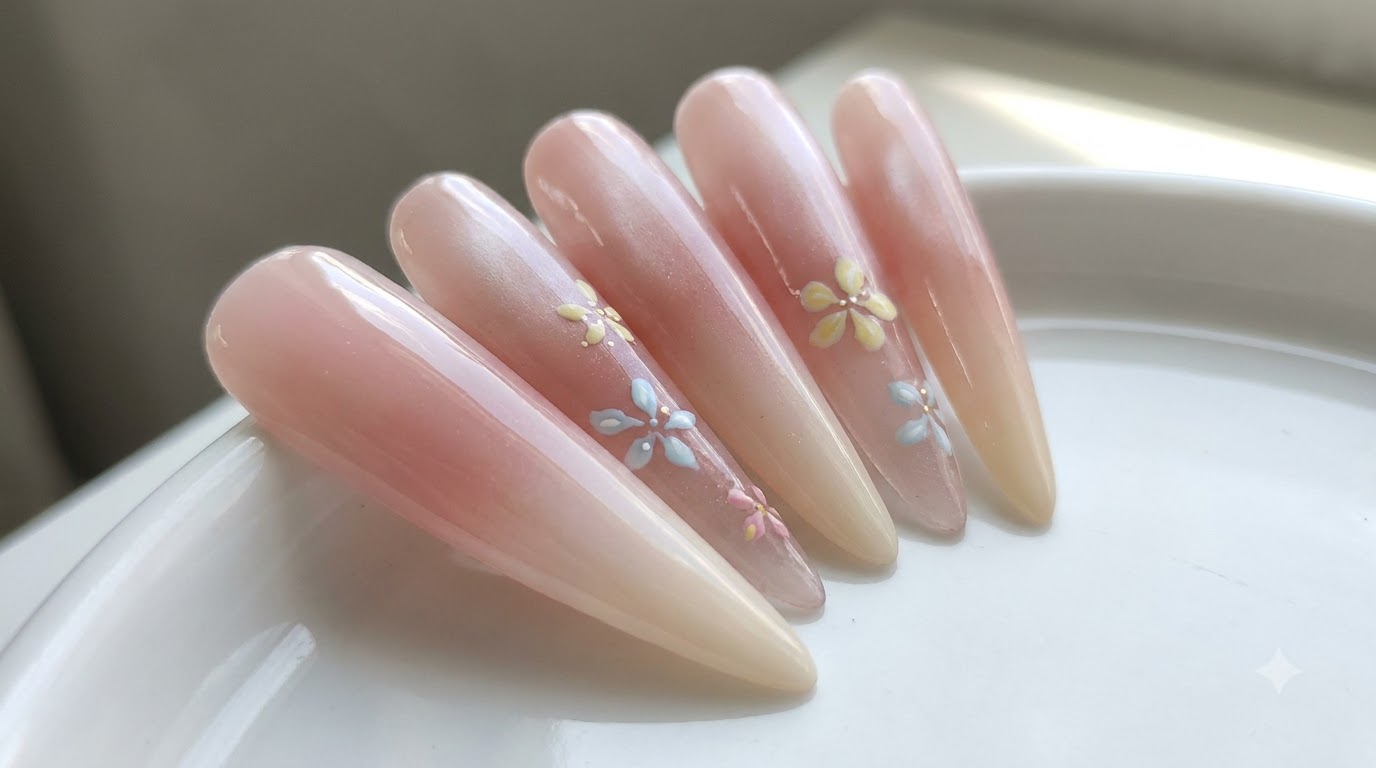
Create a dreamy spring nail look featuring a soft blush gradient, milky cat-eye shimmer, and delicate hand-painted floral art with 3D accents.
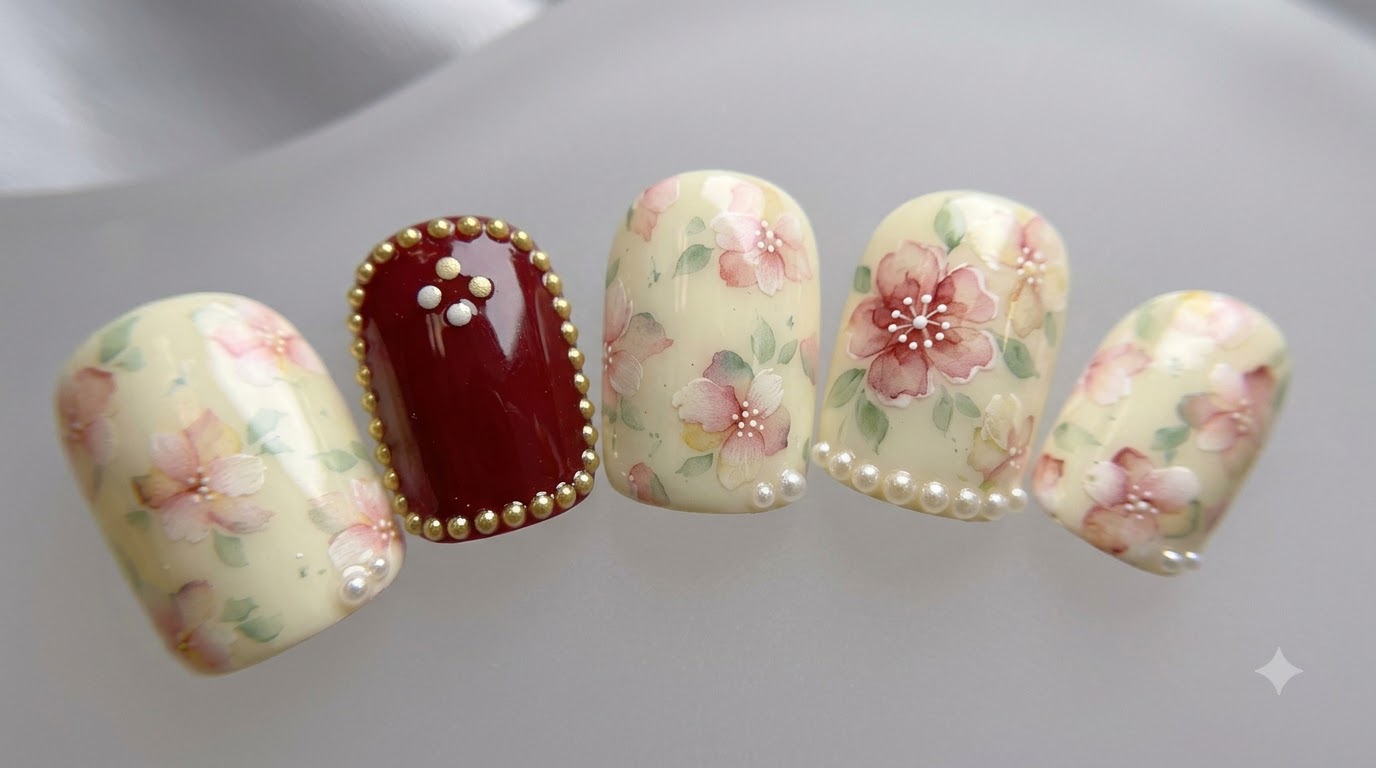
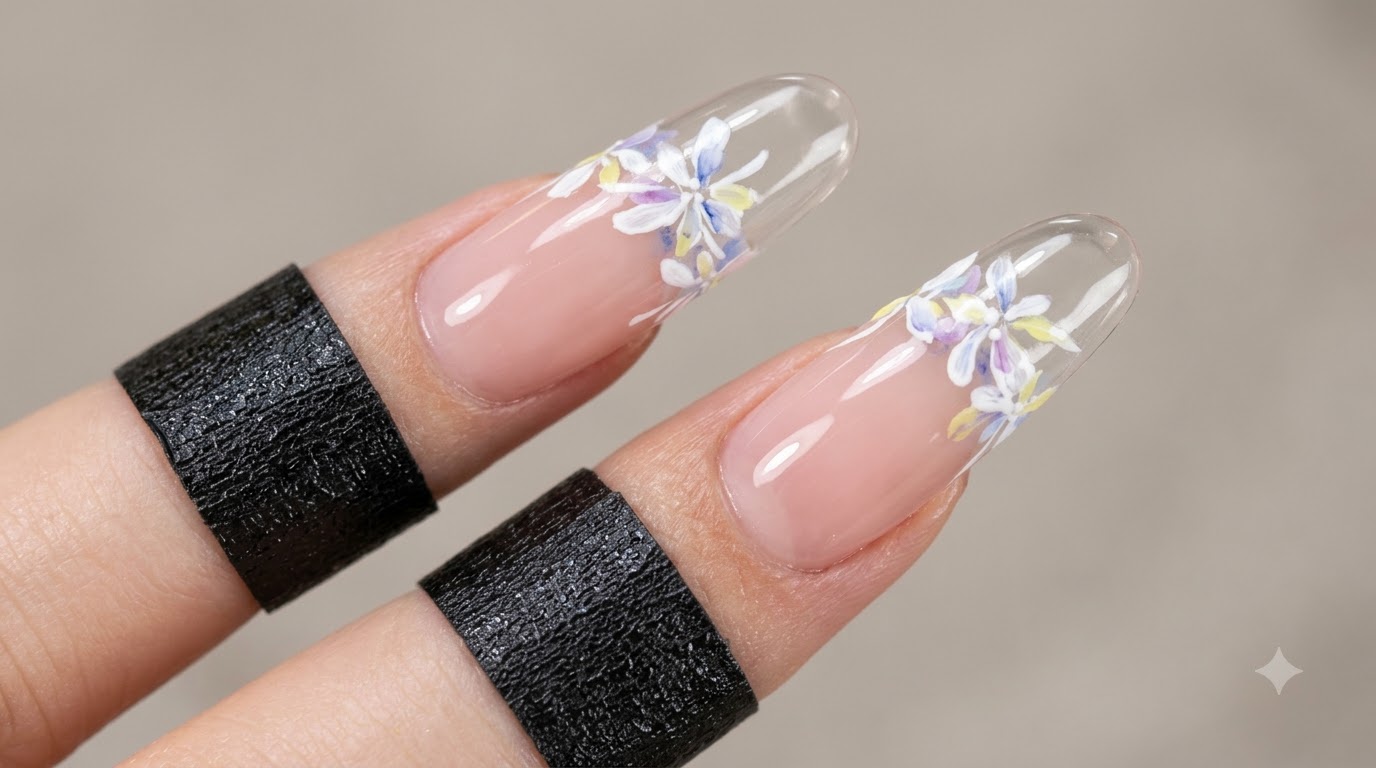
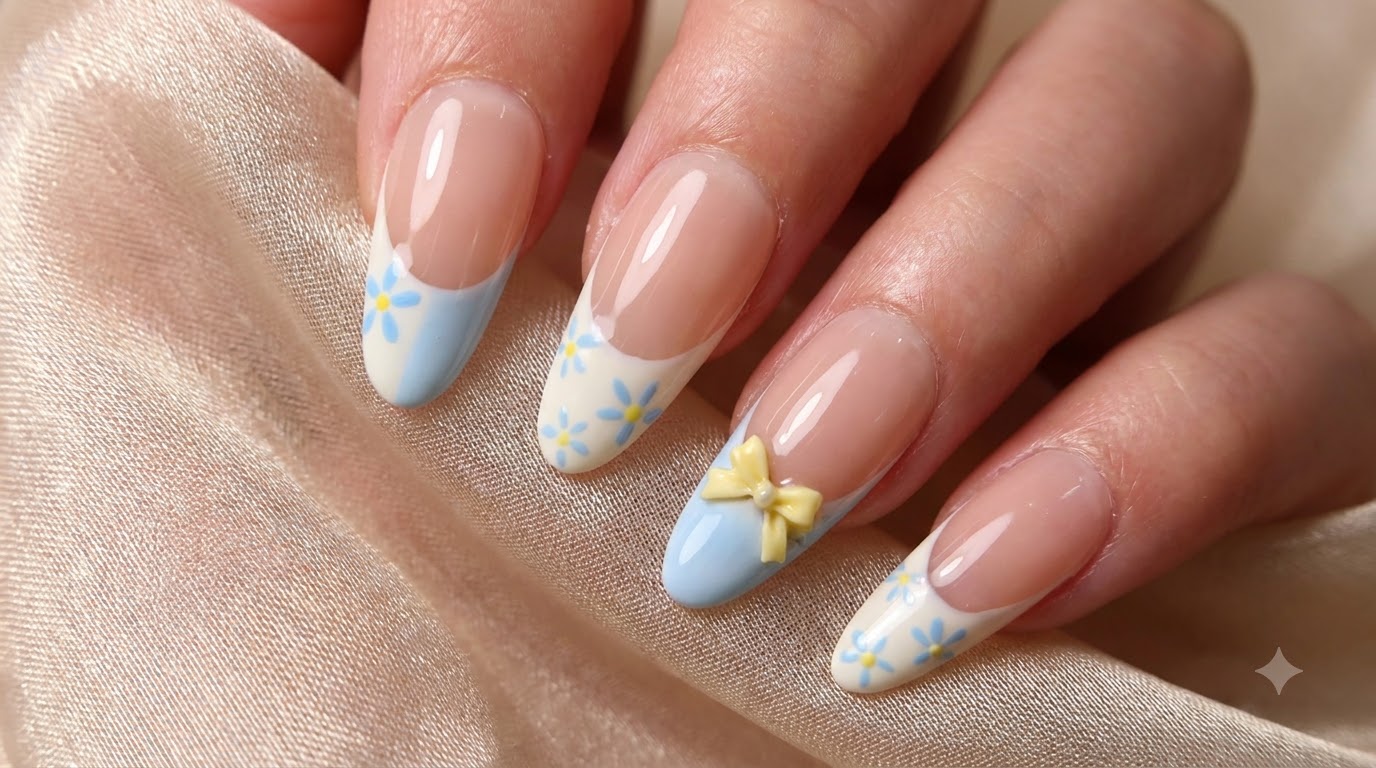
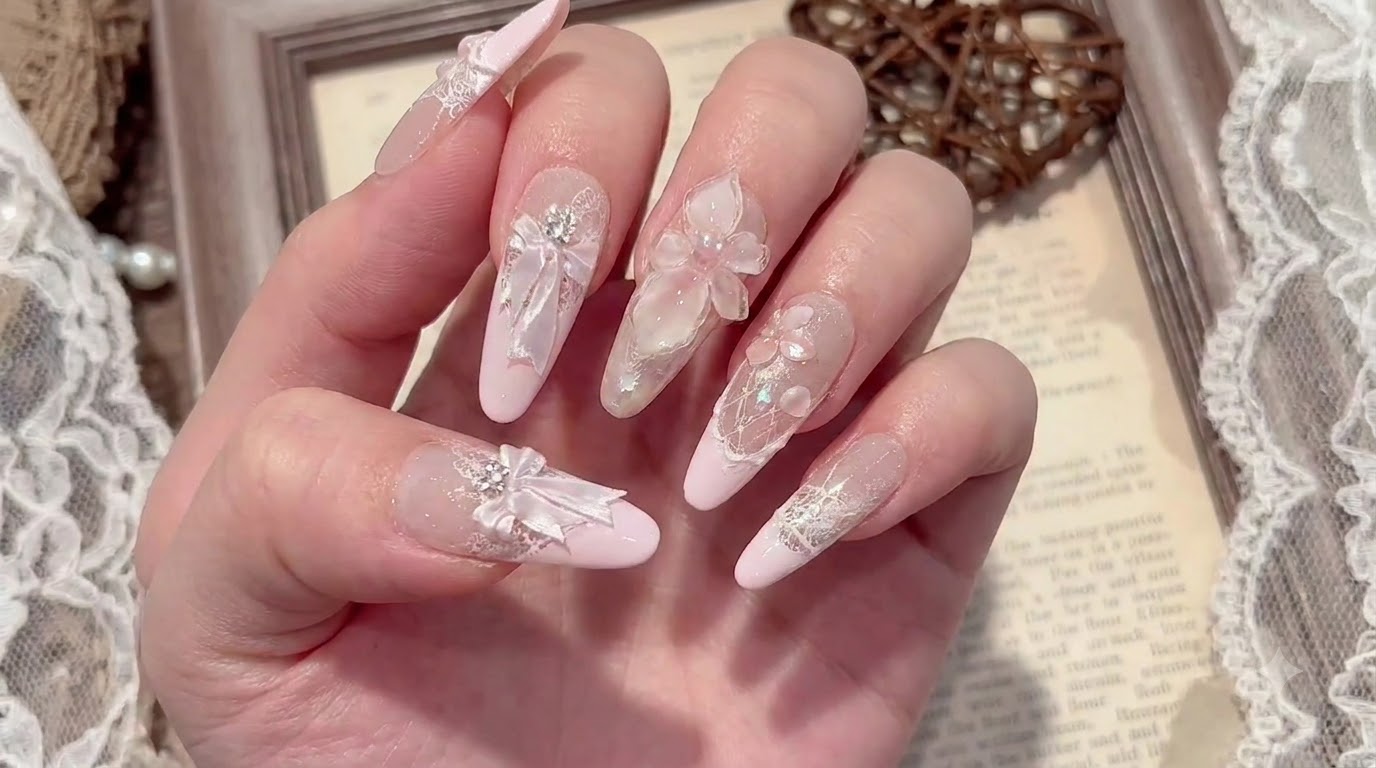
Embrace the freshness of spring with this stunning fragmented floral nail art look. Combining a soft blush-to-milky base with luminous cat-eye shimmer, creamy yellow gradients, and delicate hand-painted blossoms, this design captures the ultimate seasonal charm. It is a wonderful way to elevate your manicure style with professional-looking details right at home.
Steps
- 1Apply Pink Blush Base Color
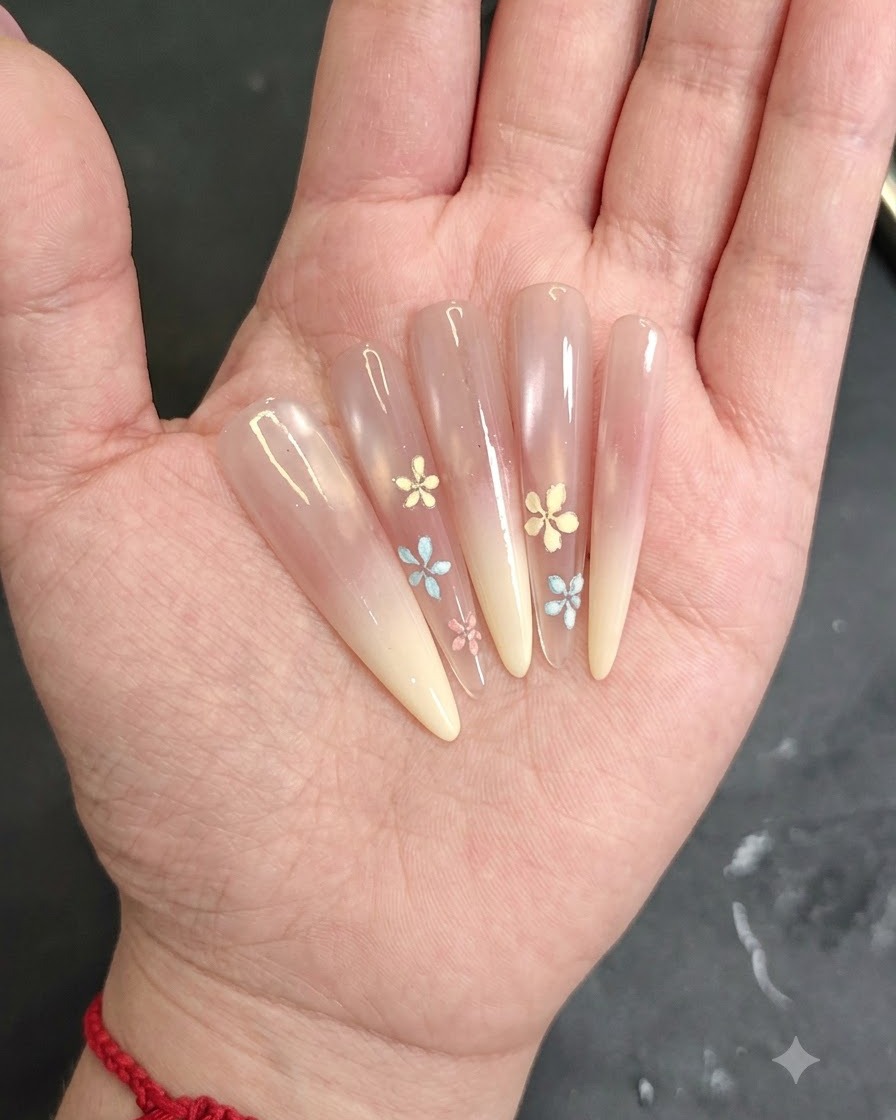
Apply pink blush color gel specifically to the nail tip area to create a soft, translucent base for your spring-style fragmented flower design, ensuring smooth coverage before curing under your lamp.
Tip: Keep the blush color layer thin and concentrated near the tip to create a natural gradient look. - 2Smooth Out the Blush Gel
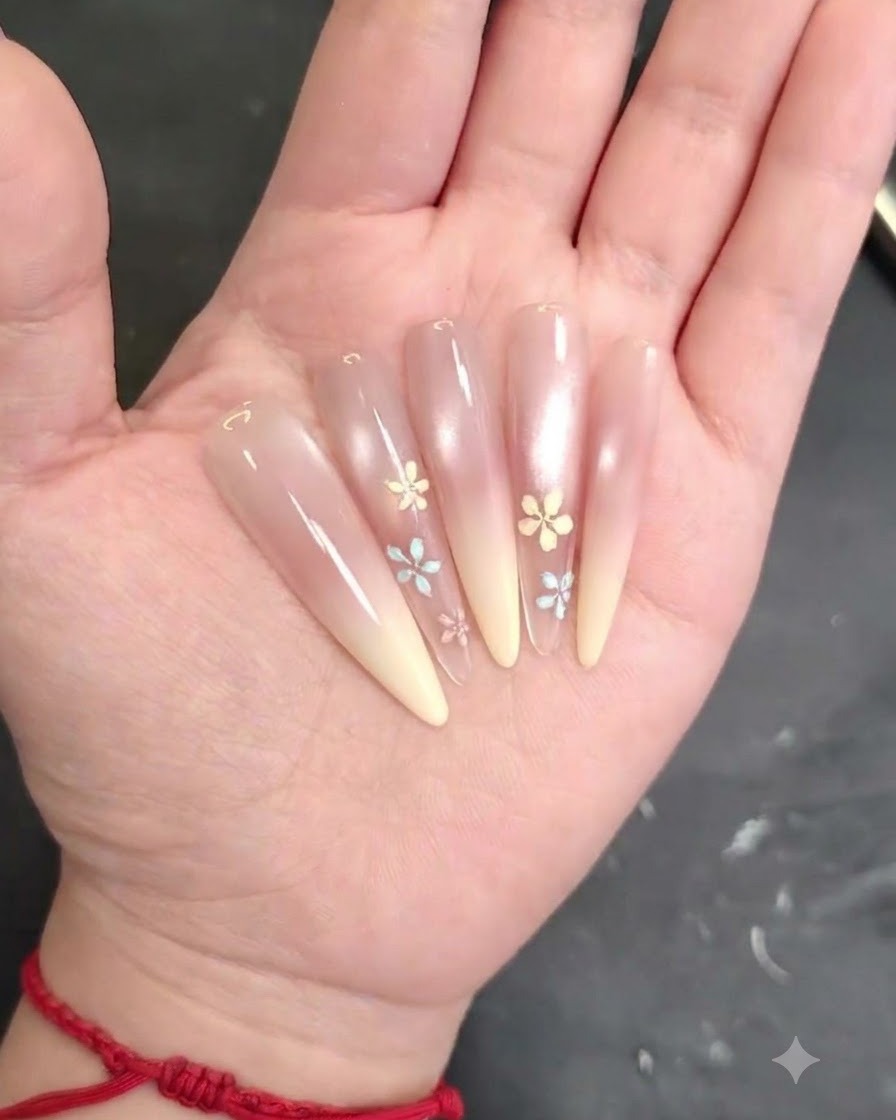
Using your brush, gently smooth out the pink blush color gel so that it spreads evenly and transitions nicely across the nail surface without any harsh streaks or pooling.
Tip: Light, feathery brush strokes help achieve a seamless, diffused watercolor effect. - 3Apply Clear Gel Base
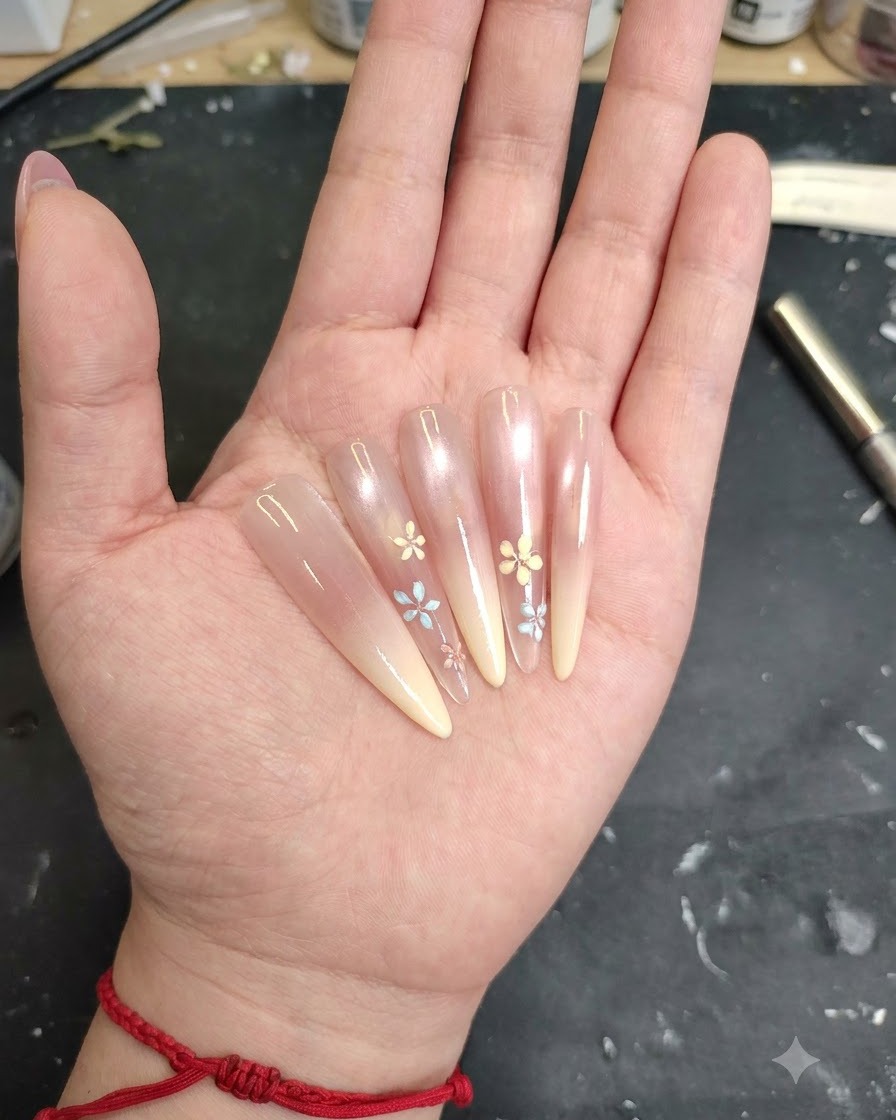
Apply a base coat of clear gel over the prepped and colored nail surface to protect the design and provide a smooth foundation for the next layers. Cure thoroughly under the lamp.
Tip: Cap the free edge with the clear gel to prevent premature chipping and lifting. - 4Apply White Cat-Eye Gel
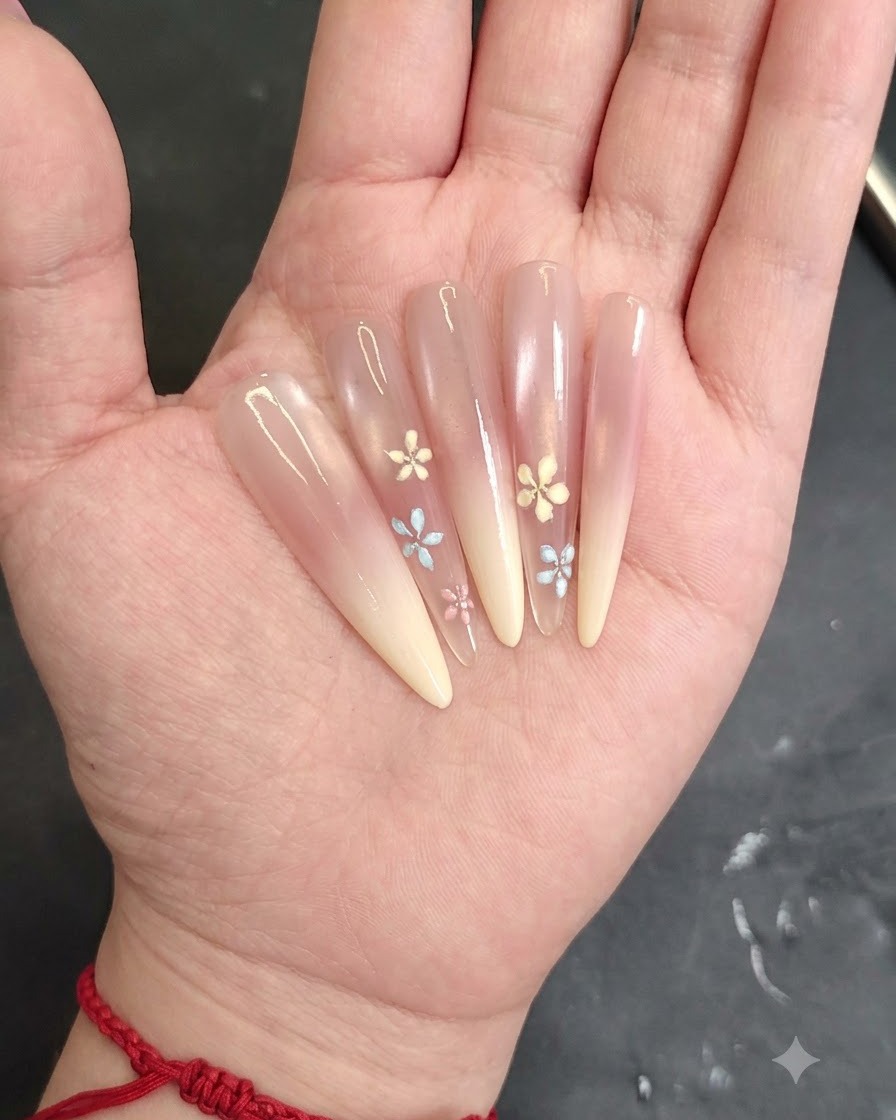
Apply a milky white cat-eye gel specifically to the upper half of the nail to introduce luminous dimension and contrast against your pink blush base layer without curing yet.
Tip: Do not cure immediately after application, as you will need the gel to be wet for the next magnet step. - 5Blend Cat-Eye Gel
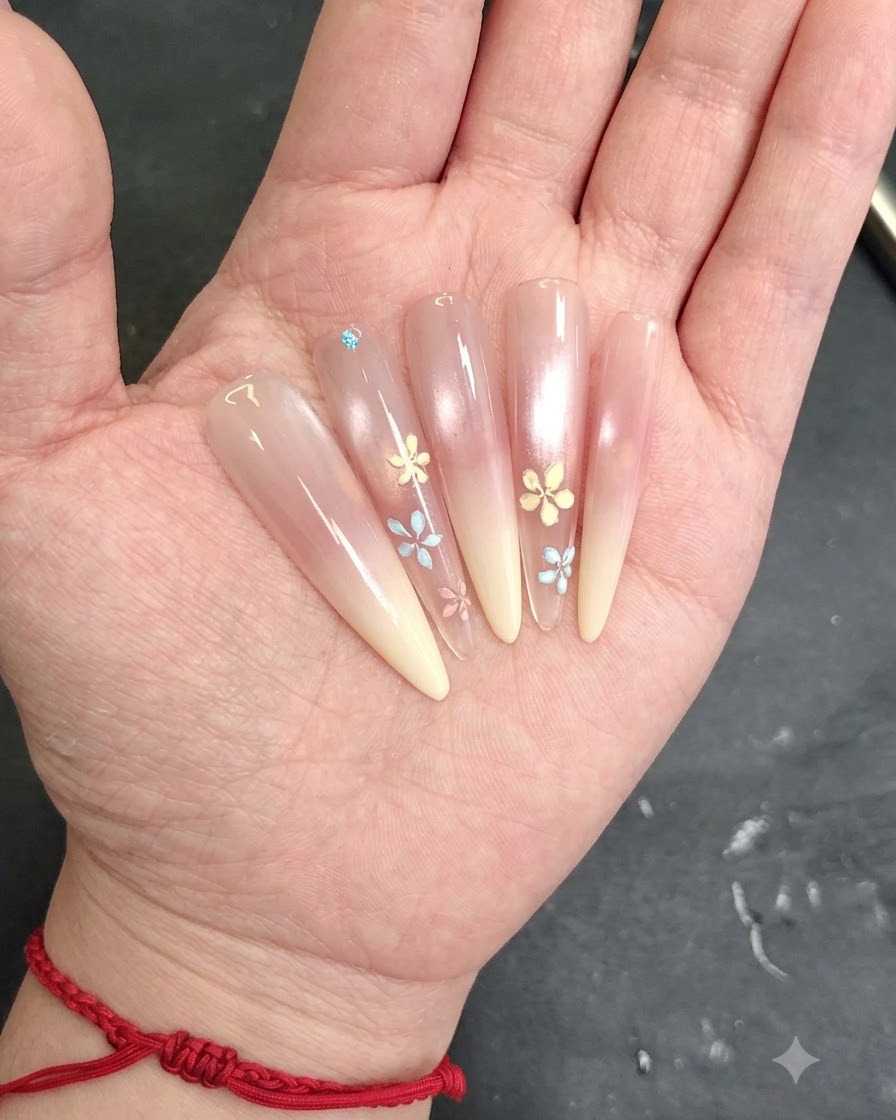
Use a clean brush to gently blend the edges of the white cat-eye gel, ensuring a soft, gradual transition into the lower half of the nail.
Tip: Light taps or gentle sweeping strokes will prevent wiping away too much product while softening the boundary. - 6Create Cat-Eye Effect with Magnet
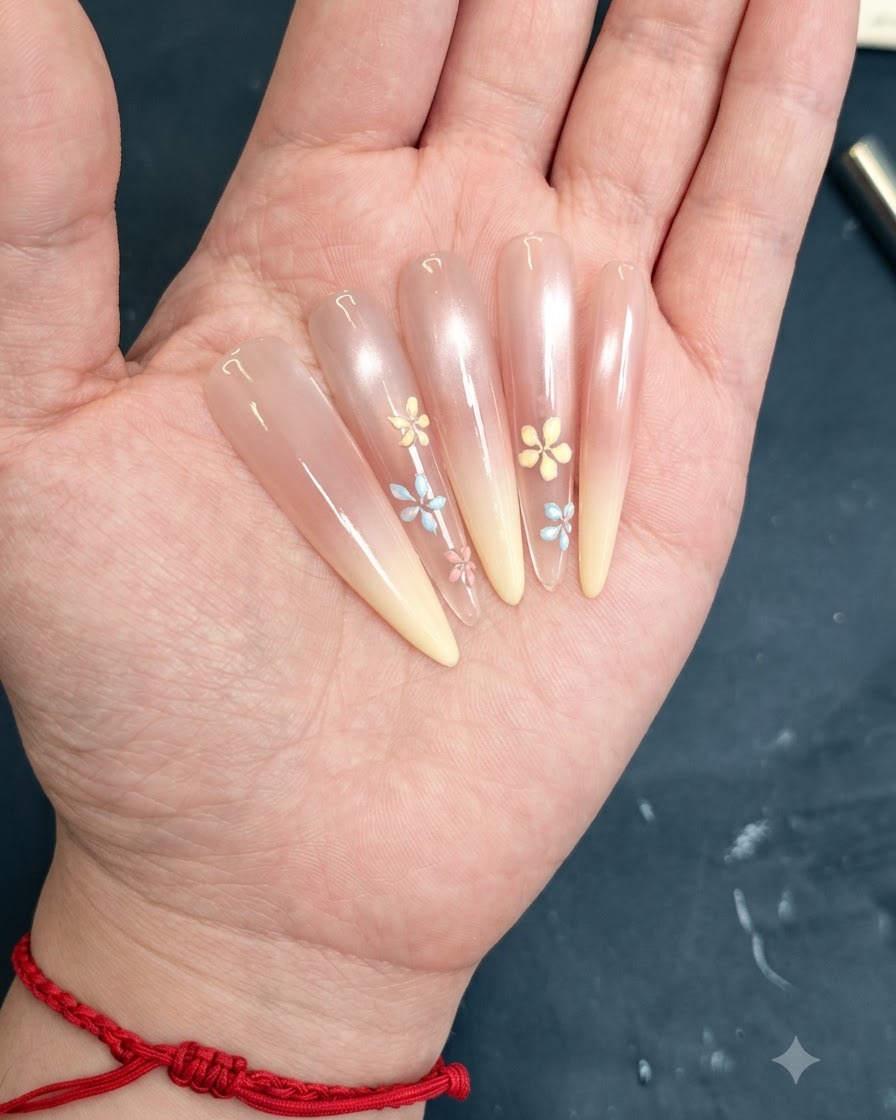
Hold a magnet close to the nail surface to activate the magnetic particles in the cat-eye gel, concentrating the shimmer into the desired glowing streak before curing.
Tip: Keep the magnet steady for a few seconds to achieve a sharp, well-defined magnetic line. - 7Create a Creamy Yellow Gradient
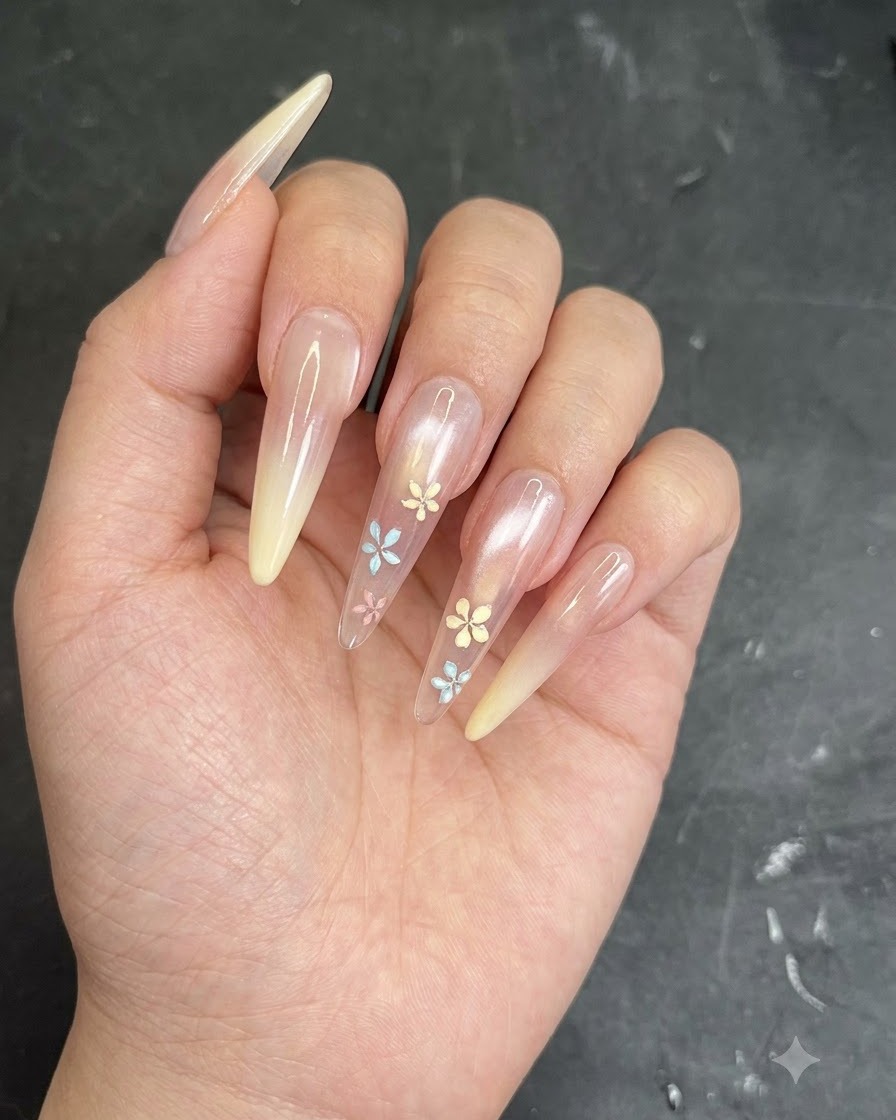
Using creamy yellow gel, gently tap product onto the nail tip to build up a soft gradient effect that complements the cat-eye base underneath.
Tip: Tap lightly with your brush or sponge to keep the color transition smooth and even. - 8Apply top coat
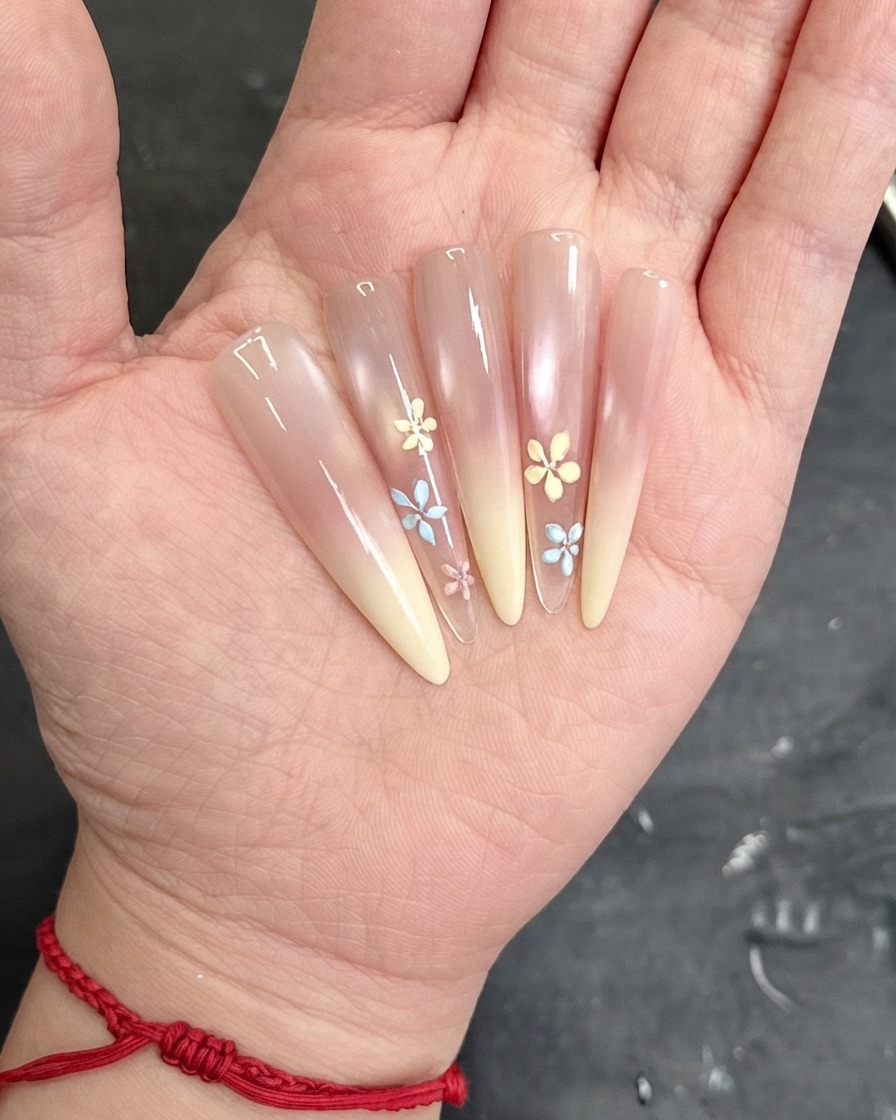
Apply a protective layer of top coat over the cured gradient and cat-eye nail design to seal everything in and give it a glossy finish before doing nail art.
Tip: Cap the free edge to ensure long-lasting wear and prevent chipping. - 9Paint the first flower petal
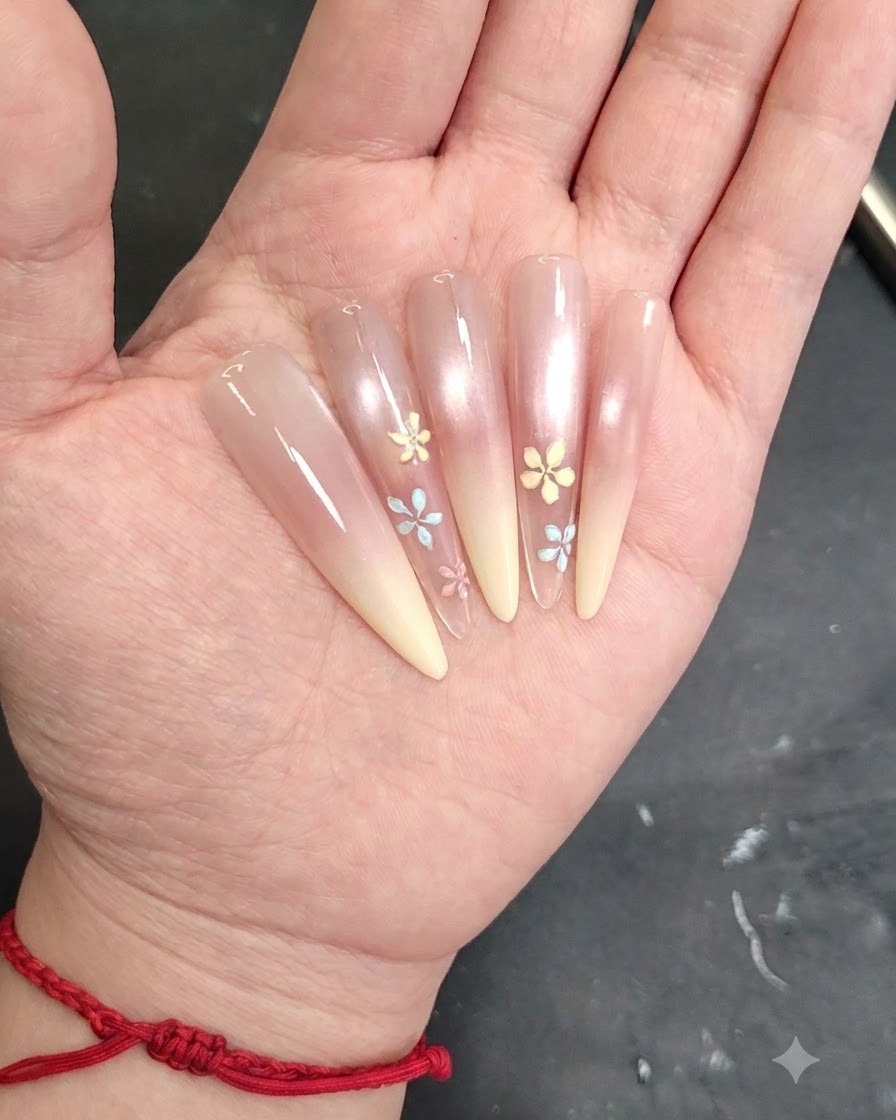
Dip a fine liner brush into your chosen petal gel color and carefully paint the first individual petal of a small floral design directly onto the nail surface. Keep the stroke precise and delicate.
Tip: Keep your brush strokes light and steady to ensure clean petal shapes. - 10Complete the flower petals
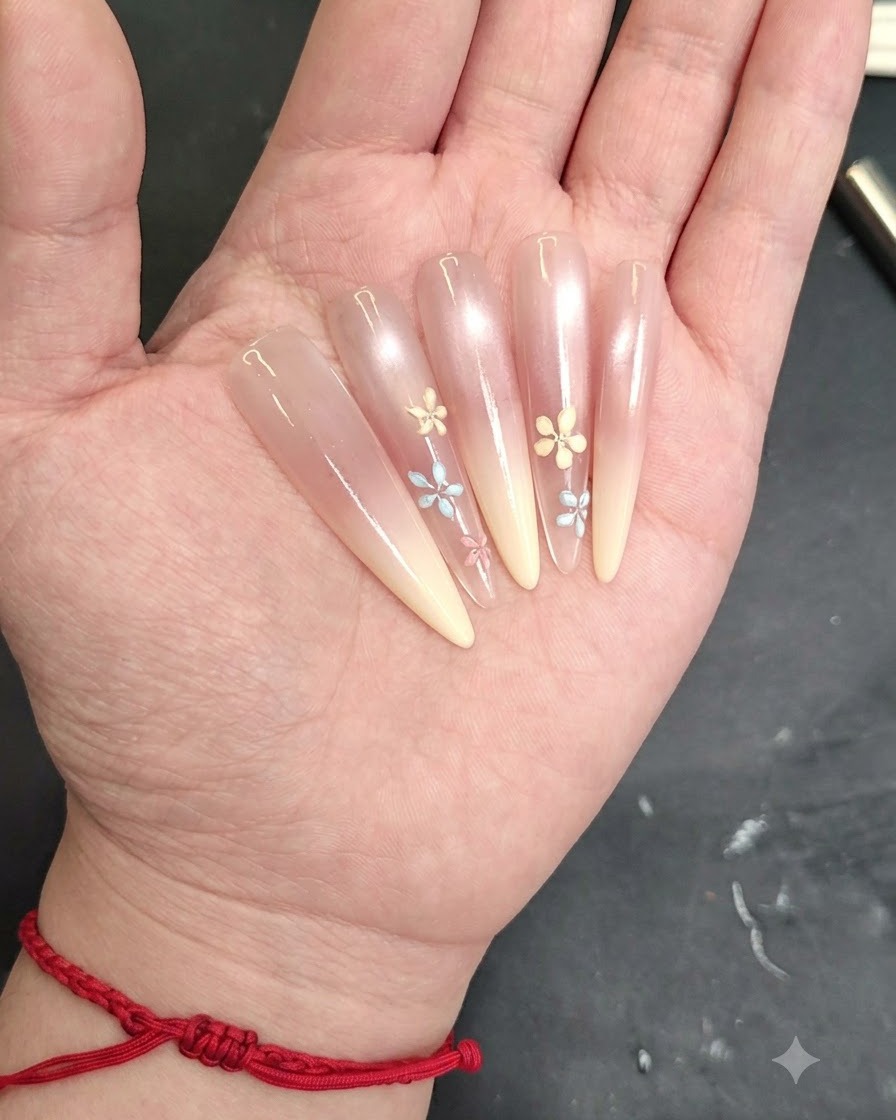
Continue using your liner brush and gel to draw more petals around the center point, finishing out the shape of the small flower design on the nail surface.
Tip: Space your petals evenly around the center for a balanced, realistic floral appearance. - 11Add flower center detail
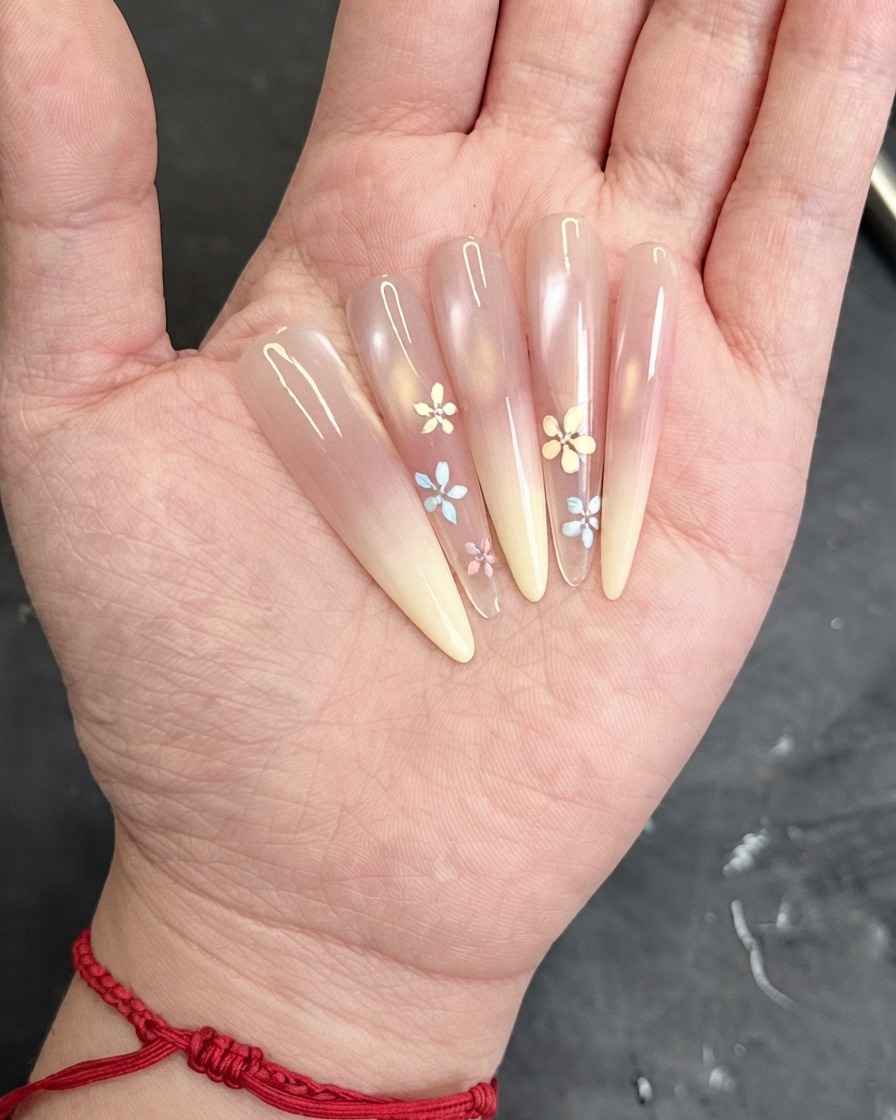
Take a dotting tool and place a tiny dot of contrasting gel right in the center of the completed flower to bring out the floral detail.
Tip: Use a small dotting tool bead to keep the center proportional to the delicate petals. - 12Add 3D Effect to Petals
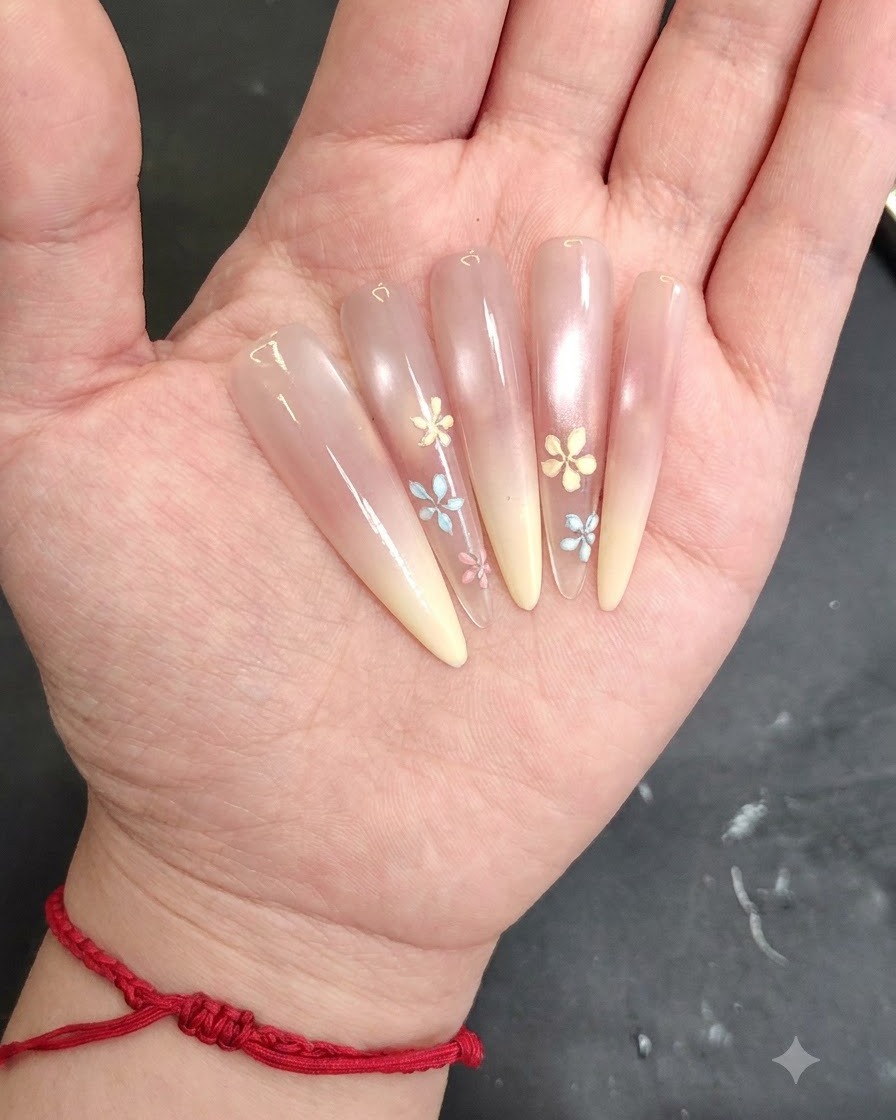
Apply hard gel carefully over the painted flower petals to give them a raised, dimensional 3D texture before curing the final design under your UV or LED lamp.
Tip: Apply the hard gel carefully so it stays within the boundaries of each petal. - 13Cure the floral nail art
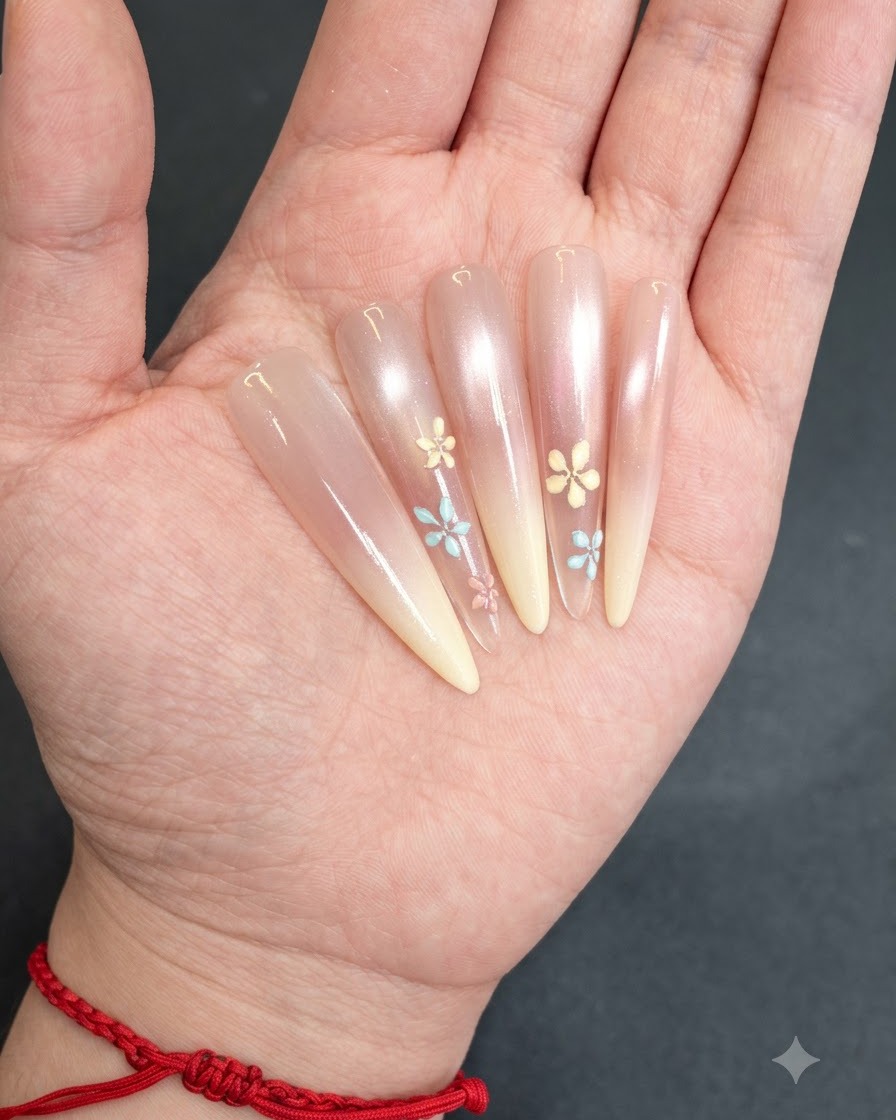
Place your nails under the UV or LED curing lamp to completely harden the newly painted flower design so it stays locked in place and ready for the next steps.
Tip: Ensure the gel art is fully exposed to the lamp light to prevent any shifting during finishing steps. - 14Refine flower details
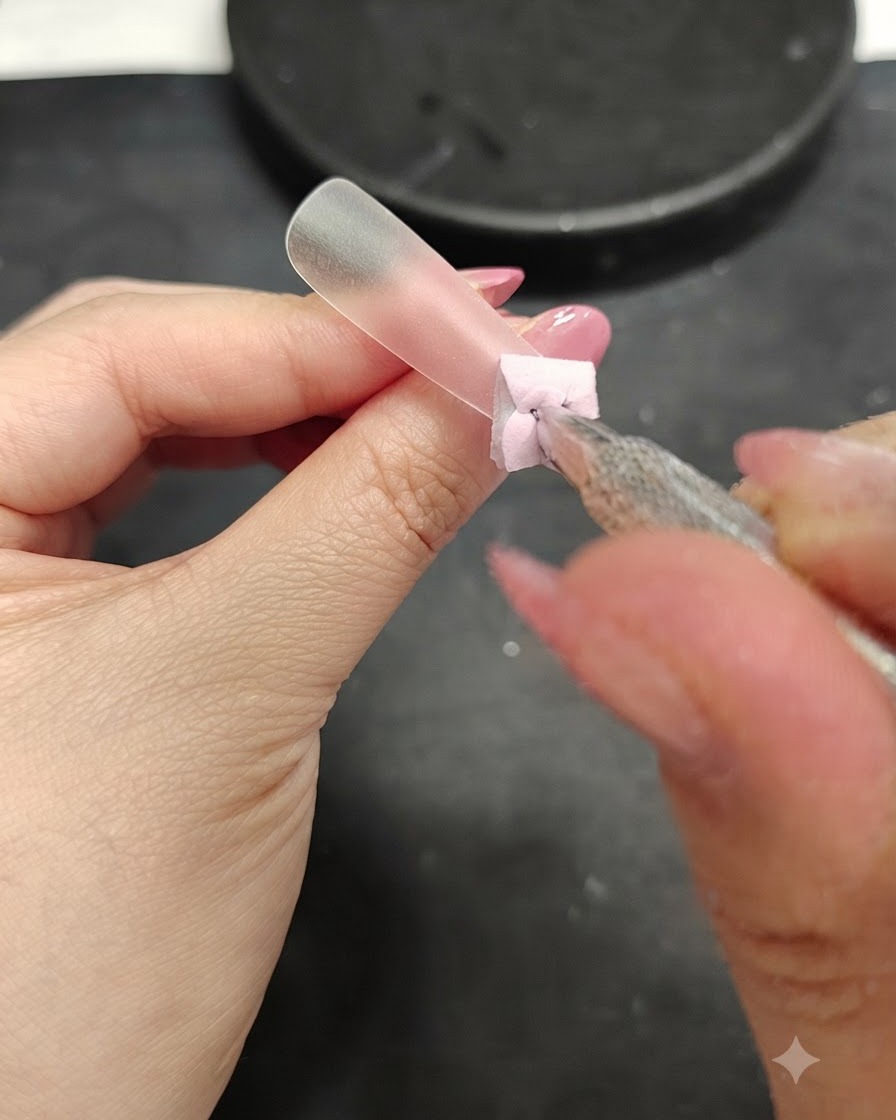
Take your fine brush and add any final touch-ups or adjustments needed to the flower petals to make the fragmented flower art look crisp and clean.
Tip: Check your symmetry and clean up any edges before moving on to the top coat. - 15Seal with Final Top Coat
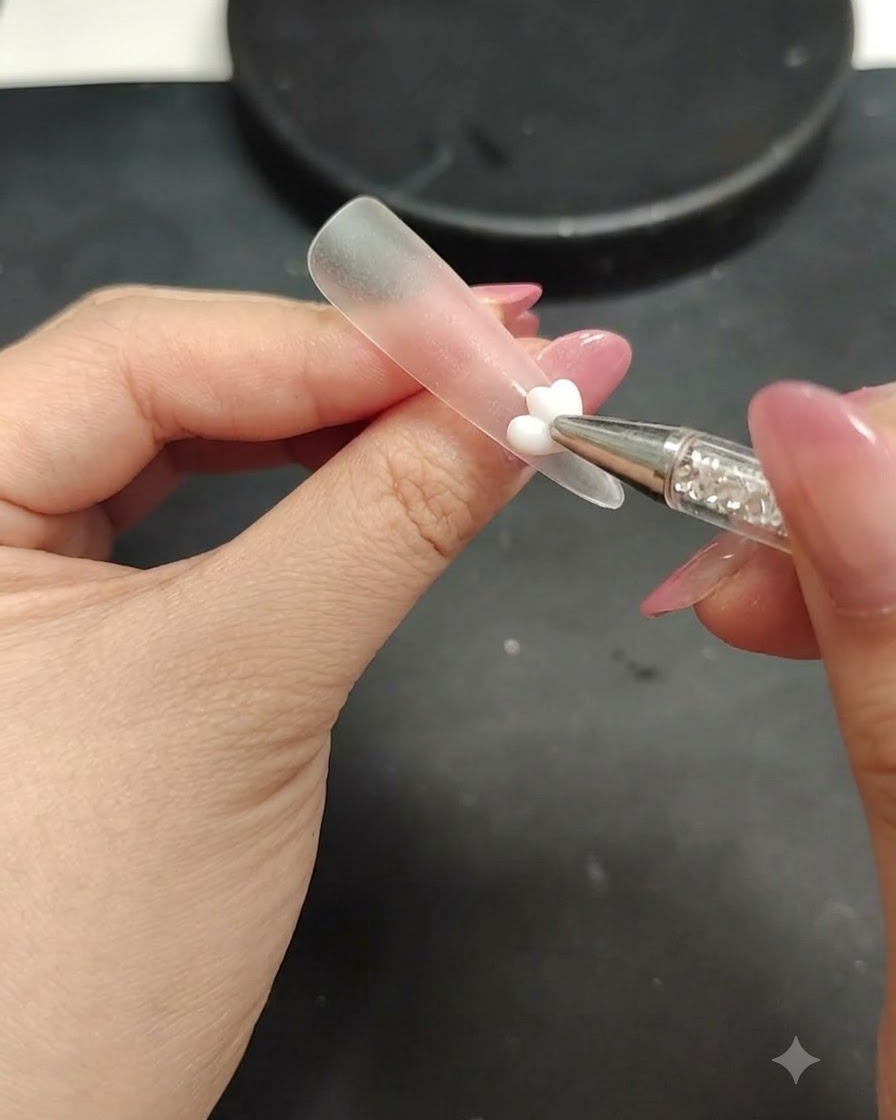
Apply a final sealing top coat over the entire nail design to protect the fragmented flowers and the gradient background, carefully capping the free edge for a long-lasting, high-gloss finish.
Tip: Cap the free edge carefully with the top coat to prevent chipping and premature lifting.