Watercolor Floral Short Nails — Elegant Pastel Gel Tutorial
Create delicate watercolor floral nail art on a pale yellow base with layered petals, soft gradients, and fine detailing.
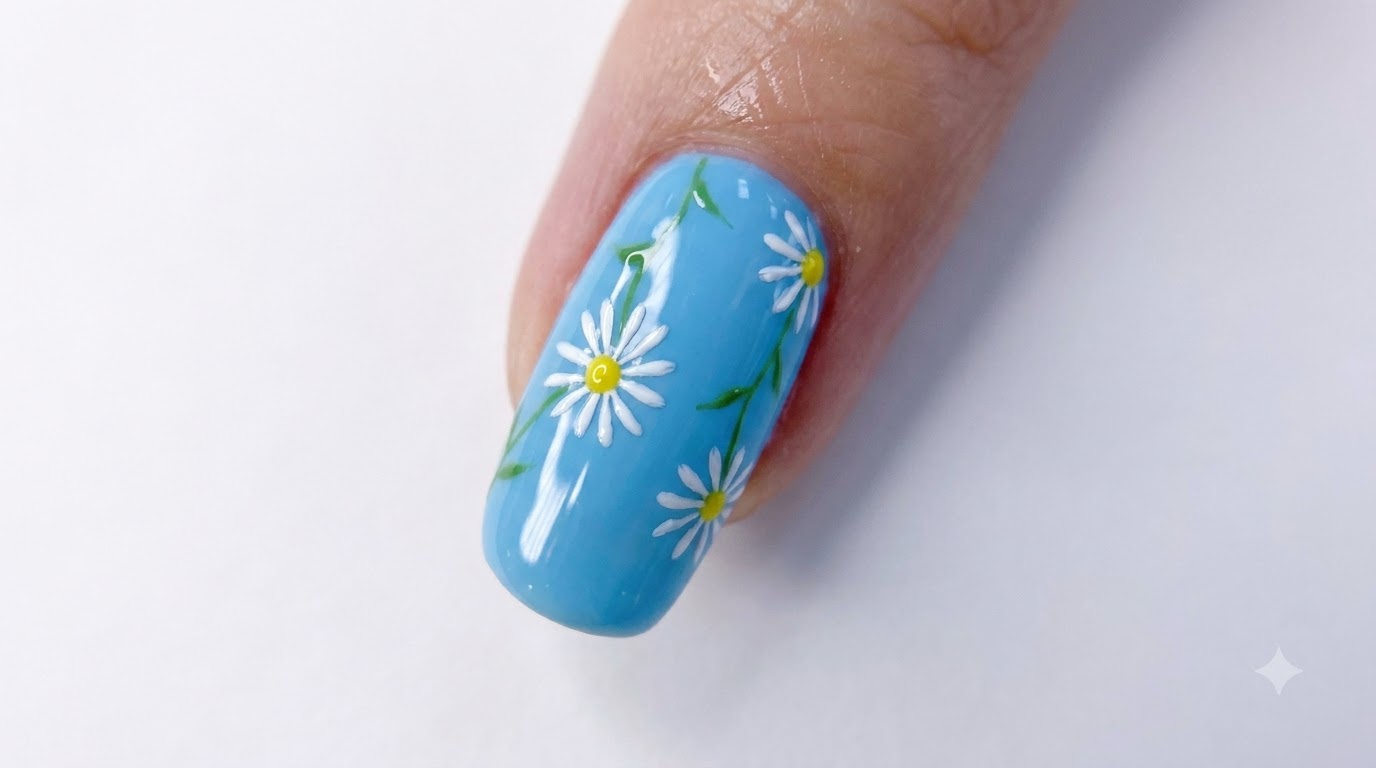
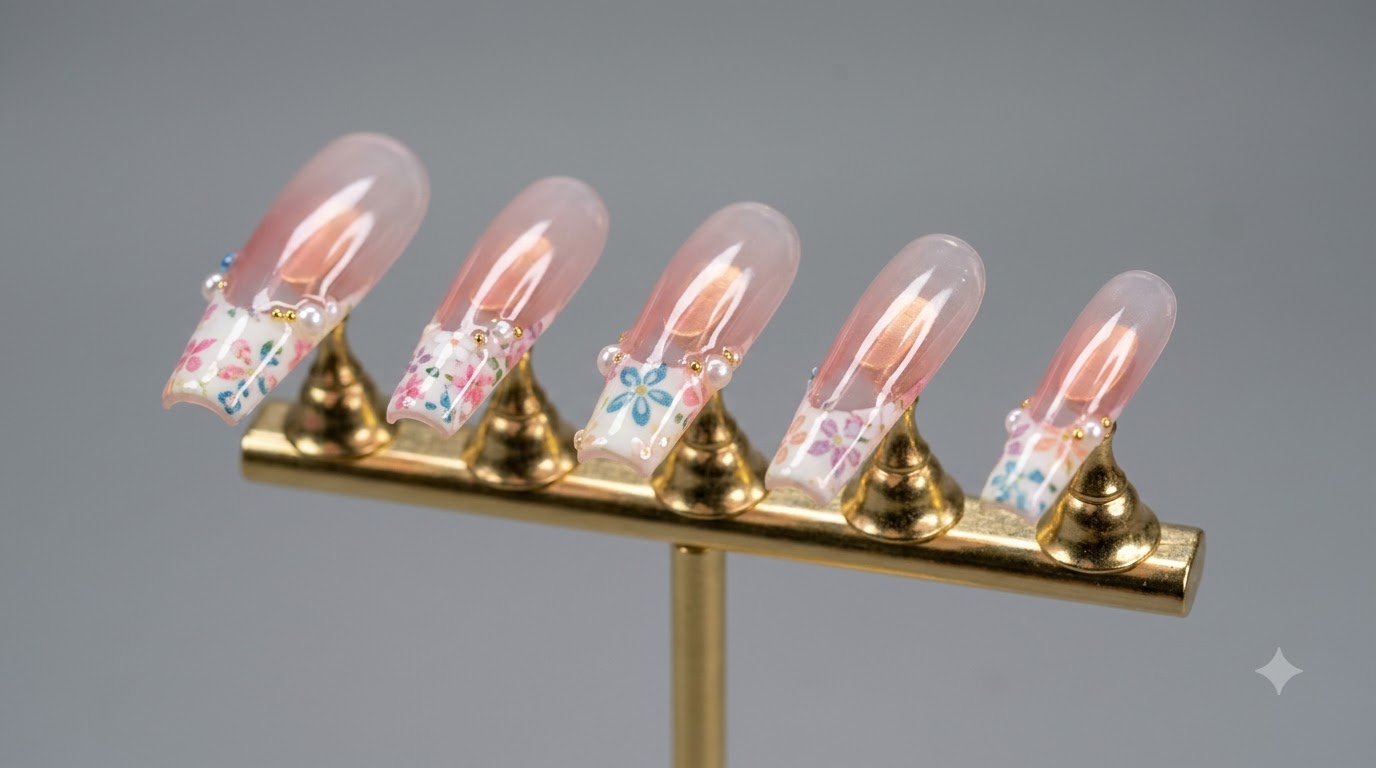
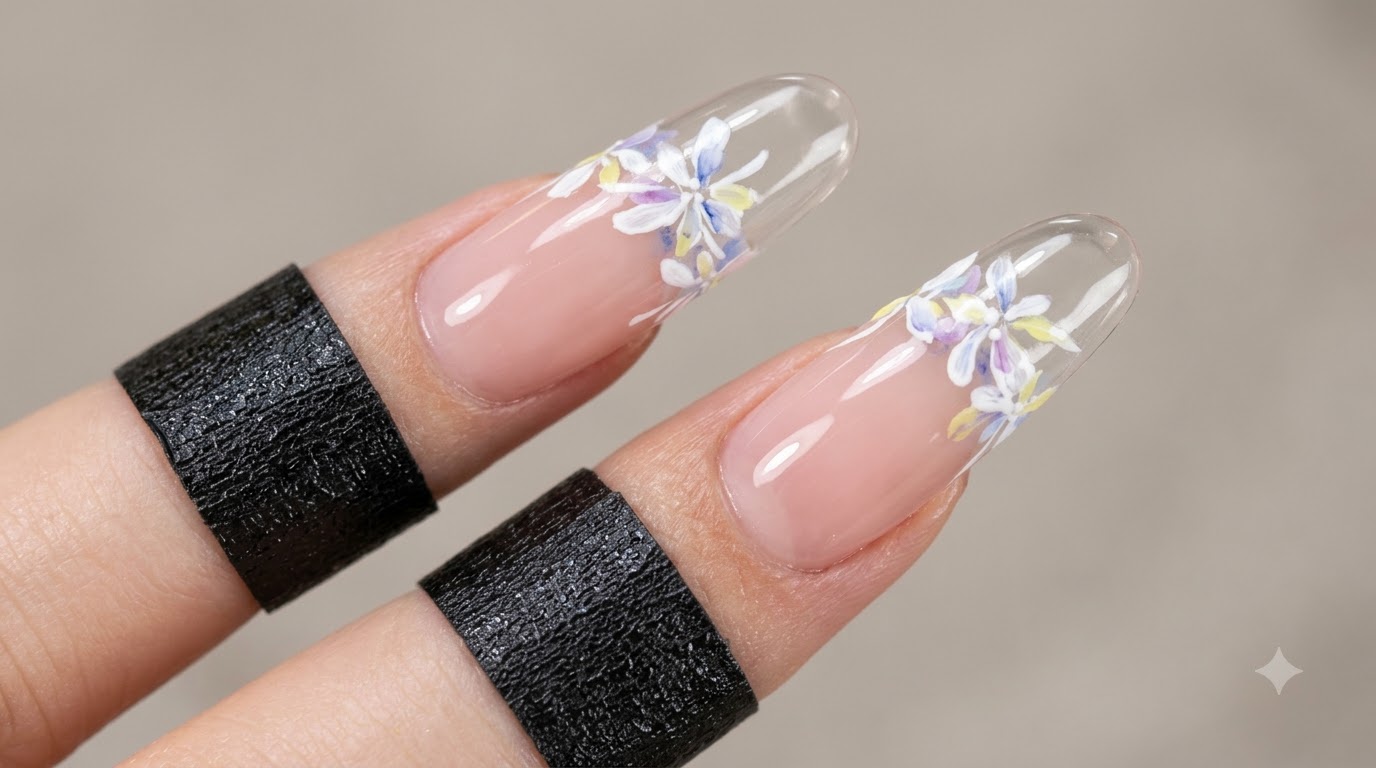
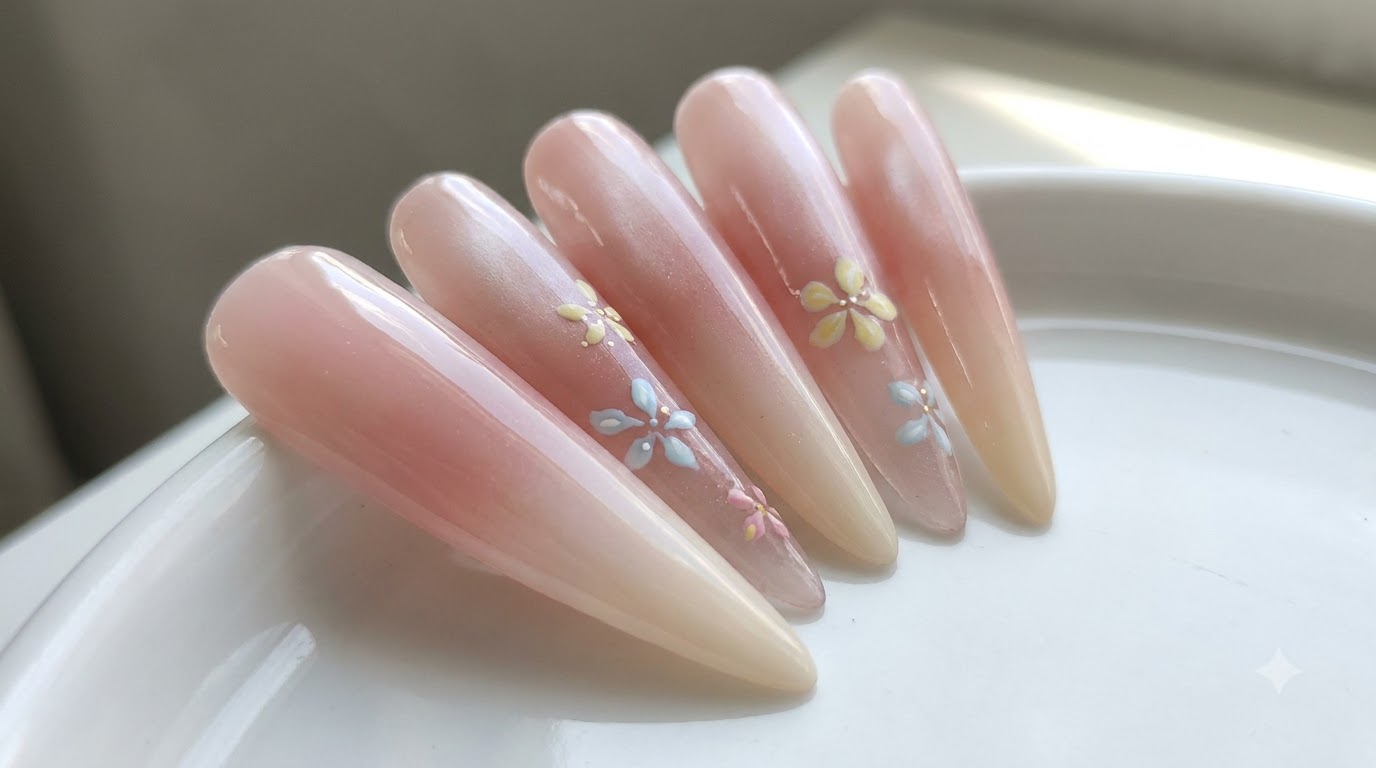
Watercolor floral nails offer a dreamy, artistic aesthetic that mimics delicate hand-painted spring blossoms. By layering translucent watercolor washes over a smooth matte base and accenting with fine gel linework, you can achieve a sophisticated gallery-worthy manicure right at home.
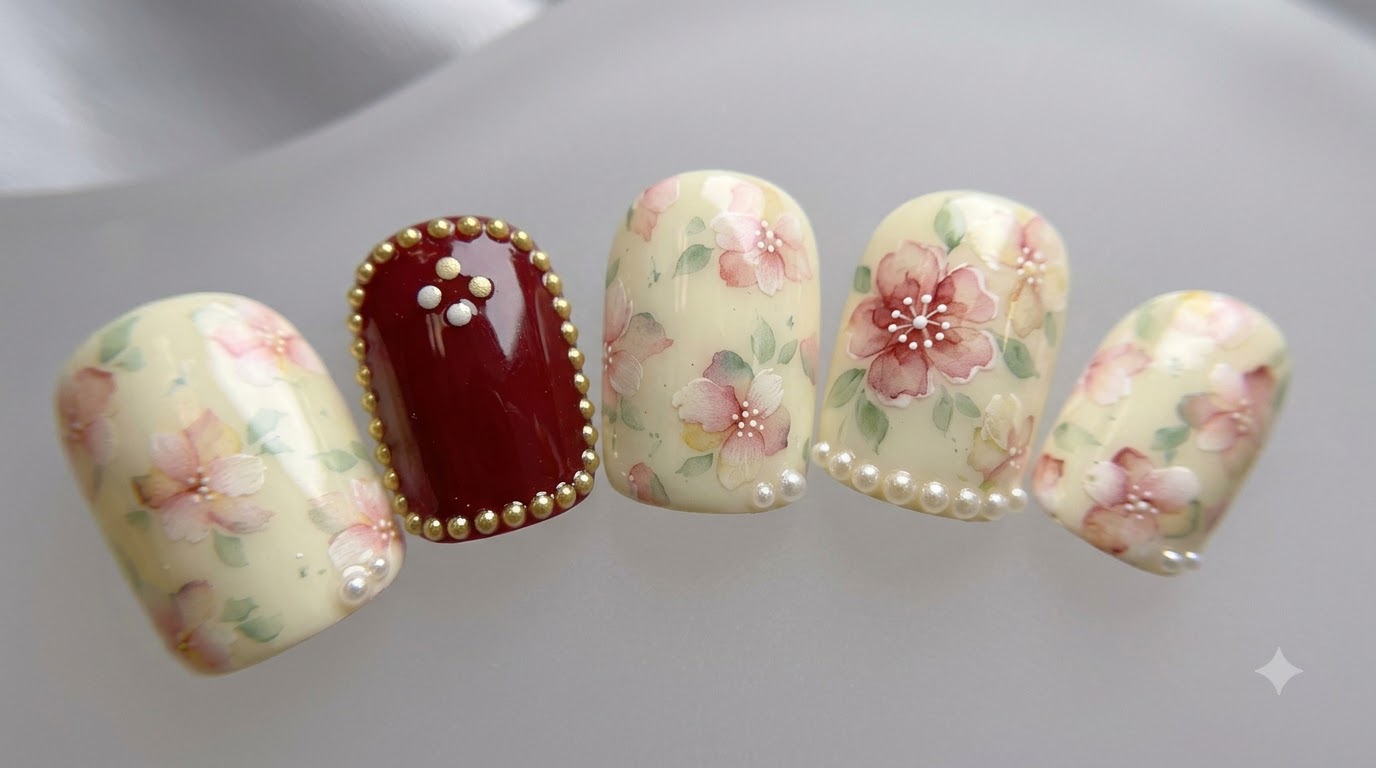
Steps
- 1Apply pale yellow base coat
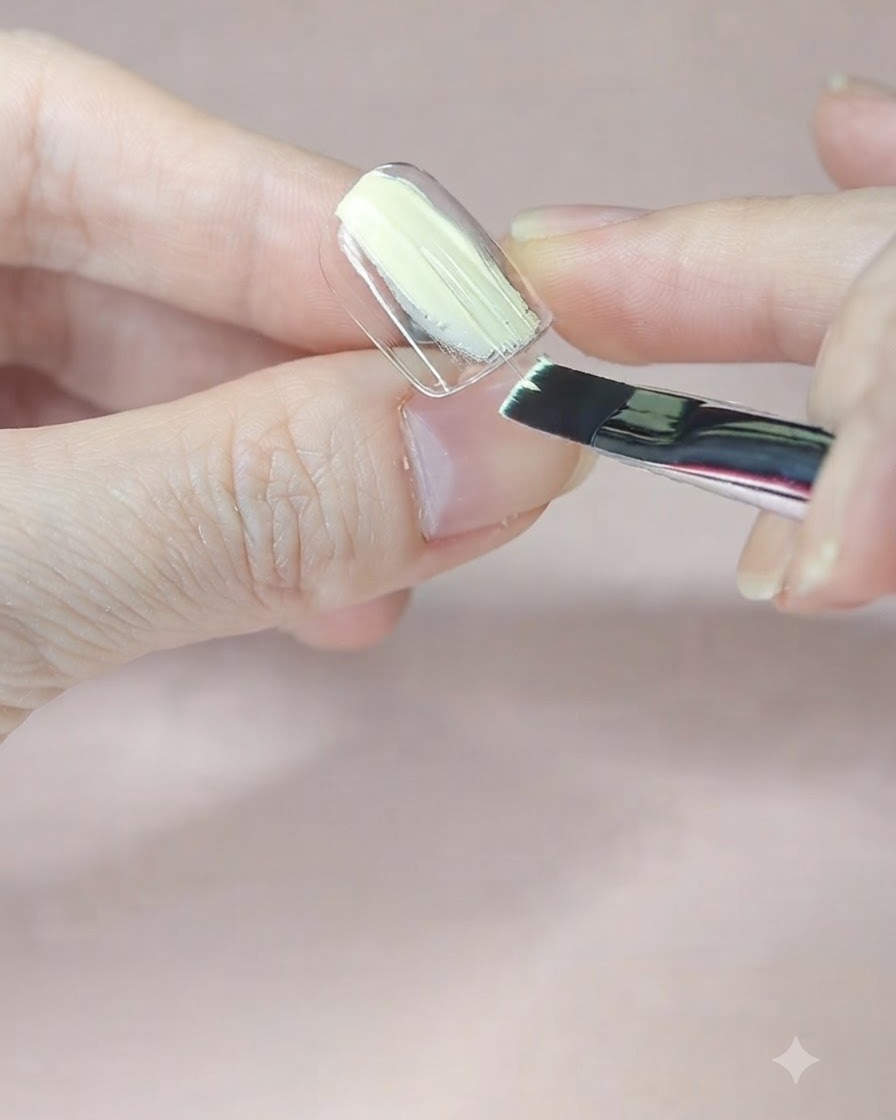
Brush an even layer of pale yellow base coat onto the clear nail surface to create a soft pastel background for the floral nail art.
Tip: Ensure the base coat is applied smoothly without streaks before curing. - 2Load white painting gel
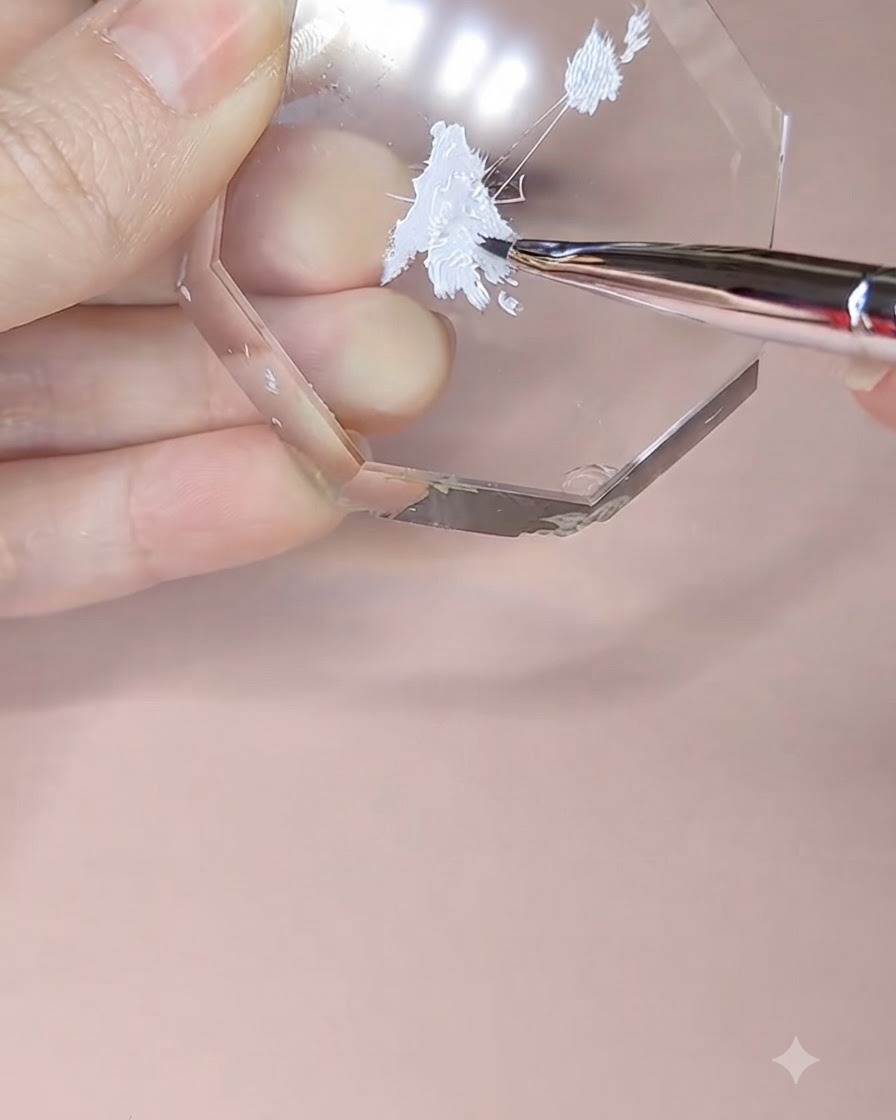
Pick up a small amount of white painting gel from the palette using a fine nail art detail brush, preparing the product for the flower petals.
Tip: Keep the amount on the brush tip controlled to prevent clumping. - 3Paint the first flower
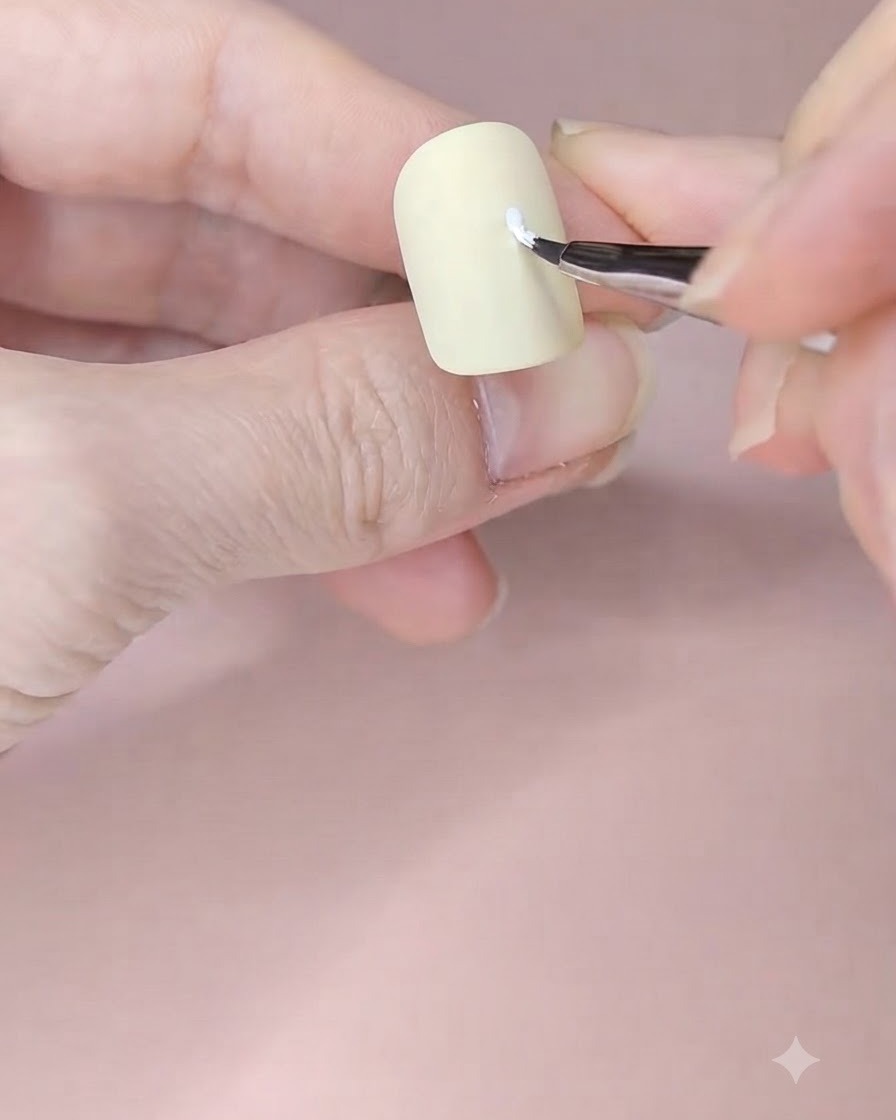
Carefully paint the first three-petal white flower in the center of the pale yellow nail using the fine detail brush.
Tip: Keep the strokes delicate and consistent for uniform petals. - 4Paint the second flower
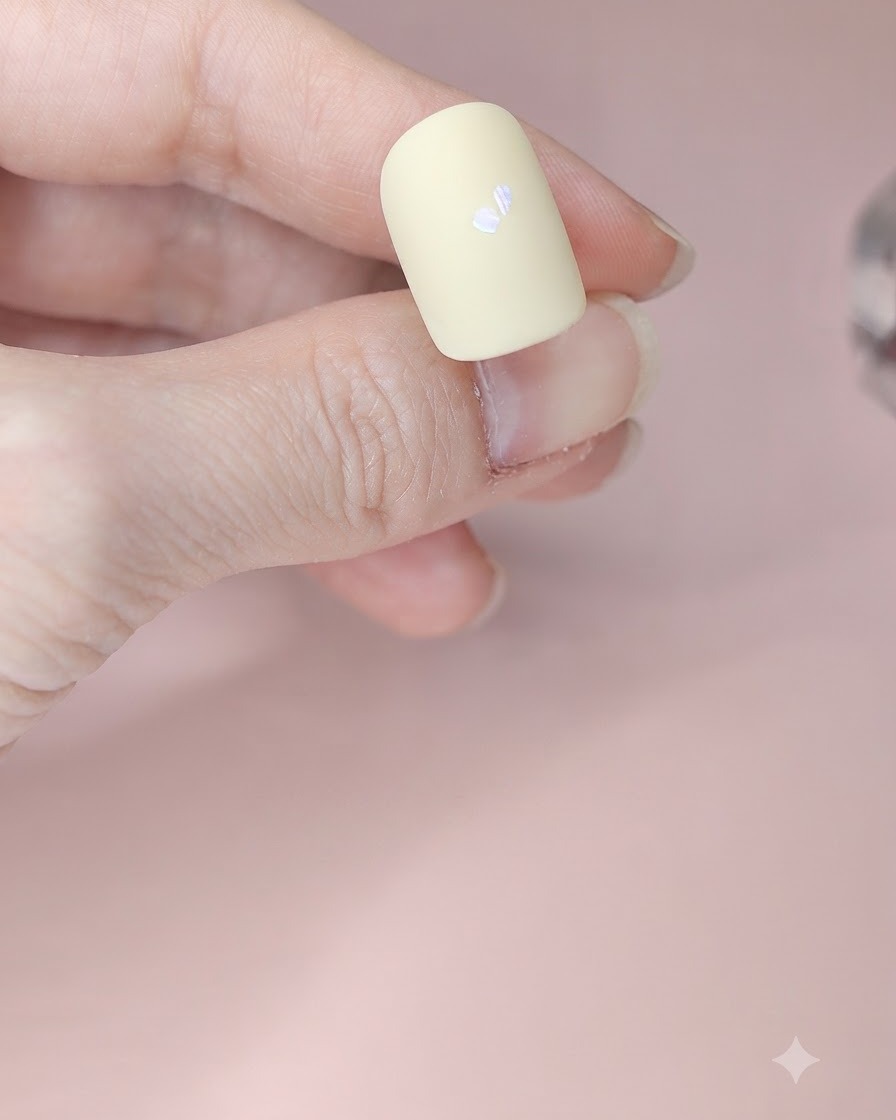
Paint the second white three-petal flower near the cuticle area of the nail.
Tip: Leave enough spacing around the cuticle to avoid flooding. - 5Paint the third flower
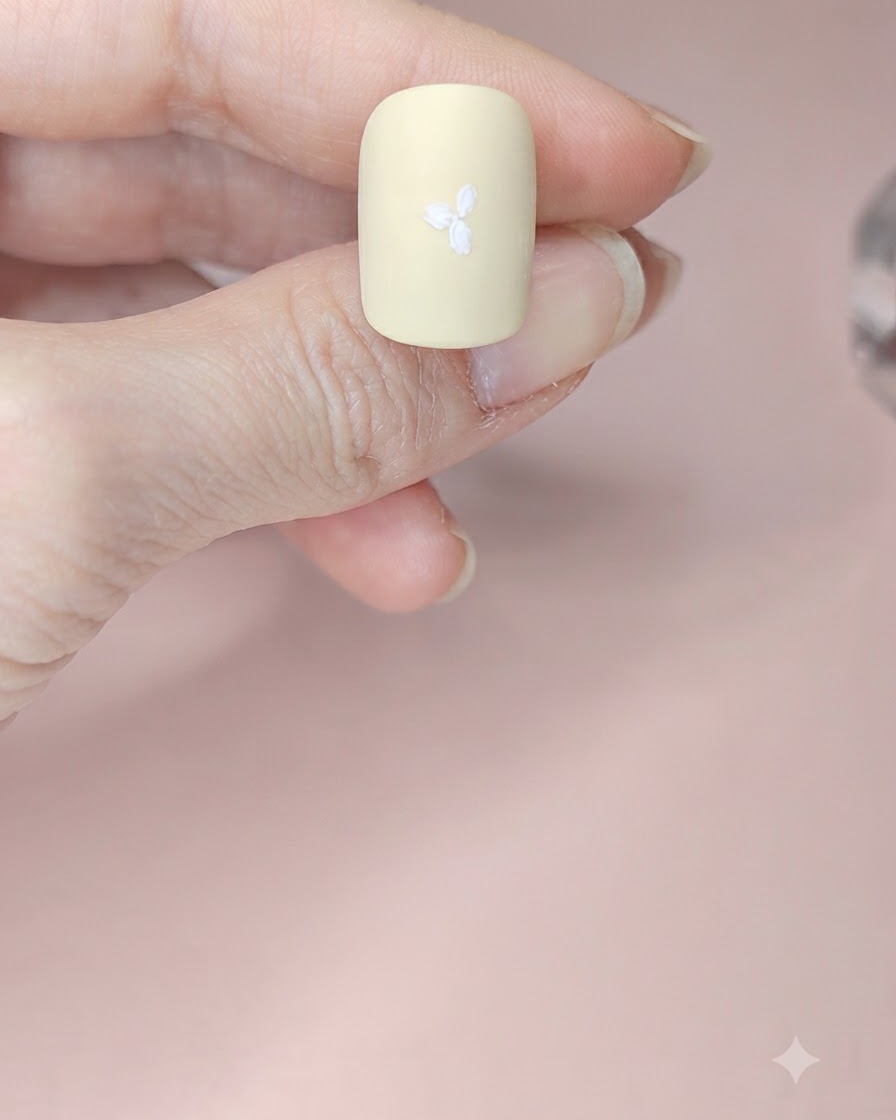
Paint the third white three-petal flower near the free edge or tip of the nail.
Tip: Balance the placement of flowers to create an appealing composition. - 6Paint the fourth flower
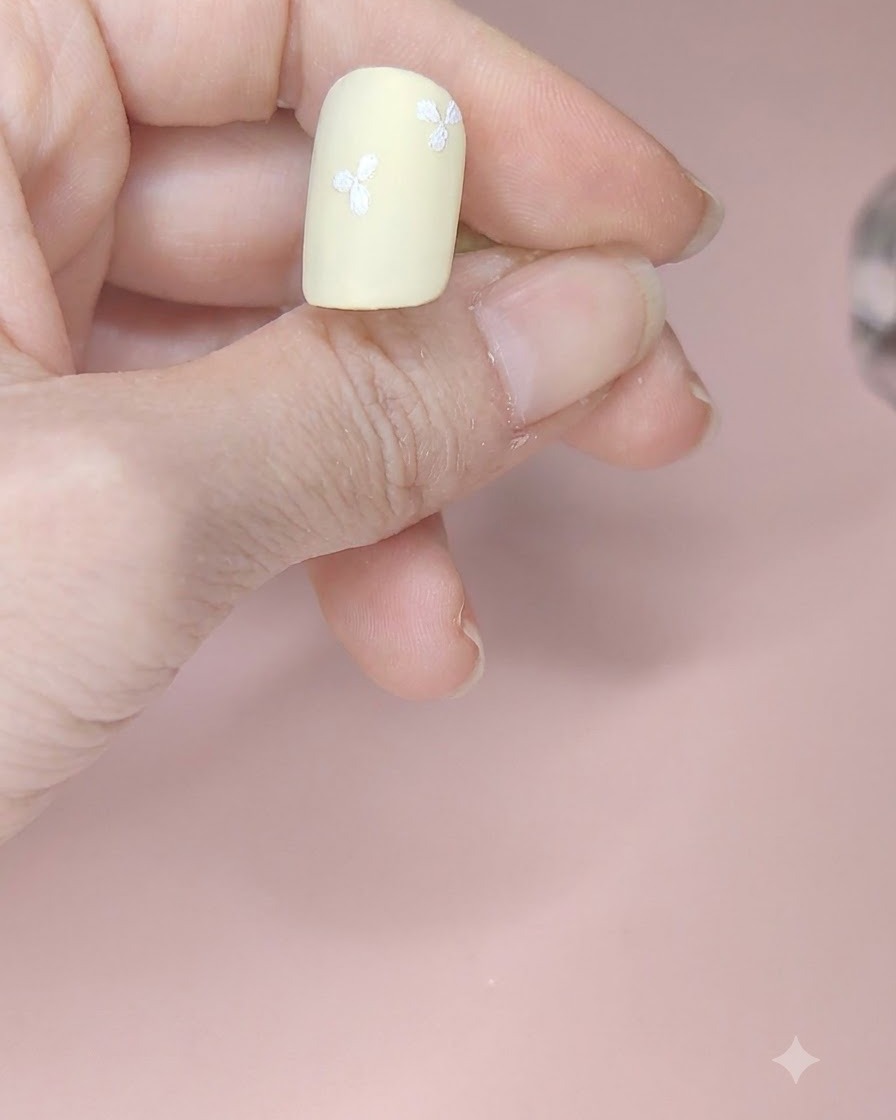
Paint the fourth white three-petal flower along the right edge of the nail to complete the initial flower layout.
Tip: Vary the angles of the flowers slightly to look more natural. - 7Apply Matte Top Coat
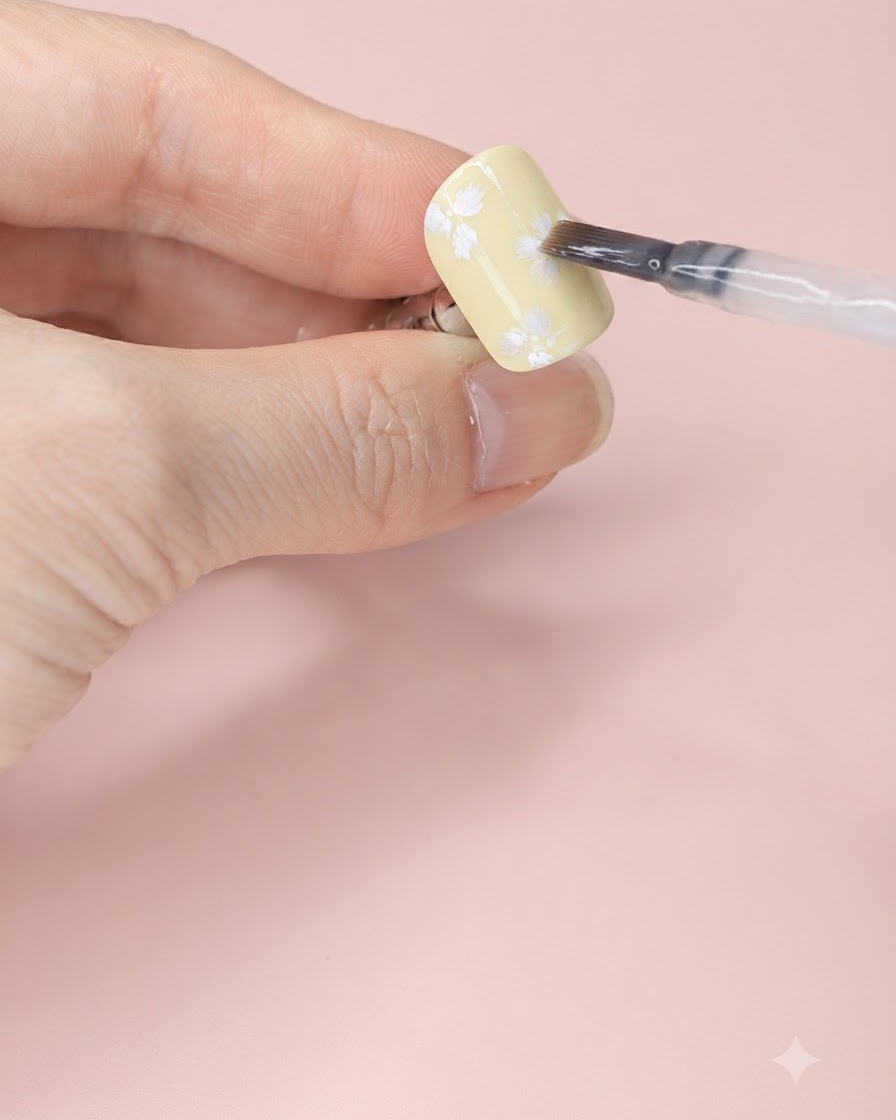
Apply an even layer of matte top coat over the cured nail art design and cure under the lamp. This creates a smooth, velvety canvas that prepares the surface for watercolor detailing.
Tip: Make sure the matte top coat is fully cured so the watercolor pigments sit correctly on top without smudging the base gel layer. - 8Pick Up Red Watercolor
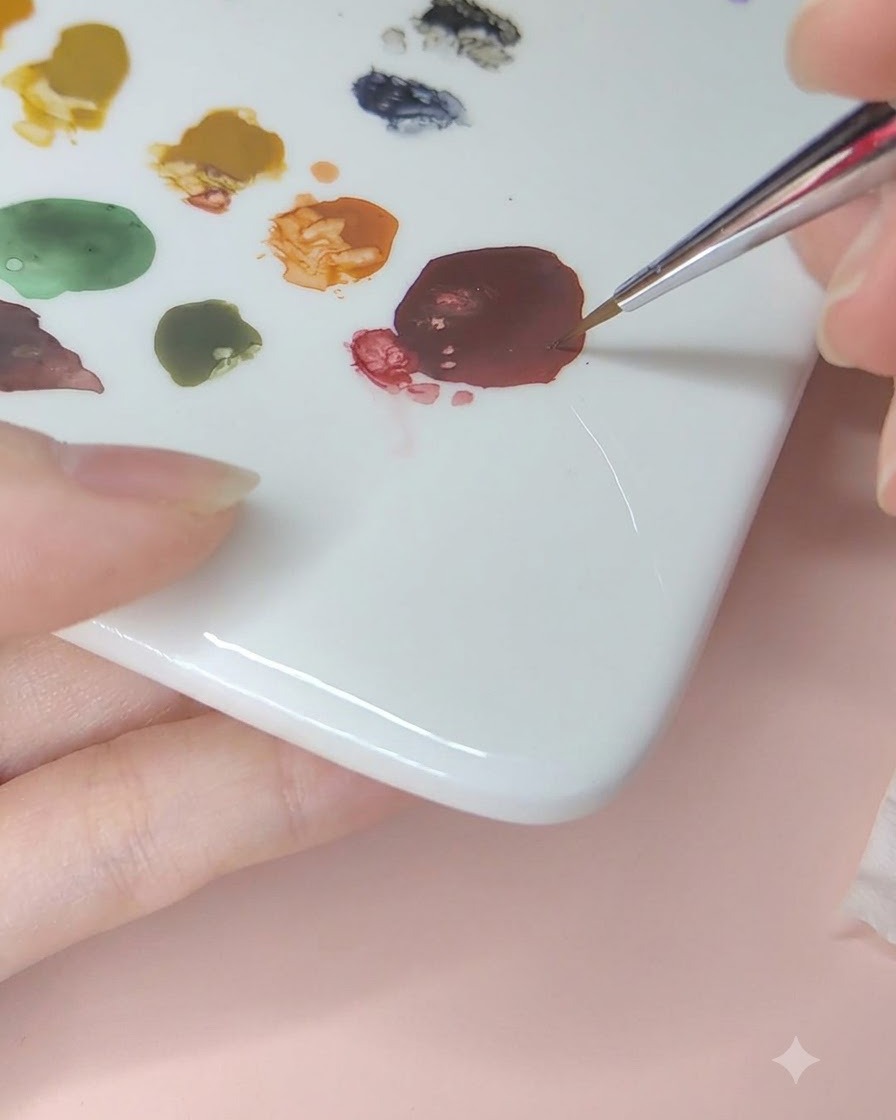
Dip your fine detailing brush into clean water and pick up a small amount of dark red watercolor pigment from your palette.
Tip: Control the water-to-pigment ratio so the paint is translucent and easy to blend smoothly. - 9Tint Flower Center
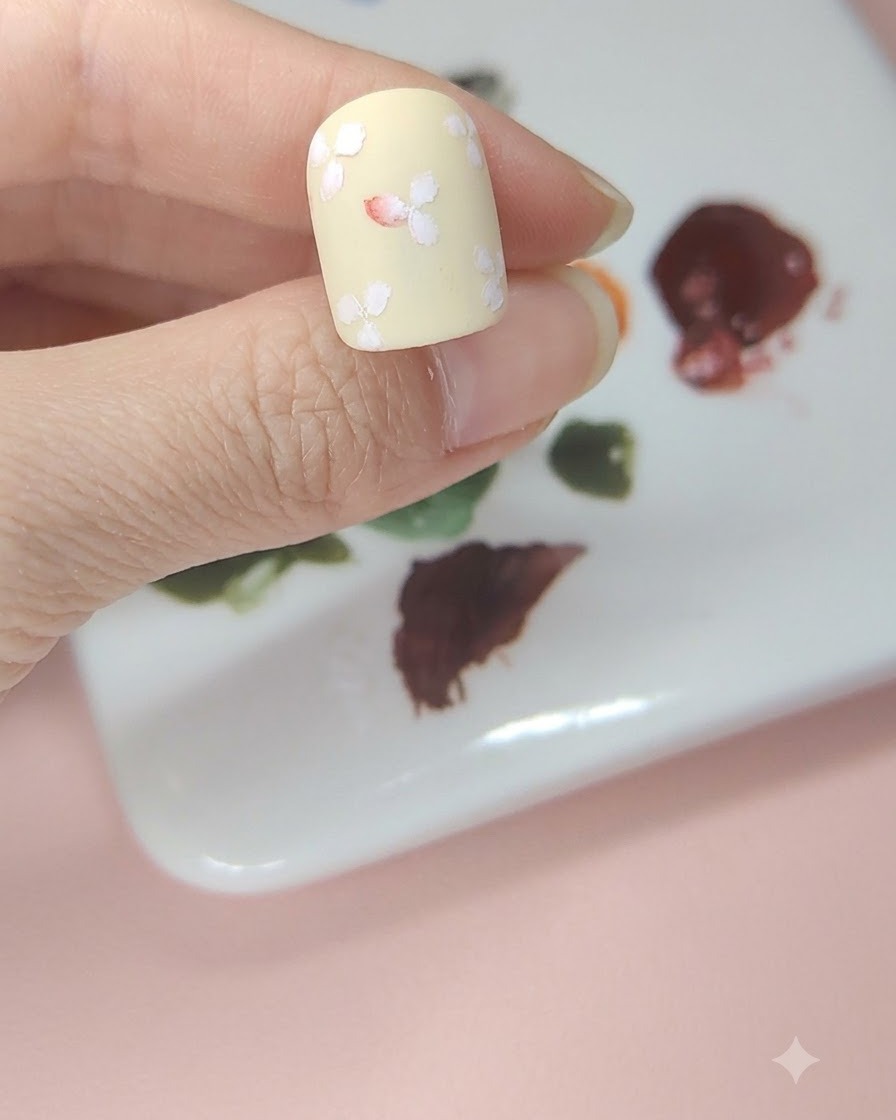
Gently dab the red watercolor onto the center of the middle flower, allowing the pigment to softly bloom outward into the petals.
Tip: Use a damp, clean brush to soften the edges of the red tint for a natural watercolor gradient effect. - 10Tint Remaining Flowers
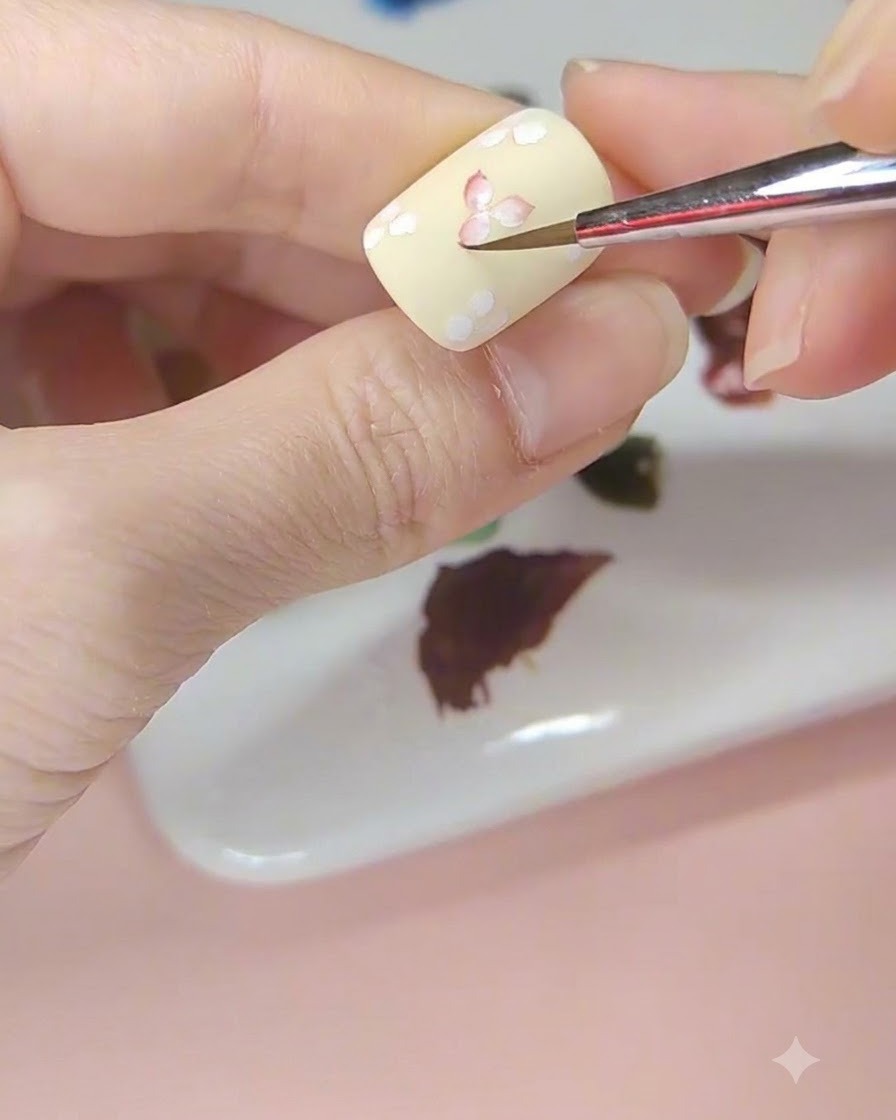
Continue applying the red watercolor to the centers of the rest of the white flowers across the nail surface.
Tip: Keep the color intensity light and consistent across all flowers to maintain balance in the design. - 11Pick Up Yellow Watercolor
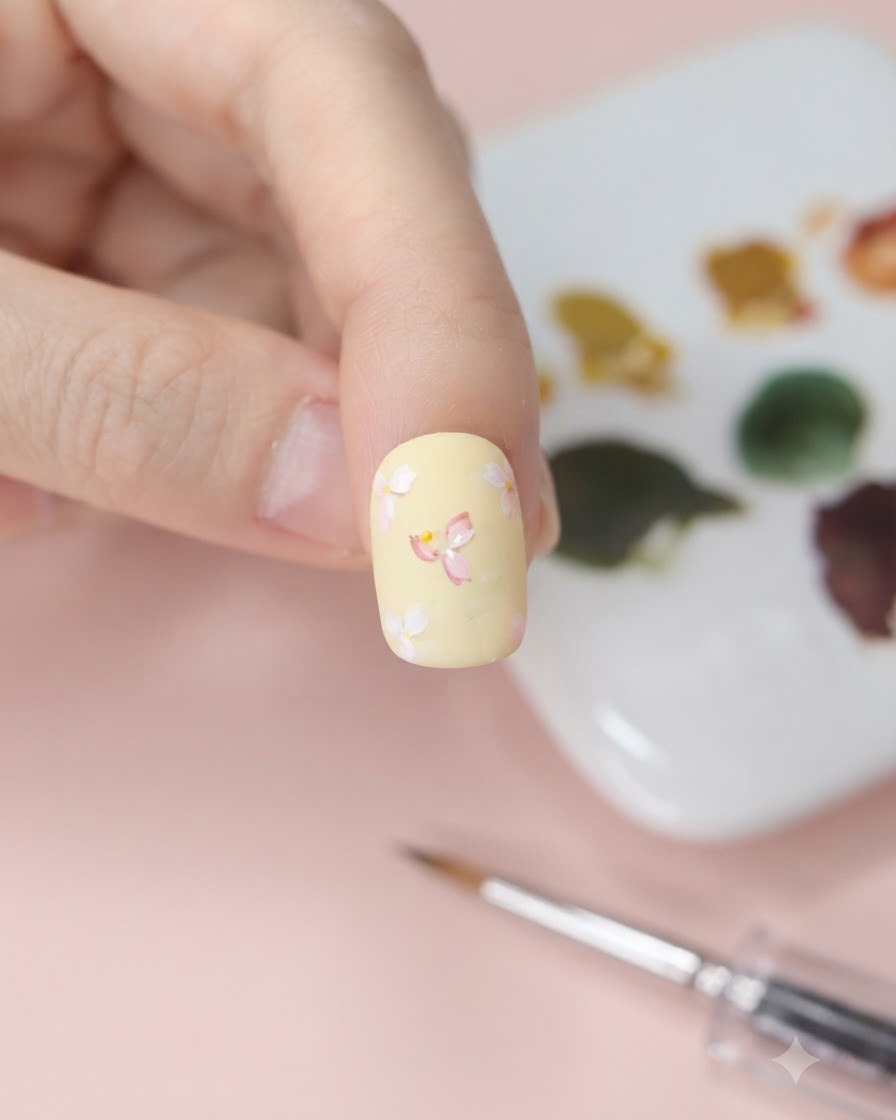
Clean your brush thoroughly and pick up a soft yellow watercolor pigment from your palette.
Tip: Ensure your brush is not too wet to prevent muddying the previous watercolor layers. - 12Fill Empty Spaces
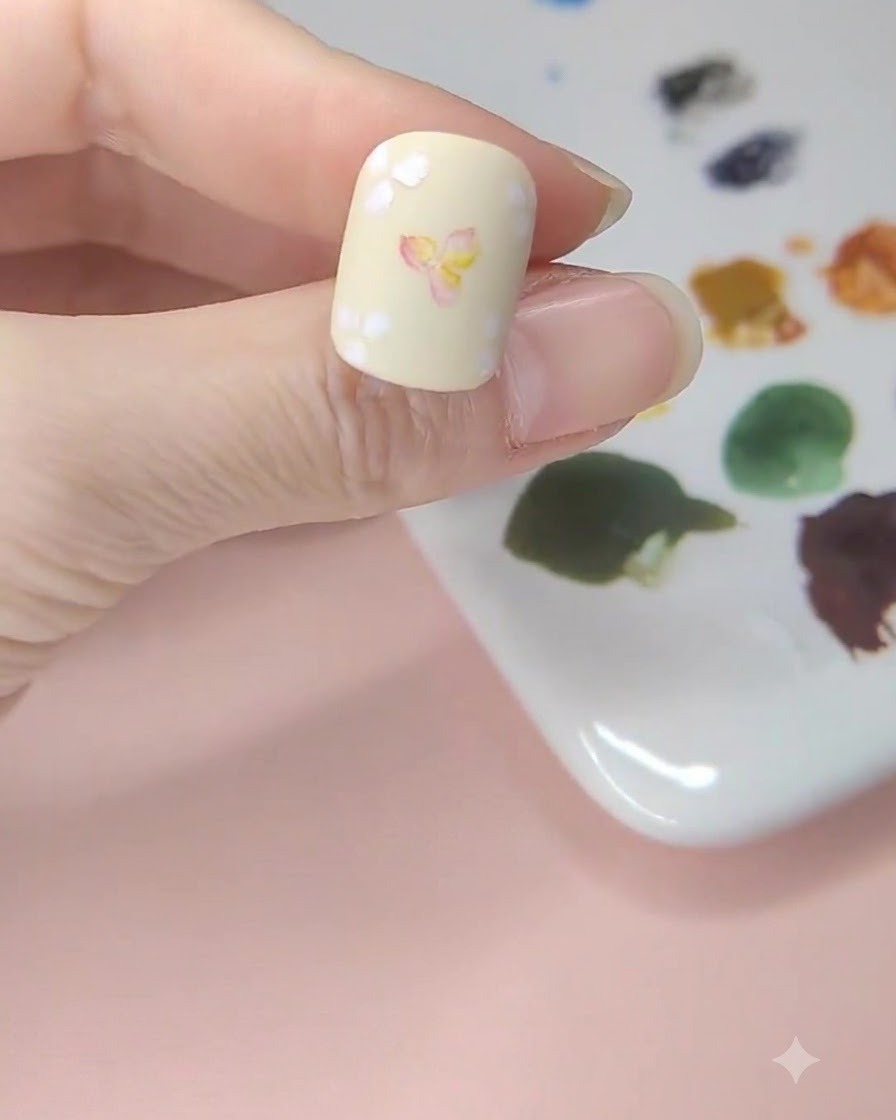
Apply small washes of yellow watercolor into the empty spaces between the flowers to add background depth and warmth.
Tip: Keep these background washes subtle so they complement rather than overpower the floral details. - 13Dab Blue Watercolor Accent
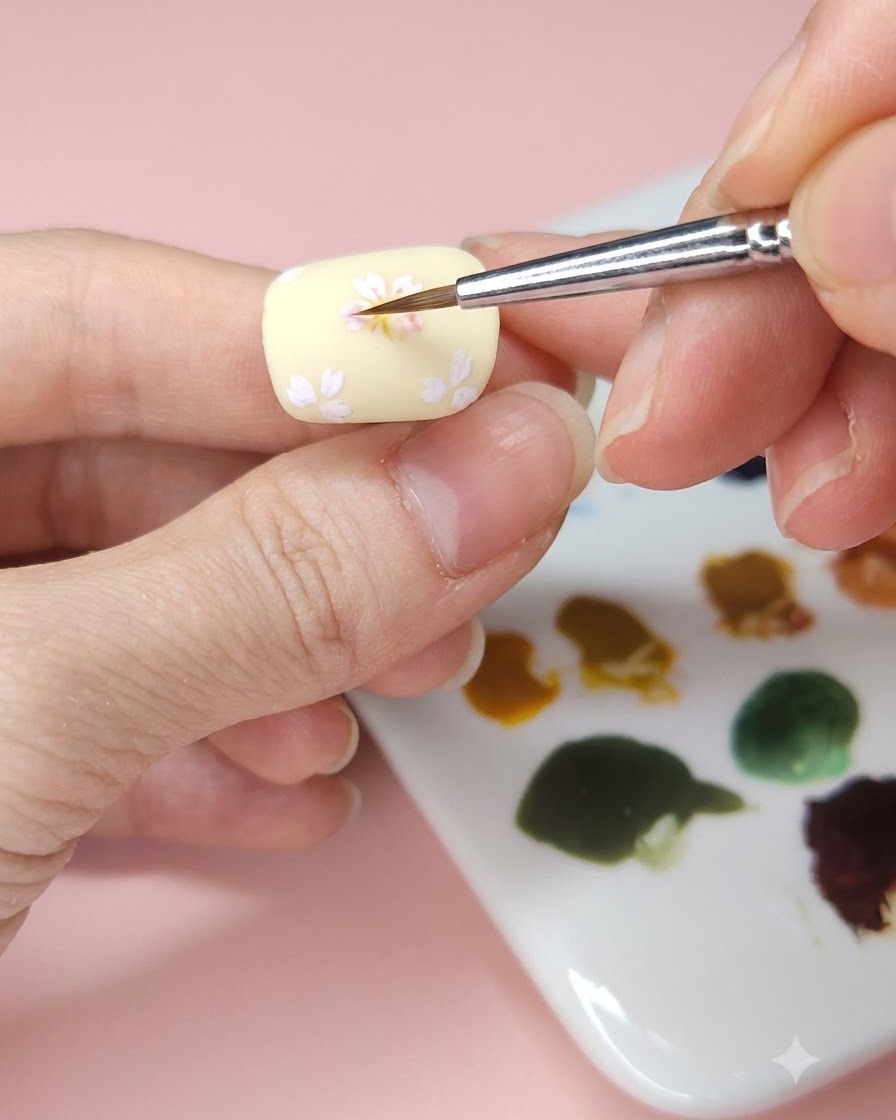
Lightly dab a small amount of blue watercolor over the pale yellow background to create a soft, ethereal background variation. Keep the application sheer and diffuse so it complements rather than overpowers the overall design.
Tip: Keep the brush very dry with minimal pigment to achieve a soft watercolor wash effect. - 14Paint Second White Flower Layer
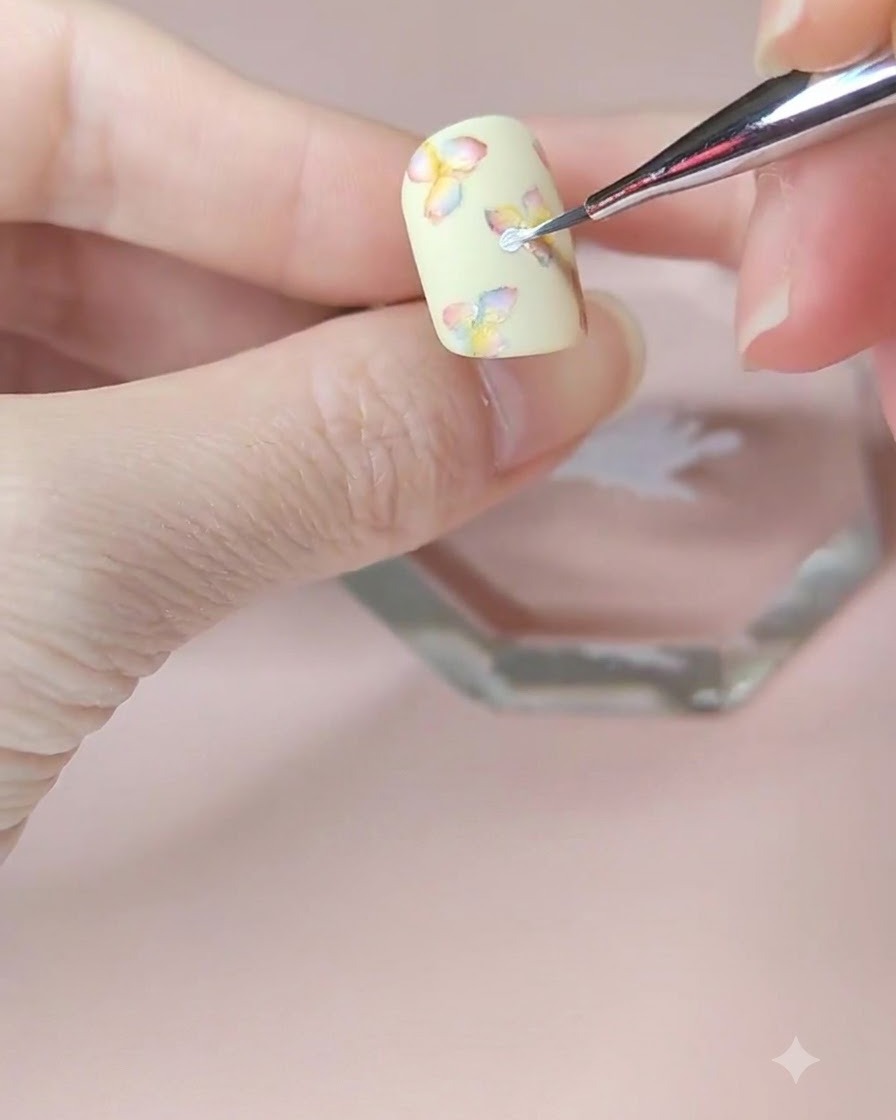
Using white gel or paint, carefully paint a second layer of petals on the middle flower to add dimension, depth, and opacity to the floral design. Ensure the strokes align neatly over the previous petals before curing.
Tip: Layering white paint gives a richer, more dimensional look to hand-painted nail art flowers. - 15Paint Second Layer on Top Left Flower
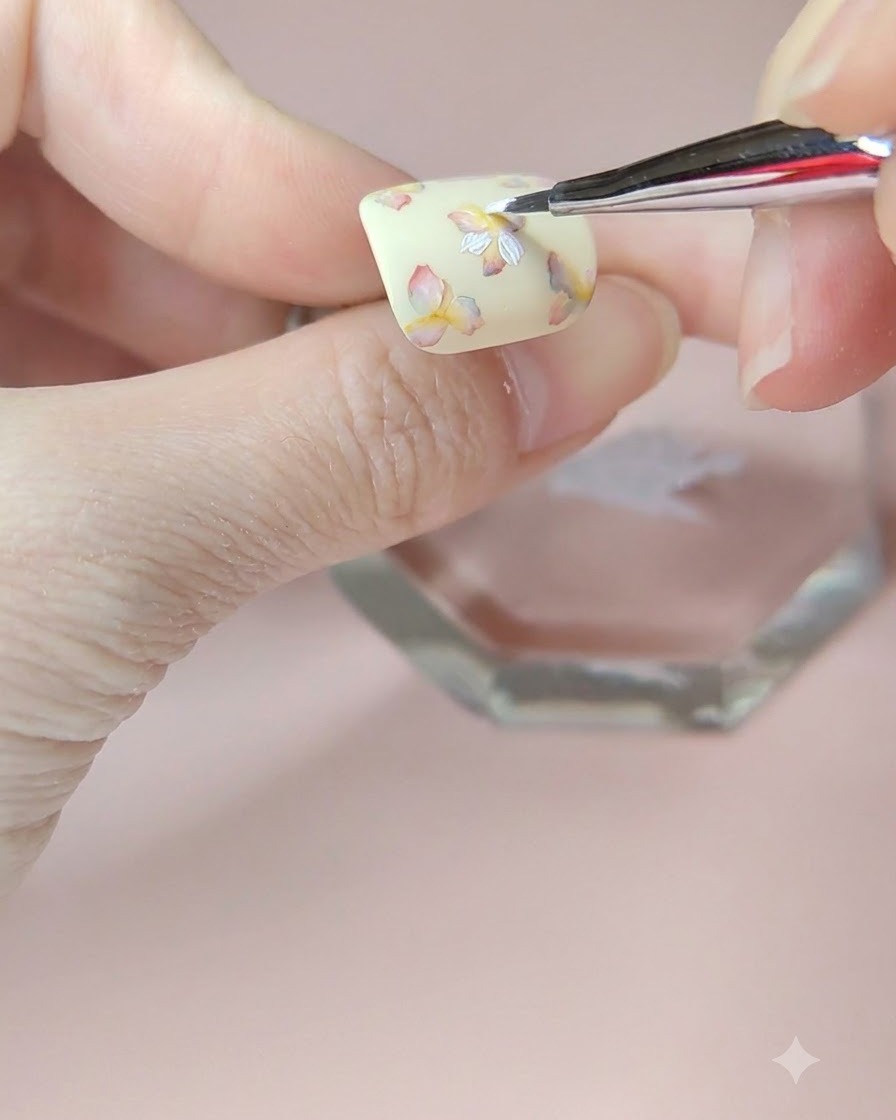
Continue building dimension by applying a second white layer to the flower located on the top left section of the nail. This reinforces the layered cherry blossom effect across the entire composition.
Tip: Keep strokes light and consistent to maintain delicate petal shapes. - 16Complete Second White Petal Layers
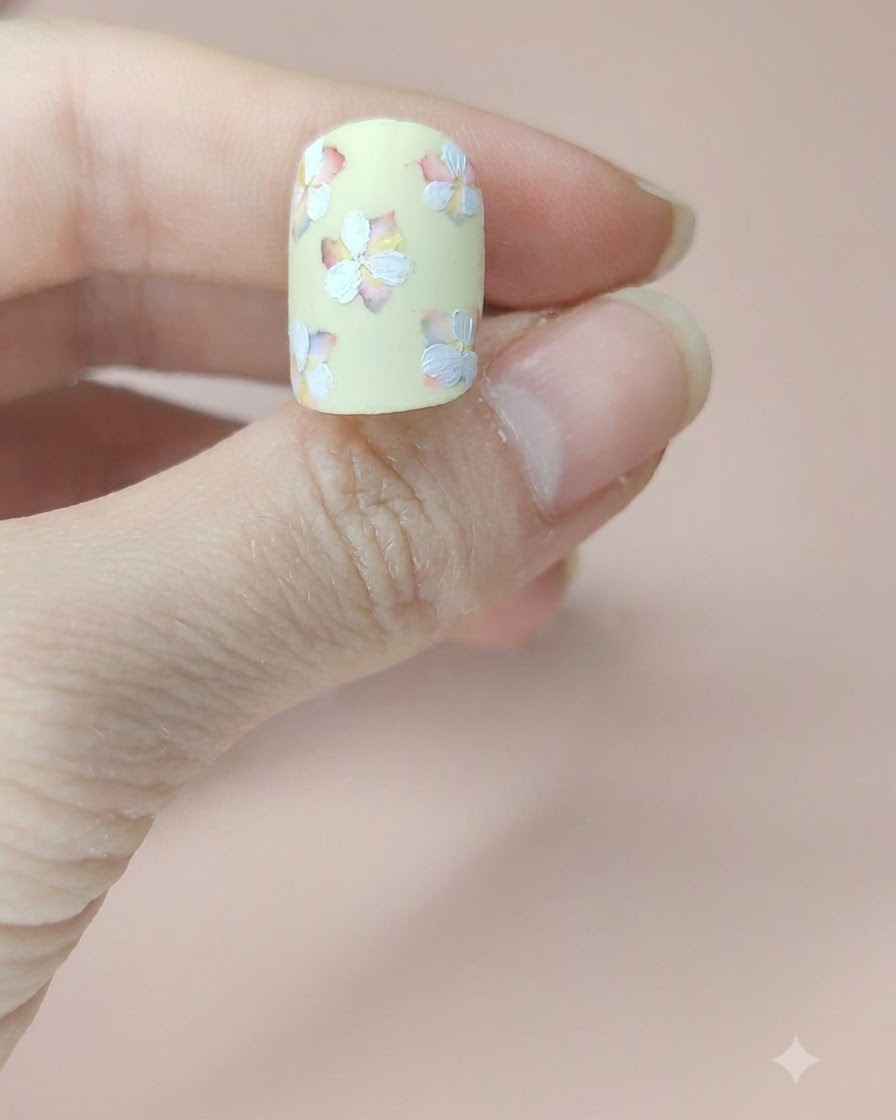
Carefully finish painting the second white petal layer on all remaining flowers across the nail surface. This step ensures uniform opacity and definition for every blossom before moving forward.
Tip: Check all flowers for balance and symmetry before curing this layer. - 17Apply Second Matte Top Coat Layer
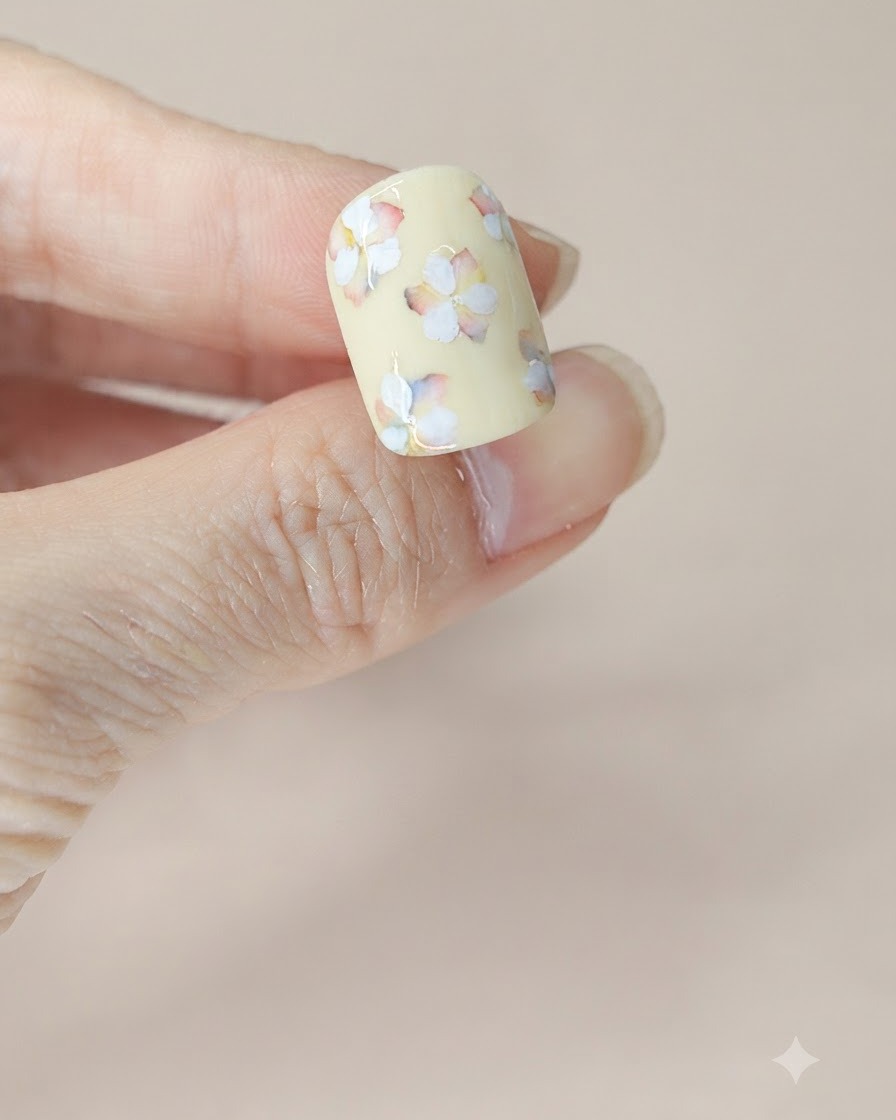
Apply a second layer of matte top coat over the entire nail design to seal in the newly added white petals and watercolor elements, then cure completely under your UV/LED lamp.
Tip: A second matte top coat seals complex layered watercolor and gel art securely, preventing chipping. - 18Reapply Red Watercolor Accents
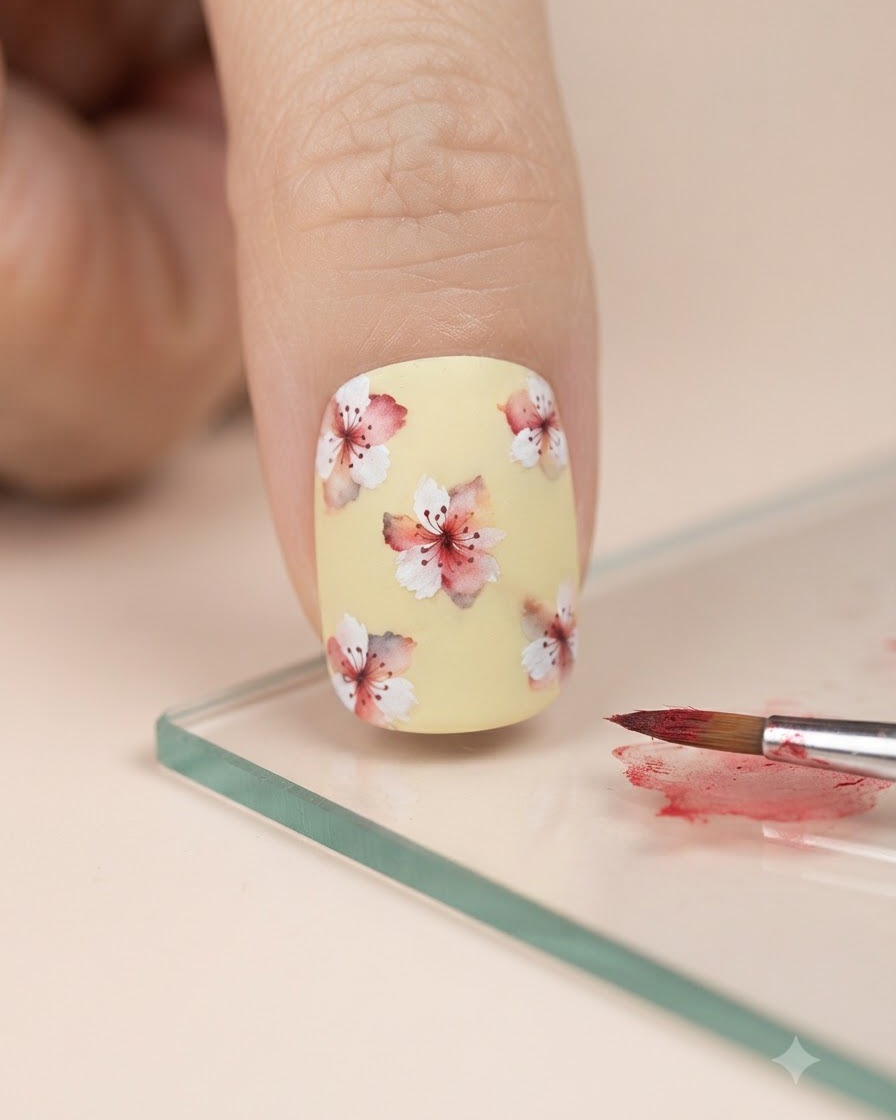
Load your brush with red watercolor paint to re-tint and deepen the flower centers over the matte surface. This intensifies the color depth and highlights the core of each blossom.
Tip: Use a damp brush to blend the red pigment smoothly outward from the center into a natural gradient. - 19Tint the flower center with red
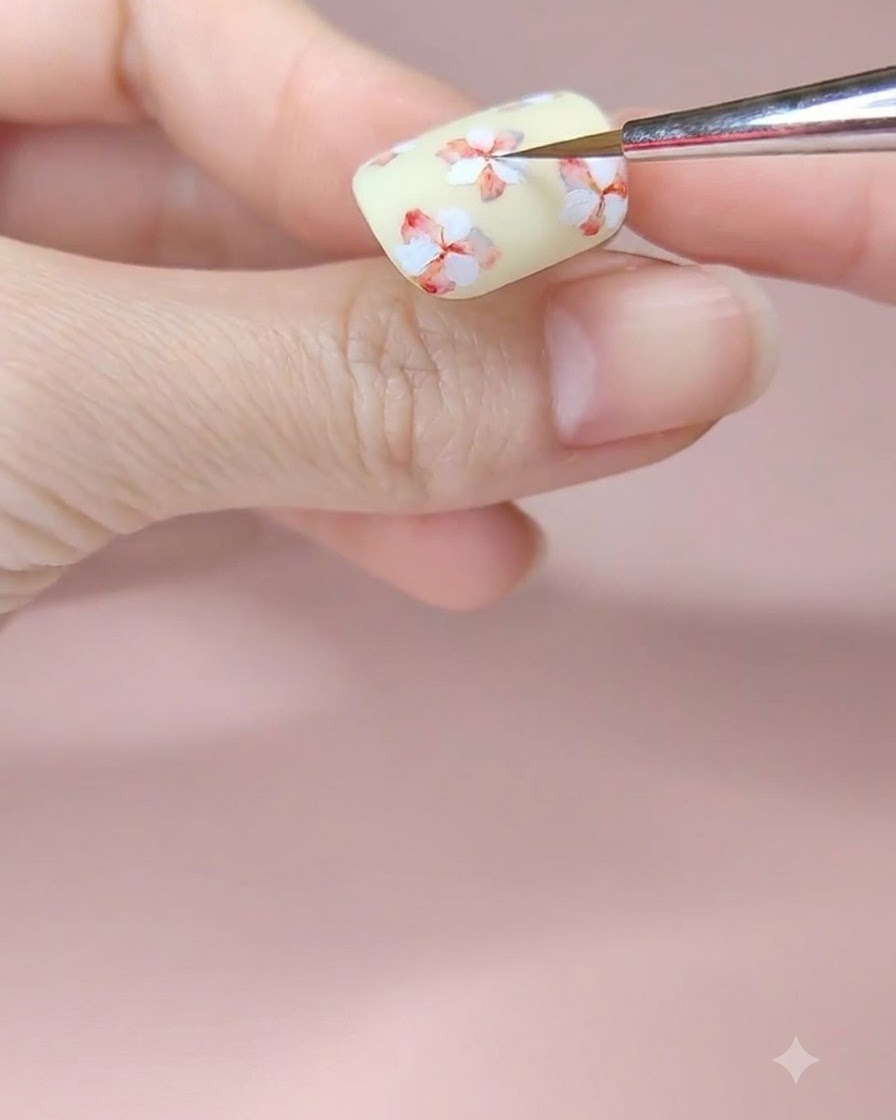
Using a fine detail brush and red watercolor paint, delicately tint the center of the newly placed middle flower petals, creating a soft gradient that blends outward.
Tip: Keep your brush damp rather than soaking wet to maintain control over the watercolor spread. - 20Tint the New Flower Centers
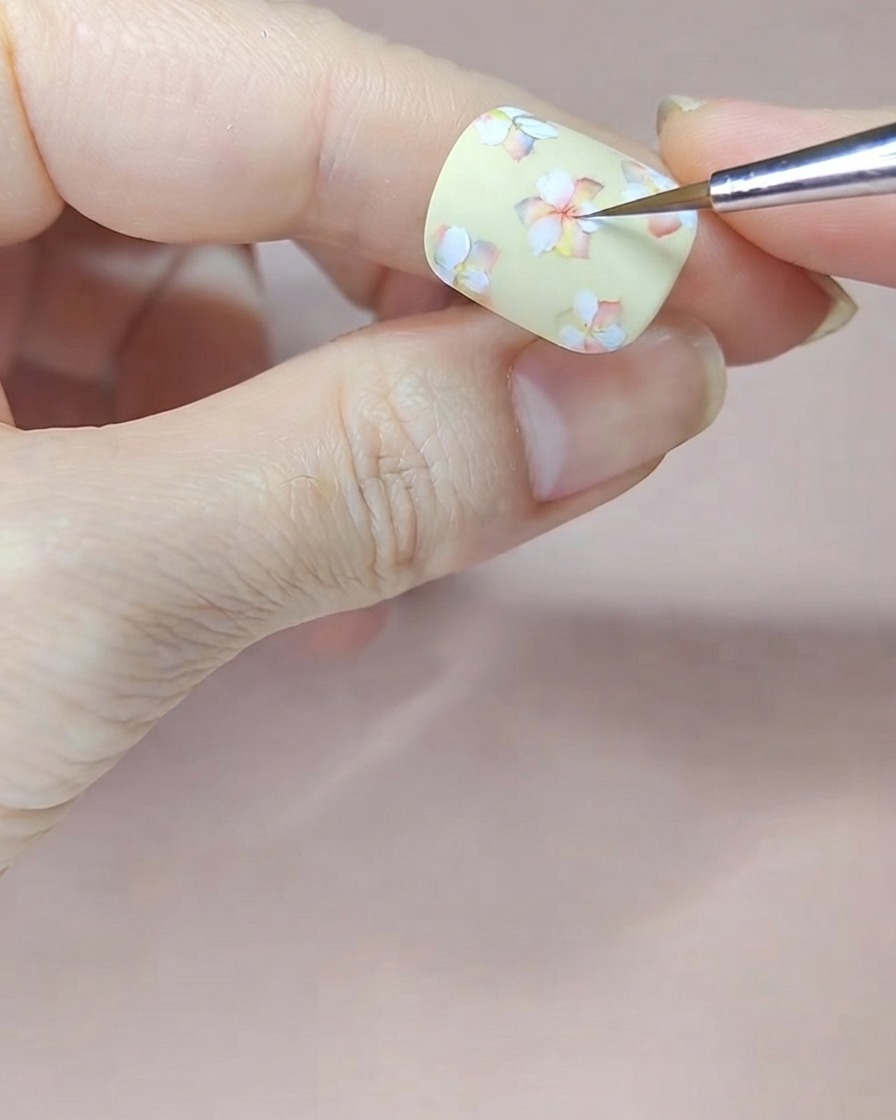
Using a fine detailing brush and watercolor technique, apply a subtle red gradient to the centers of the newly added white flowers to match the previous layer.
Tip: Keep the watercolor wash light so it blends smoothly into the petals. - 21Paint a green leaf on the middle flower
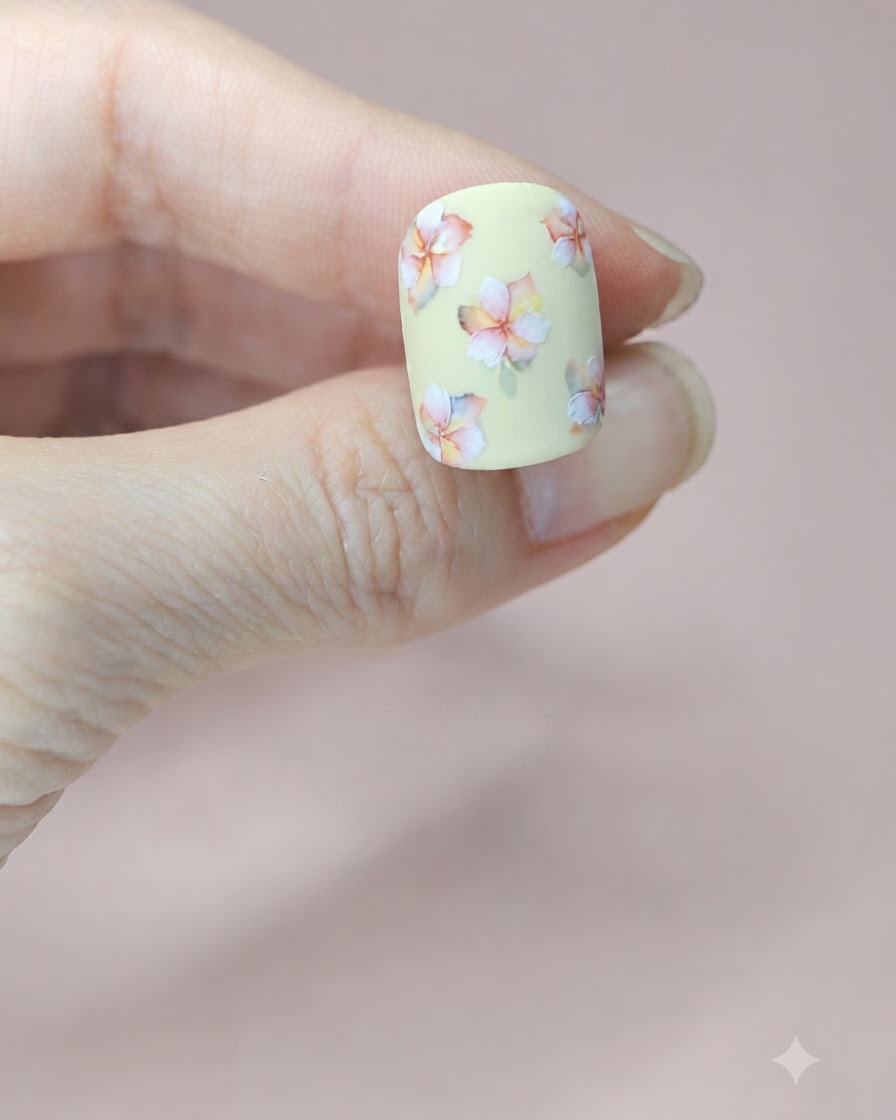
Using green watercolor paint, carefully sketch a small, delicate leaf branching out from the base of the middle flower to enhance the botanical design.
Tip: Keep leaf strokes light and feathery to match the soft watercolor style of the flowers. - 22Paint a green leaf on the bottom flower
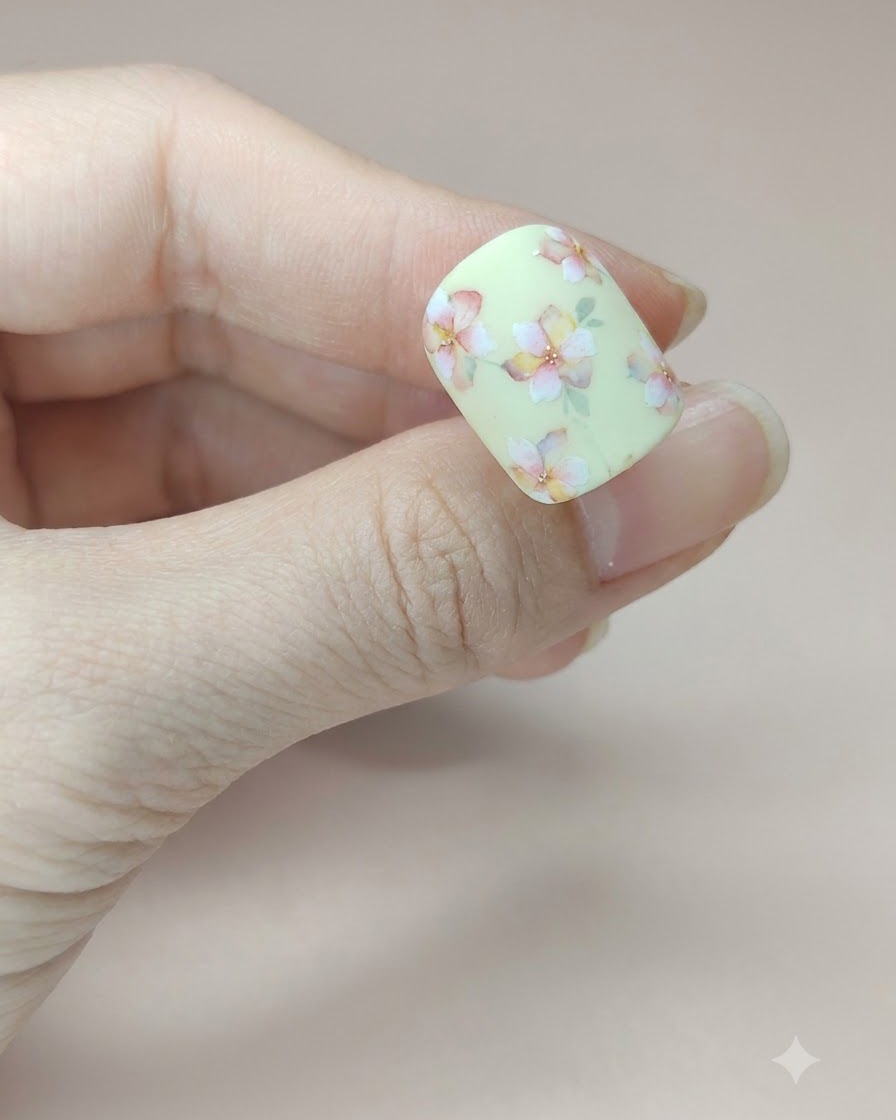
Add another subtle green watercolor leaf next to the bottom flower motif, building depth and organic flow across the nail composition.
Tip: Vary the placement and orientation of leaves to make the floral arrangement look natural. - 23Paint green leaves on the top flower
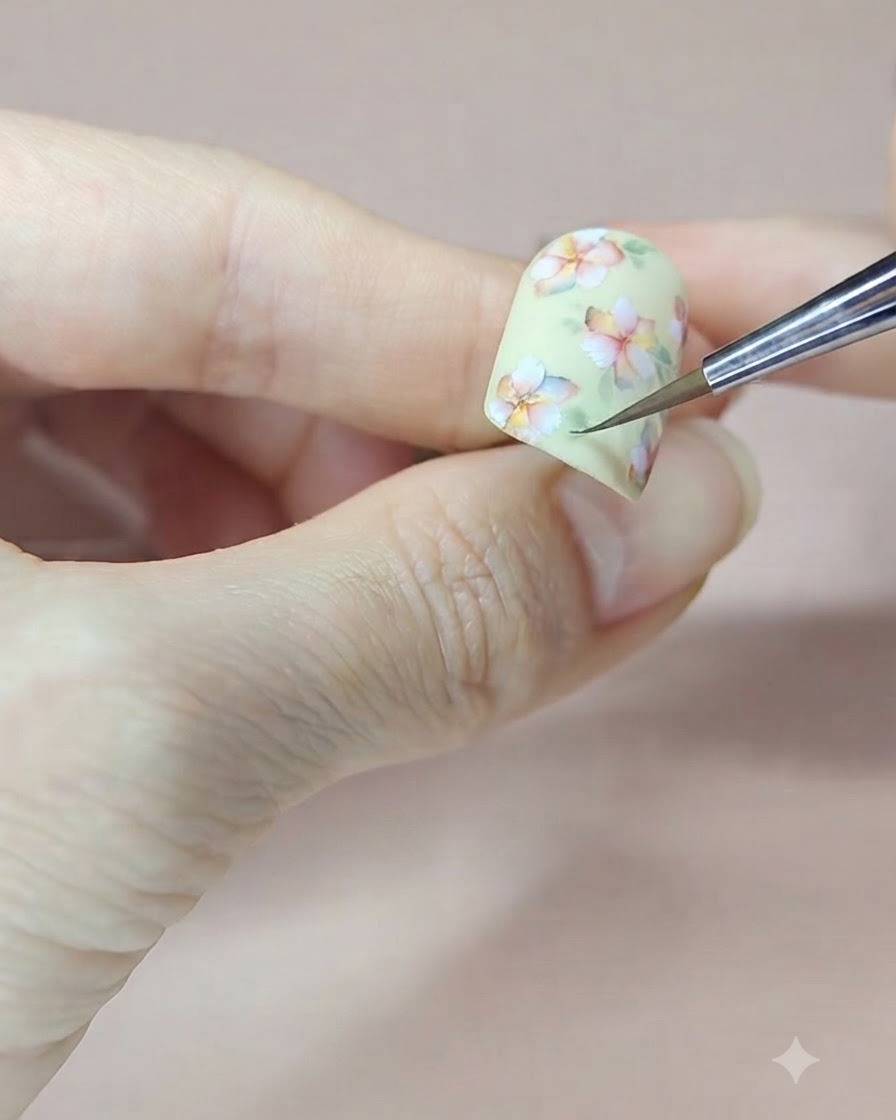
Continue by painting small green watercolor leaves around the top flower cluster, balancing the overall composition on the nail tip.
Tip: Use a very fine brush tip to achieve sharp, delicate leaf outlines. - 24Finalize leaf details and dot centers
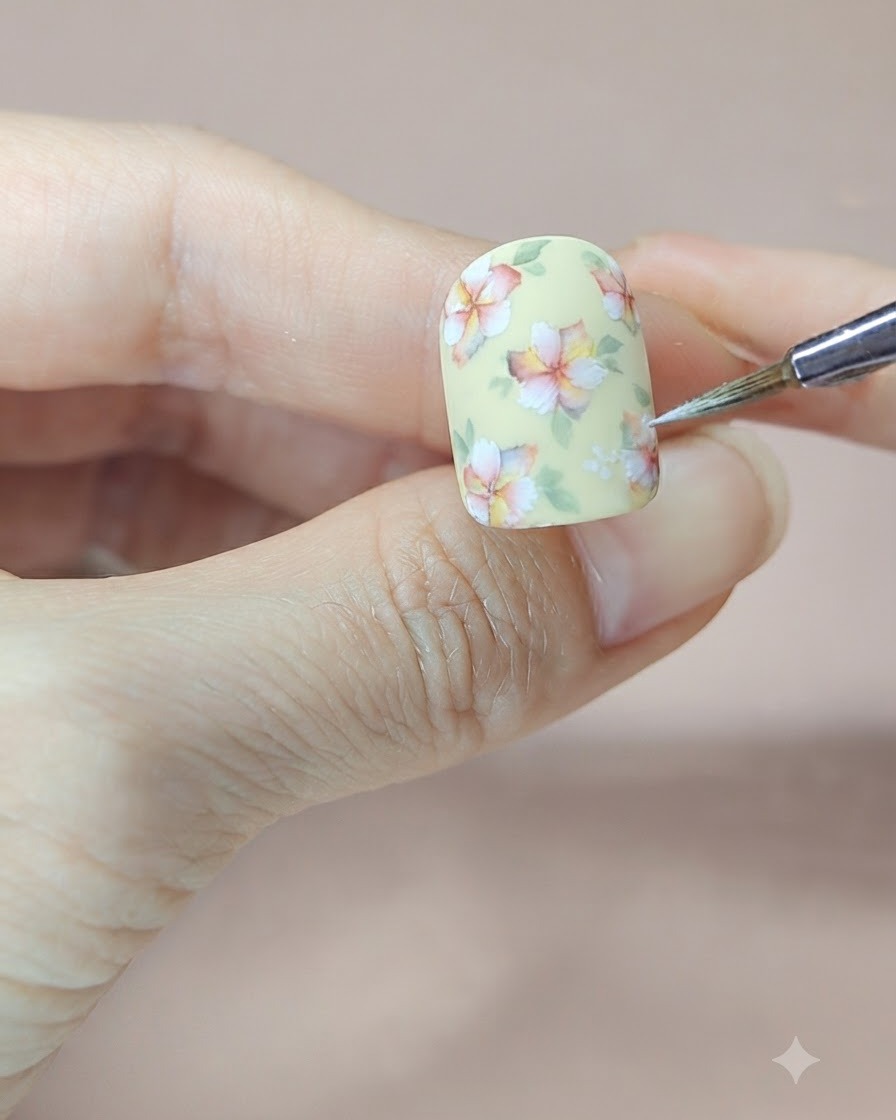
Refine and finalize any remaining green leaf details along the edges, then apply small white gel dots to the flower centers before a final cure.
Tip: Ensure all watercolor elements are completely dry before applying top coat or final details. - 25Add Center Dot to First Flower
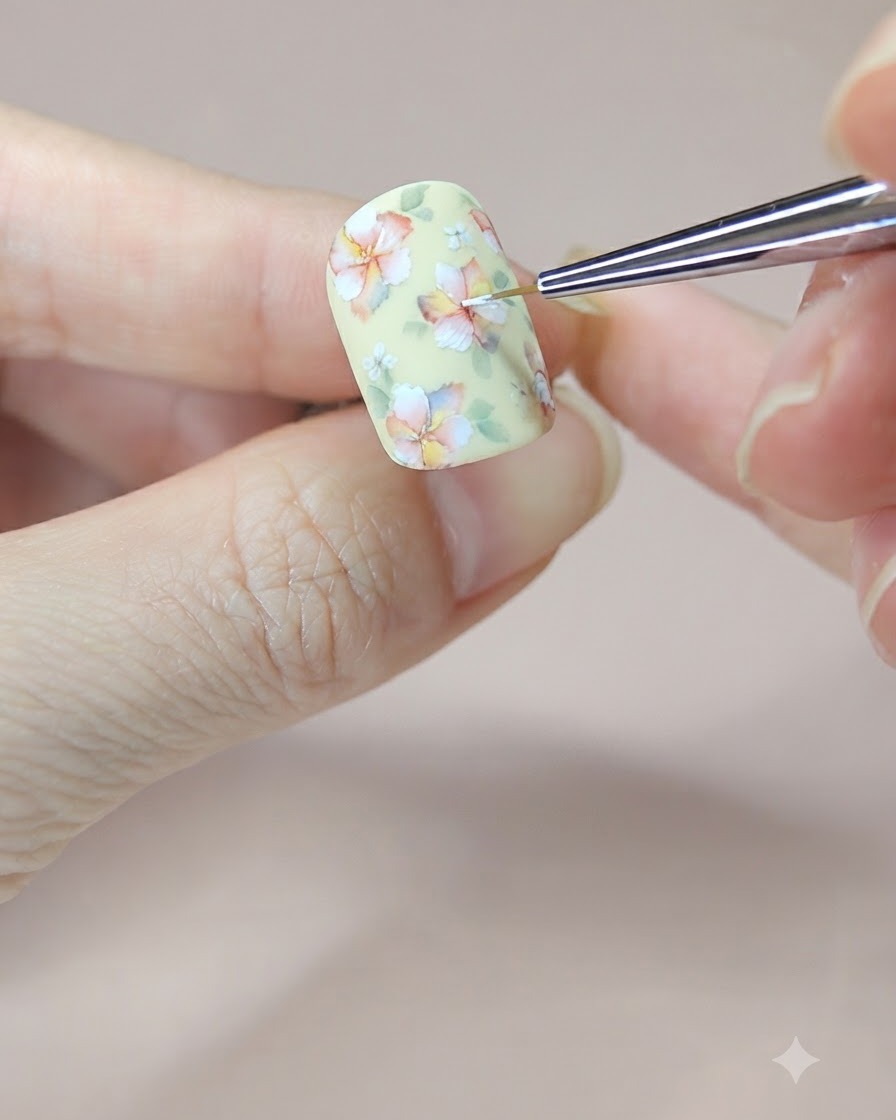
Dip a fine liner brush into white gel and carefully place a tiny dot right into the center of the first flower to complete its dimension.
Tip: Use a light touch with the tip of the brush to keep the dot small and uniform. - 26Dot Remaining Flower Centers
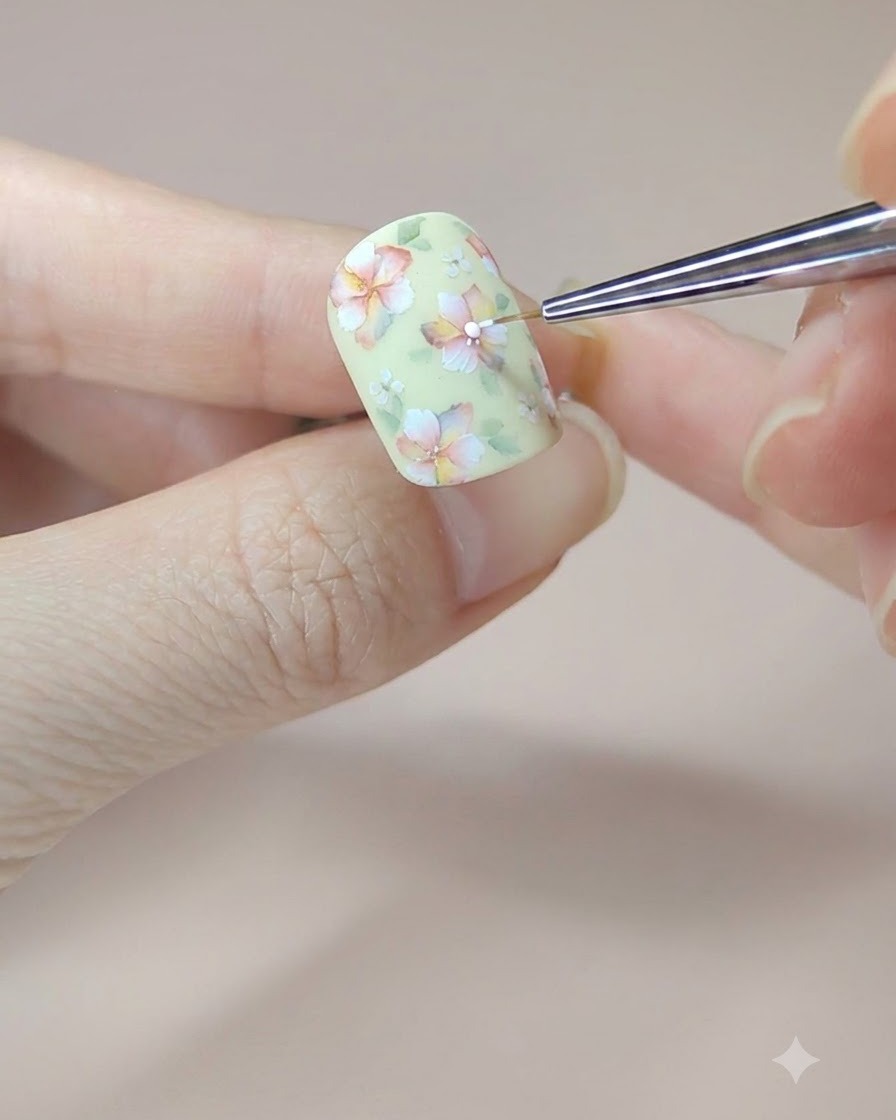
Continue dotting white gel into the centers of all remaining flowers across the nail design. Cure the gel under your lamp once finished to lock the dots in place.
Tip: Flash cure individually if needed to prevent the gel dots from spreading before final curing.