Summer Daisy Floral Nail Art — Step-by-Step Tutorial
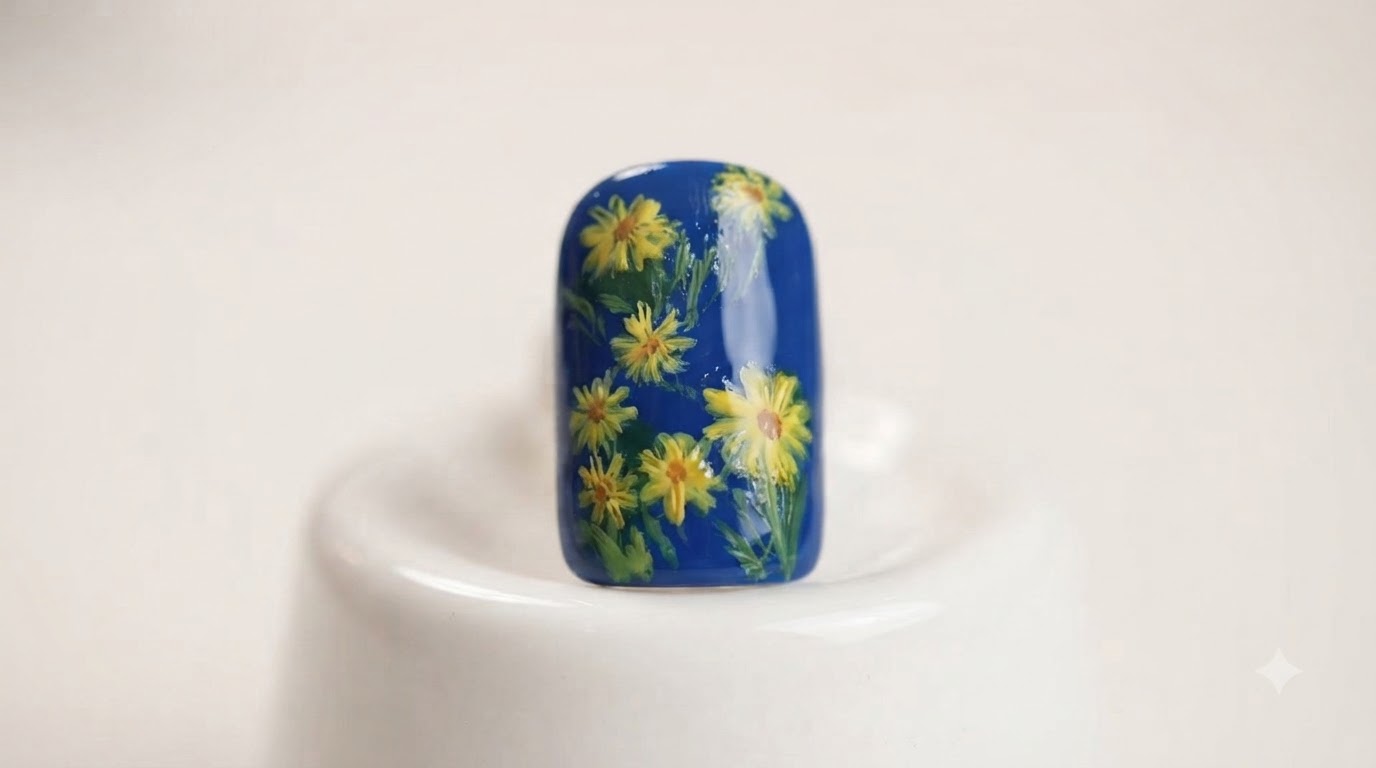
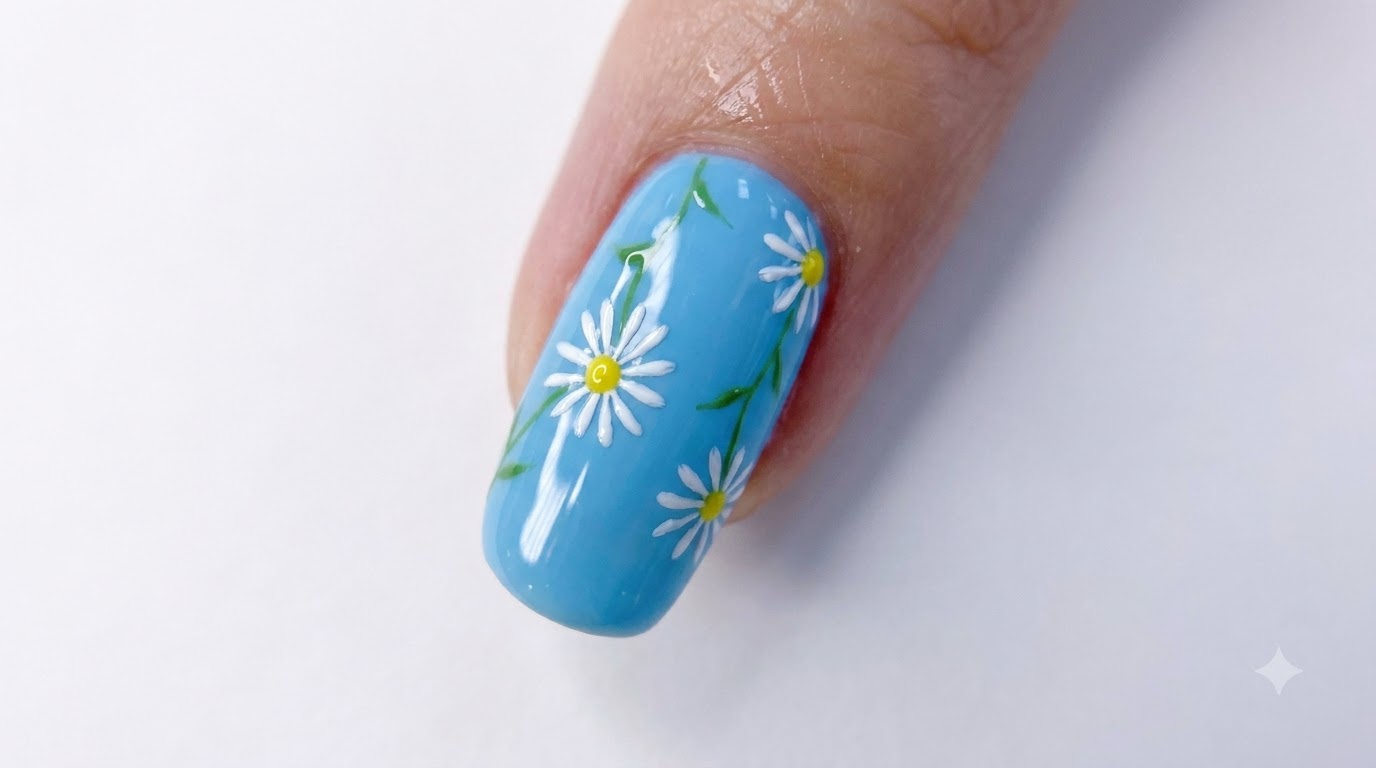
Brighten up your manicure with vibrant sky blue nails adorned with delicate hand-painted white daisies and fresh green stems.
Floral nail art is a timeless trend, and hand-painted daisies bring a fresh, cheerful vibe to any manicure. This detailed tutorial guides you through creating delicate white petals, sunny yellow centers, and graceful stems on a bright blue base for a clean, professional finish.
Steps
- 1Paint the daisy petals
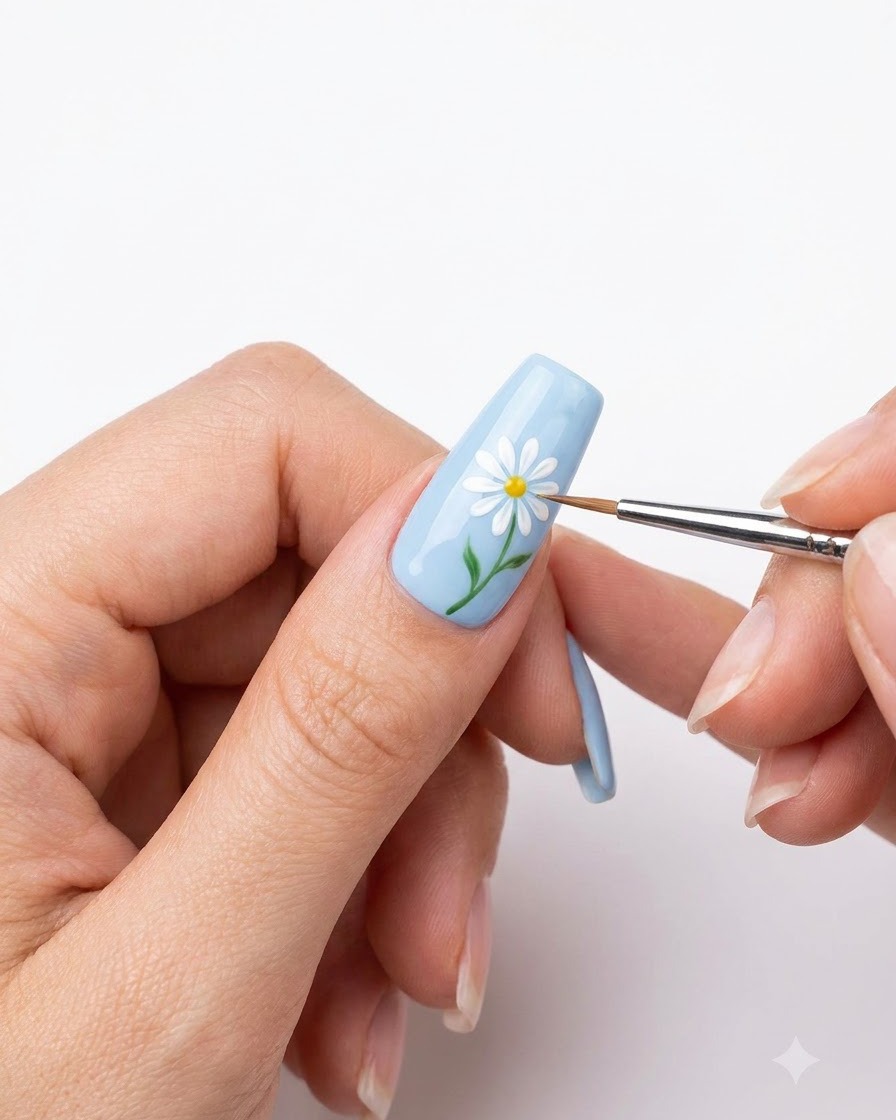
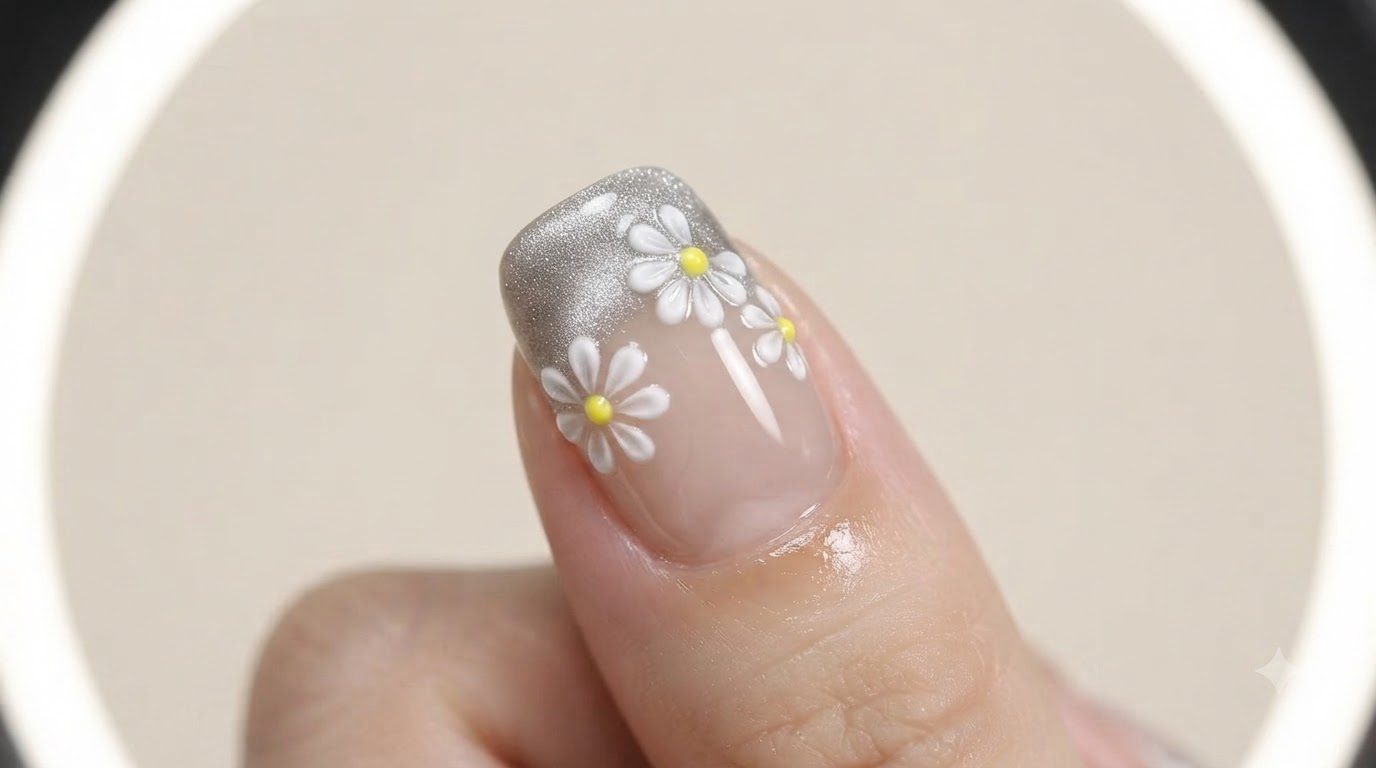
Using a fine liner brush and crisp white gel polish, carefully paint individual petals around a central point on the blue nail base to form a delicate daisy. Take your time to keep the petals even and well-defined.
Tip: Wipe your brush lightly before starting each petal to keep the lines sharp and prevent pooling. - 2Add surrounding daisy petals
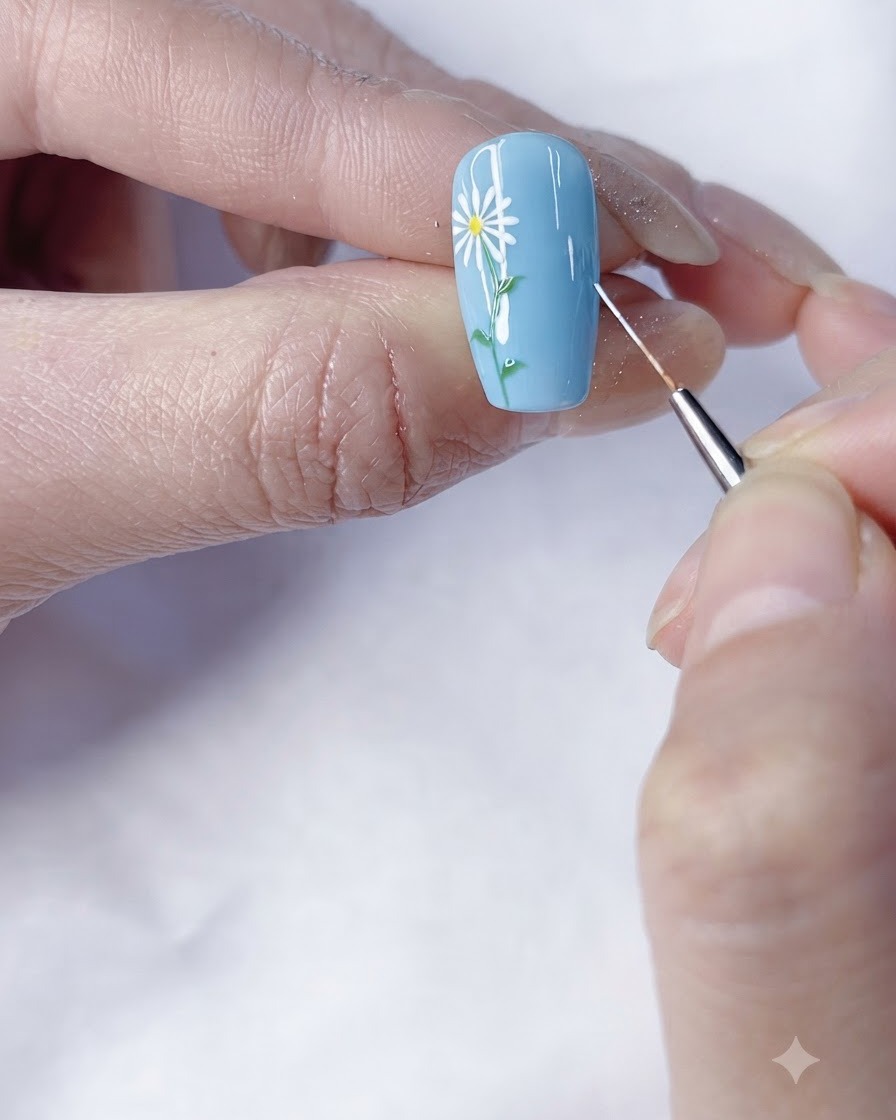
Continue painting additional white petals around the central opening to complete the full shape of the daisy. Ensure the petals radiate outward symmetrically for a balanced floral design.
Tip: Keep the inner tips of the petals slightly pointed toward the center where the yellow stamen will go. - 3Complete the first flower structure
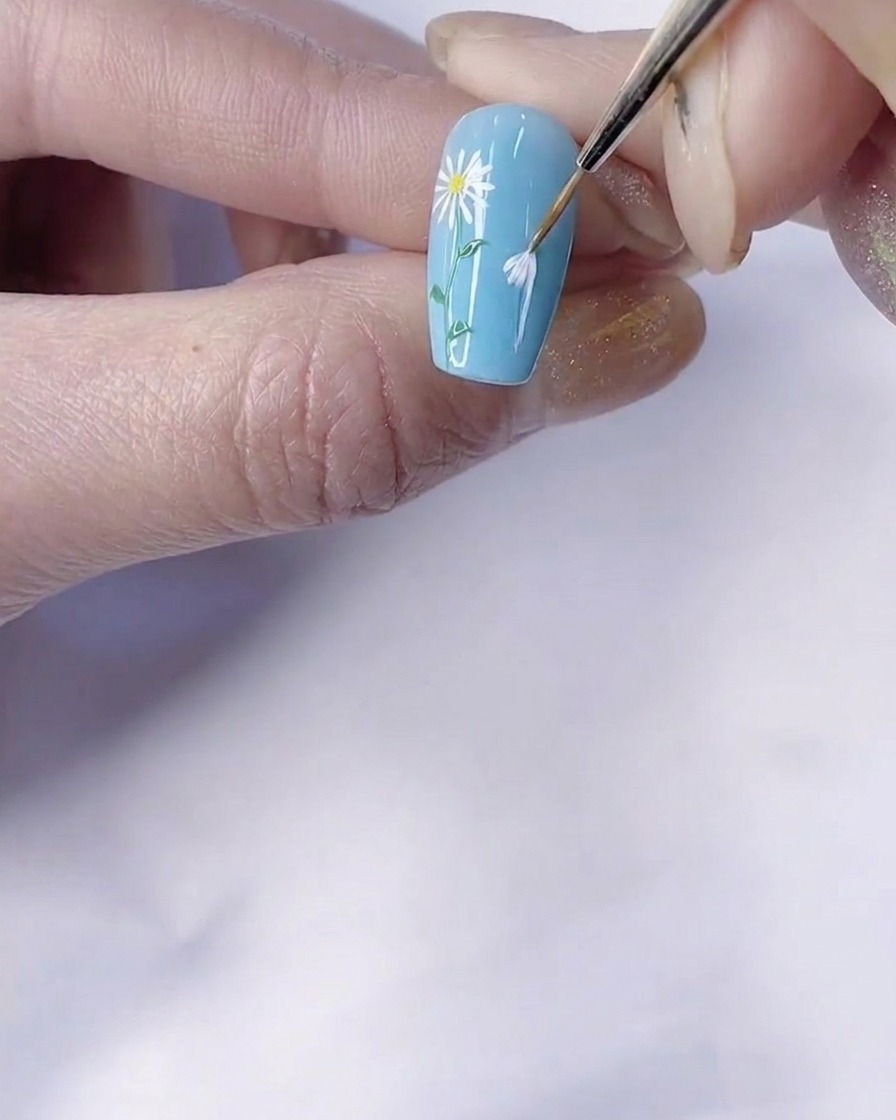
Finalize the petal structure of the main daisy by filling in any gaps. Make sure all petals connect neatly near the center point before moving on to add the flowers center.
Tip: Flash cure for a few seconds if needed to prevent the petals from running into each other. - 4Add the daisy flower center
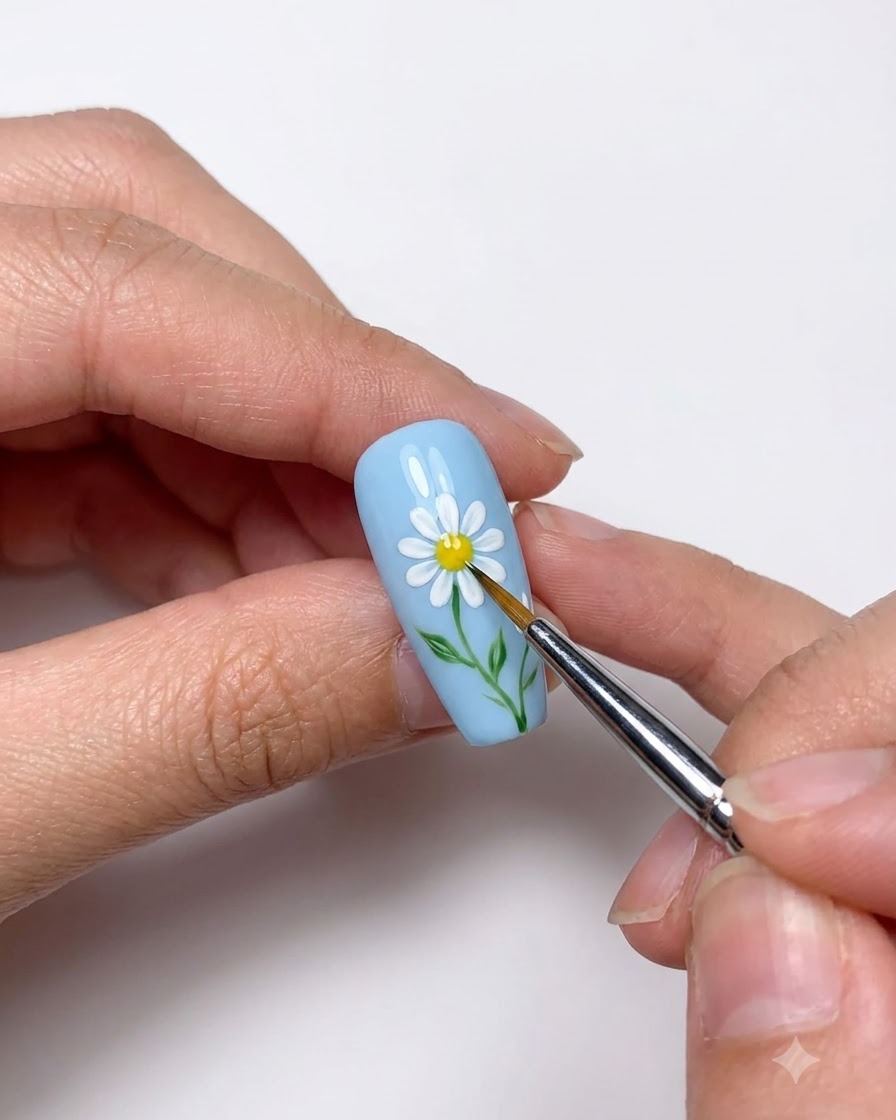
Dip a small dotting tool or fine brush into vibrant yellow gel polish and place a tiny dot right at the center of the white petals to finish the daisy flower look.
Tip: Use a light tapping motion with the dotting tool to create a neat, rounded center without disturbing the surrounding white petals. - 5Paint the flower stem
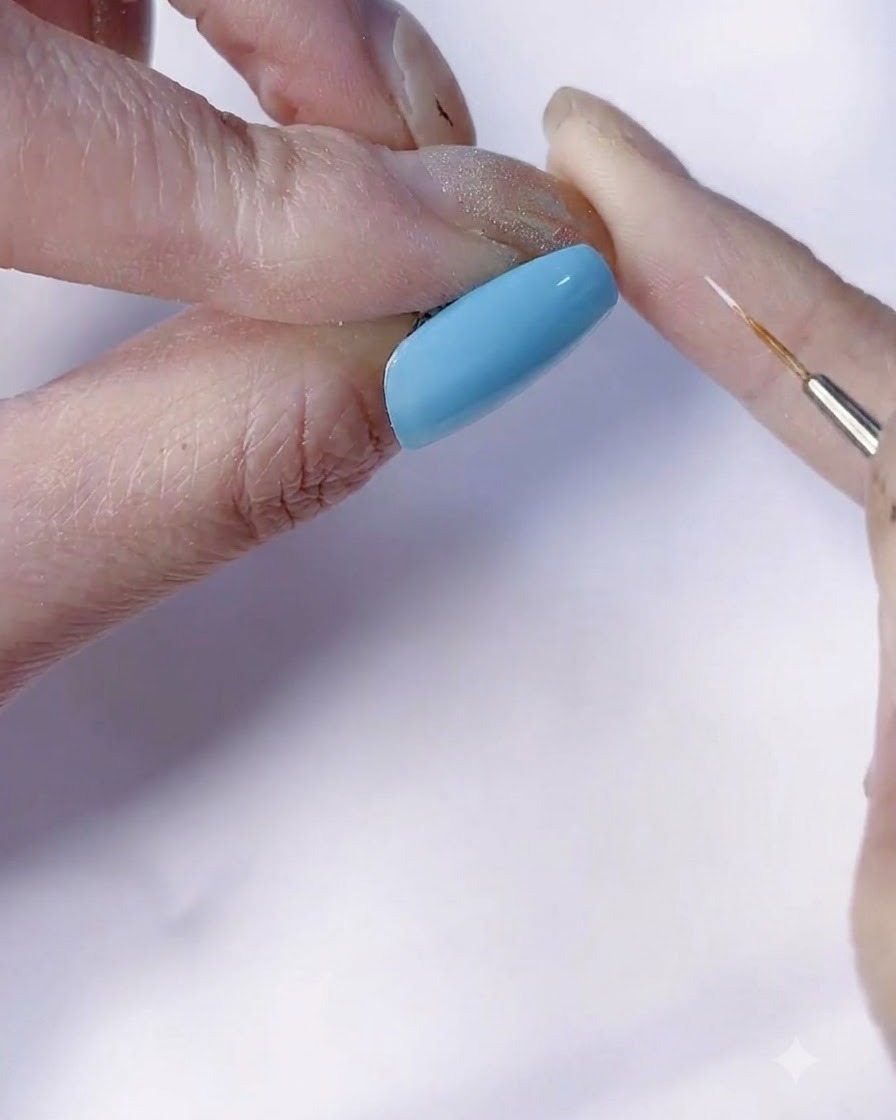
Using a fine liner brush and green gel polish, carefully paint a thin, graceful stem extending downward from the base of the completed daisy.
Tip: Keep your hand steady and use light pressure to draw a smooth, natural-looking curved stem. - 6Paint stem leaves
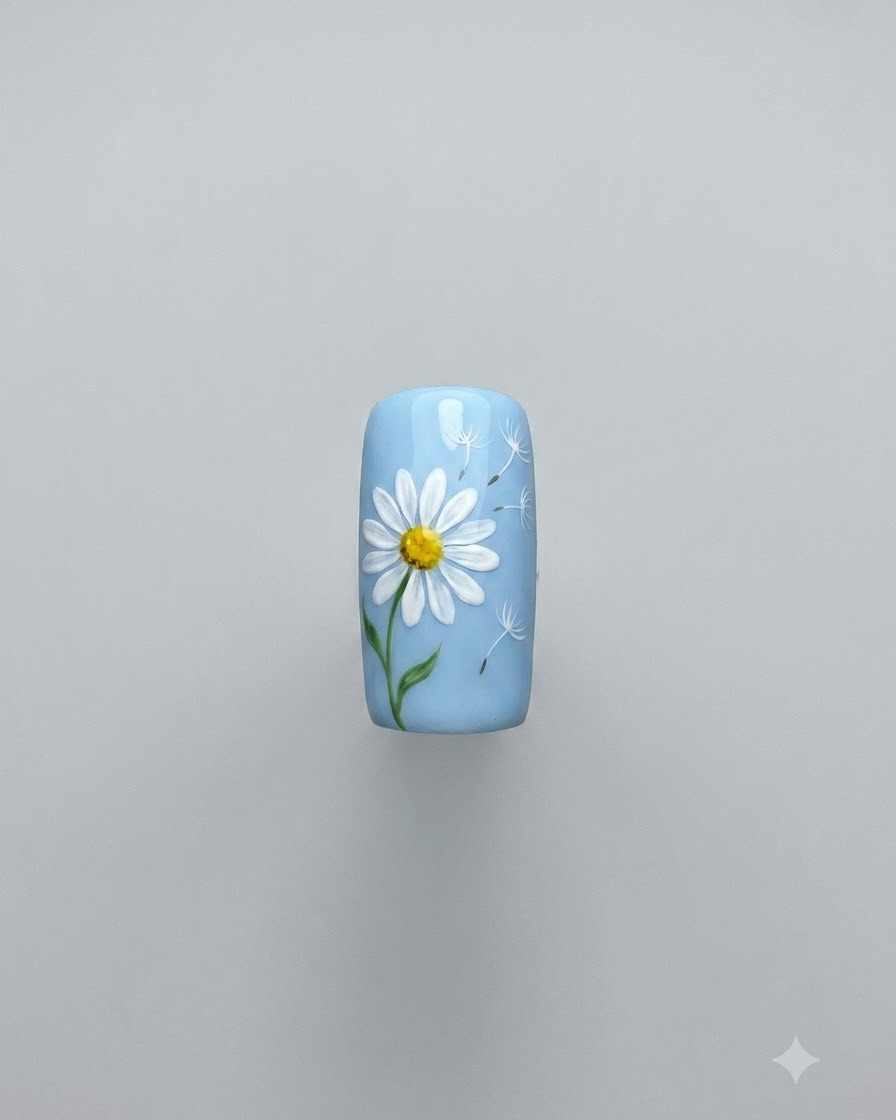
Using a fine tip brush loaded with green polish, add small, delicate leaves branching out along either side of the stem to complete the botanical artwork.
Tip: Pull the brush outward gently from the stem to create a tapered leaf tip. - 7Paint second daisy petals
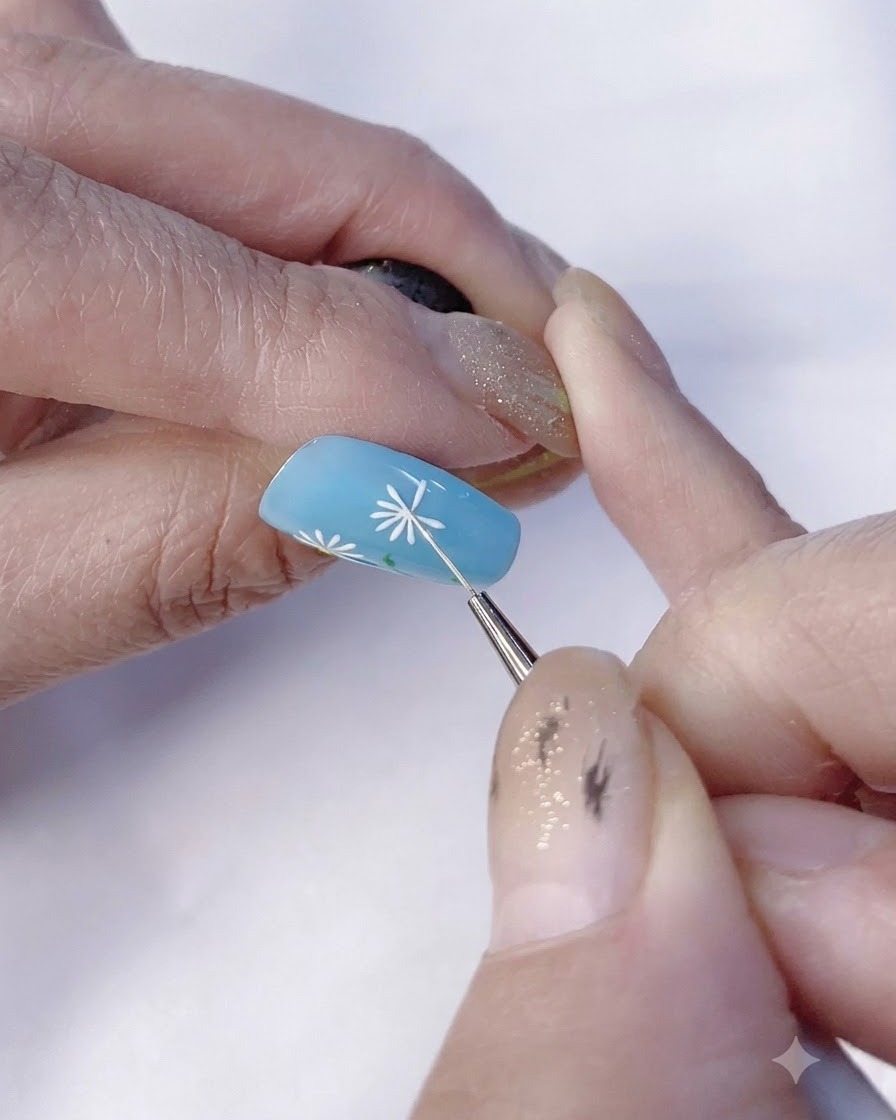
Using a fine detail brush and white gel polish, carefully paint the delicate petals of a second daisy positioned higher up on the light blue nail surface. Draw fine lines radiating outward from a central point to create the daisy shape.
Tip: Keep your hand steady and use only the tip of the brush for clean, sharp petal lines. - 8Complete white petals
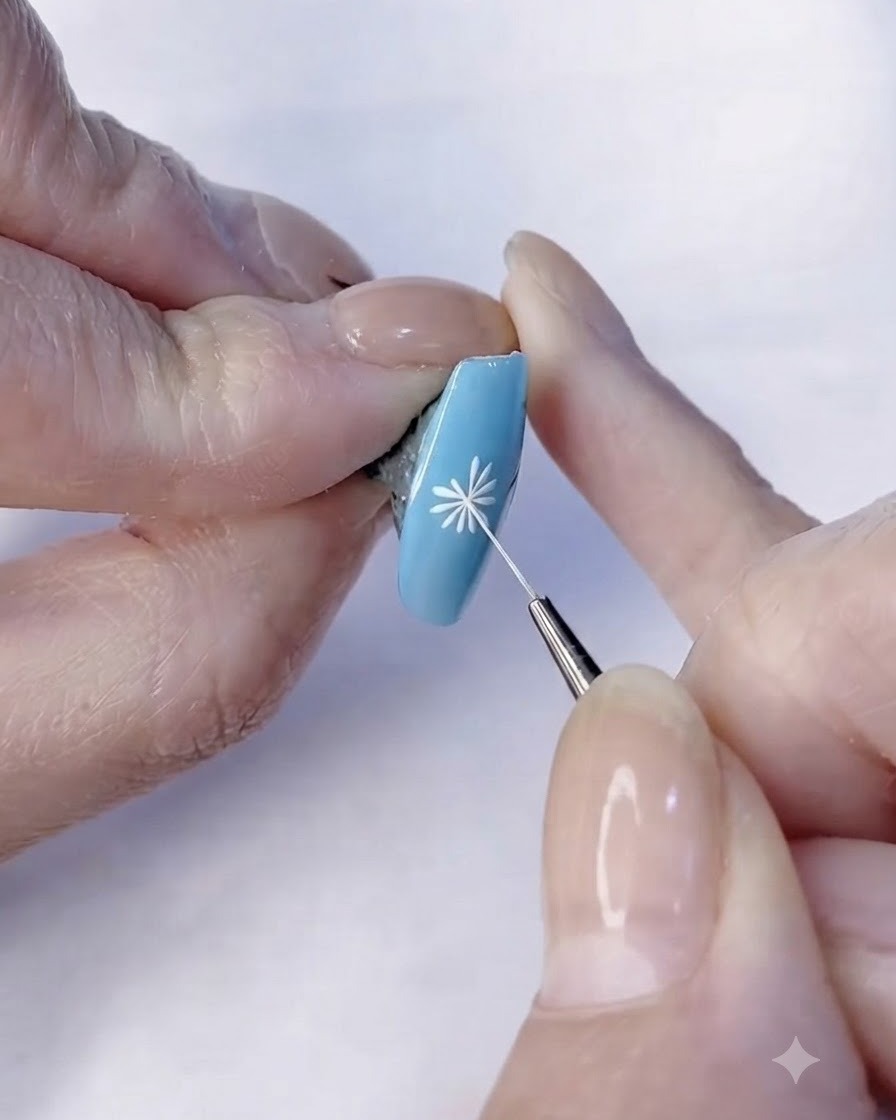
Finish drawing the remaining white petals around the center of the second daisy to ensure the flower looks full and symmetrical. Lightly cure if needed before adding the center detail.
Tip: Ensure the spacing between petals is even for a balanced floral design. - 9Add yellow flower center
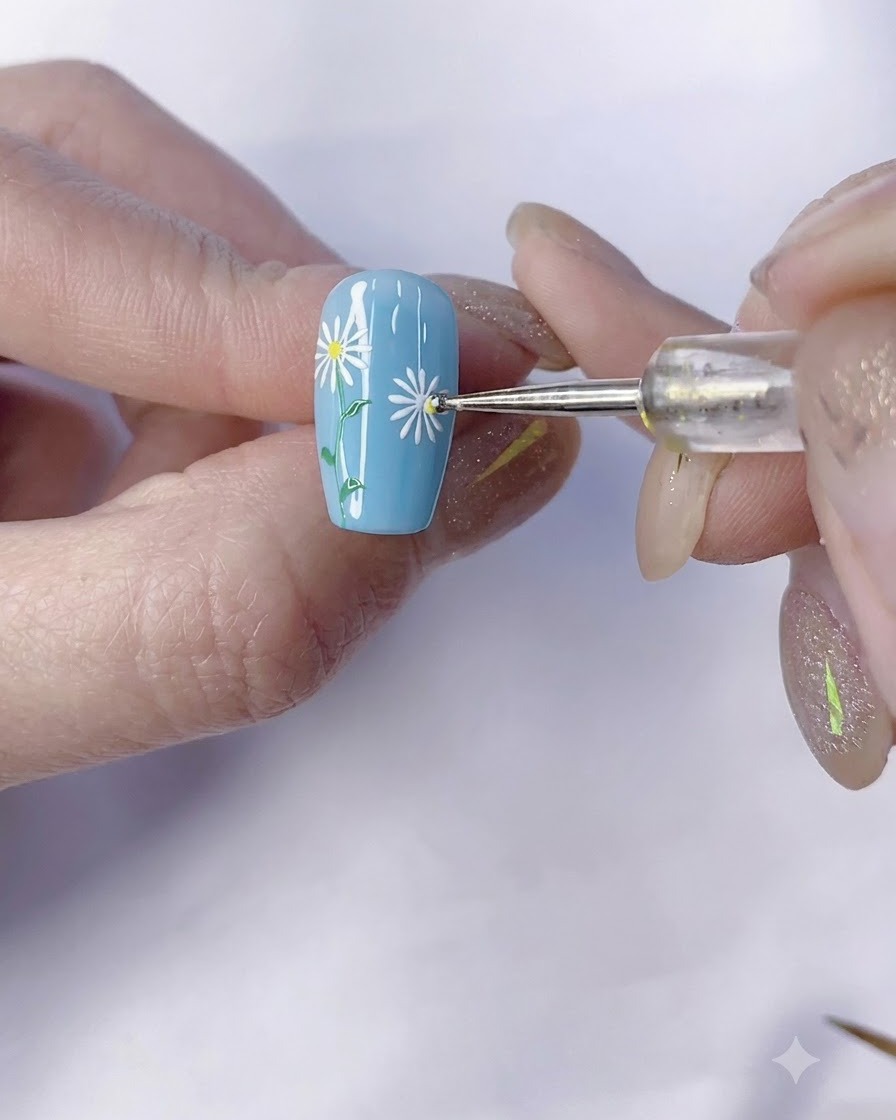
Using a dotting tool or fine brush with yellow gel polish, place a small dot right in the center of the newly painted daisy petals to complete the flower motif.
Tip: Use a gentle tapping motion with the dotting tool to create a perfectly round center. - 10Draw flower stem
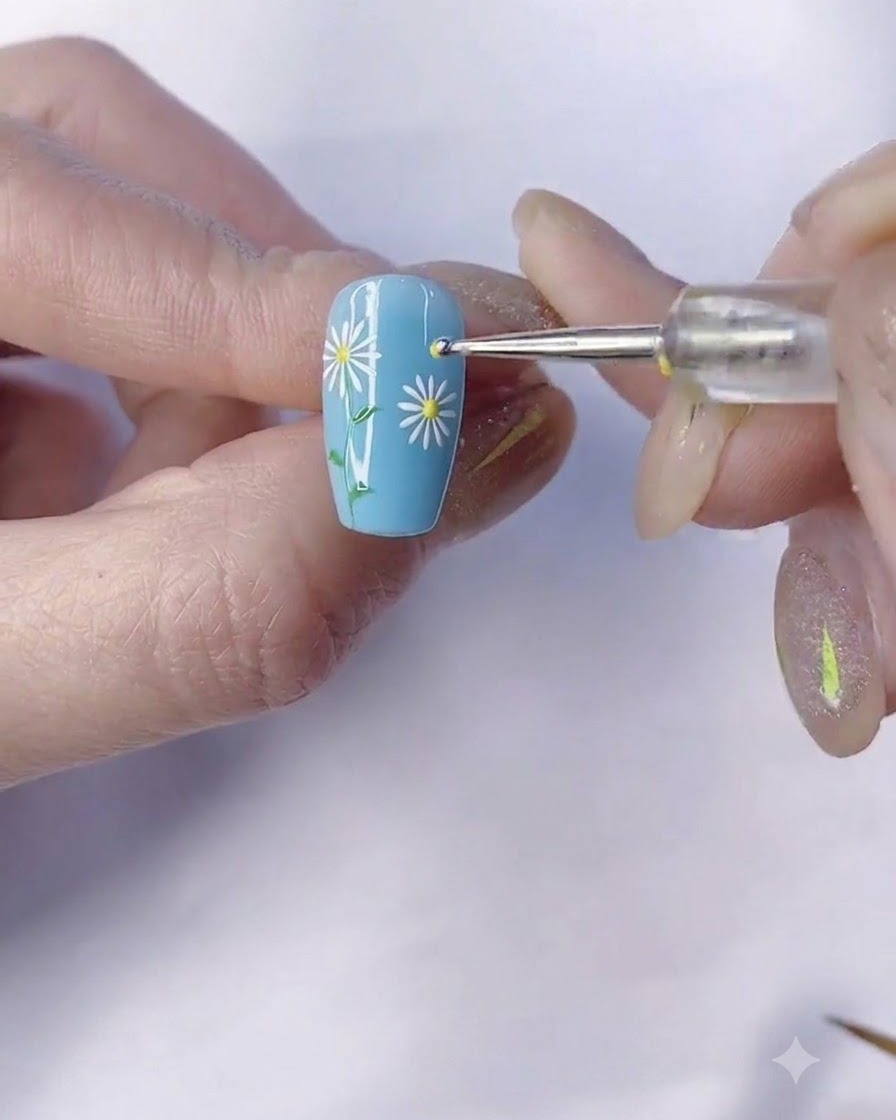
Using green gel polish and a fine liner brush, draw a thin stem extending downward from the base of the second daisy toward the bottom of the nail.
Tip: A light touch on the brush allows for smooth, natural-looking curved stems. - 11Add small leaves
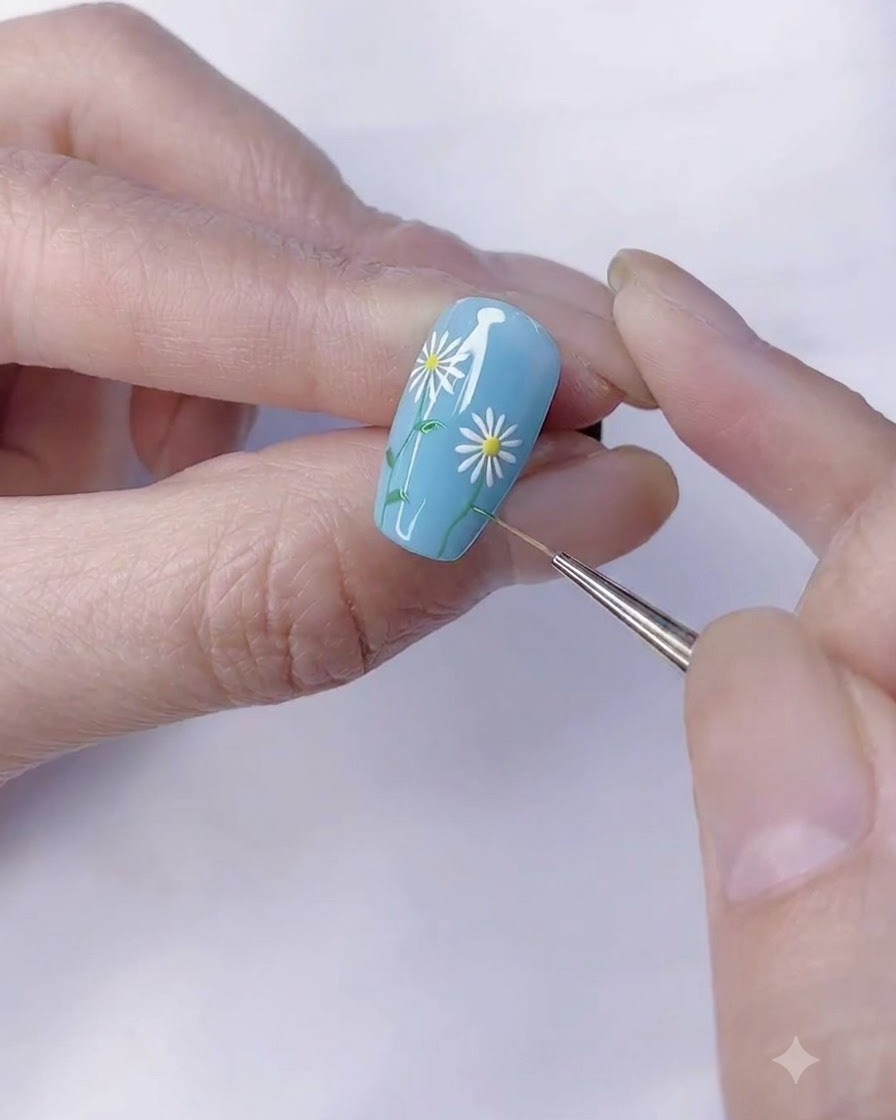
Paint tiny green leaves branching off from the stem of the second daisy to add realistic detail and complete the botanical design.
Tip: Vary the leaf placement slightly along the stem for a more organic look. - 12Final check of floral design
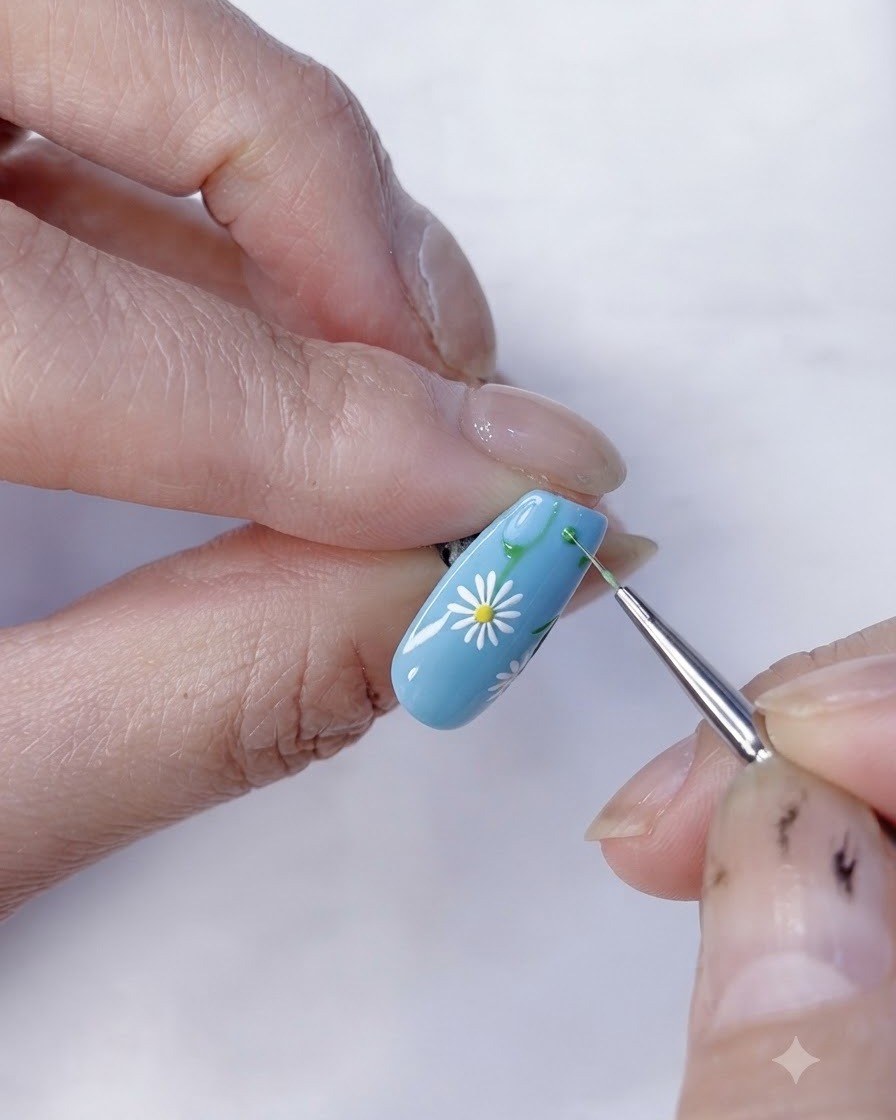
Inspect the completed multi-flower daisy nail art design for any touch-ups needed before applying the final top coat and curing.
Tip: Always inspect your artwork under good lighting to catch any smudges or uneven lines.