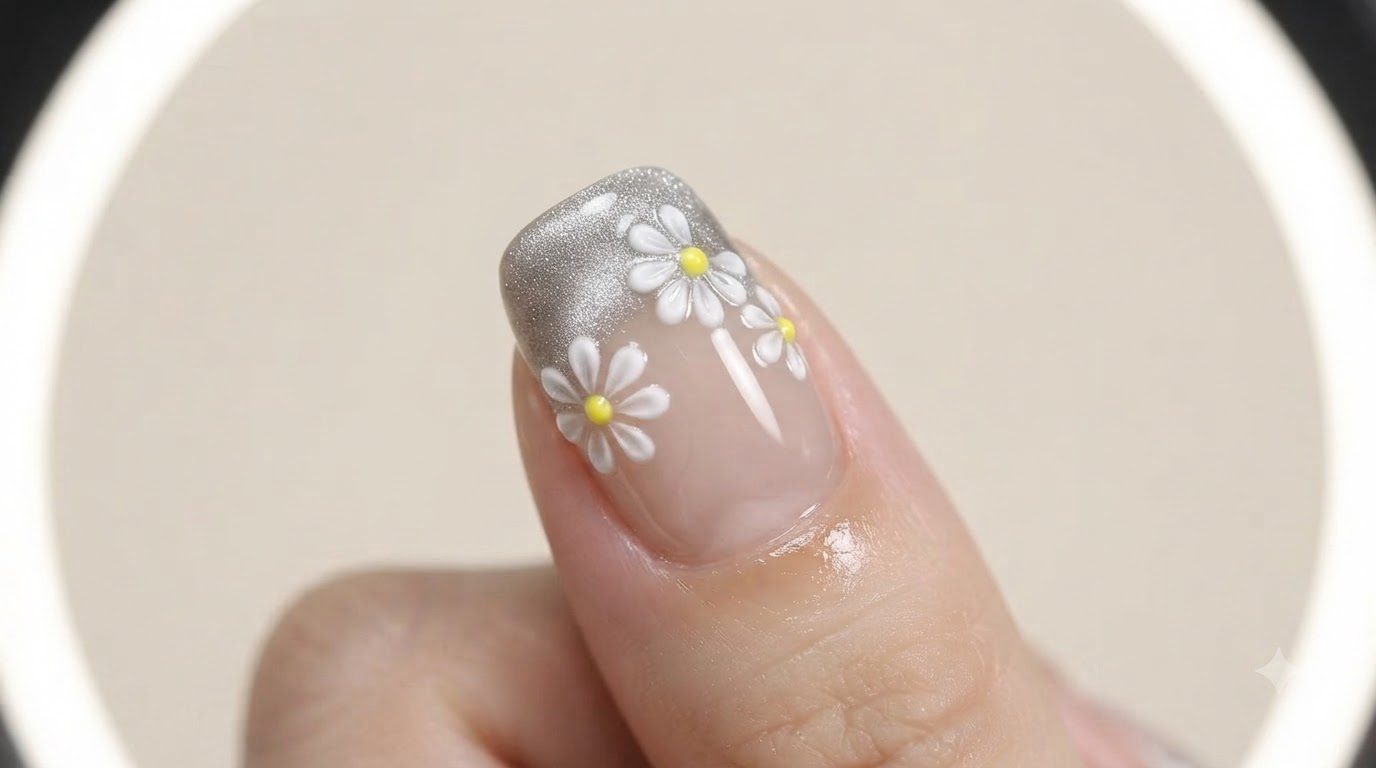
3D Little Daisy Cat-Eye Gradient Nails — Step-by-Step Tutorial
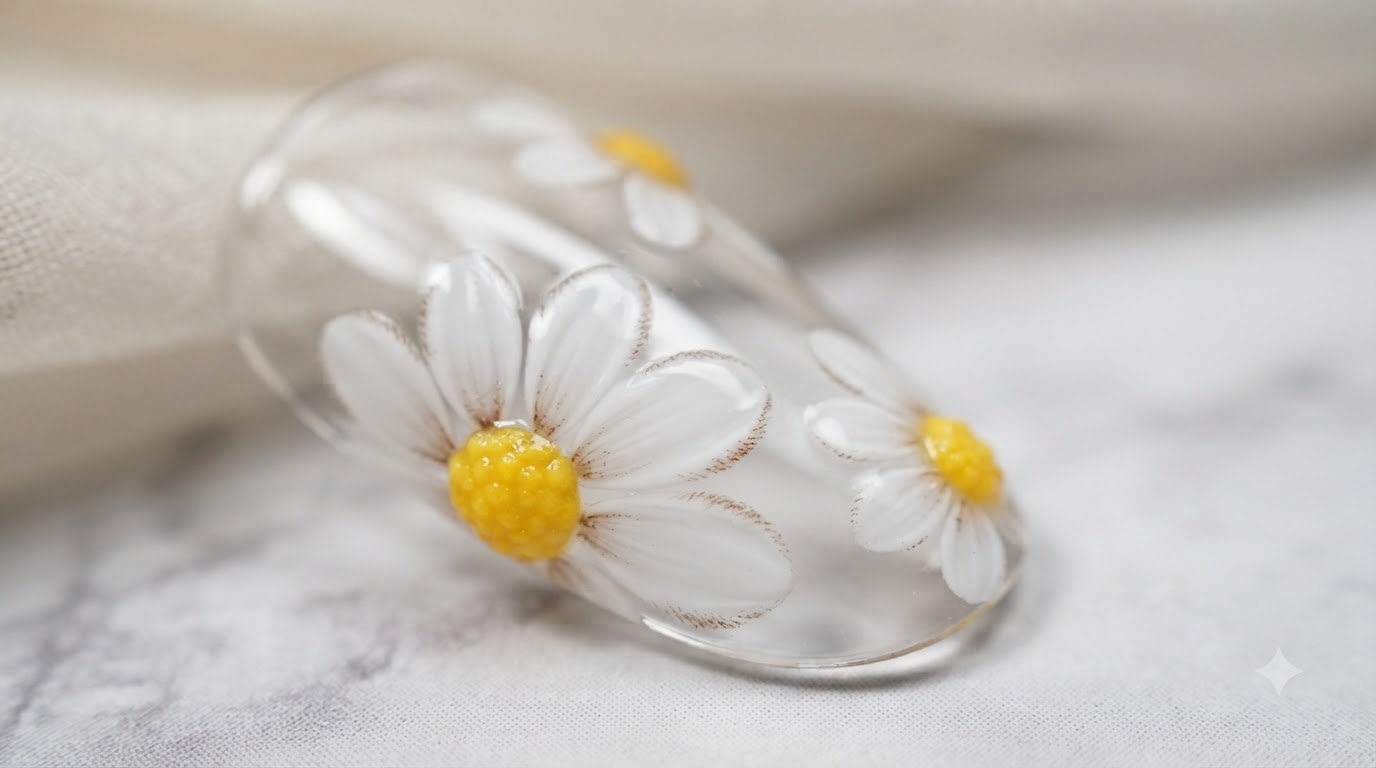
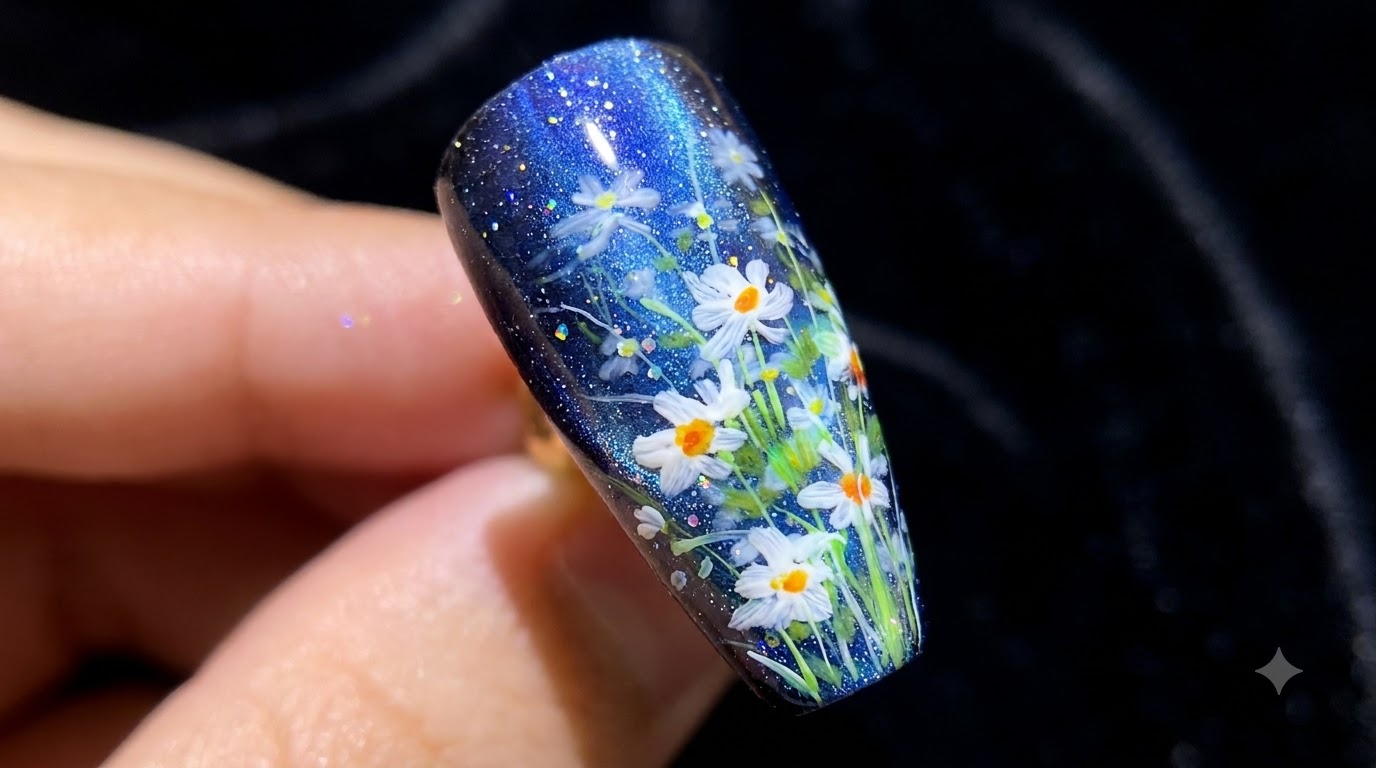
Create enchanting 3D little daisy nail art featuring a translucent milky base, sparkling silver cat-eye gradient tips, and tactile floral relief gel details.
Combining the ethereal depth of magnetic cat-eye gradients with playful, textured floral elements creates a wonderfully balanced look that works for any season. This design pairs a soft translucent base with sparkling silver tips and charming 3D daisies for a manicure that is equal parts sophisticated and whimsical. Whether you are prepping for spring or simply love detailed botanical nail art, this step-by-step guide will help you achieve salon-quality results at home.
Steps
- 1Apply translucent magnetic gel base
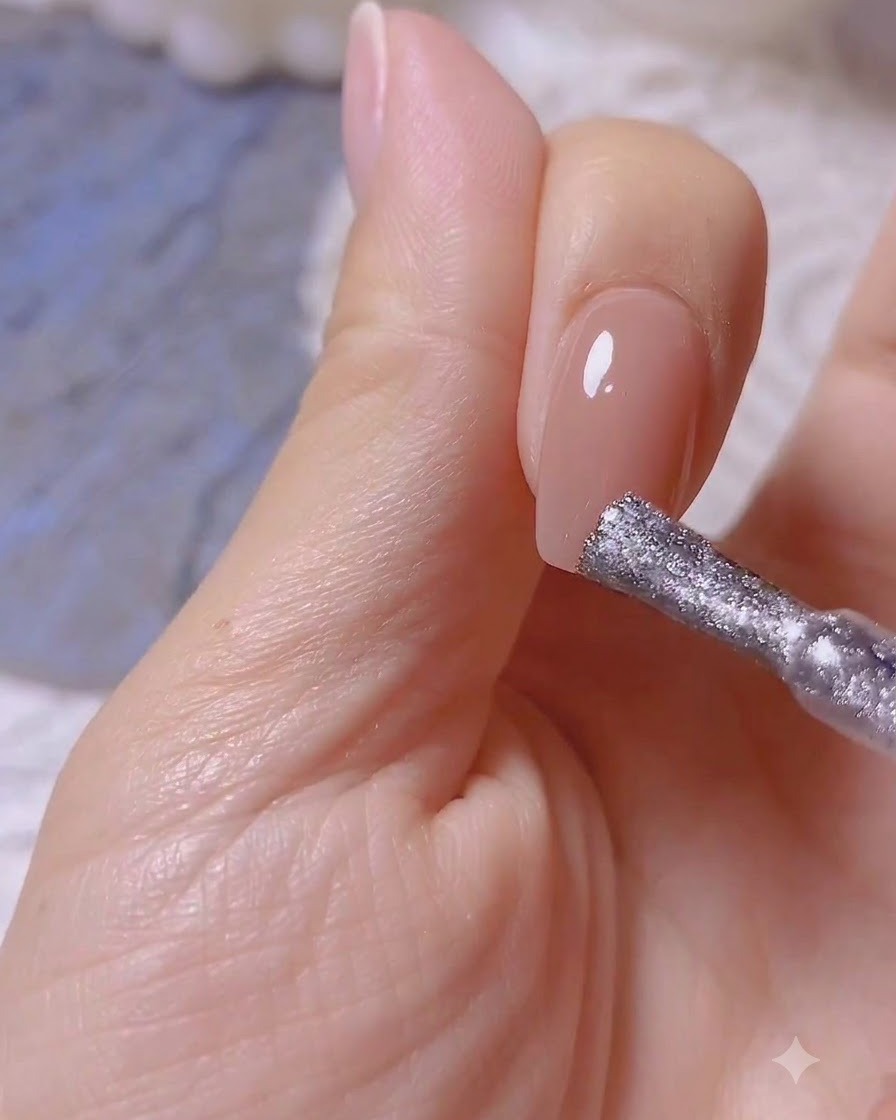
Apply a coat of translucent magnetic gel onto the prepped nail plate, ensuring smooth and even coverage across the entire surface. This serves as the shimmering base for the cat-eye effect, providing depth and a subtle translucent tint.
Tip: Apply in thin, even strokes to prevent pooling around the cuticles and ensure the magnetic particles disperse evenly. - 2Sweep magnetic particles for gradient effect
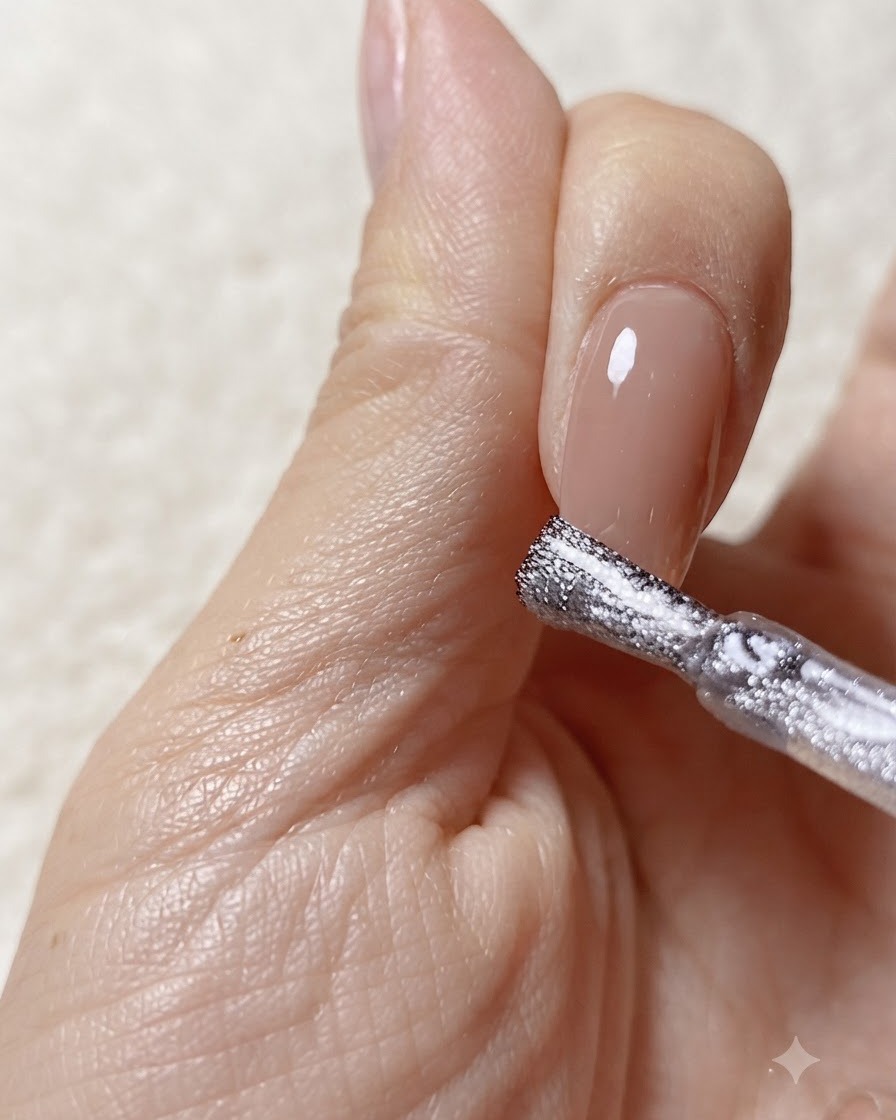
Hold a magnet close to the nail and sweep it from side to side across the nail tip while the gel is still wet. This movement shifts the magnetic particles to concentrate at the edge, creating a sparkling, multi-dimensional gradient shimmer effect.
Tip: Keep the magnet steady and close to the nail without touching the wet polish to get sharp, concentrated shimmer lines. - 3Refine cat-eye lines with a fine brush
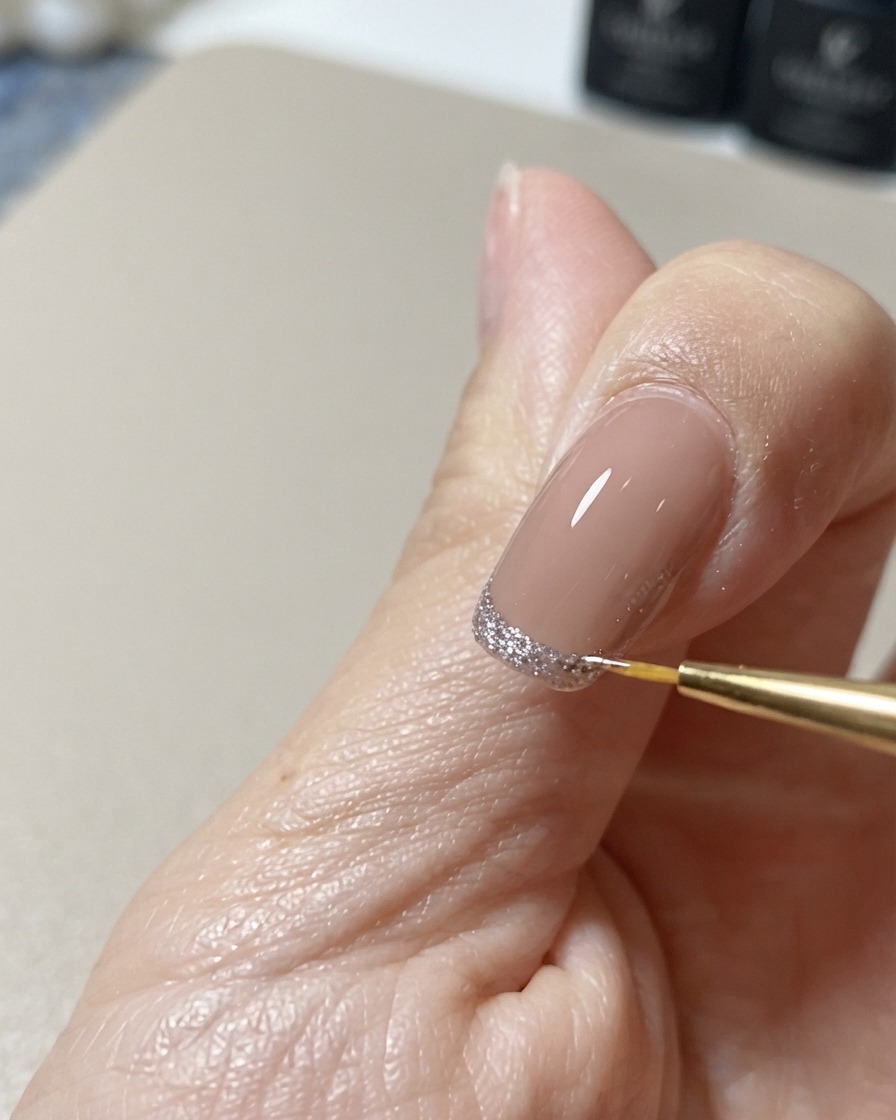
Take a fine nail art detail brush and carefully refine, smooth, or adjust the edges of the cat-eye shimmer lines. This cleanup step ensures the French-style tip outline looks crisp, clean, and precisely defined before final curing.
Tip: Lightly wipe your detail brush with a cleanser if it picks up too much gel, keeping your lines sharp and thin. - 4Create a wide light band with a magnet and cure
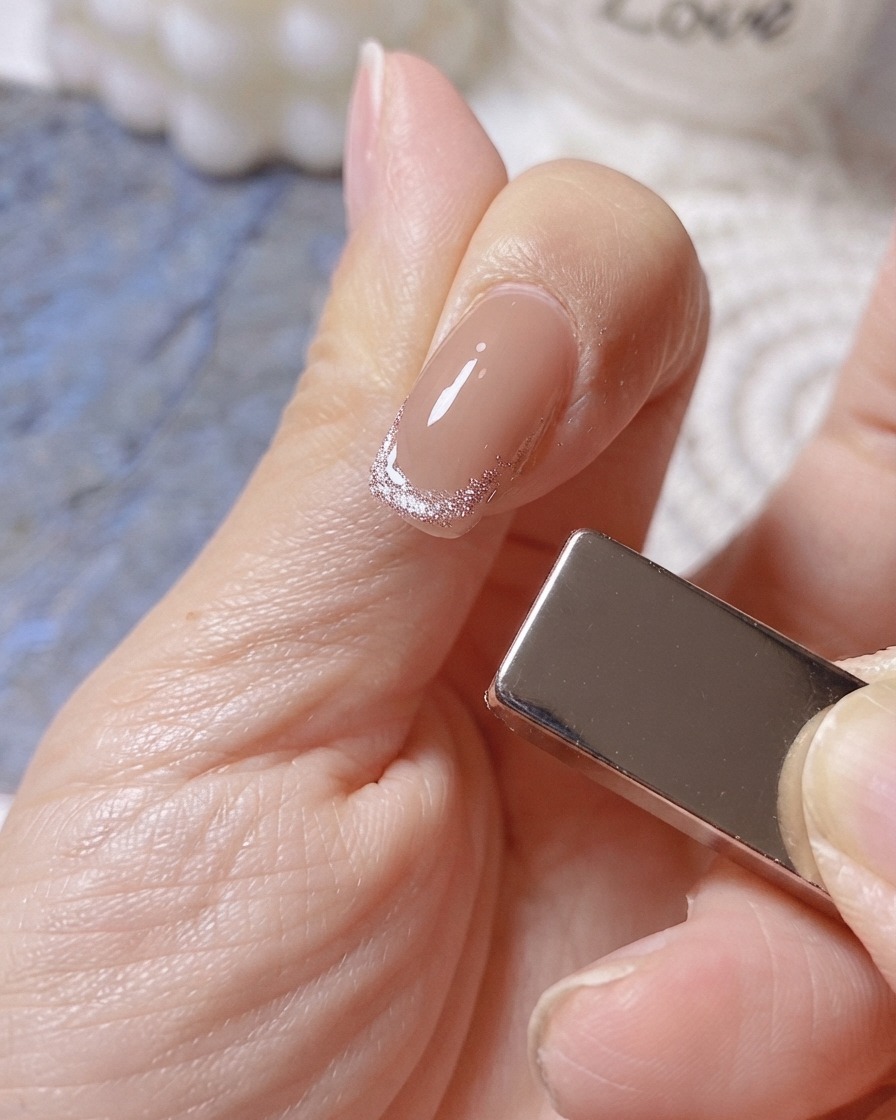
Hover the magnet specifically on the right side of the nail to pull and gather the magnetic particles, forming a wide cat-eye light band along the tip. Once the desired reflective effect is achieved, place the hand under the UV or LED lamp to cure the layer.
Tip: Do not wait too long before curing once the magnetic band is set, as the particles can slowly disperse and soften. - 5Apply reinforcing clear gel
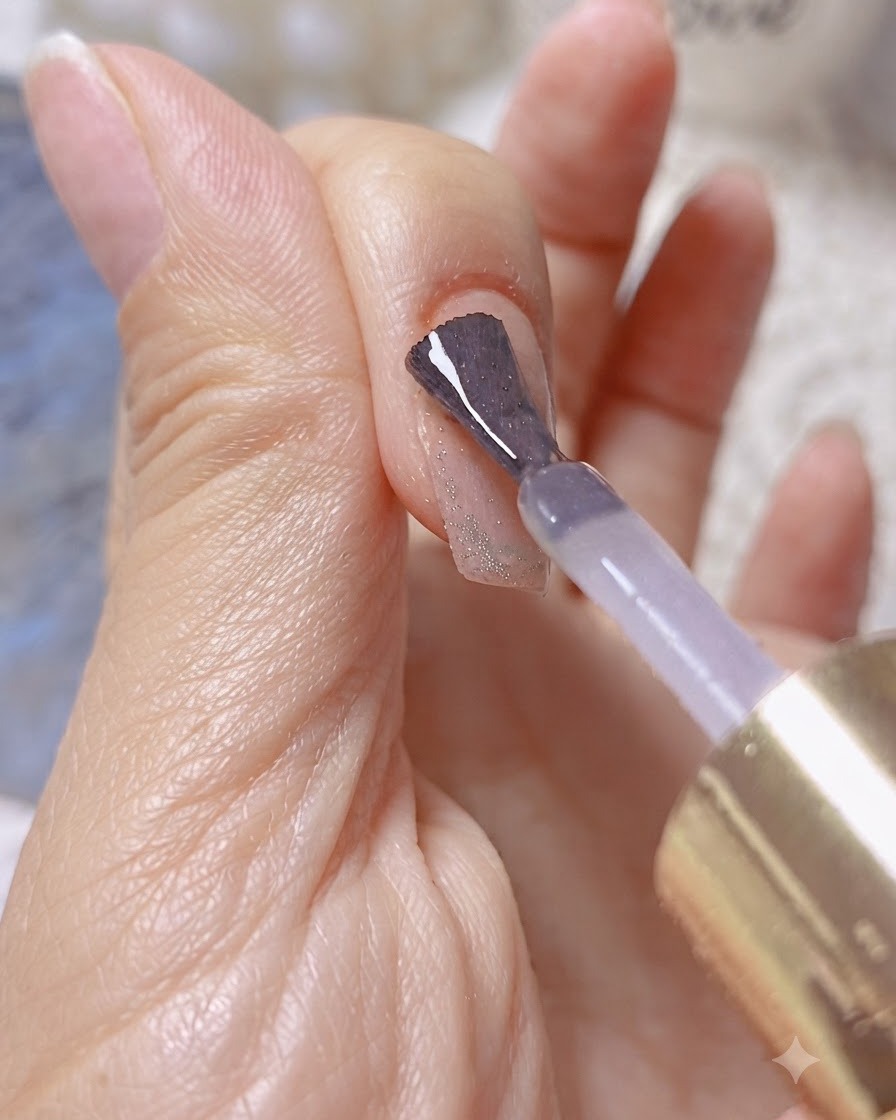
Apply a protective layer of clear reinforcing gel over the entire nail surface. This adds structural strength, encapsulates the nail art layers safely underneath, and creates a smooth foundation for any upcoming 3D decorations or final top coats.
Tip: Check the nail profile from the side to make sure the apex is properly balanced before curing the reinforcing gel. - 6Paint 3D white daisy petals using relief gel
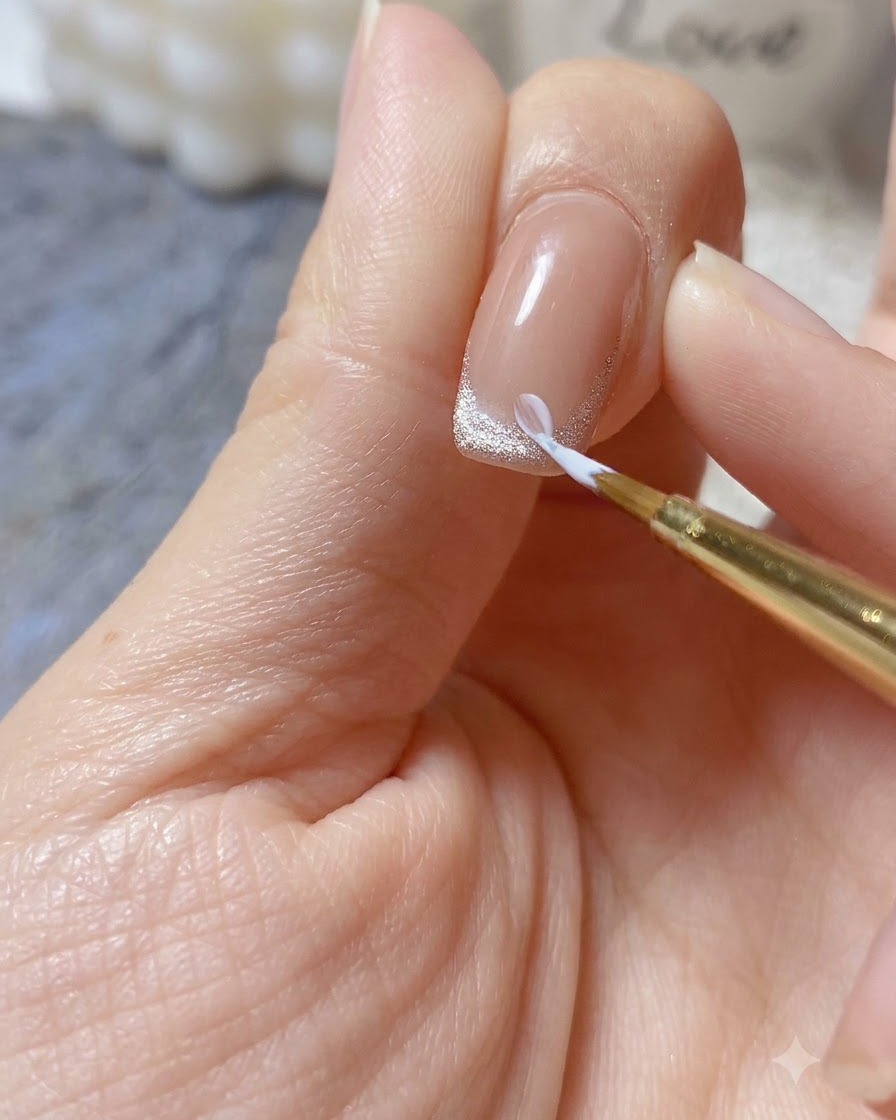
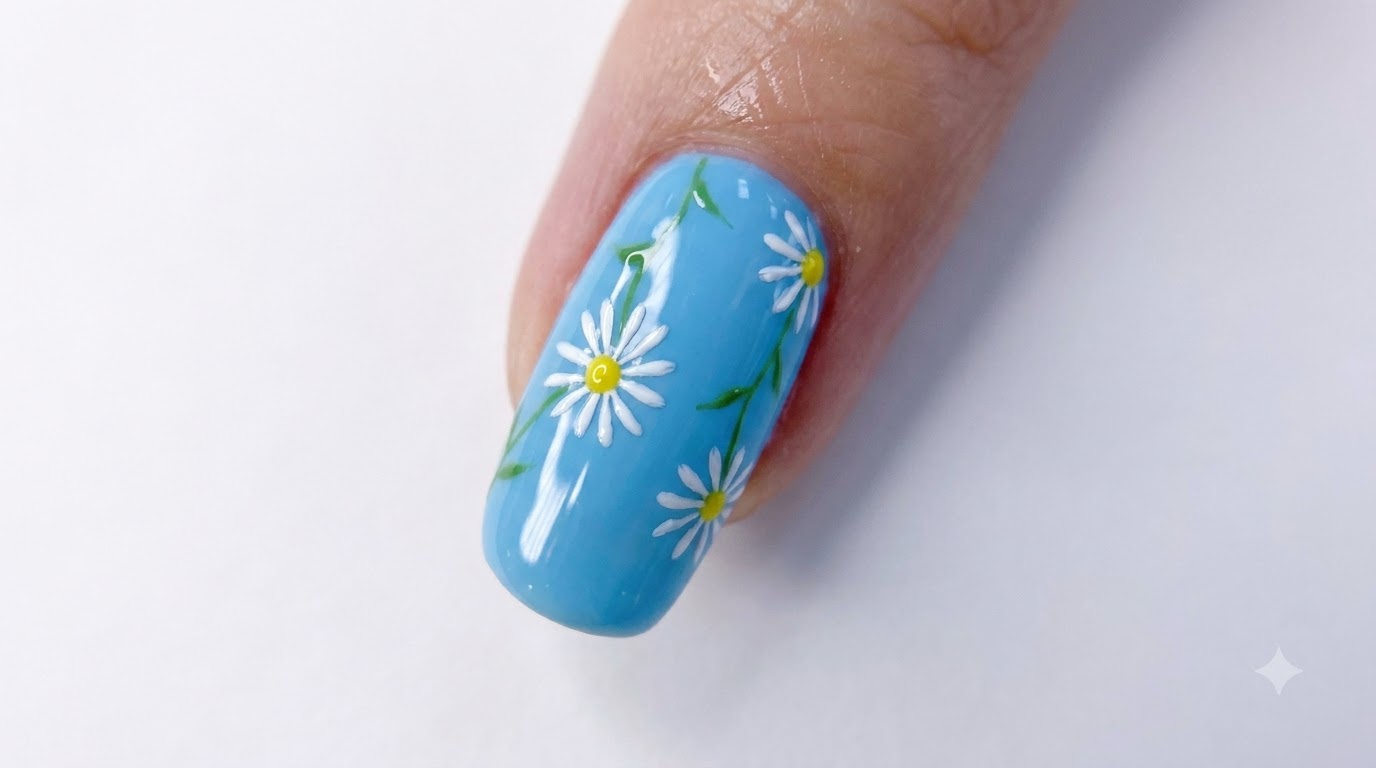
Dip a multi-purpose liner brush into thick white relief gel and carefully paint 3D daisy petals directly onto the nail tip. The thick consistency of the relief gel holds its shape, creating a distinct, tactile three-dimensional flower effect.
Tip: Use light pressure when lifting the brush away from each petal to create a natural, tapered tip shape without stringing. - 7Dot the flower centers
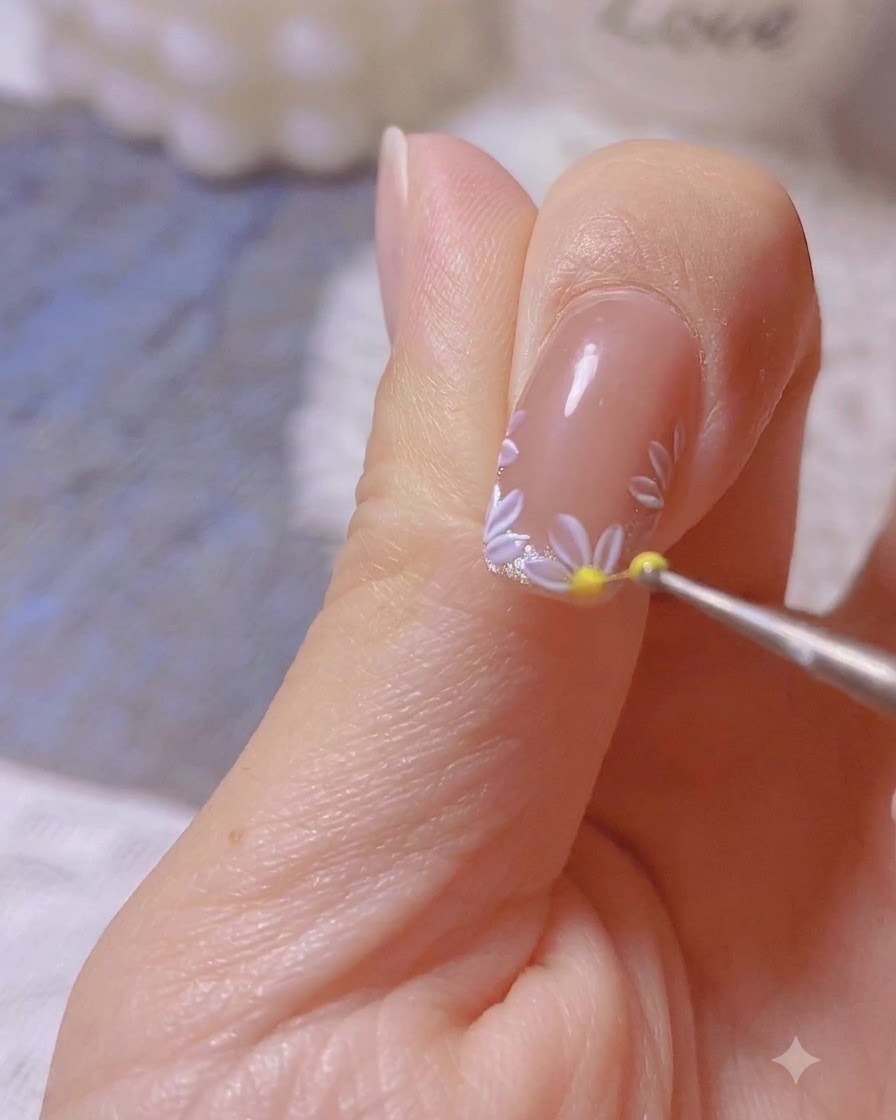
Using a dotting tool dipped in yellow gel polish, carefully place a small dot right in the center of each white daisy flower. This adds realistic depth and completes the floral motif at the nail tip.
Tip: Keep the dots small and consistent in size so they do not overwhelm the delicate white petals. - 8Apply top coat and cure
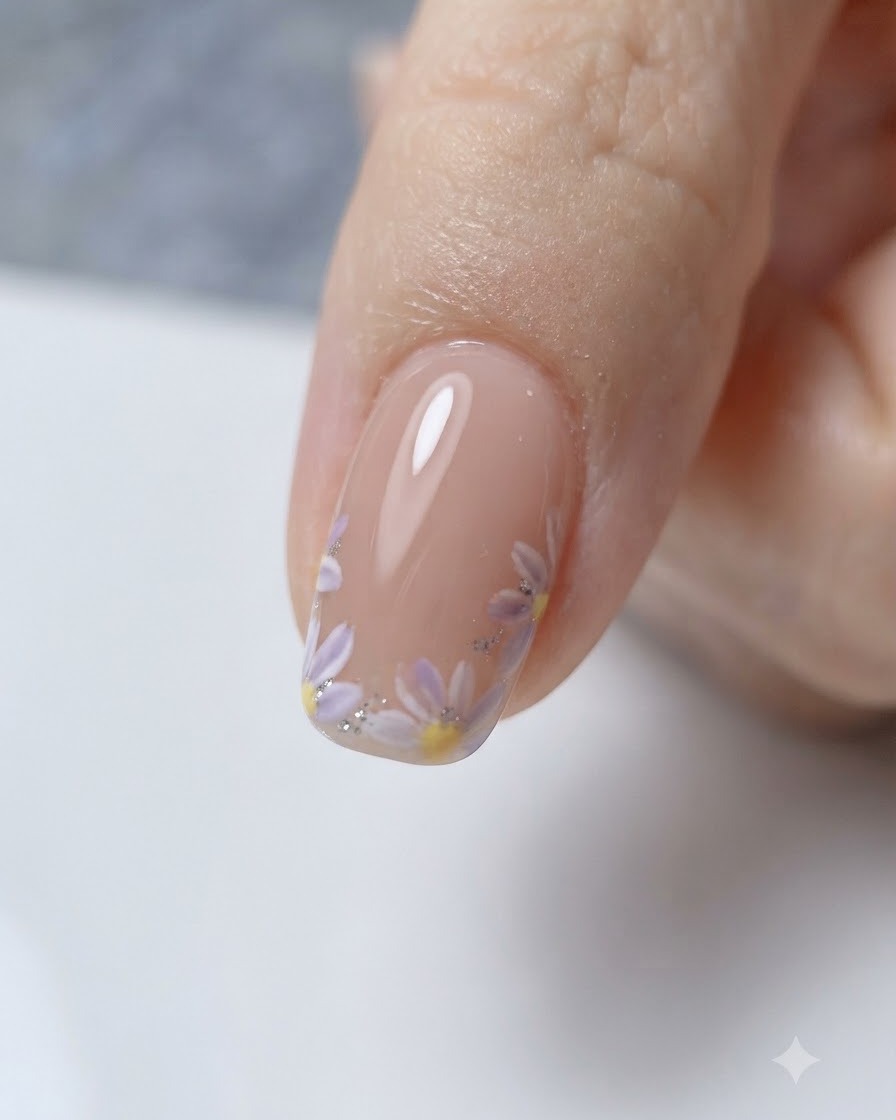
Apply a clear top coat evenly over the entire nail surface, covering the nail art design completely to protect it and add high shine. Cure under a UV or LED lamp to finish the manicure.
Tip: Cap the free edge with top coat to prevent chipping and ensure long-lasting wear of your nail art.