Cute 3D Daisy Floral Nail Art — Step-by-Step Gel Tutorial
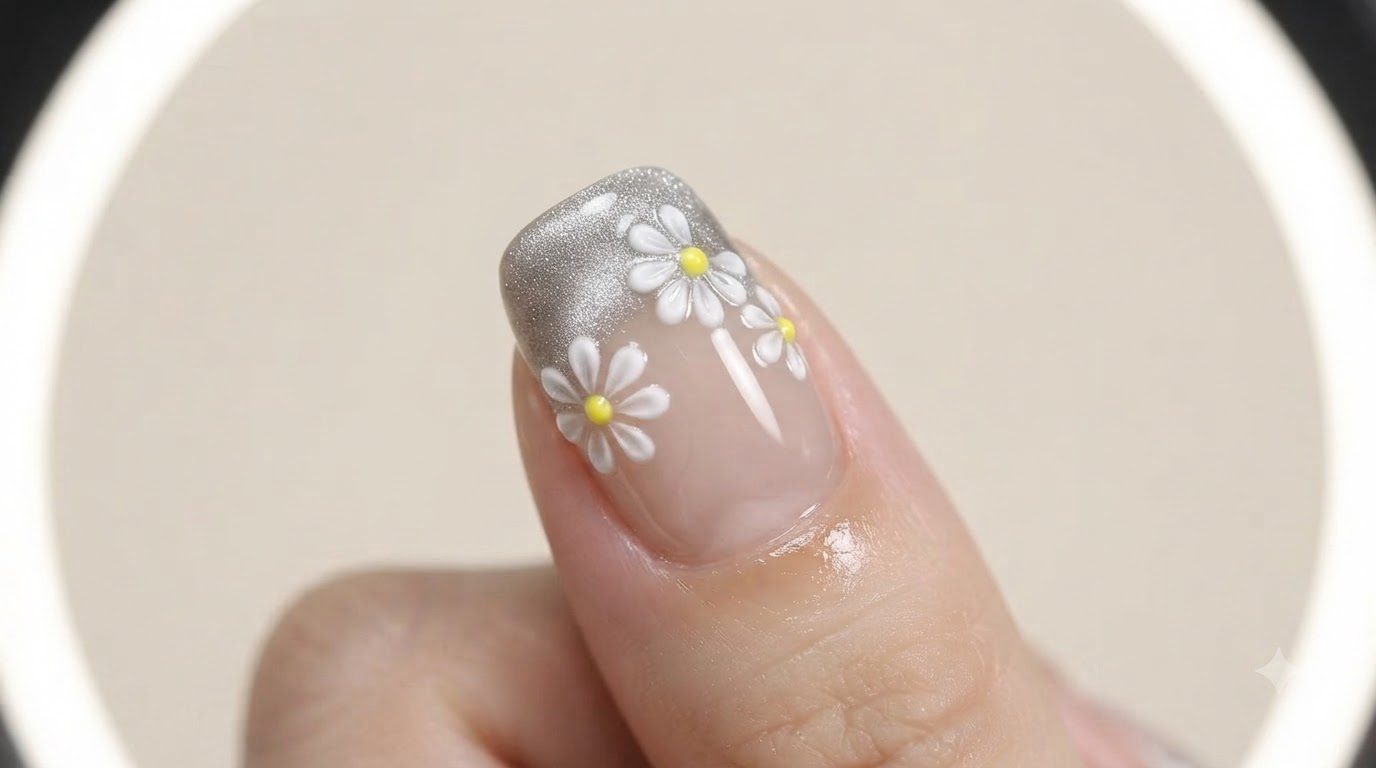
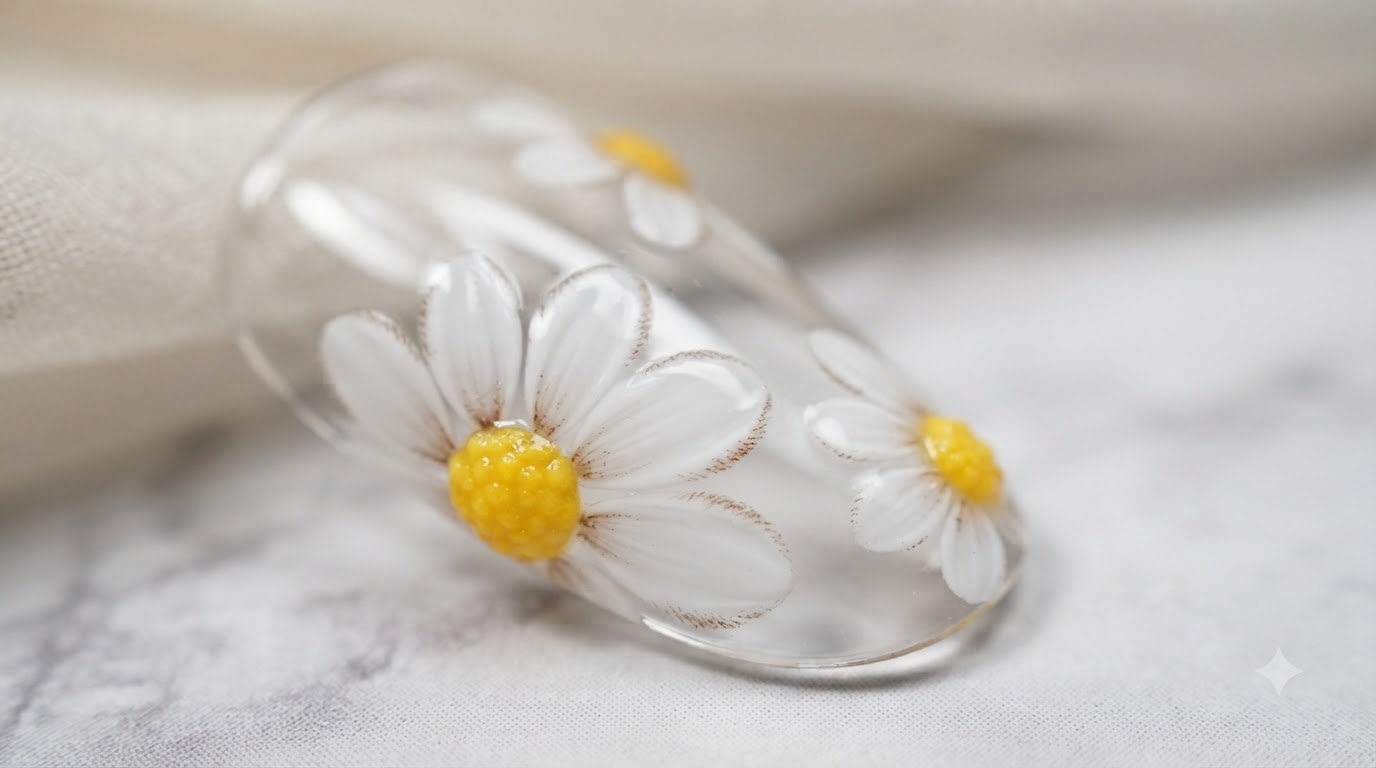
Create adorable 3D daisy gel nails featuring textured yellow stamen centers and delicate petal outlines on a clear base.
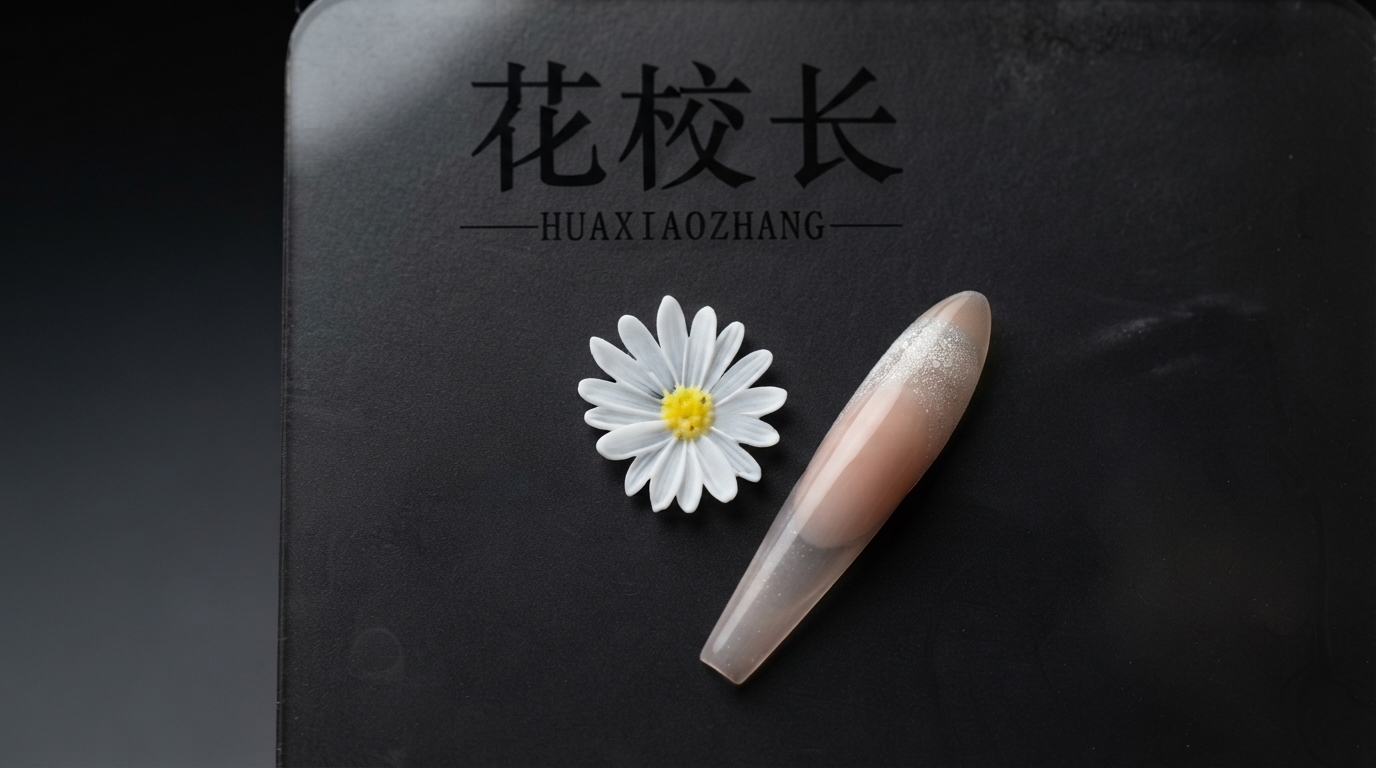
Floral nail designs are a timeless favorite, and adding 3D texture brings a charming, playful dimension to your manicure. This step-by-step tutorial guides you through painting crisp white petals, delicate brown outlines, and a plump, vibrant yellow stamen center on a crystal-clear gel nail base.
Steps
- 1Draw the first daisy petal
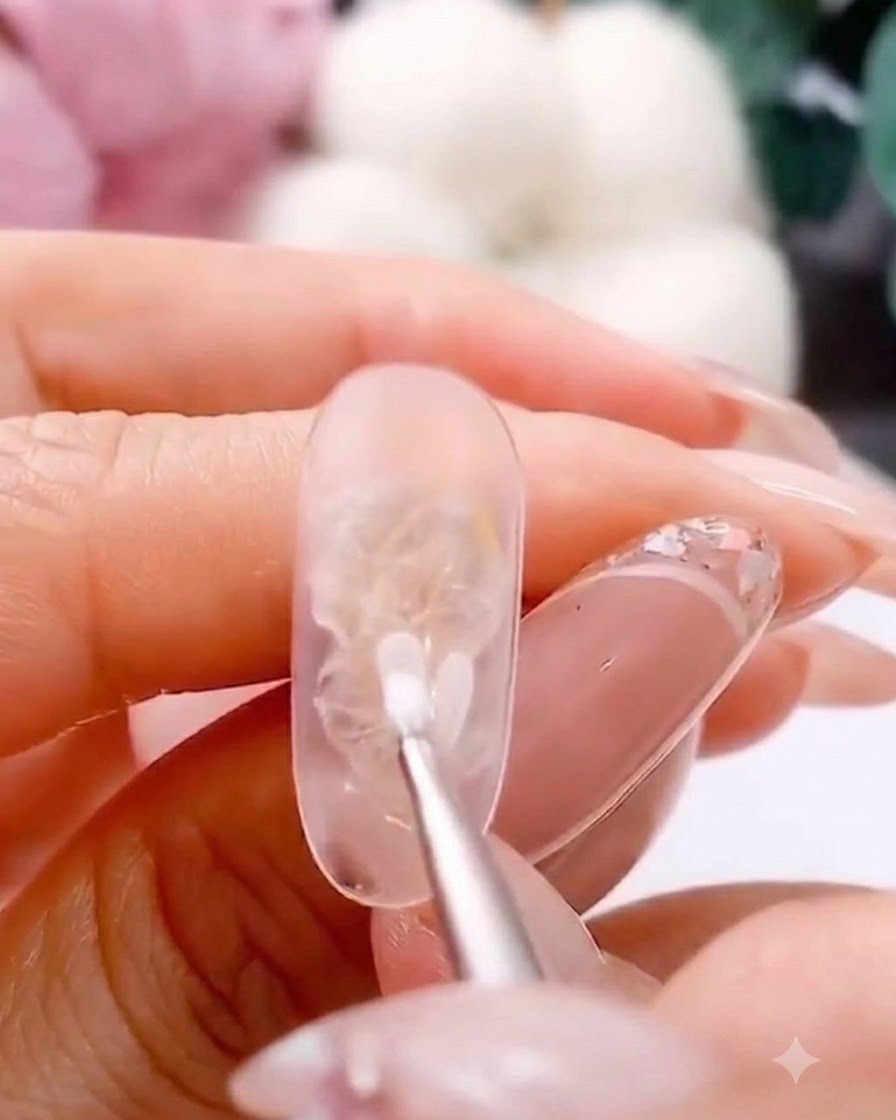
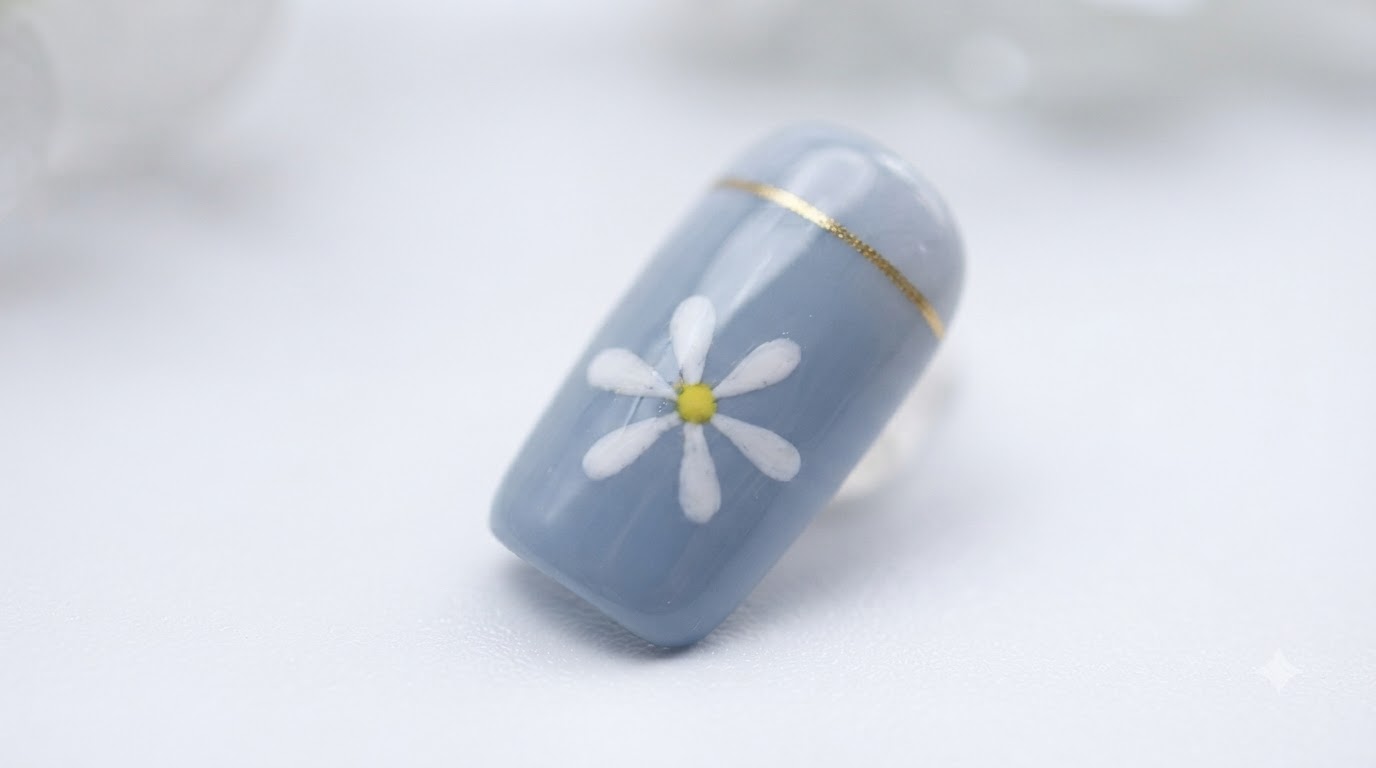
Using a fine liner brush loaded with white gel, draw the initial petal on the clear gel nail base. Apply heavy pressure at the base of the petal and lift lightly as you pull toward the tip to create a natural, tapered shape.
Tip: Varying your brush pressure is key to achieving a realistic, organic petal contour. - 2Form the full daisy flower
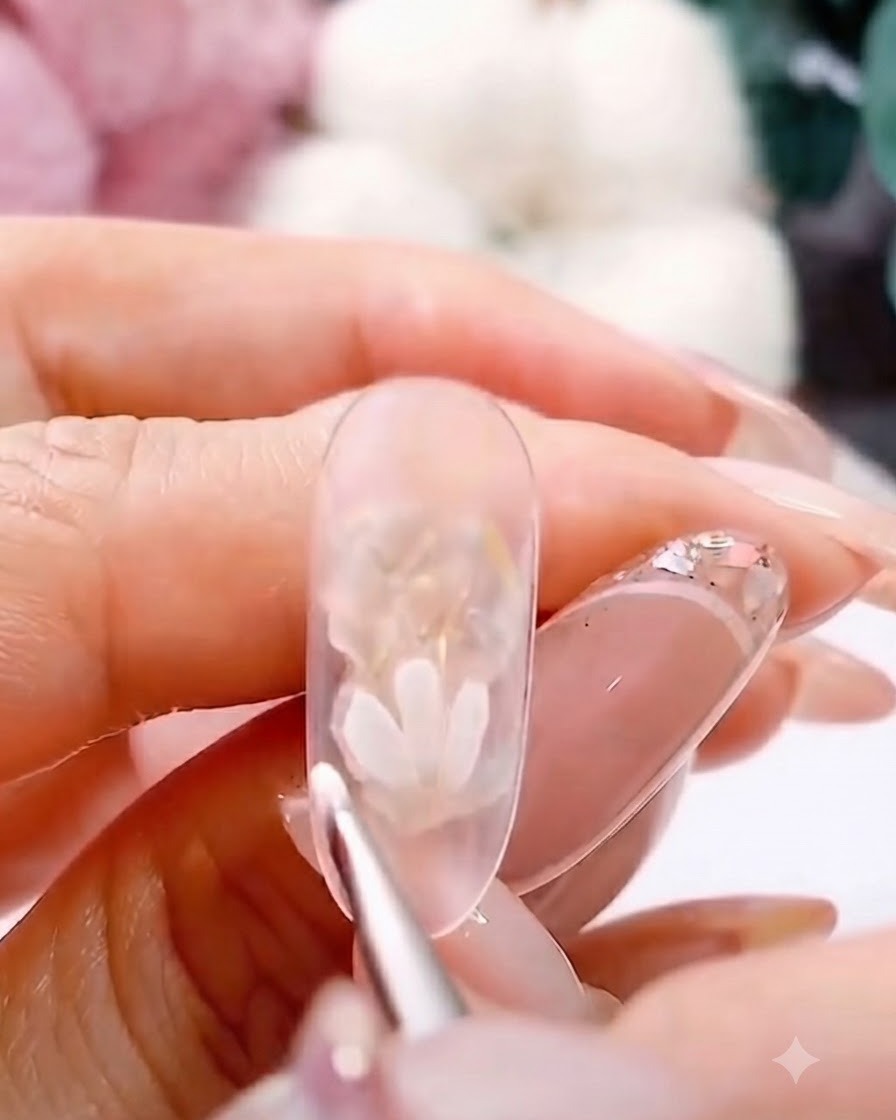
Continue painting adjacent petals using the same fine liner brush and white gel technique. Arrange the petals in a circle to complete the full daisy flower structure.
Tip: Keep the center open so you have ample space to add the flower center details later. - 3Add secondary floral details
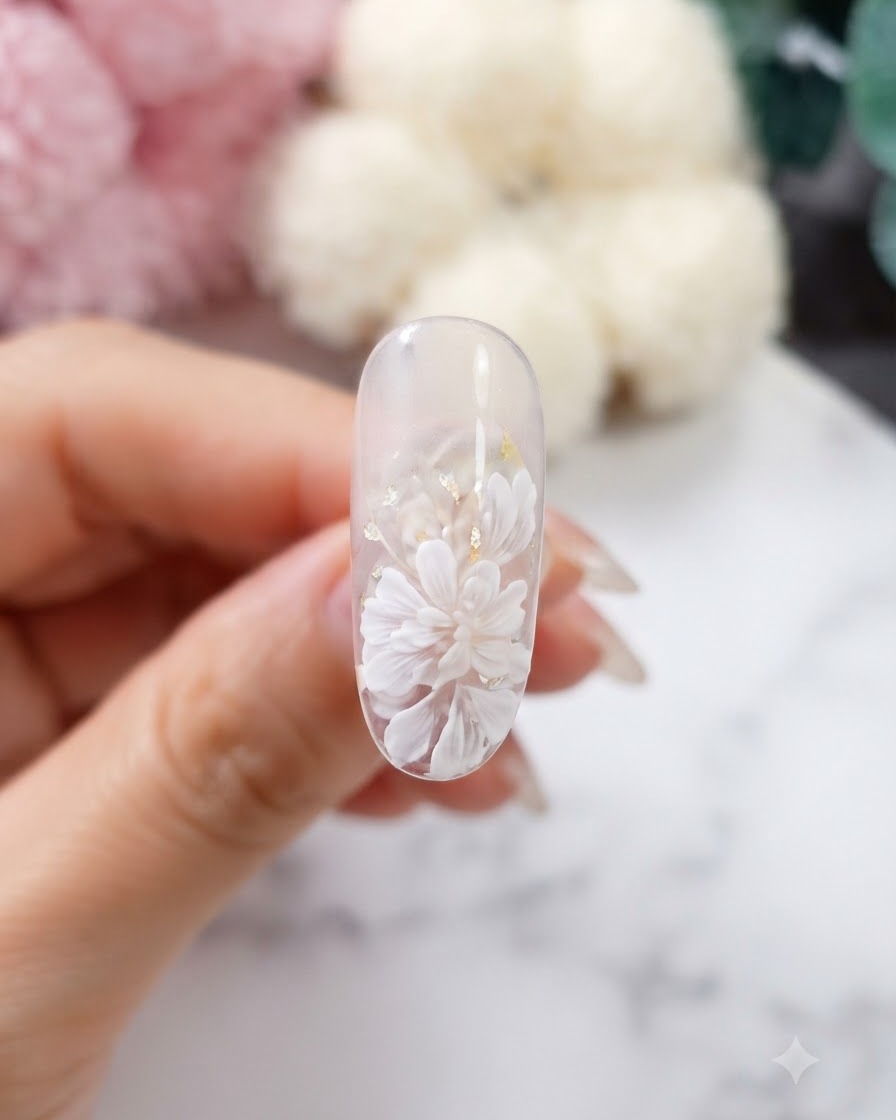
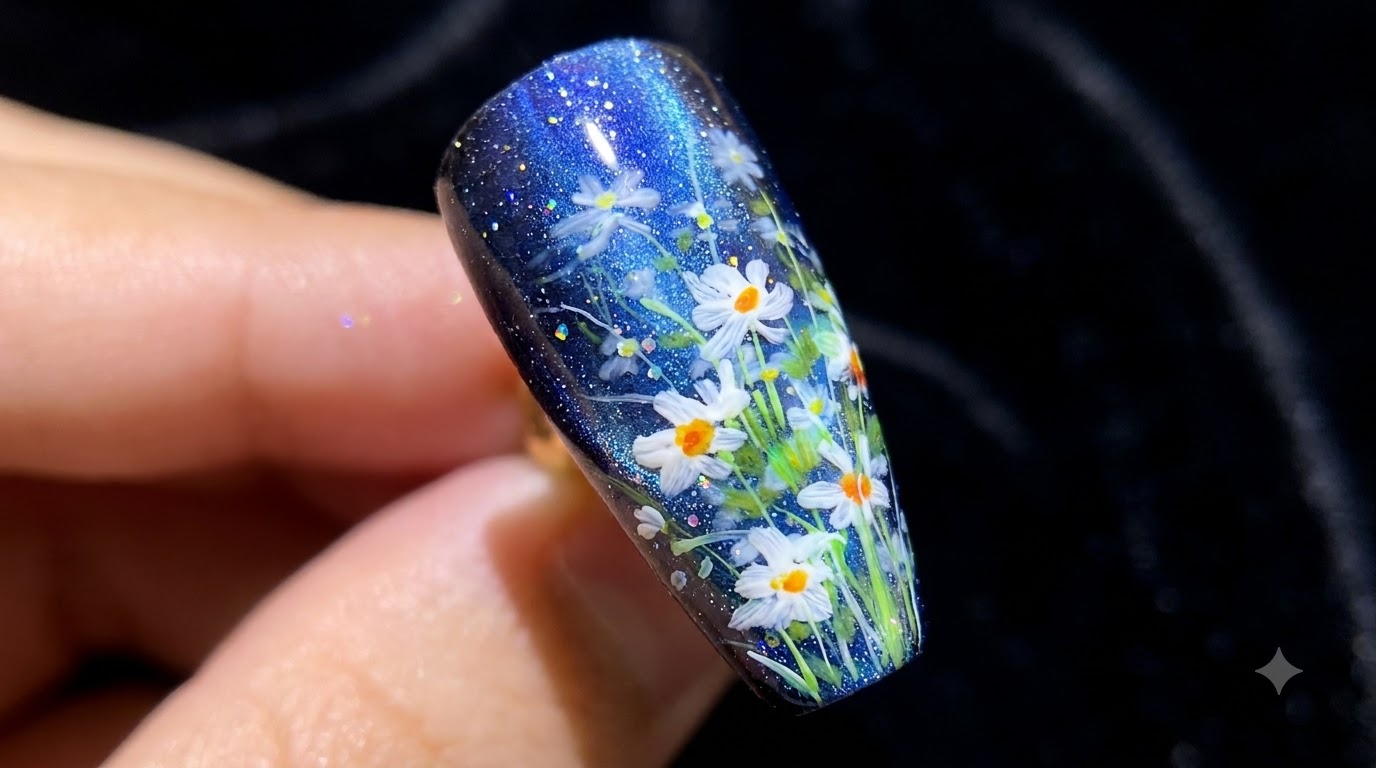
Utilize the same brush and pressure technique to paint smaller secondary daisy petals around the sides. This adds depth and creates a rich, layered floral composition on the nail.
Tip: Varying the size of the flowers enhances the overall artistic dimension of the nail design. - 4Cure the white petals
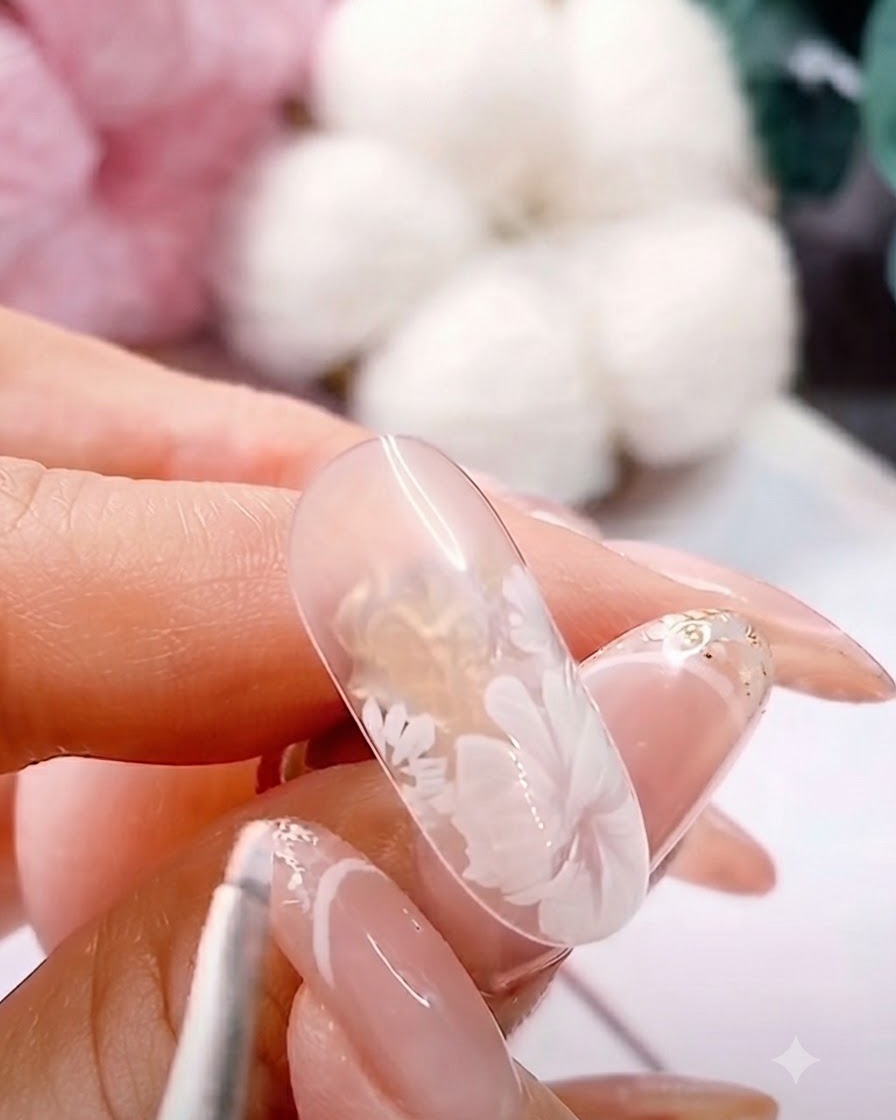
Place the hand under a UV or LED lamp to fully cure the painted white daisy petals before moving on to the next design elements.
Tip: Ensure proper curing time to prevent the white gel from shifting during subsequent steps. - 5Dot the flower center
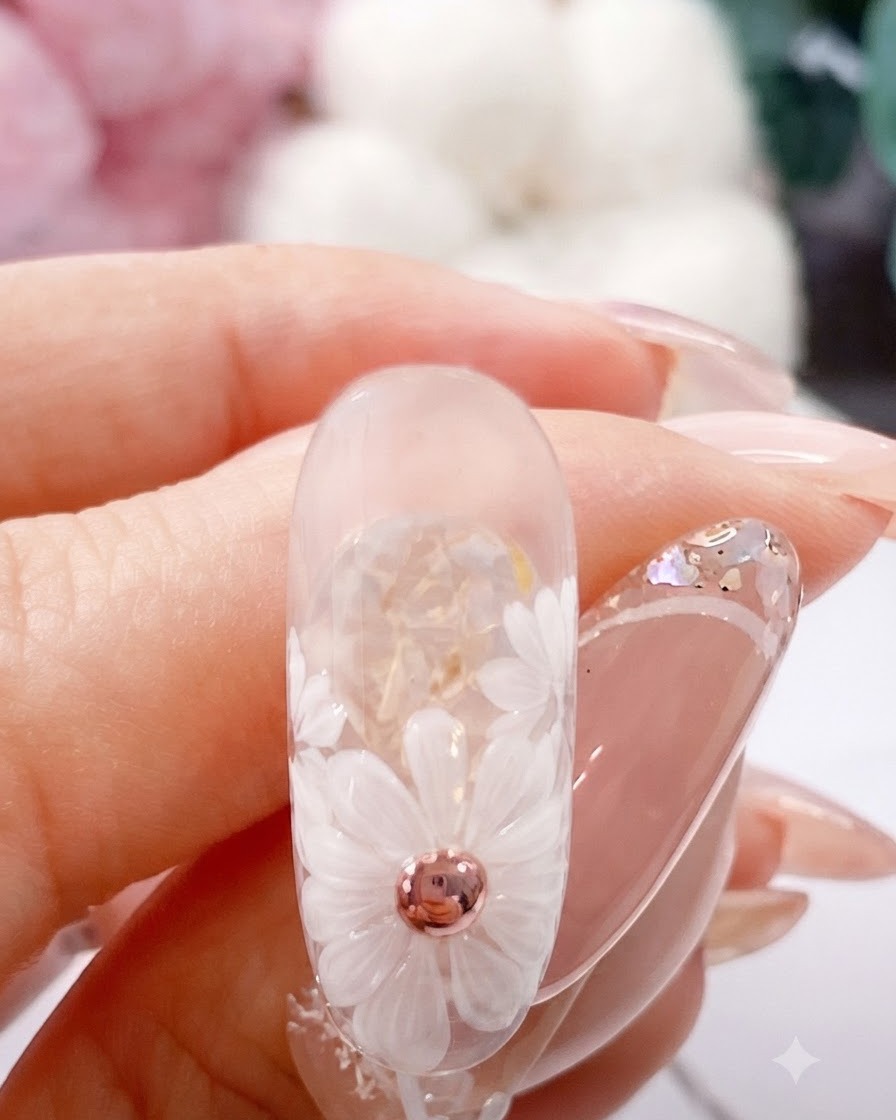
Dip a fine brush into brown gel and place a dot right in the center of the daisy flower. Leave the gel uncured so you can work with it in the following step.
Tip: Keep the brown gel dot centered neatly within the ring of white petals. - 6Detail the flower center and cure
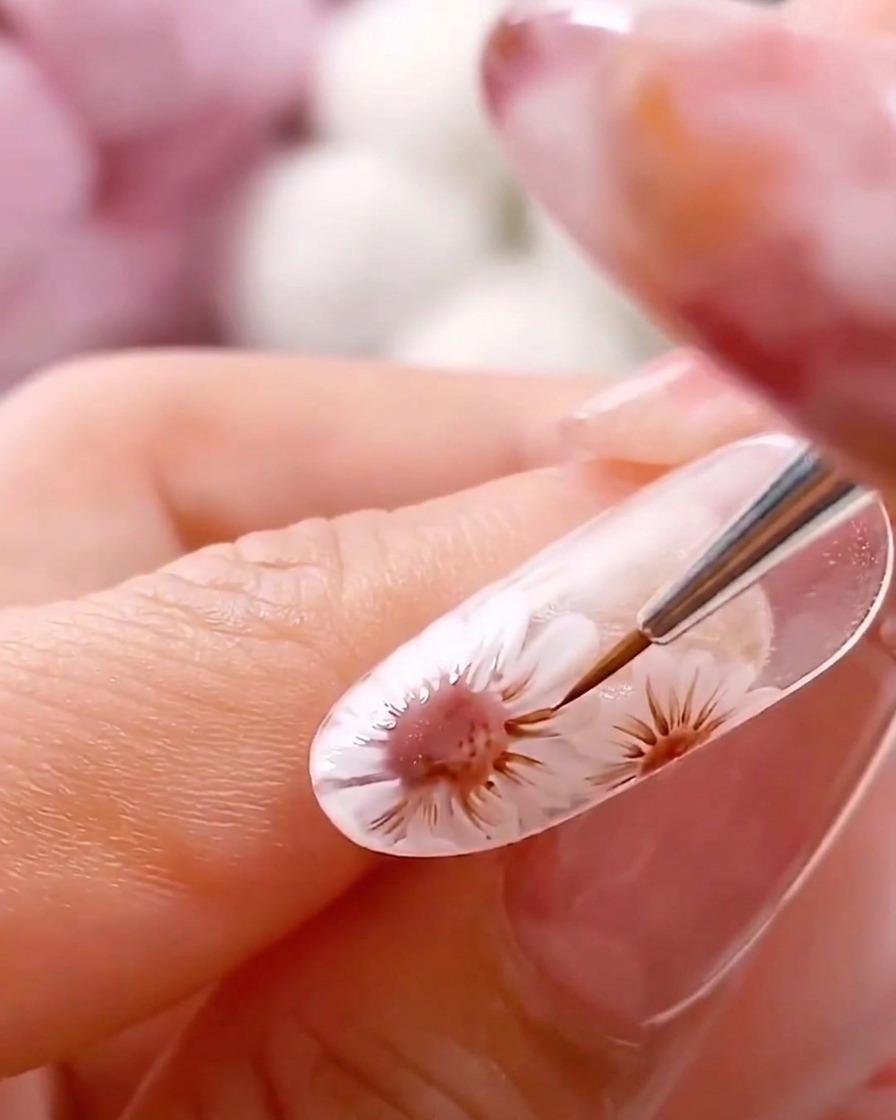
Using a fine liner brush, gently pull out thin lines from the wet brown center toward the petals to create texture and fine details. Once finished, place the hand under the lamp to cure.
Tip: Pull lightly and quickly with the tip of the brush to create delicate, sharp lines. - 7Create the 3D flower stamen
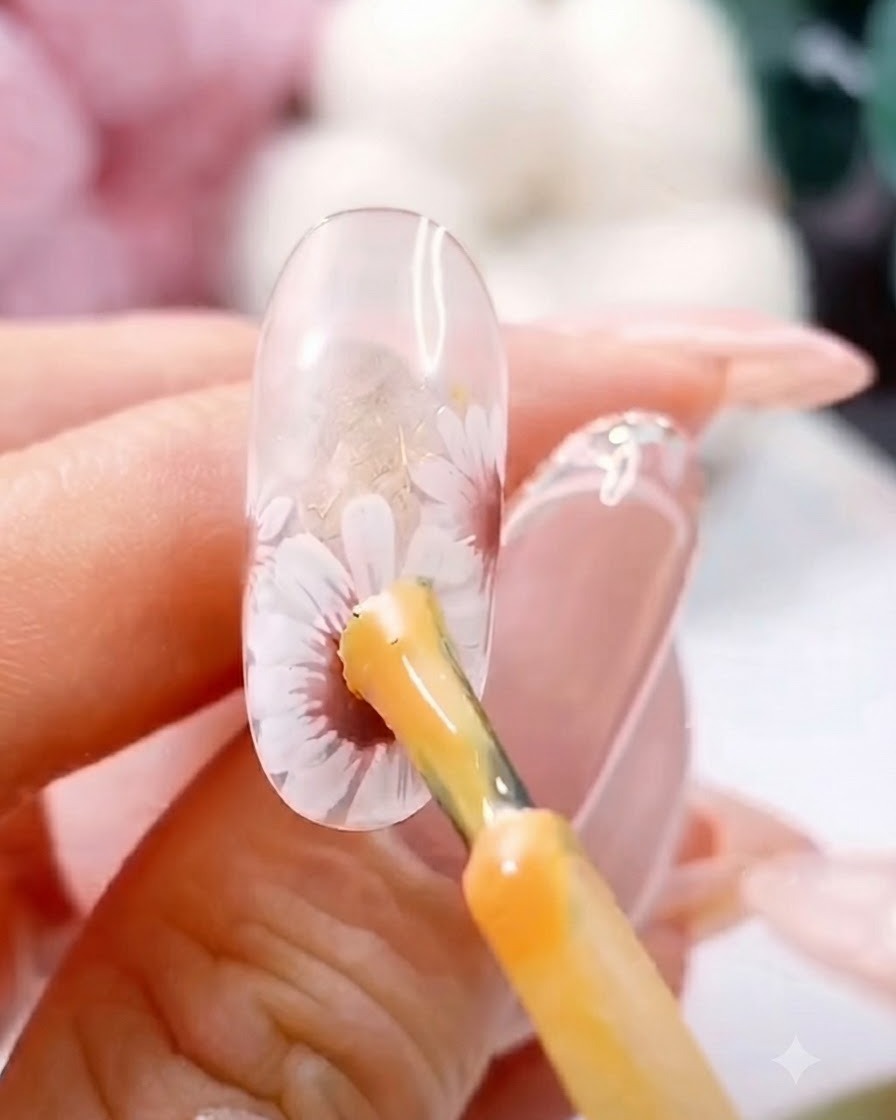
Using a dotting tool or a fine brush loaded with yellow gel, place a substantial dot of product at the center of the daisy to form a raised stamen. Ensure the gel blob is thick and voluminous to achieve a pronounced 3D texture before curing.
Tip: Building a slightly larger, well-rounded dollop of yellow gel creates a realistic, plump flower center that catches the light beautifully. - 8Cure the 3D flower center
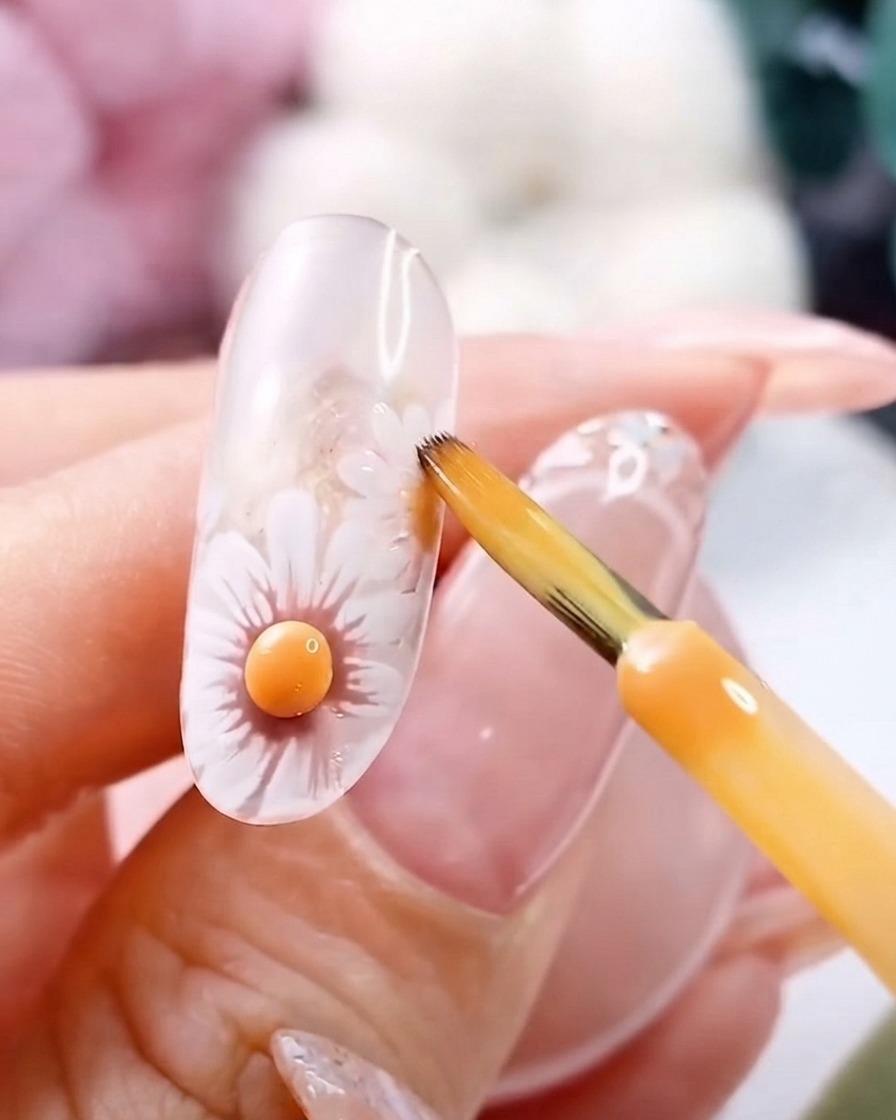
Place the nail under a UV or LED lamp to cure the freshly created 3D yellow flower center. Ensure it hardens completely so the dimensional shape remains intact for the subsequent steps.
Tip: Thick 3D gel blobs may require a slightly longer cure time to ensure they set thoroughly all the way through. - 9Add accent dots around the flower edges
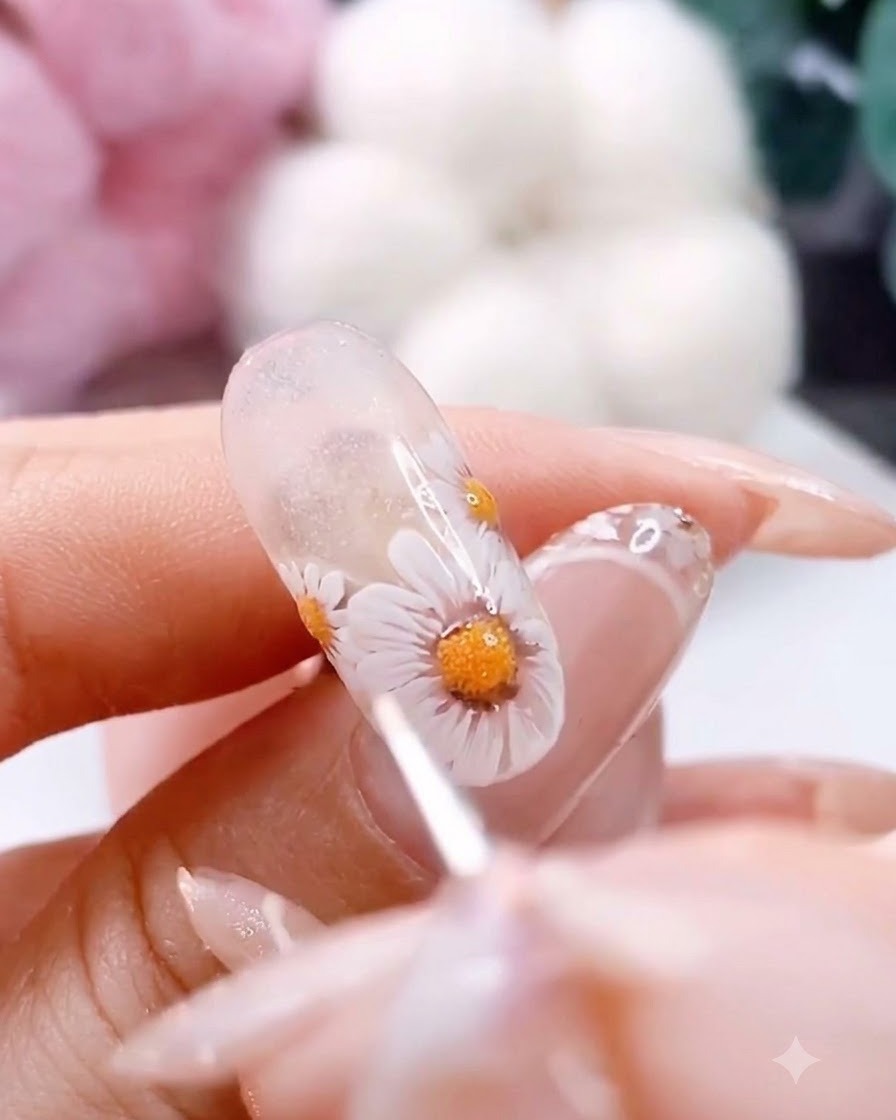
Dip a fine liner brush into brown and white gel, then carefully place tiny accent circles and dots around the outer edges of the flower center and petals. This extra layer of detail enhances the texture and depth of the design.
Tip: Keep the hand steady and use minimal pressure to ensure the tiny accent dots remain crisp and well-defined. - 10Cure the edge detailing
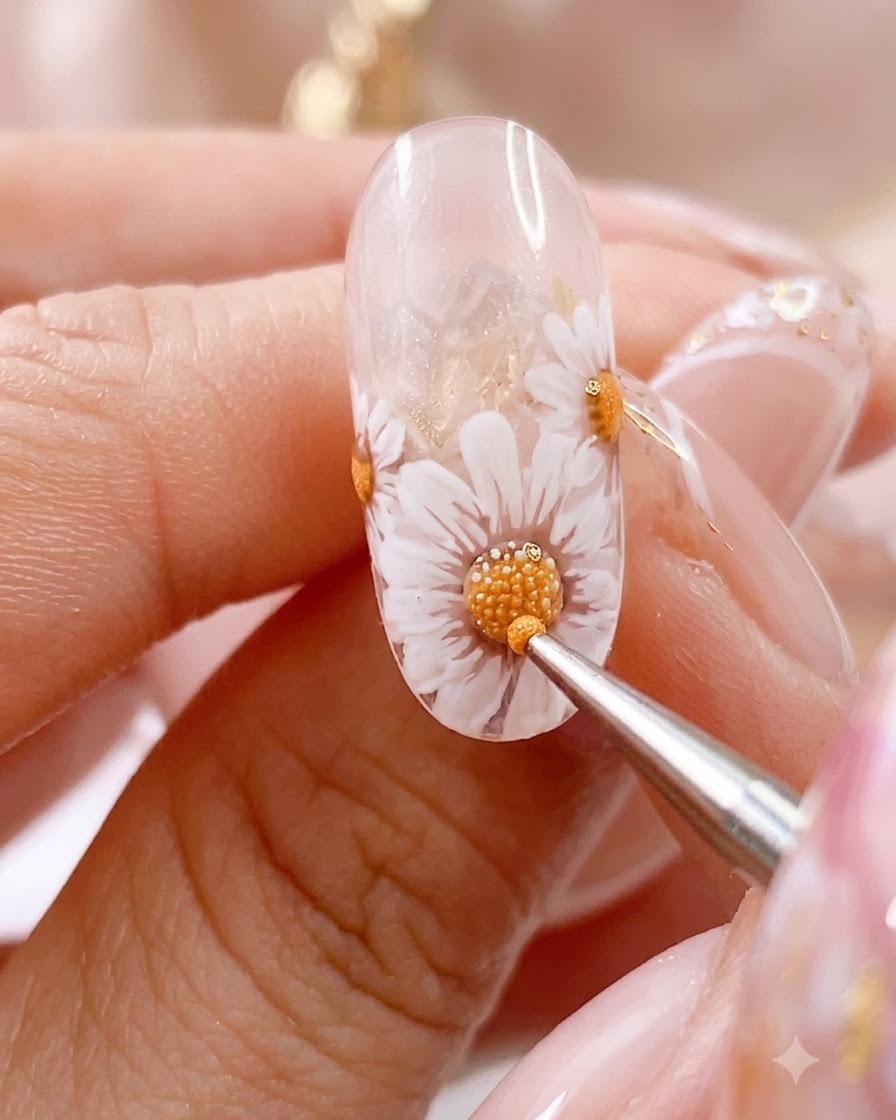
Place the hand back under the UV or LED lamp to cure the brown and white accent dots around the flower edges. This locks the fine details into place and prevents them from smudging.
Tip: Always cure intricate line work and tiny dots promptly to preserve the sharpness of your nail art details. - 11Apply no-wipe top coat
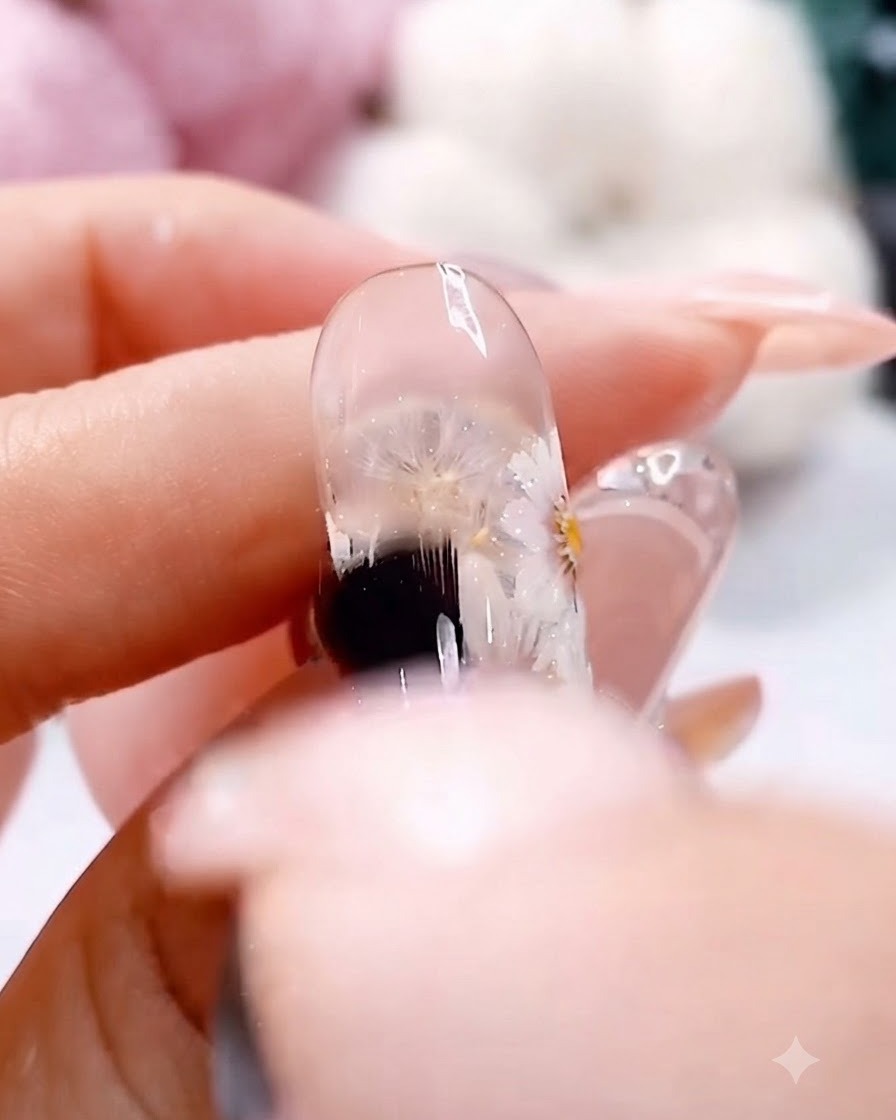
Apply an even, glossy layer of no-wipe gel top coat over the entire nail to seal in the daisy floral design and 3D textured stamencite: 1. Ensure the brush glides smoothly over all details and cap the free edge properlycite: 1. Cure under the UV/LED nail lamp to complete the look with high shine and long-lasting protectioncite: 1.
Tip: Float the top coat gently over the textured flower center so you dont smear the design or flatten its 3D dimension.