Simple Daisy Floral Nail Art Tutorial — Easy Step-by-Step Guide
Create charming and delicate daisy floral nail art effortlessly using a liner brush, dotting tool, and vibrant gel colors on practice boards.
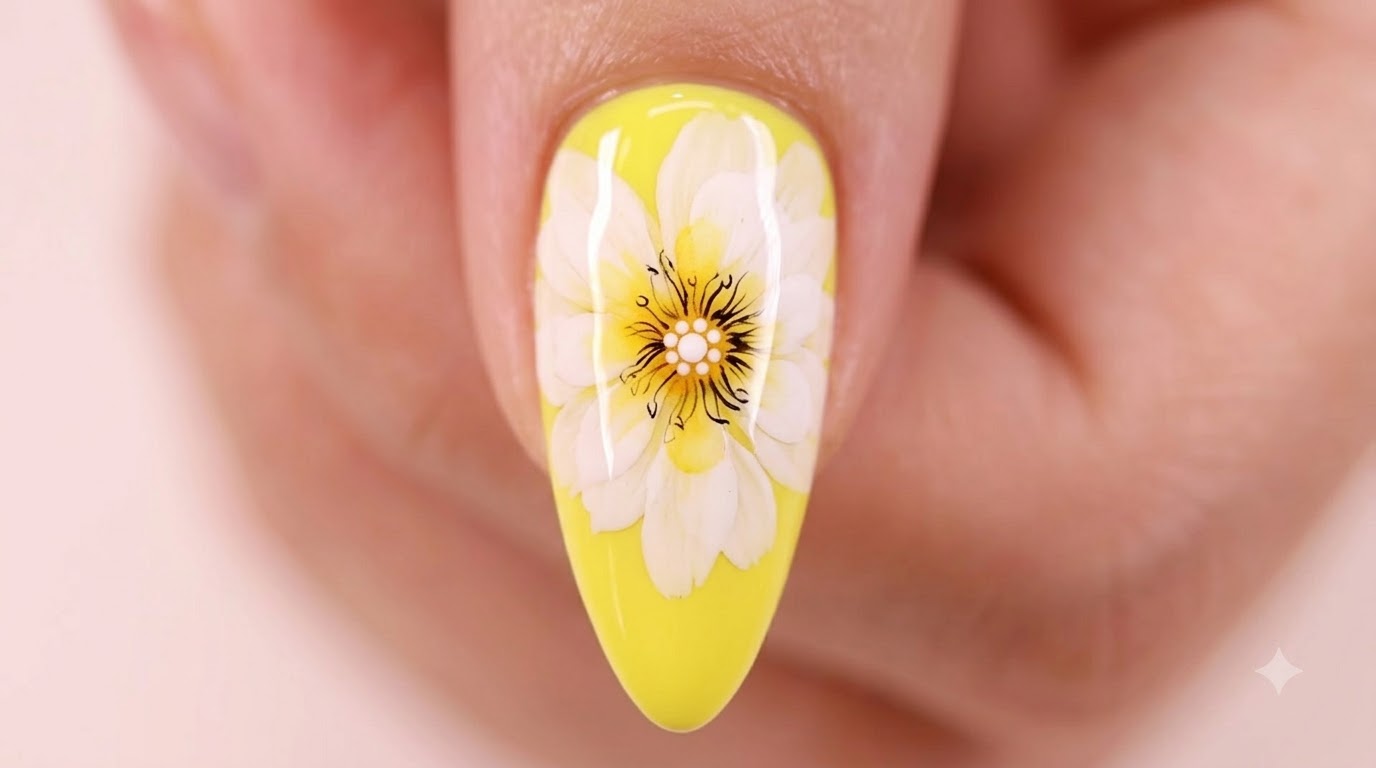
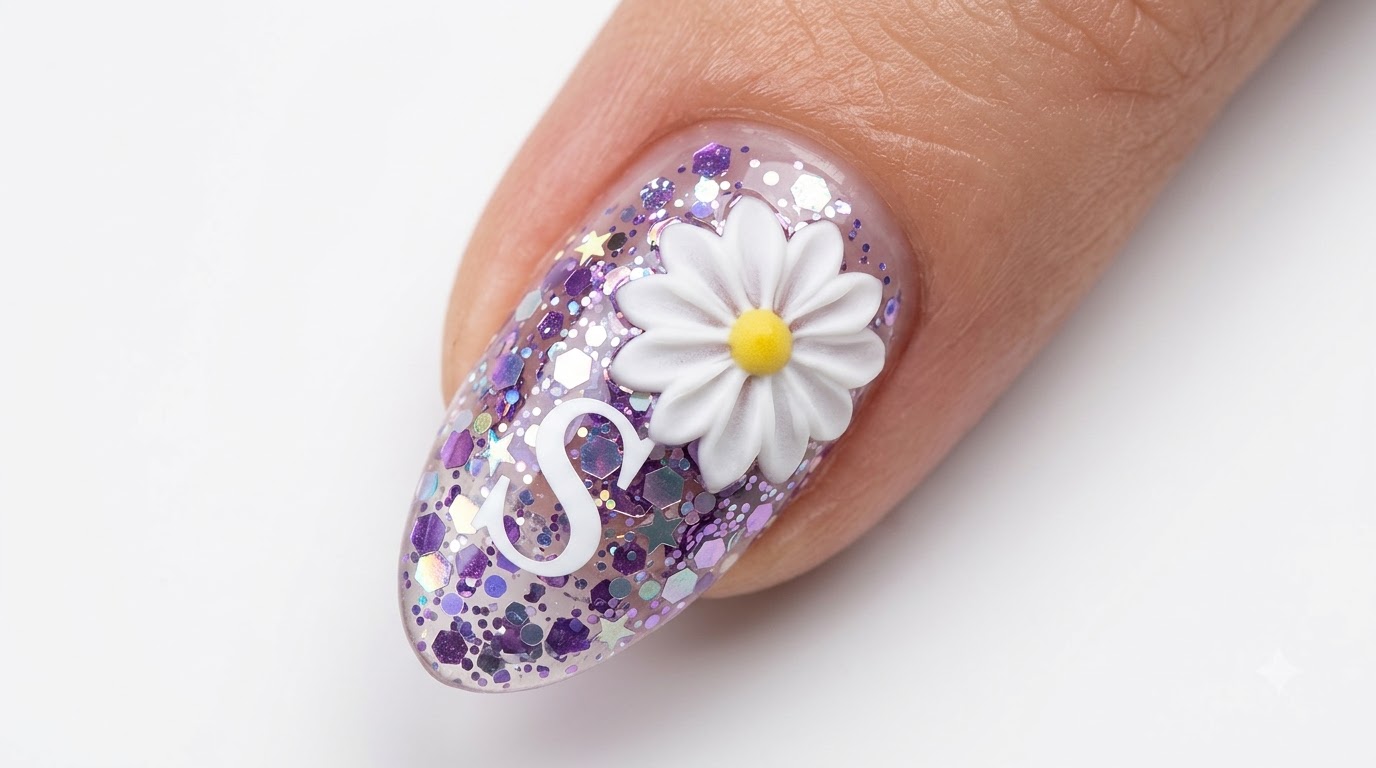
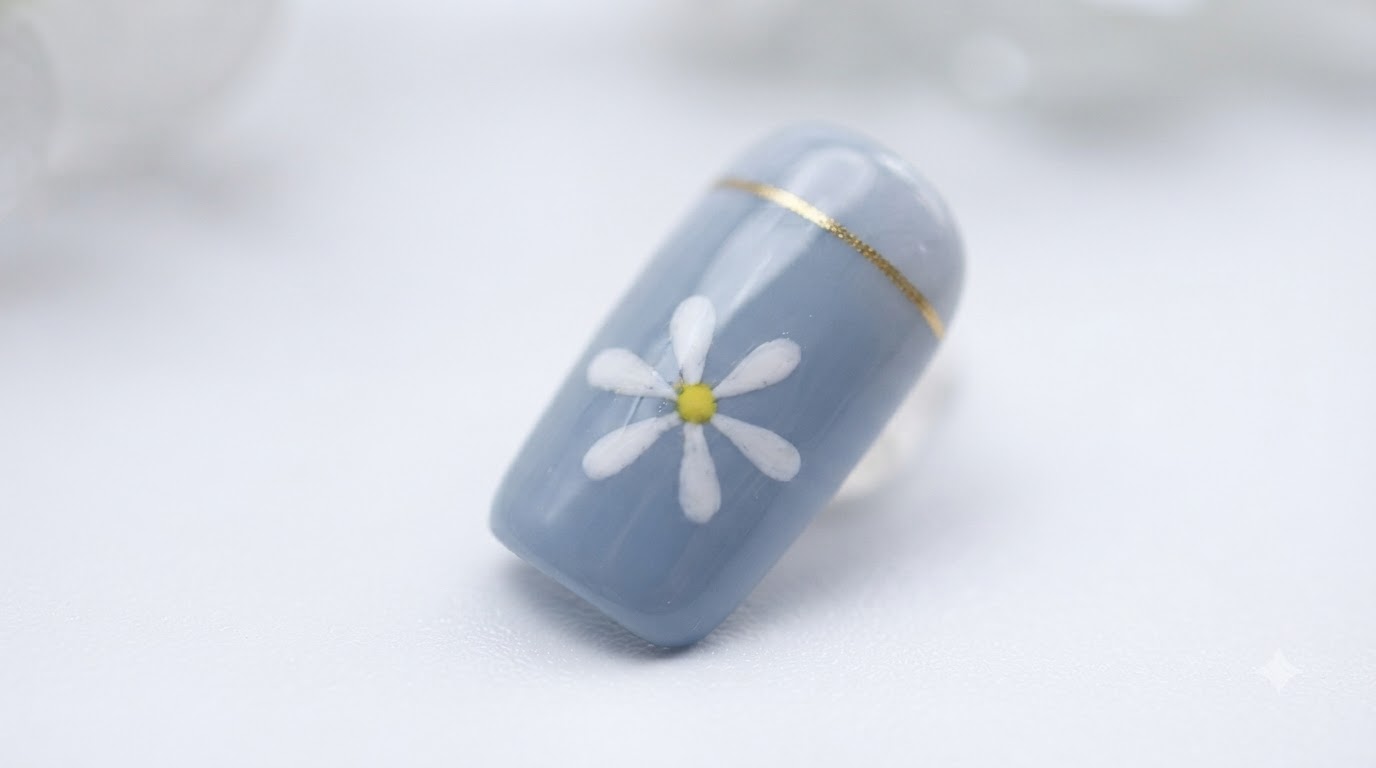
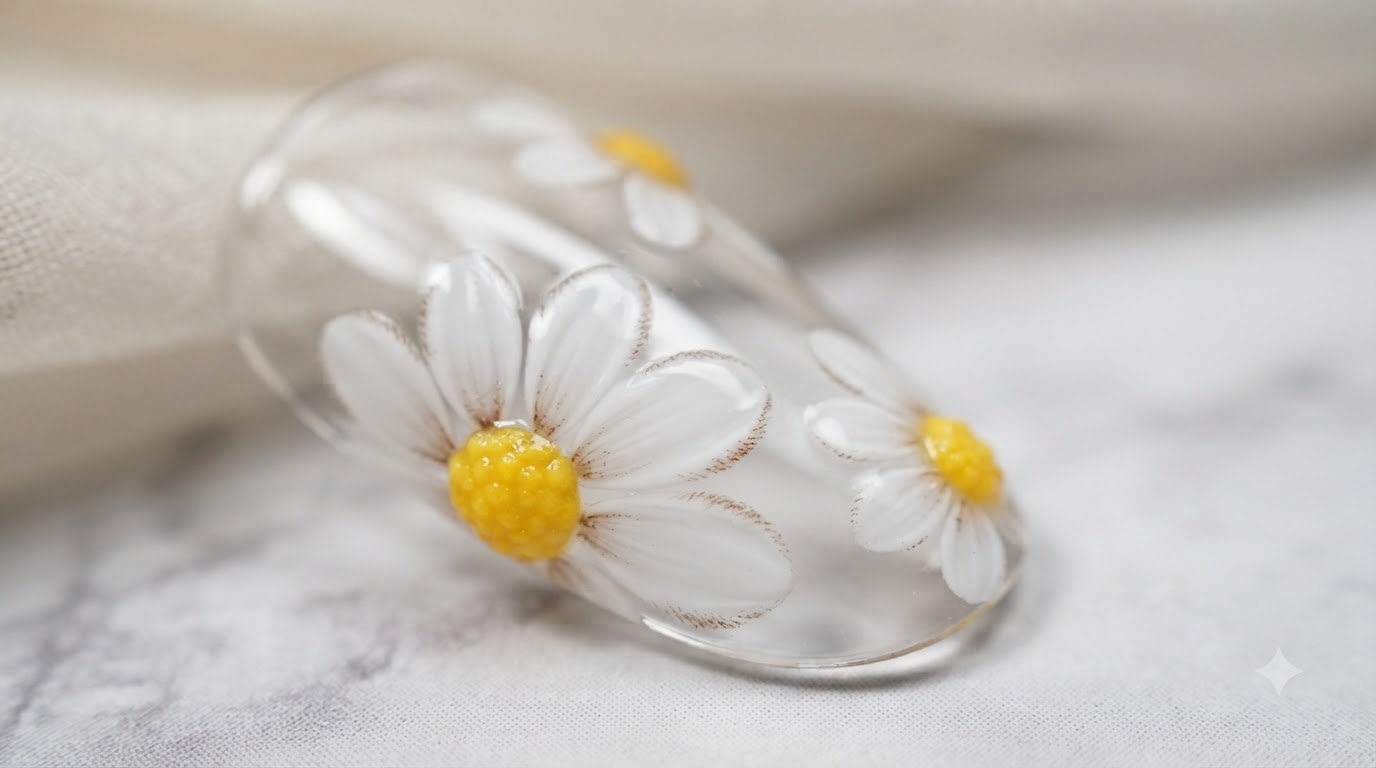
Floral nail art never goes out of style, and daisies offer a fresh, playful look that is surprisingly easy to master. By following a structured cross-guideline and systematic petal placement method, even beginners can achieve beautifully balanced floral designs. This tutorial walks you through every precise stroke needed to bring clean lines and dimensional depth to your nail art practice.
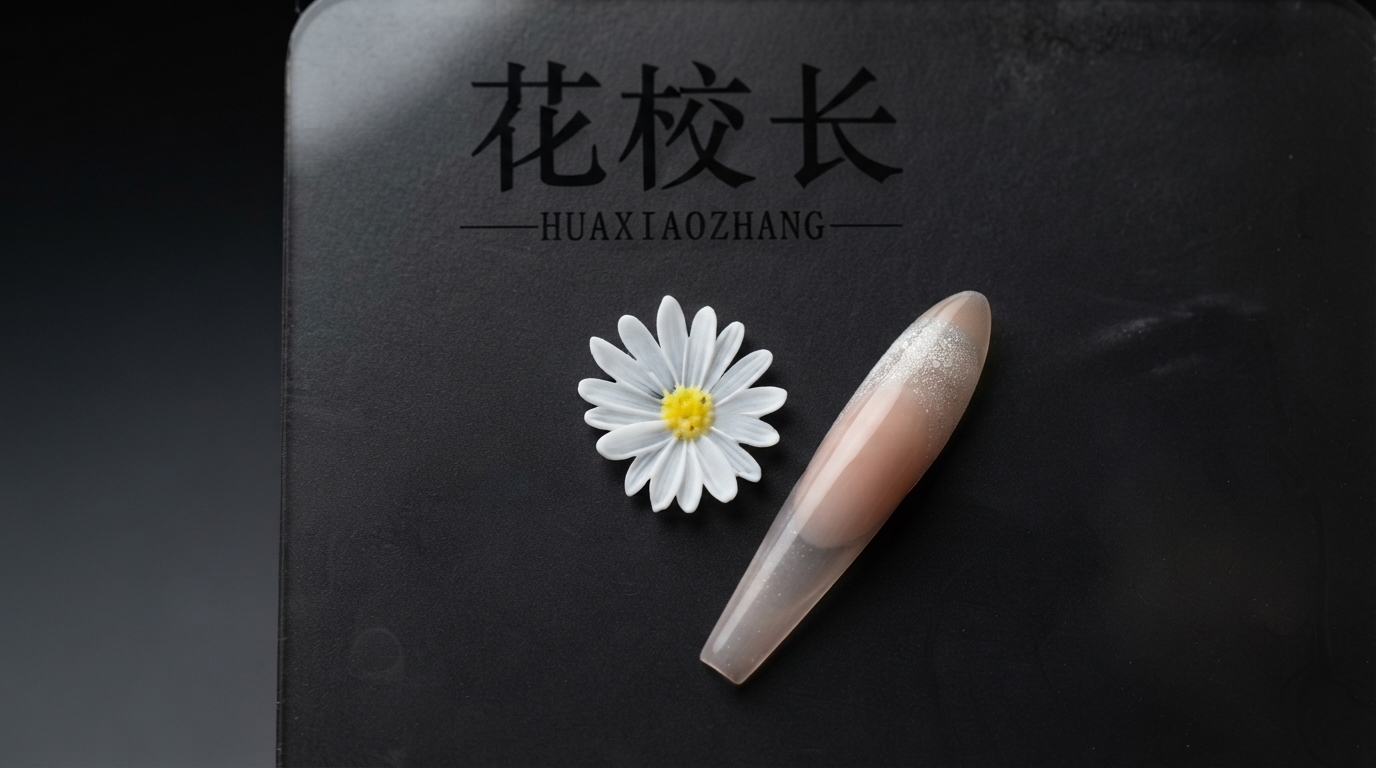
Steps
- 1Draw the positioning guide
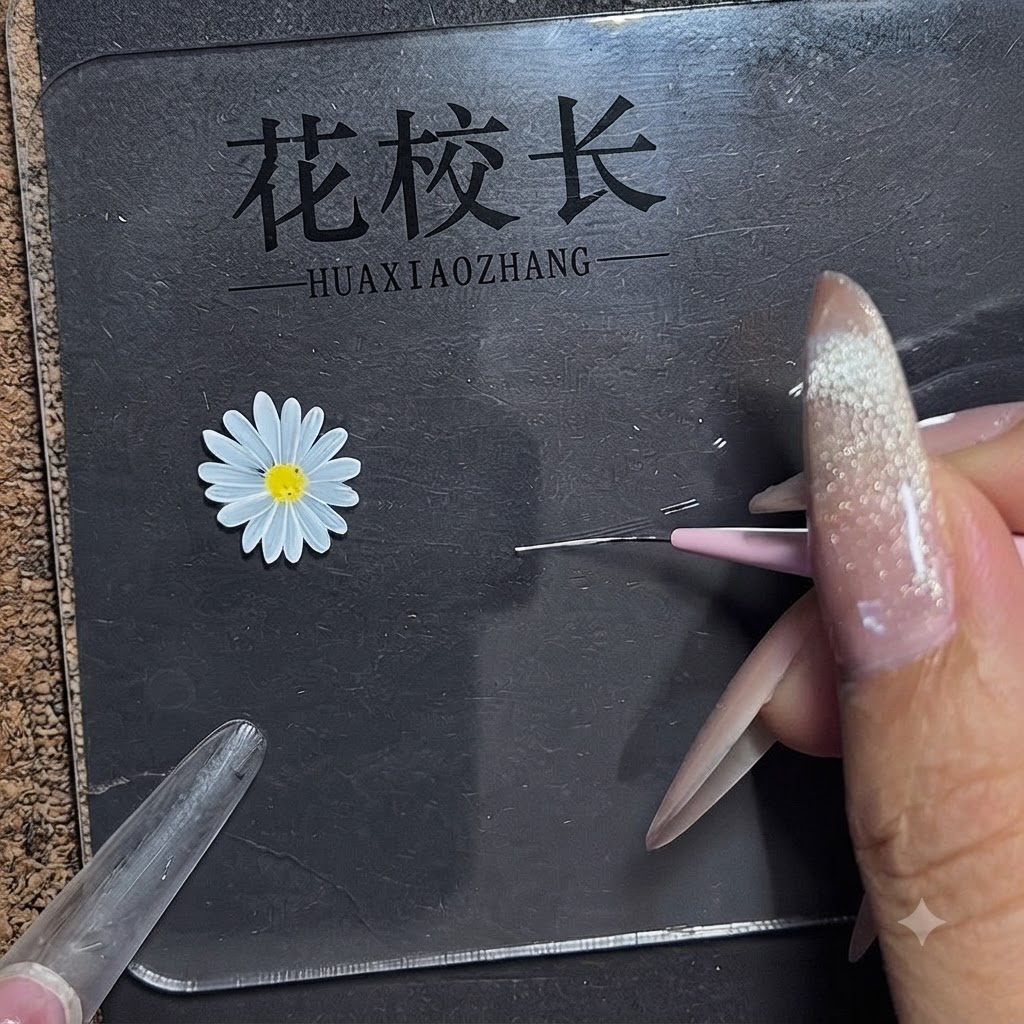
Using a fine liner brush loaded with white gel, draw a clean cross-shaped guide directly onto the black practice surface. This intersection serves as the precise center reference point for mapping out the radial symmetry of your daisy petals.
Tip: Keep the lines thin and steady so they remain visible underneath your petal placements without cluttering the workspace. - 2Map out radial symmetry points
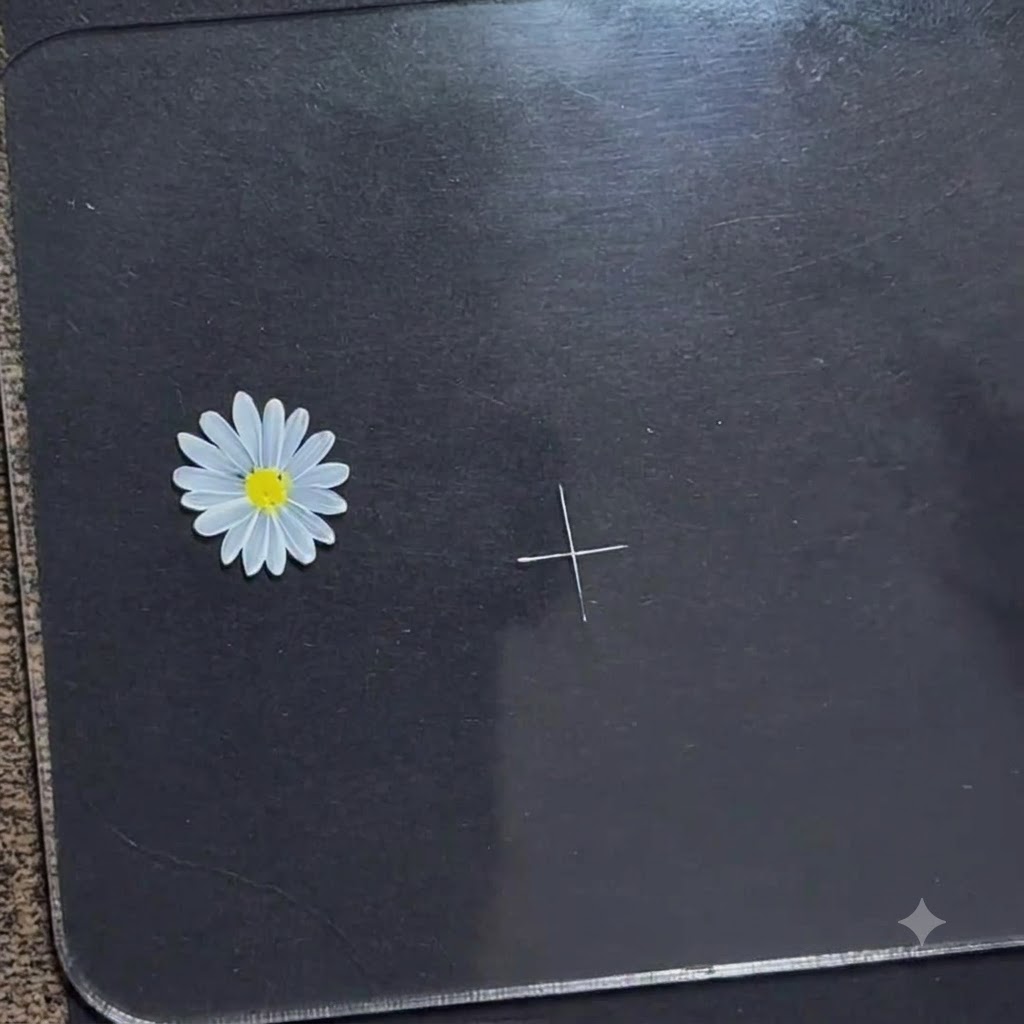
Carefully extend the intersecting guidelines of your cross shape to map out the full radial symmetry layout for the daisy petals. This expansion ensures equal spacing and balanced proportions all around the flower center.
Tip: Use light pressure on your brush to make fine, clean extensions that can serve as visual guides. - 3Position the first petal
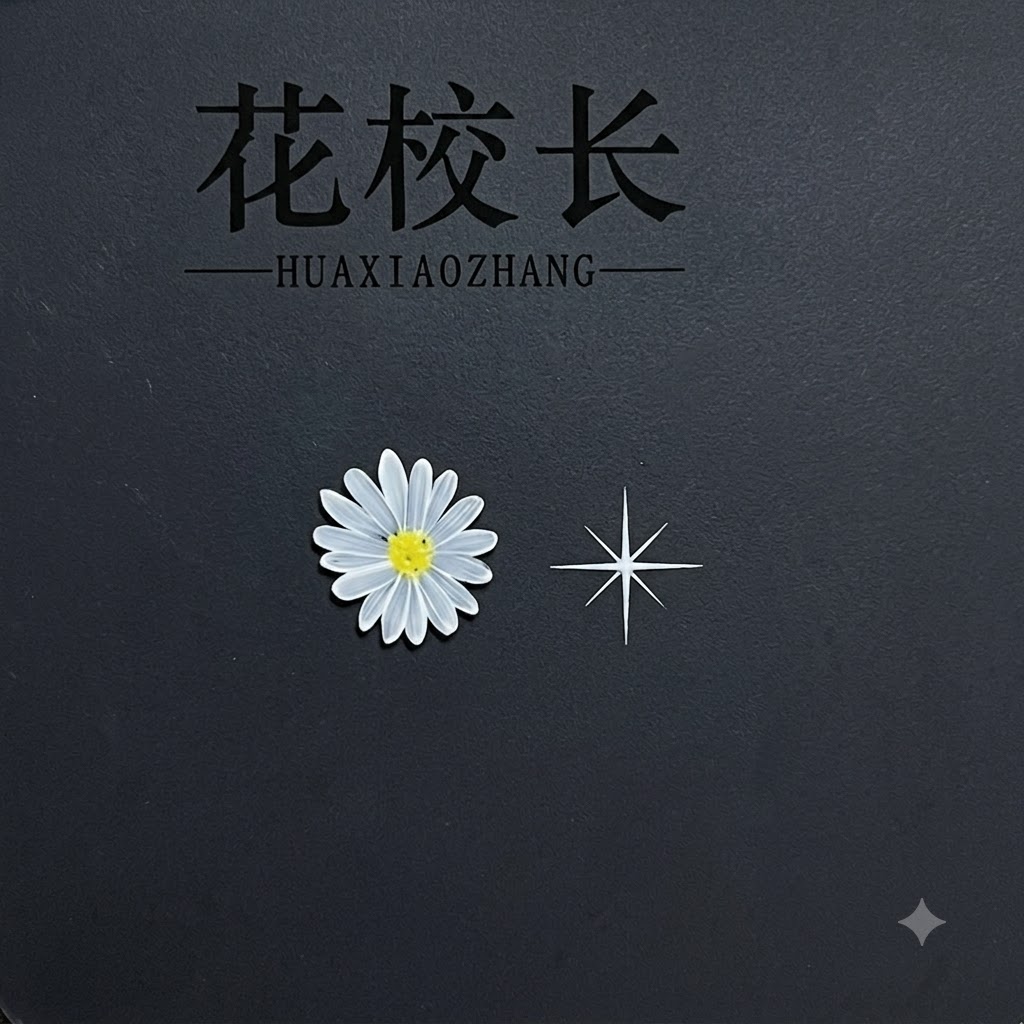
Using a dotting tool or fine brush loaded with white gel, carefully place the first petal so that its inner tip points directly toward the center guide. This establishes the structural angle and scale for the rest of the floral arrangement.
Tip: Load a consistent amount of product on your tool to ensure the initial petal matches the desired thickness of the final design. - 4Apply the second petal
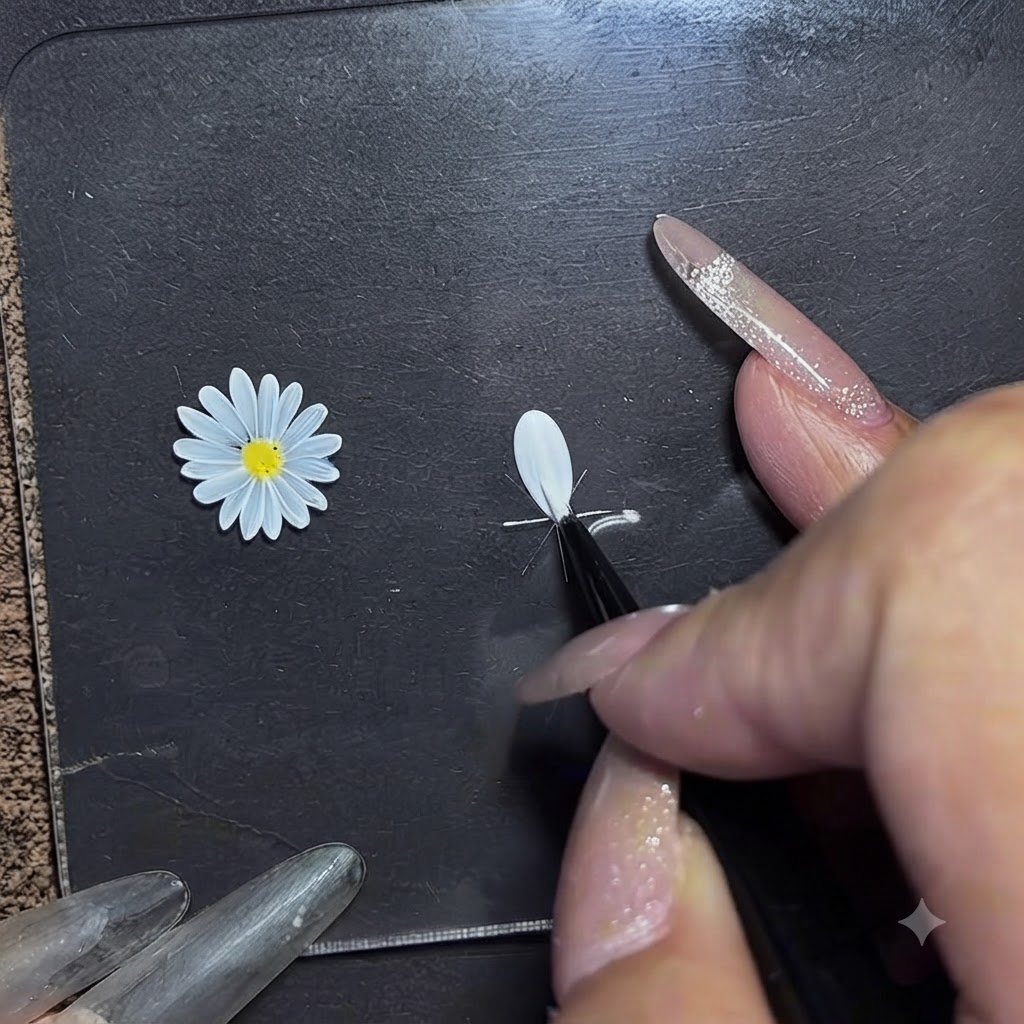
Apply the second white petal directly adjacent to the first one, making sure it also aligns tightly toward the central reference point. Maintain a clean separation space between petals to preserve individual definition.
Tip: Keep strokes uniform in length and direction to maintain symmetrical balance around the flower. - 5Apply surrounding petals systematically
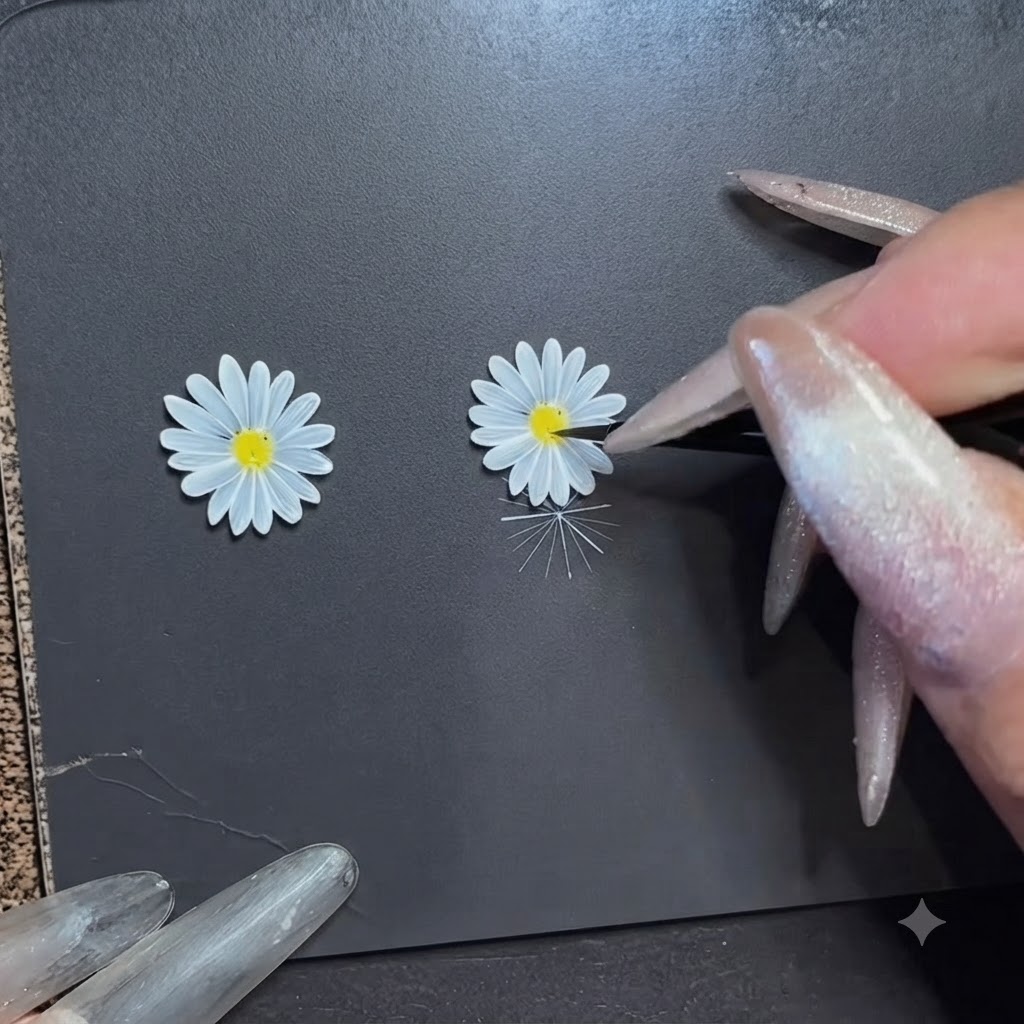
Continue applying the surrounding petals systematically, following the directional guidelines you mapped out earlier. Work your way around the circle to build a full, balanced daisy layout.
Tip: Rotate your practice surface if needed to keep your hand in a comfortable painting posture for each angle. - 6Rotate the board for outer petals
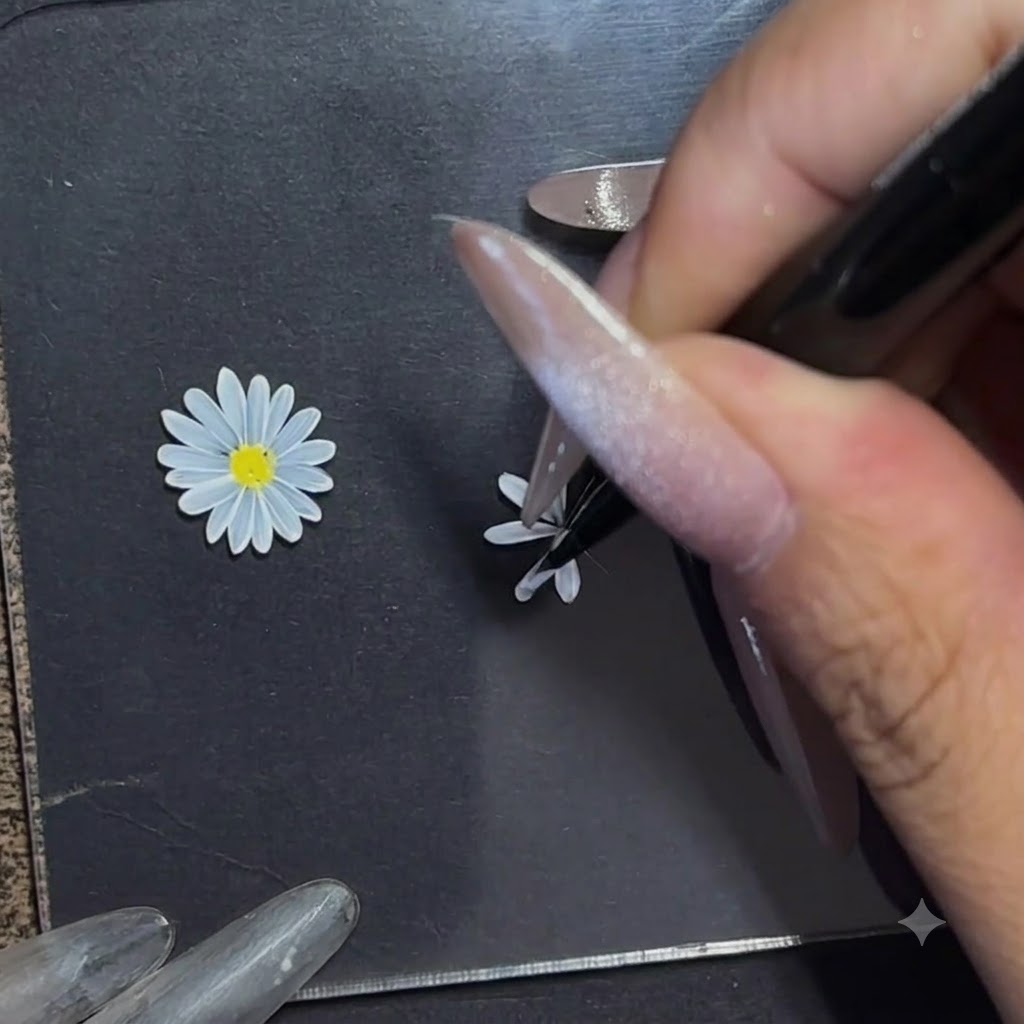
Rotate the practice board smoothly to easily access and paint the remaining outer petals from an ergonomic angle. This technique ensures steady lines and consistent hand control across all sides of the design.
Tip: Regular rotation prevents awkward hand cramping and helps you maintain clean petal geometry. - 7Refine white petals
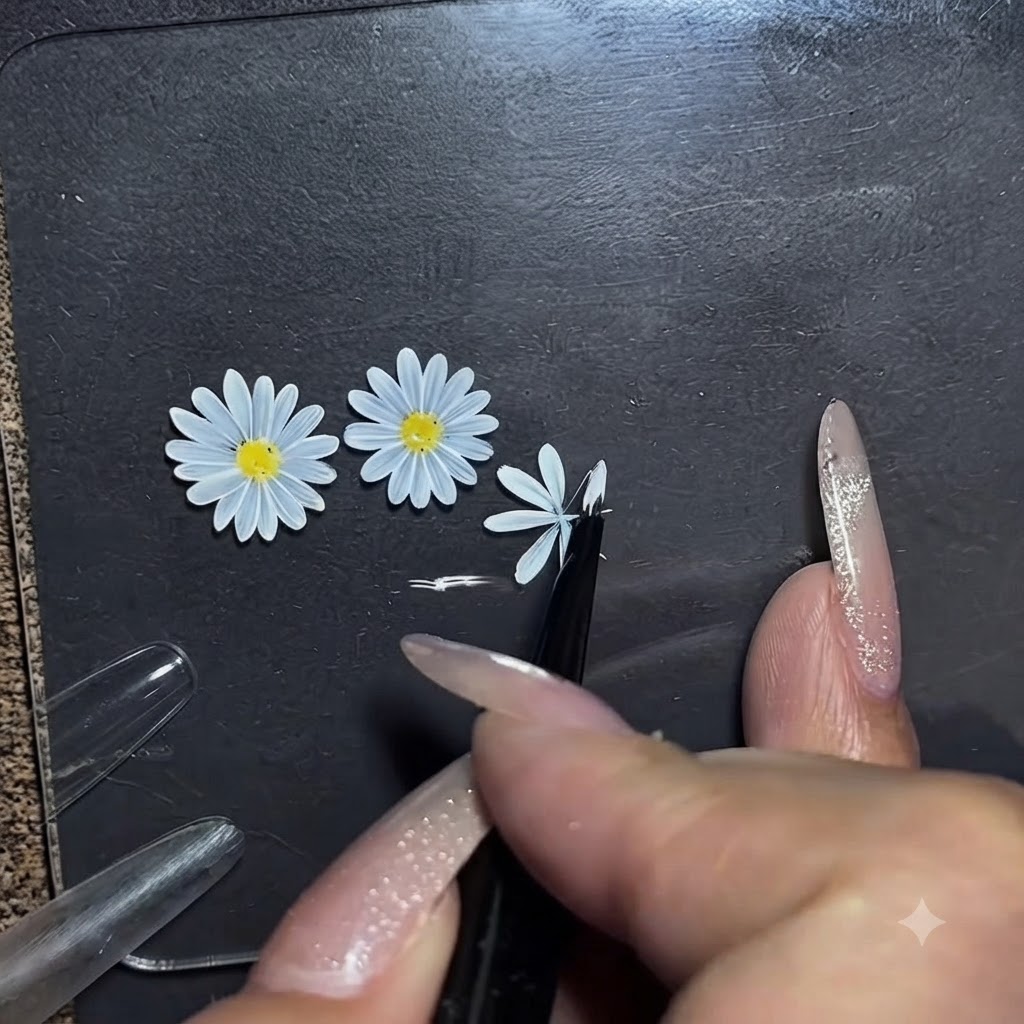
Carefully review the shape of each white petal around the daisy. Use a fine liner brush to smooth any uneven edges and ensure clean, distinct spacing between individual petals so the flower shape looks crisp.
Tip: Work in small strokes and wipe your brush clean often to maintain sharp petal edges. - 8Fill intermediate petal gaps
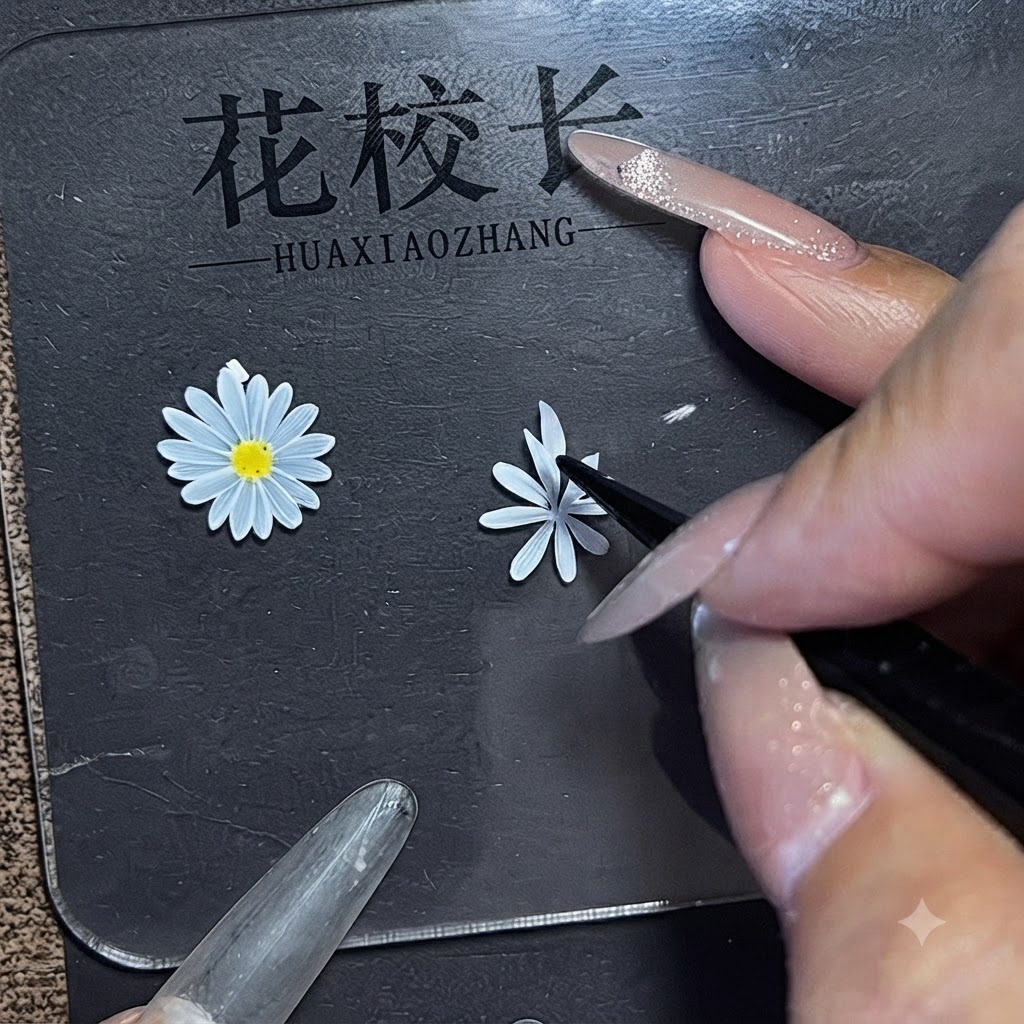
Apply a slightly translucent or thin coat of colored gel into the gaps between the first layer of petals. This layering technique adds realism and dimensional depth to the daisy design.
Tip: Keep the second layer thin so it blends naturally with the underlying base petals without looking bulky. - 9Add inner petal details
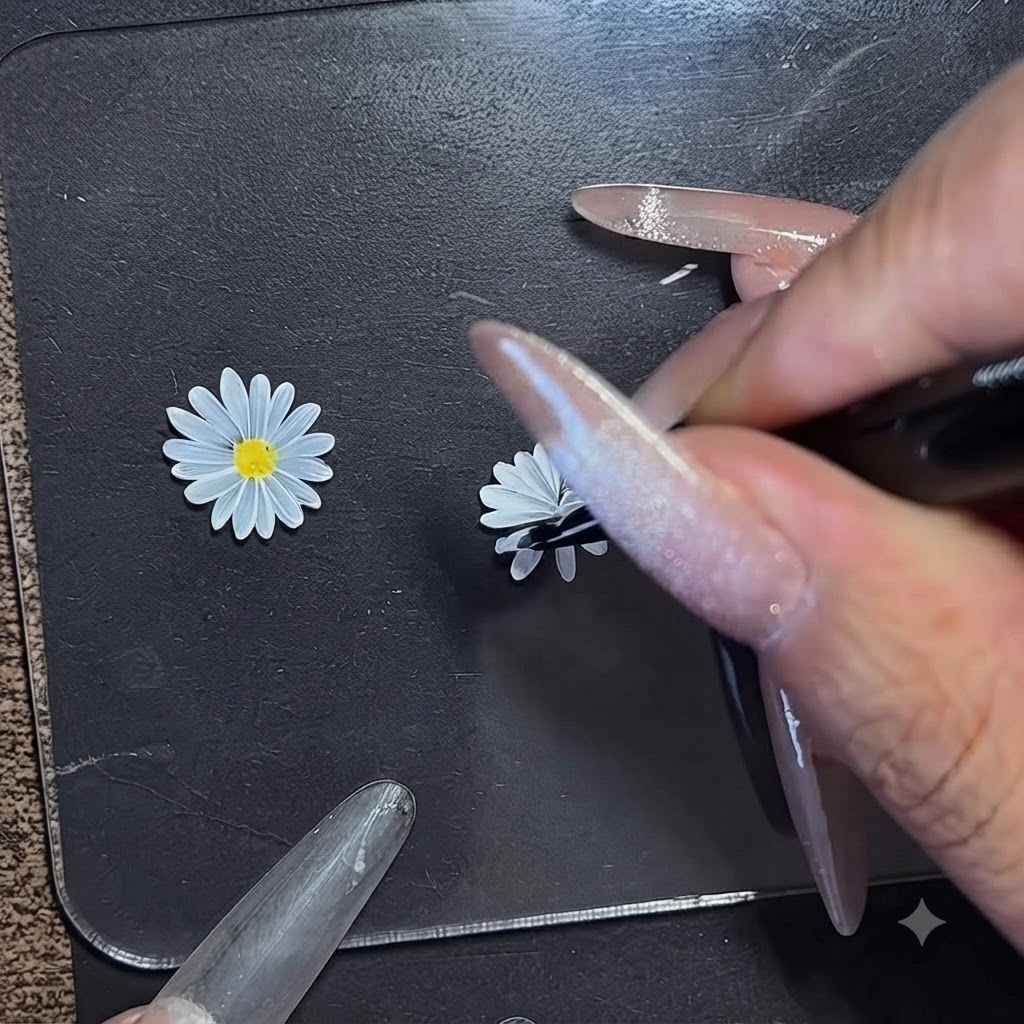
Draw additional fine inner petal lines near the center to enhance the multi-layered look of the daisy. This meticulous detailing gives the flower a rich, three-dimensional appearance.
Tip: Use a light touch with the liner brush to create delicate, tapered lines that resemble natural petals. - 10Apply yellow gel to the daisy center
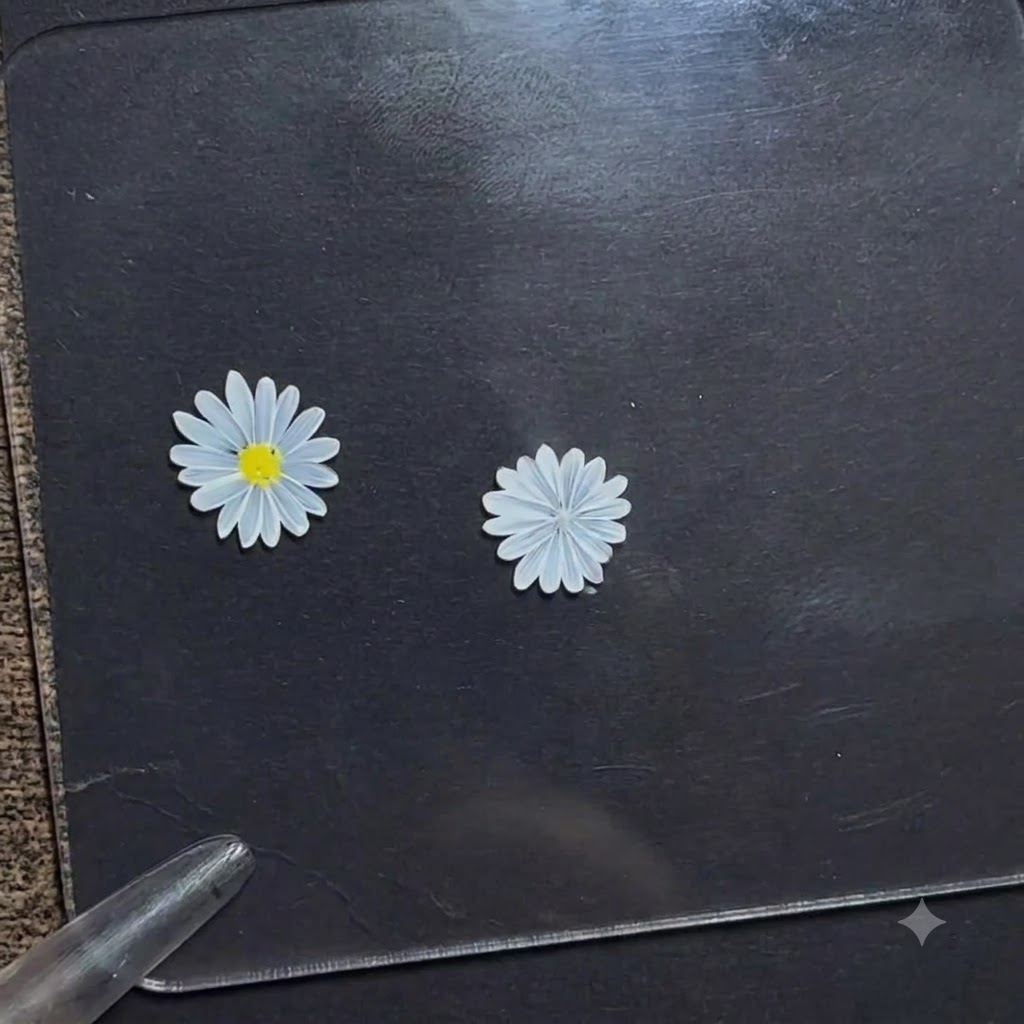
Apply a small dot of bright yellow gel onto the exact center of the daisy flower to form the pistil or center core. Cure under your UV or LED lamp to set the yellow gel securely in place, completing the detailed floral nail art design.
Tip: Use a fine dotting tool or the tip of a liner brush to keep the yellow center neat and contained within the petal ring.