Spring Daisy Floral Nail Art — Step-by-Step Gel Tutorial
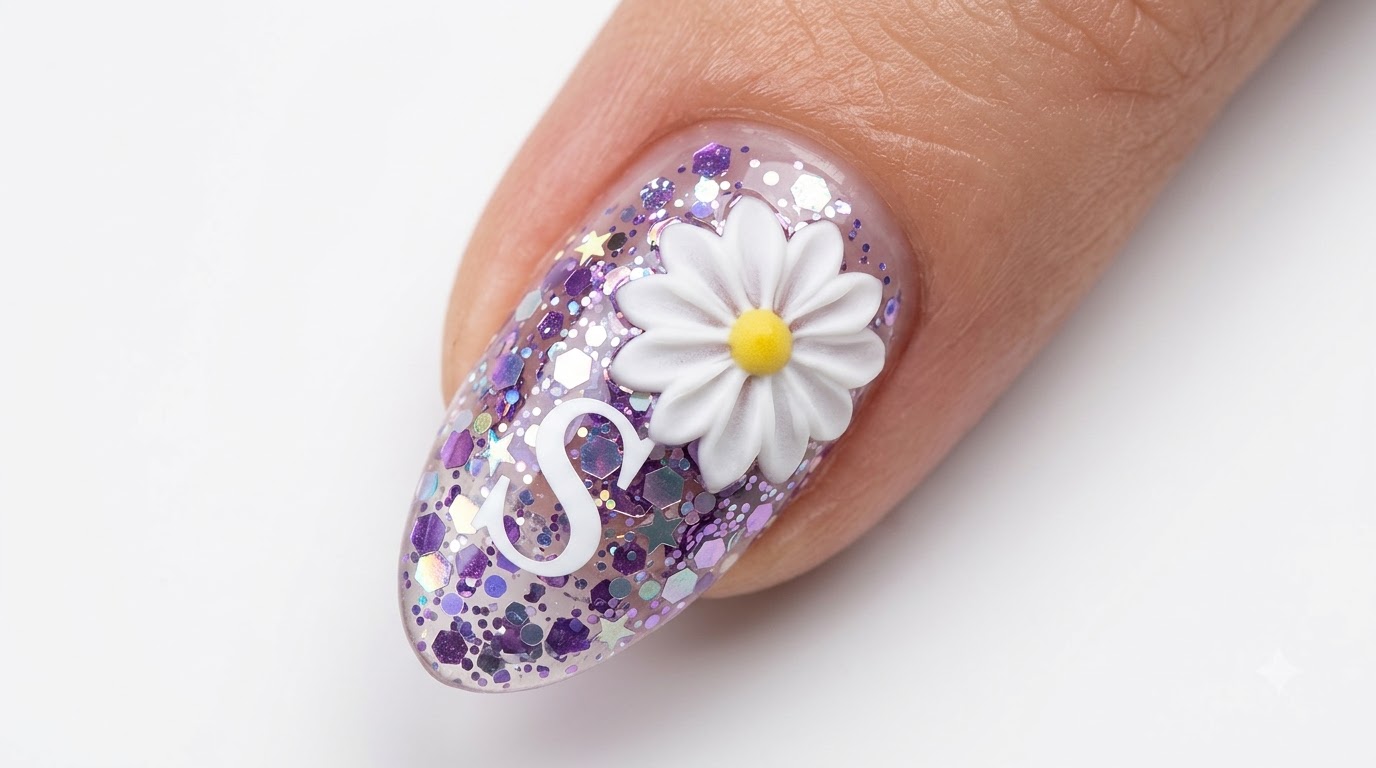
Create trendy spring daisy nails featuring sparkling purple and silver glitter, a custom alphabet sticker, and hand-painted 3D floral details.
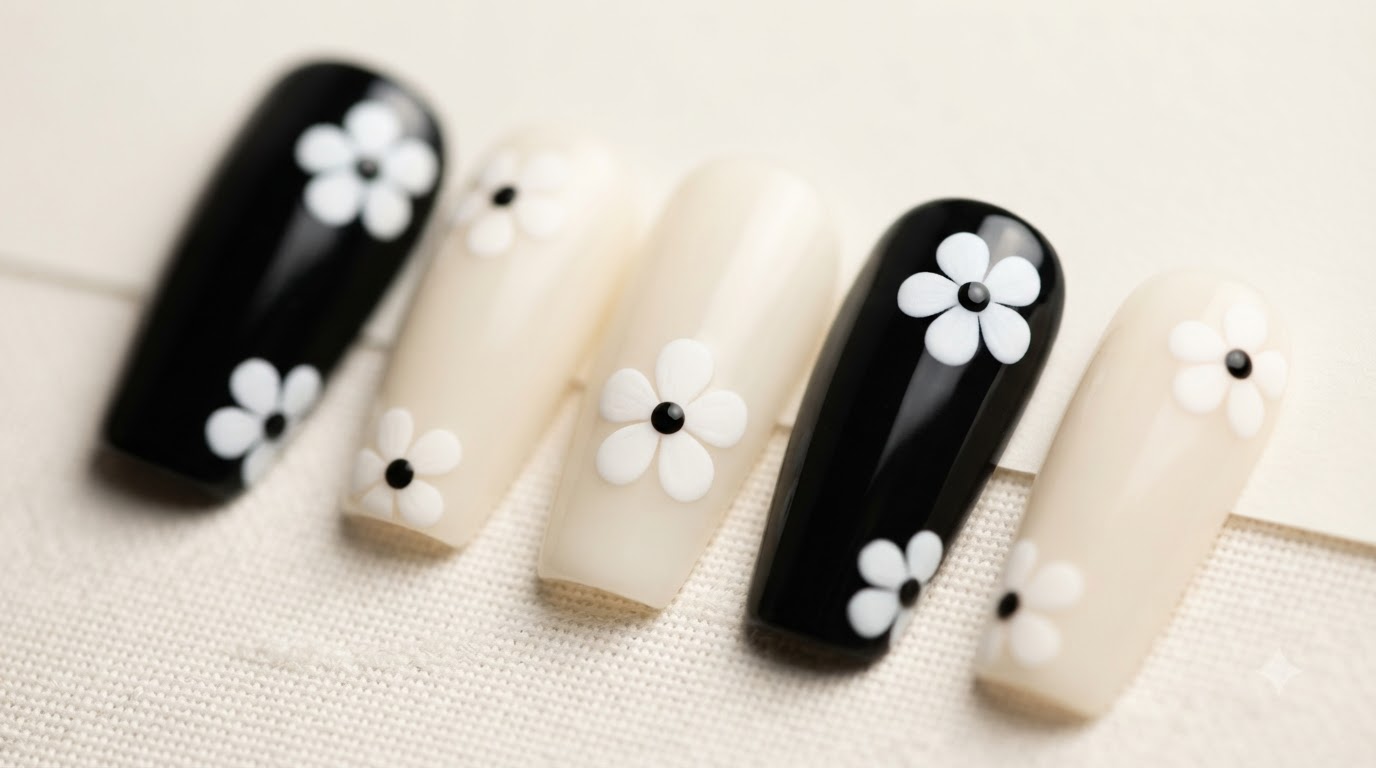
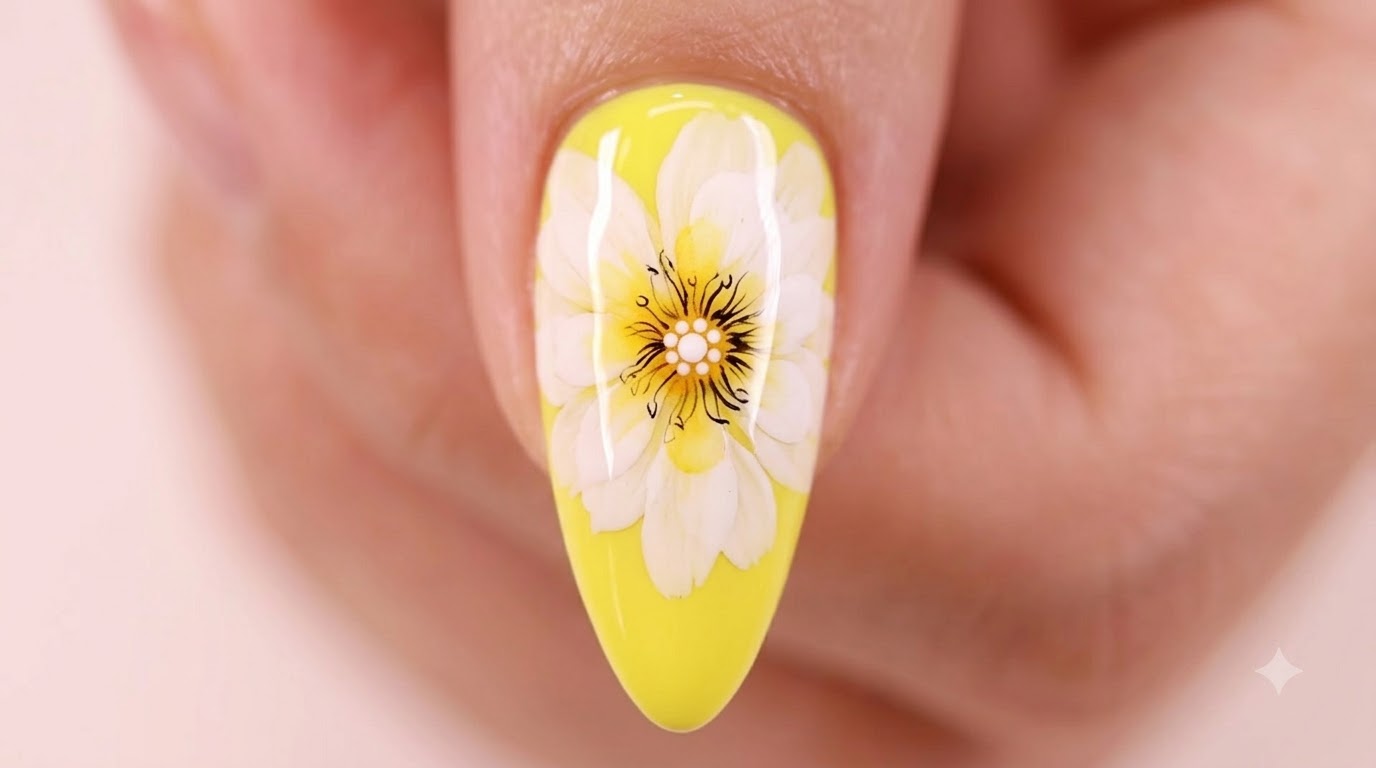
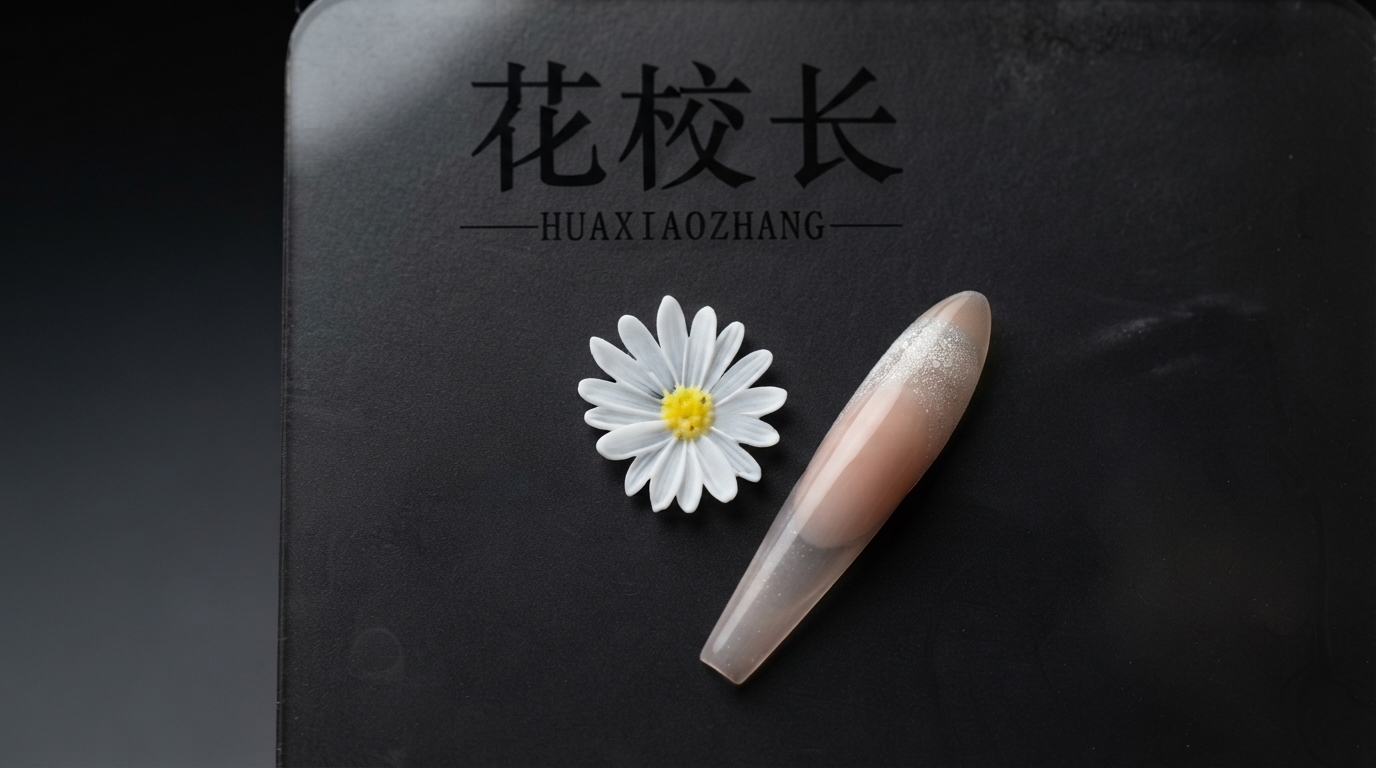
Embrace the beauty of the season with this charming spring daisy nail design. Combining playful iridescent glitter, a personalized alphabet accent, and gorgeous 3D textured floral petals, this tutorial guides you through each stage to achieve a professional salon-quality finish at home.
Steps
- 1Apply a thin layer of strengthening gel
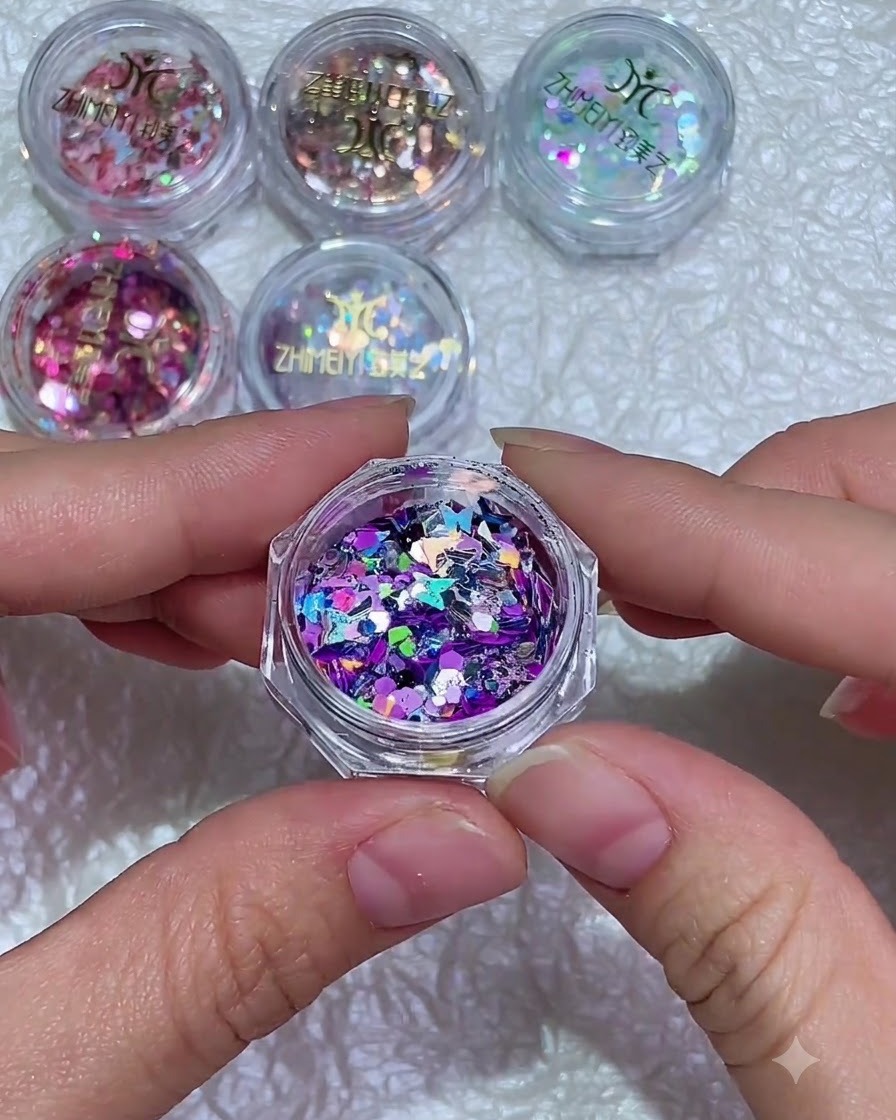
Apply a thin, even layer of strengthening gel directly onto the prepped nail plate. Ensure smooth coverage from the cuticle down to the free edge without flooding the surrounding skin. This creates a protective foundation and a slightly tacky base layer needed for subsequent nail art steps.
Tip: Keep the gel layer thin to prevent bubbling or uneven curing under the lamp. - 2Pick up and place glitter flakes
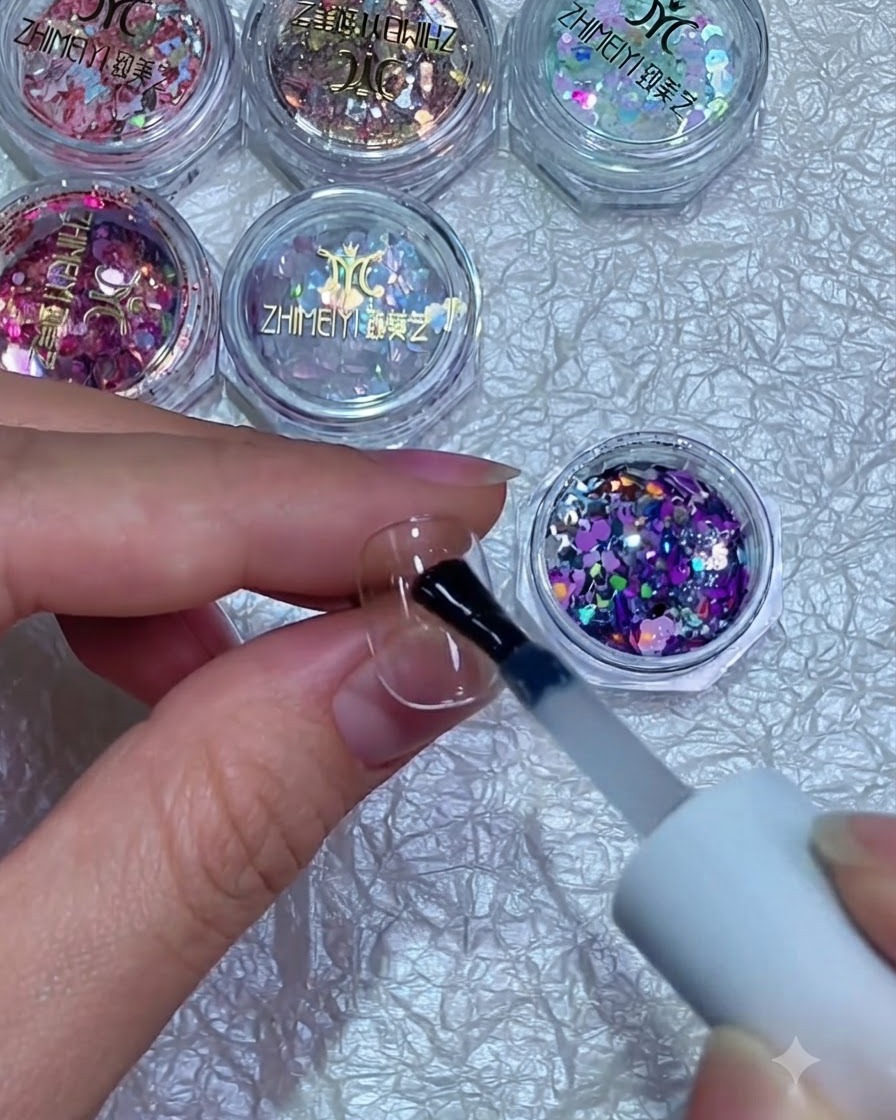
Using a fine detail brush or a wax picker tool, pick up individual purple and silver glitter flakes from the storage container. Carefully place them directly onto the uncured, tacky layer of strengthening gel on the nail surface. Press them down gently to ensure they adhere securely.
Tip: Work quickly while the gel is still tacky so the flakes stay firmly in place before curing. - 3Adjust glitter flake placement
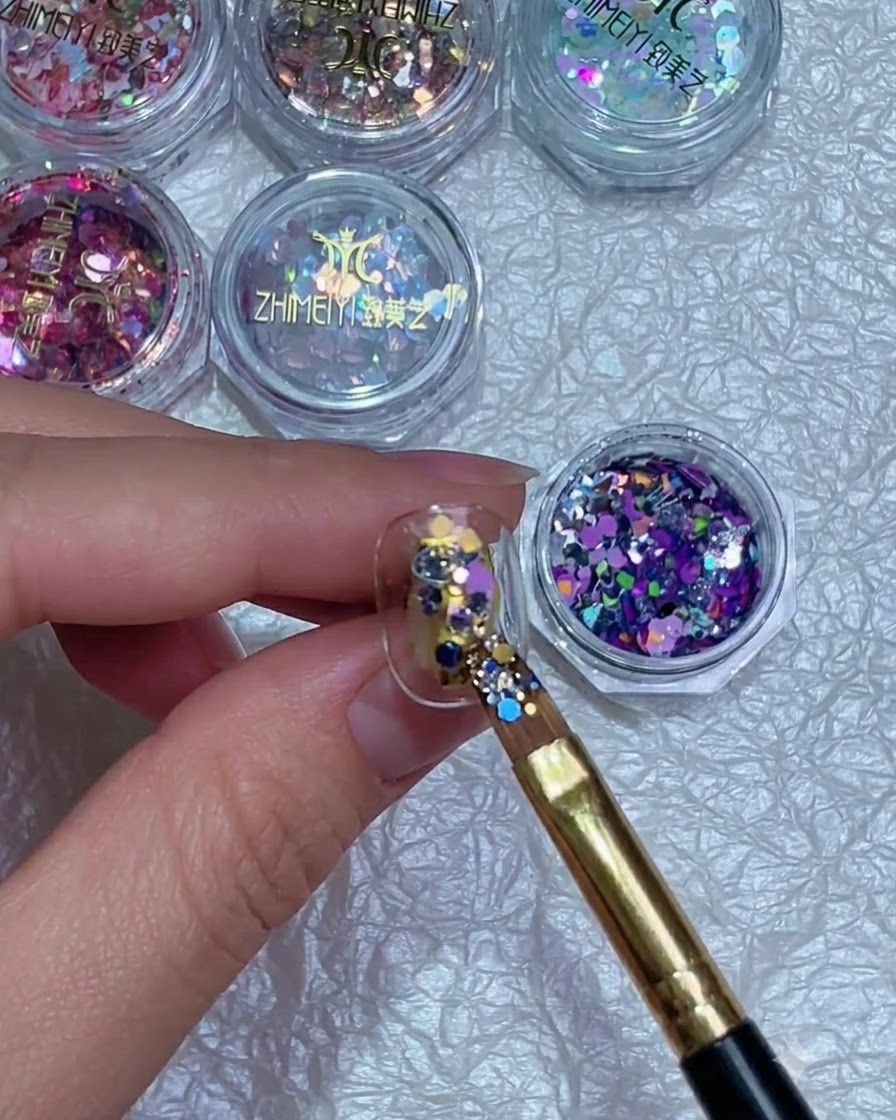
Using the tip of your brush, gently nudge and slide the glitter flakes into position across the nail plate. Distribute them evenly to fill any sparse gaps and create a balanced, beautiful layout. Make sure no flakes hang over the edges of the nail.
Tip: Spacing out larger flakes with smaller glitter pieces creates a more cohesive and professional look. - 4Cure the glitter layer
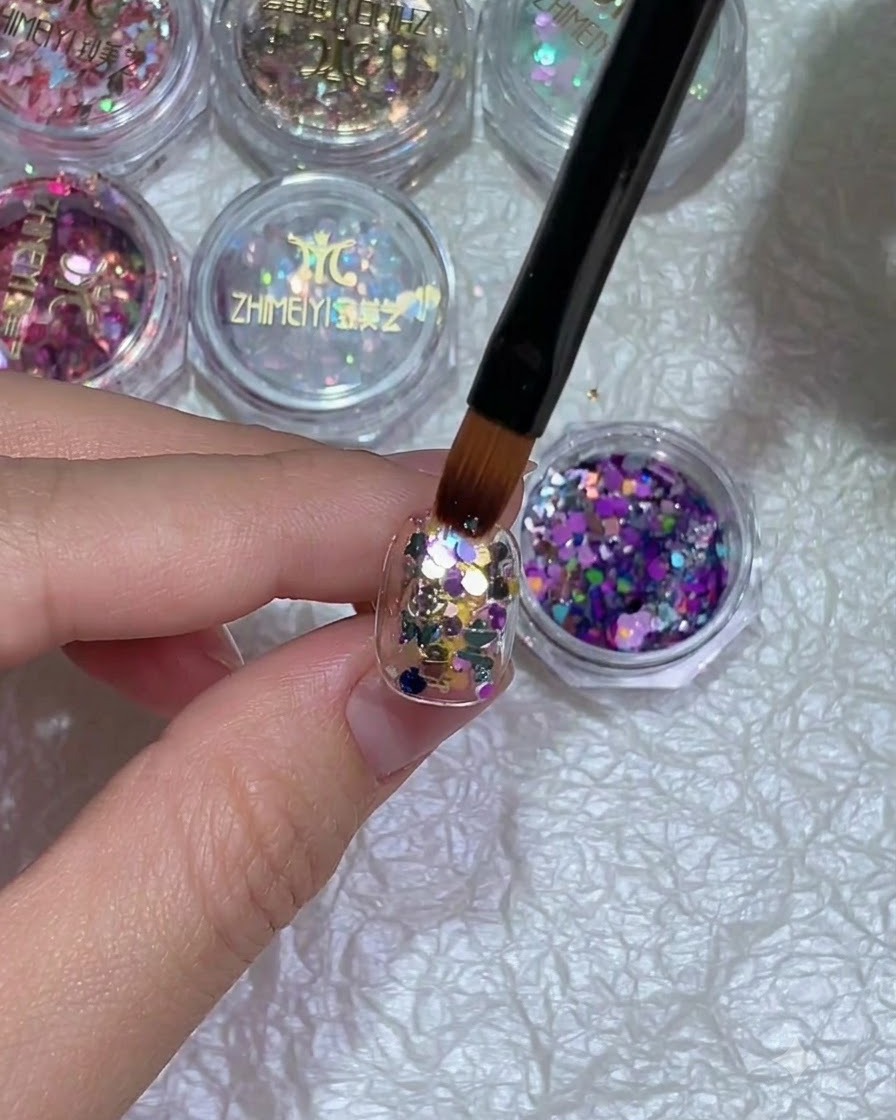
Place the hand under a UV or LED nail lamp and cure for the recommended time, typically 30 to 60 seconds. This locks the glitter flakes securely into the strengthening gel foundation. Ensure full exposure so the gel hardens completely.
Tip: Do not rush the curing time, as shifting uncured glitter can ruin the alignment. - 5Apply leveling strengthening gel
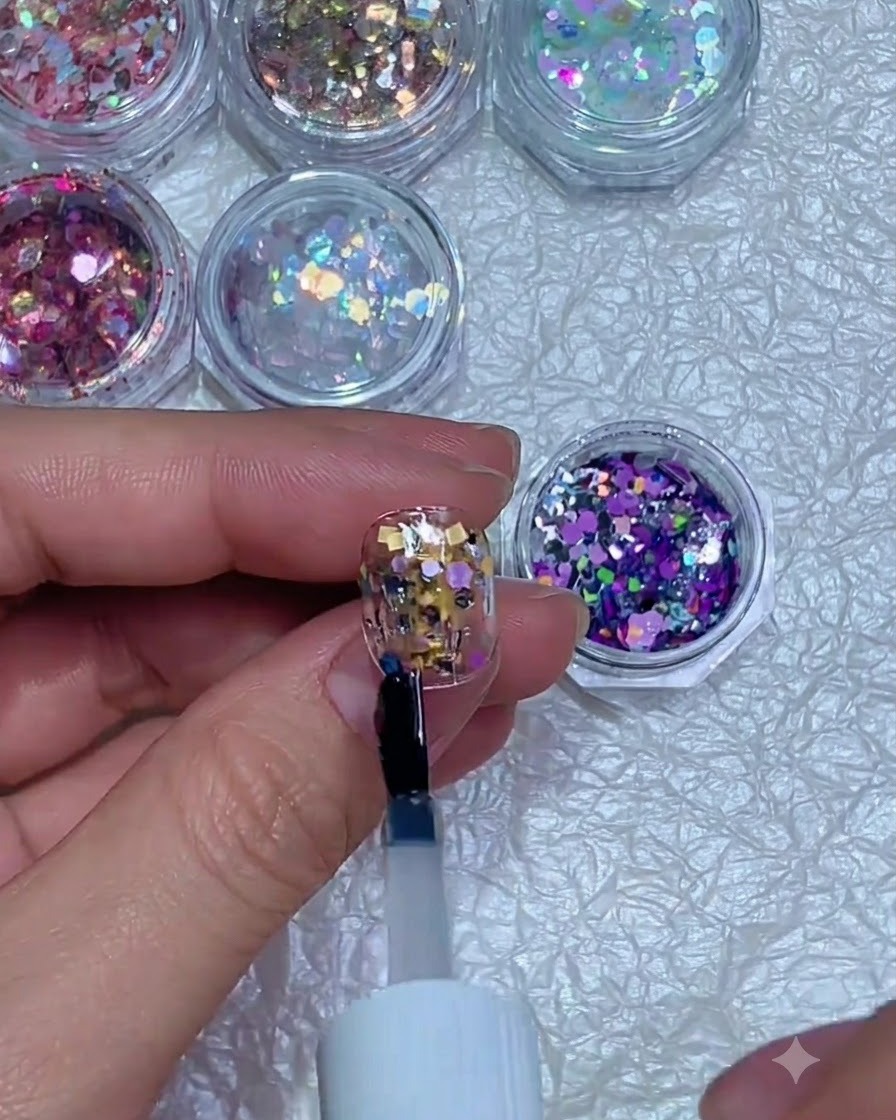
Brush a fresh layer of strengthening gel directly over the cured glitter flakes. This step encapsulates the texture, smooths out any jagged edges from the flakes, and builds a strong architectural apex. Make sure the surface is completely covered and uniform.
Tip: Flow a slightly thicker bead of gel down the center to self-level and create a smooth finish. - 6Buff the cured surface
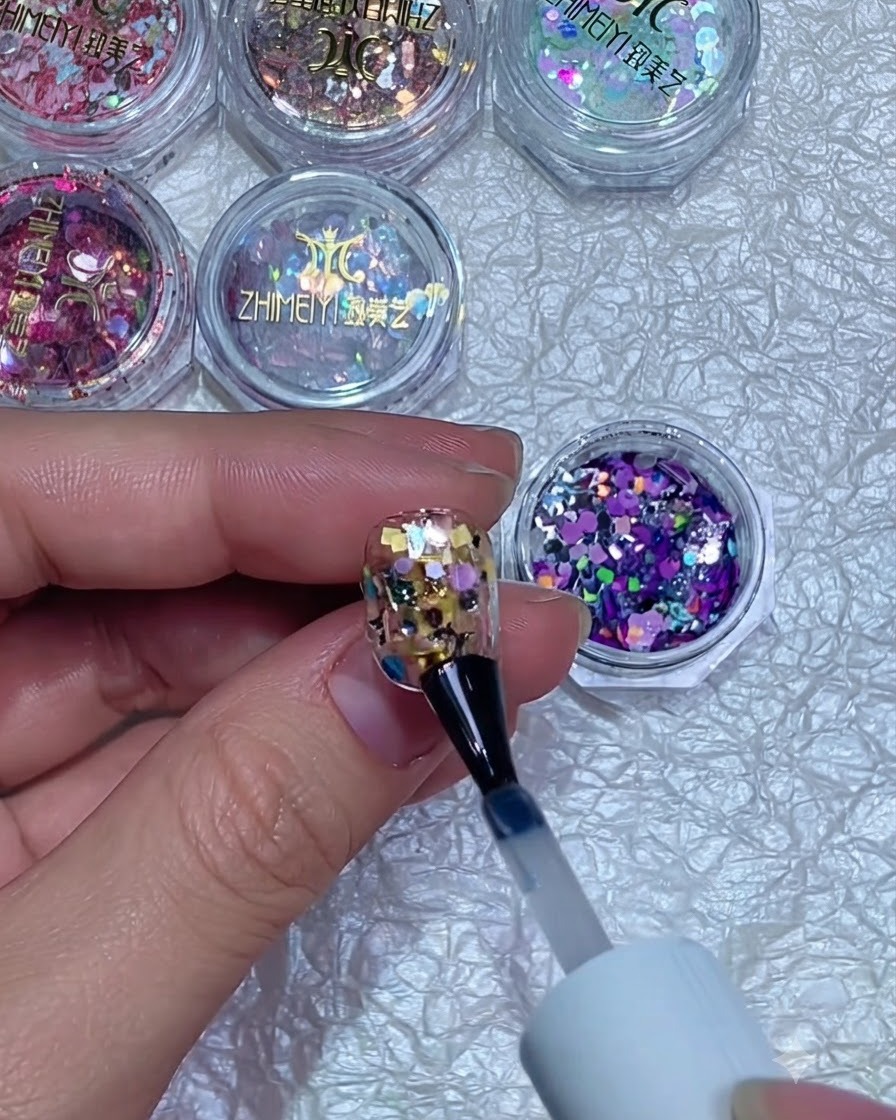
After curing the encapsulation gel and removing any sticky inhibition layer if necessary, use a fine-grit buffer to lightly smooth the surface. Buff away any bumps or imperfections caused by protruding glitter edges. Wipe clean with alcohol before moving to the next decoration step.
Tip: Use light, gentle pressure when buffing so you do not file away the protective gel layer covering the glitter. - 7Place alphabet sticker
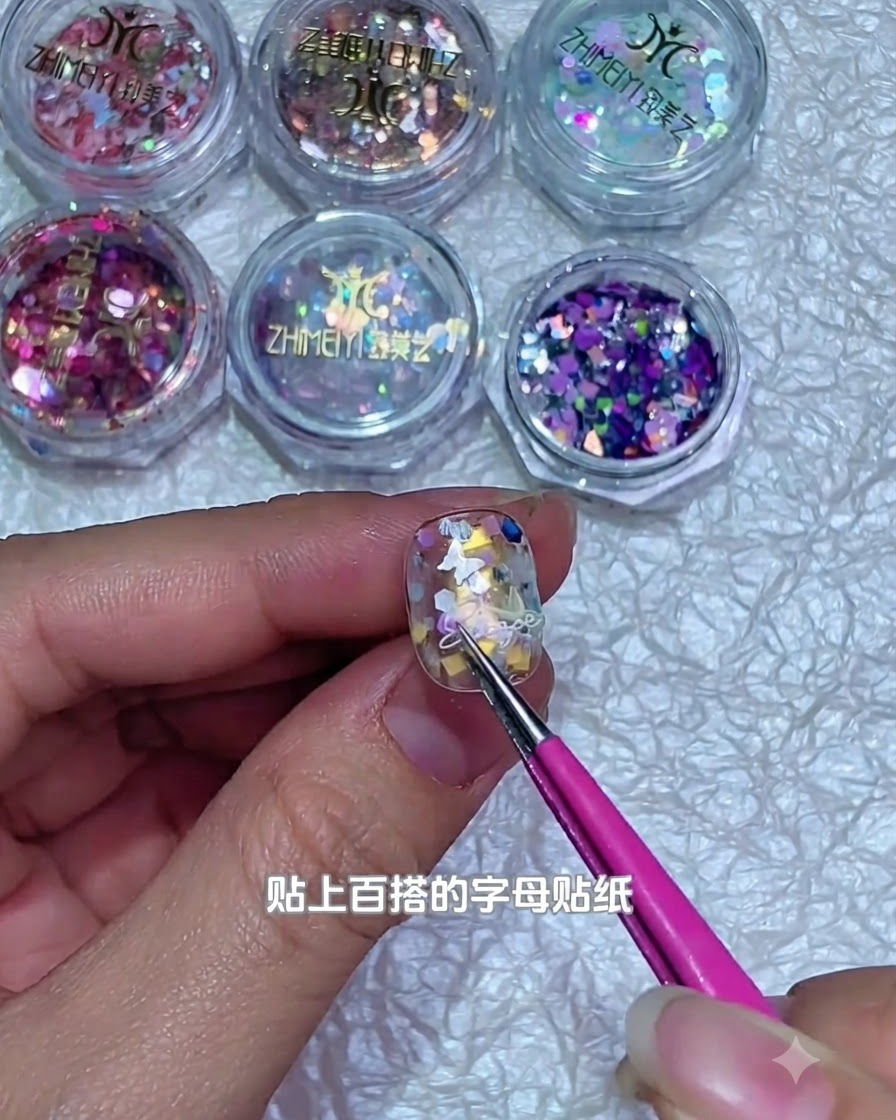
Carefully pick up a small alphabet sticker using tweezers and position it onto the tacky surface of the decorated nail. Gently press down on the edges to ensure the sticker adheres flatly without any wrinkles or lifting.
Tip: Use a silicone tool or tweezers to press down the sticker edges firmly so they dont catch or lift when applying the top coat. - 8Apply glass top coat
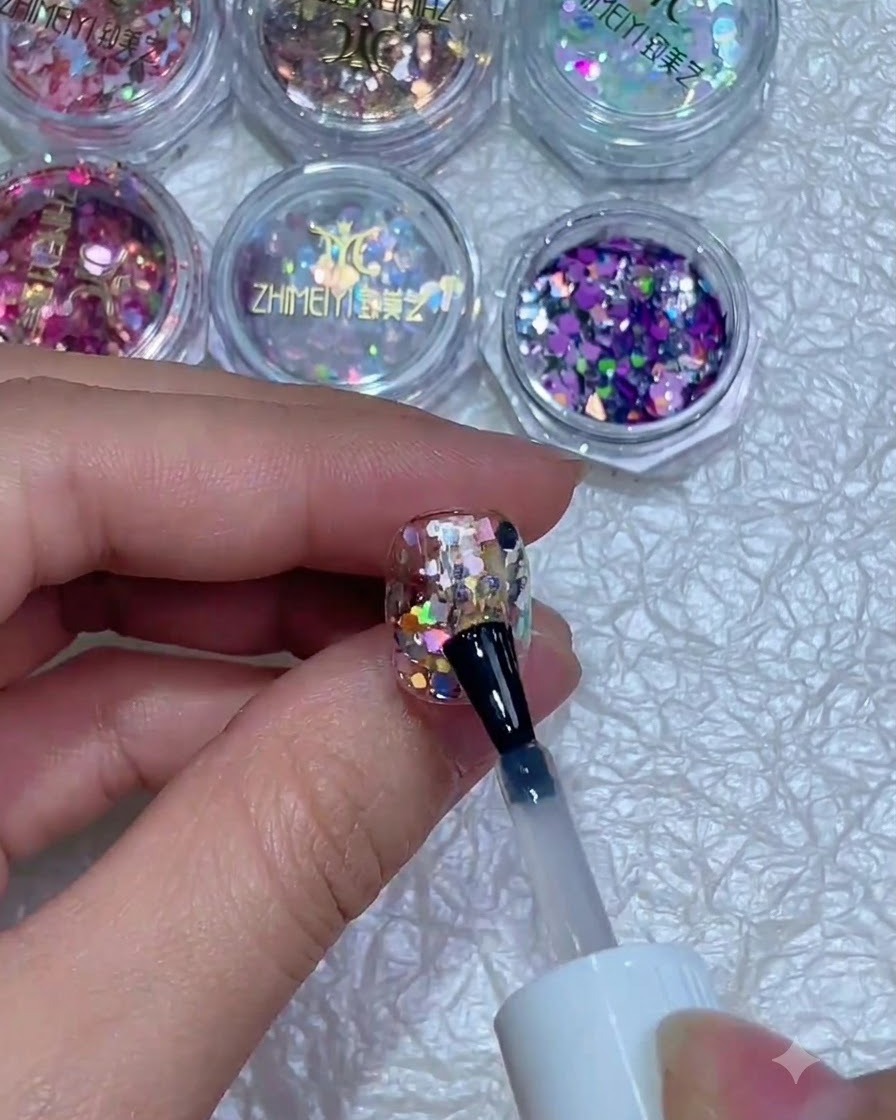
Apply a generous yet even layer of clear, durable glass top coat over the entire nail surface, ensuring you encapsulate the embedded glitter flakes and alphabet sticker completely. Cap the free edge to prevent chipping and seal all embedded elements in place before curing.
Tip: Make sure the top coat fully covers the edges of the sticker to prevent it from peeling off over time. - 9Paint the first daisy petal
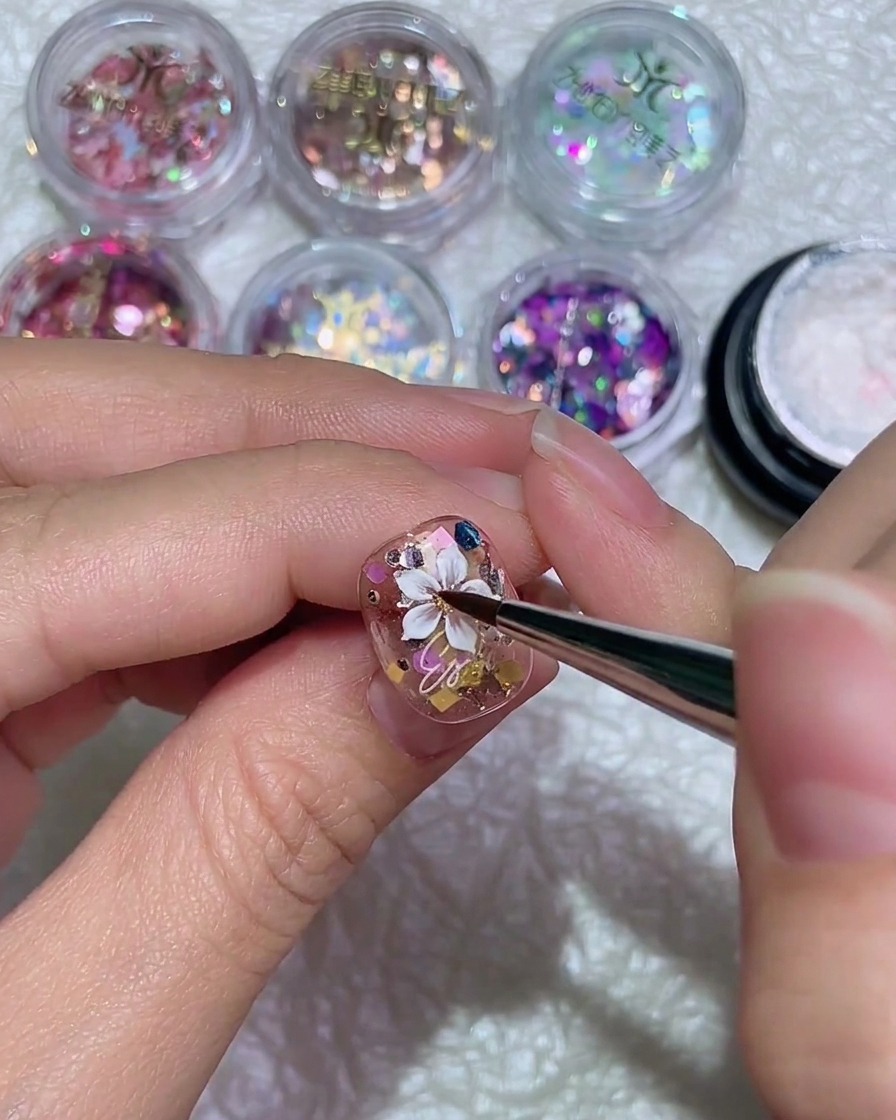
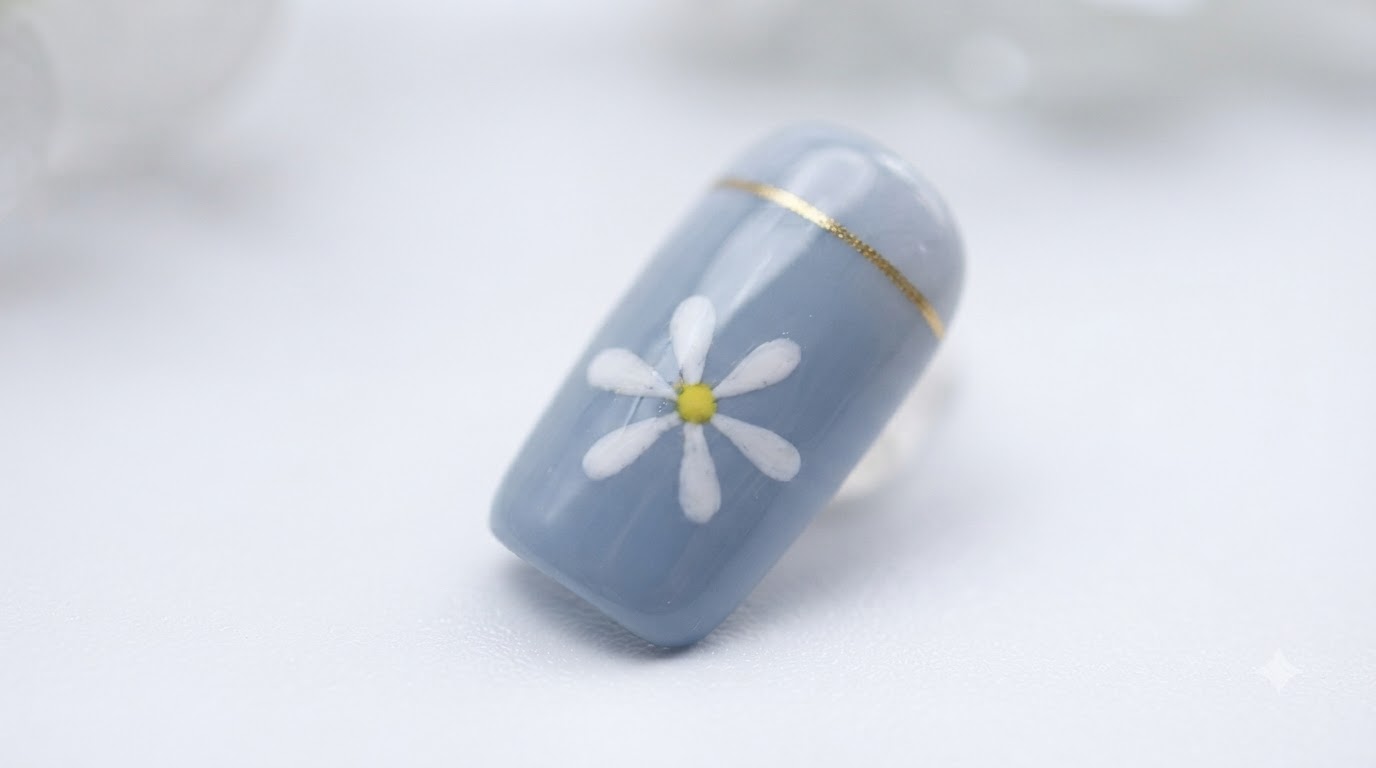
Using a multi-functional fine liner brush and white thick gel, paint the first petal of the daisy onto the nail surface. Position the brush near the center and pull outward to form the shape of the petal.
Tip: Keep a light hand when pulling the liner brush to ensure crisp, clean edges on each petal. - 10Paint remaining daisy petals
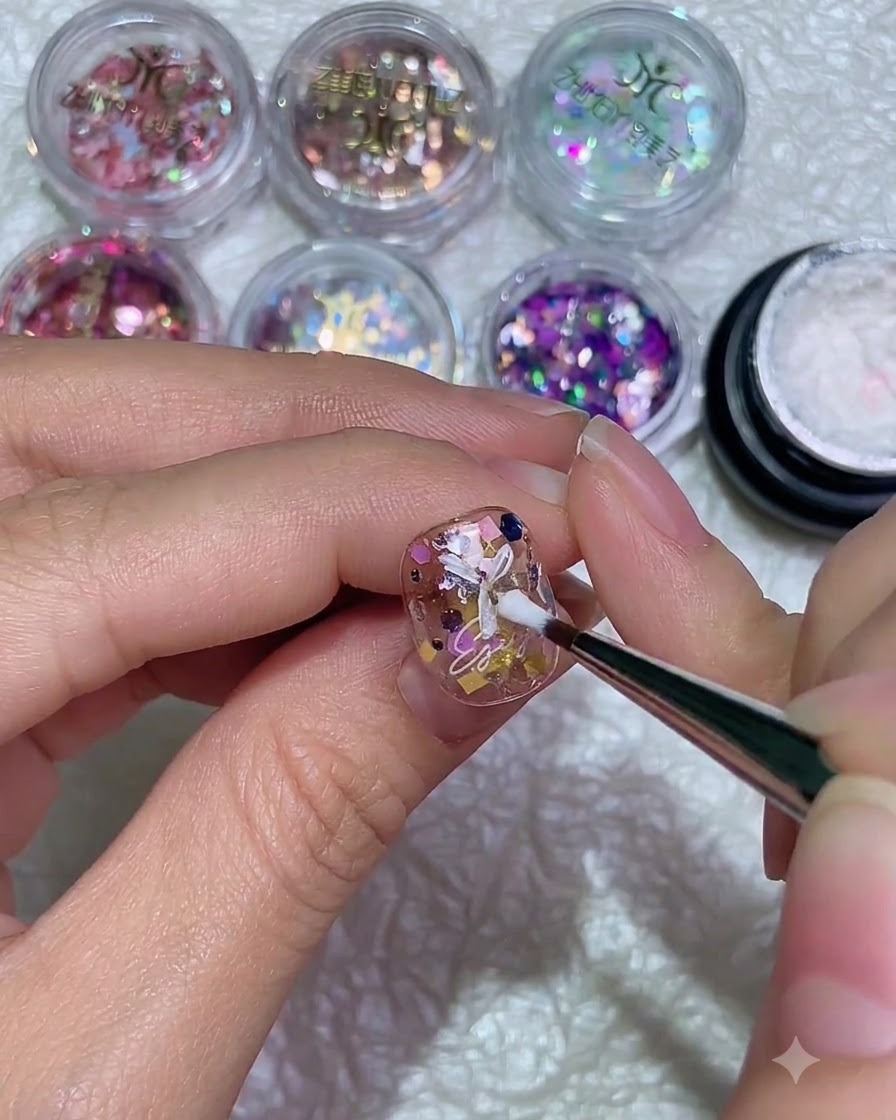
Continue painting individual daisy petals in a circular arrangement around the center point. Use a gentle pressing and lifting technique with the brush to create nicely shaped, dimensional petals.
Tip: Be mindful of your petal placement to keep the flower balanced and evenly proportioned. - 11Complete white petal structure
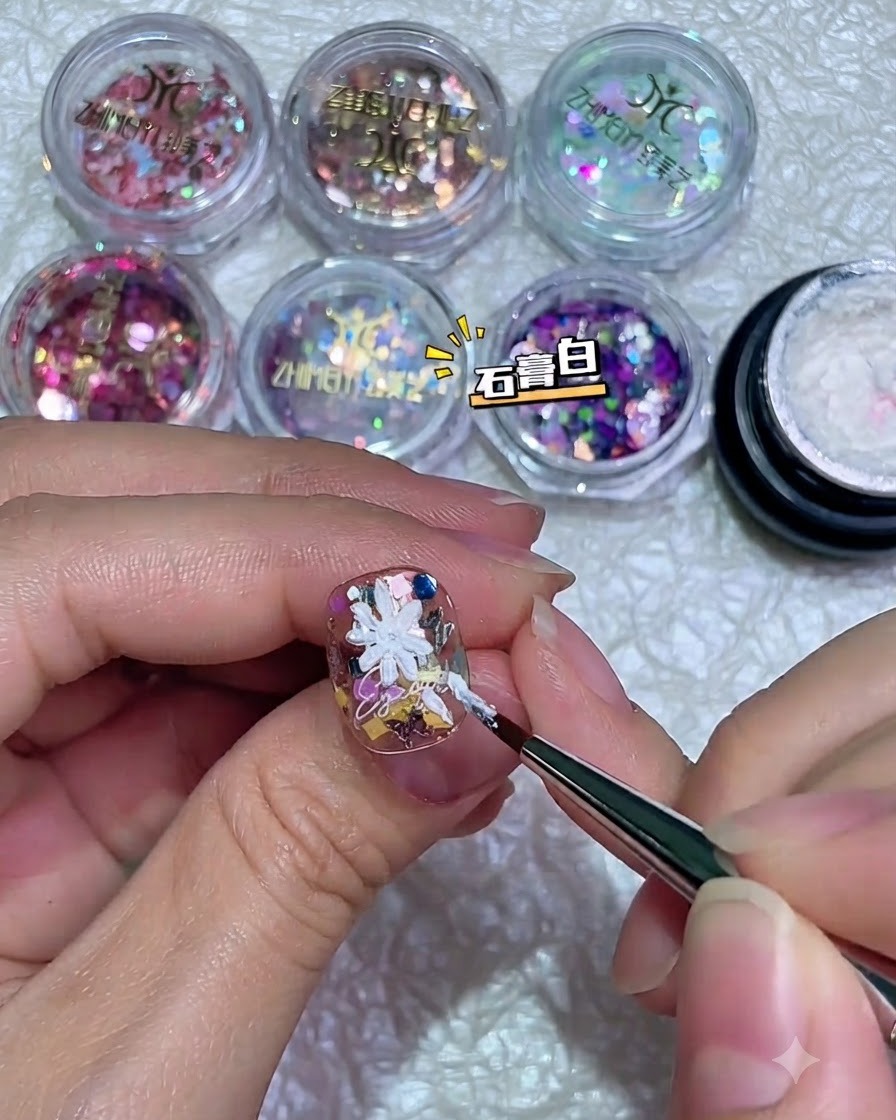
Finish painting the full set of white petals to complete the daisy flower structure. Because the thick gel and painting gel are non-wipe formulas, the design retains a nice 3D effect even after application.
Tip: Avoid overworking the non-wipe thick gel so the raised 3D texture retains its shape before curing. - 12Add daisy center dot
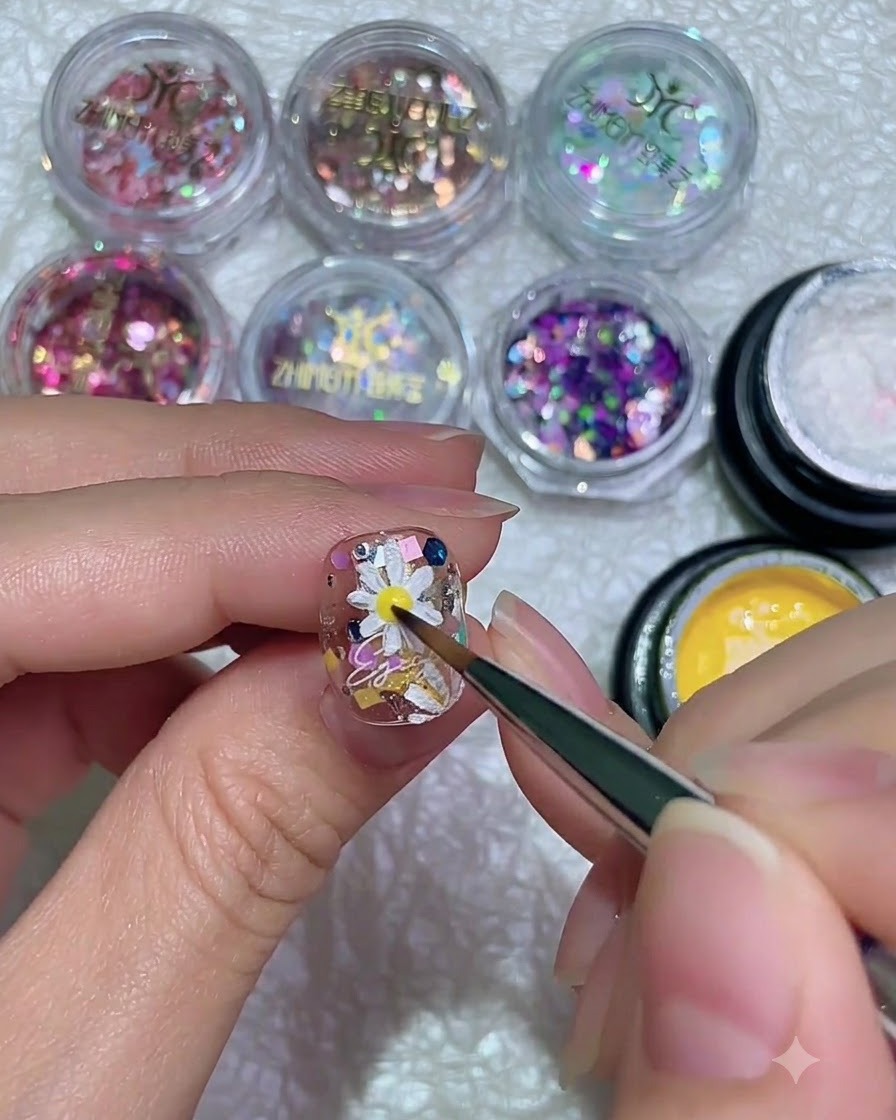
Dip a fine detail brush into yellow gel and apply a small, precise dot right in the center of the white daisy flower. This final detail brings the floral nail art design to life and completes the look.
Tip: Use a small dotting tool or the tip of a fine liner brush for a perfectly rounded center dot.