Simple Five-Petal Flower Nail Art — Beginner Step-by-Step Tutorial
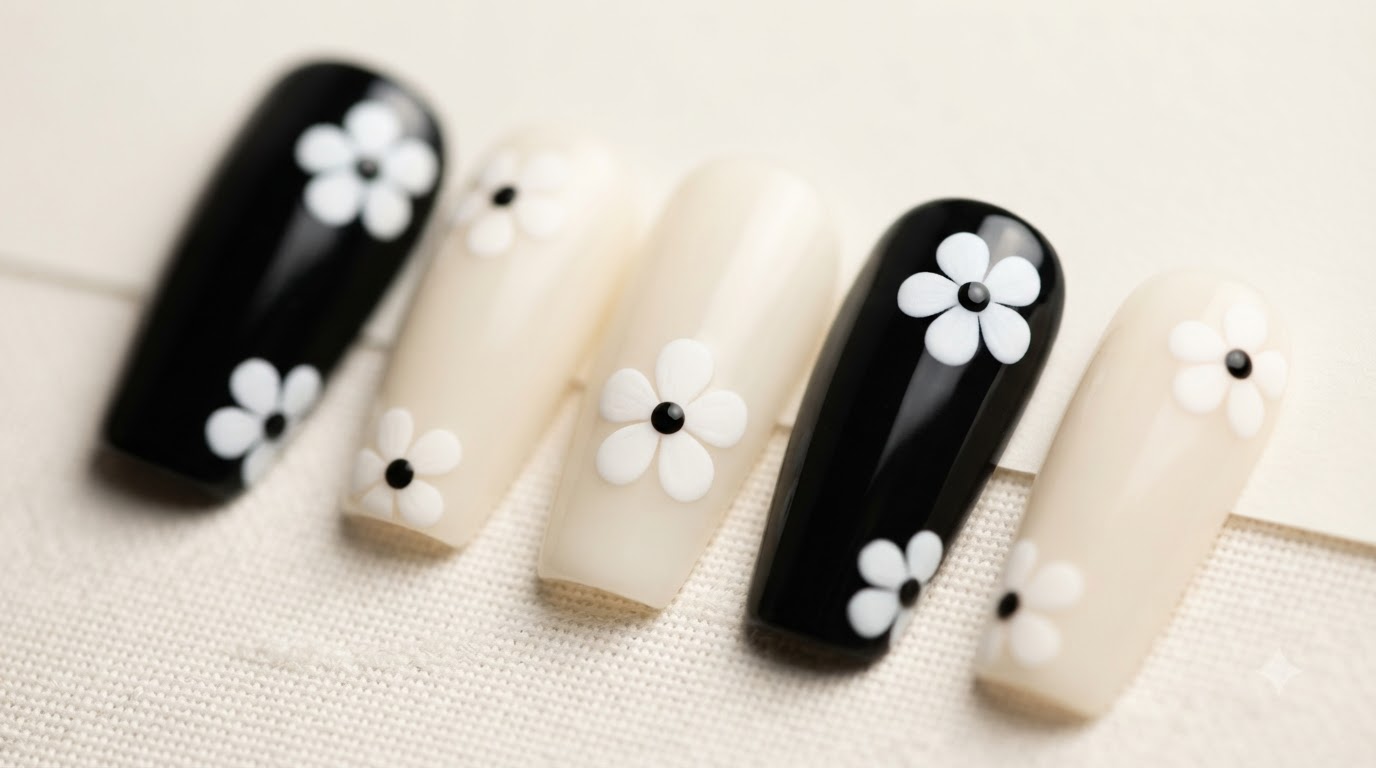
Create trendy and elegant five-petal flower nail art easily with this simple dotting and pulling technique on black and cream bases.
Floral nail art never goes out of style, and this classic five-petal design is one of the easiest ways to elevate a simple manicure. By combining basic dot placement with a simple pulling technique using a fine liner brush, you can achieve delicate and symmetrical blossoms. Perfect for both beginners and nail art enthusiasts looking for a chic, minimalist look.
Steps
- 1Place the first dot
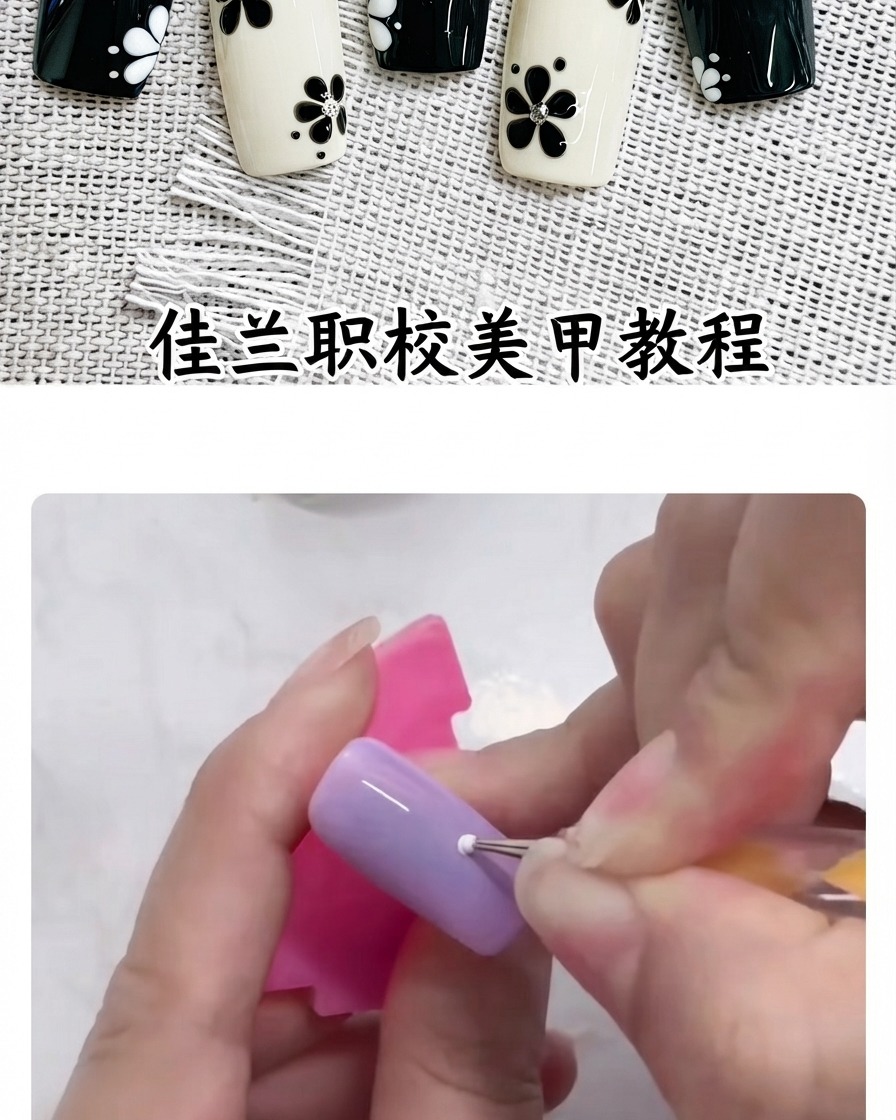
Using a dotting tool dipped in white gel polish, carefully place the first dot onto the prepped purple nail surface. This dot serves as the anchor point for positioning the petals of your flower design.
Tip: Keep your hand steady and use a light touch to ensure the dot is round and uniform. - 2Place the second dot
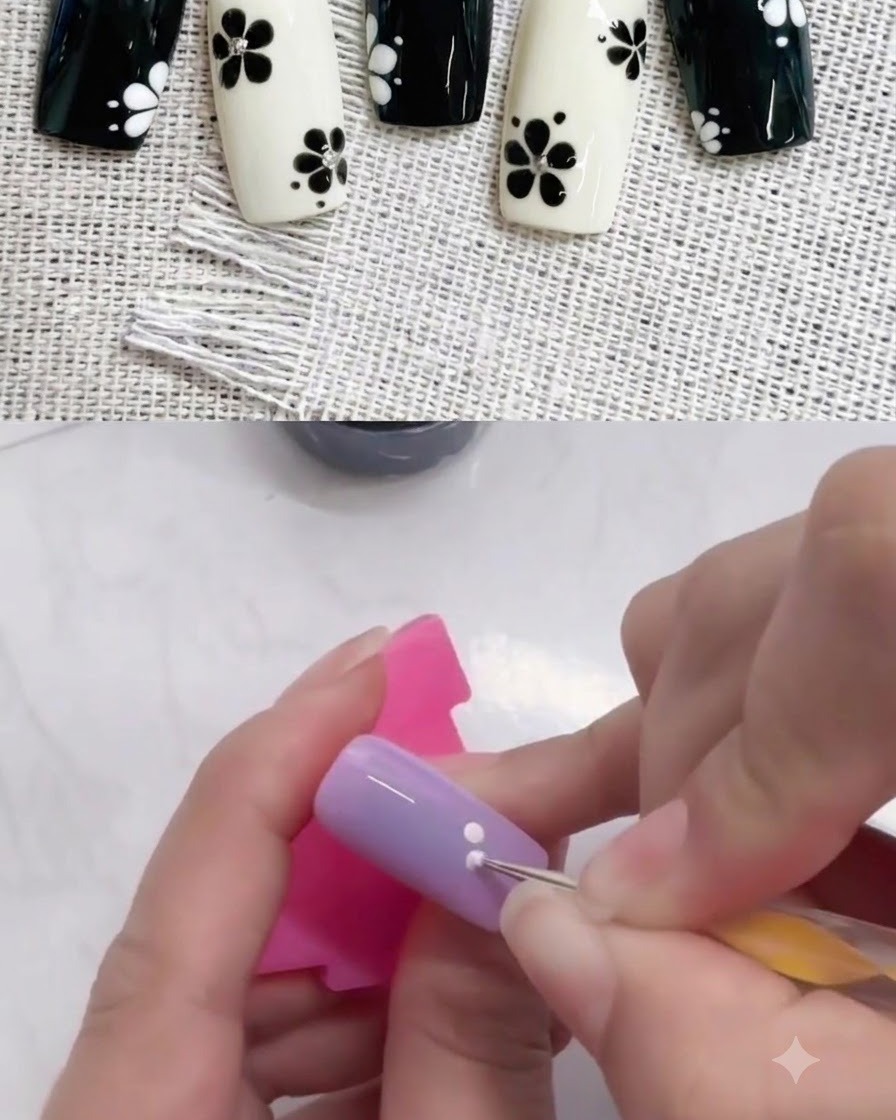
Using the dotting tool, place a second white dot right next to the first one. Maintain an even spacing and consistent dot size to keep the flower proportions balanced.
Tip: Load an equal amount of product onto the dotting tool for each dot to maintain consistent sizing. - 3Add the third dot
Place a third white dot near the first two to create a triangular grouping. This forms the foundational framework for the multi-petal flower design.
Tip: Visualize the center of the flower while placing your dots to ensure proper symmetry. - 4Place the fourth dot
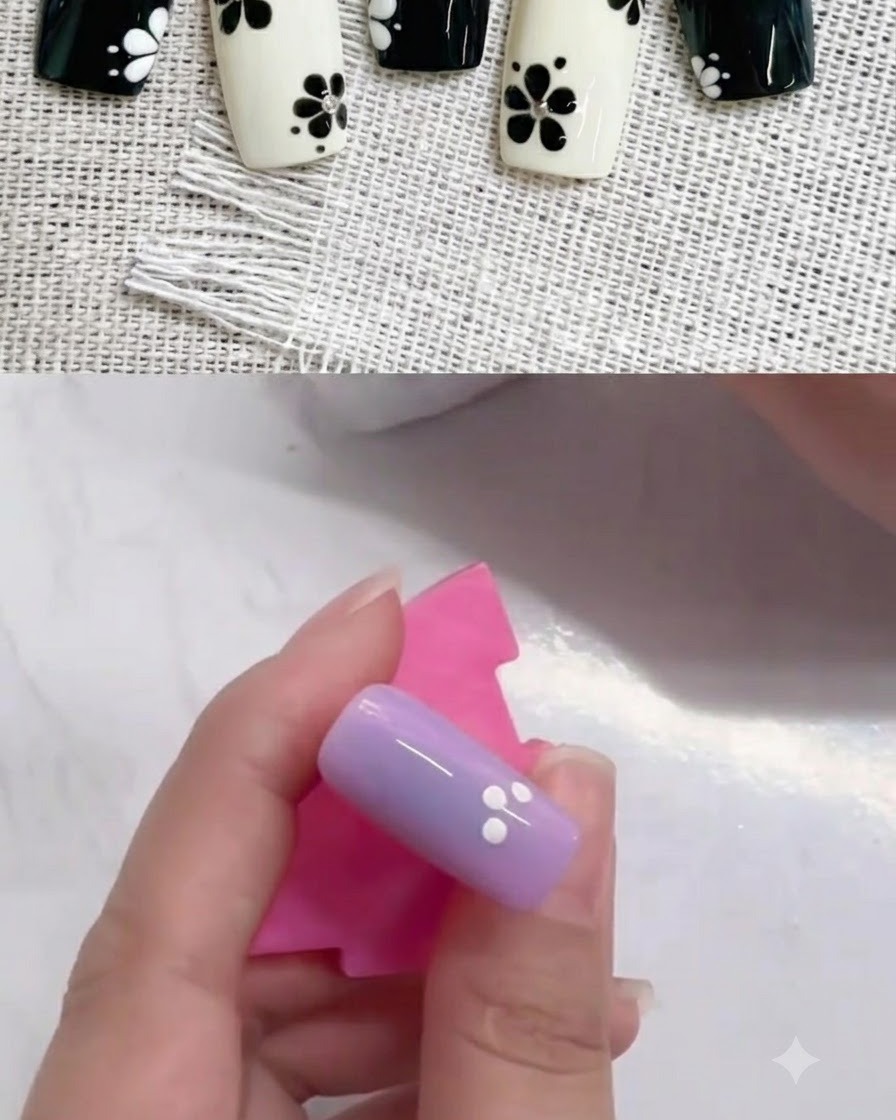
Continue building the flower shape by adding the fourth white dot on the lower left side of the existing group. Ensure it is placed close enough to blend smoothly during the dragging step.
Tip: Work quickly if using regular polish, or flash cure if using gel to prevent dots from running. - 5Pull dots into petals
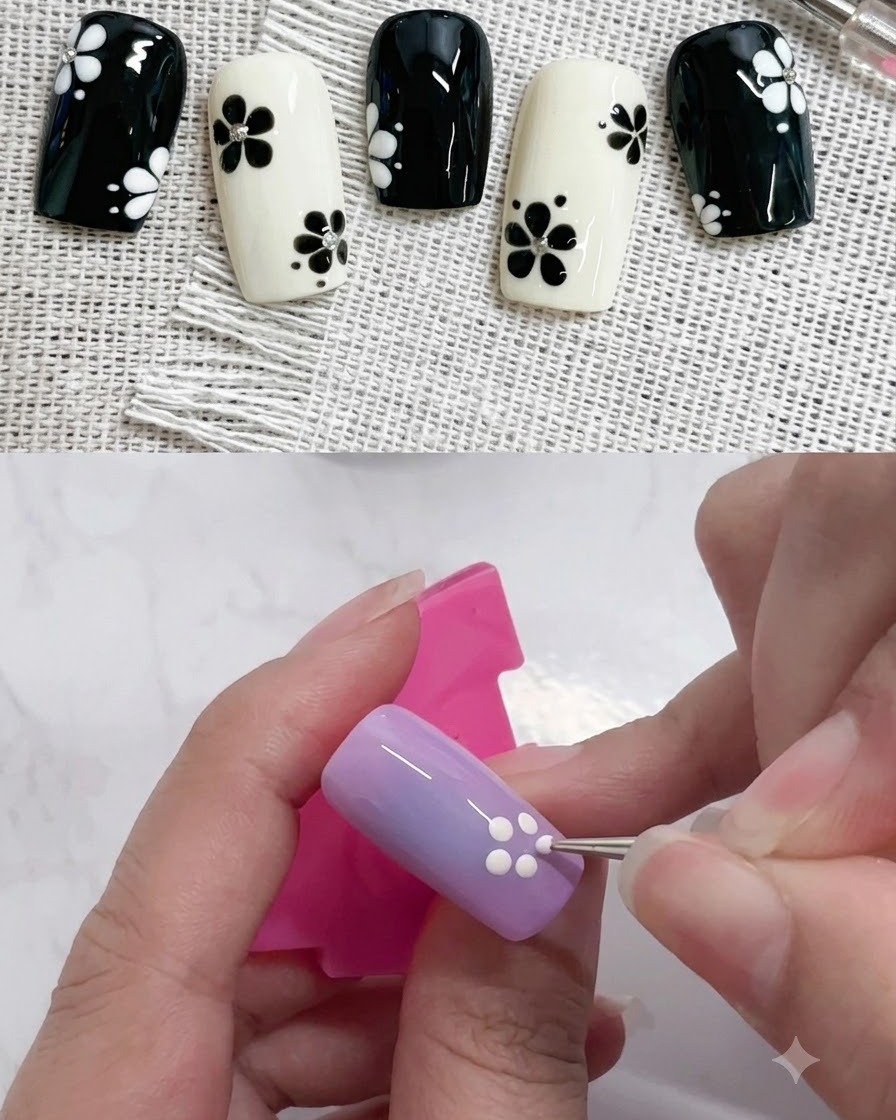
Take a fine liner brush and gently pull from the outer edge of each white dot inward toward the center. This drags the polish into elongated petal shapes.
Tip: Use a very light drag motion so you only pull the edge of the dot, leaving a rounded outer tip. - 6Refine petal shapes
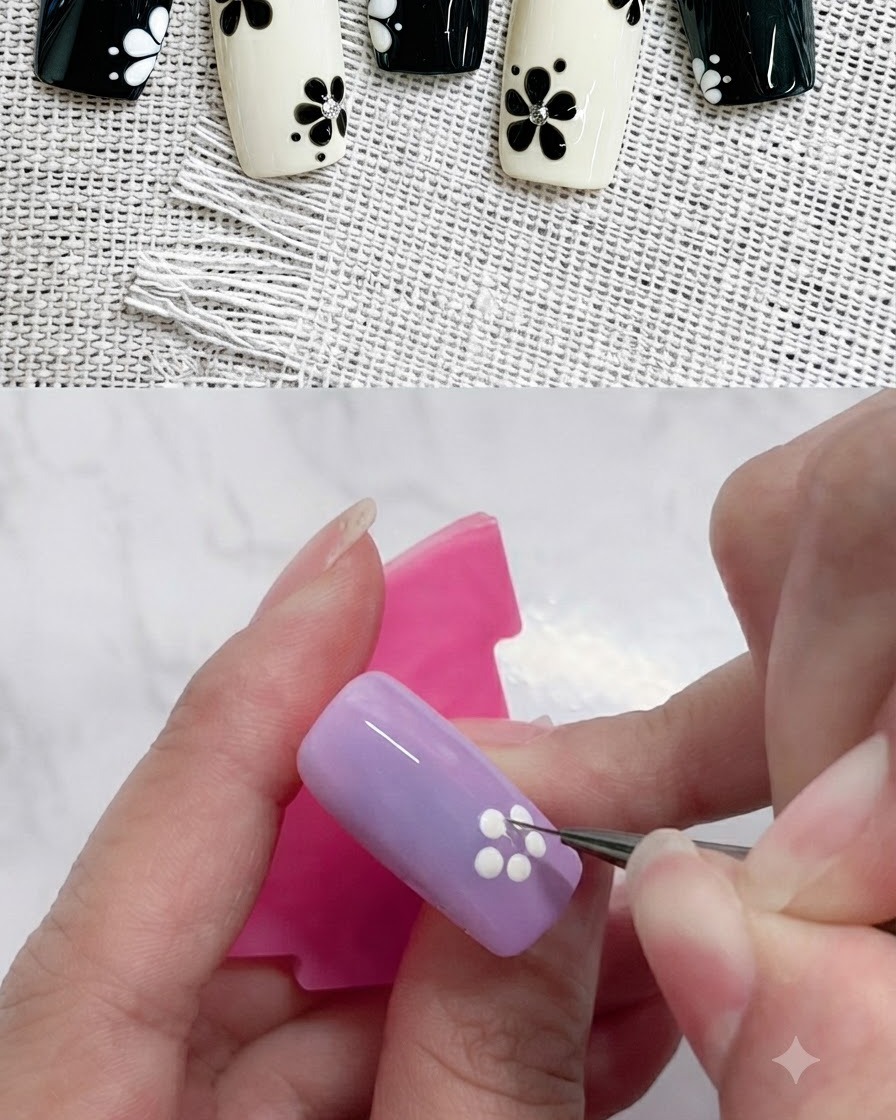
Gently swipe along the sides of the dragged dots using the liner brush to refine and sharpen the water-drop shape of each petal. Clean up any uneven edges before curing.
Tip: Wipe your liner brush clean on a lint-free pad between strokes for crisp, clean lines. - 7Adjust nail tip angle
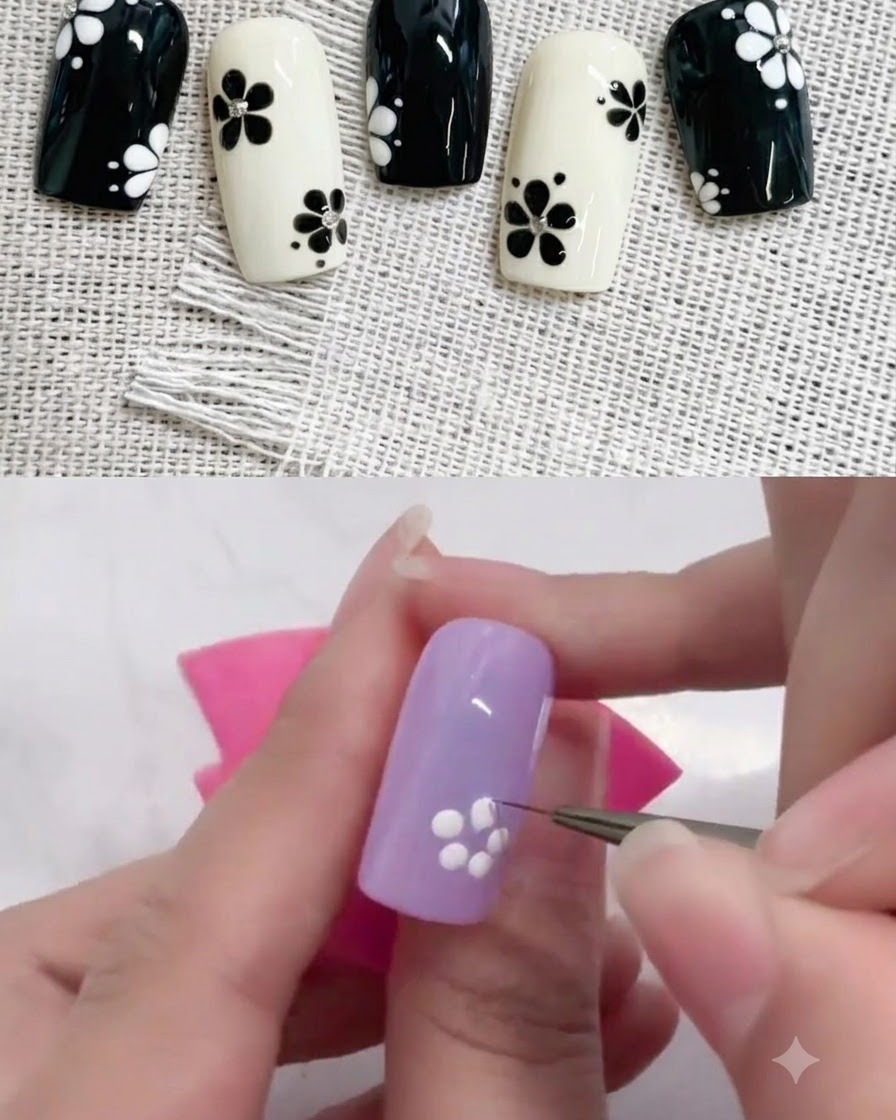
Adjust the position and angle of the nail tip to ensure proper alignment and visibility for adding the final details to the flower design. Holding the nail steady on the support stand makes precise brushwork much easier.
Tip: Ensure your hand and the nail stand are firmly supported to prevent slipping while working on intricate nail art. - 8Pull white gel toward the center
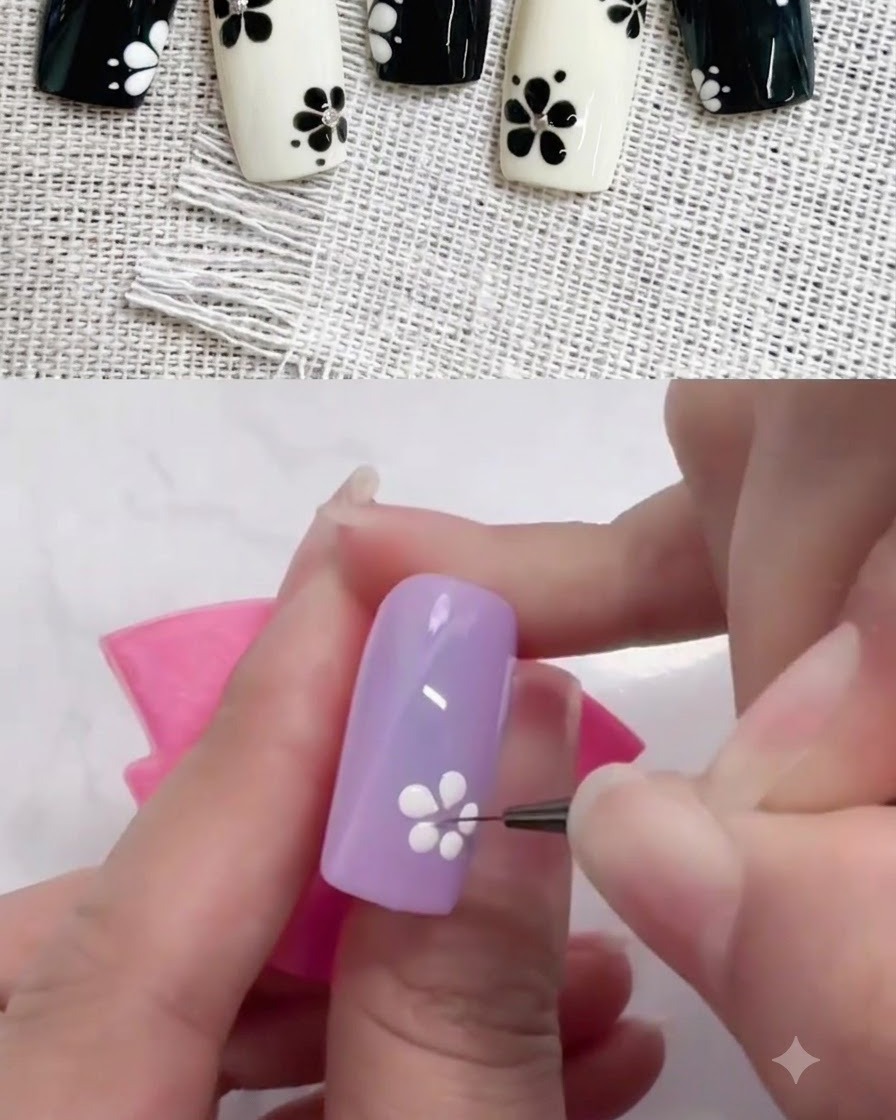
Using a fine liner brush, gently pull the white gel dots inward toward the center of the flower to refine and complete the shape of each petal. This technique creates a soft, blooming look for the floral art.
Tip: Keep a light touch with the liner brush so you only move the surface gel without scratching the base coat underneath. - 9Drag white gel to finalize petal shape
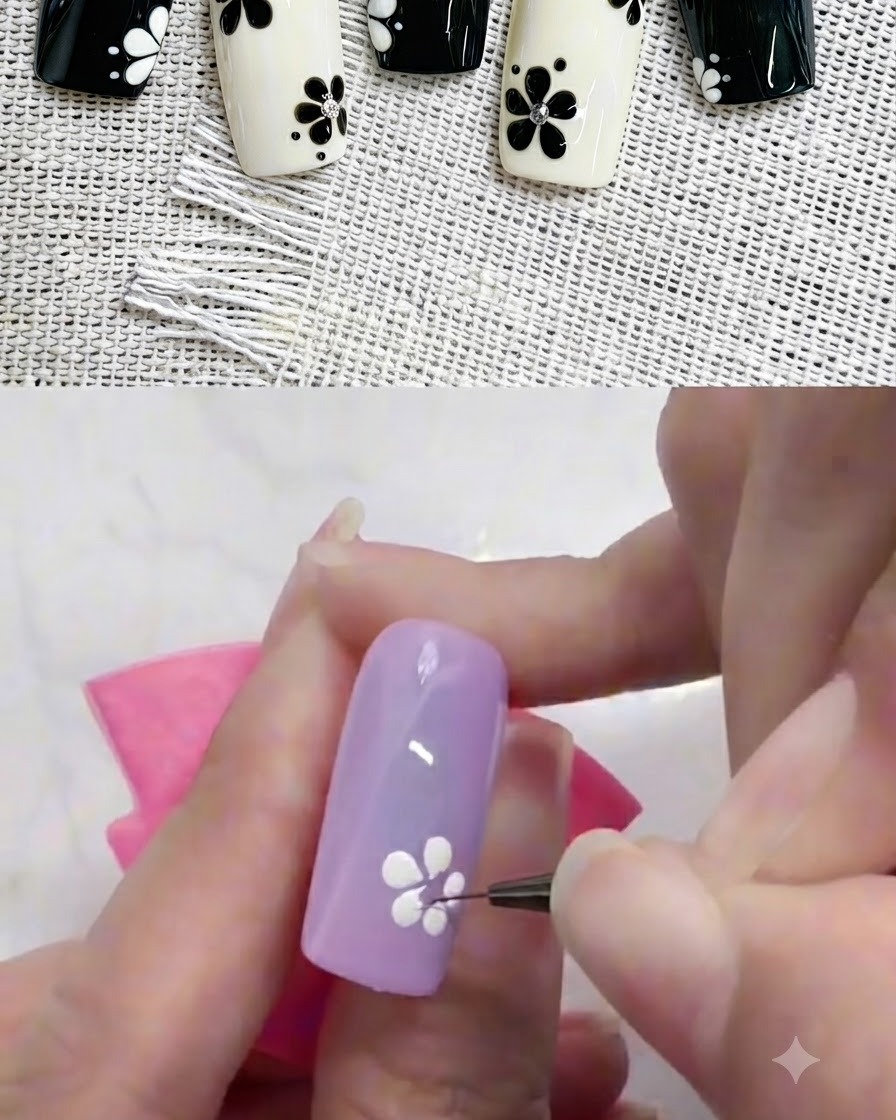
Gently drag the white gel toward the base of the first petal to smooth out the transition and finalize the overall flower shape. Ensure all petals look balanced and symmetrical before curing.
Tip: Clean your brush with a bit of cleanser if the gel starts to clump, ensuring sharp and crisp petal lines. - 10Add center dot to the flower
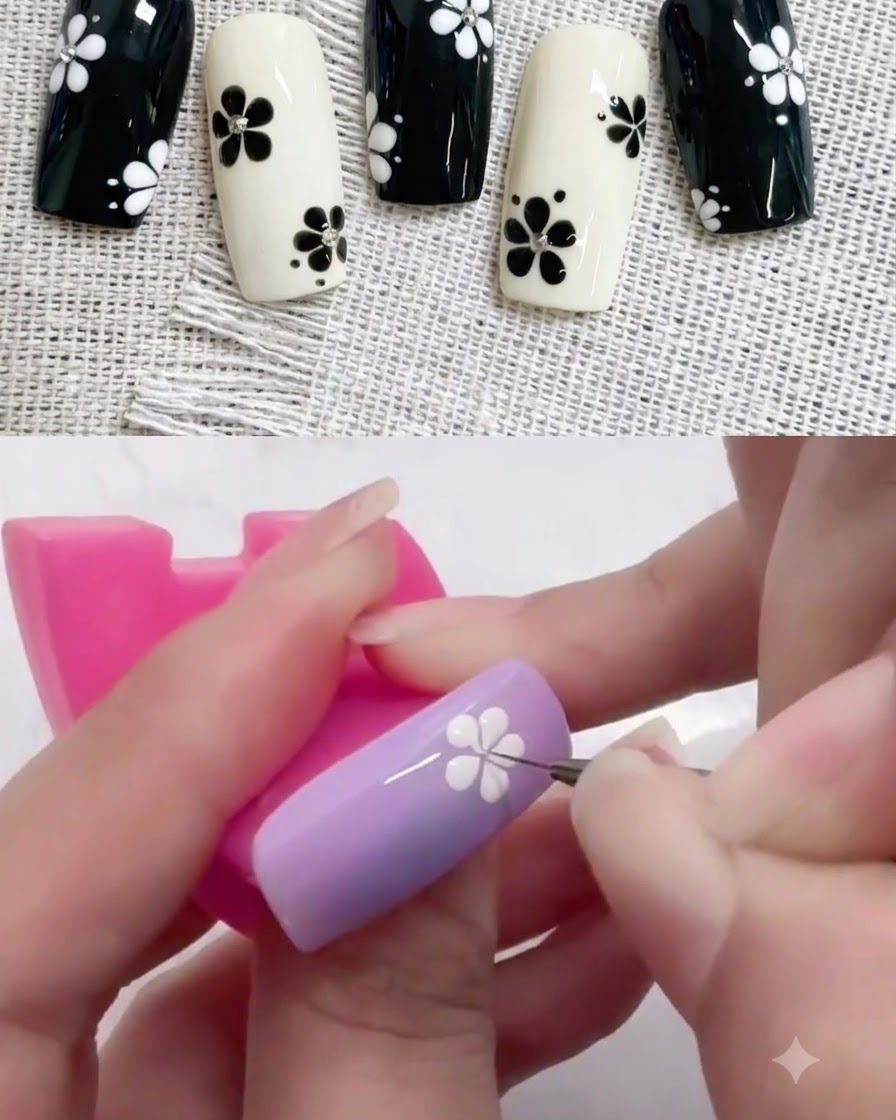
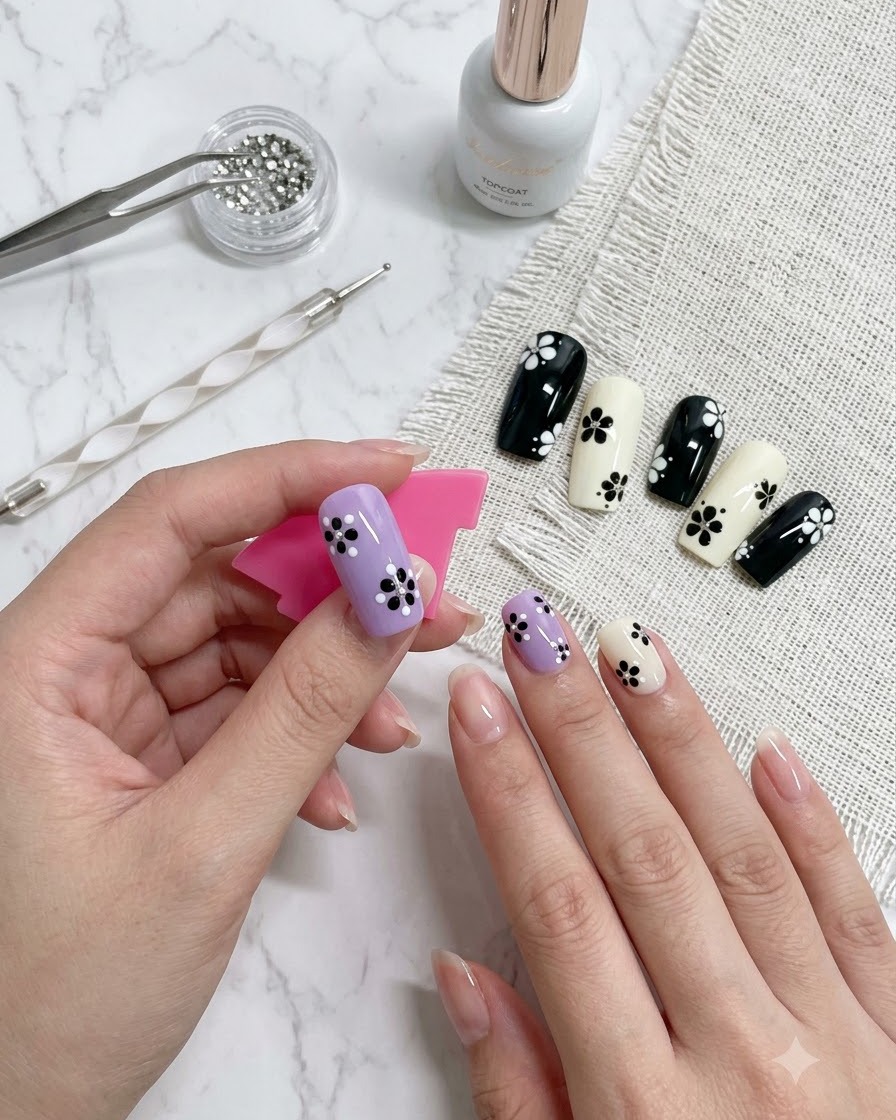
Use a small dotting tool dipped in black gel to place a neat dot right in the center of the white flower petals. This finishing touch adds contrast and depth, completing the classic five-petal flower design.
Tip: Use a very tiny amount of gel on the dotting tool to keep the center dot neat and proportionate to the flower size.