Daisy Floral Nail Art
Gold Calligraphy — Step-by-Step Tutorial
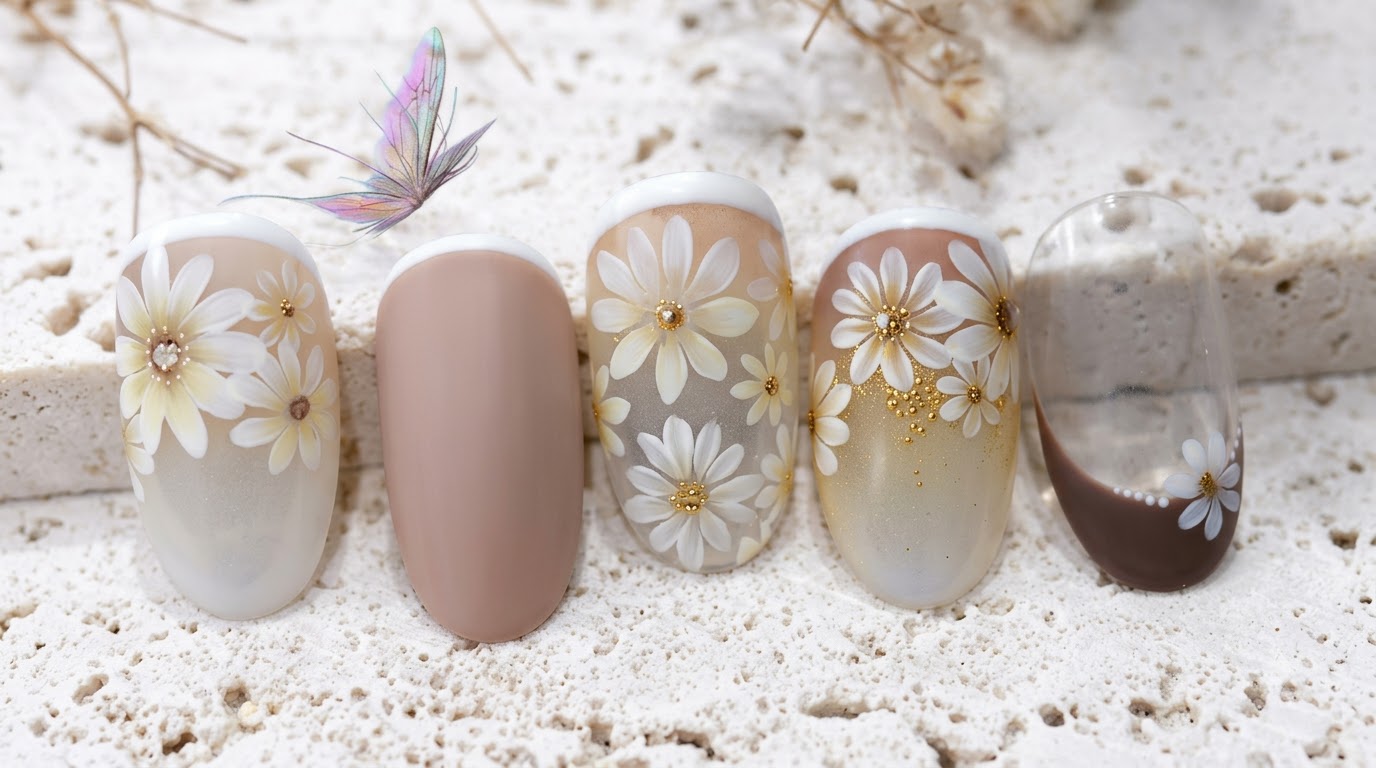
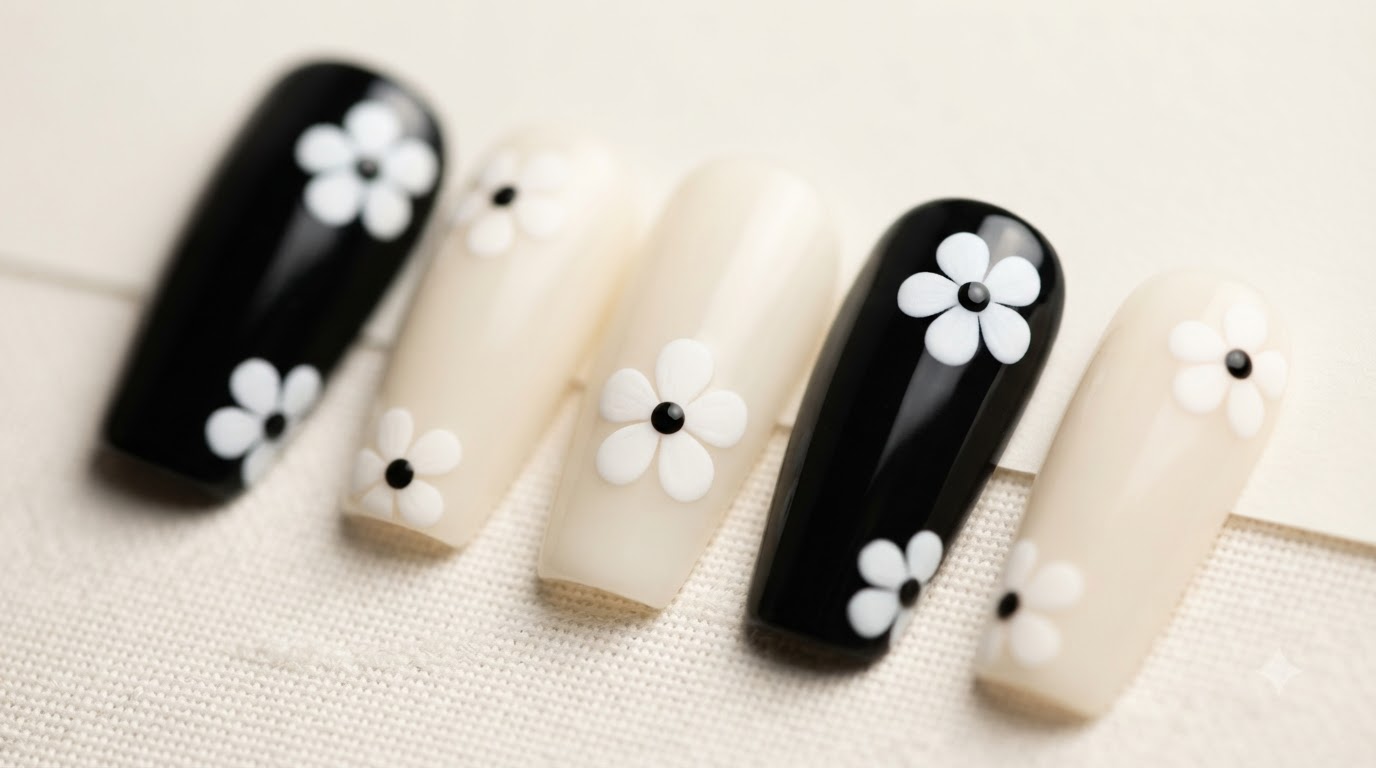
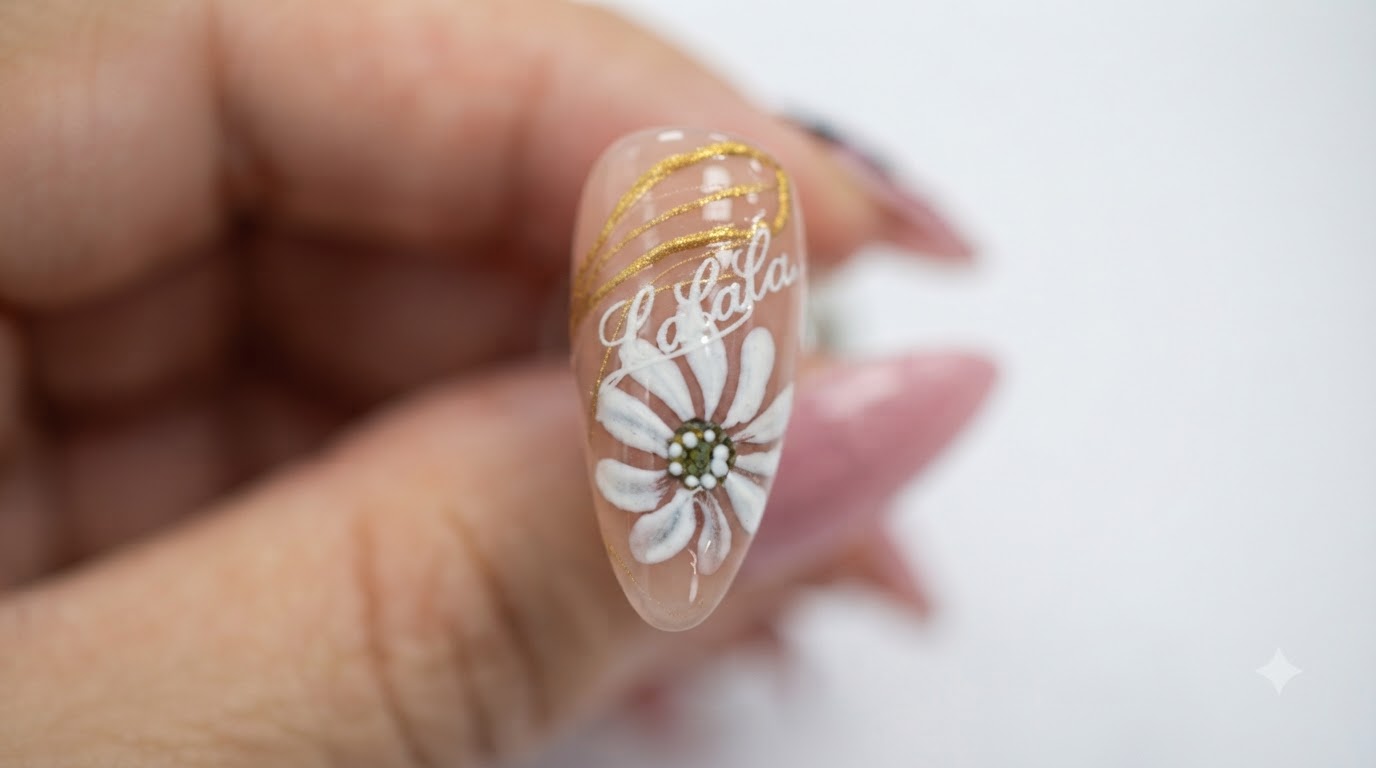
Create charming white daisy floral nail art paired with delicate gold gel lines and custom script lettering on a natural almond base.
Combining playful florals with sophisticated metallic accents, this nail look offers the perfect balance of cute and elegant. The white daisy motif provides a fresh, timeless feel, while the sweeping gold gel lines and fine script lettering elevate the design into a true work of wearable art.
Steps
- 1Apply the first daisy petal
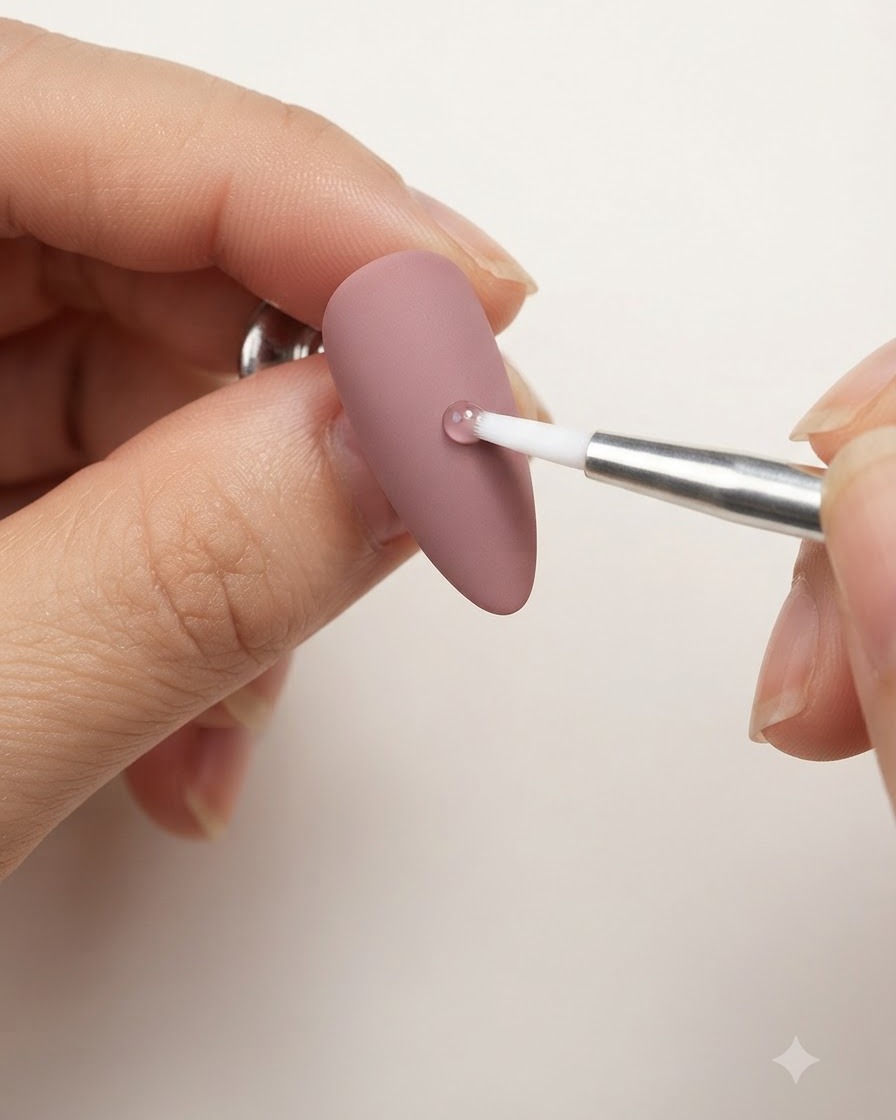
Using a fine brush, apply the initial white petal stroke onto the base of the nail to begin forming the daisy flower.
Tip: Keep your brush strokes light and precise to ensure the petal shape looks neat and defined. - 2Apply second petal
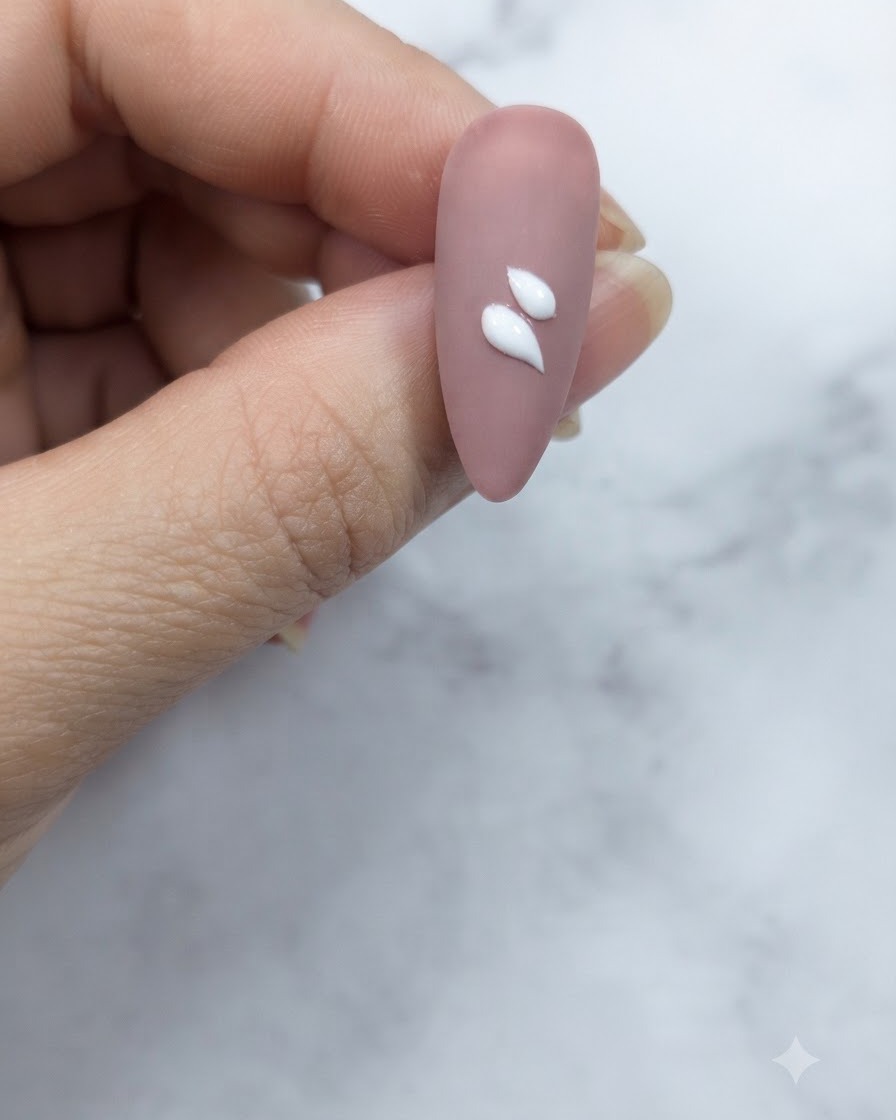
Using a fine brush, apply a second white petal-shaped stroke directly beside the first petal on the nail surface. This begins to form the open layout of the daisy flower.
Tip: Keep your brush strokes light and consistent to maintain an even thickness for all the petals. - 3Continue adding petals
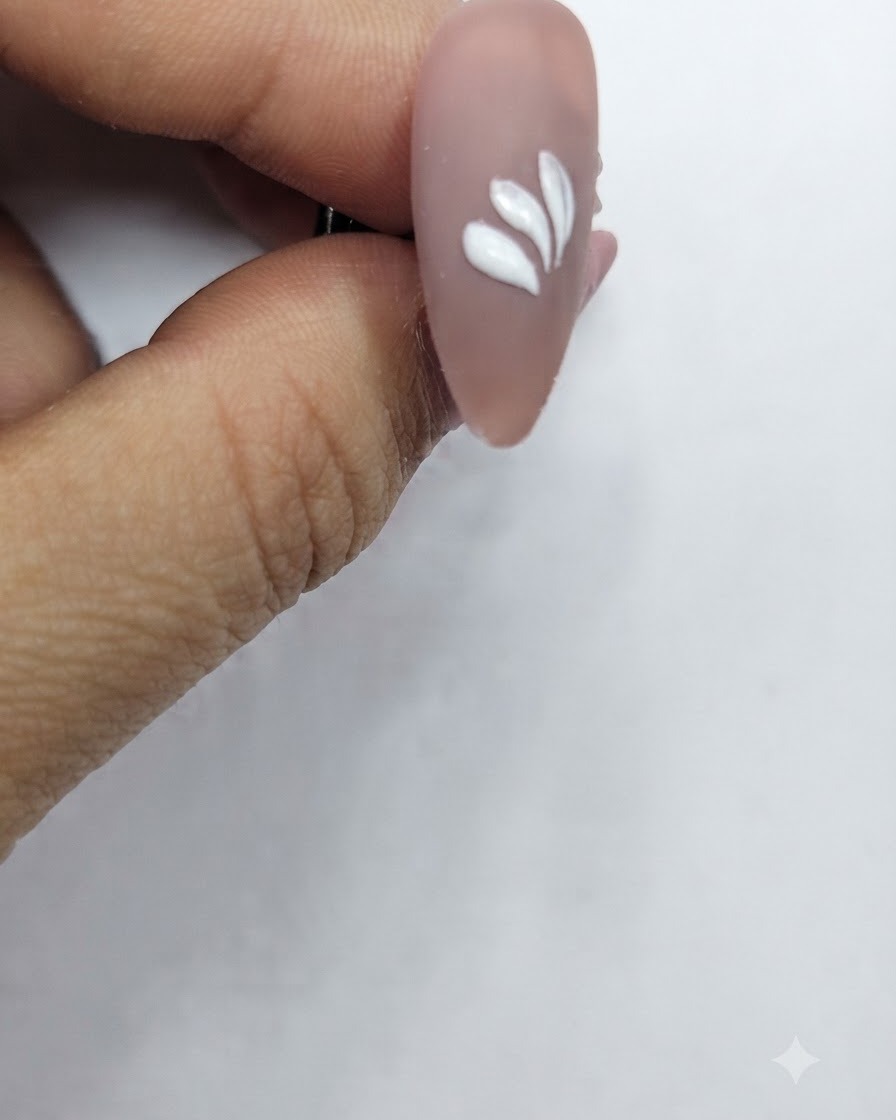
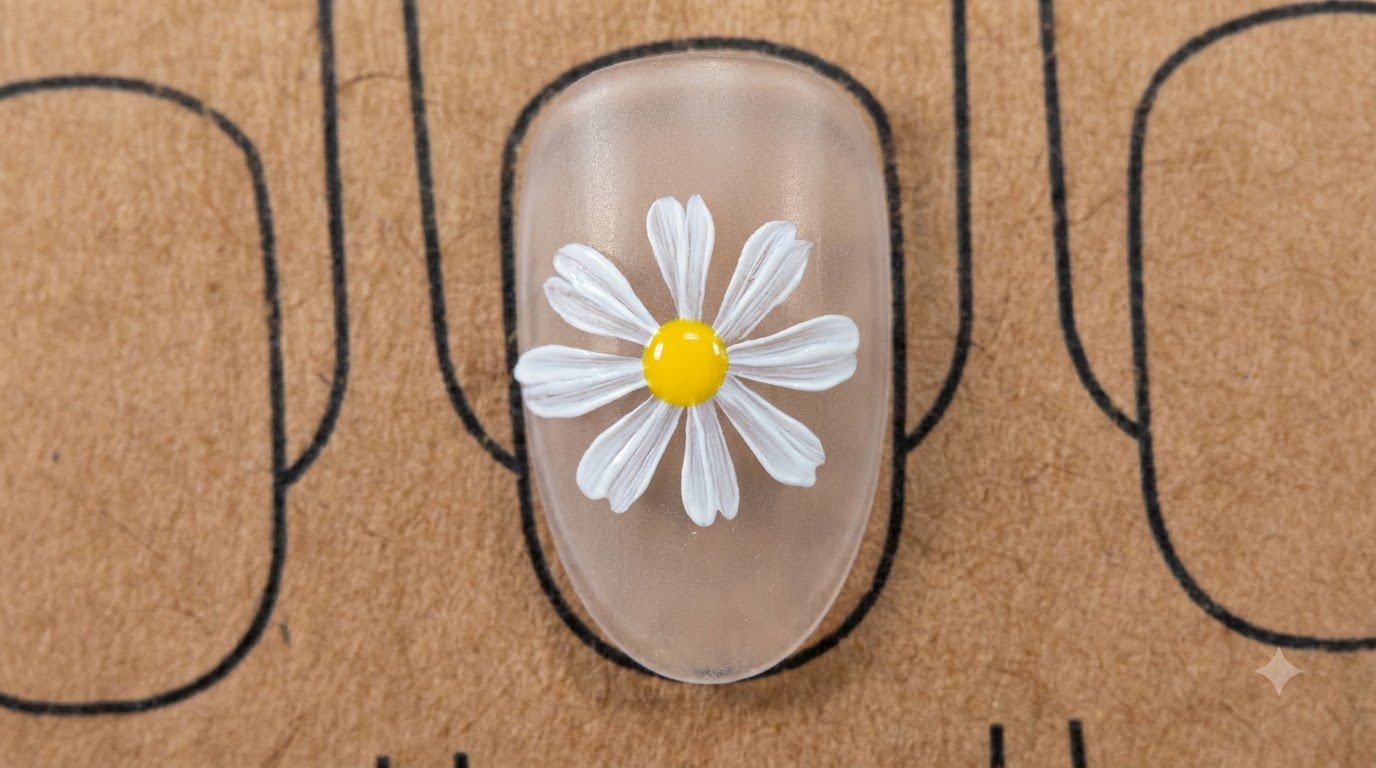
Continue painting additional white petals around the center point to gradually build out the circular shape of the daisy flower.
Tip: Vary the angle slightly with each stroke to create a natural, blooming flower appearance. - 4Complete daisy petals
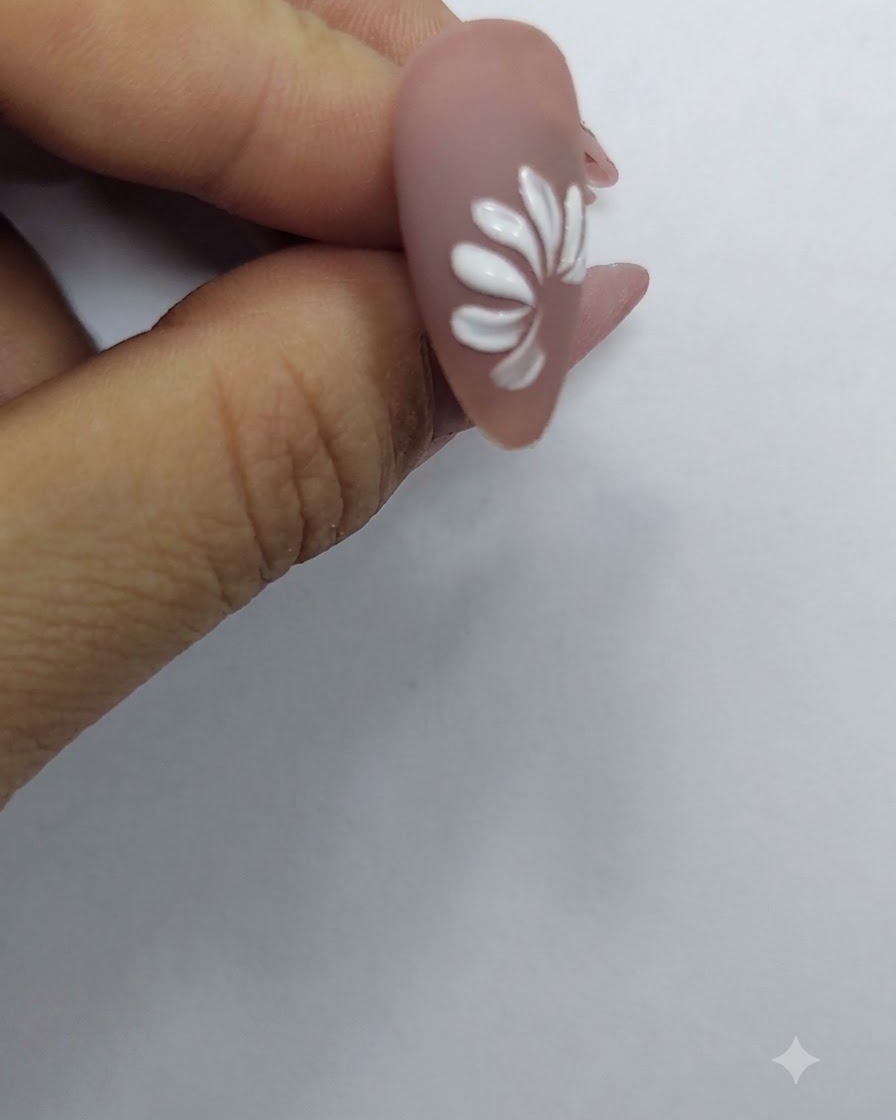
Finish painting the remaining white petals to complete the full circular arrangement of the daisy flower on the nail.
Tip: Ensure the center is left open so you have enough space to add the flower center in the next step. - 5Apply flower center
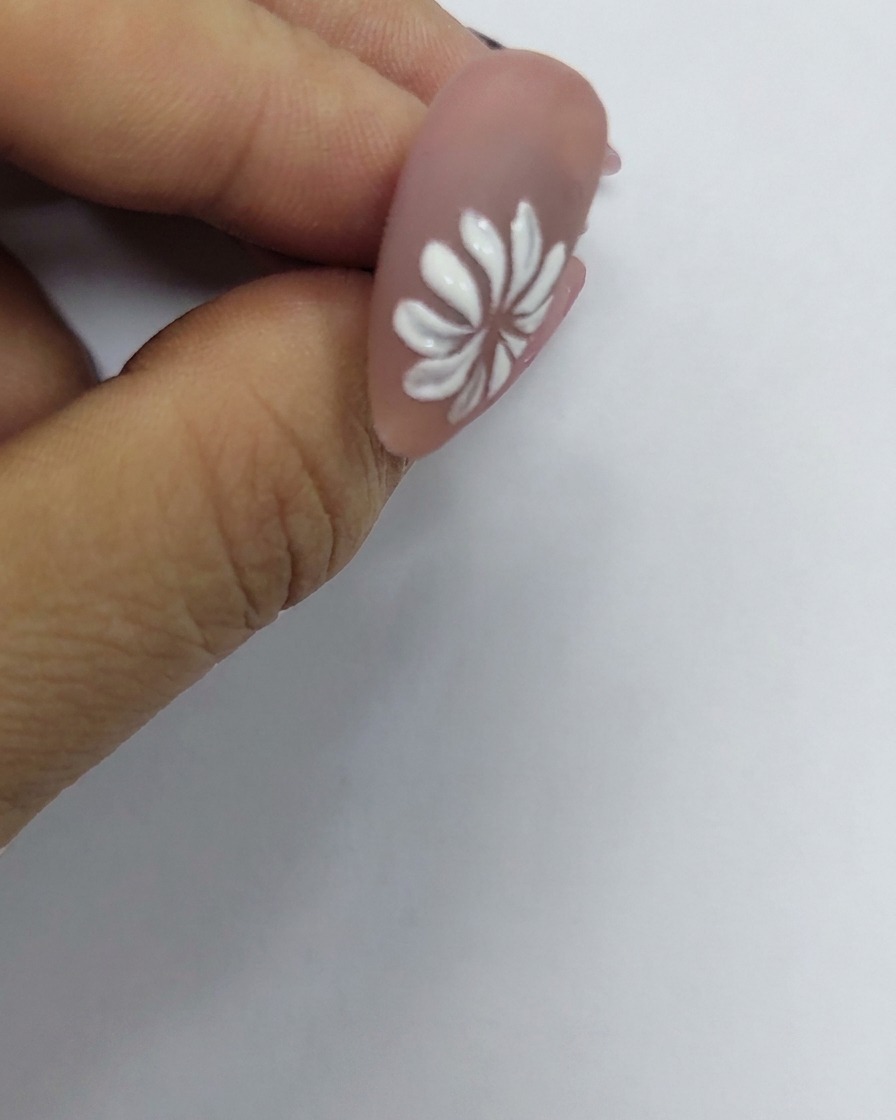
Dip your fine brush or dotting tool into yellow polish and apply a small dot right in the center of the completed white daisy petals.
Tip: A small dot creates a delicate and realistic floral center without overwhelming the petals. - 6Refine flower center
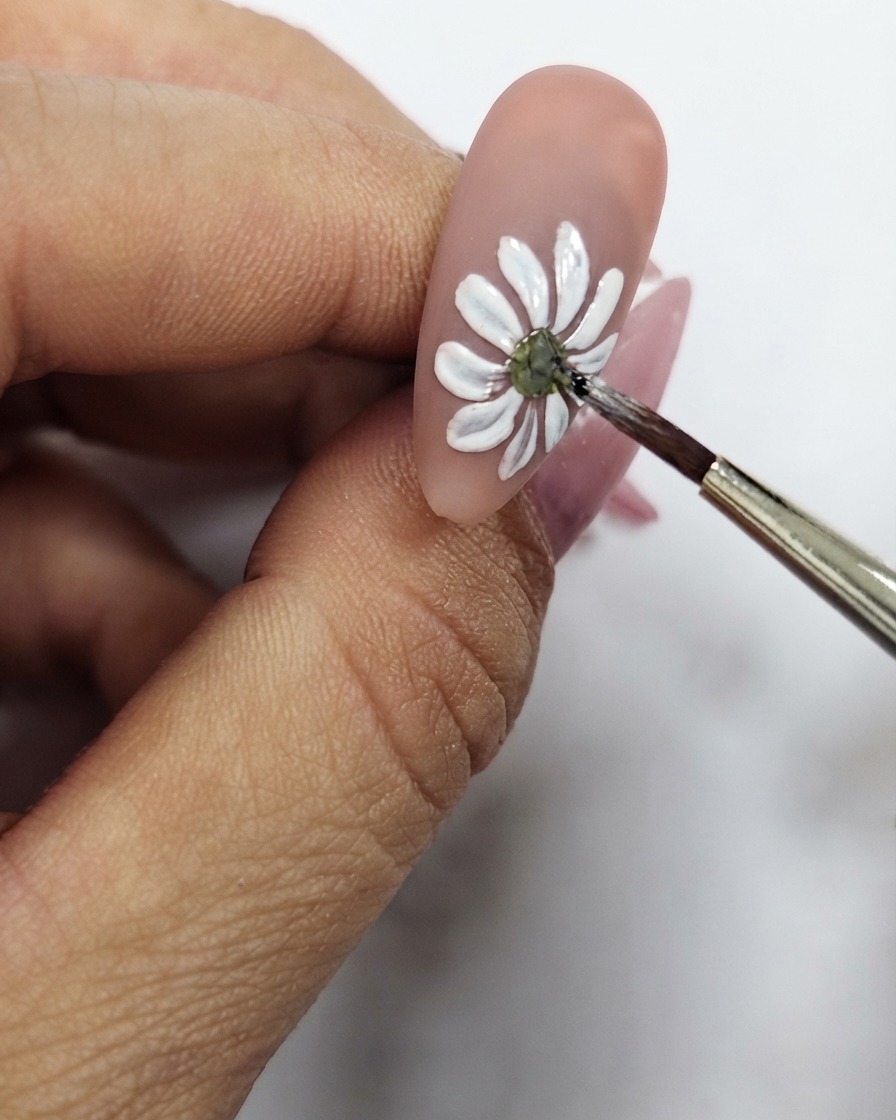
Use a tiny dotting tool or a fine liner brush to carefully refine the yellow center, ensuring clean edges and a neat finish.
Tip: Clean your brush immediately if the yellow paint begins to bleed into the surrounding white petals. - 7Pick up gold gel
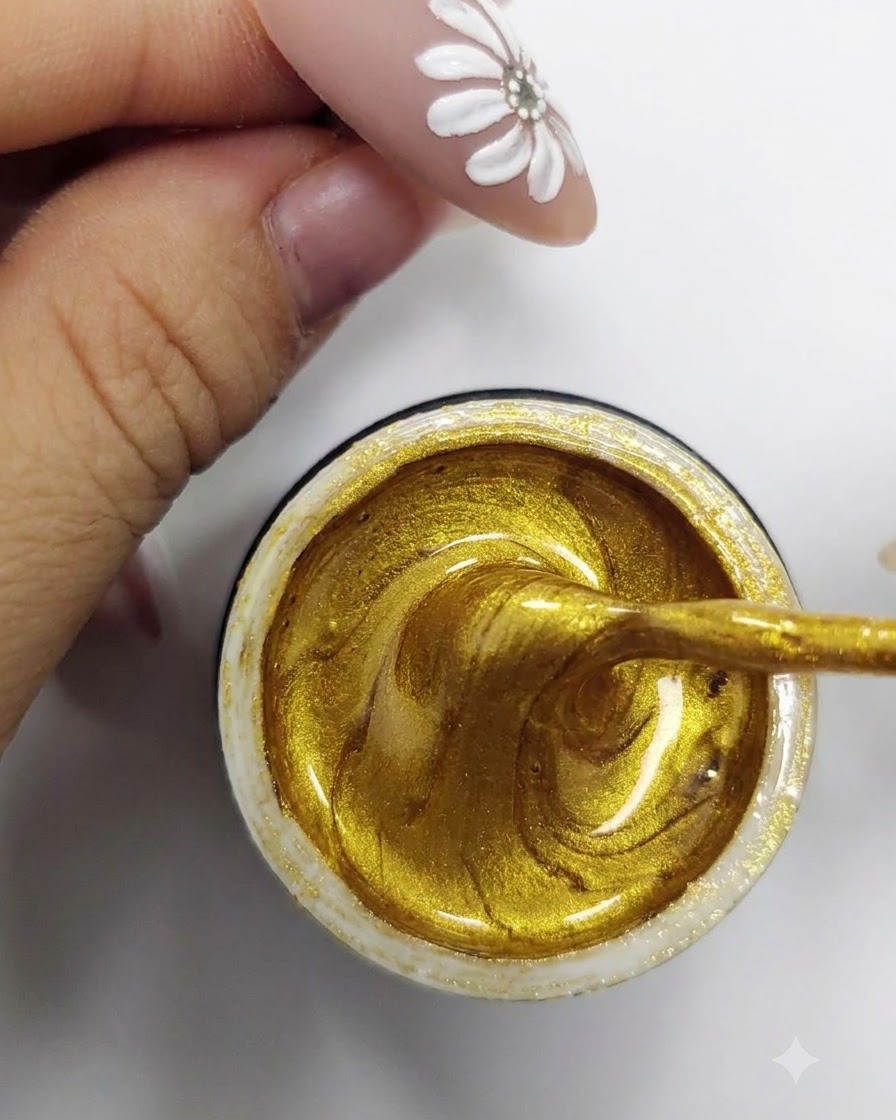
Load a fine liner brush with metallic gold gel directly from the container, ensuring an even coating on the tip of the brush.
Tip: Tap off any excess gel from the brush to prevent thick, messy lines when applying to the nail. - 8Apply gold gel lines
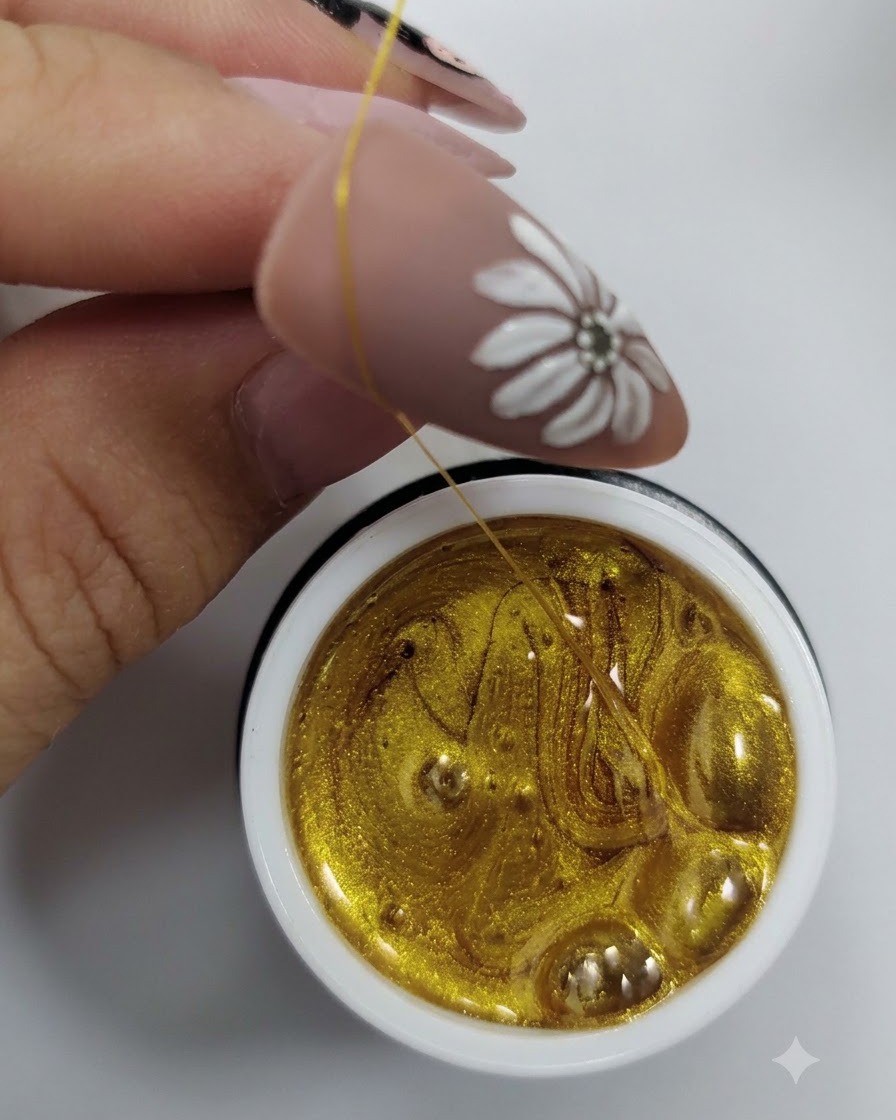
Using a fine liner brush and gold gel, carefully draw thin, sweeping lines across the upper portion of the nail above the flower design. Create a delicate, layered ribbon effect that follows the contour of the nail tip.
Tip: Keep your hand steady and use only the tip of the brush to ensure the gold lines remain thin and precise. - 9Paint text lettering
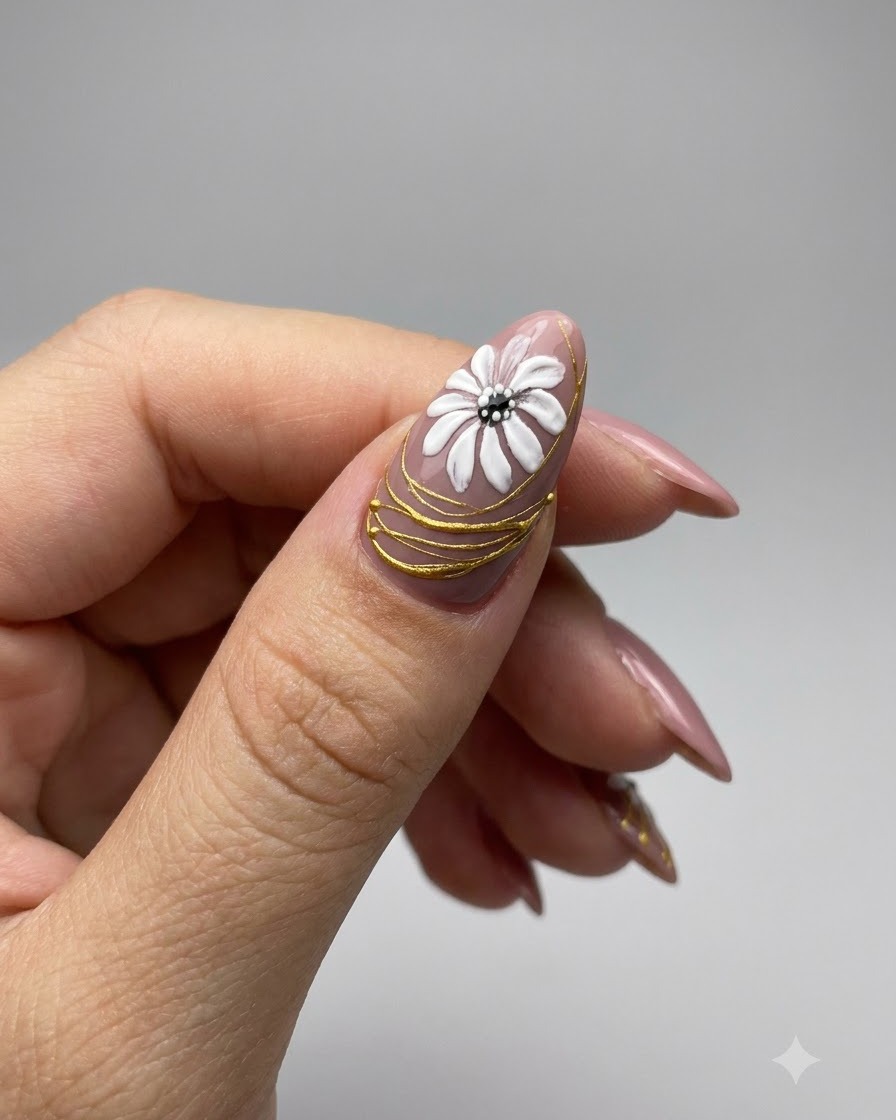
Using a fine liner brush dipped in white gel, carefully paint the word LaLa in a script font directly over the previously applied gold lines. Ensure the lettering is neat and clearly legible against the gold background.
Tip: Work with a minimal amount of product on your brush to prevent the letters from becoming too thick or bleeding into the background. - 10Apply top coat
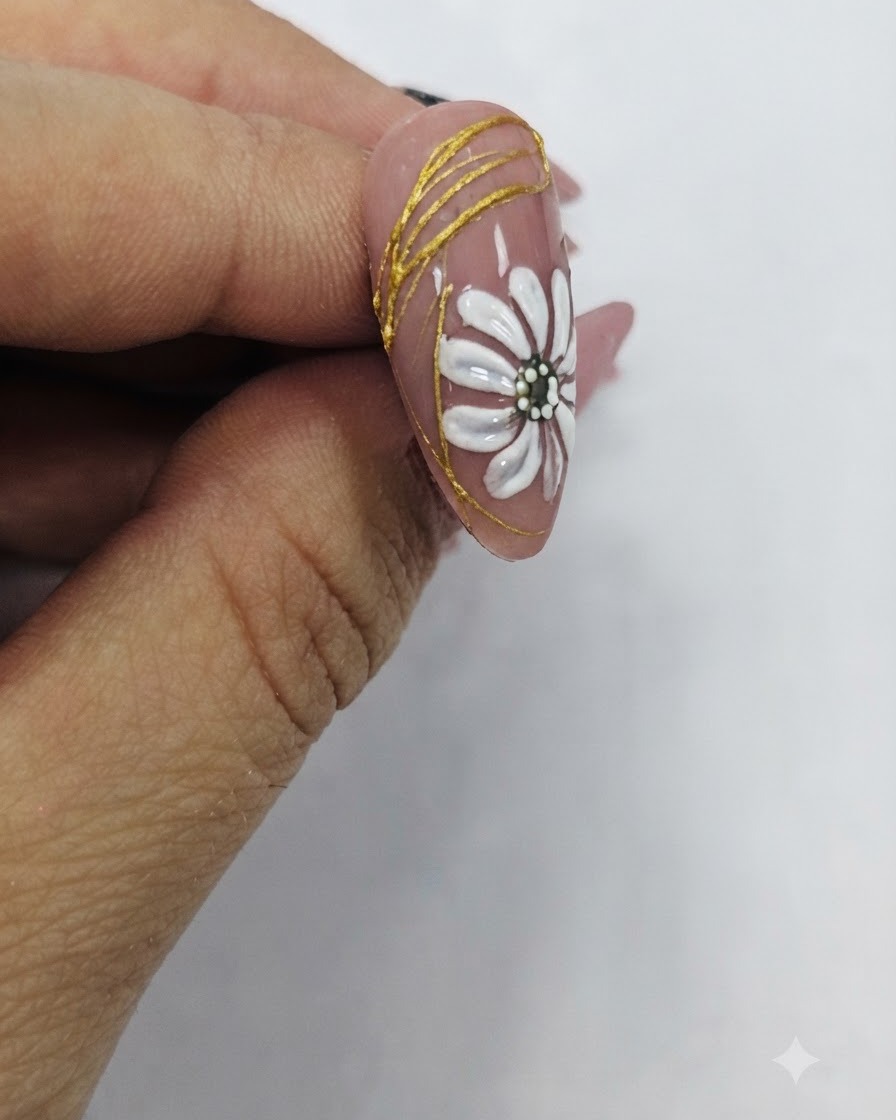
Apply an even layer of clear top coat over the entire nail design to seal and protect the art work, sealing the free edge to prevent chipping. Cure under your UV or LED lamp for the recommended time to finish the manicure.
Tip: Be sure to cap the free edge with top coat to prevent the nail art from lifting or peeling off prematurely.