Delicate Daisy Floral Painting Nails — Step-by-Step Tutorial
Create charming watercolor daisy nail art using a blooming gel technique, fine liner brushes, and milk white gradients for an elegant spring finish.
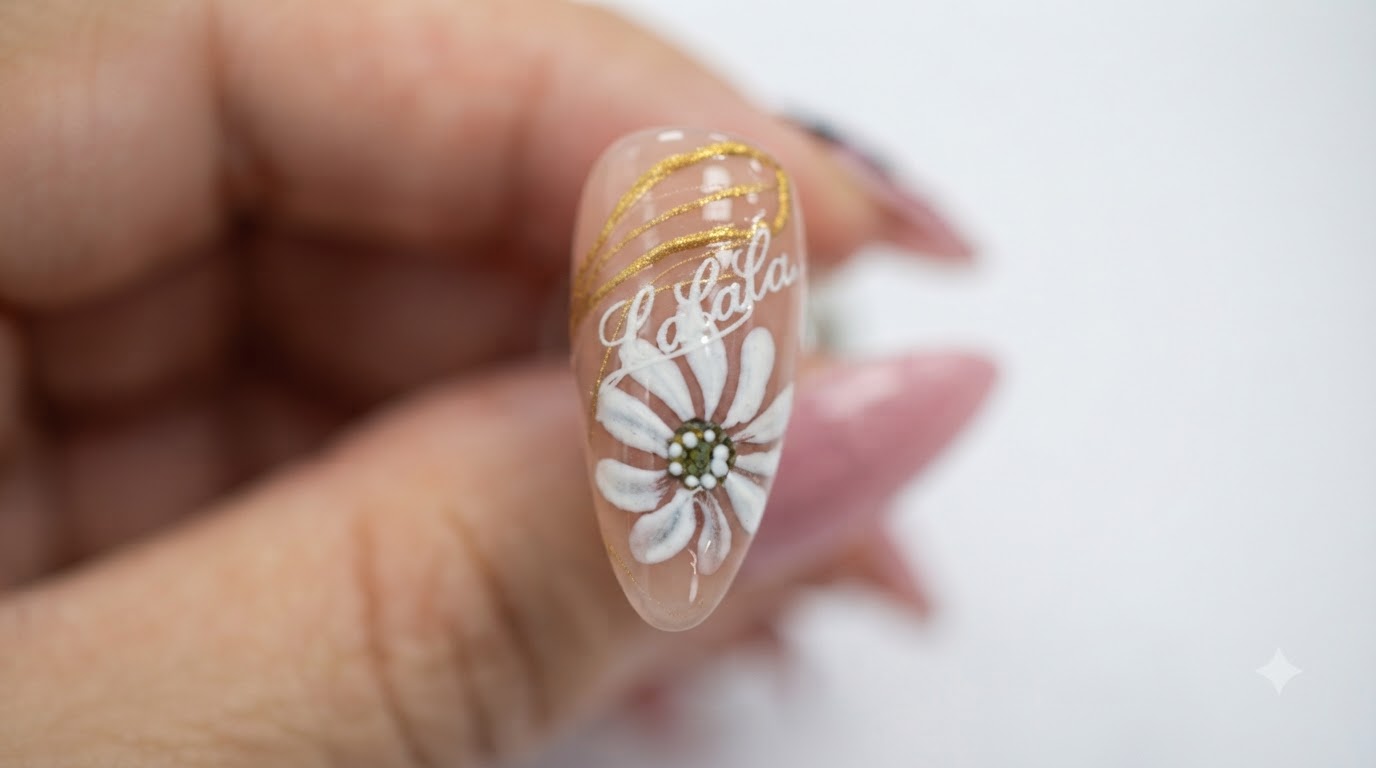
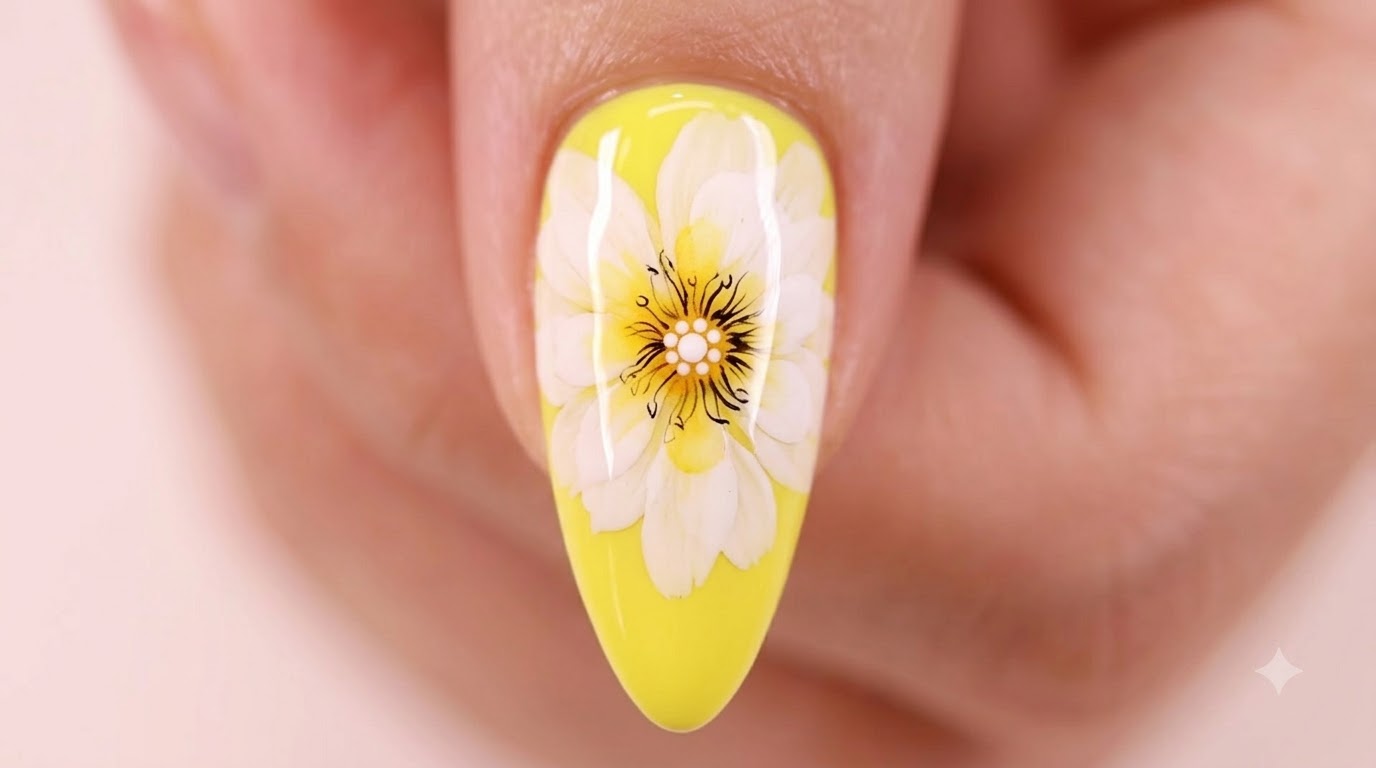
Floral nail art continues to be a timeless favorite, combining soft gradient bases with intricate hand-painted details. This tutorial guides you through using blooming gel and fine white gel lines to achieve effortless watercolor daisy flowers with textured glitter centers.
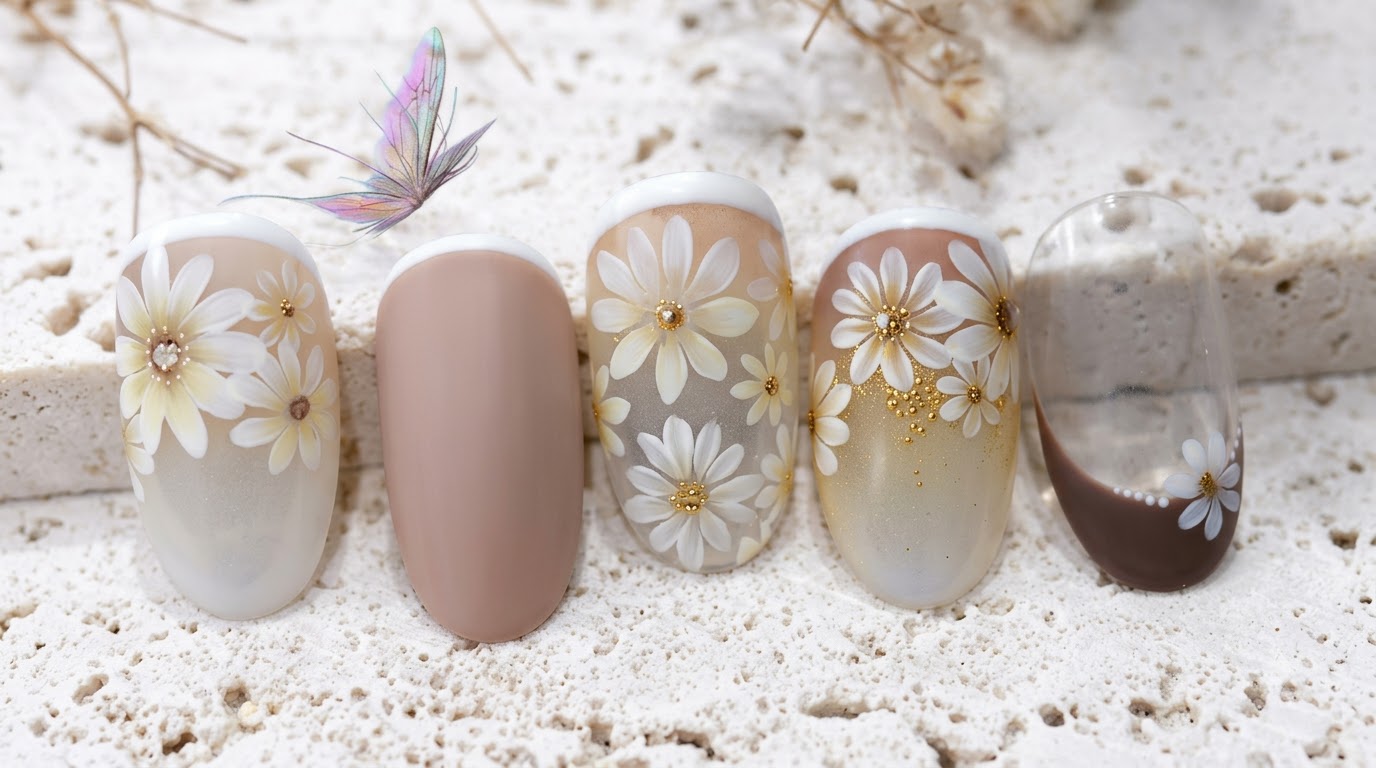
Steps
- 1Apply milky white gel polish
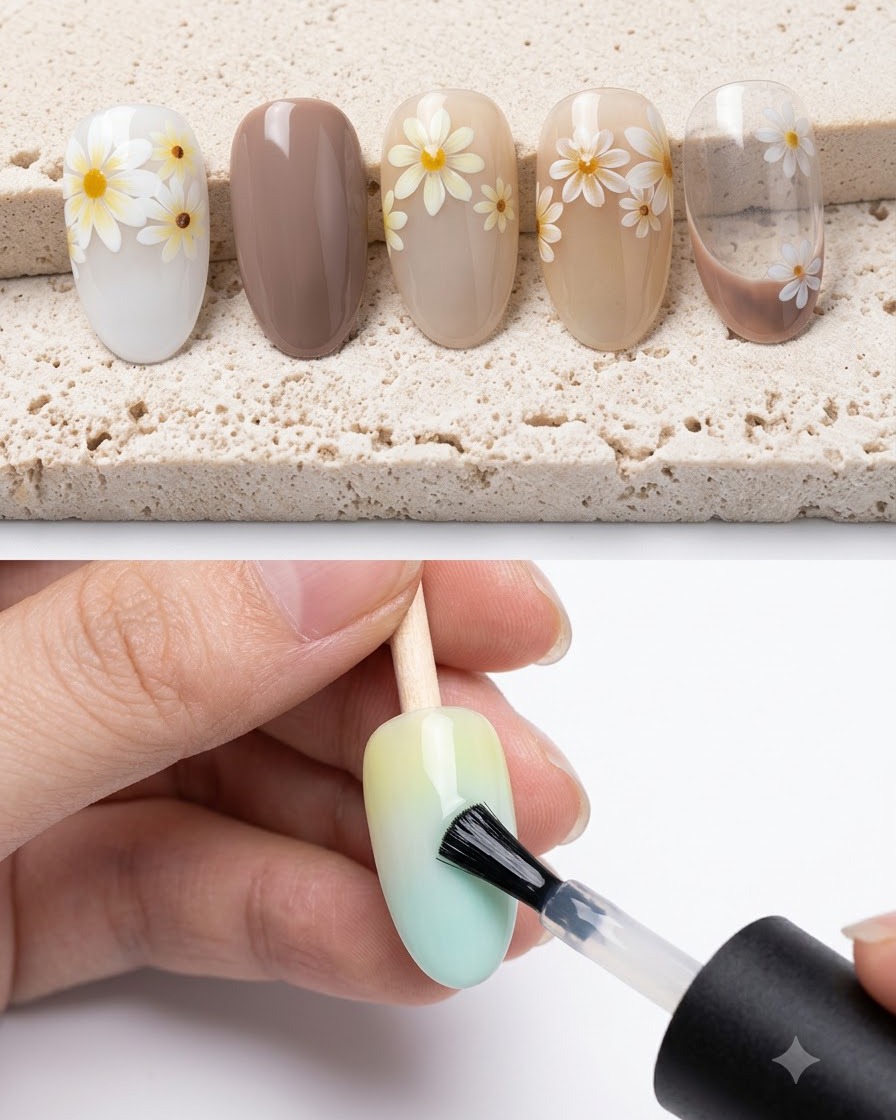
Take a brush and apply a smooth layer of milky white gel polish onto the nail tip area. Ensure the application is even to form a solid base for the upcoming watercolor blooming and floral design.
Tip: Keep the gel layer thin and controlled to prevent pooling around the edges. - 2Cure gel polish
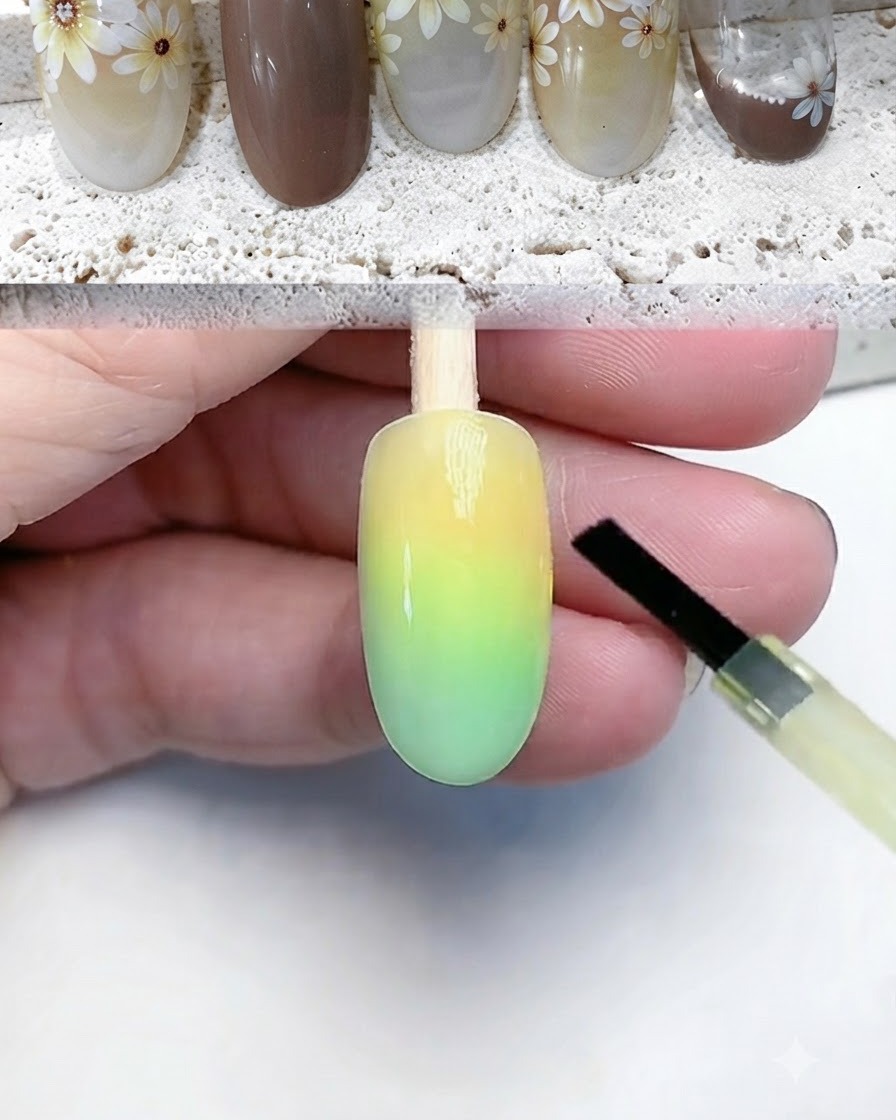
Place the nail tip under a UV or LED nail lamp to cure the milky white gel polish completely. Follow your lamps standard curing duration to ensure the base layer is fully hardened before moving on.
Tip: Proper curing prevents wrinkling and ensures a stable surface for subsequent layers. - 3Apply matte top coat
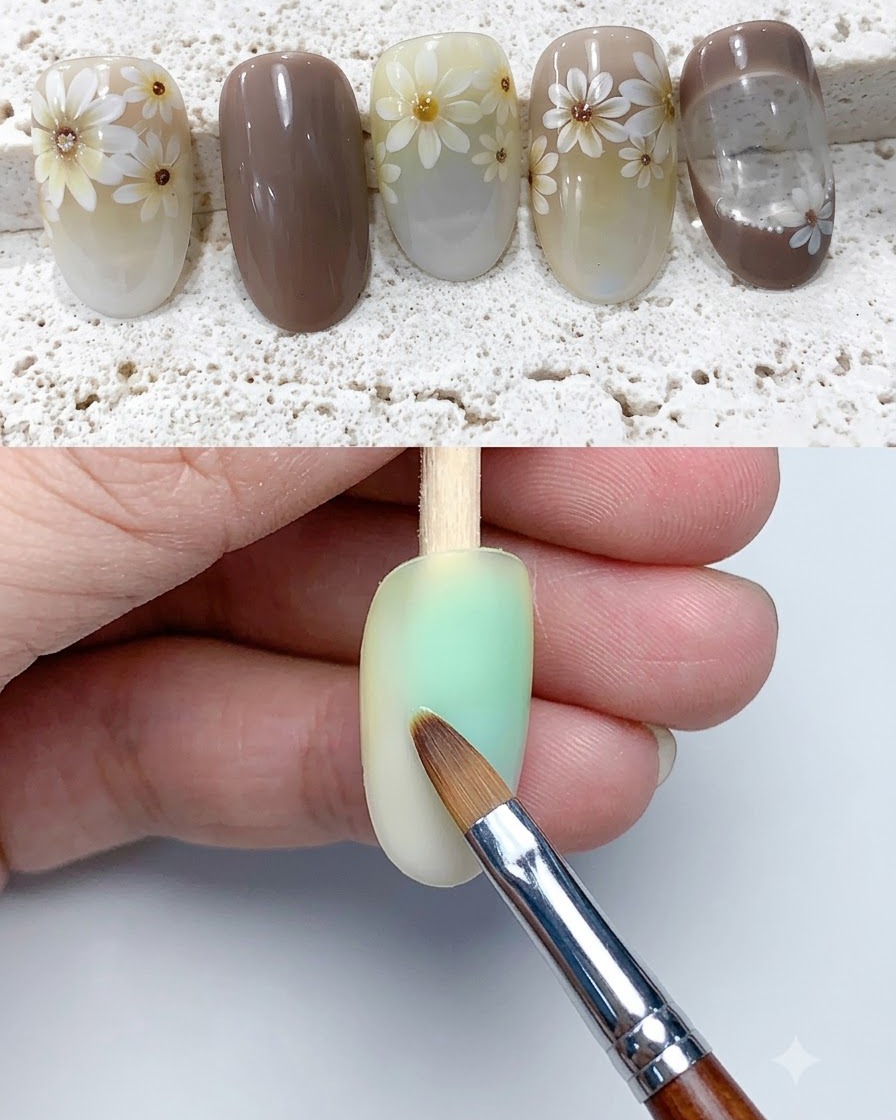
Using a brush, apply a layer of matte top coat evenly over the cured nail surface. The matte texture provides the necessary grip and texture for the wet-on-wet blooming effect.
Tip: Ensure the matte top coat covers the entire nail evenly without missing spots. - 4Apply blooming liquid or gel
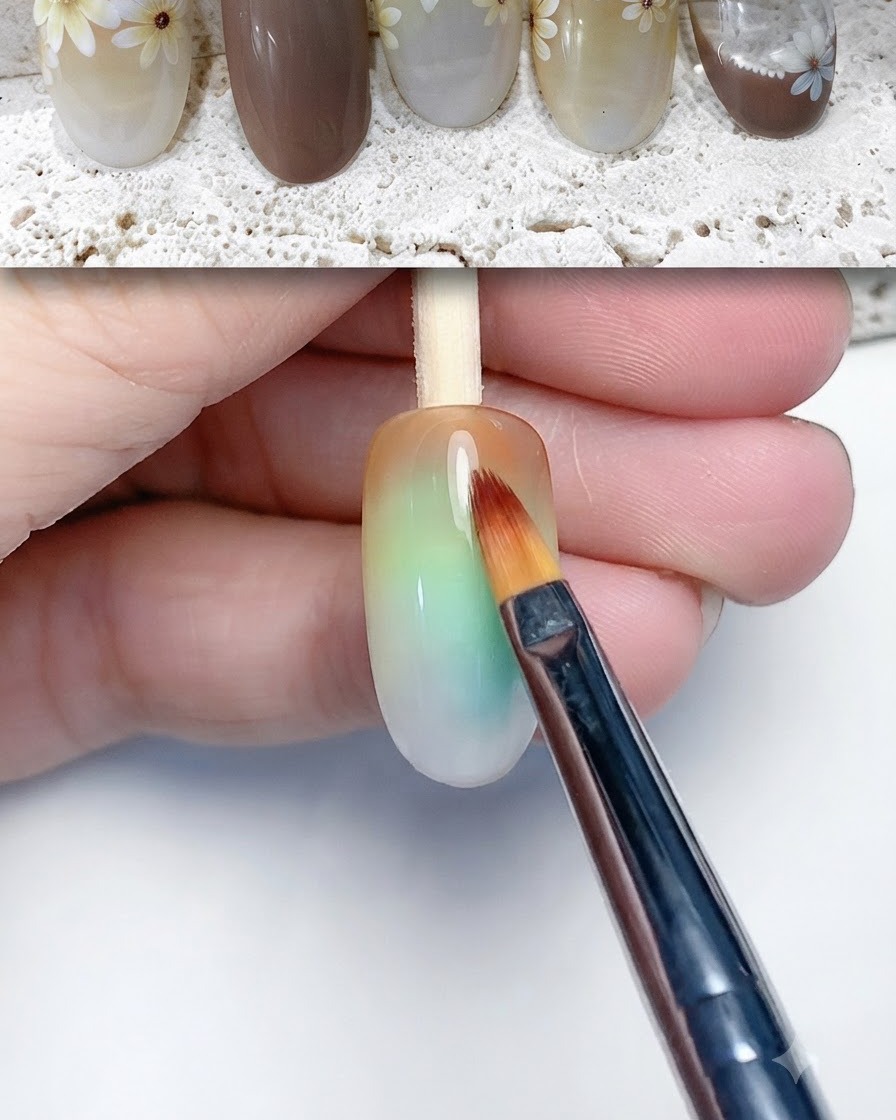
Spread a layer of blooming liquid or gel over the nail surface to prepare for the wet-on-wet watercolor blooming effect. This medium allows colors to diffuse softly and create organic watercolor patterns.
Tip: Apply an even amount of blooming liquid so the subsequent flower details spread smoothly. - 5Draw floral design outline
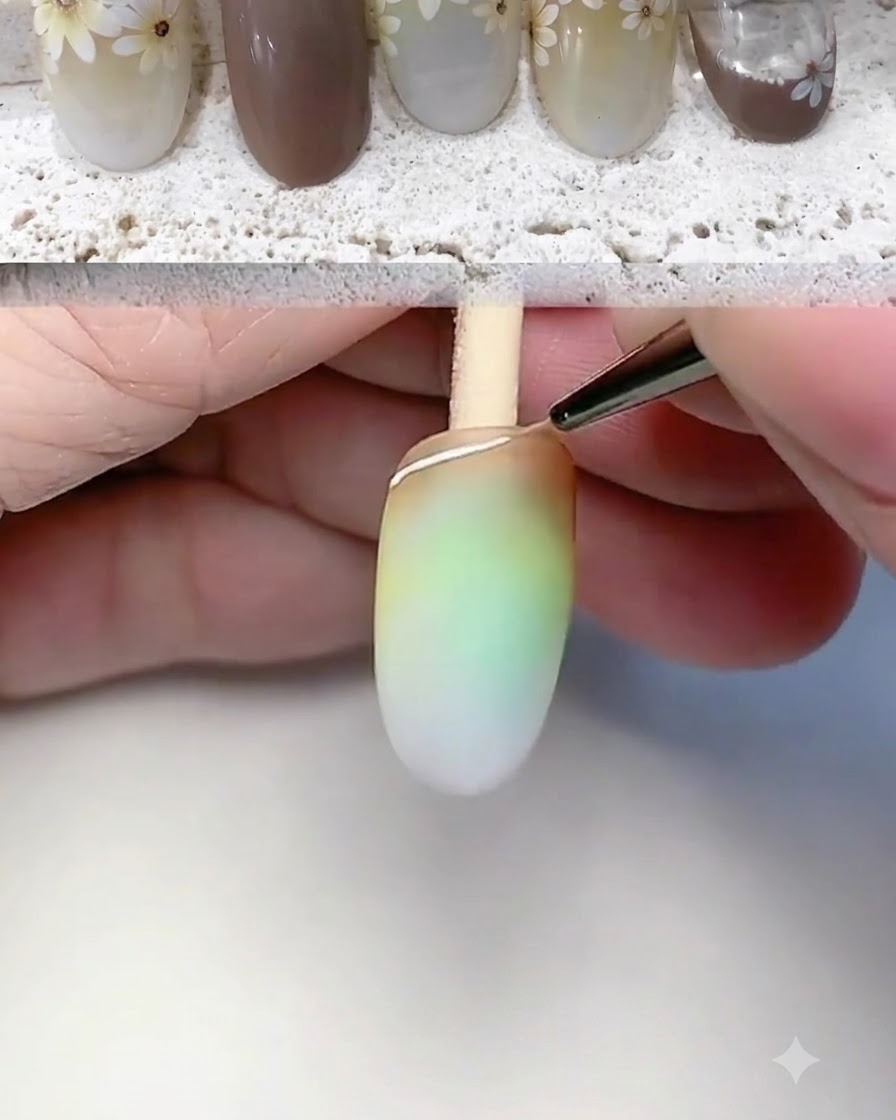
Take a fine liner brush dipped in white gel and carefully draw the outline and base line for the floral design along the tip of the nail. This sets the framework for the daisy petals.
Tip: Keep a light hand with the liner brush to achieve clean, delicate outlines. - 6Paint daisy petals
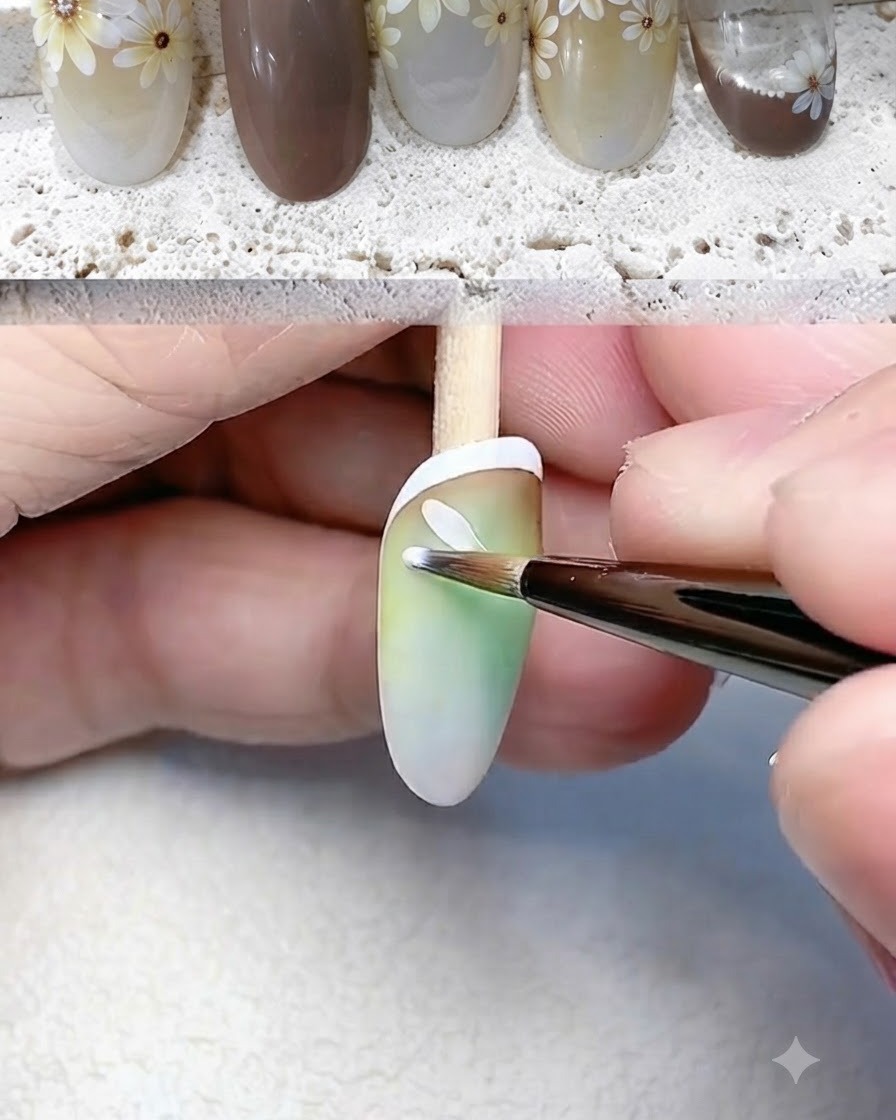
Using a fine liner brush with white gel, paint individual petals extending outward to form the daisy flowers. Allow the blooming effect to softly soften the edges of the petals.
Tip: Stroke outward from the center to create natural-looking tapered petal shapes. - 7Refine and fill daisy petals
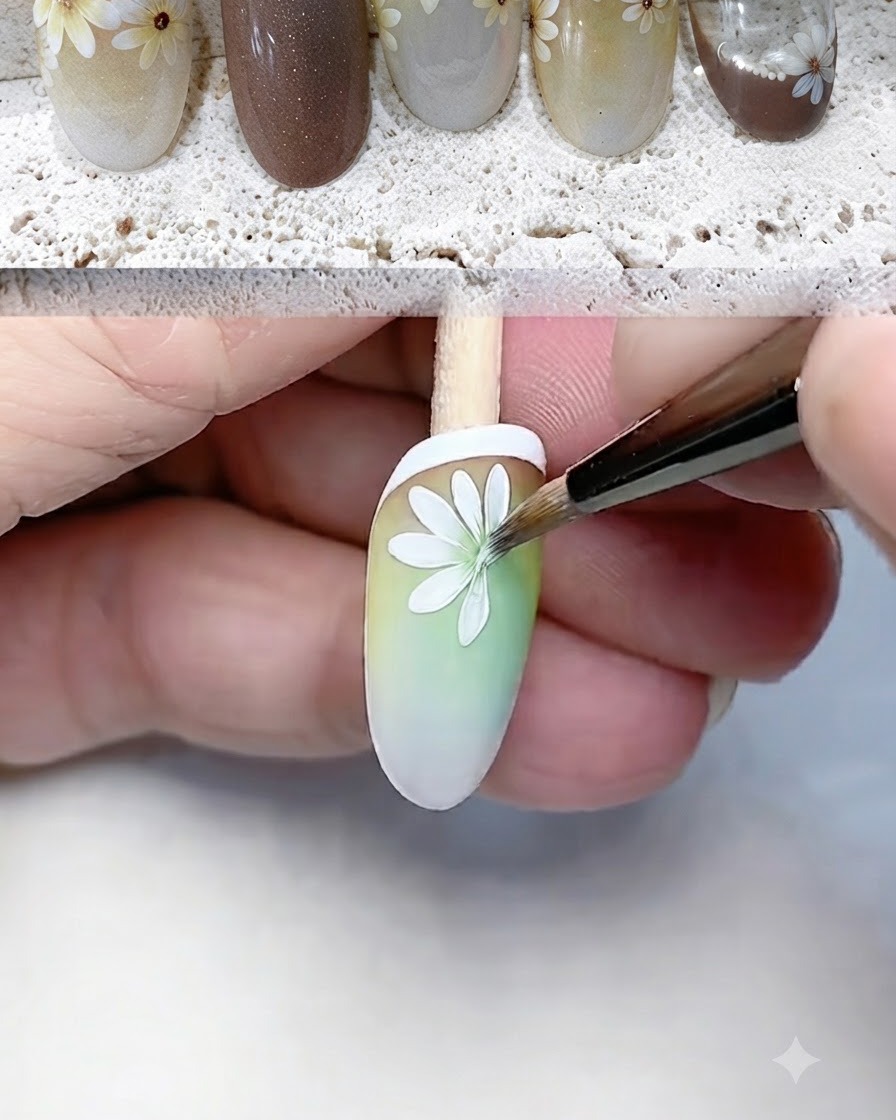
Using a fine liner brush with white gel, carefully outline and fill in the detailed white petals of the daisy flowers across the nail tip. Take your time to ensure the lines are clean and the petal structure is well-defined before curing.
Tip: Keep your hand steady by anchoring your pinky finger against your other hand for better control when painting fine petals. - 8Apply matte top coat over flowers
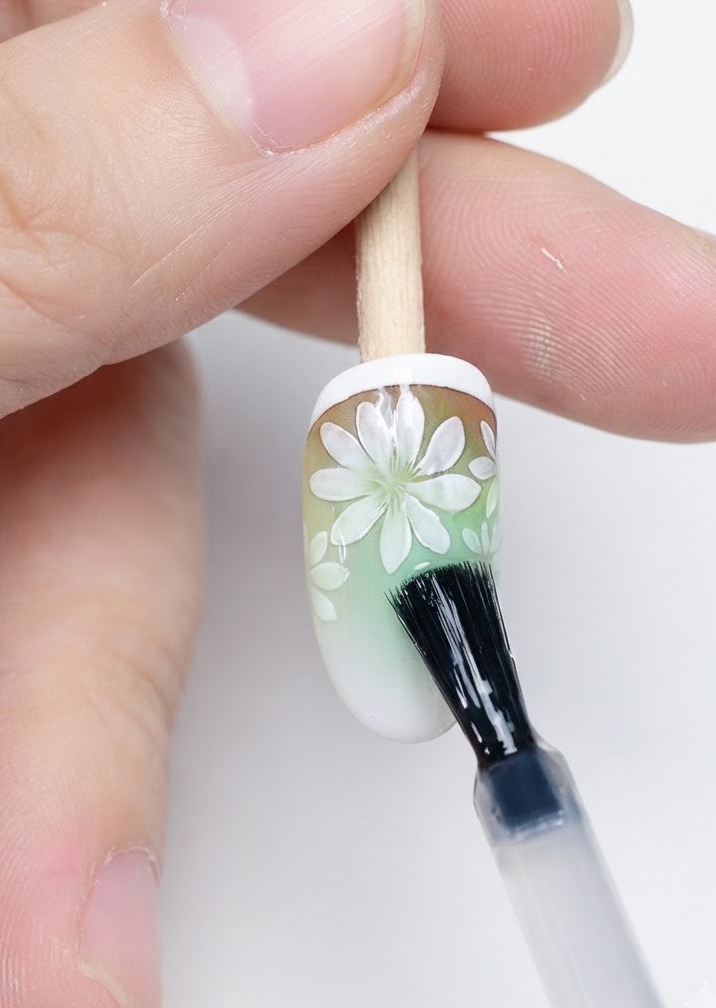
Apply an even layer of matte top coat directly over the painted daisy flowers to seal the design and create a velvety, non-shiny finish. Make sure to cover all painted areas completely before curing under the lamp.
Tip: Ensure the painted design is fully dry or flashed before applying top coat to prevent smudging. - 9Add glitter and dots to flower centers
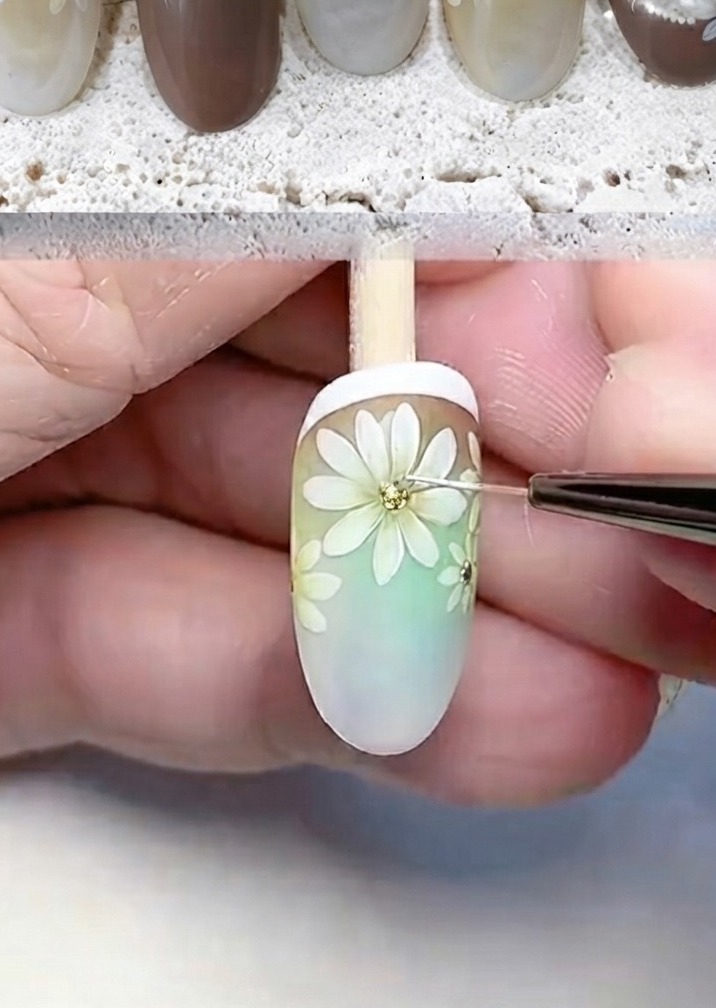
Using a detailing tool or fine brush, add a touch of sparkling glitter and fine white dots to the center of each daisy flower. This final embellishment adds dimension and completes the intricate floral nail art look.
Tip: Use a small dotting tool for precise placement of the center dots.