Luxury Quilted Diamond Lattice
French Gold Glitter Nails — Step-by-Step Tutorial
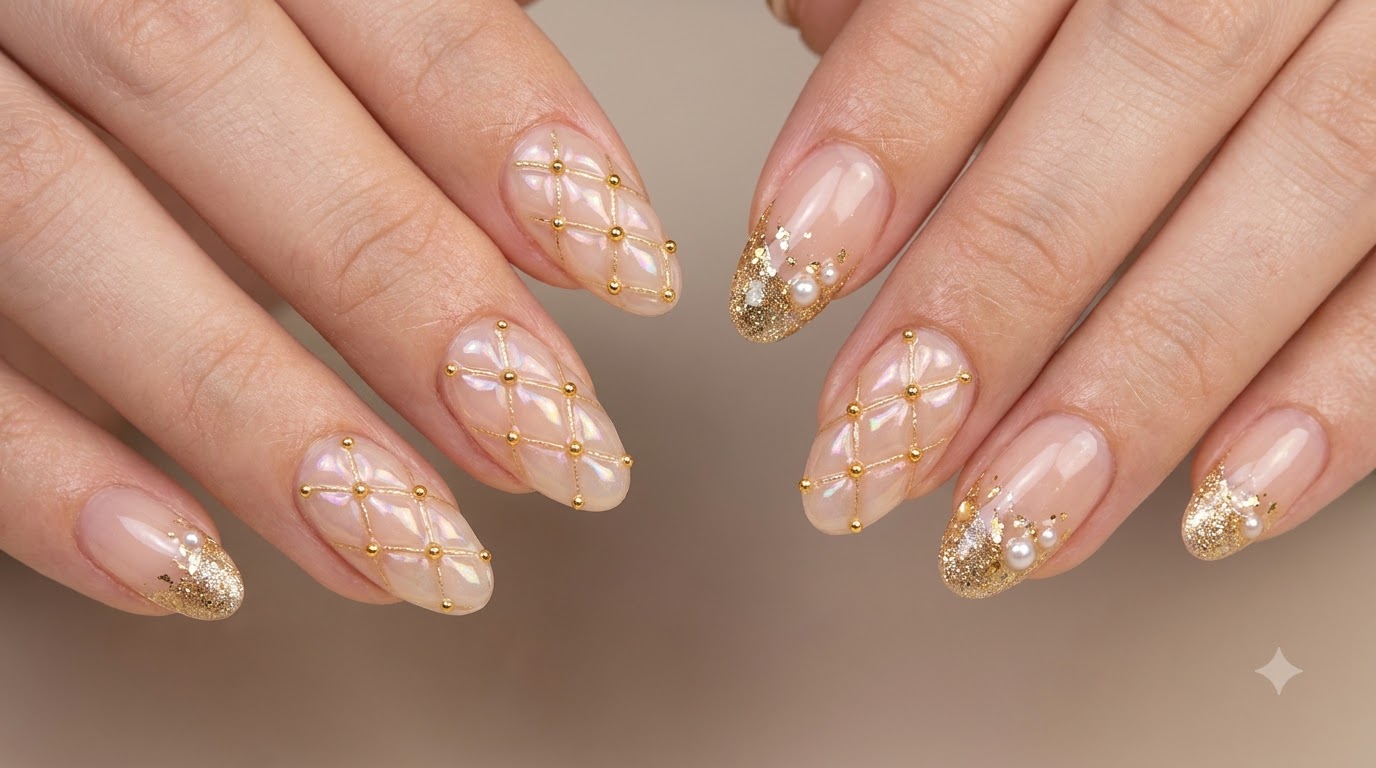
Discover how to create luxury quilted diamond lattice nail art paired with french gold glitter tips, featuring 3D soft candy gel and elegant pearl details.
This sophisticated nail look combines haute couture quilted textures with shimmering french gold tips and delicate accents. By utilizing soft candy gel and creative household tools like hair strands for grid lines, you can achieve professional runway-ready 3D nail art right at home.
Steps
- 1Apply nude color base gel
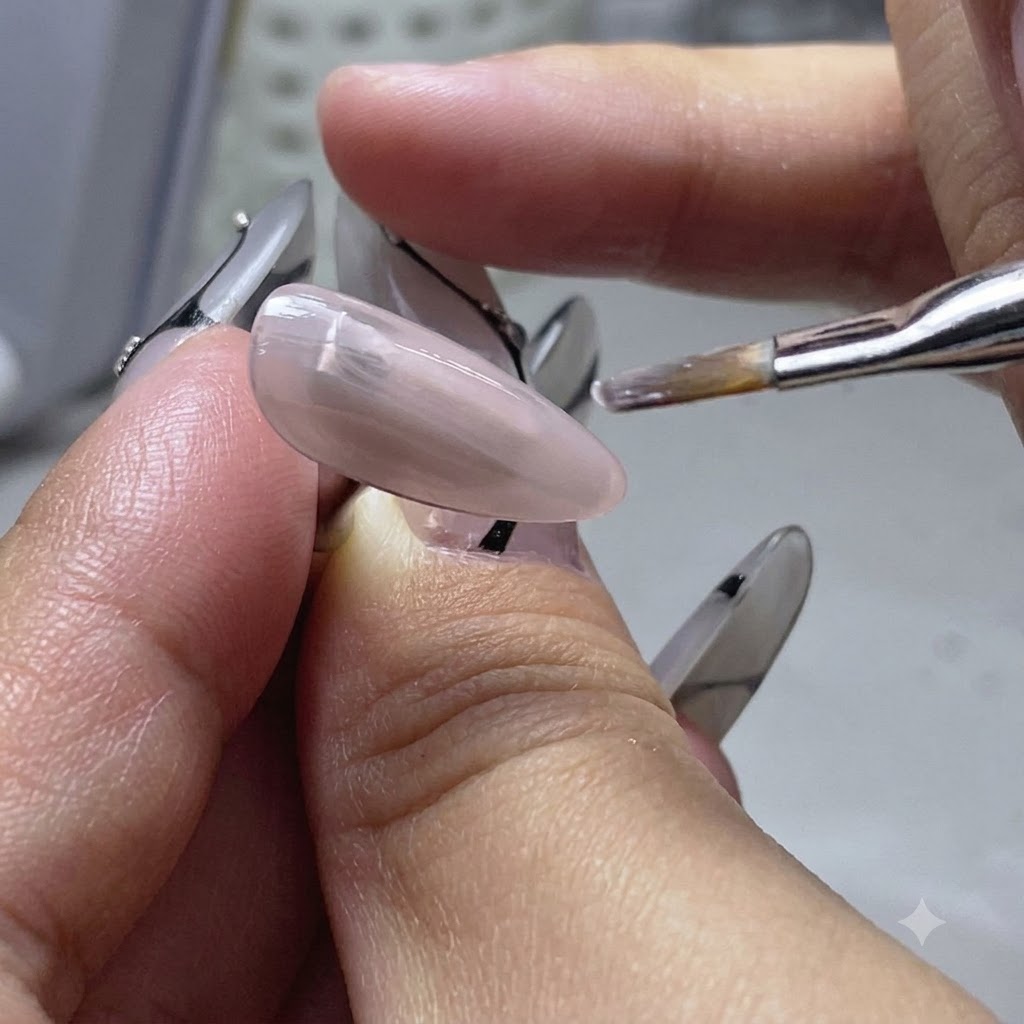
Using a flat brush, apply an even layer of nude color base gel onto the two practice fingers to create the foundational color. Ensure the application is smooth and covers the nail plate uniformly before curing under the lamp.
Tip: Apply in thin, controlled strokes to prevent pooling around the edges and ensure an even cure. - 2Wipe the sticky inhibition layer
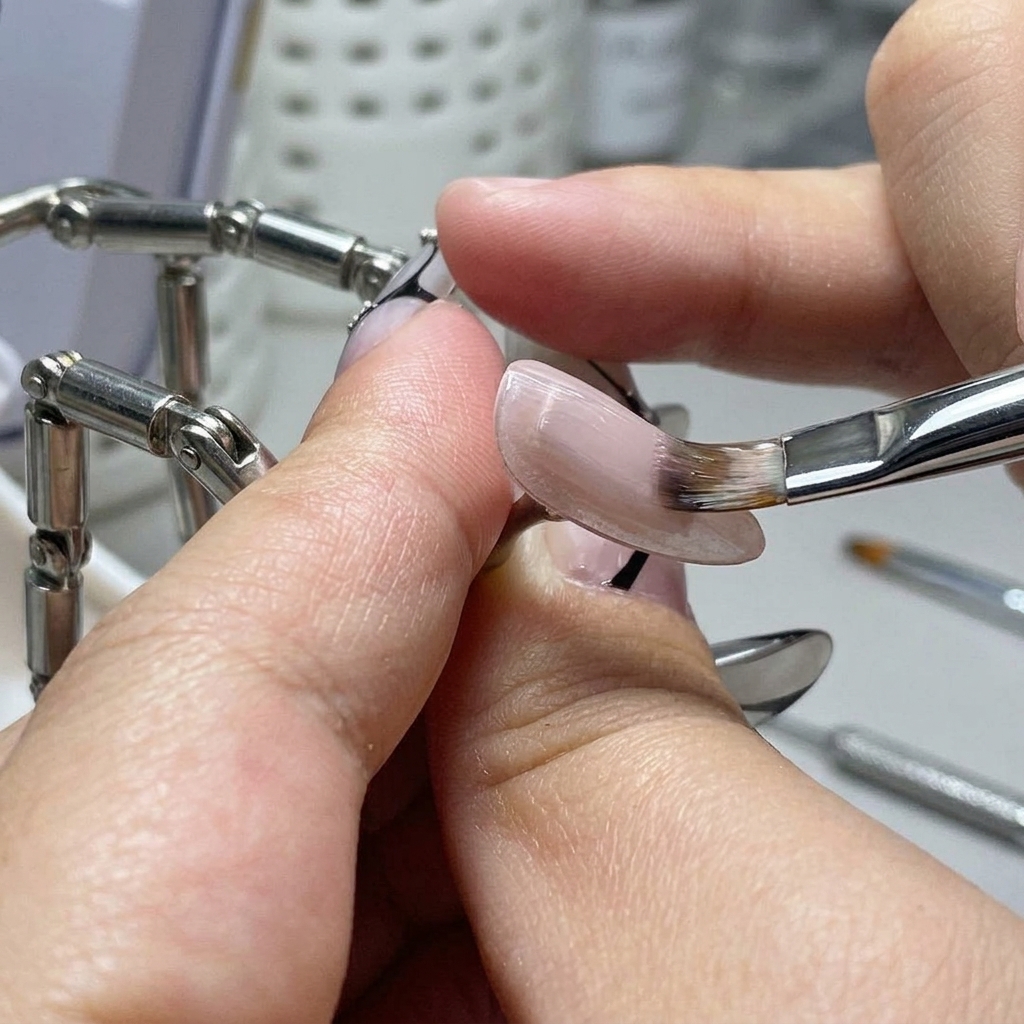
After curing the base gel under the lamp, take an alcohol wipe and gently clean the nail surface to completely remove any sticky inhibition residue.
Tip: Make sure the inhibition layer is completely removed so that subsequent layers adhere properly without lifting. - 3Clean sponge dust with tape
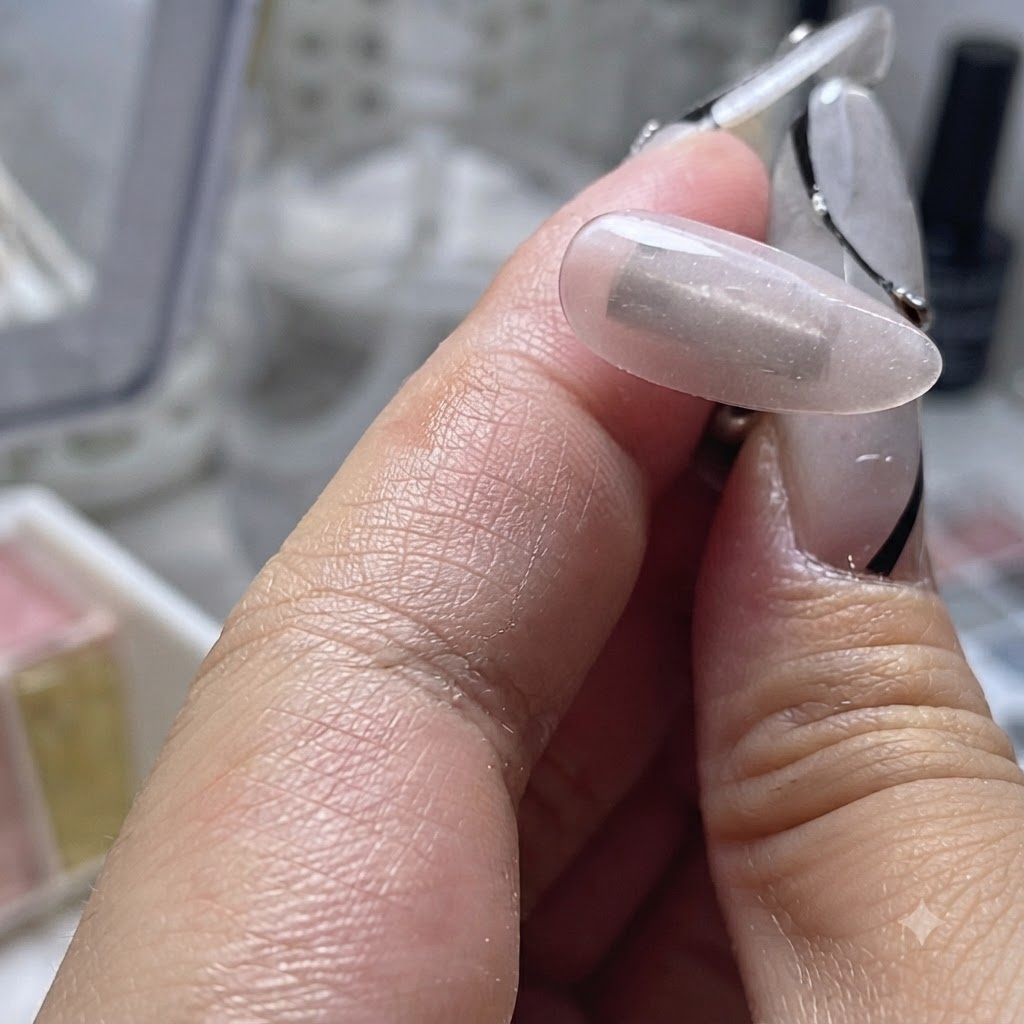
Take a piece of transparent tape and use it to pick up and clean away any stray dust particles or debris left on the sponge surface.
Tip: Removing dust particles ensures a smooth sponge dabbing application without unwanted debris trapped in the gel. - 4Apply brown and white color gels
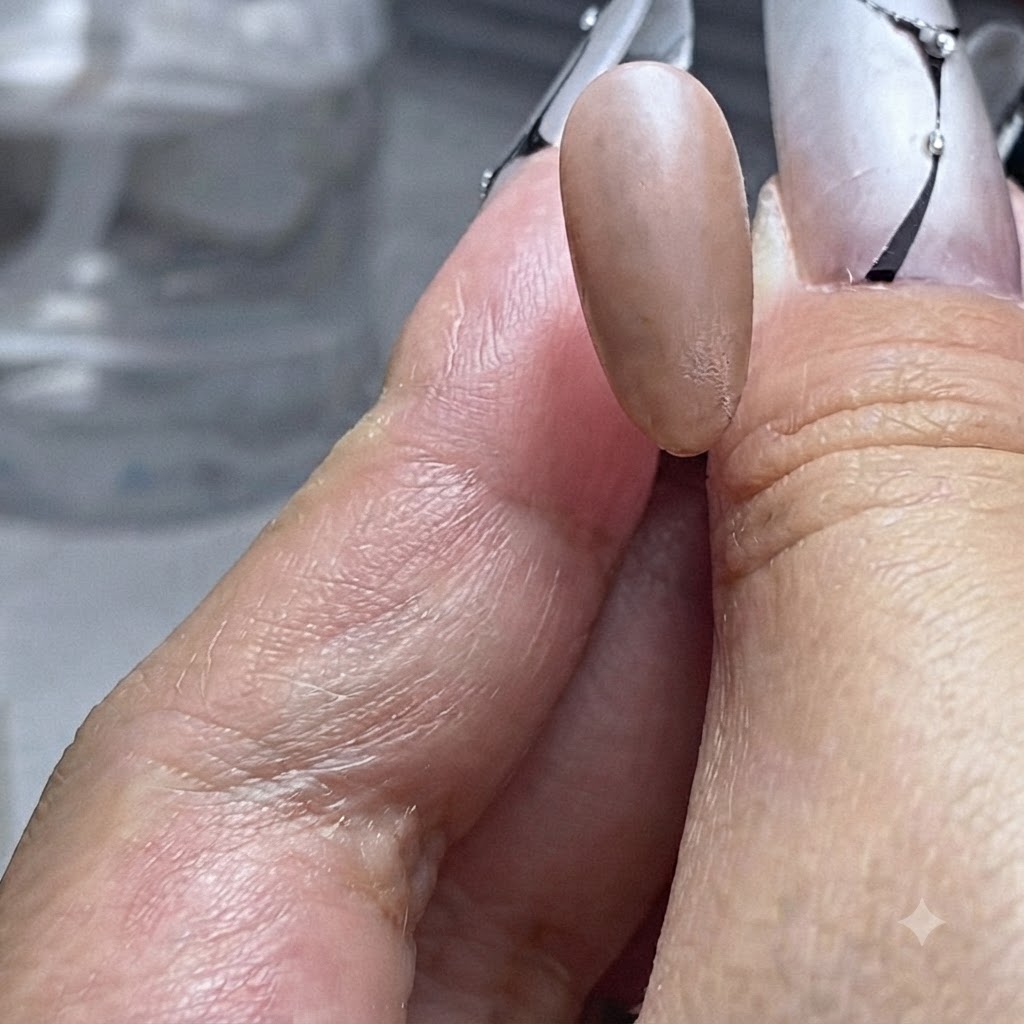
Using a sponge dabber, apply brown color gel to one finger and white color gel to another finger to establish the respective background color layers.
Tip: Dab lightly to achieve an even texture without heavy buildup. - 5Cure the color gel
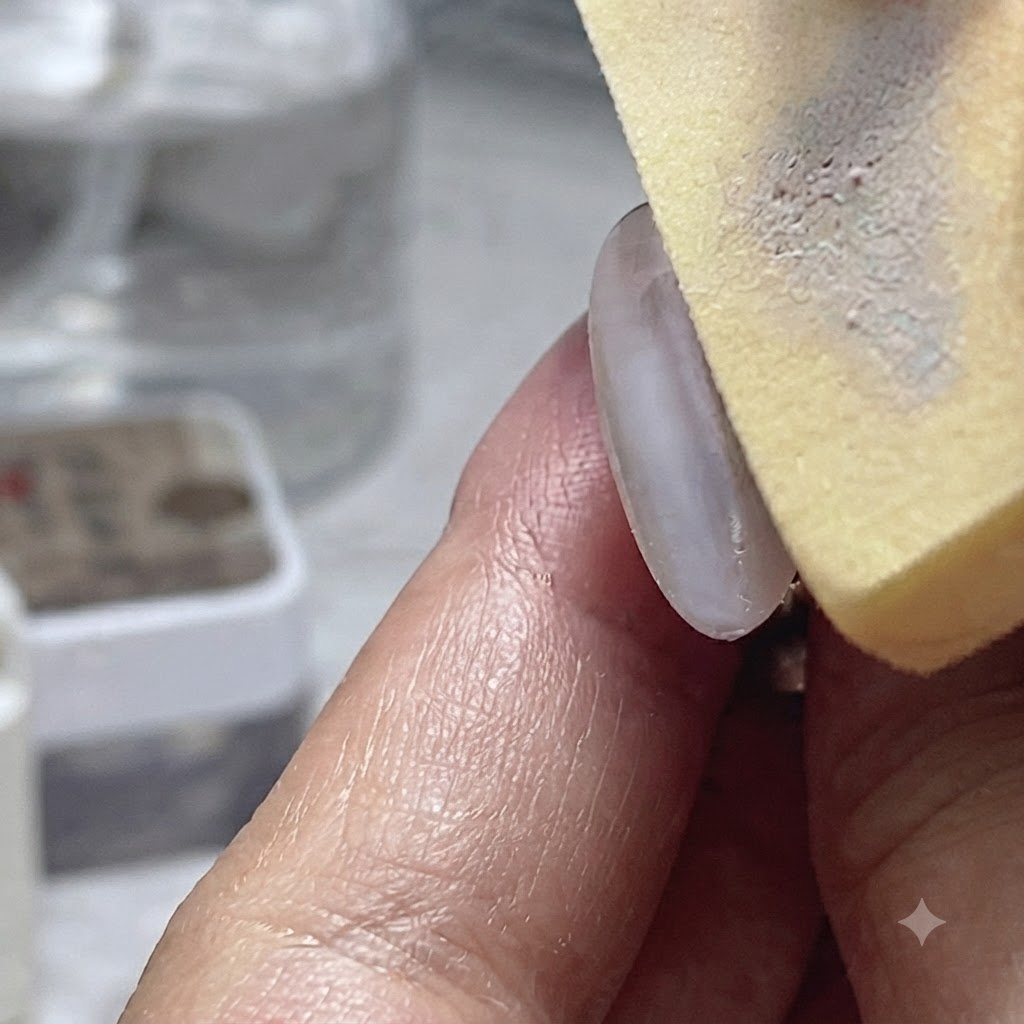
Place the fingers under the UV/LED lamp to fully cure the newly applied brown and white color gel layers.
Tip: Check that the lamp timer runs for the full recommended duration to ensure complete polymerization. - 6File and buff nail sides
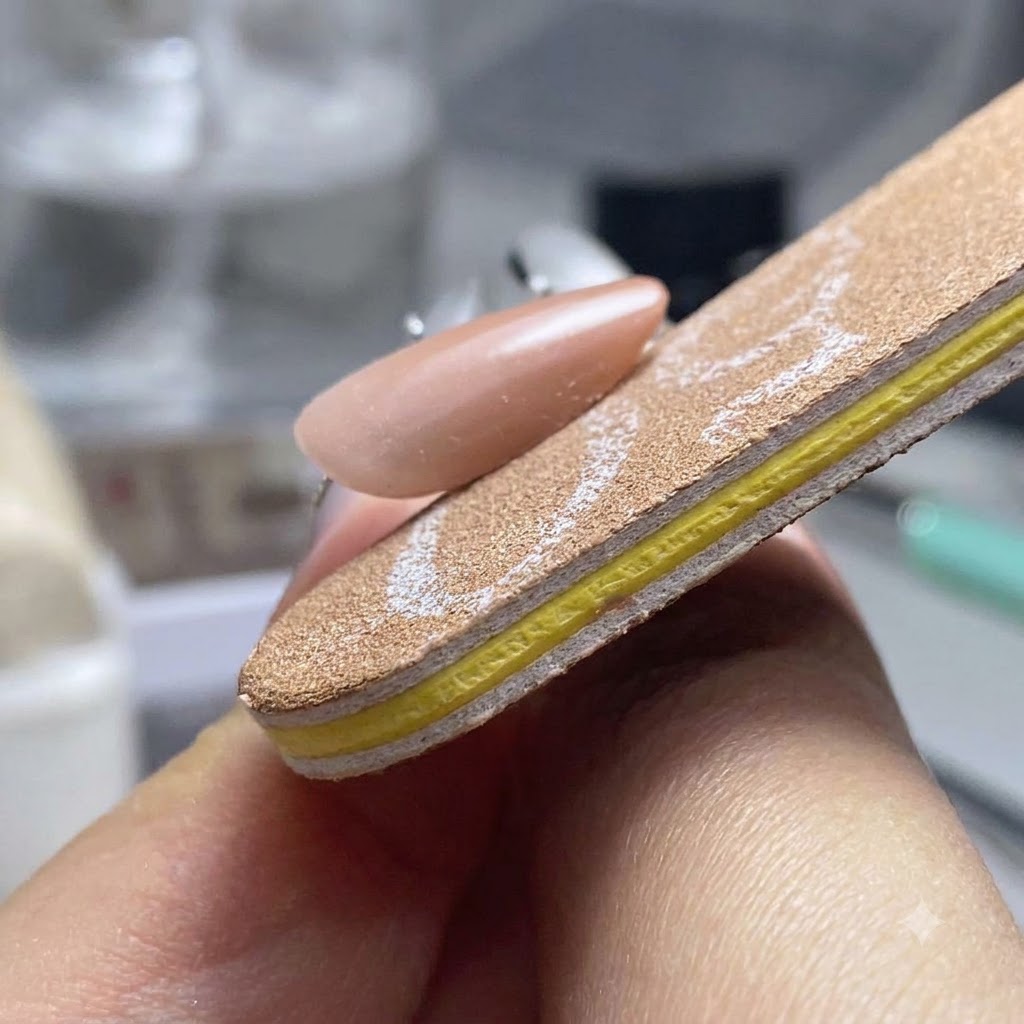
Take a nail file buffer and lightly file and buff the three sides of the nails to refine the shape and smooth out any rough edges.
Tip: Use gentle pressure while buffing the edges to maintain clean lines without damaging the cured gel structure. - 7Apply a layer of base gel
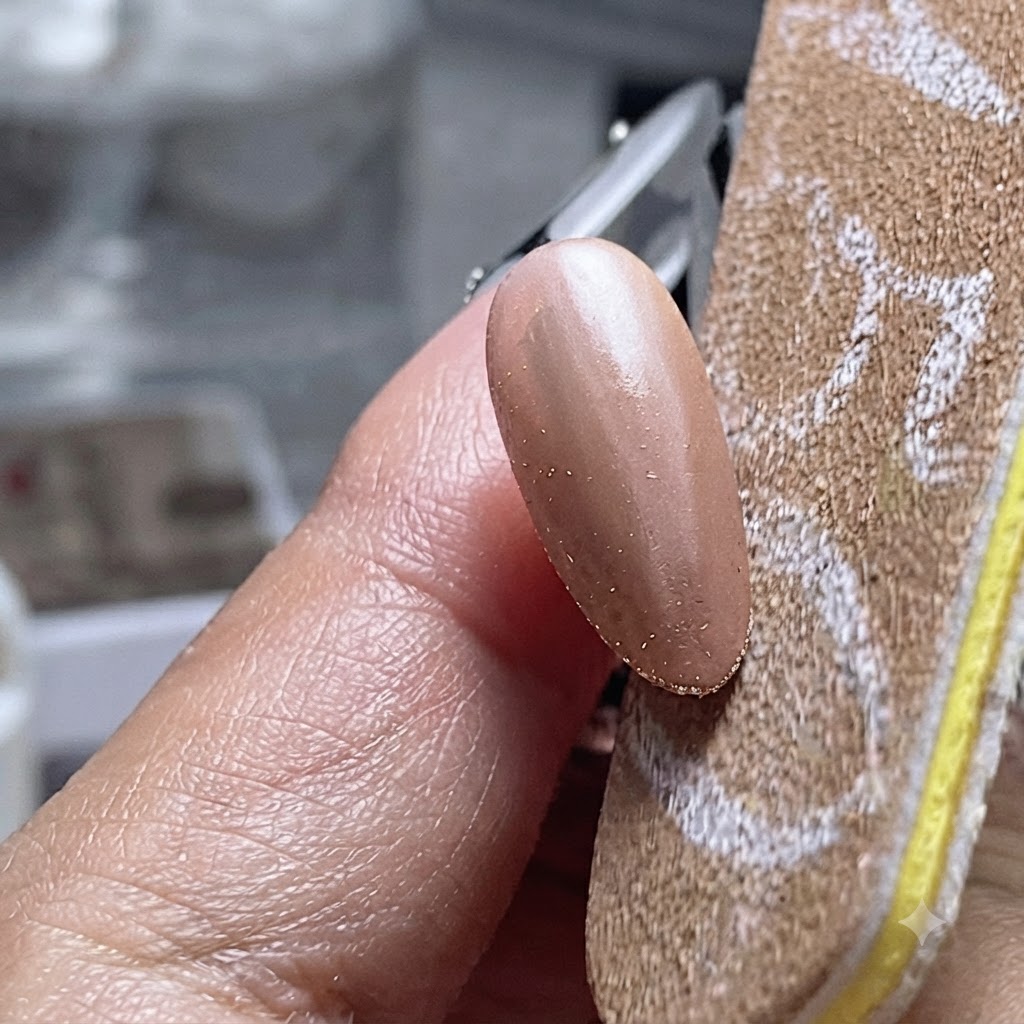
Apply a thin layer of base gel onto the stamped color areas of the nails to prepare for the next styling steps, ensuring smooth coverage across the entire colored portion. Once applied, cure both fingers under the UV or LED lamp to set the base coat securely.
Tip: Make sure the base layer is evenly distributed without pooling around the edges to maintain a neat foundation. - 8Cure under the lamp
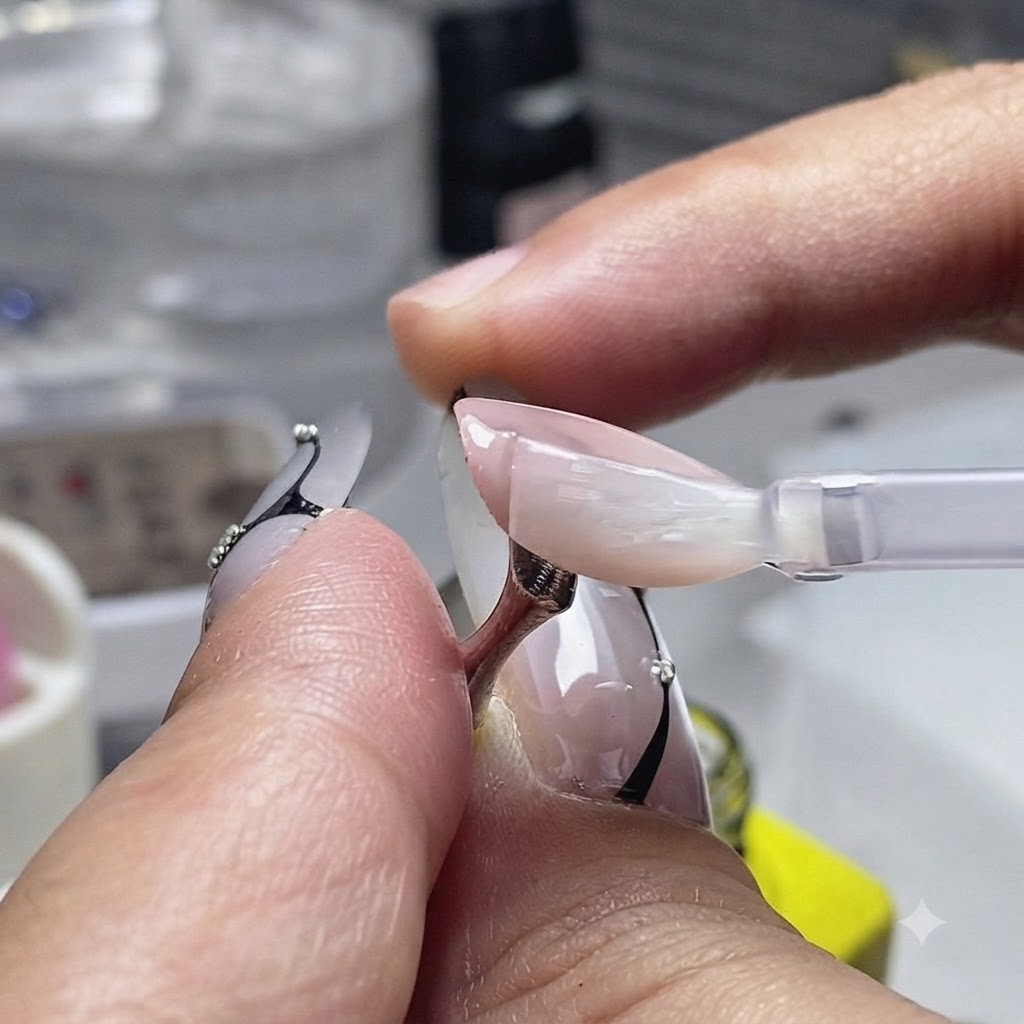
Place both fingers into the UV or LED lamp and cure the applied base gel thoroughly. This hardens the product, locking in the underlying color layers and providing a stable base for creating 3D nail art designs.
Tip: Ensure your fingers are positioned correctly inside the lamp for uniform curing across all treated areas. - 9Dispense clear soft candy gel
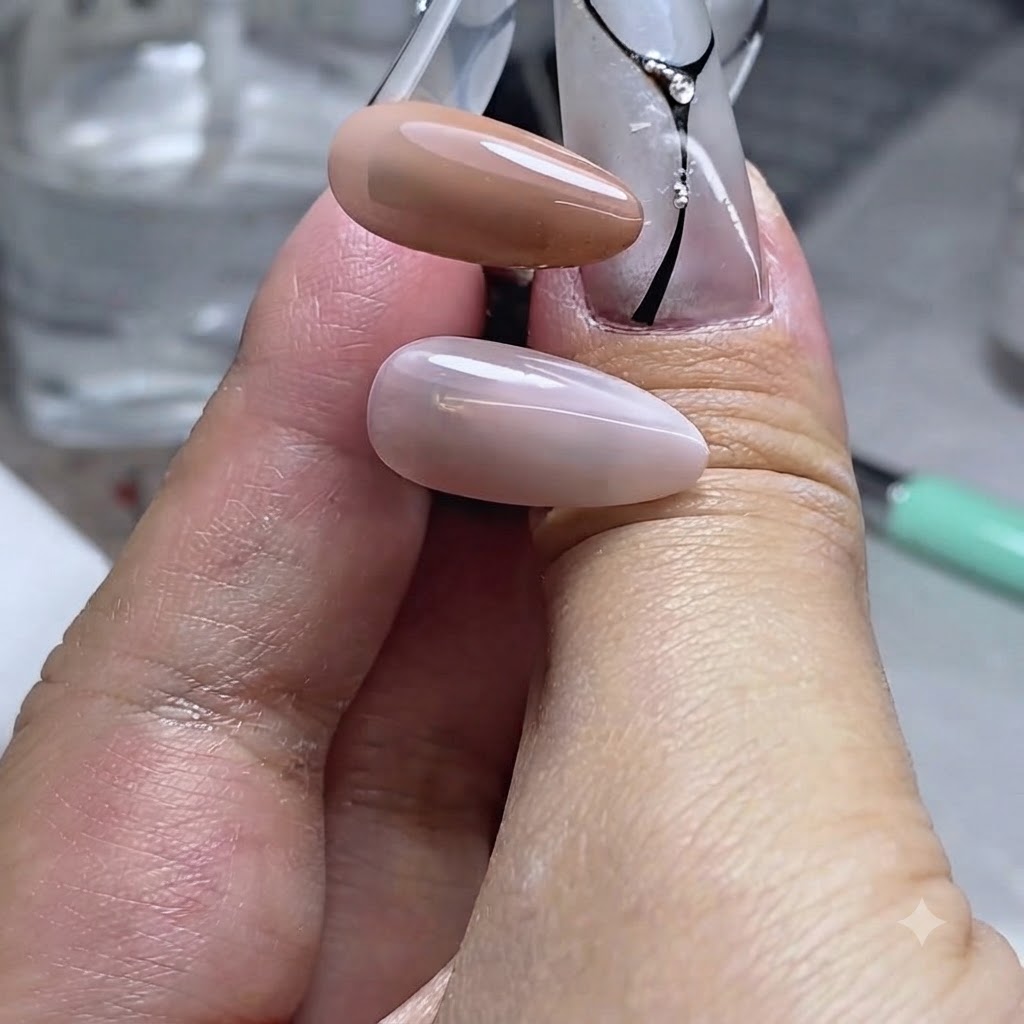
Take a small amount of clear soft candy gel and dispense a dollop onto your palm or a palette surface. This specialized thick gel will be used to create the 3D raised diamond lattice shape on the index finger.
Tip: Dispensing a controlled amount helps prevent waste and makes it easier to pick up the right sized ball. - 10Pick up soft candy gel ball
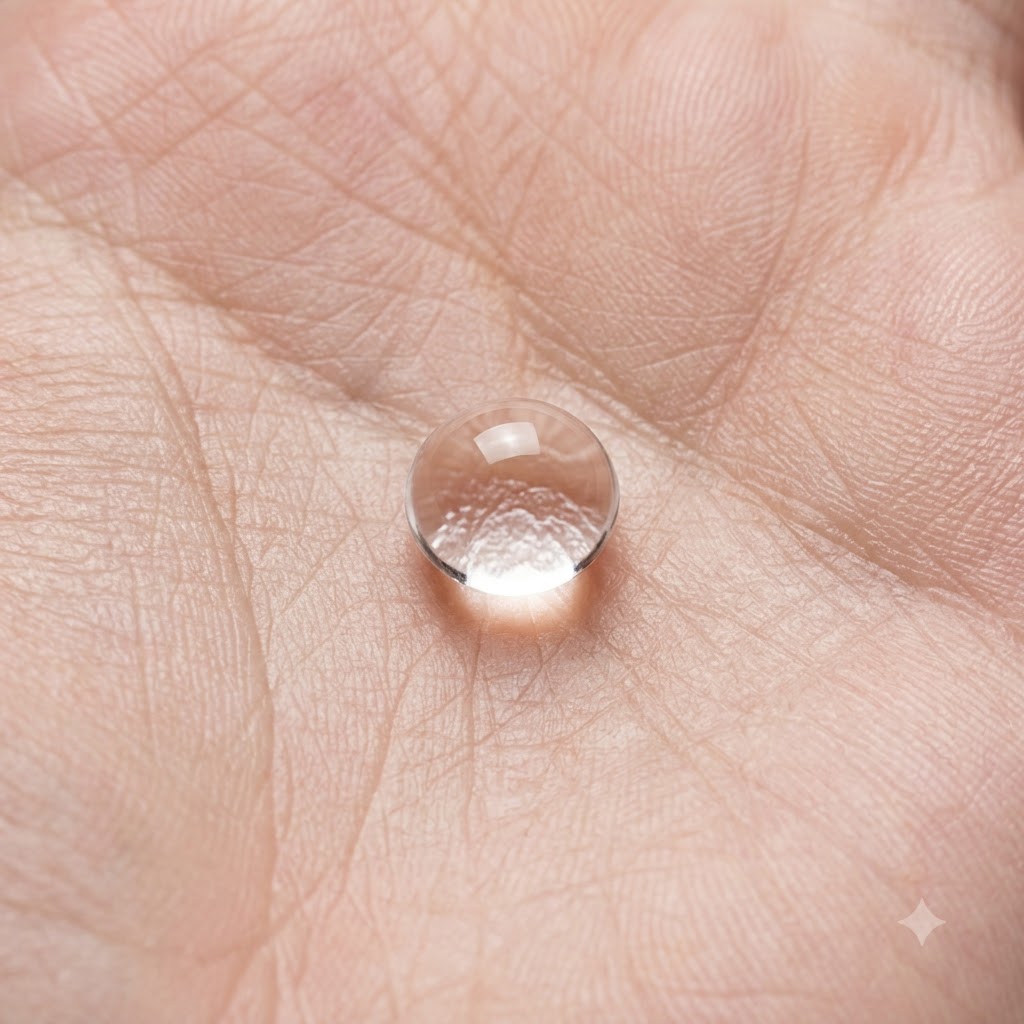
Dip your finger into a small amount of rubbing alcohol, then pick up a ball of the soft candy gel from the surface. The alcohol prevents the sticky gel from sticking excessively to your fingers during handling.
Tip: Keep a small container of rubbing alcohol nearby to easily dampen your finger as needed. - 11Place and press gel ball onto nail
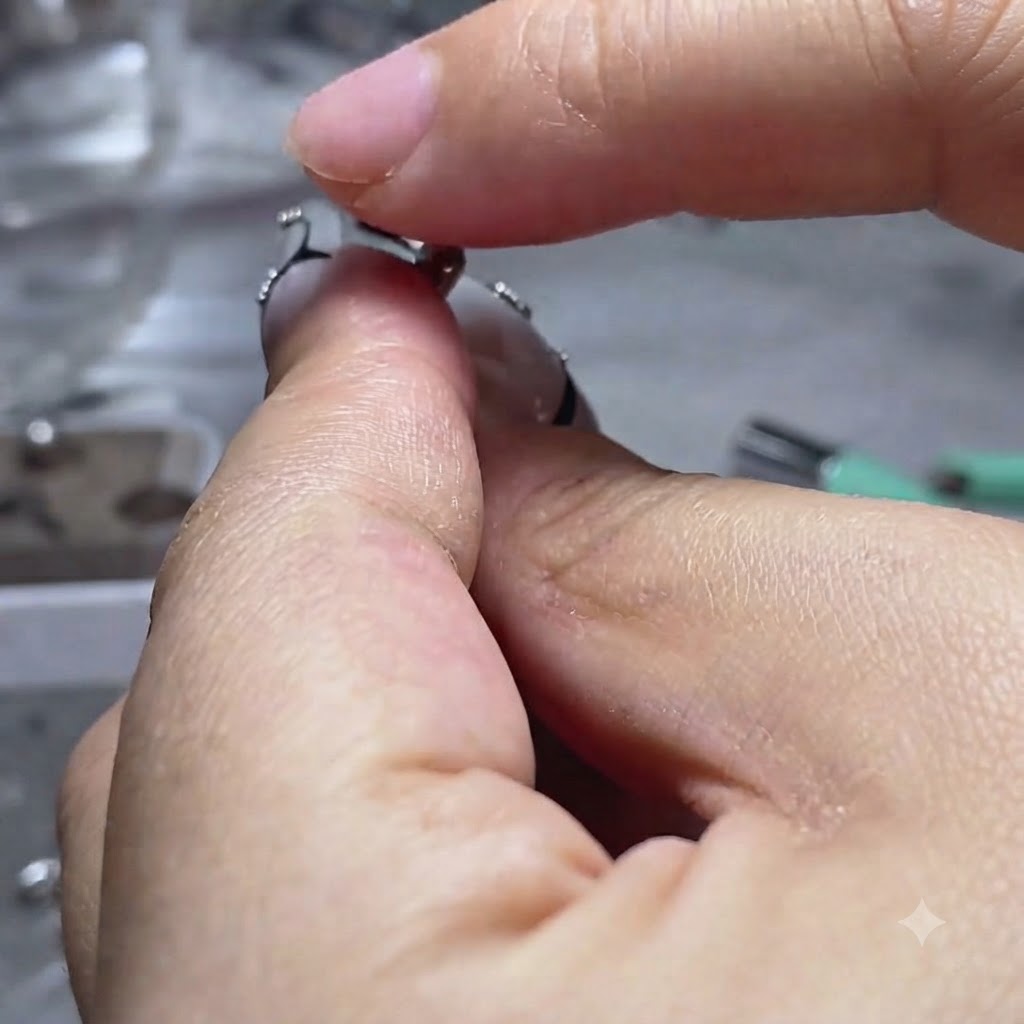
Transfer the soft candy gel ball onto the nail plate surface and press it flat. Use a little rubbing alcohol on your finger if it feels too sticky during the process to ensure smooth manipulation.
Tip: Press gently and evenly to spread the gel across the target area without creating air bubbles. - 12Smooth out gel edges
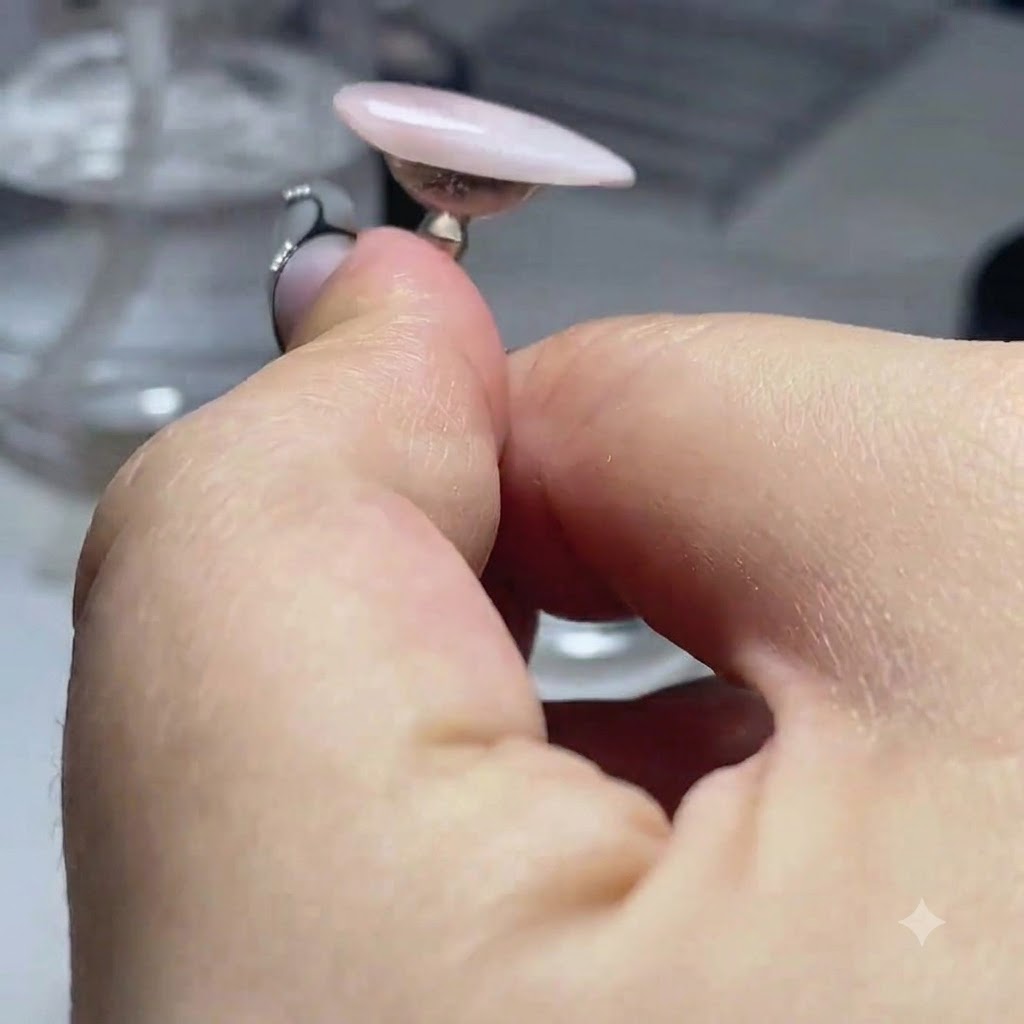
Shape the soft candy gel nicely so that it fits smoothly along every edge of the nail plate. Check that the transition looks clean and conforms to the nail dimensions before moving on to creating the lattice lines.
Tip: Smooth edges prevent lifting and ensure a natural transition between the 3D element and the nail edge. - 13Prepare the hair strand tool
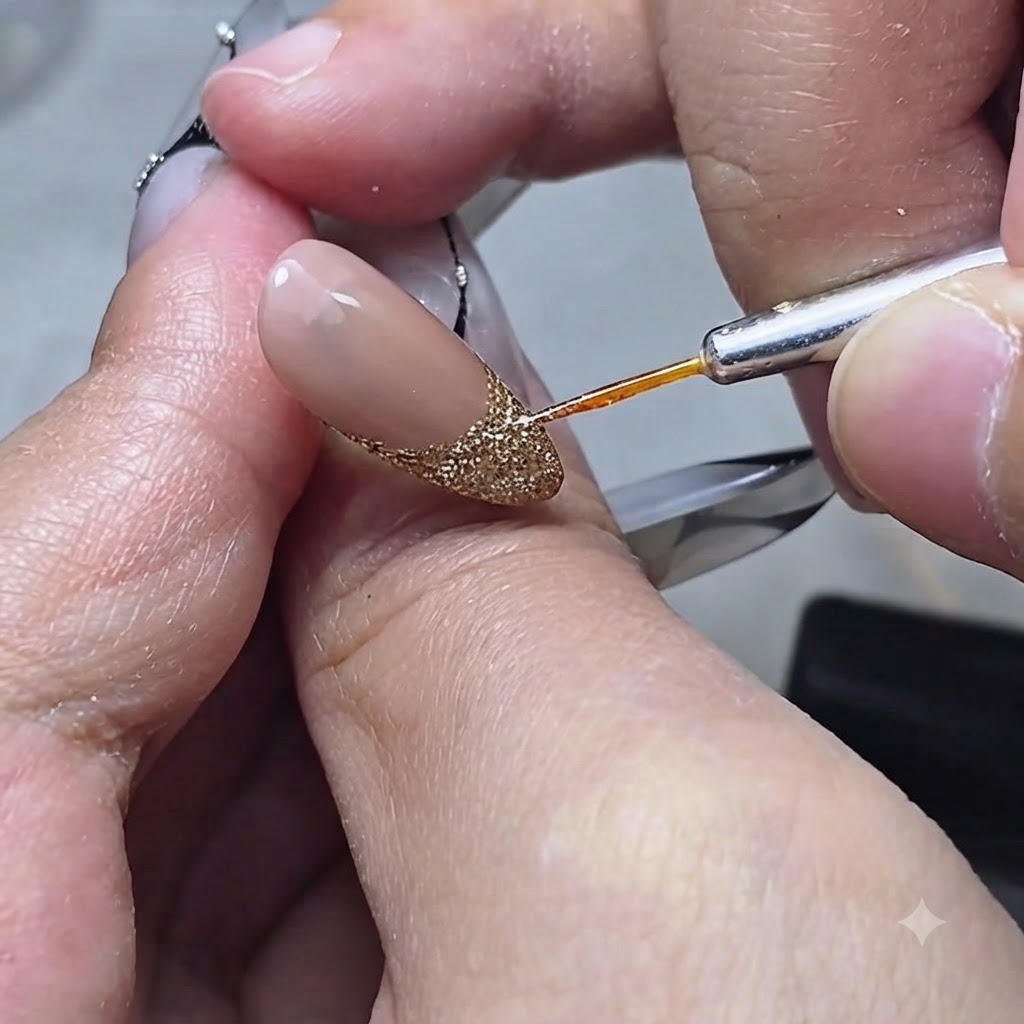
Take a strand of human hair to use as a precise pressing tool for shaping lines into the uncured soft candy gel. This fine strand allows you to create thin, crisp grid lines that match the original design reference without sticking to the product.
Tip: Keep the hair strand clean and taut for precise control when impressing fine geometric details. - 14Form the diamond grid lines
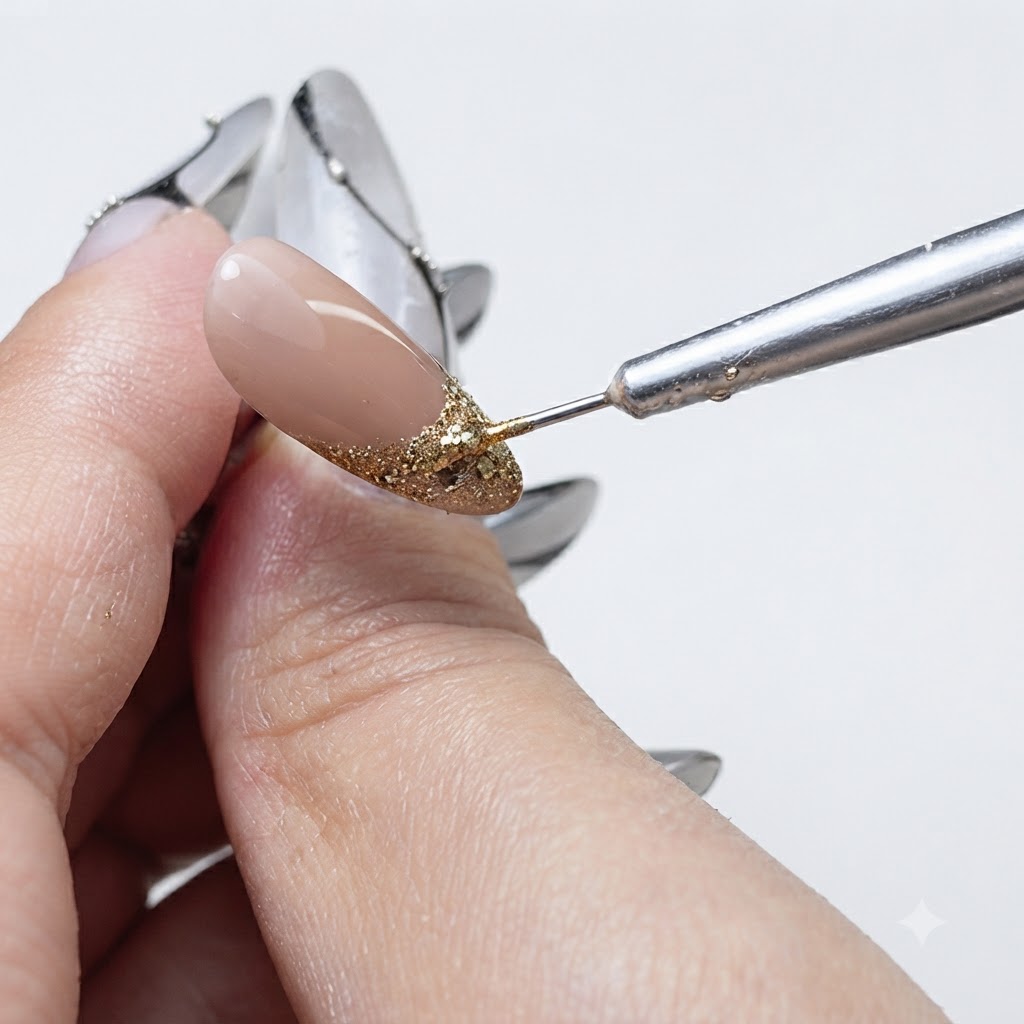
Use the hair strand to gently press into the uncured soft candy gel on the nail surface, following the grid line positions from the original picture. Carefully press down the lines and edges to form the distinct diamond lattice pattern.
Tip: Press firmly enough to define the grid lines, but keep a light touch to avoid distorting the surrounding gel volume. - 15Refine the nail shape with alcohol
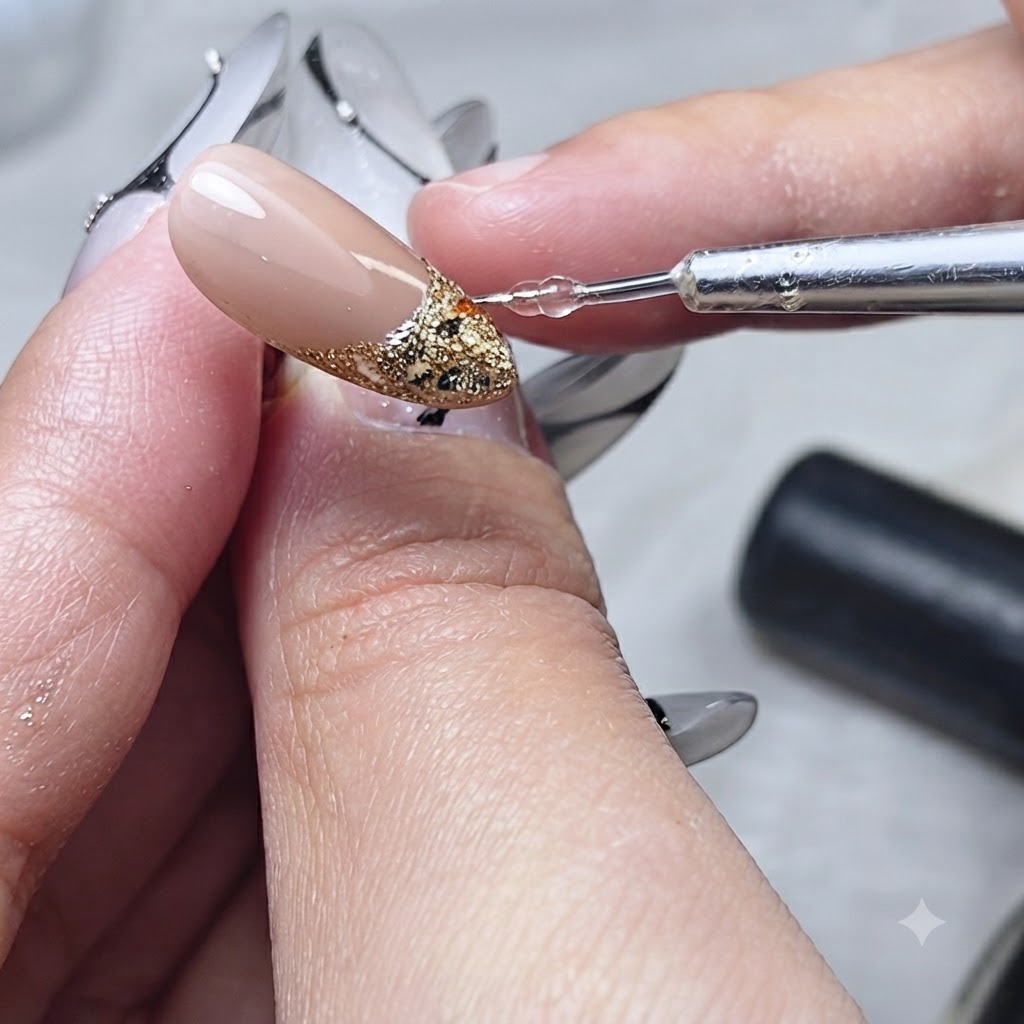
Dampen a finger with a little rubbing alcohol and gently use it to adjust both sides of the grid nail. This smoothing action removes any bulkiness and ensures the 3D diamond lattice fits smoothly along every edge of the nail plate.
Tip: Using alcohol prevents the soft candy gel from sticking to your skin while you shape and contour the edges. - 16Cure the diamond grid gel
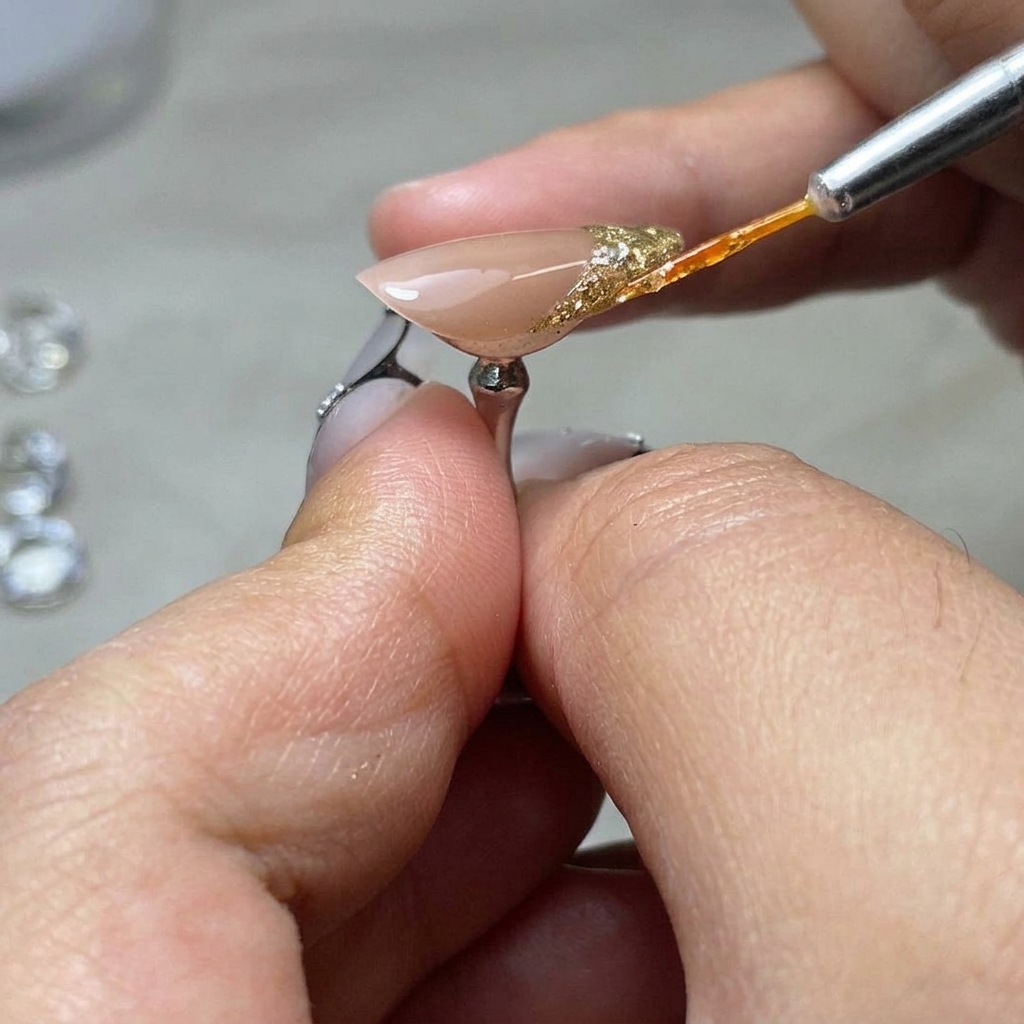
Place the completed diamond grid soft candy gel nail into the UV or LED lamp and cure it completely. This locks the 3D lattice structure and refined shape into place before moving on to final top coat application or embellishments.
Tip: Ensure complete curing so the raised 3D structure hardens fully without shifting or losing its crisp pattern lines. - 17Outline French tip guide
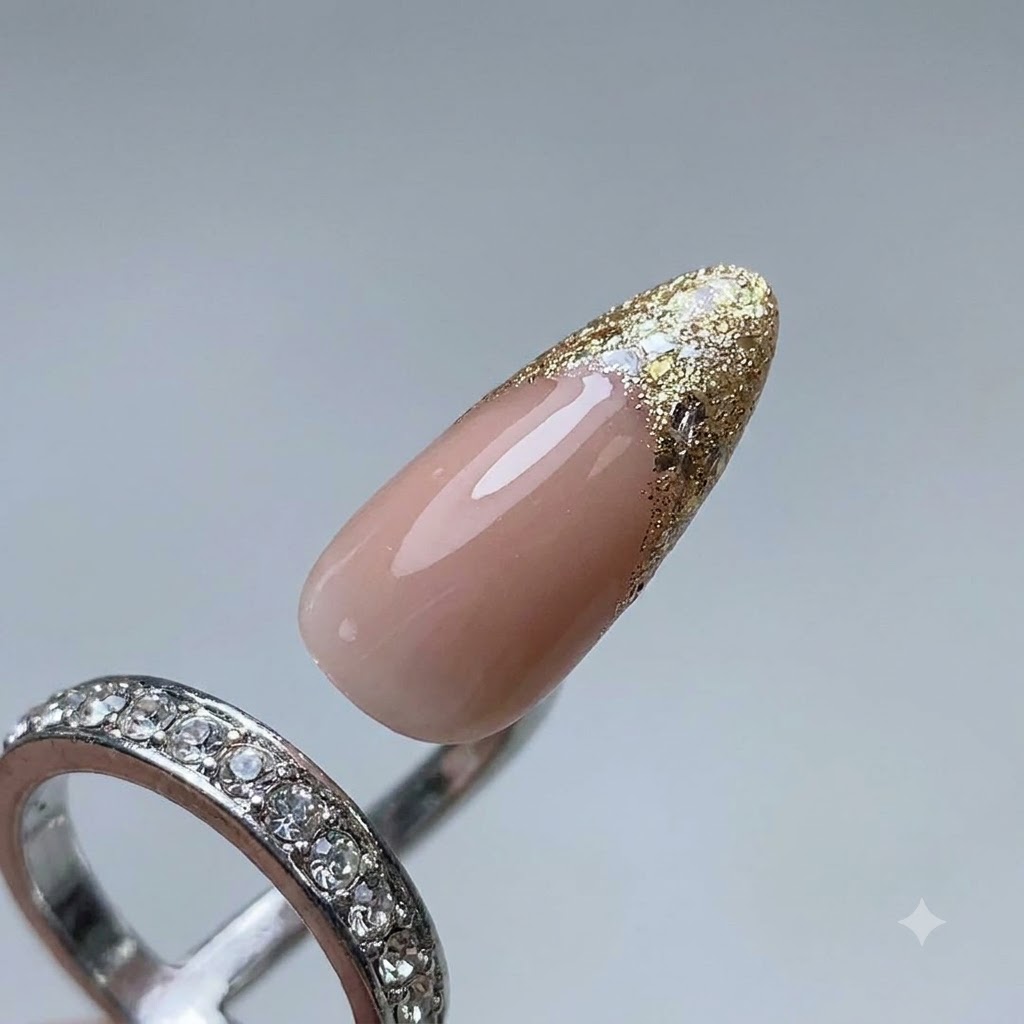
Using a fine liner brush dipped in platinum gel, carefully outline the curved guide for the French tip on the nail. Take your time to ensure the curve is clean and symmetrical across the nail width before proceeding to fill the base and color.
Tip: Keep a light hand and steady your pinky finger against your other hand for maximum precision when drawing fine lines. - 18Apply gold platinum base
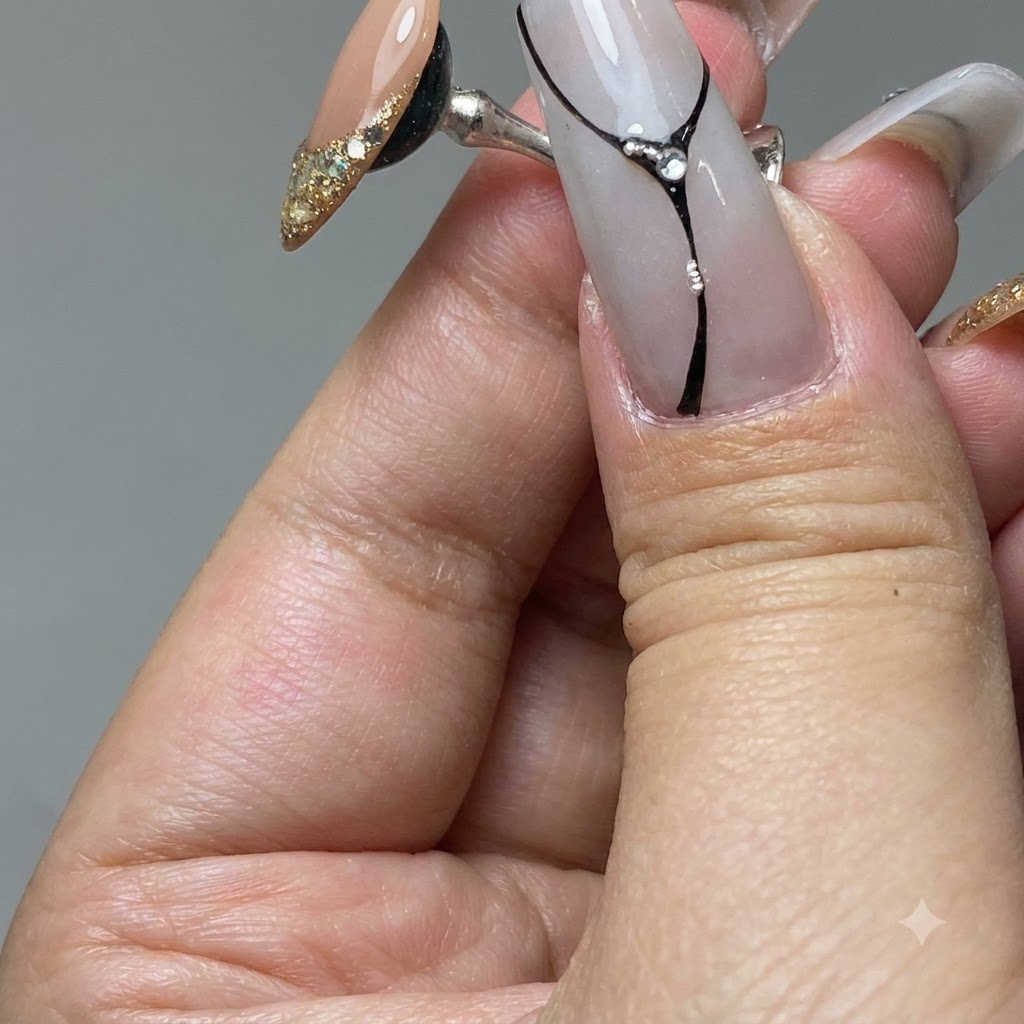
Apply gold platinum gel evenly across the outlined French tip area to serve as a dense, solid base. The fine powder in the platinum gel provides rich coverage so that the glitter flakes layered on top look full and vibrant.
Tip: Apply this base color in a thin layer to avoid bulkiness near the free edge. - 19Refine edge with platinum gel
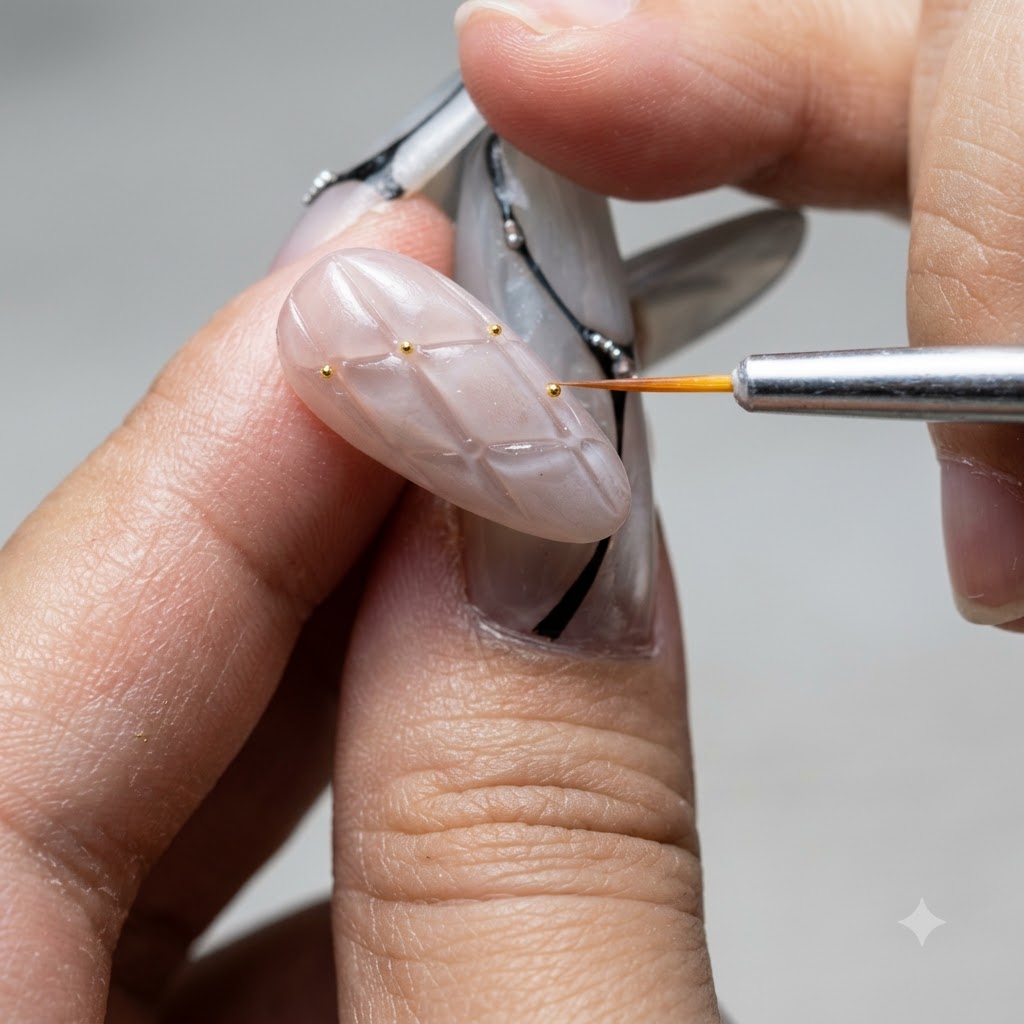
Take a liner brush with a small amount of platinum gel and trace closely along the boundary line to make the French tip edge sharp and well-defined, matching the original reference look.
Tip: A sharper border enhances the contrast between the nude base and the glittering tip. - 20Fill French tip with glitter flakes
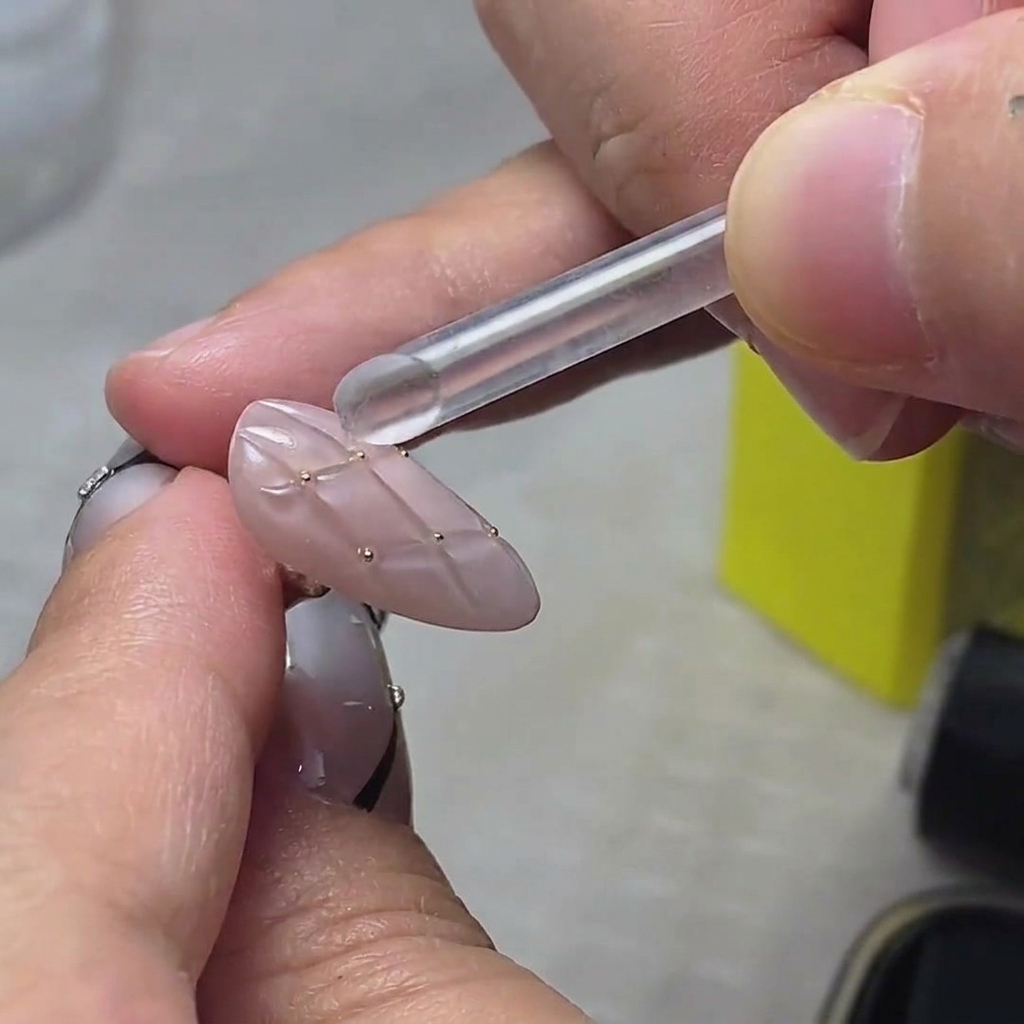
Pick up golden glitter flakes using your brush or tool and carefully press them into the wet platinum gel base to completely fill the French tip area. Spread the flakes flat and evenly without making the layer too thick.
Tip: Distribute the flakes evenly to eliminate gaps and maintain a flat, professional surface profile.