French Gradient Sweet Style Short Nail Art Tutorial
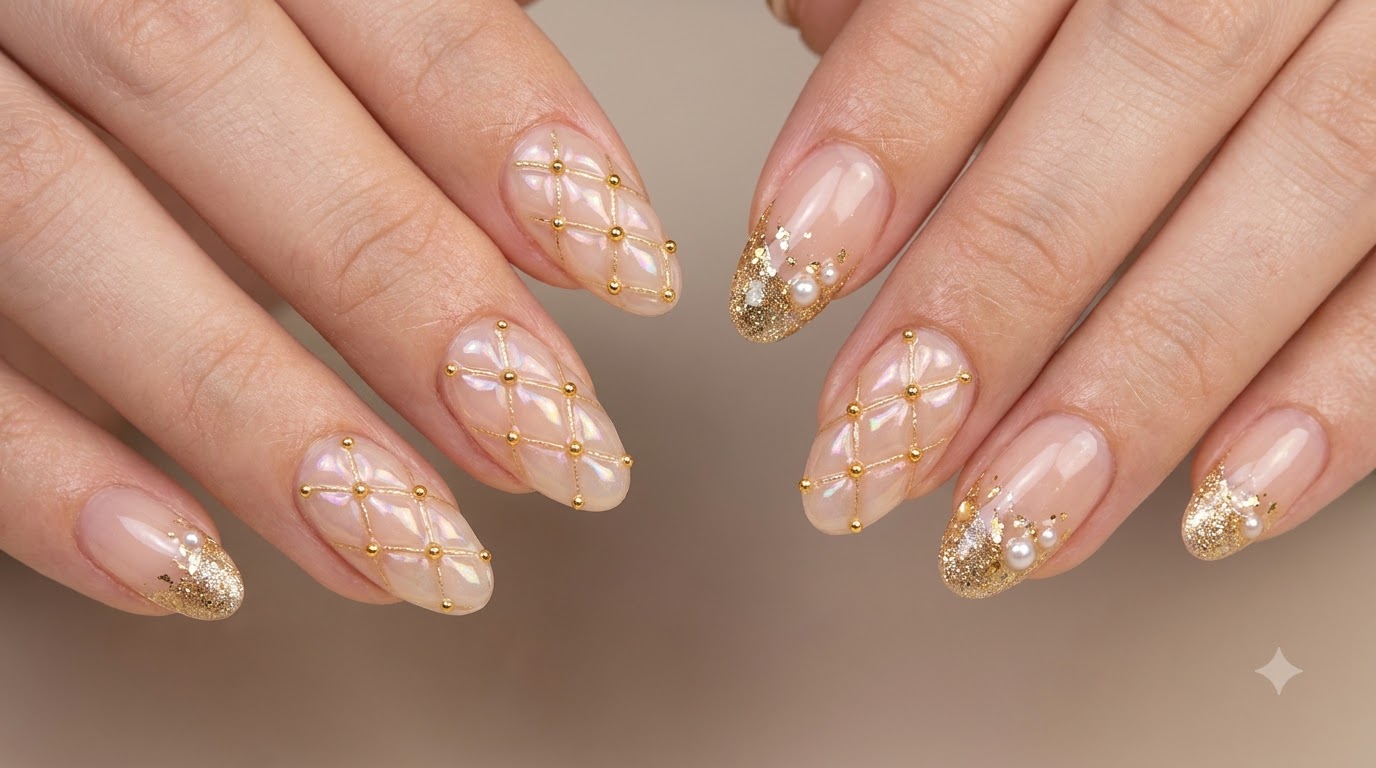
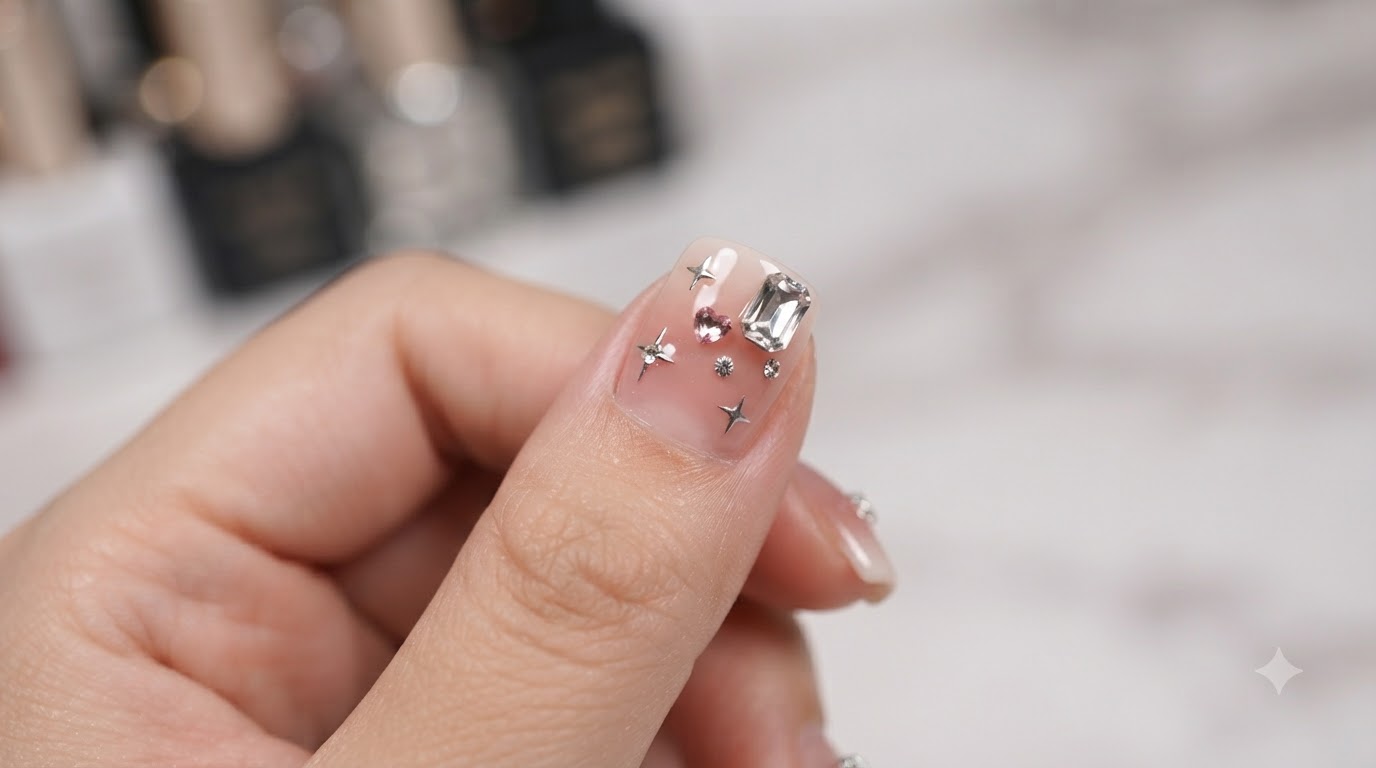
Elevate short nails with this chic French gradient design featuring sparkling star stickers, tiny rhinestones, and elegant crystal accents.
Short nail lovers often feel limited on space, but this commuter-friendly French sweet heart style proves you can achieve a high-end, luxurious look. By combining a soft nude-to-pink gradient with delicate 3D charms and crystals, this tutorial brings salon-quality elegance right to your fingertips.
Steps
- 1Create gradient tip with sponge
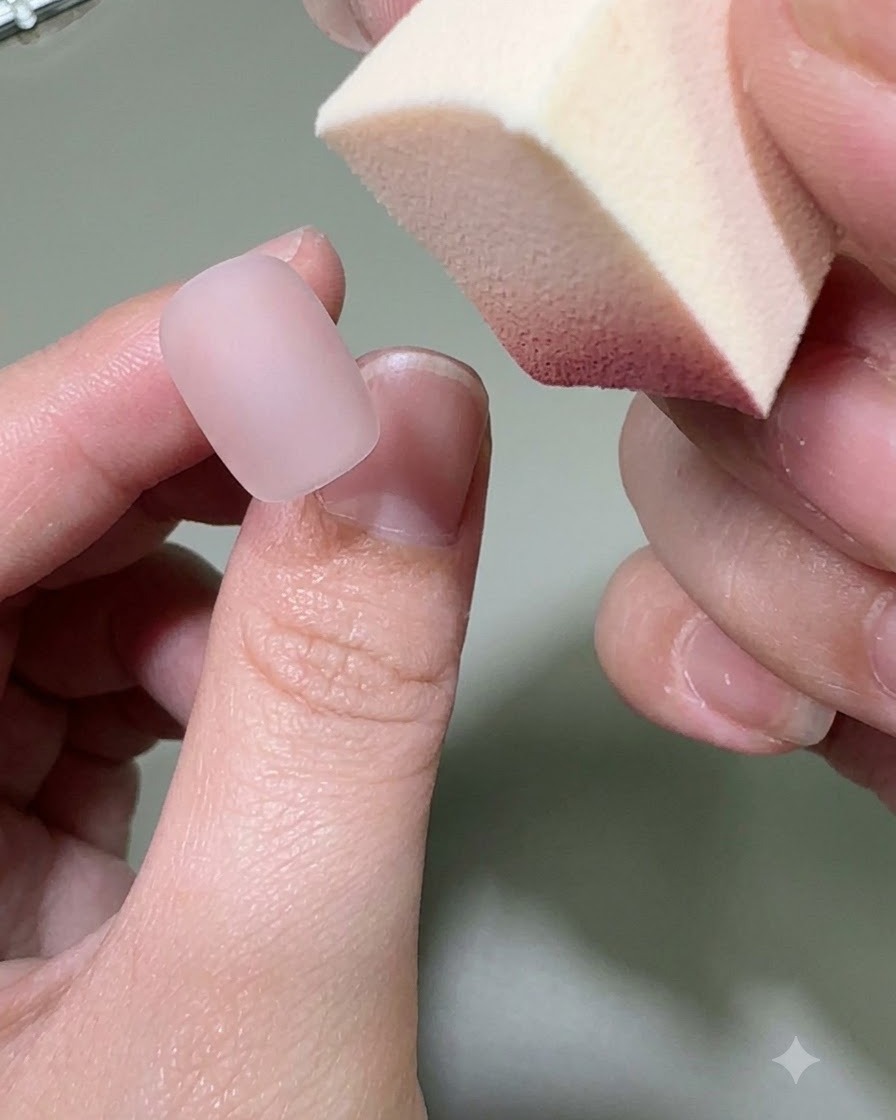
Take a makeup sponge applicator with pink gel color and gently dab and tap it onto the nail tip to build a smooth gradient effect. This technique builds a soft transition from the nude base to the vibrant pink tip.
Tip: Tap lightly and repeatedly rather than pressing hard to ensure the gradient looks natural and blended without harsh lines. - 2Apply light pink gel layer
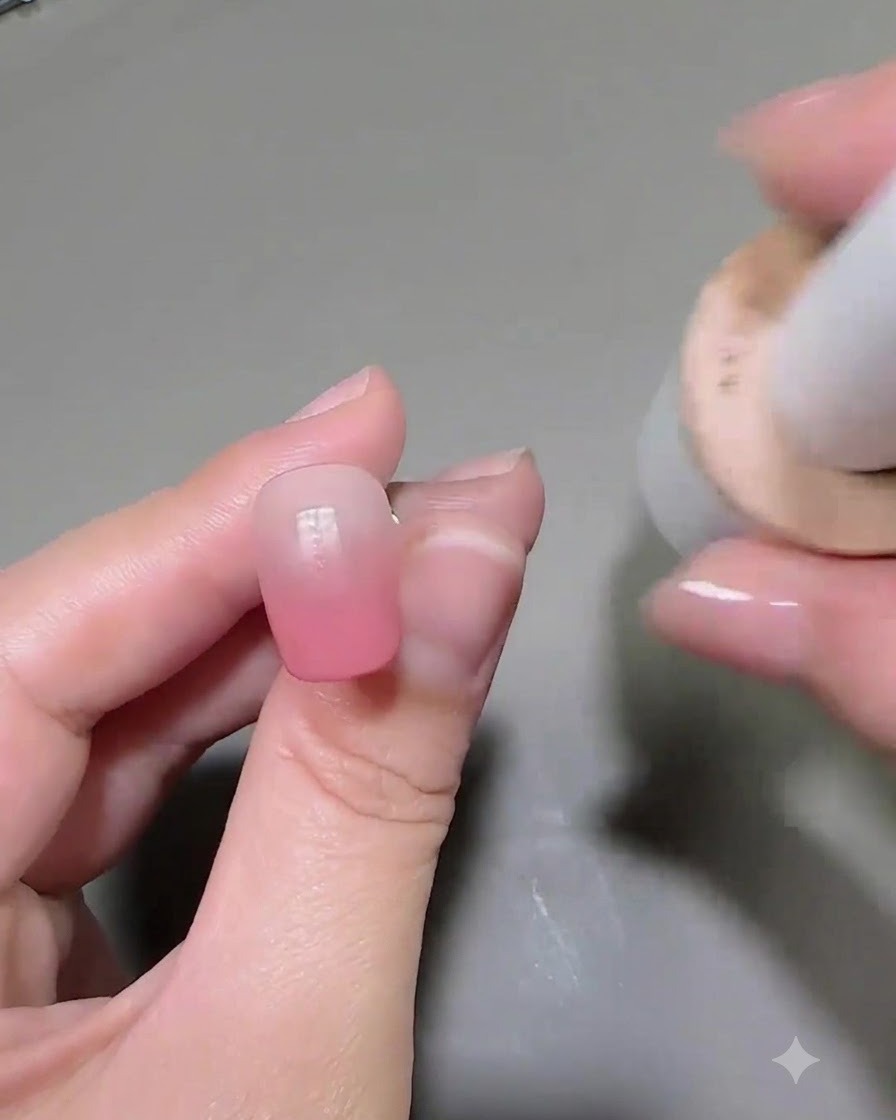
Apply a layer of sweet light pink gel color over the gradient base to enhance the richness and depth of the color. Ensure even coverage across the nail plate for a high-end look.
Tip: Keep the layer thin to prevent bubbling or uneven curing under the lamp. - 3Apply reinforcement gel
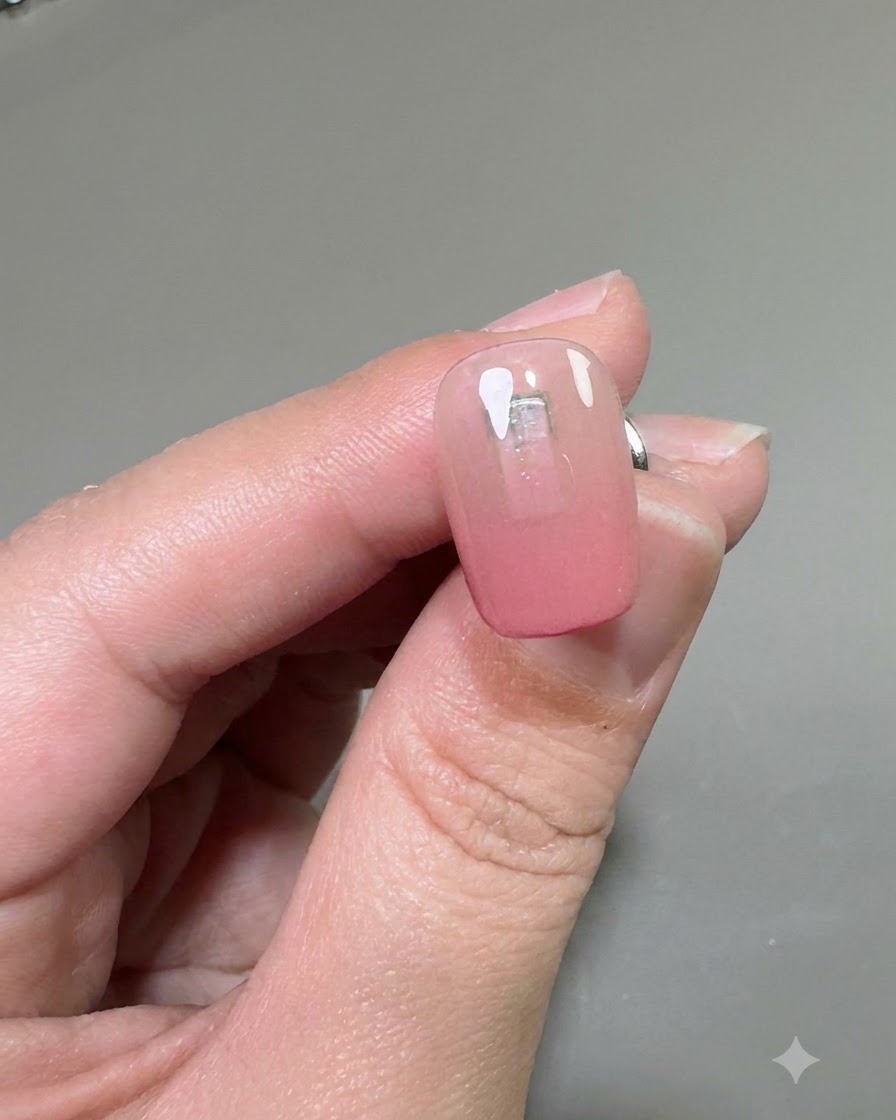
Apply a layer of clear reinforcement gel over the nail surface to encapsulate the design elements and strengthen the nail structure. This protects the manicure and adds a smooth, glossy finish.
Tip: Check for even distribution across the apex of the nail to provide proper strength and durability. - 4Paint French manicure tips
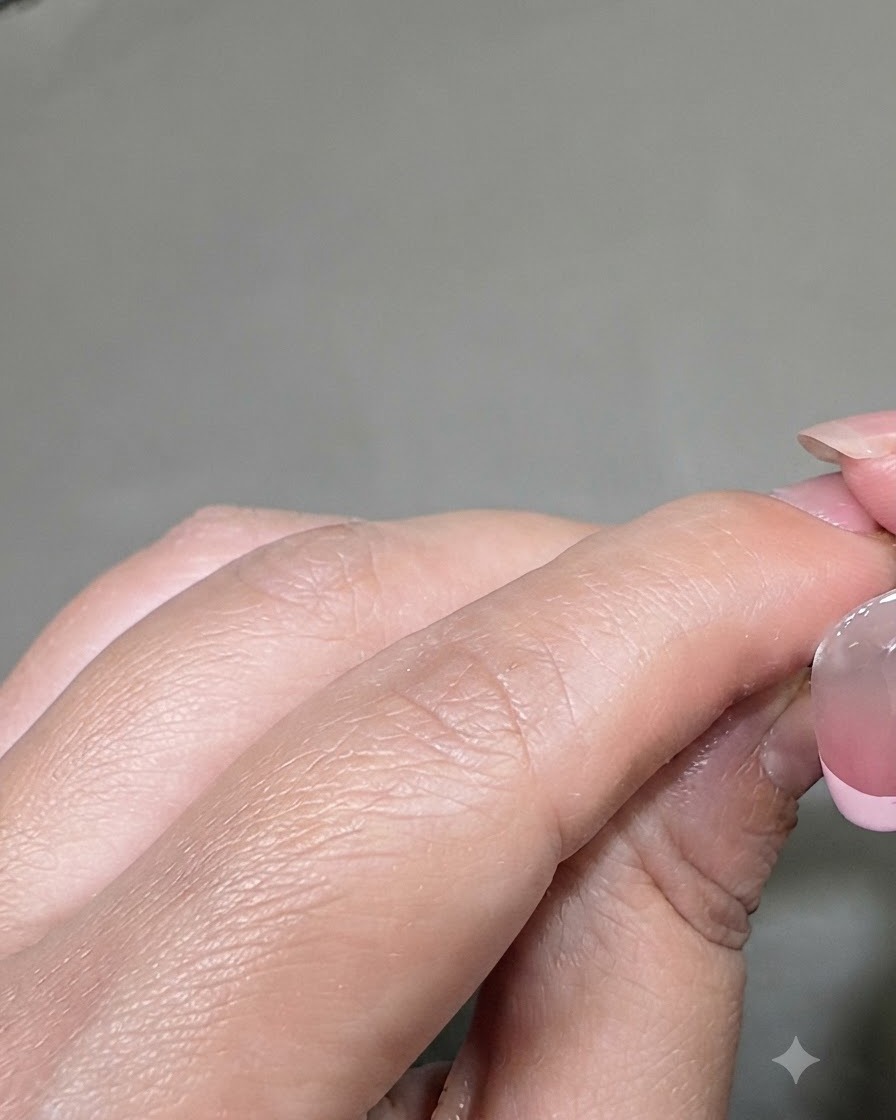
Using a fine liner brush, carefully paint the clean French manicure tip line along the edge of the nail. This defines the classic sweet heart style suitable for commuting.
Tip: Support your hand steadily on a flat surface to maintain a clean and steady line across the nail curve. - 5Pick up and place star sticker
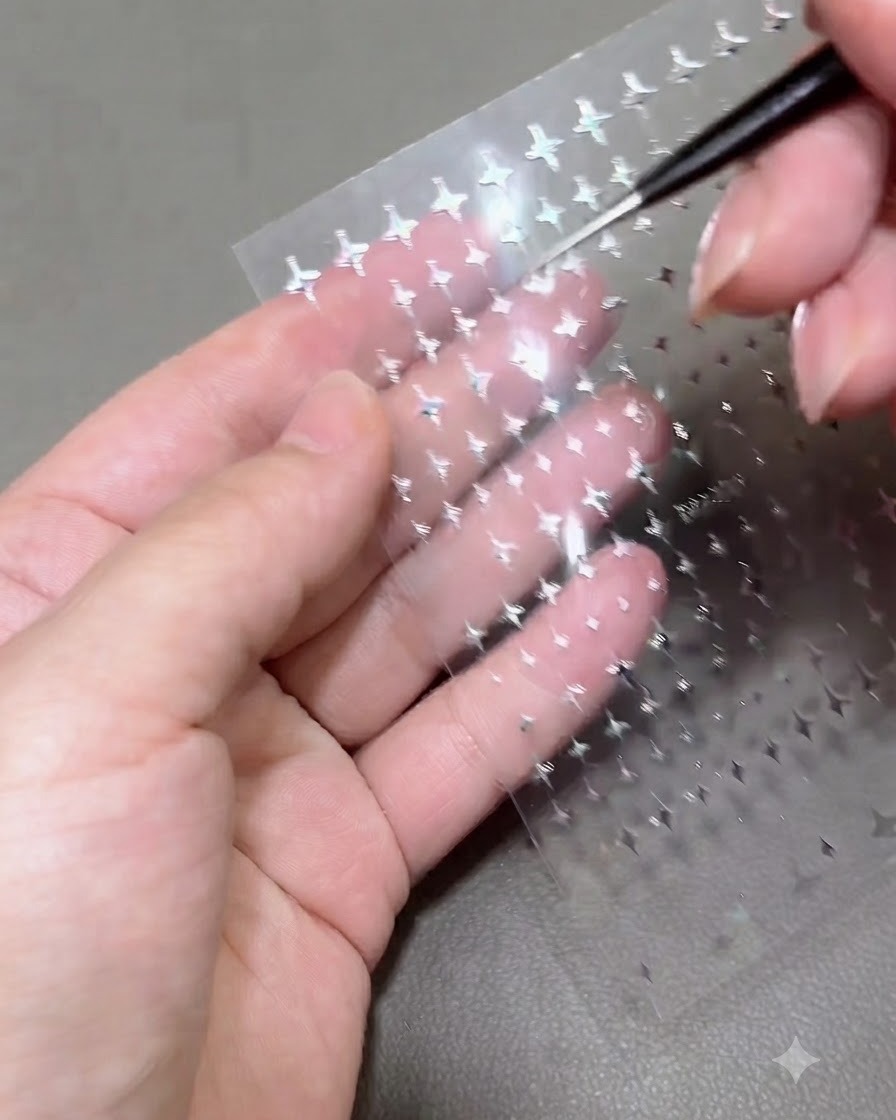
Using a fine detail tool or tweezers, carefully lift a small silver star sticker from the transfer sheet. Position and press the sticker gently onto the prepped nail surface where desired, ensuring all edges lie flat.
Tip: Use a silicone tool or the tip of a brush to gently press down the sticker points so they do not lift under the top coat. - 6Apply a small clear rhinestone next to the star sticker
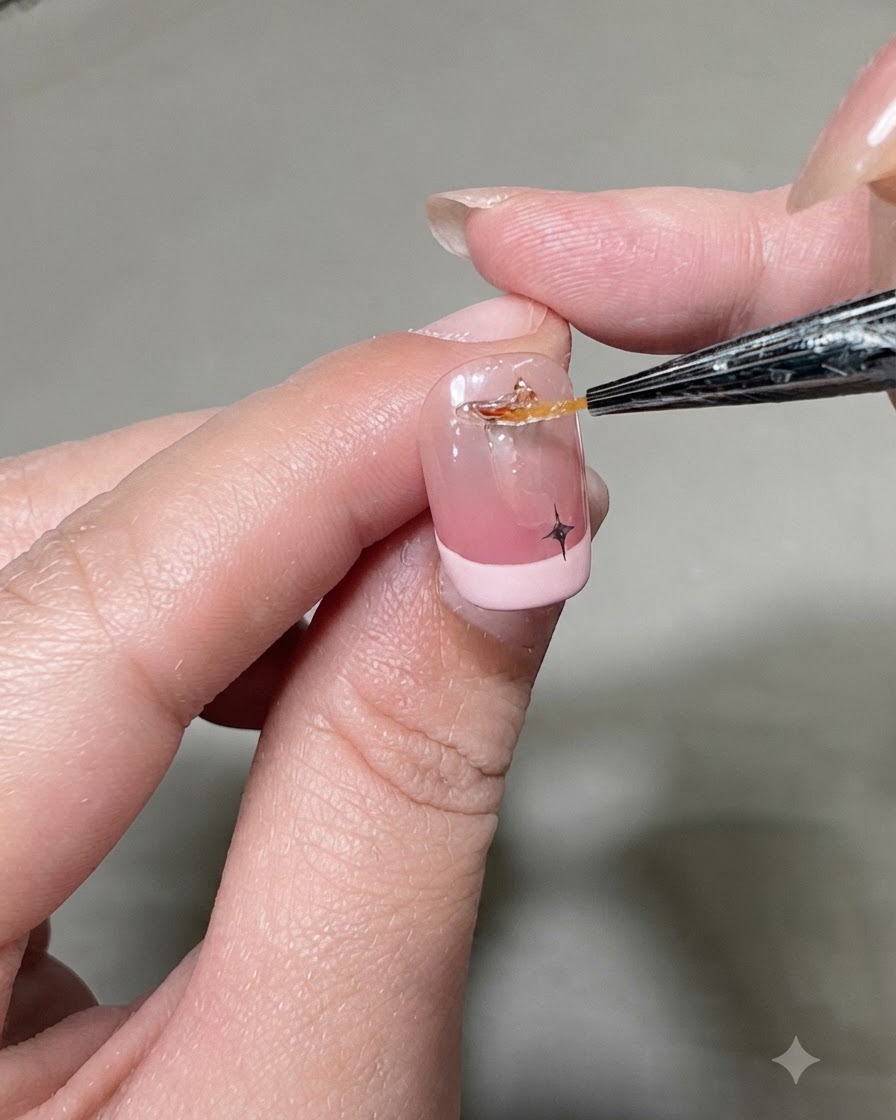
Using a fine detailing pen or dotting tool, pick up a small amount of clear gel adhesive and place a tiny crystal rhinestone right next to the previously applied star sticker. This adds an extra layer of sparkle and dimension to the design.
Tip: Work in small sections so the adhesive does not spread or shift before you place the crystal. - 7Add round diamond over star
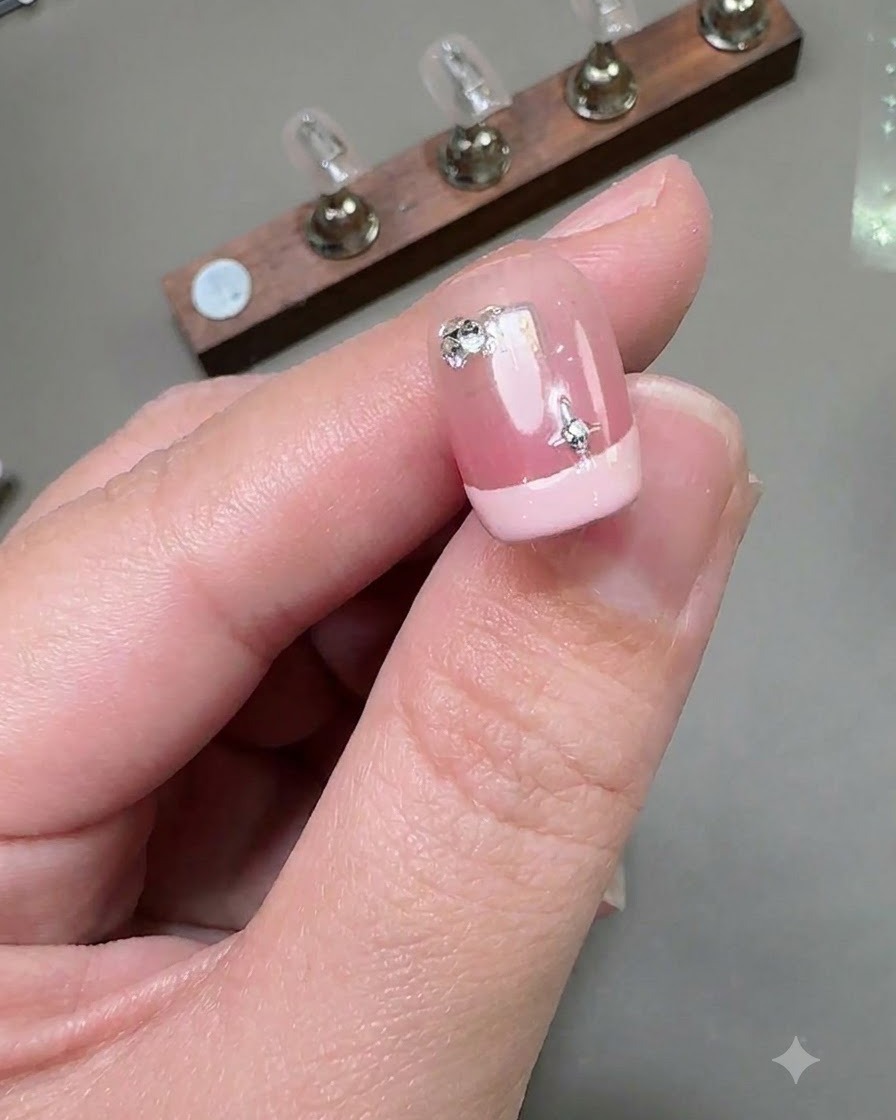
Place a tiny dab of gel directly on top of the star sticker, then pick up a small round diamond and set it precisely into the gel. This layers the elements to create depth and texture on the nail design.
Tip: Double-check the placement under light to ensure the diamond catches the reflection before curing. - 8Apply Top Coat Sealant
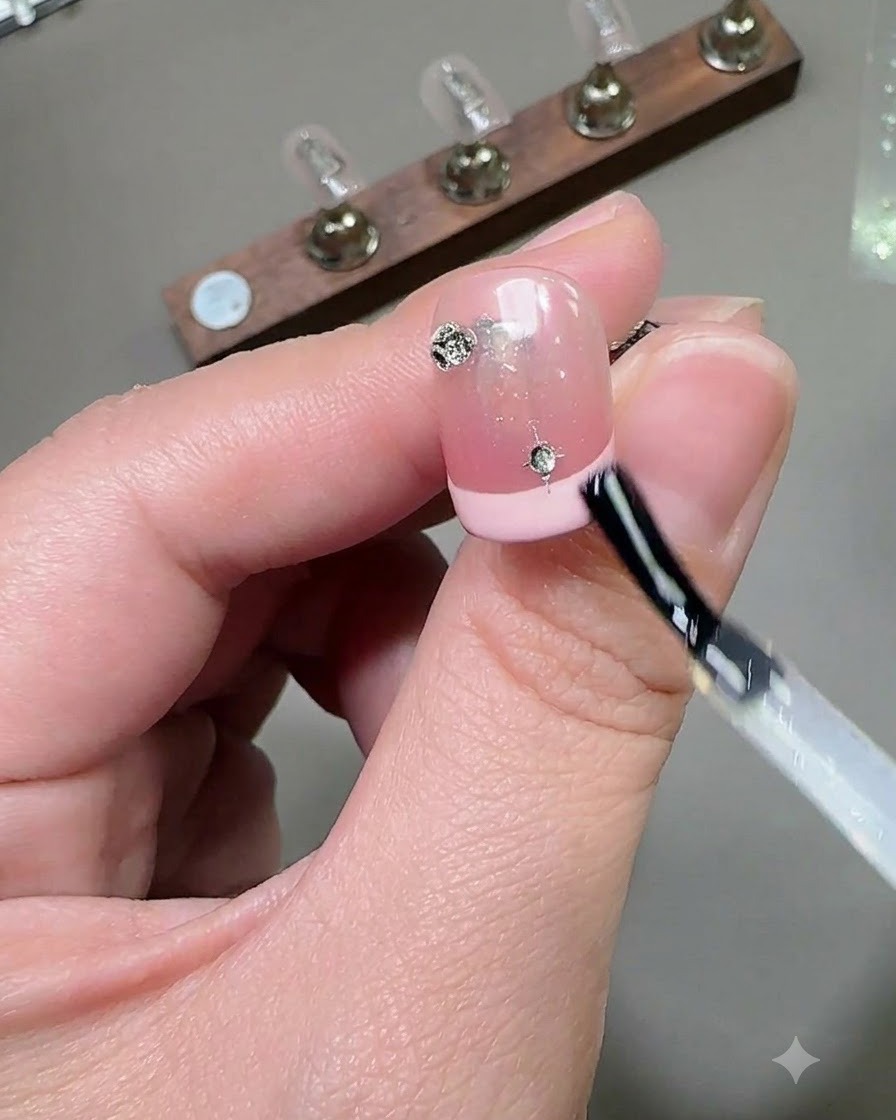
Apply a final layer of top coat sealant carefully over the nail surface, ensuring all the edges around the embedded decorations are properly covered and sealed to prevent them from catching or falling off.
Tip: Be gentle when brushing over 3D charms and stones so you do not displace them before curing. - 9Repeat star and diamond application
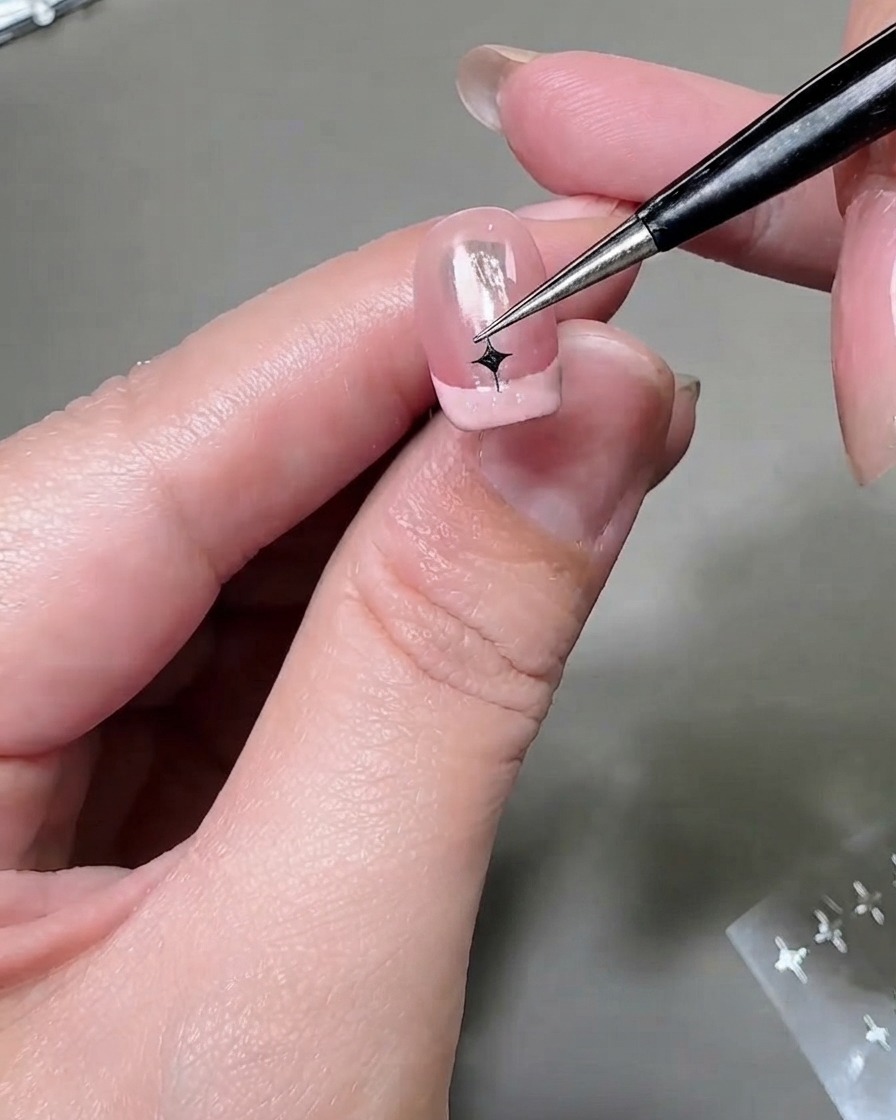
Move to the next nail and repeat the exact same sequence of placing a silver star sticker and secondary accent gems. Maintaining consistency across multiple fingers creates a cohesive and balanced nail set.
Tip: Vary the exact placement slightly across fingers for a natural, harmonious look while keeping the design theme uniform. - 10Secure embellishments with top coat sealant
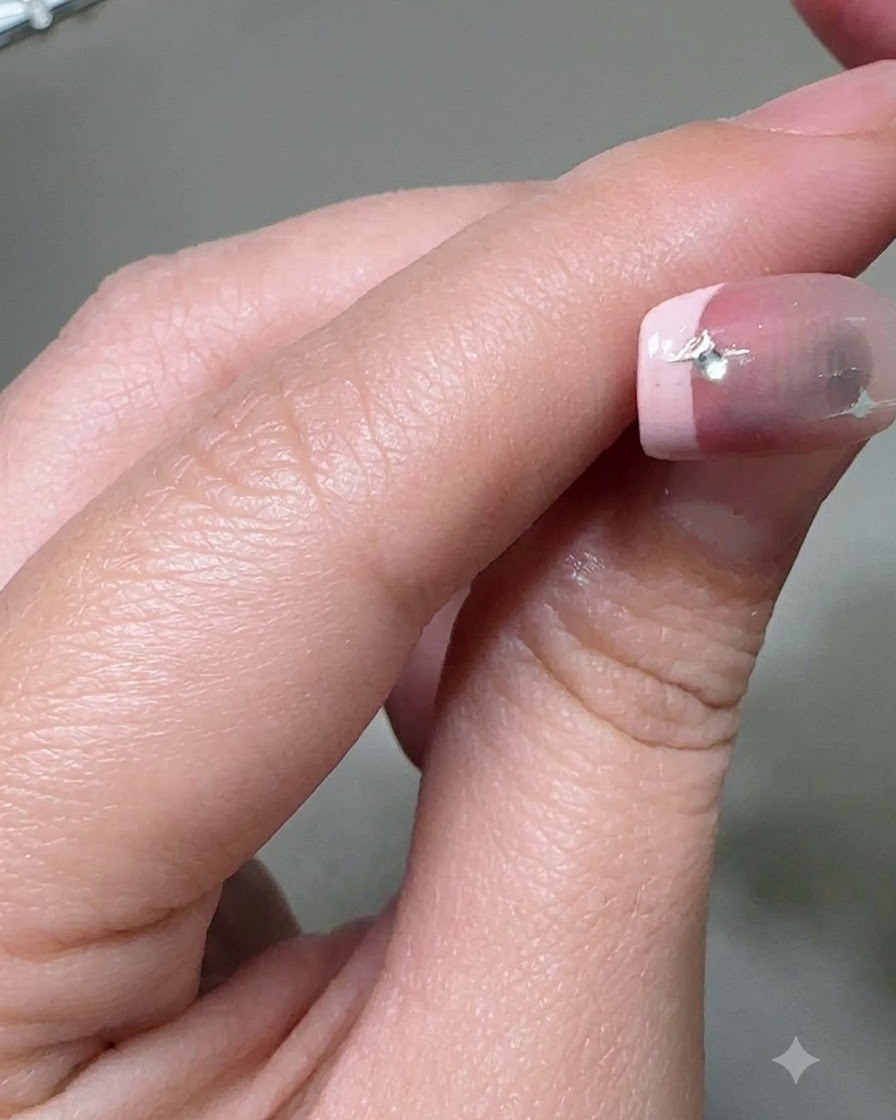
Carefully brush top coat sealant around the base of the rhinestones and embellishments to secure them firmly to the nail plate, ensuring long-lasting wear without lifting. Cure fully under the lamp.
Tip: Do not cover the top facets of the rhinestones with top coat, as this will dull their brilliant sparkle. - 11Place a large rectangular crystal gem
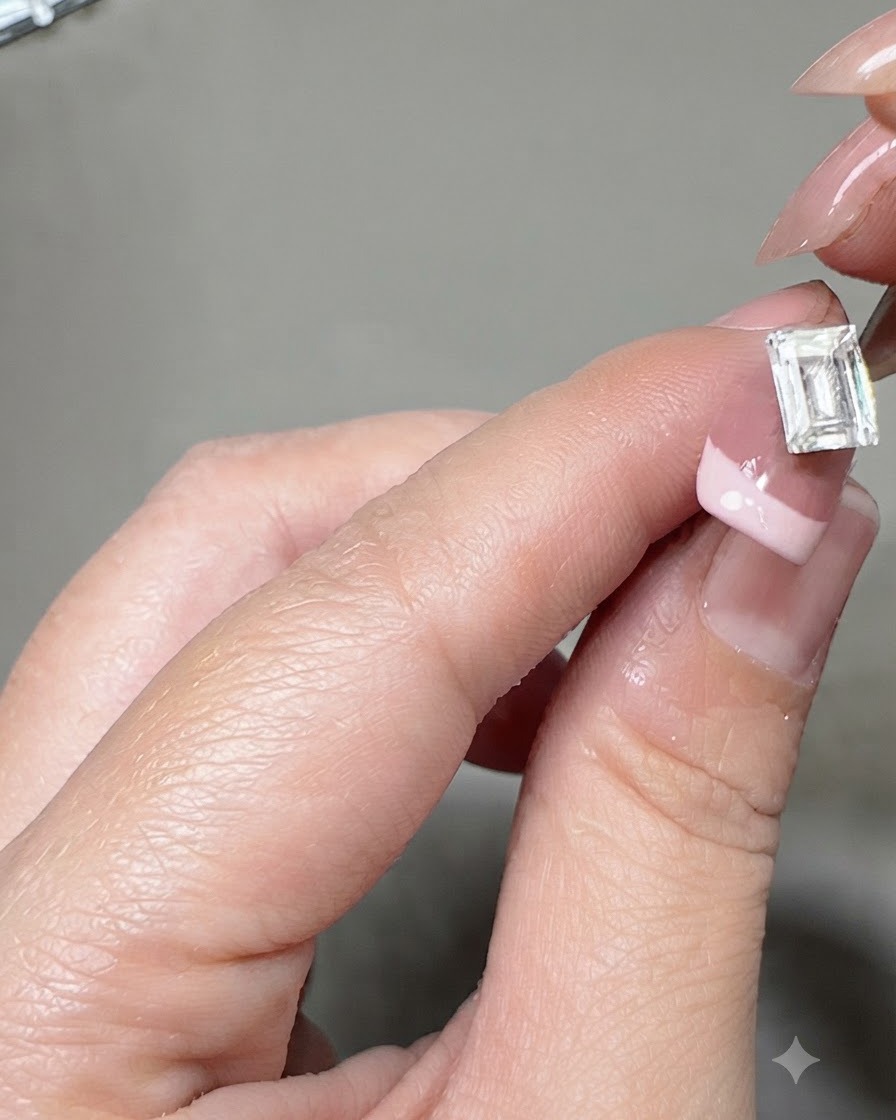
Using a wax pencil or tweezers, pick up a large rectangular crystal gem (often called an ice cube charm) and place it securely onto the center of the prepped middle fingernail over a bead of thick application gel.
Tip: Press the crystal gently into the gel bead to ensure a strong bond and prevent air bubbles underneath. - 12Add matching crystal cluster elements
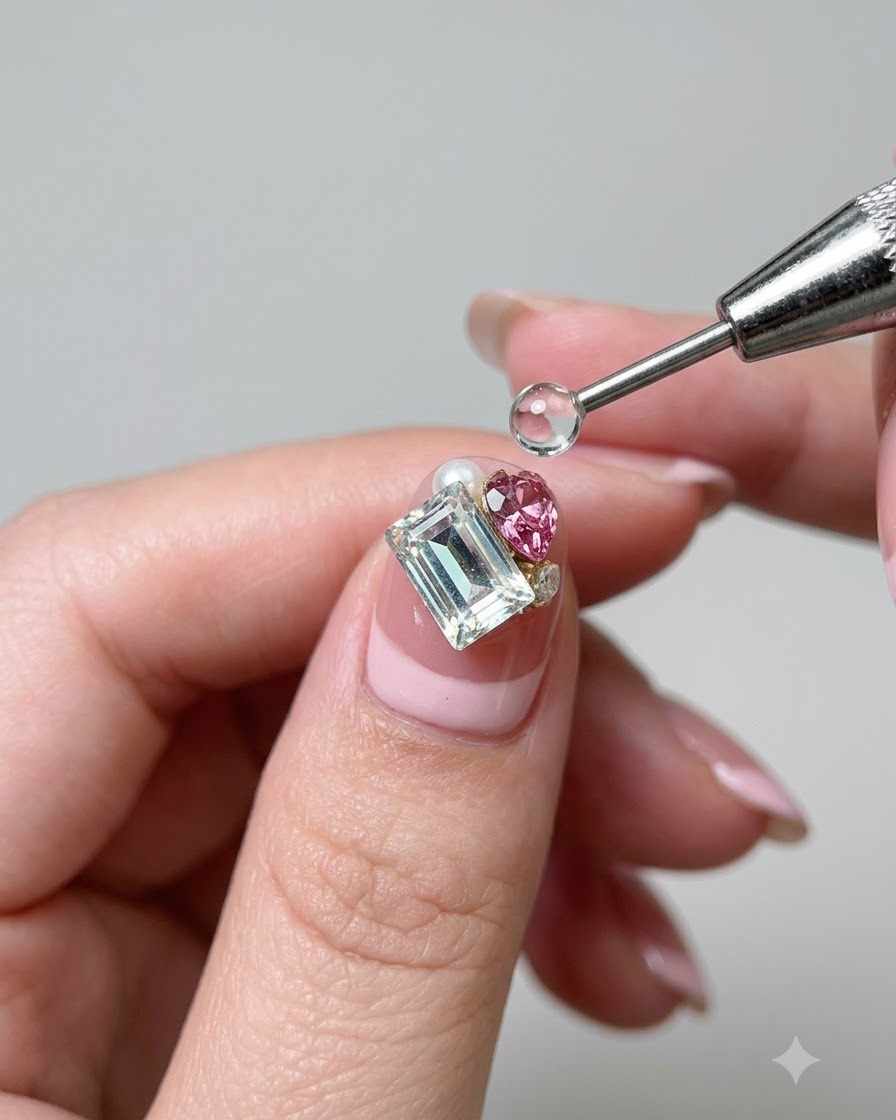
Surround the large central gem by adding a pink heart-shaped crystal, a small pearl, and a tiny diamond ball cluster next to it using a detailing tool. This creates an ornate, high-end jewelry effect on the middle nail.
Tip: Arrange the smaller charms closely around the main crystal to form a cohesive, compact cluster.