Daisy Floral Gel Nail Art — Step-by-Step Spring Tutorial
Create delicate, dimensional hand-painted daisy nails on a chic sage green base using easy brush feathering techniques and textured gel details.
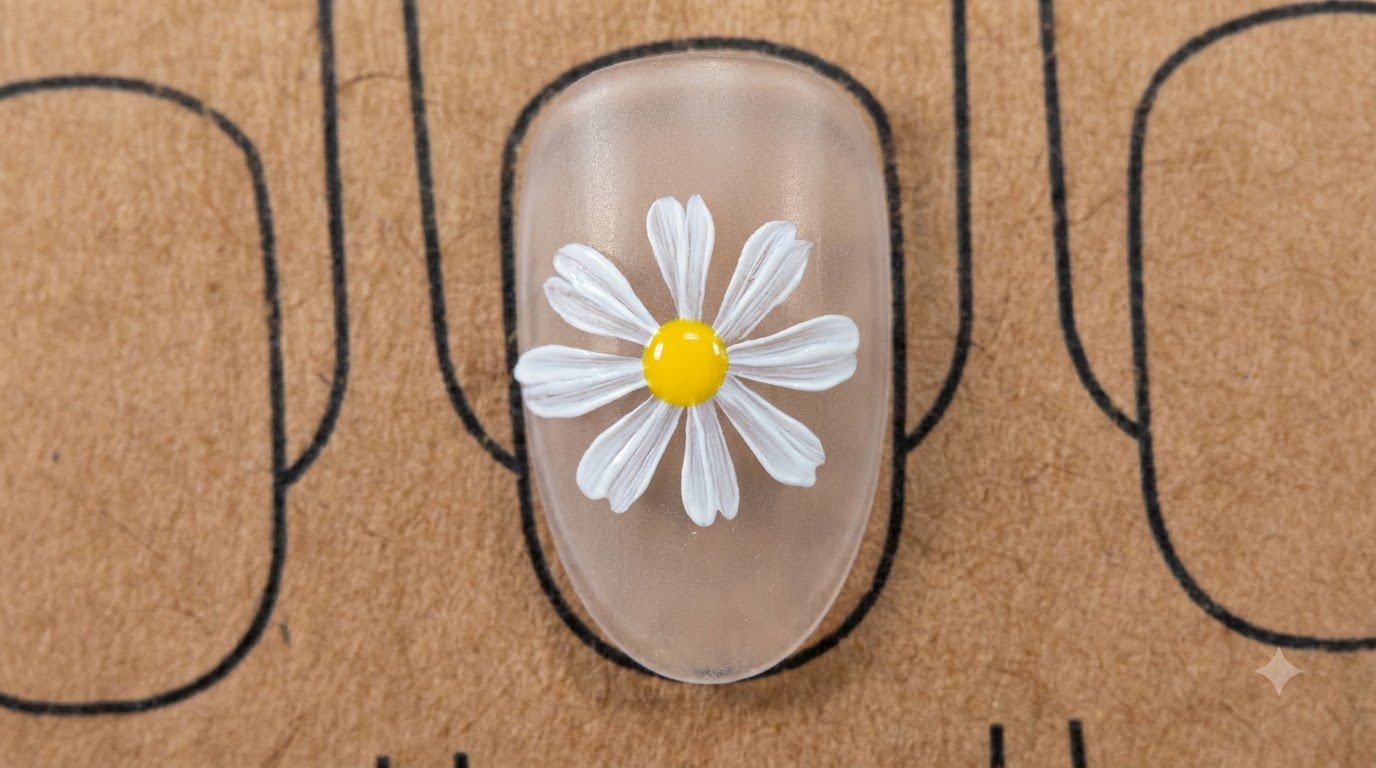
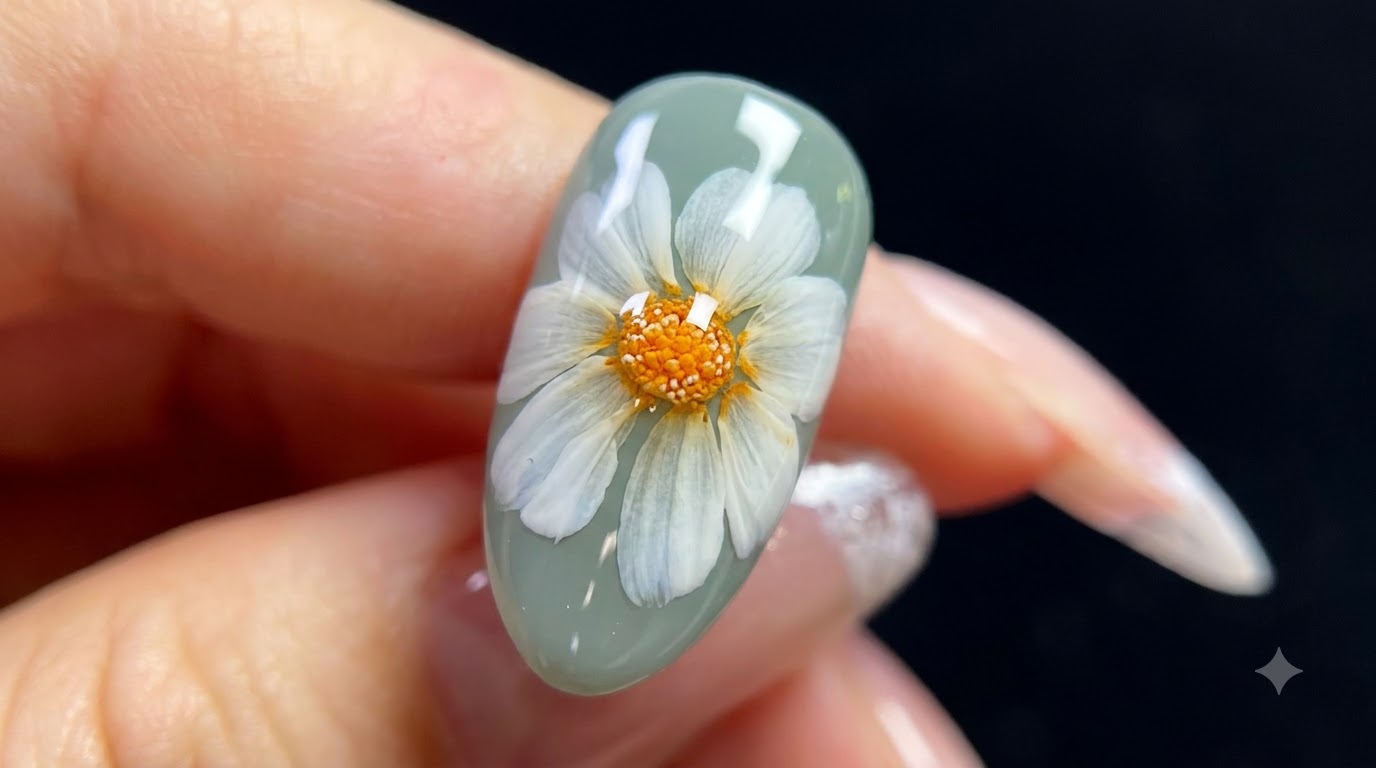
Floral nail art is a perennial favorite, bringing a fresh and organic touch to your manicure. This design pairs a trendy muted sage green base with crisp white daisy petals and a richly textured, dimensional orange-yellow center for a look that is both modern and timeless.
Steps
- 1Apply sage green base coat
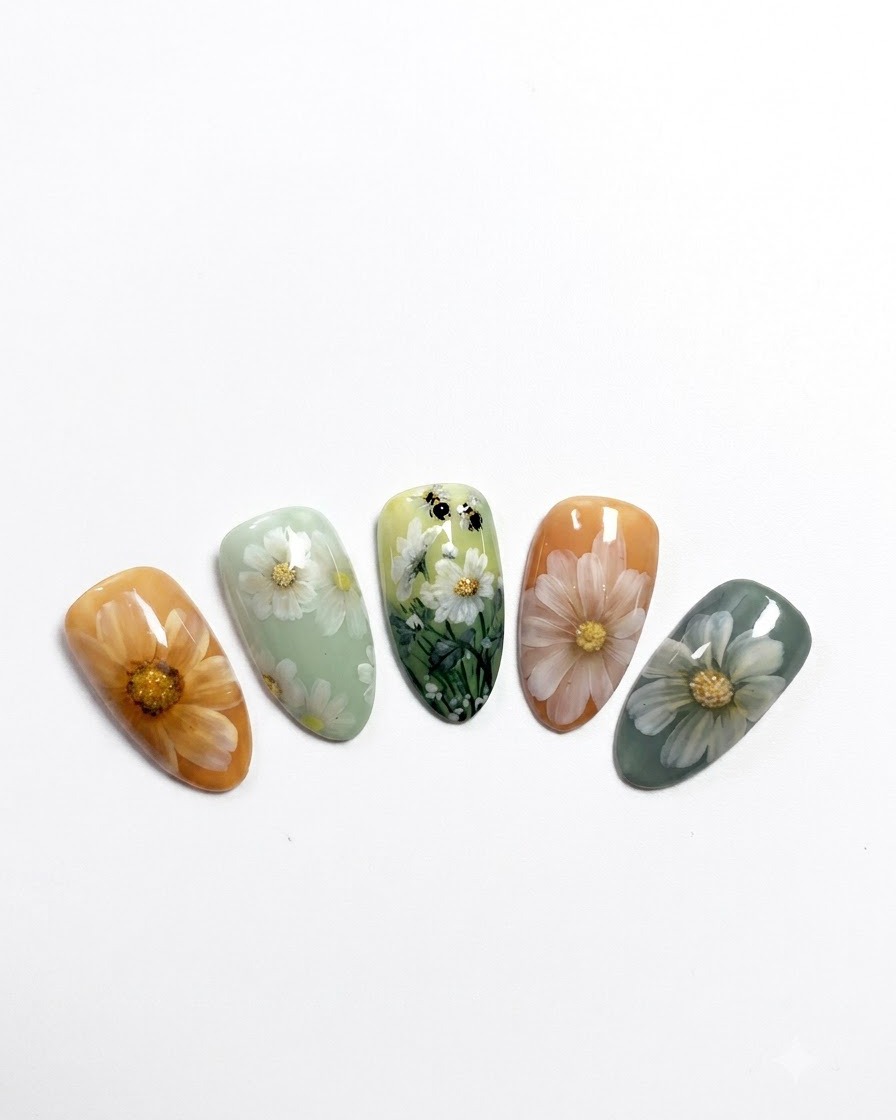
Apply an even base color coat of sage green gel polish across the entire nail surface, ensuring complete coverage. Cure the layer under a UV or LED lamp until the gel is fully set before proceeding to the next step.
Tip: Keep the gel layer thin and even to prevent pooling near the cuticles and ensure proper curing. - 2Place initial petal gel dots
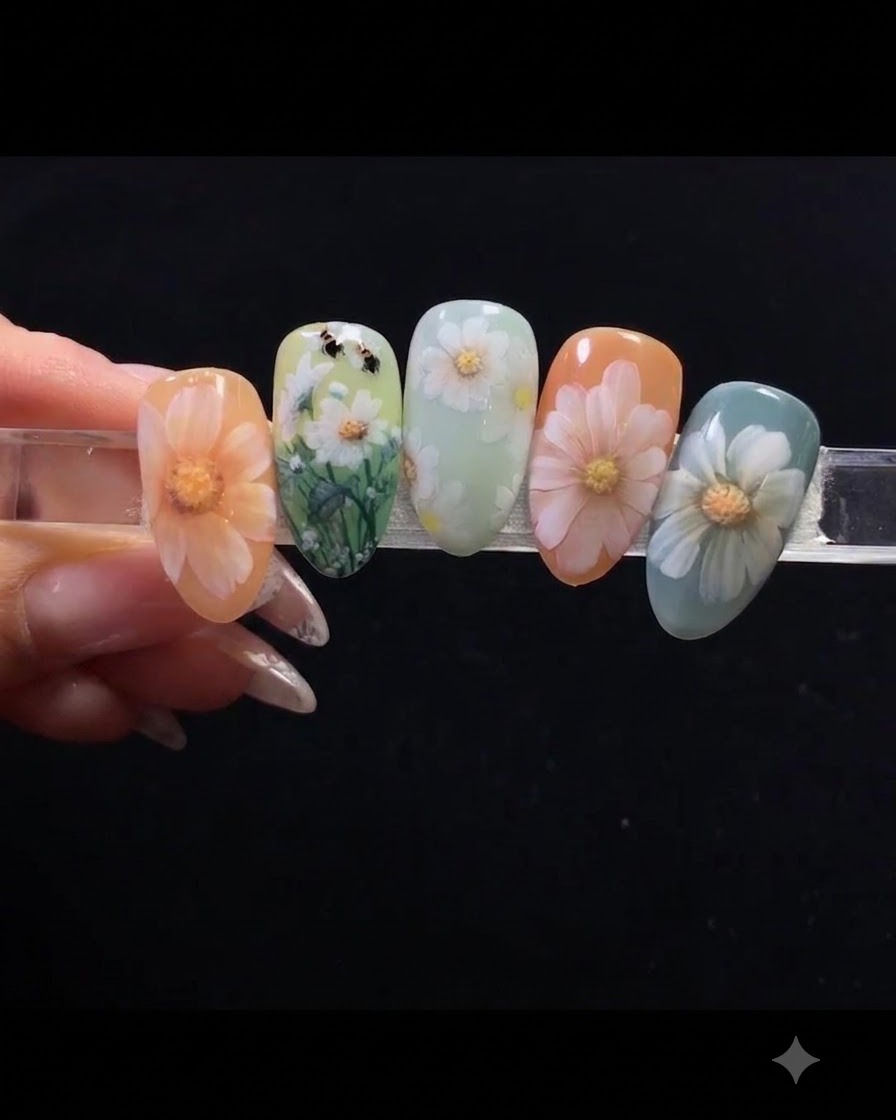
Load a fine round brush with white gel polish and dab small points onto the painted nail surface to outline the initial bases for the daisy petals. Arrange them in a circular pattern to map out the flowers placement.
Tip: Do not overload the brush with too much gel to maintain clean shapes for each petal base. - 3Complete the circular petal layout
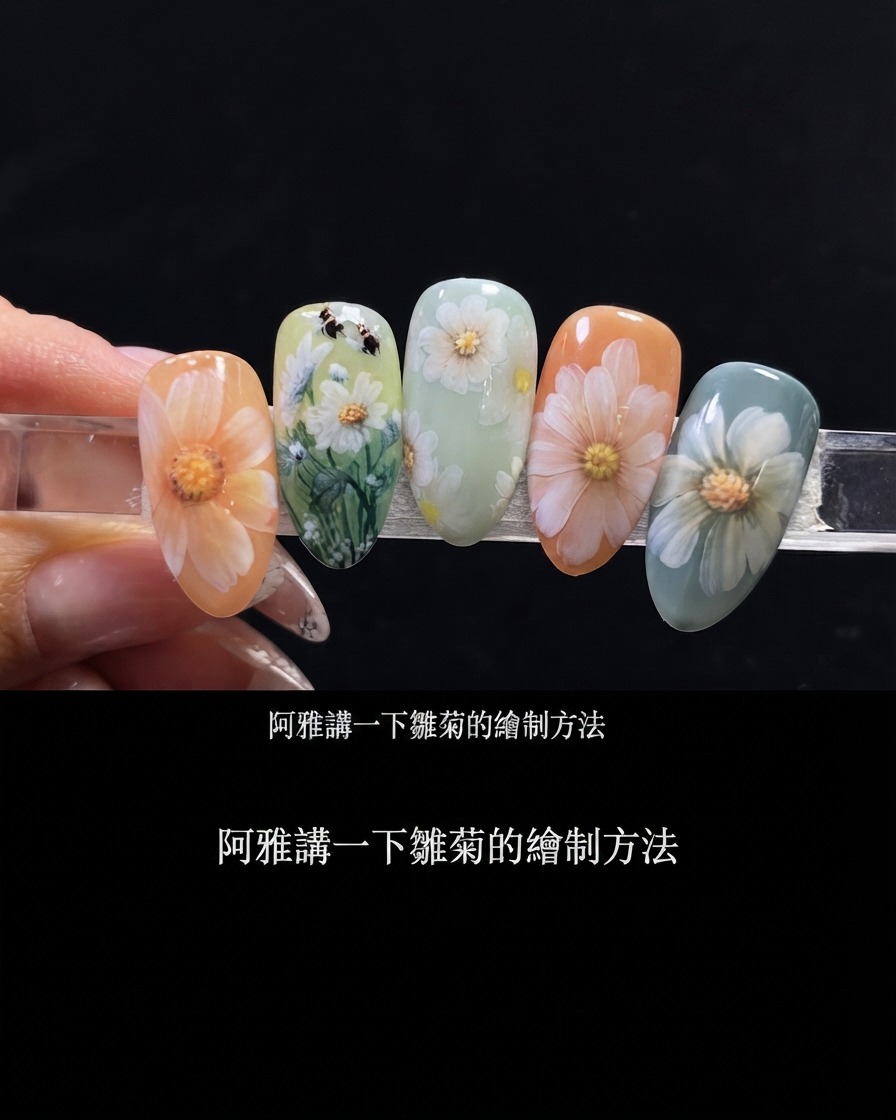
Continue placing additional dabs of white gel around the central point to fill out the full circular arrangement of the flowers petals. Ensure the layout is balanced before shaping.
Tip: Keep spacing consistent between the dots so the finished flower looks natural and well-proportioned. - 4Shape petals inward
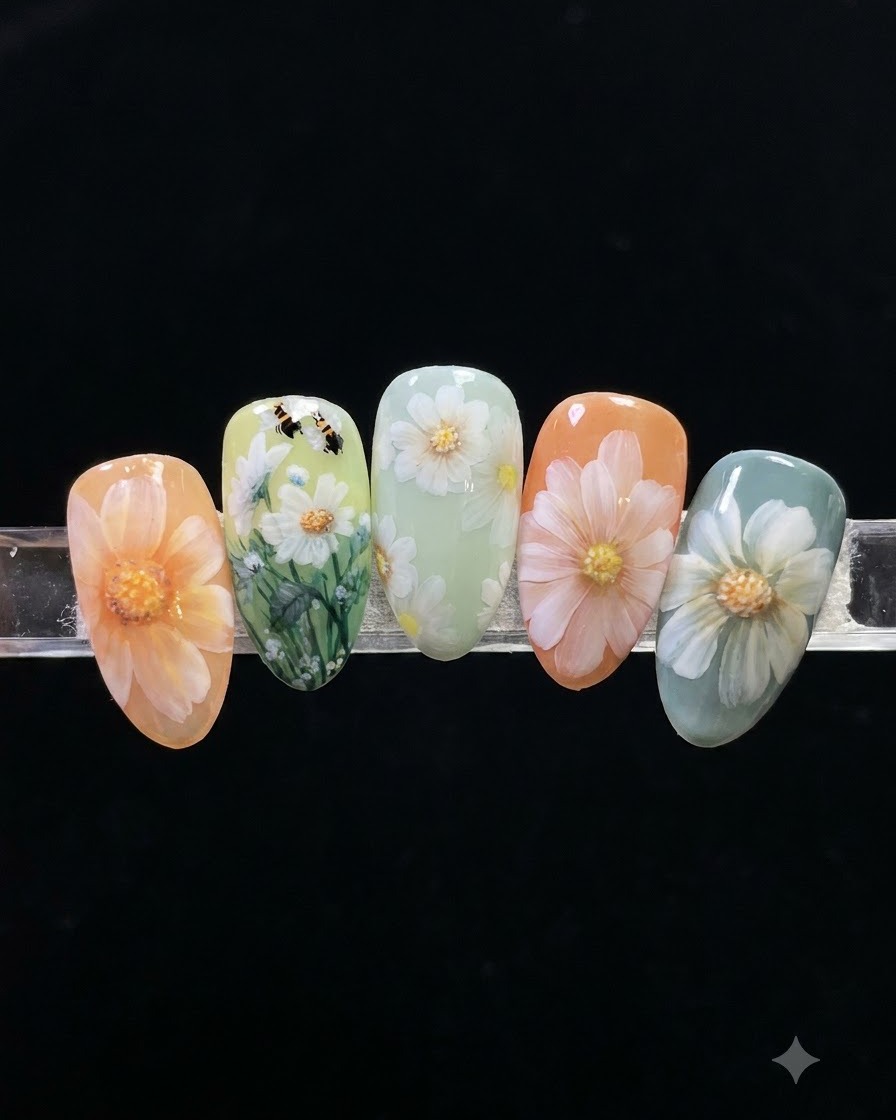
Lightly press the tip of your brush into each white gel dot and pull the product inward toward the center of the flower. This creates the tapering length characteristic of daisy petals.
Tip: Use a very light touch to avoid wiping away too much gel; you want to stretch and feather the pigment. - 5Refine petal tapers
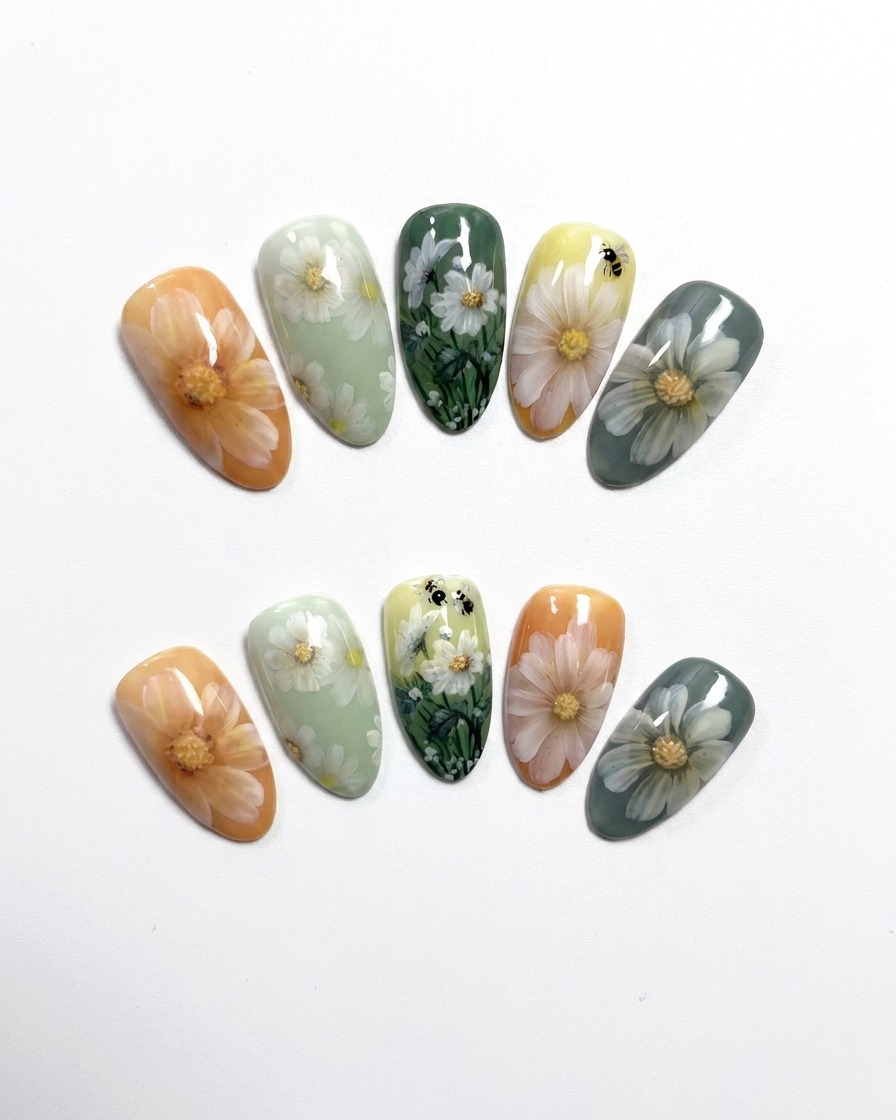
Slowly lift the brush off the nail surface as you finish the inward stroke to create a sharp, clean taper at the tip of each petal. Repeat this motion around the flower to define all petals clearly.
Tip: Wipe your brush clean between strokes if excess gel builds up, ensuring crisp edges on every petal. - 6Soften shapes and cure
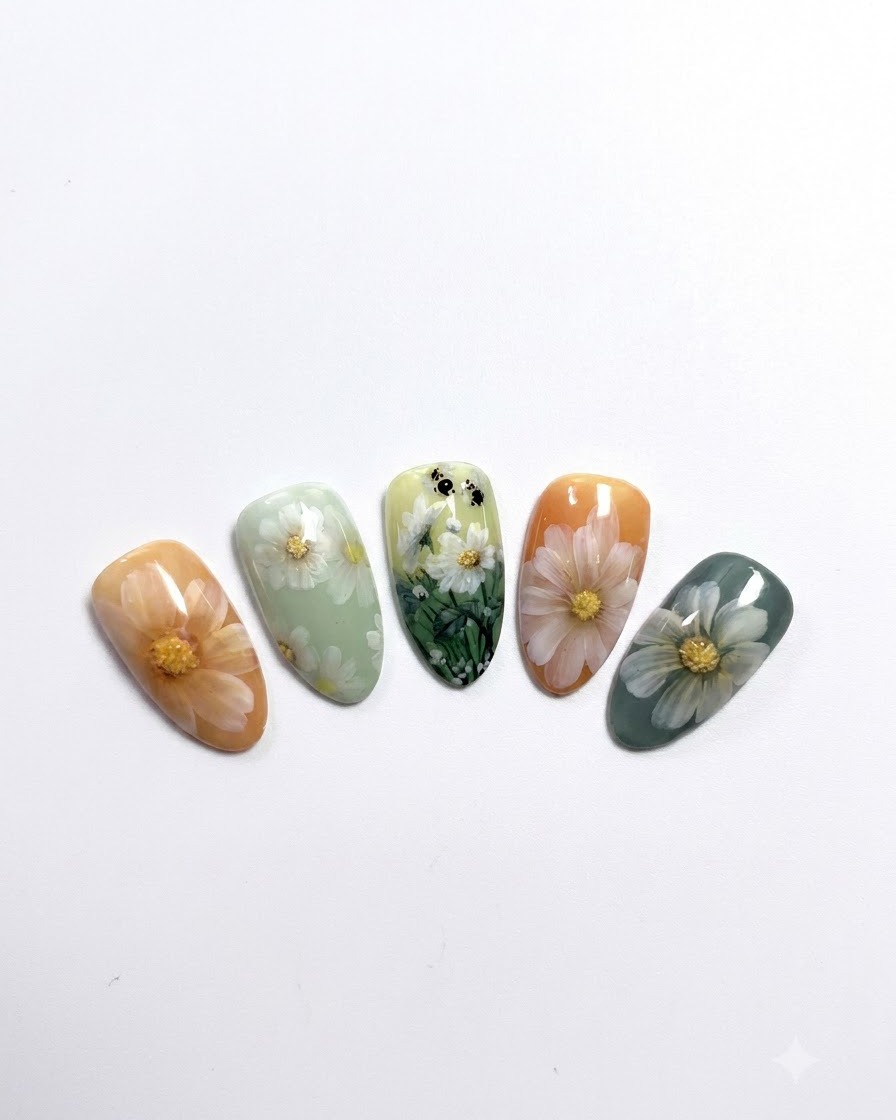
Make any final light adjustments to ensure the petal shapes look soft and natural. Once satisfied with the floral arrangement, place the hand under the UV or LED lamp to cure the design.
Tip: Check that all petals look balanced and relaxed before curing to lock in the final design. - 7Apply translucent orange gradient
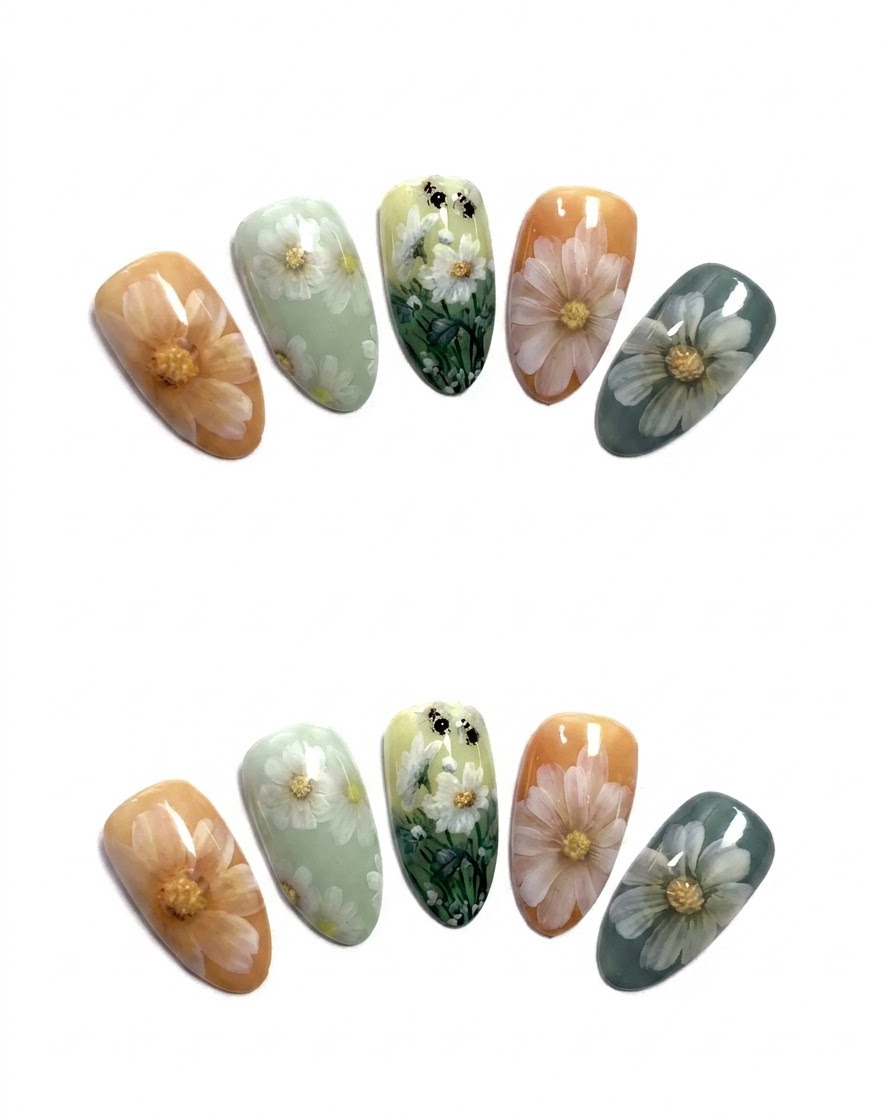
Apply a translucent orange gel to the center of the daisy flower to establish a soft and warm gradient effect.
Tip: Use a light touch to keep the gradient soft and blended. - 8Add vibrant yellow detail
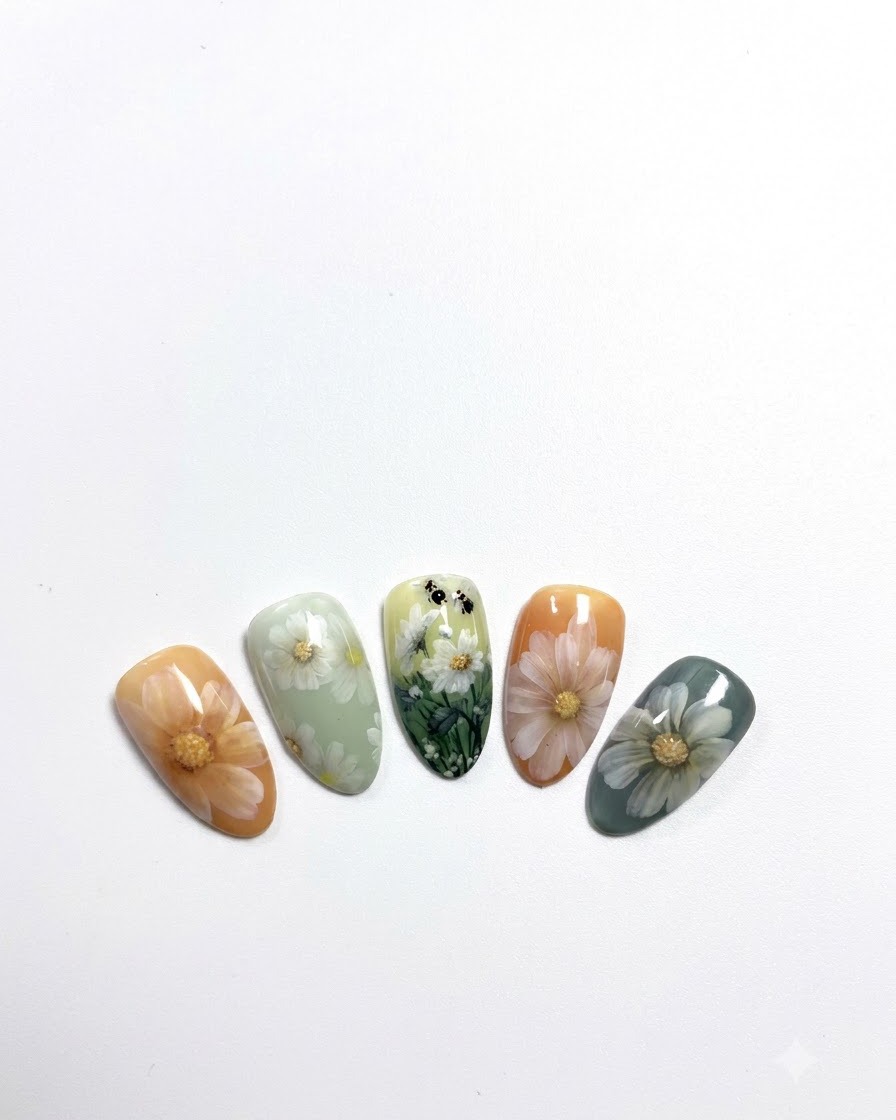
Layer vibrant yellow gel directly onto the center of the flower to enhance detail and create depth.
Tip: Keep the yellow concentrated in the middle of the orange gradient. - 9Add texture dots
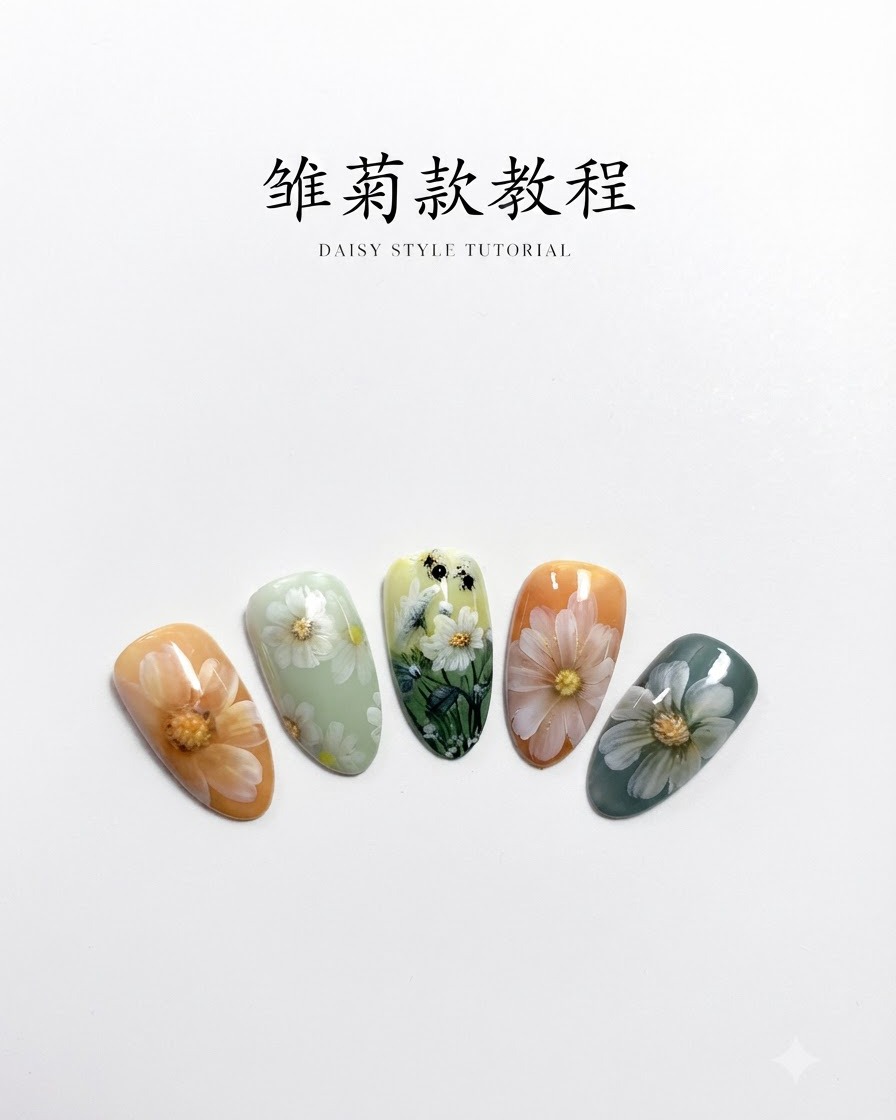
Using a fine liner brush, carefully dab small yellow dots across the center of the flower to create a realistic textured appearance.
Tip: Dab lightly with the tip of the liner brush for consistent dot sizes. - 10Apply a clear top coat
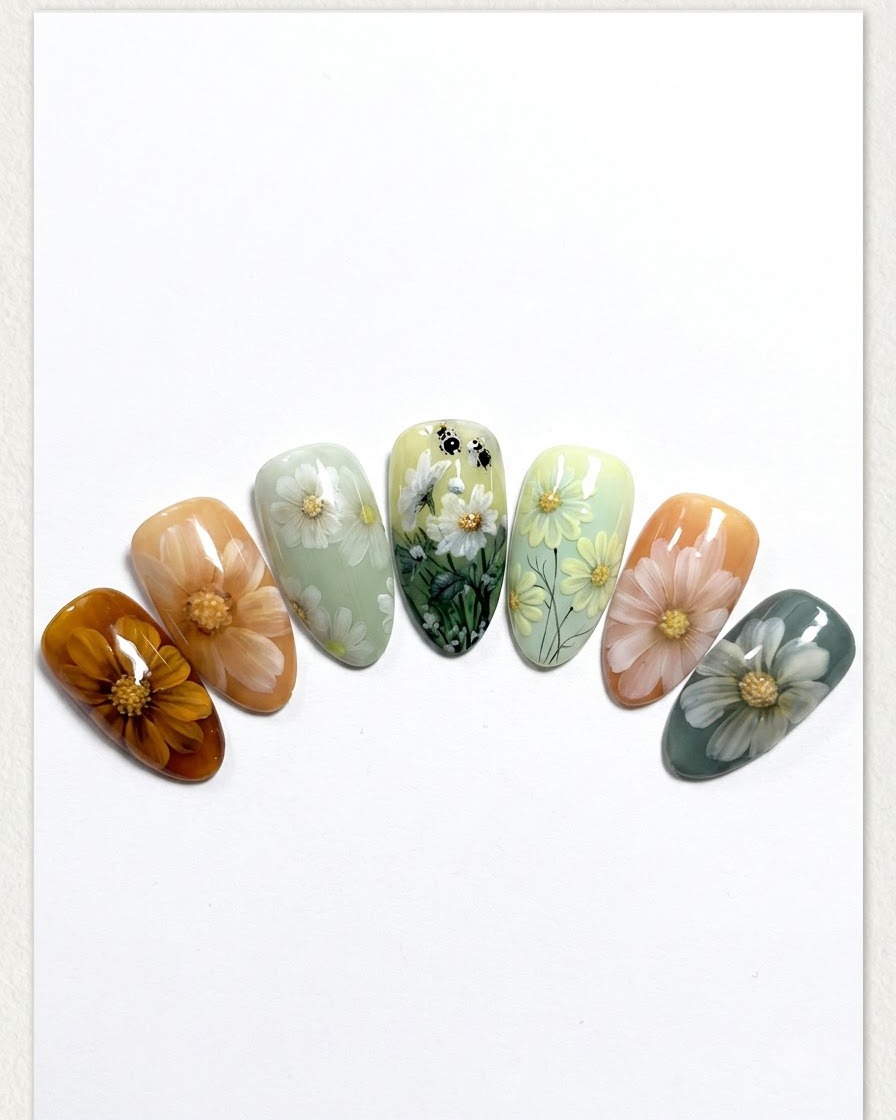
Apply a generous layer of clear, no-wipe top coat over the entire surface of each nail to seal in the hand-painted daisy art and protect the gradient. Ensure the free edge is capped thoroughly. Cure fully under your UV or LED lamp to achieve a durable, high-gloss finish.
Tip: Cap the free edge carefully with top coat to prevent chipping and seal the entire painted design against wear.