Spring Dried Flower Ice-Transparent French Nails — Step-by-Step Tutorial
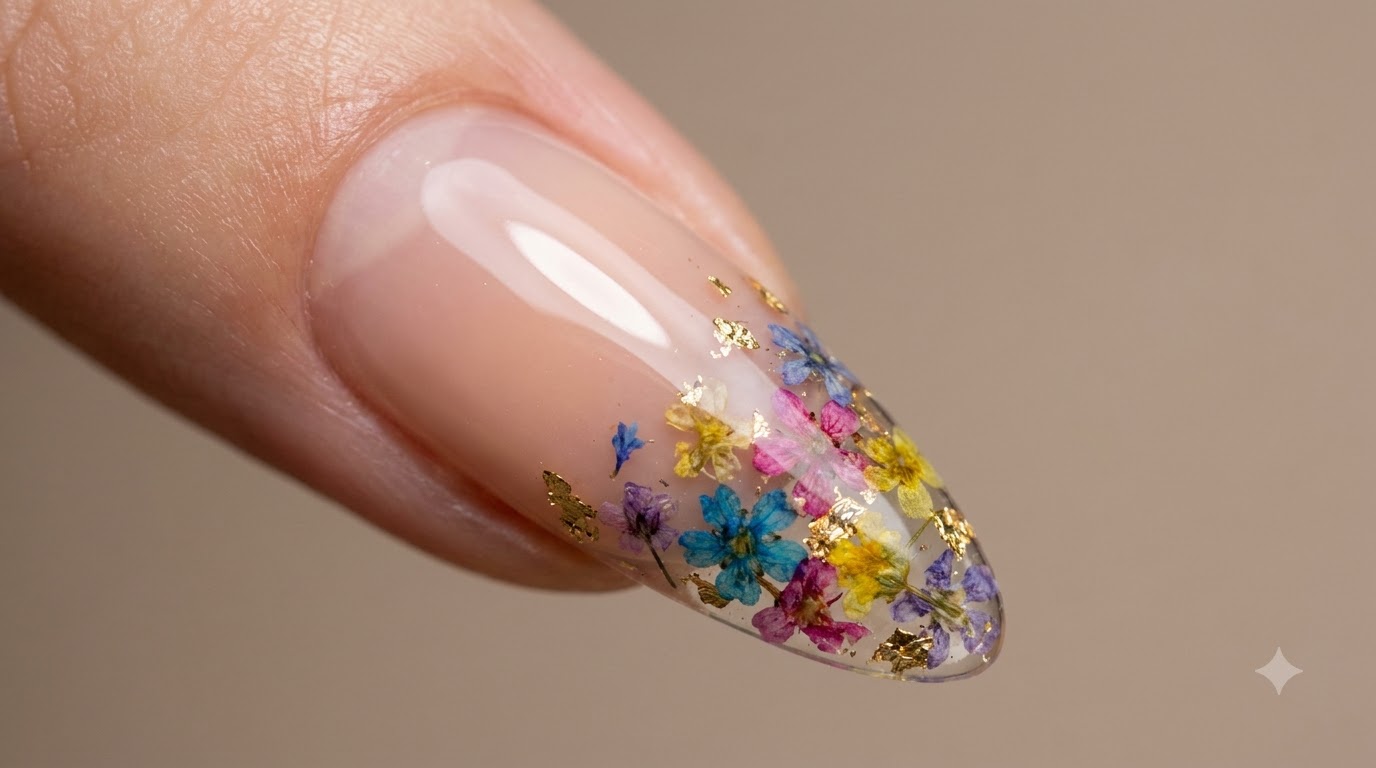
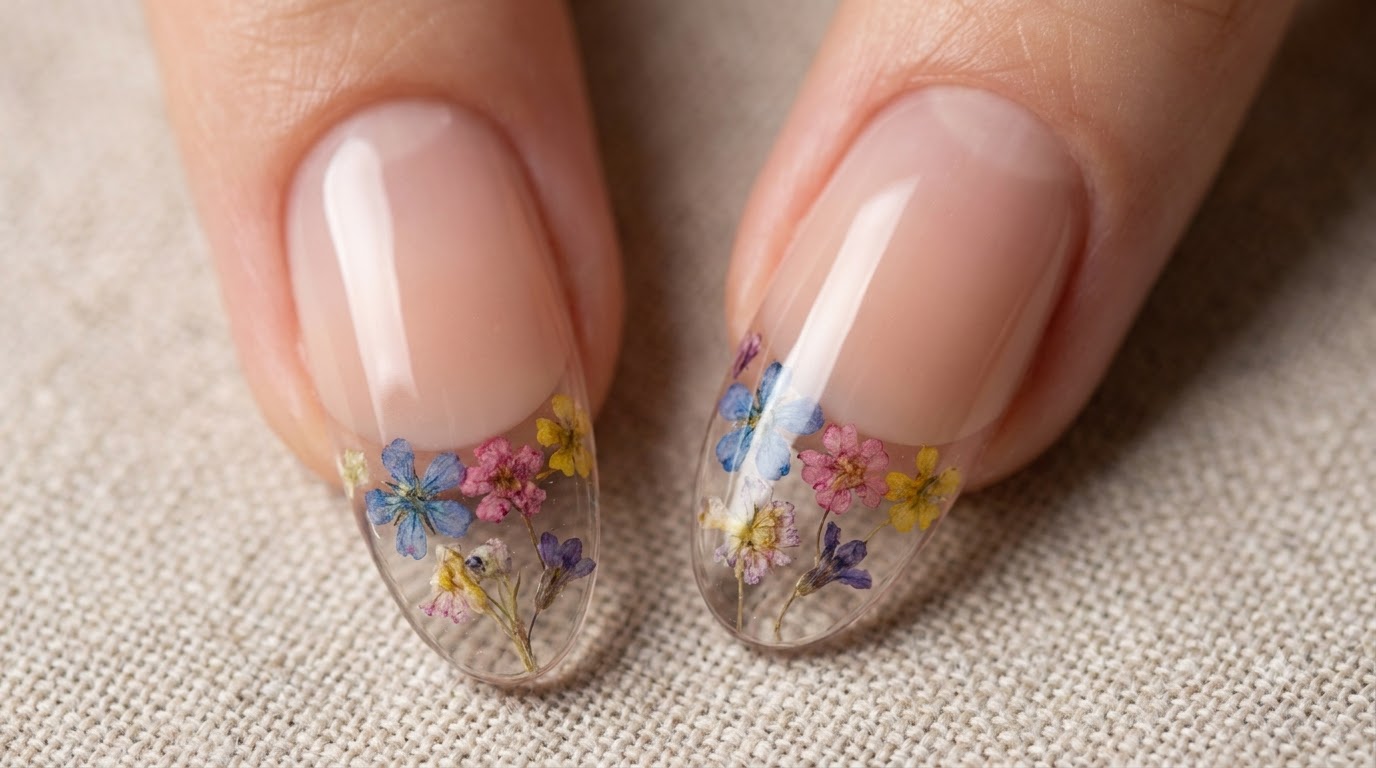
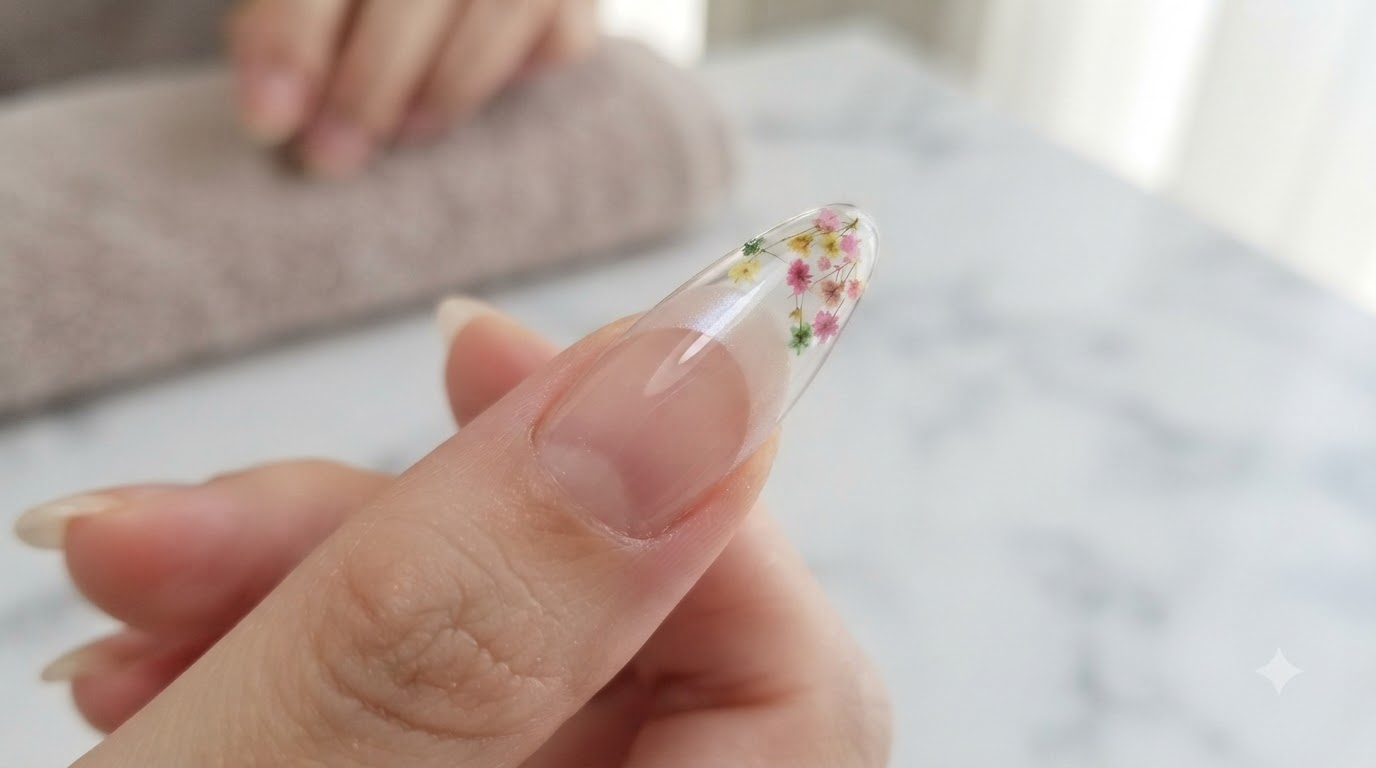
Create a stunning spring-inspired nail look featuring delicate dried flowers encapsulated in an ice-transparent French tip with a soft gradient powder effect.
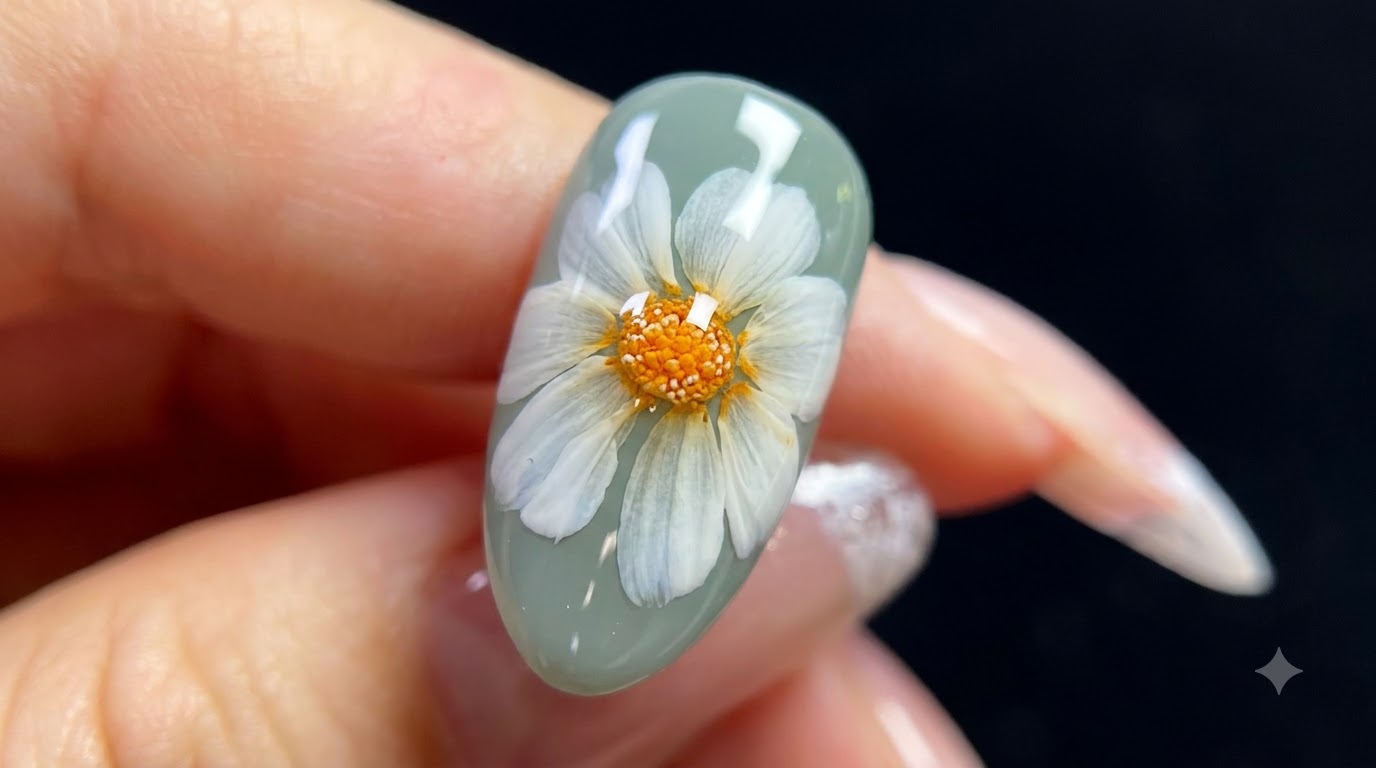
The spring dried flower ice-transparent French nail style is a delicate and elegant look perfect for the new season. By combining encapsulating techniques with a soft rub-on powder gradient, this design offers a sophisticated twist on the classic French manicure. The sheer, glass-like finish beautifully highlights the pressed florals for a deeply romantic aesthetic.
Steps
- 1Apply universal base coat
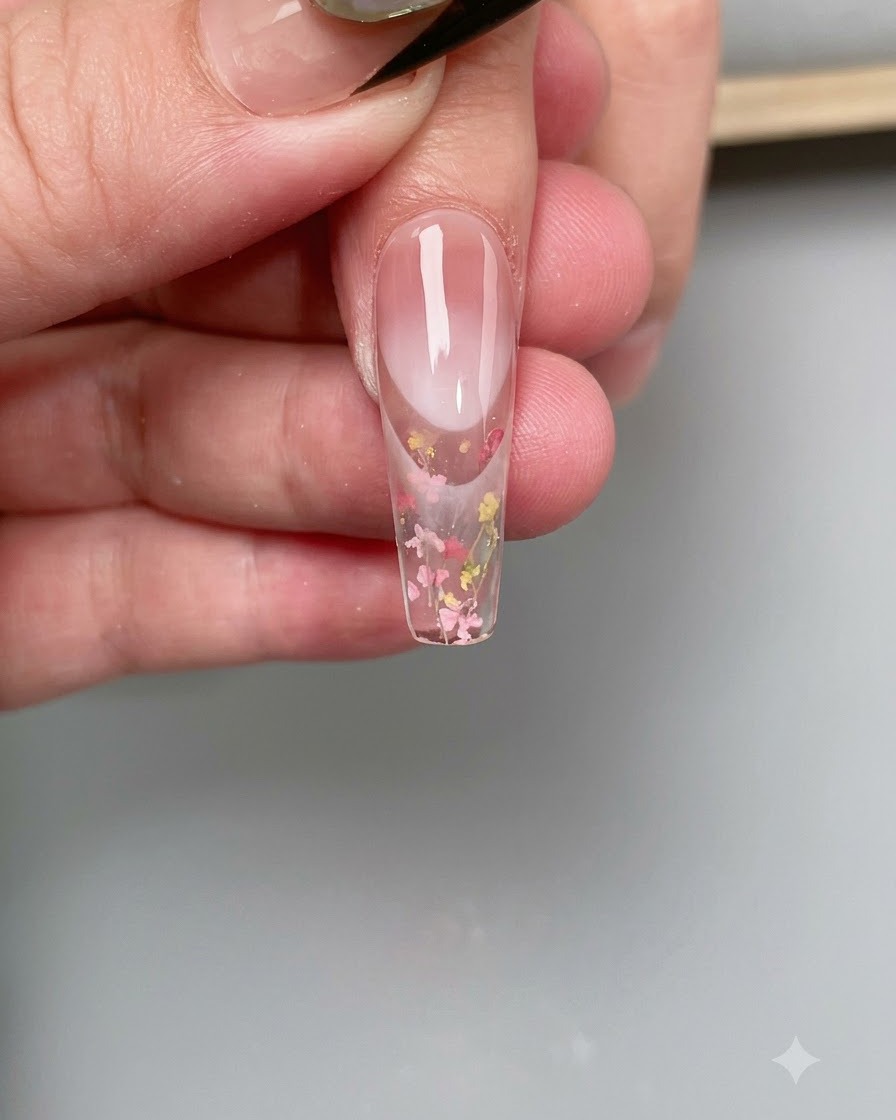
Apply a layer of universal base coat evenly across the clear nail tip to create a secure foundation for subsequent layers. Ensure complete coverage from the cuticle area down to the free edge without flooding the surrounding skin. Cure under a UV or LED lamp as specified.
Tip: Applying an even and thin coat prevents pooling and ensures proper adhesion across the entire nail surface. - 2Apply gradient at the cuticle
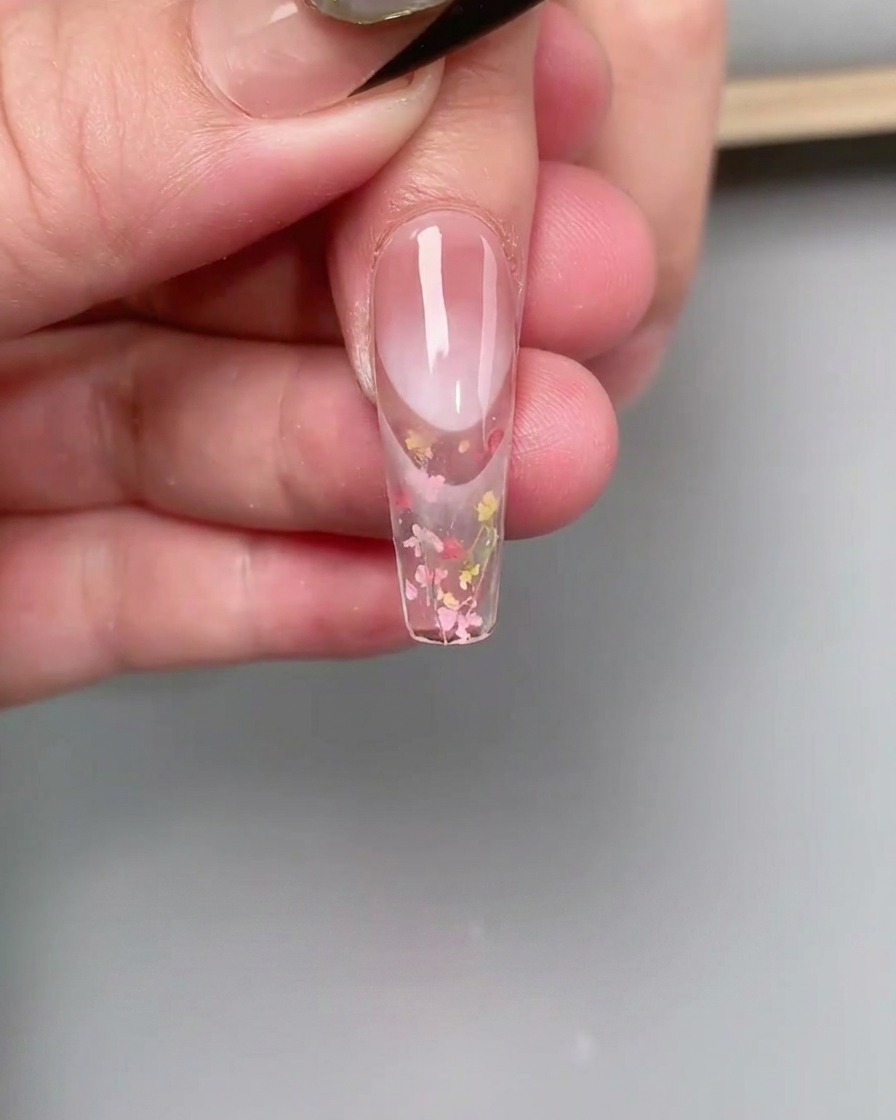
Using shade 05 gel, apply the color to the rear edge of the nail near the cuticle. Use a fine liner or gradient brush to gently pull the color downward, creating a seamless ombre effect that fades into the clear center.
Tip: Blend the gel while it is wet for a smooth transition, ensuring the color is most opaque at the cuticle. - 3Cure the gradient color layer
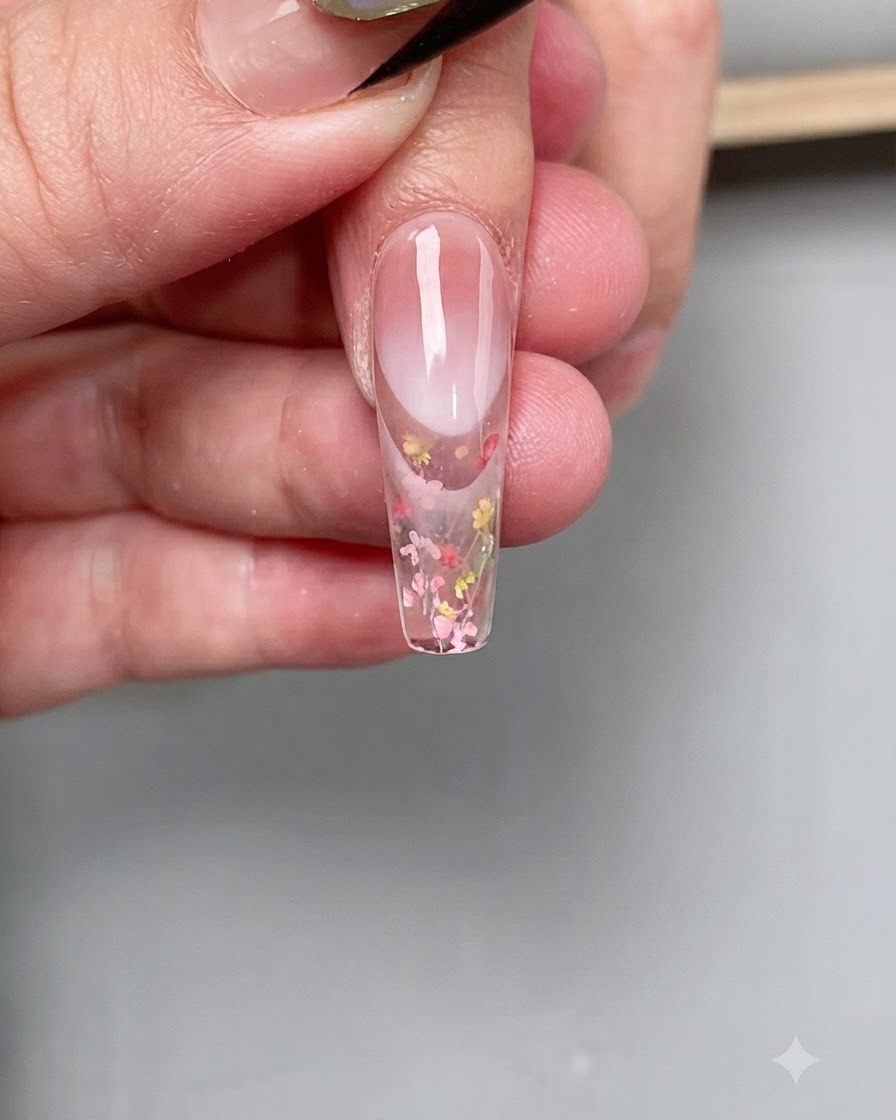
Place the nail under the UV or LED lamp to cure the newly applied gradient color layer. Ensure the hand is positioned correctly inside the lamp for uniform light distribution. Follow the recommended curing time to fully set the gel.
Tip: Do not rush the curing time, as incomplete curing can cause wrinkling or poor adhesion of subsequent layers. - 4Apply base gel to the front zone
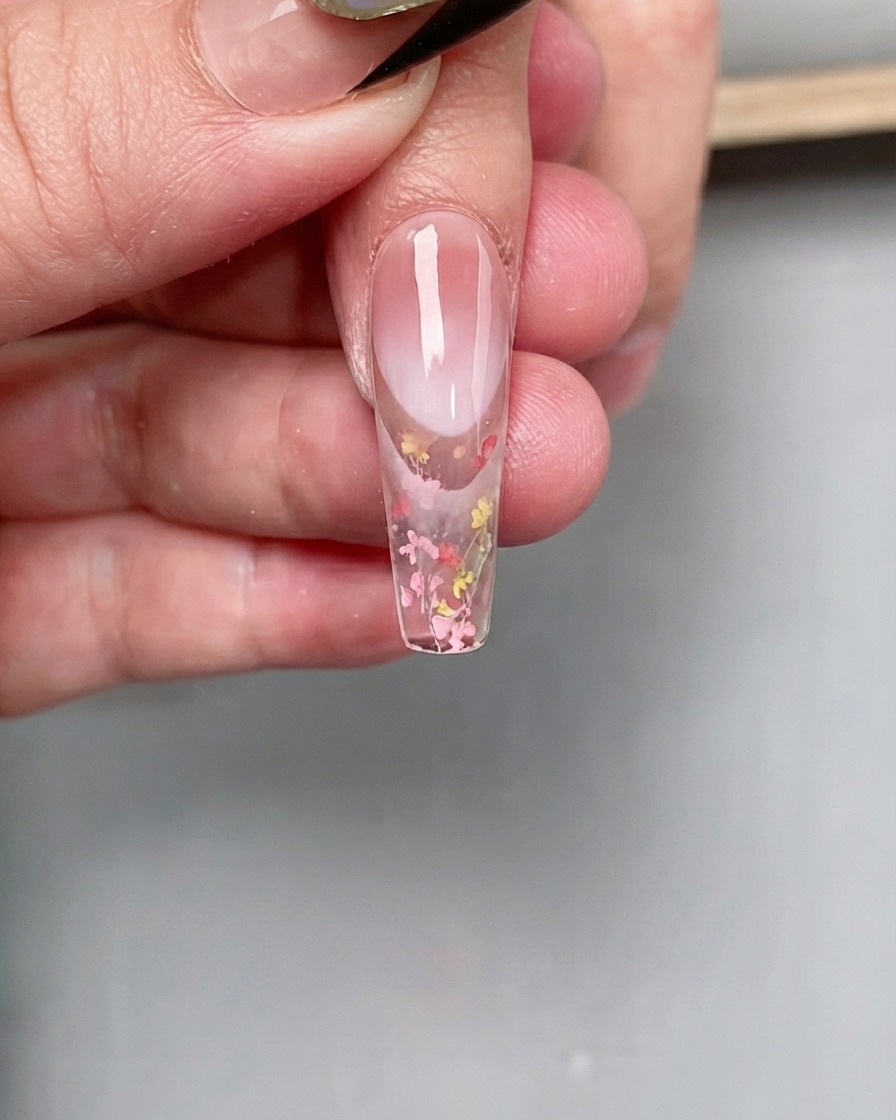
Apply a controlled amount of base gel specifically to the front zone of the nail where the dried flower decorations will be placed. This creates a tacky surface that holds the decorative elements securely in position before curing. Keep the layer clean and well-defined.
Tip: Apply just enough base gel to anchor the flowers without creating excessive bulk that requires filing later. - 5Place small dried flowers
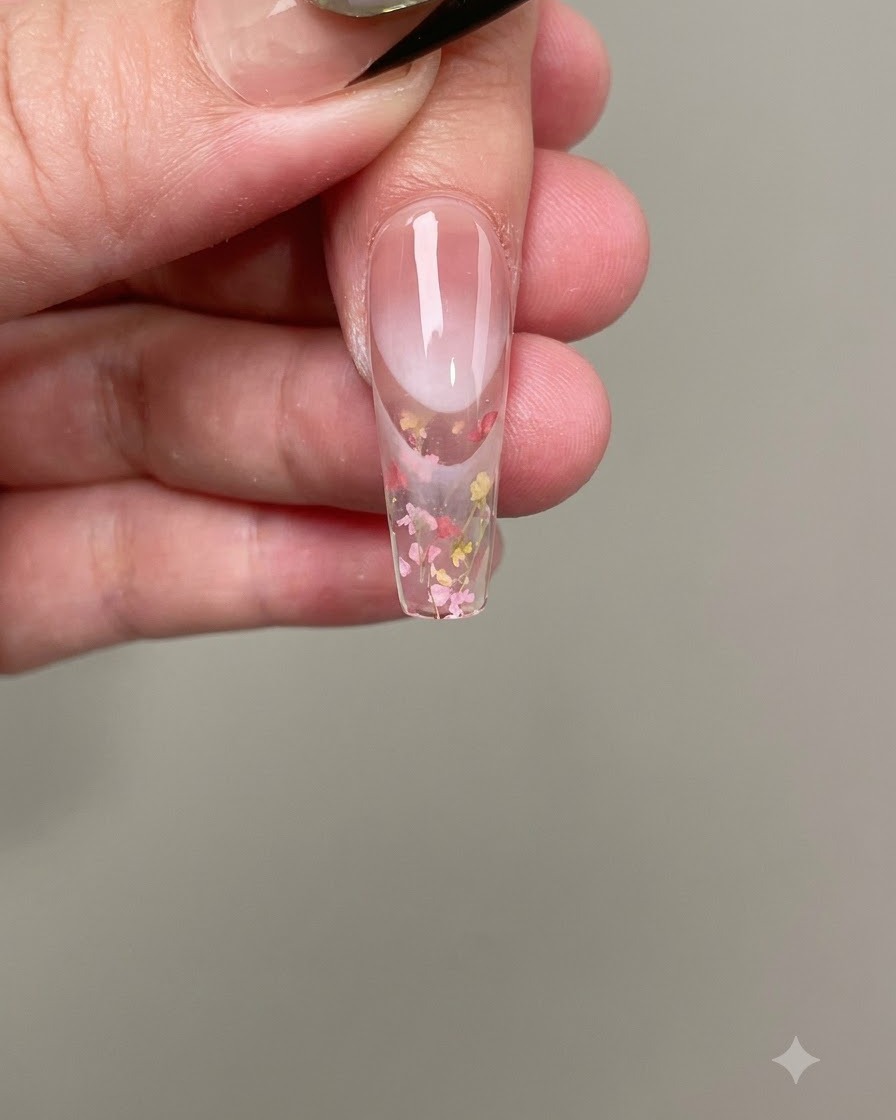
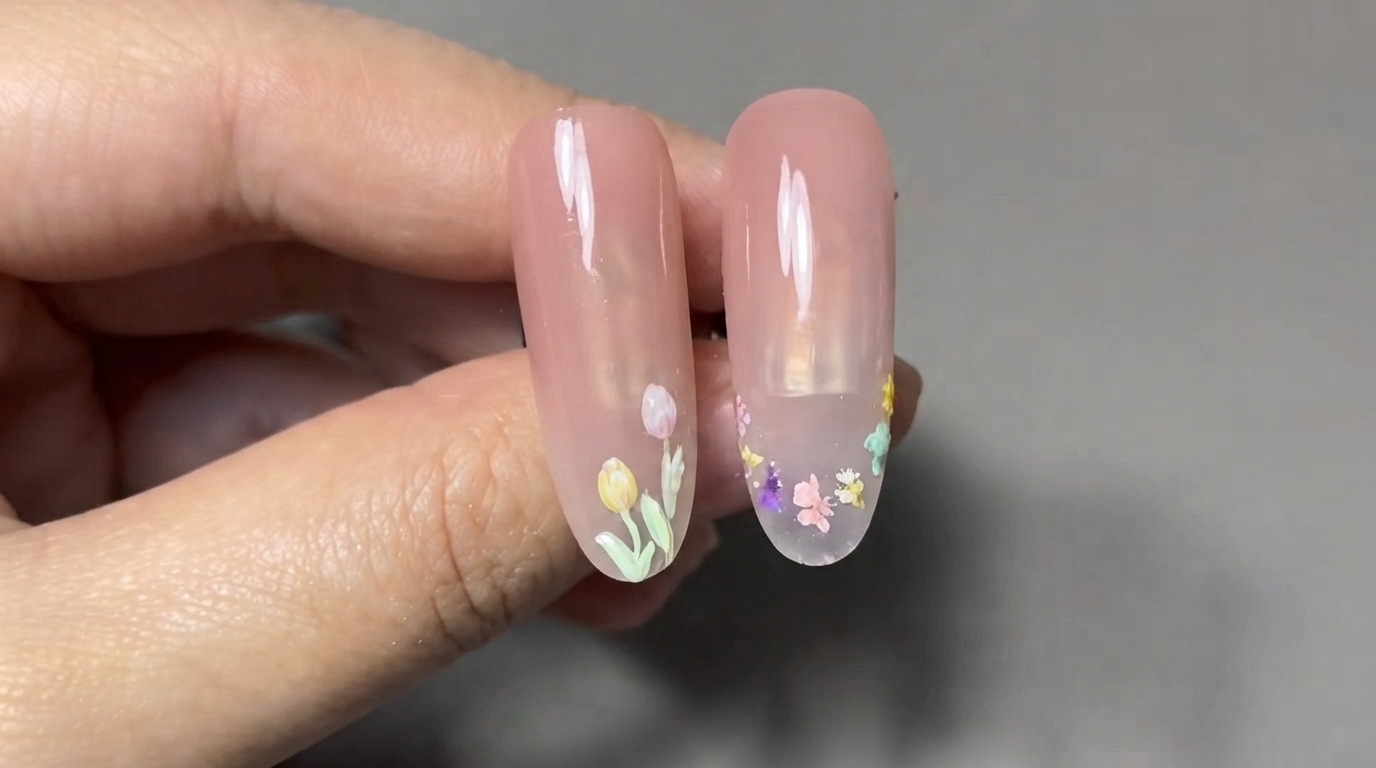
Using precision tweezers, pick up small dried flowers and gently press them into the wet base gel on the front zone of the nail. Arrange them carefully to achieve an aesthetically pleasing composition. Work deliberately while the gel is still uncured.
Tip: Handle delicate dried flowers gently with fine-tip tweezers to avoid tearing or damaging their petals. - 6Arrange and press dried flowers
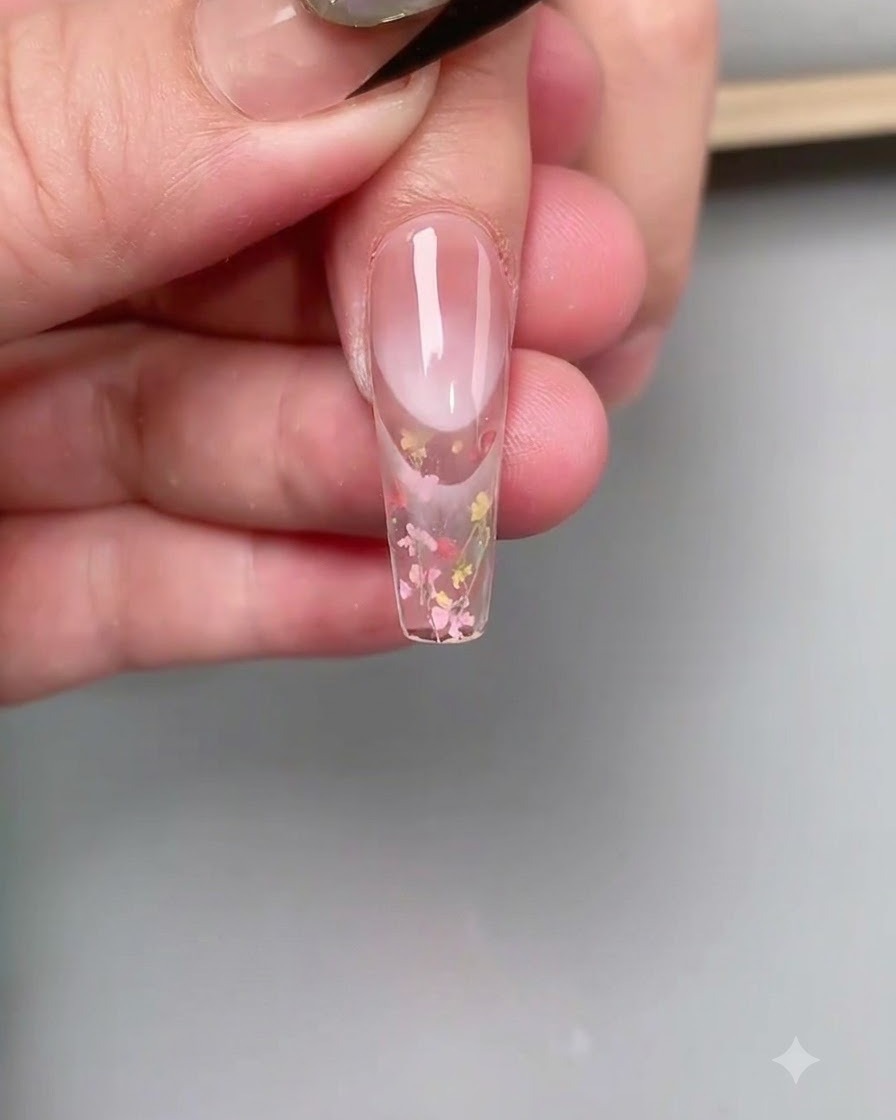
Take a fine brush dampened slightly with base gel or alcohol to adjust, flatten, and arrange the dried flowers into the desired layout. Press each flower down firmly so it lies flat against the nail surface without lifting edges. This ensures a smooth encapsulation in later steps.
Tip: Pressing the flowers completely flat prevents high spots that can catch on clothing or cause bumps under top coat. - 7Cure the dried flower design
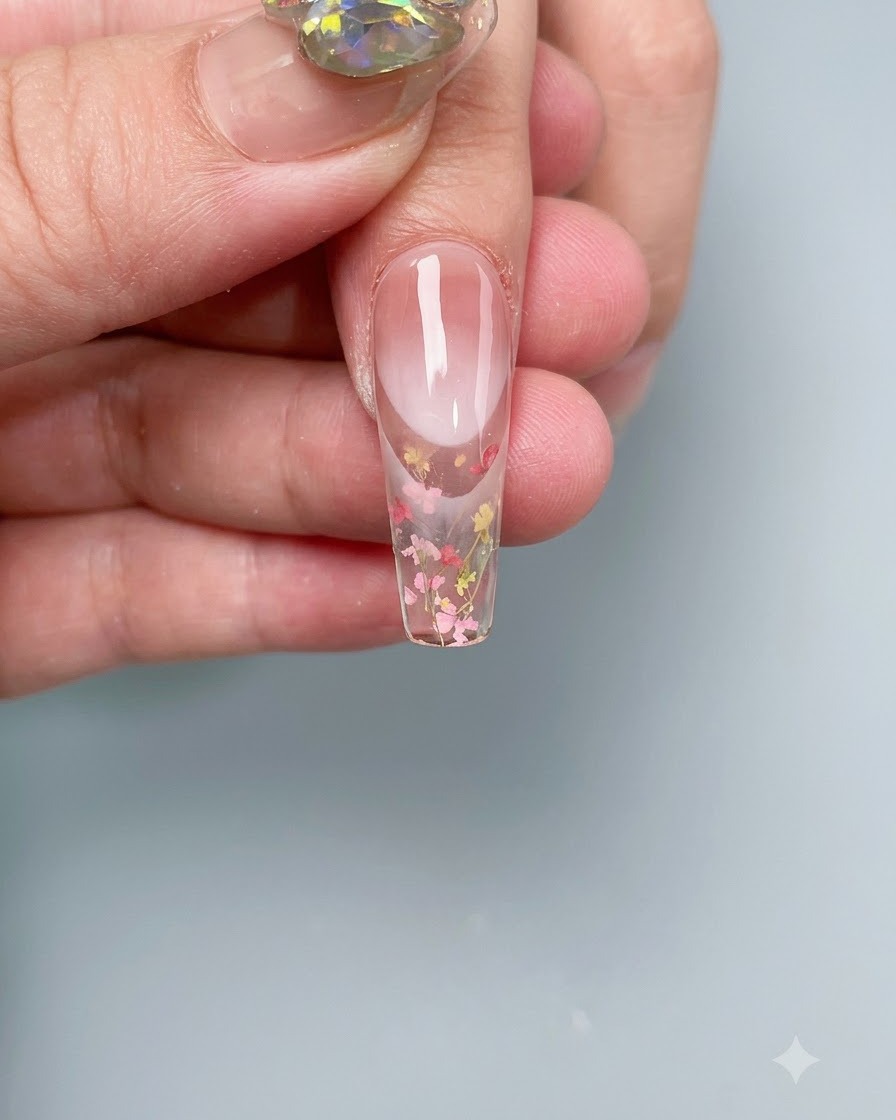
Place the nail into the UV or LED lamp to cure the base gel holding the arranged dried flowers. This locks the floral composition securely in place so it will not shift during subsequent top coat and finishing steps. Ensure complete curing according to product guidelines.
Tip: Ensure the flowers are completely flattened before curing so they do not catch light improperly under the lamp. - 8Apply diamond top coat to the tip
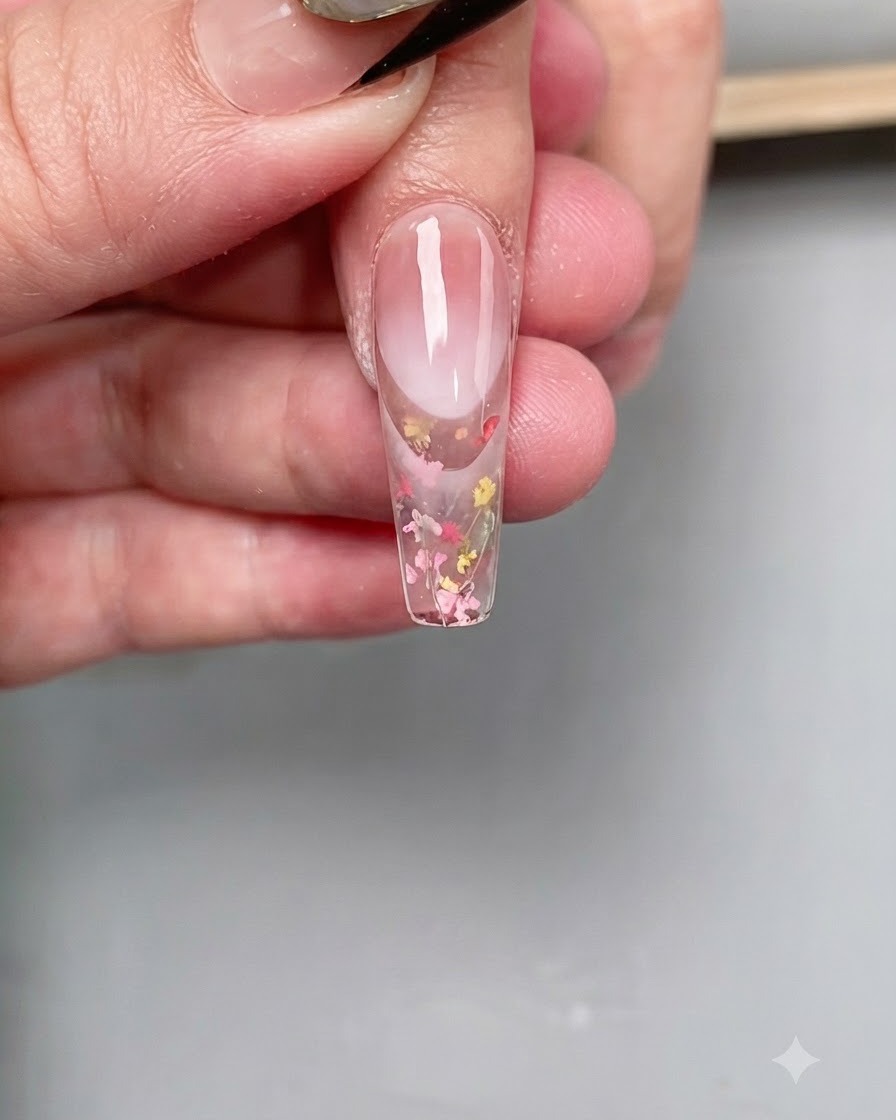
Carefully apply a diamond top coat specifically to the nail tip area where the French design will be built. This provides a smooth, durable foundation for the upcoming steps and helps protect the lower layers. Ensure the application is neat and precise before proceeding to cure.
Tip: Focus the application only on the tip area to maintain the structured multi-layer design without flooding the lower nail bed. - 9Cure the diamond top coat
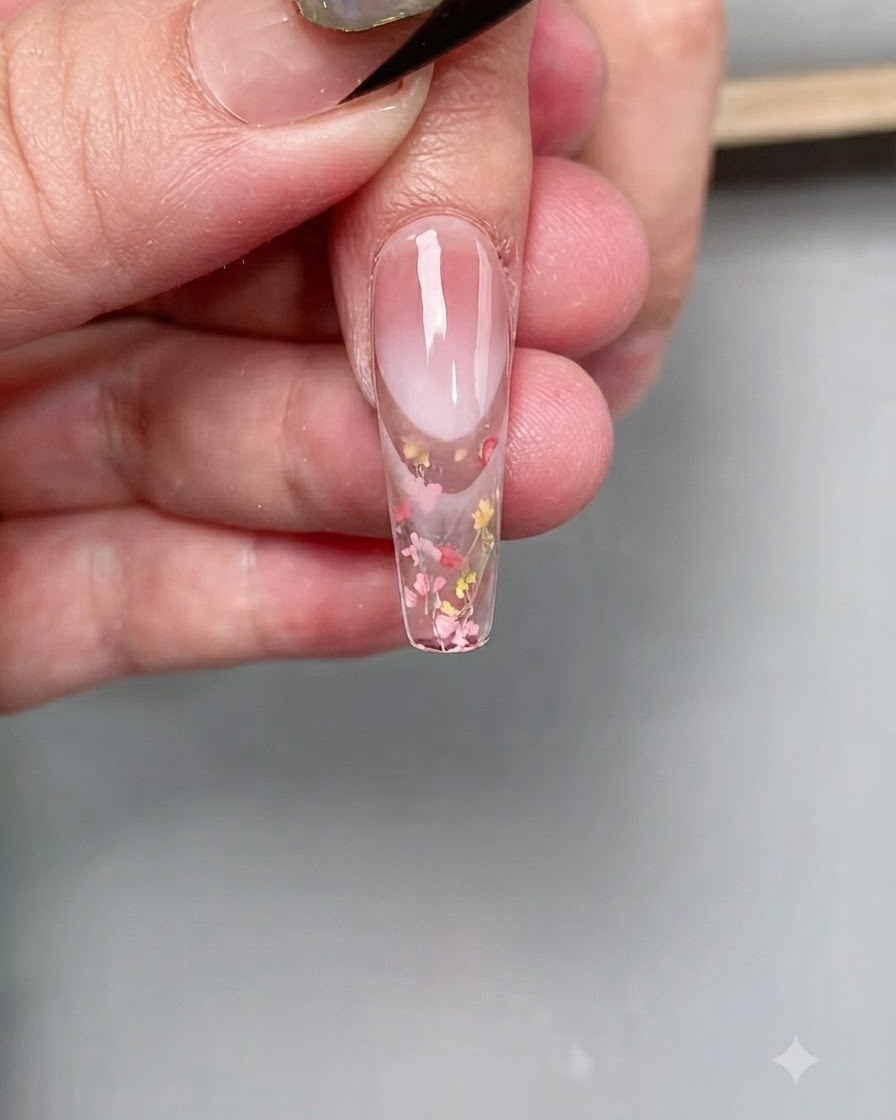
Place the nail under the UV or LED lamp to cure the diamond top coat applied to the tip. Follow your lamp manufacturers recommended curing time to ensure the top coat hardens completely. This locks in the tip layer before applying subsequent products.
Tip: Make sure the finger is positioned correctly under the light source to cure the tip evenly without shifting. - 10Apply Special Top Coat for Rub-on Powder
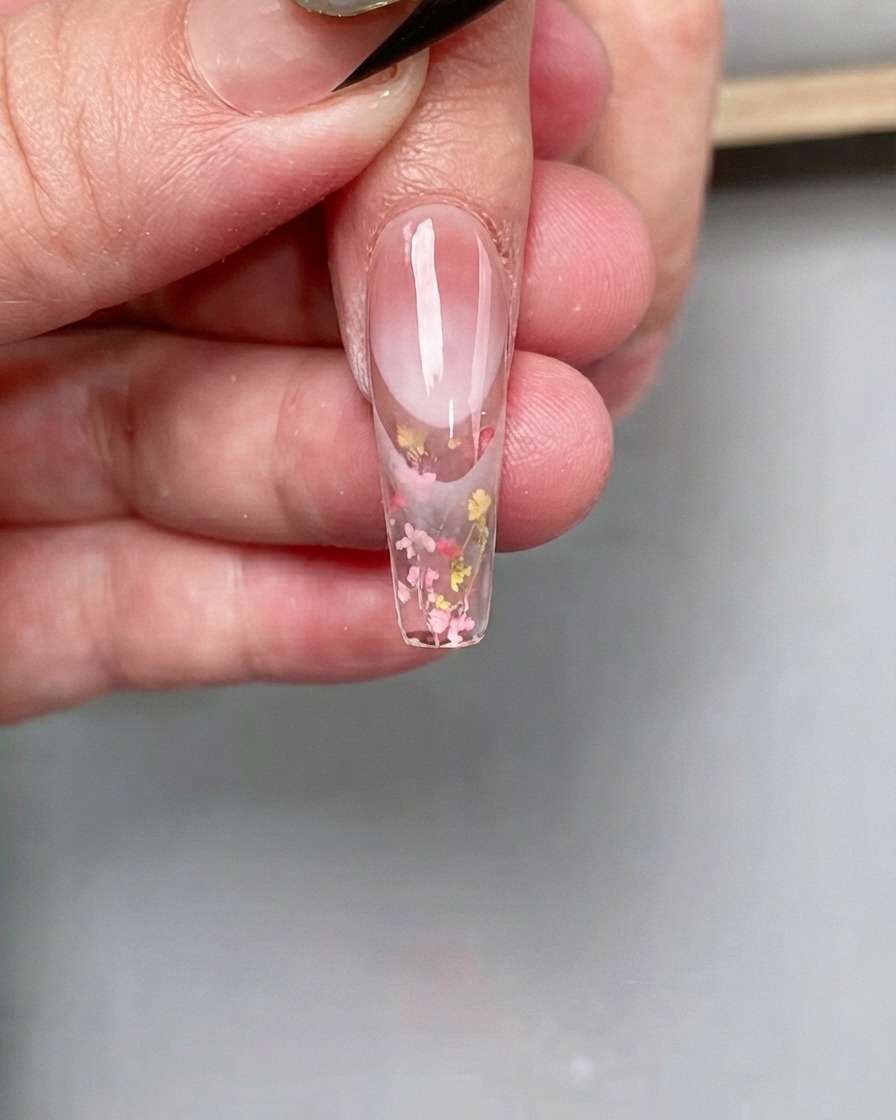
Apply a special top coat designed for rub-on powder over the entire surface of the nail, ensuring complete coverage over the embedded dried flowers and base layers. This specialized top coat provides the optimal tacky or smooth surface required for the chrome powder to adhere correctly in the subsequent steps. Cure the nail thoroughly under your UV or LED lamp according to product specifications.
Tip: Make sure the top coat is applied evenly without pooling to ensure the rub-on powder adheres smoothly in the next step. - 11Cure the top coat
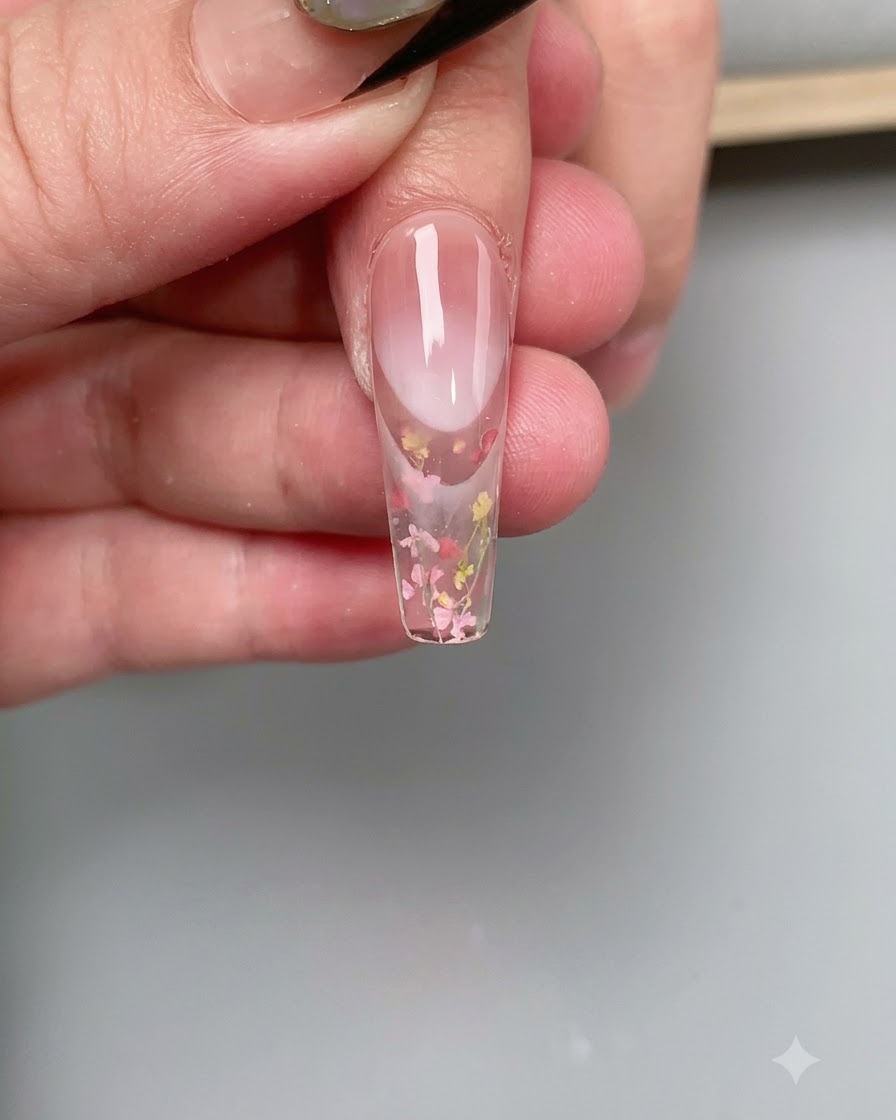
Place the hand under the UV or LED lamp to cure the special top coat. Ensure it cures for the precise duration required so that it achieves the correct consistency for the rub-on powder application. Do not over-cure or under-cure to guarantee proper powder adherence.
Tip: Check your lamps specifications to match the exact curing time needed for powder-specific top coats. - 12Apply French-style nail sticker
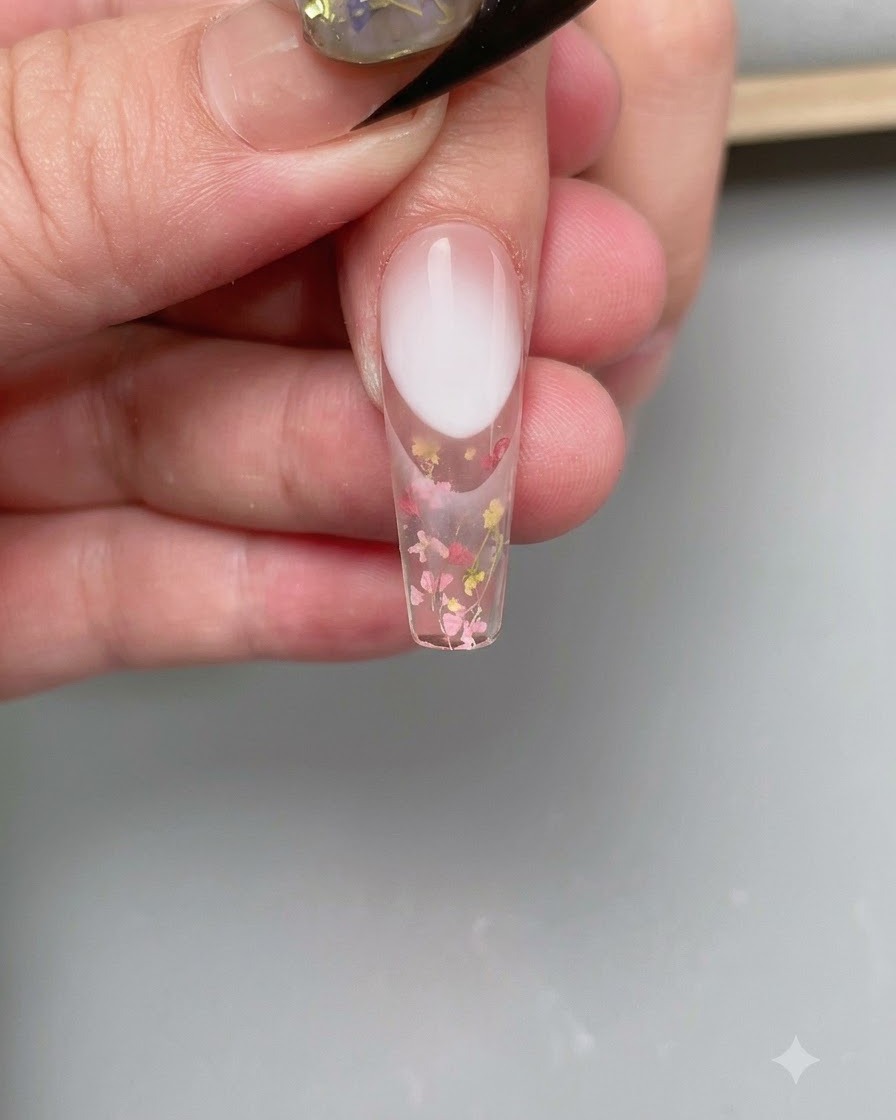
Carefully position and apply the French-style nail sticker or guide onto the tip area of the nail. Press it down firmly to create a clean boundary line for the upcoming gradient powder effect. Ensure there are no air bubbles trapped beneath the sticker edges.
Tip: Use a silicone tool or tweezers to press down the sticker edges securely for a sharp, clean separation line. - 13Apply rub-on powder with sponge
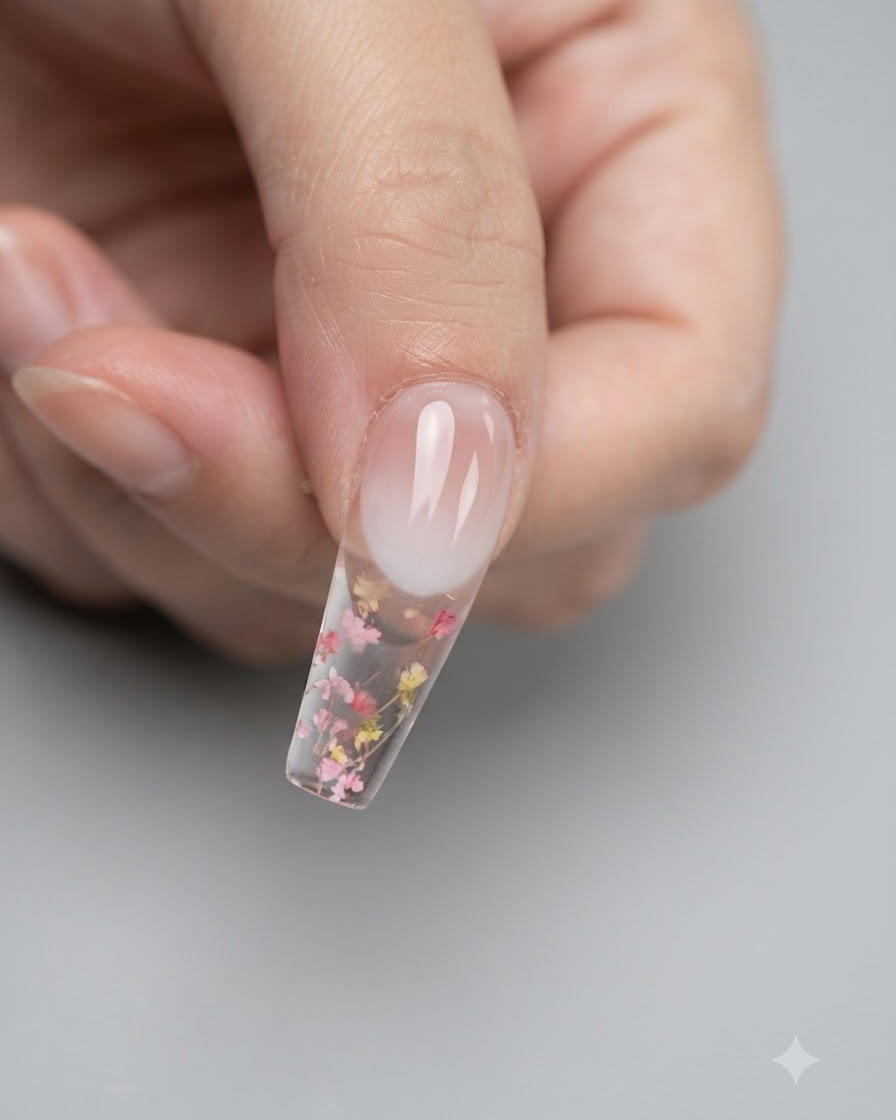
Take a sponge applicator dipped in the designated rub-on powder and gently rub it over the tip area defined by the sticker. Build up the color gradually to create a smooth, seamless gradient effect. Tap off any excess powder before removing the guide sticker.
Tip: Use light, sweeping motions with the sponge applicator to achieve a soft, diffused gradient transition rather than a harsh line. - 14Peel off the French nail sticker
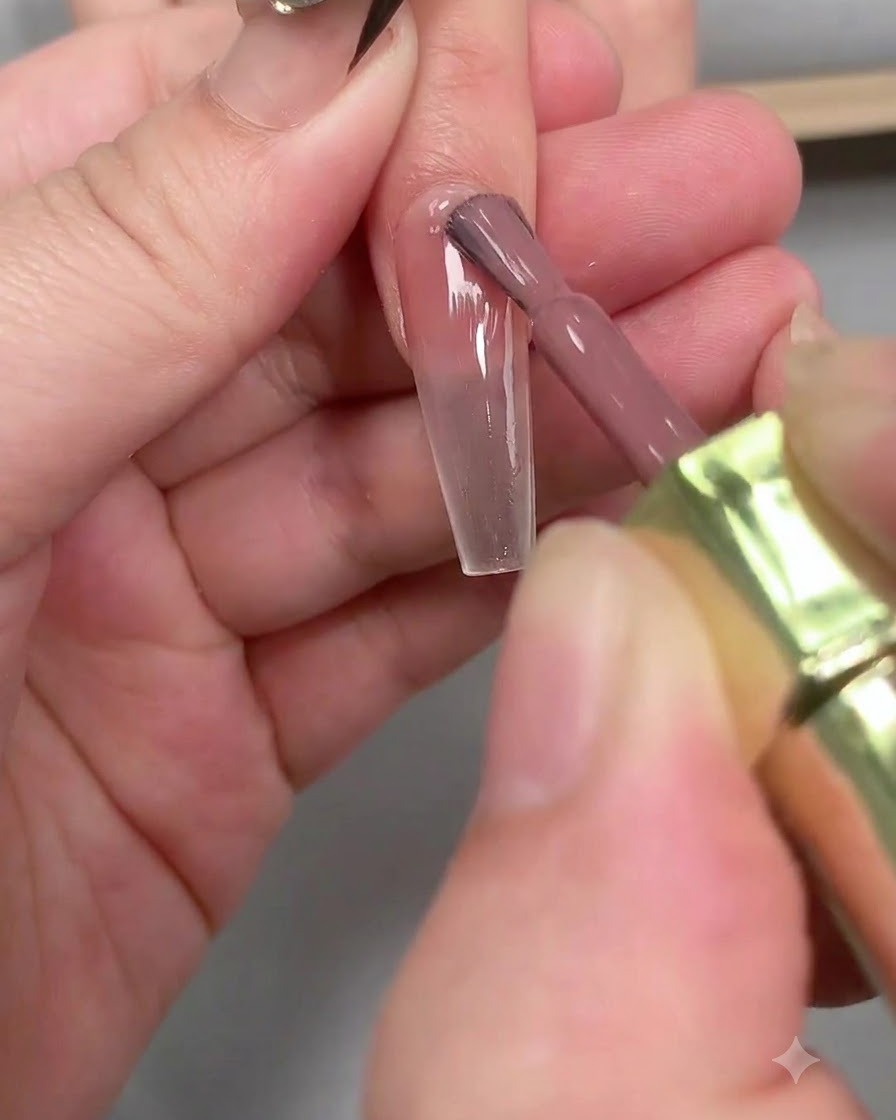
Carefully lift and peel off the French-style nail guide sticker from the surface of the nail. Remove it gently at an angle to preserve the crisp lines of the gradient powder effect underneath without smudging the uncured or cured layers.
Tip: Peel the sticker off slowly and steadily while the powder application is fresh to maintain sharp, clean boundaries. - 15Apply base coat over the entire nail
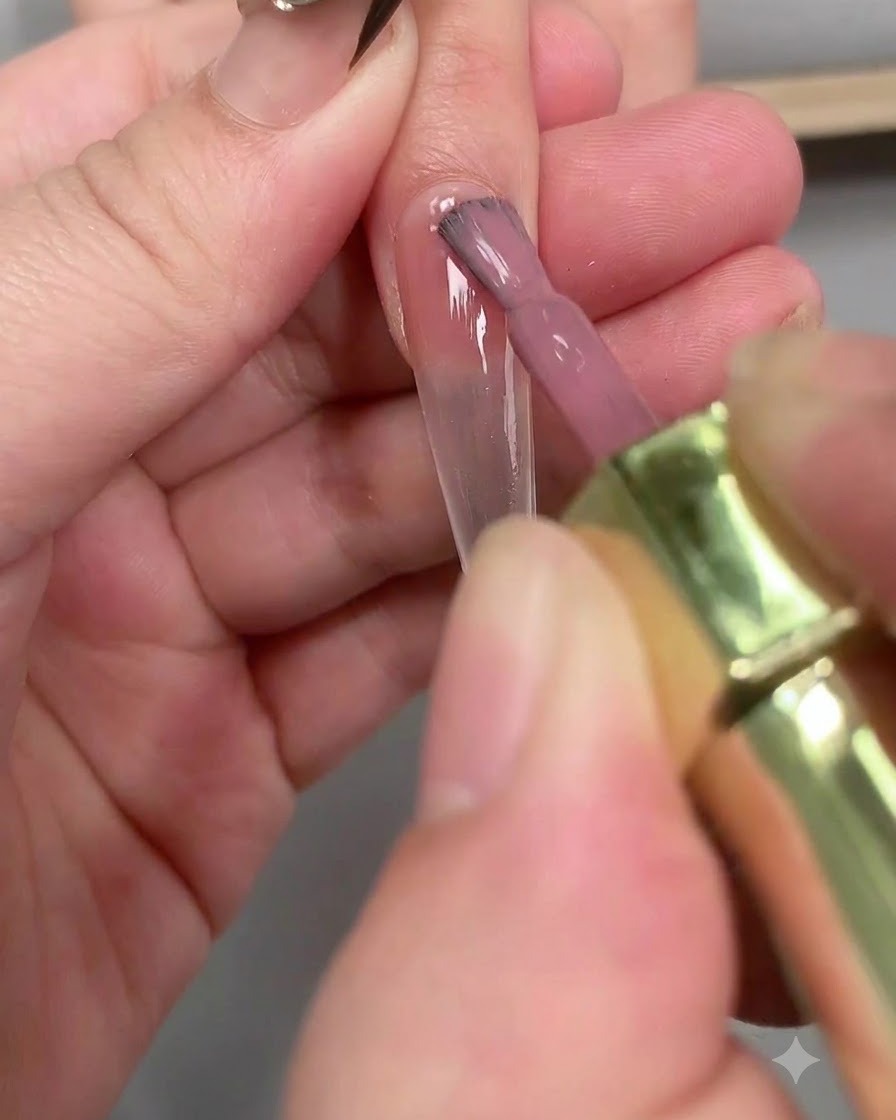
Apply a smooth, even layer of base coat over the entire surface of the nail to seal in the design and protect the underlying layers. Ensure full coverage from the cuticle down to the free edge, capping the tip securely.
Tip: Make sure the base coat covers all edges completely to prevent premature peeling or lifting of the top layers. - 16Cure the base coat
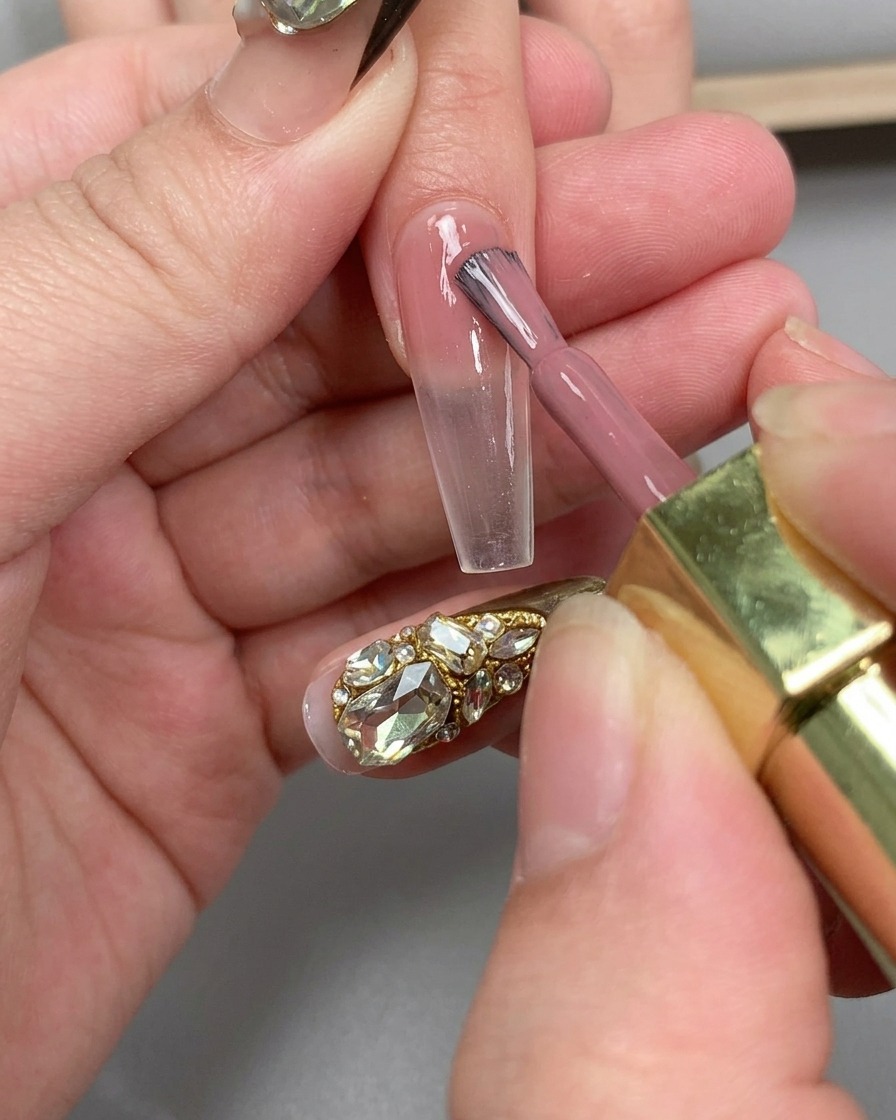
Place the hand under a UV or LED lamp and cure the newly applied layer of base coat. Follow standard curing times to ensure the product hardens properly and provides a strong foundation for the final finish.
Tip: Keep the finger centered under the lamps light source for an even and complete cure across the entire nail plate. - 17Apply diamond top coat
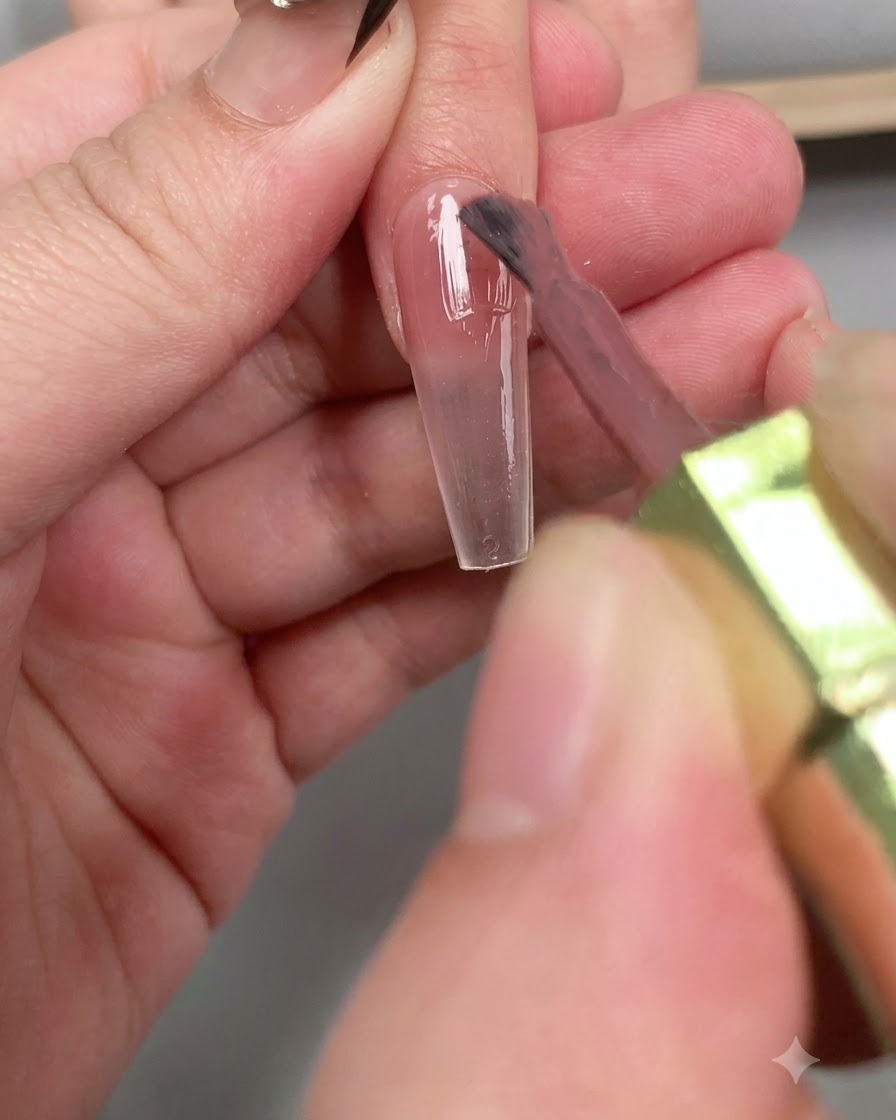
Apply a generous, even layer of high-shine diamond top coat over the entire nail surface. This specialized top coat adds maximum gloss and long-lasting protection against scratches and daily wear.
Tip: Cap the free edge carefully with the top coat to seal the entire manicure and extend its wear time.