Clear Dried Flower Reverse French Manicure — Step-by-Step Tutorial
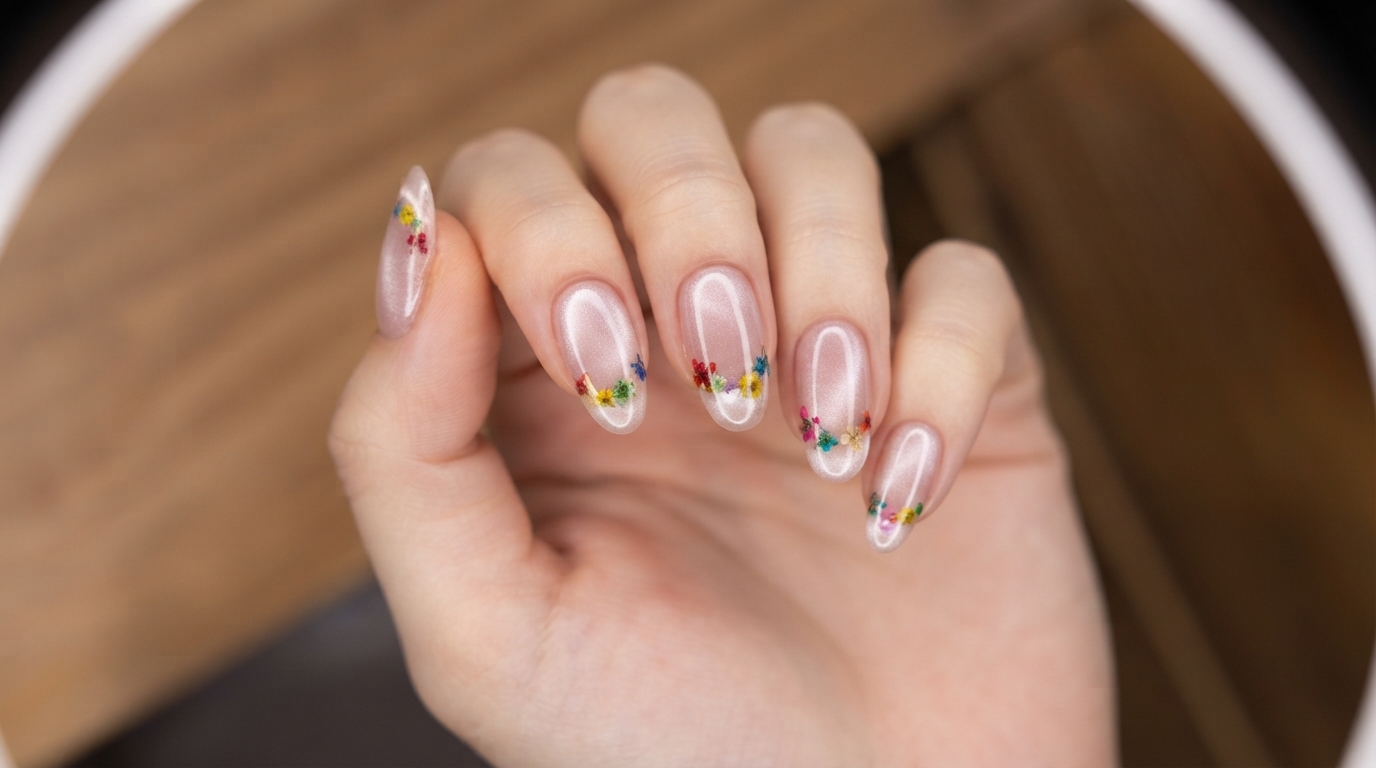
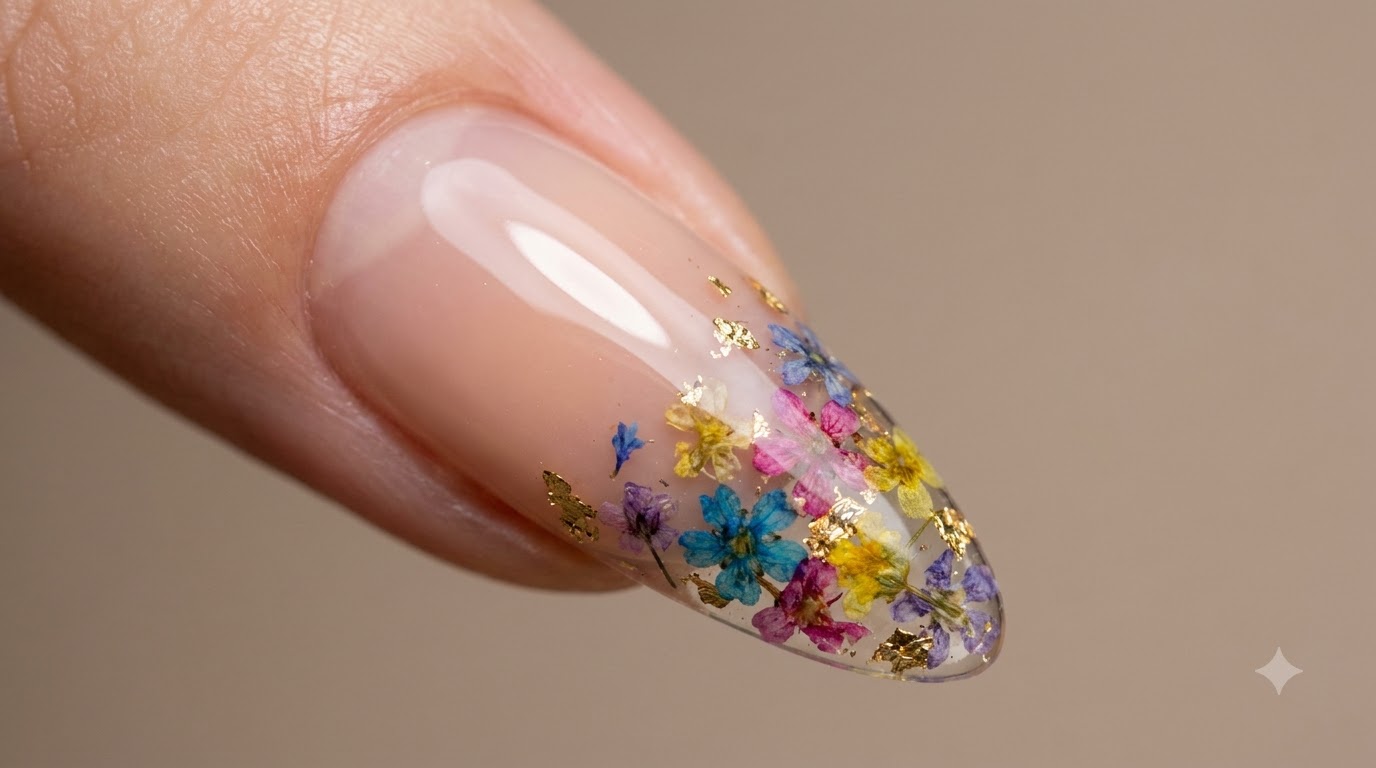
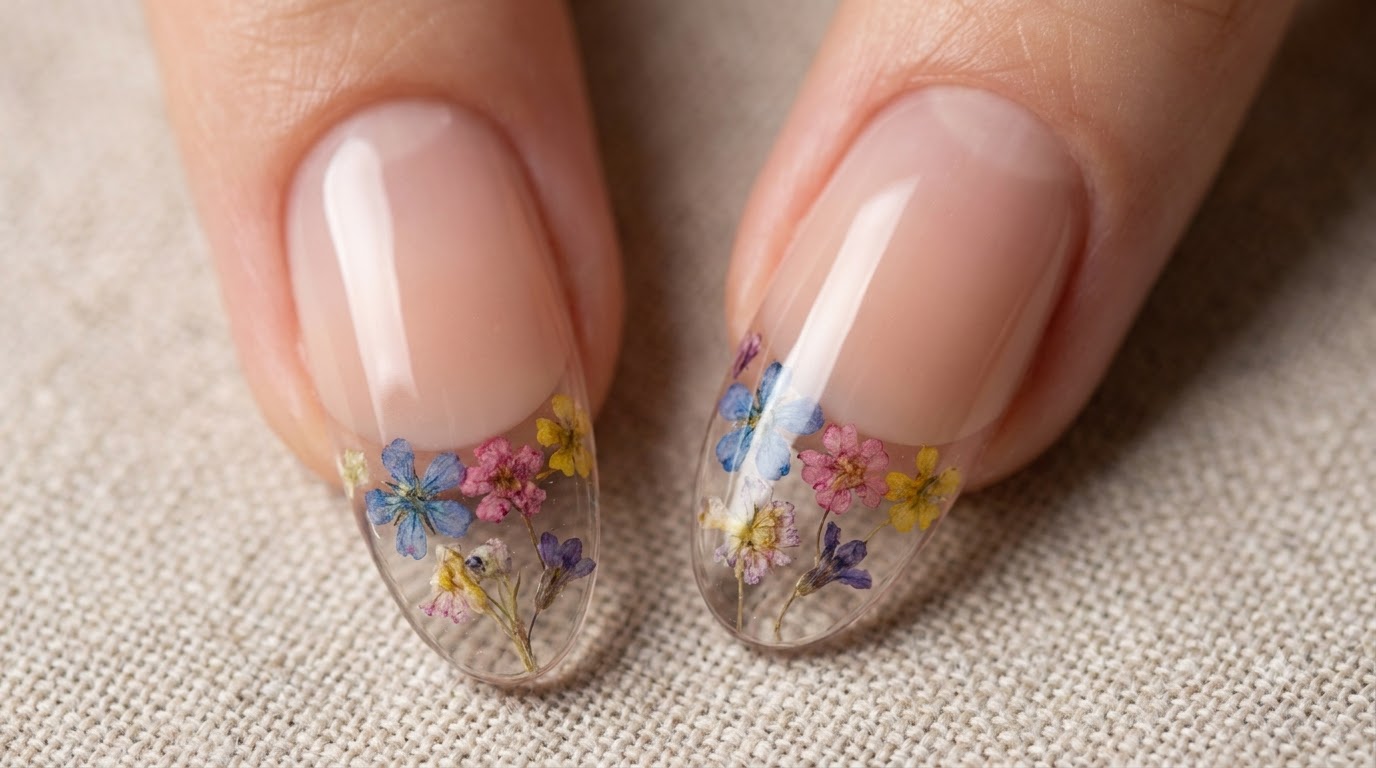
Create breathtaking encapsulated clear nails featuring a soft nude reverse gradient and delicate pressed flowers encased in high-gloss glass-like gel.
Encapsulated floral designs combine botanical elegance with modern transparency, making them a standout trend for spring and summer aesthetics. This tutorial walks you through achieving a seamless nude reverse gradient, precise French tips, and perfectly spaced dried floral placement for a professional salon look.
Steps
- 1Apply nude color for reverse gradient
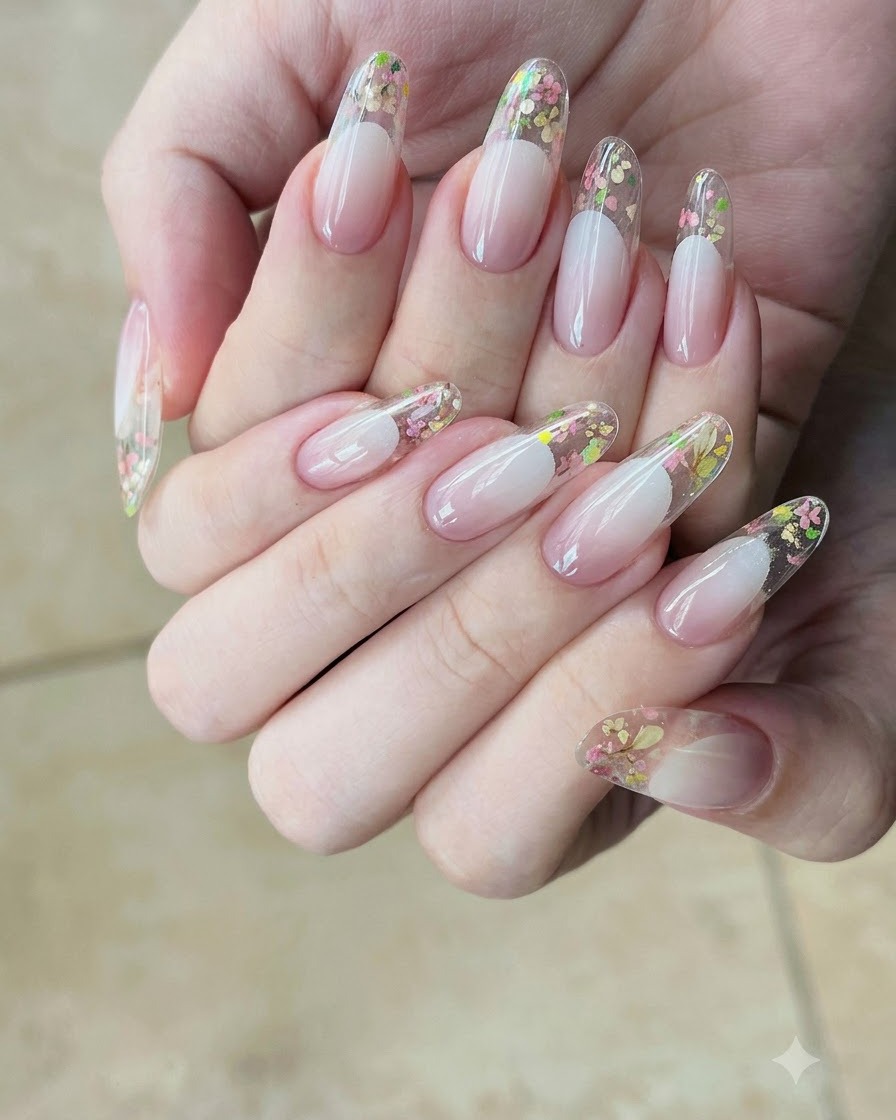
Apply a nude color directly onto the nail plate to establish the initial layer of the reverse gradient effect. Ensure the application is smooth and covers the intended base area evenly before blending.
Tip: Keep the initial application thin to make pulling and blending the gradient much smoother. - 2Pull and blend the gradient
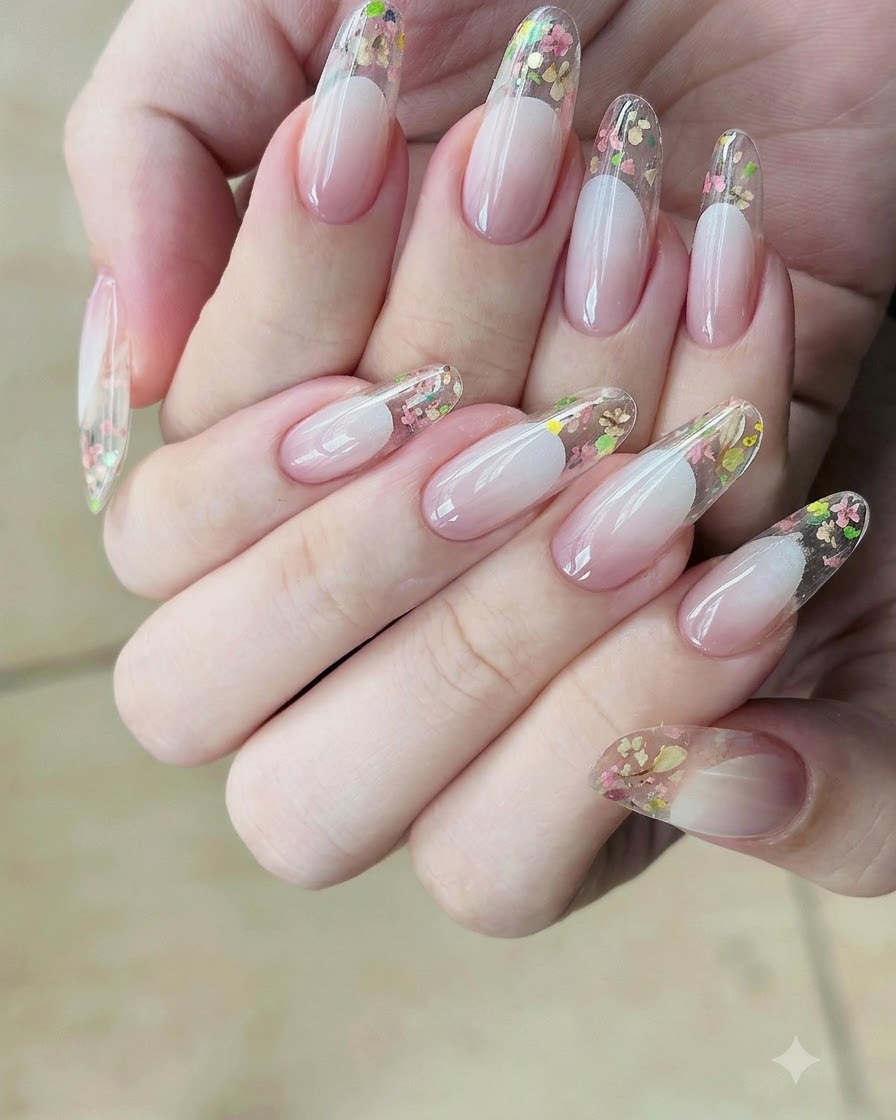
Take a gradient brush and gently pull the applied nude color downwards toward the tip. Clean your brush frequently during this process to maintain a soft, clean transition effect.
Tip: Wipe your gradient brush on a lint-free wipe with cleanser often to prevent product buildup and harsh lines. - 3Repeat the gradient blend
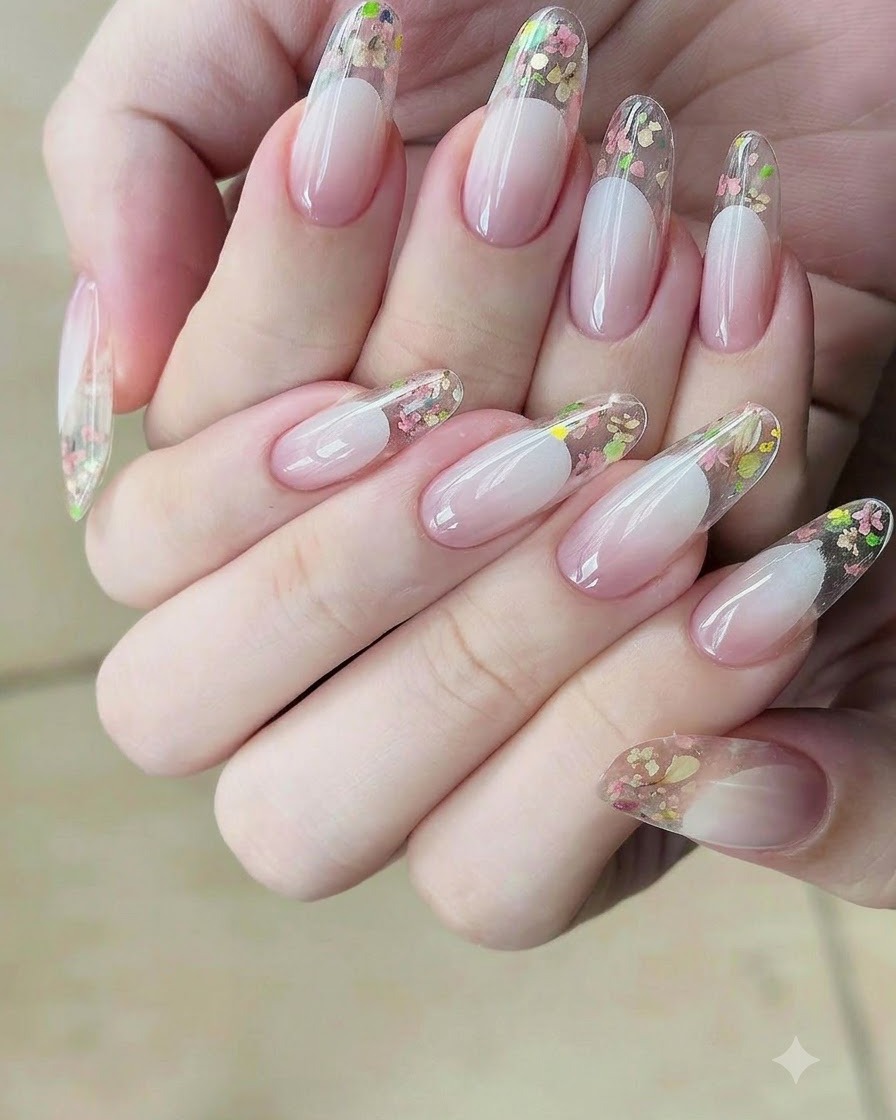
Repeat the gradient application process to build up color depth and smooth out the transition blend. Performing this step multiple times ensures a rich, professional finish.
Tip: Ensure each layer is thin so the accumulated gradient remains dimensional without becoming bulky. - 4Apply second gradient layer for intensity
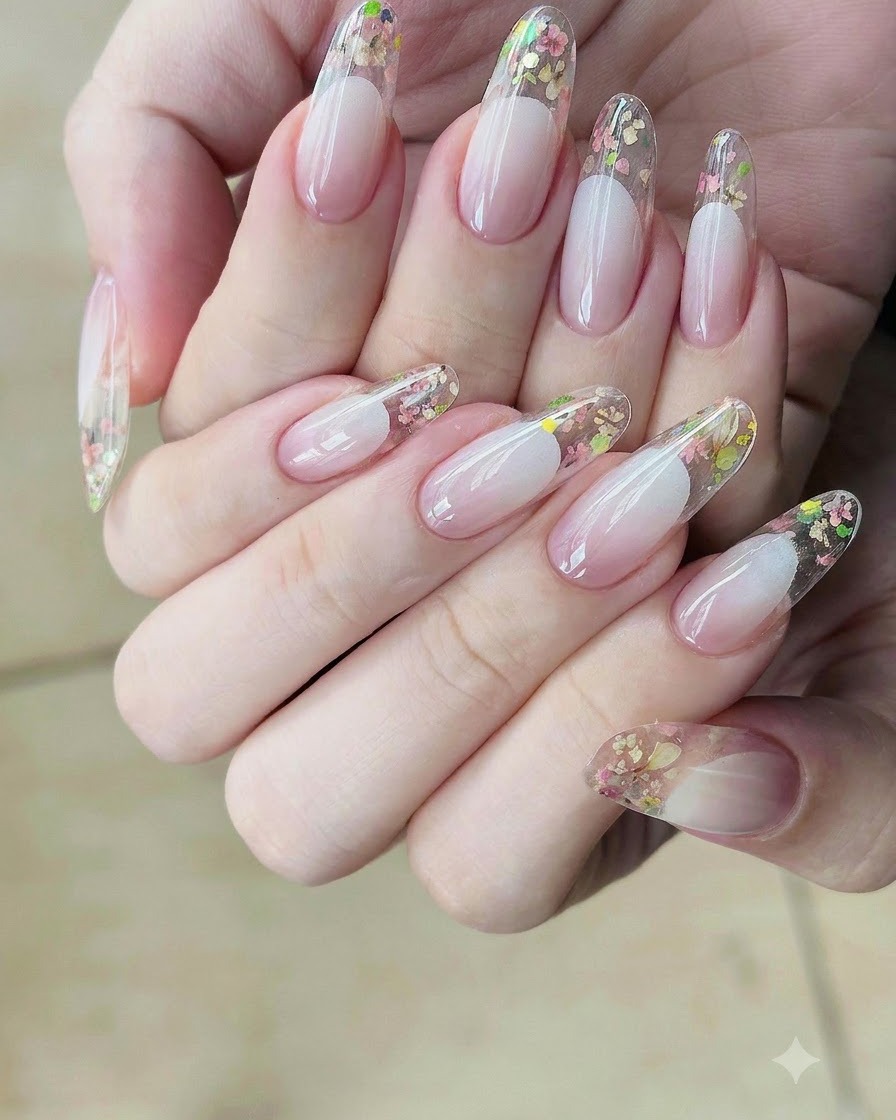
Apply a second full layer of the gradient to increase color intensity and richness. Blend downwards carefully to maintain the seamless fade established in previous steps.
Tip: Check the nail under good lighting to ensure the color density looks balanced across all fingers. - 5Apply French tip guide sticker
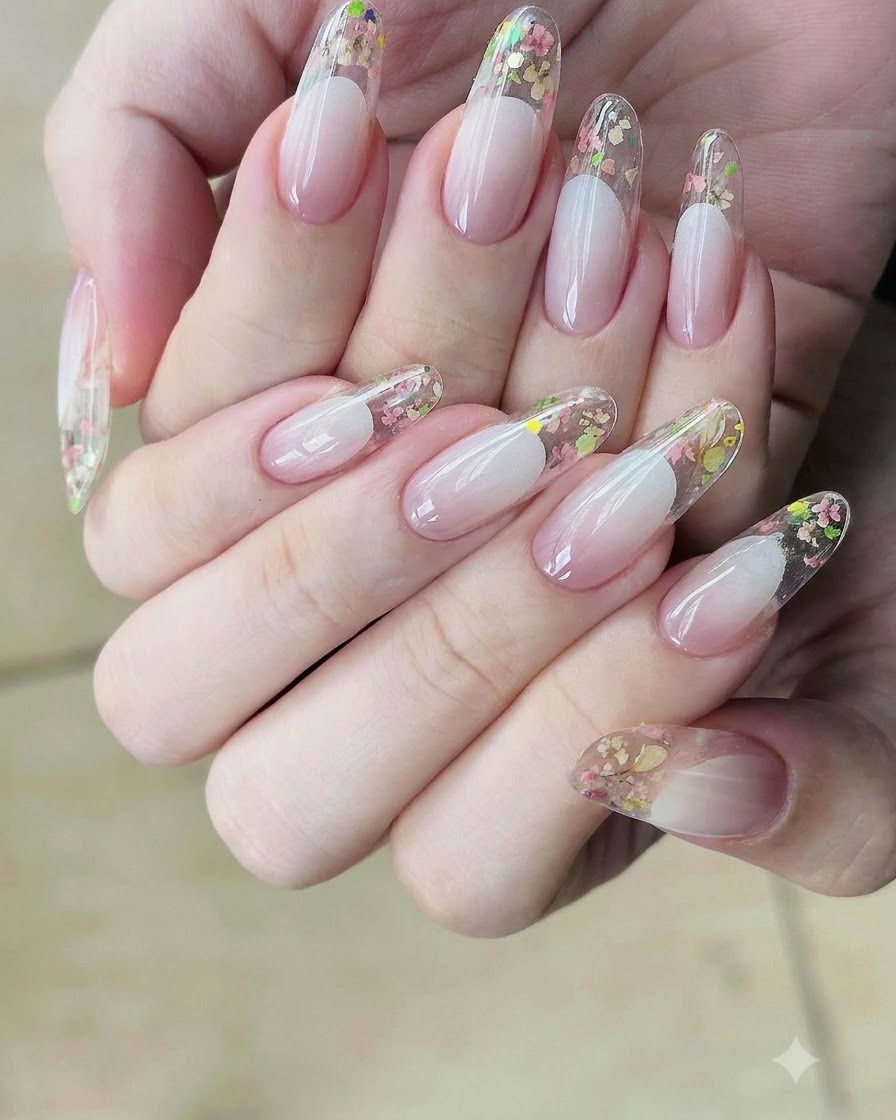
Position a French nail tip sticker securely across the free edge area of the nail. Press down firmly along the edges to prevent any gel from bleeding underneath the guide.
Tip: Make sure the sticker is aligned straight and symmetrical to guarantee a clean, crisp French smile line. - 6Pat white builder gel for French tip
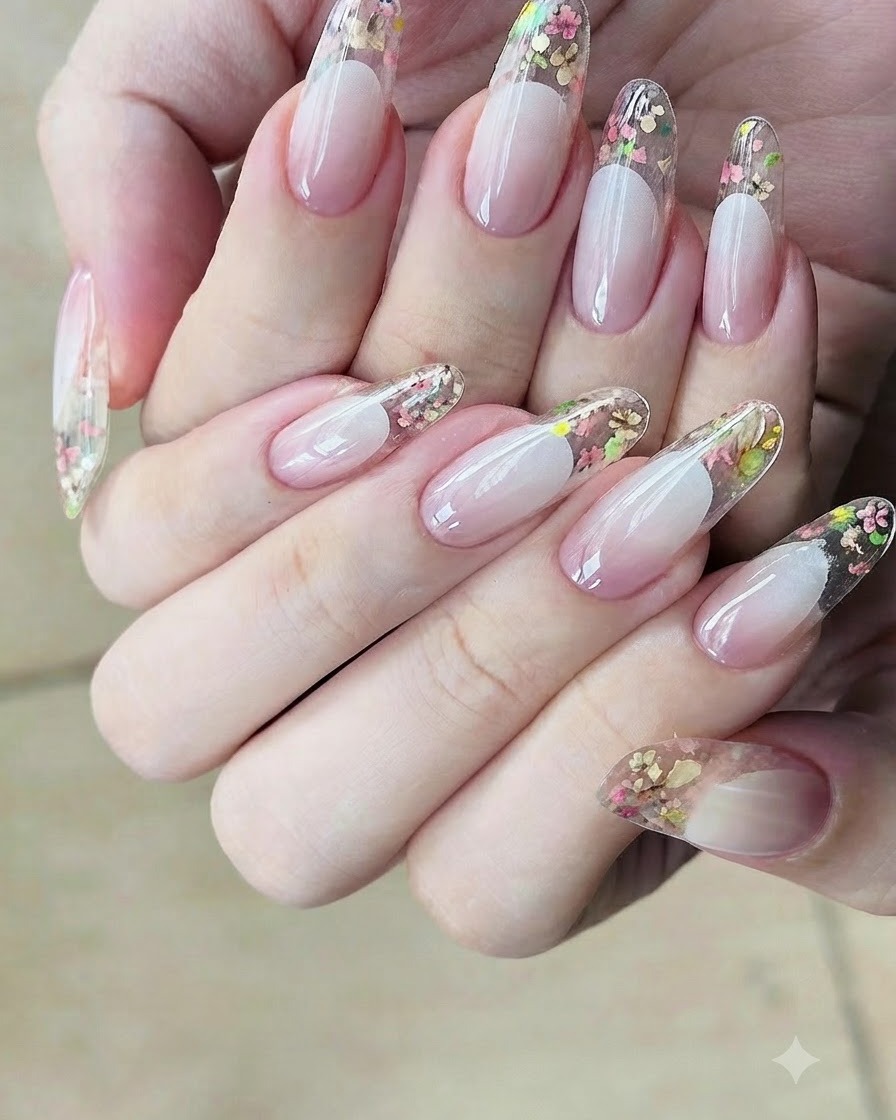
Using a dedicated application tool, pat white builder gel onto the exposed tip area defined by the sticker. This creates a clean, solid French tip shape.
Tip: Patting the gel rather than brushing helps build an opaque, even layer right up against the guide edge. - 7Remove French sticker and clean surface
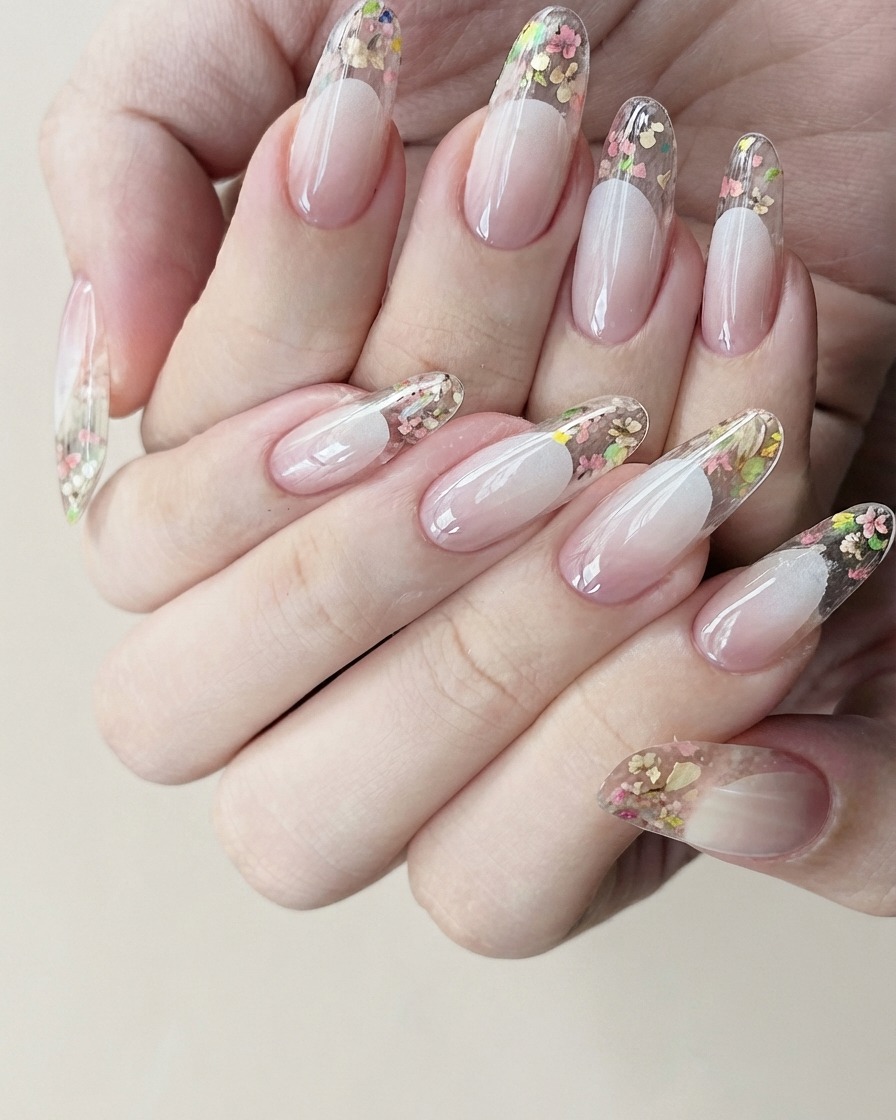
Carefully peel away the French sticker from the nail. Take a clean cotton pad and gently wipe away any excess uncured gel from the nail surface to ensure a clean application area before moving on to the next step.
Tip: Peel the sticker off slowly and at a low angle to avoid smudging the crisp gel line you just created. - 8Apply fresh builder gel layer
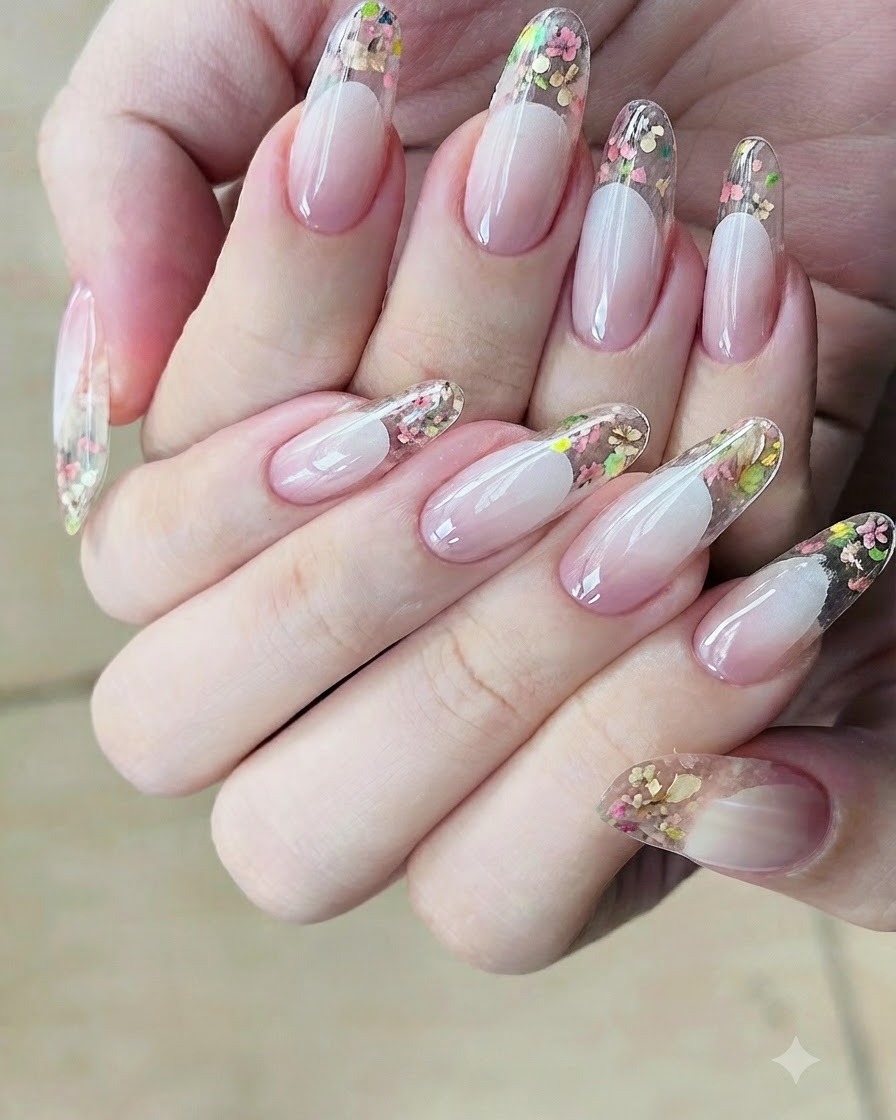
Apply a fresh layer of clear builder gel specifically to the nail tip area where the design will be placed. Do not cure this layer yet, as the wet gel will act as the adhesive base to hold your pressed floral elements in place.
Tip: Keep this layer thin and controlled so the flowers do not slide around too much when you place them. - 9Place dried flowers into wet gel
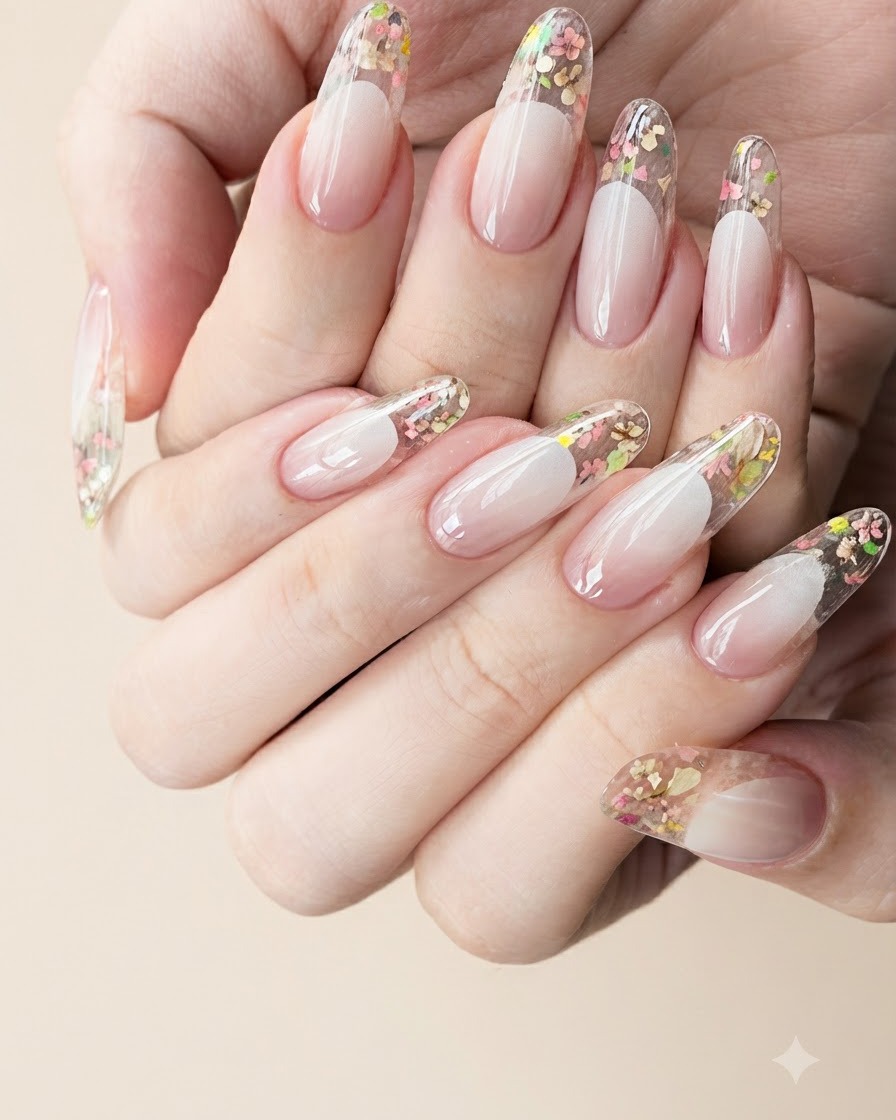
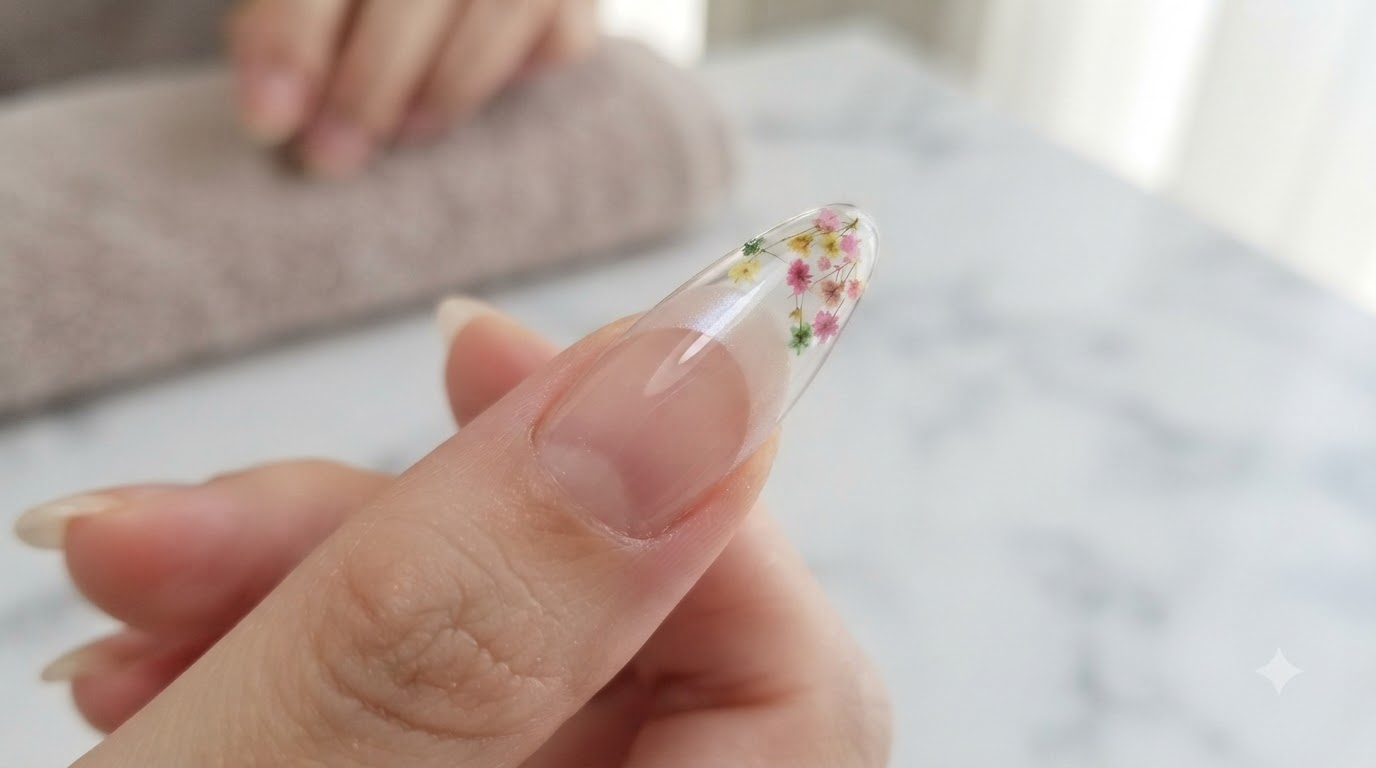
Using a fine-tip tool or tweezers, pick up tiny preserved dried flowers and place them carefully into the uncured builder gel on the nail tip. Press them gently so they flatten out and adhere fully into the wet gel matrix.
Tip: Dip your pickup tool lightly in alcohol or base coat if the flowers are sticking to it instead of the nail. - 10Adjust flower positioning and spacing
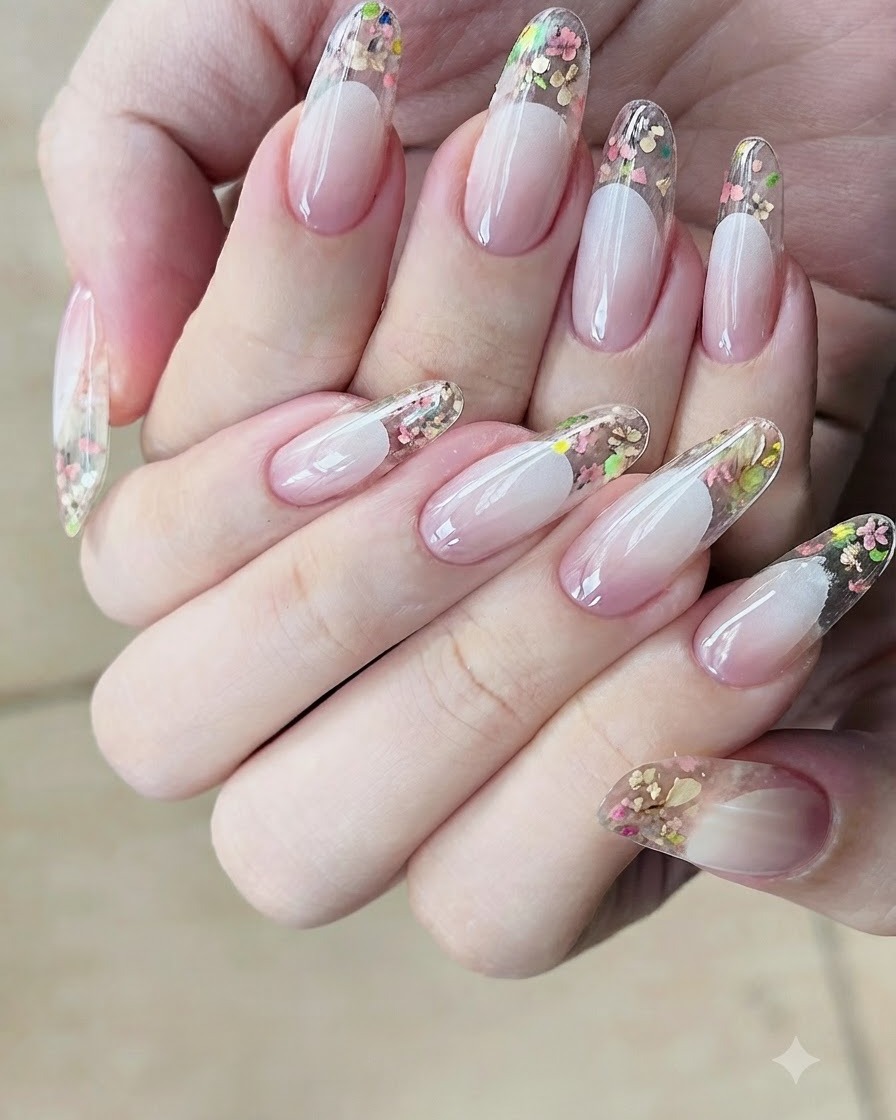
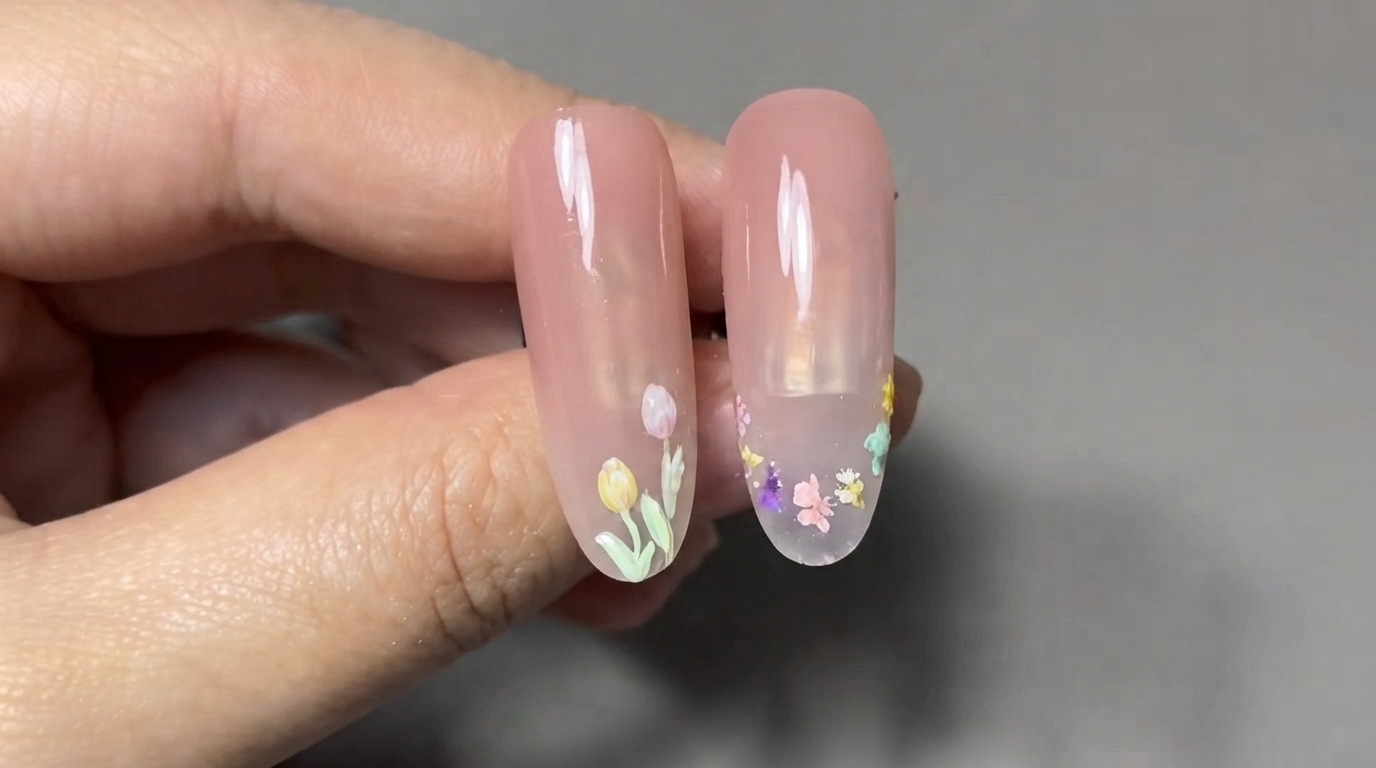
Use a detailing tool or orange wood stick to nudge and adjust the position of each flower. Ensure there is intentional spacing between every individual piece so the design looks balanced, airy, and natural rather than overcrowded.
Tip: Step back or rotate the finger under light to check the spacing from different angles before curing. - 11Encapsulate flowers and cure
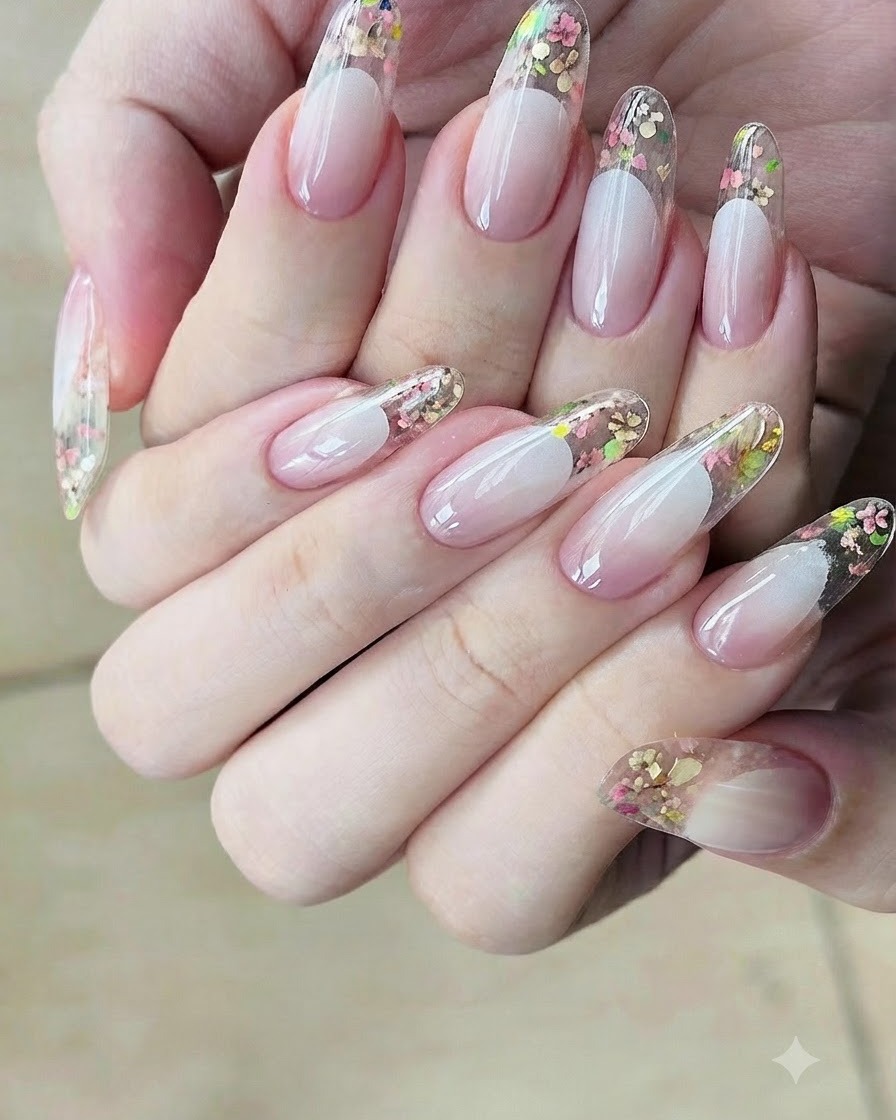
Paint an additional layer of builder gel directly over the embedded dried flowers to completely encapsulate them and level out any bumps on the nail surface. Place the hand inside your UV or LED lamp to fully cure the gel.
Tip: Make sure the flowers are completely covered by gel so no rough edges stick out through the final finish. - 12Apply final top coat and underside seal
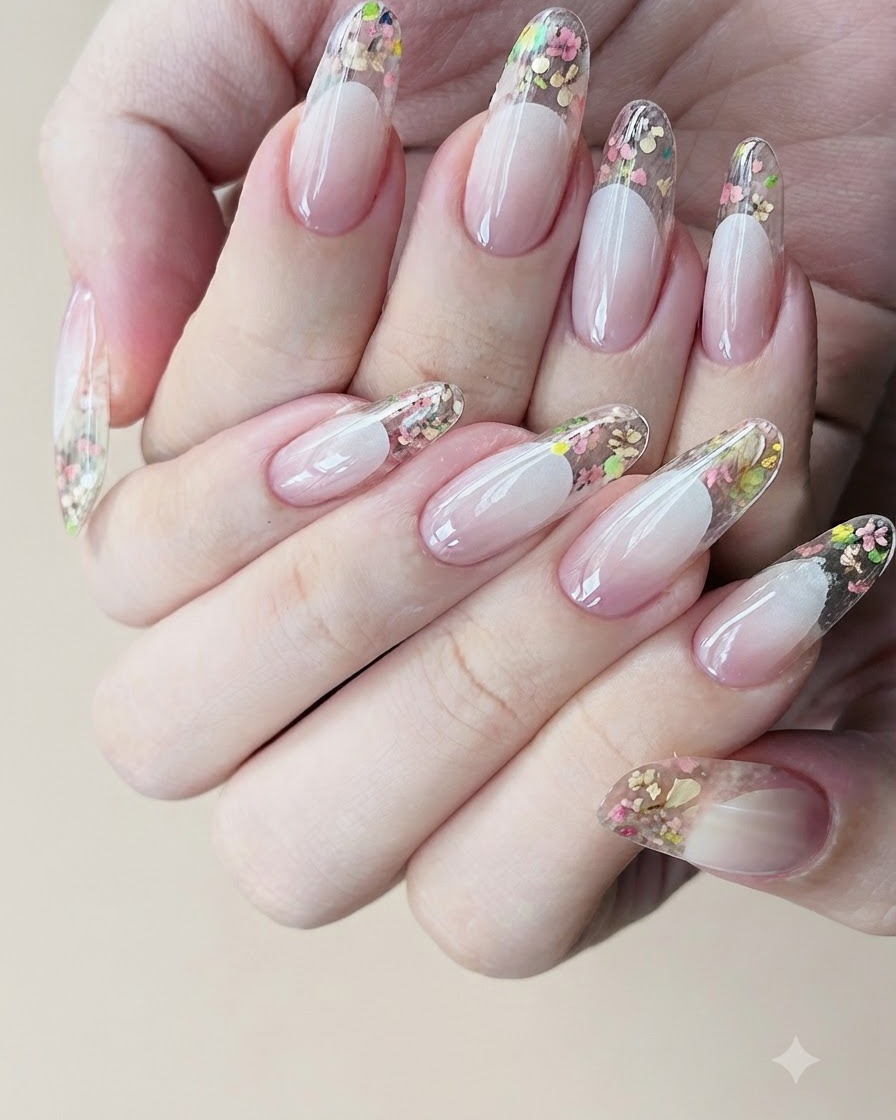
Apply a high-gloss final top coat over the entire top surface of the nail. Crucially, also brush a thin layer of top coat onto the underside of the clear extension tip to lock in absolute glass-like clarity and transparency. Cure completely.
Tip: Curing the underside of clear nails prevents any dullness and keeps the see-through encapsulated effect sparkling clean.