French Dry Flower
Magnetic Cat Eye Gel Nails — Step-by-Step Tutorial
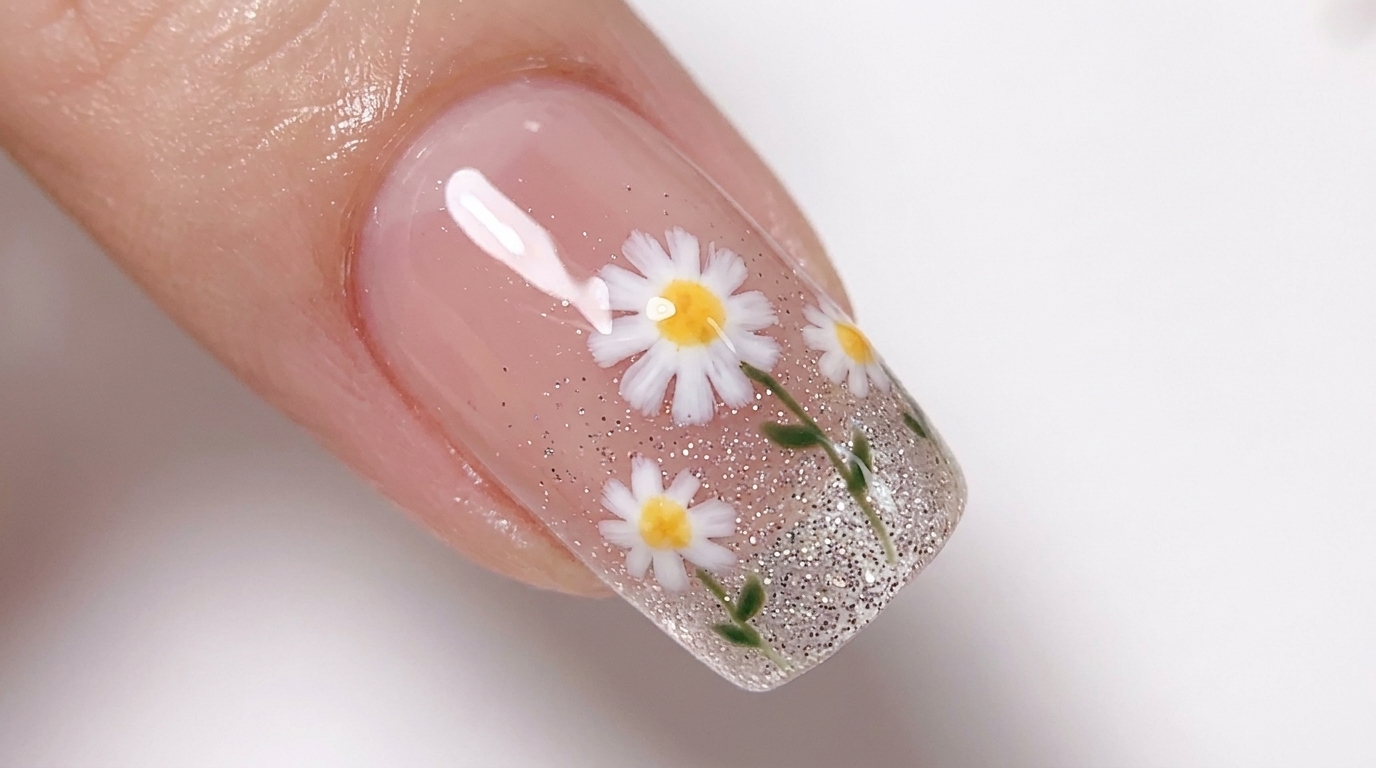
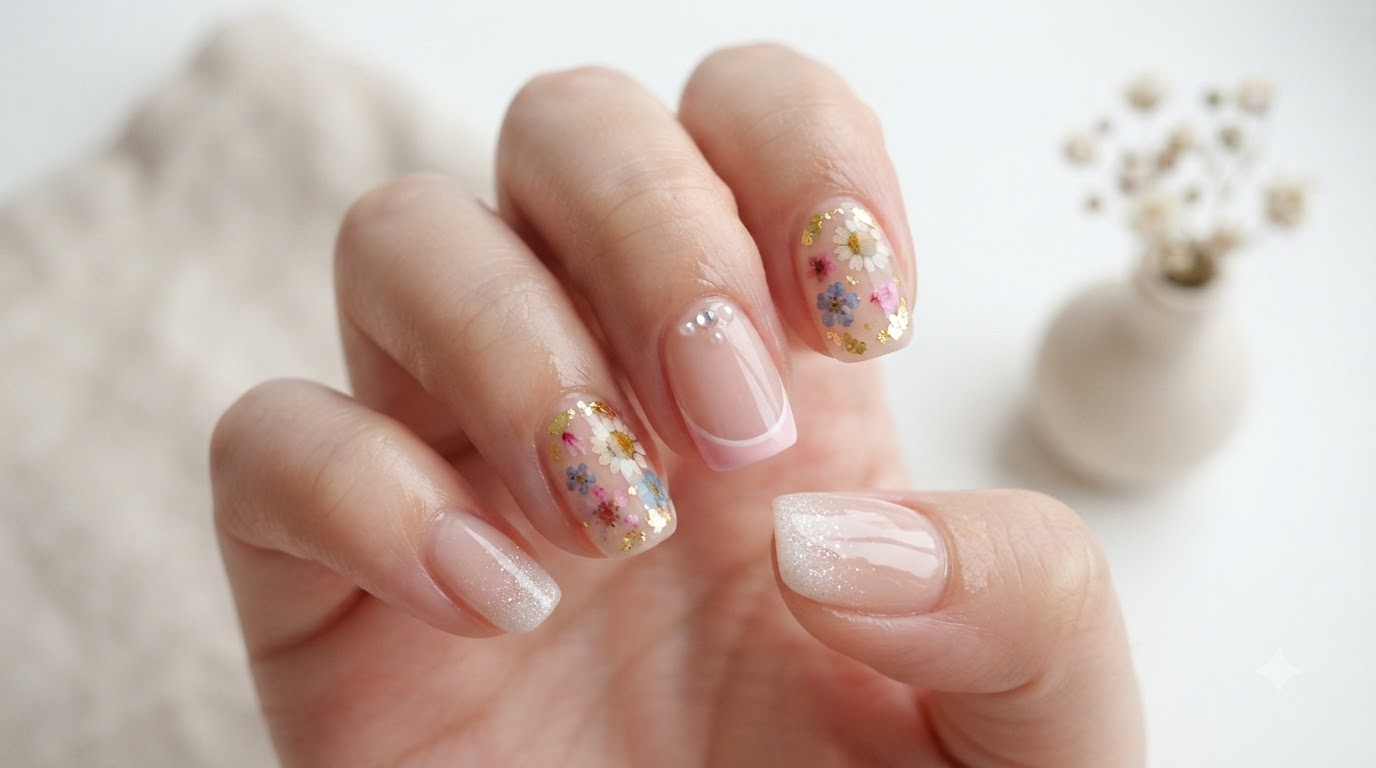
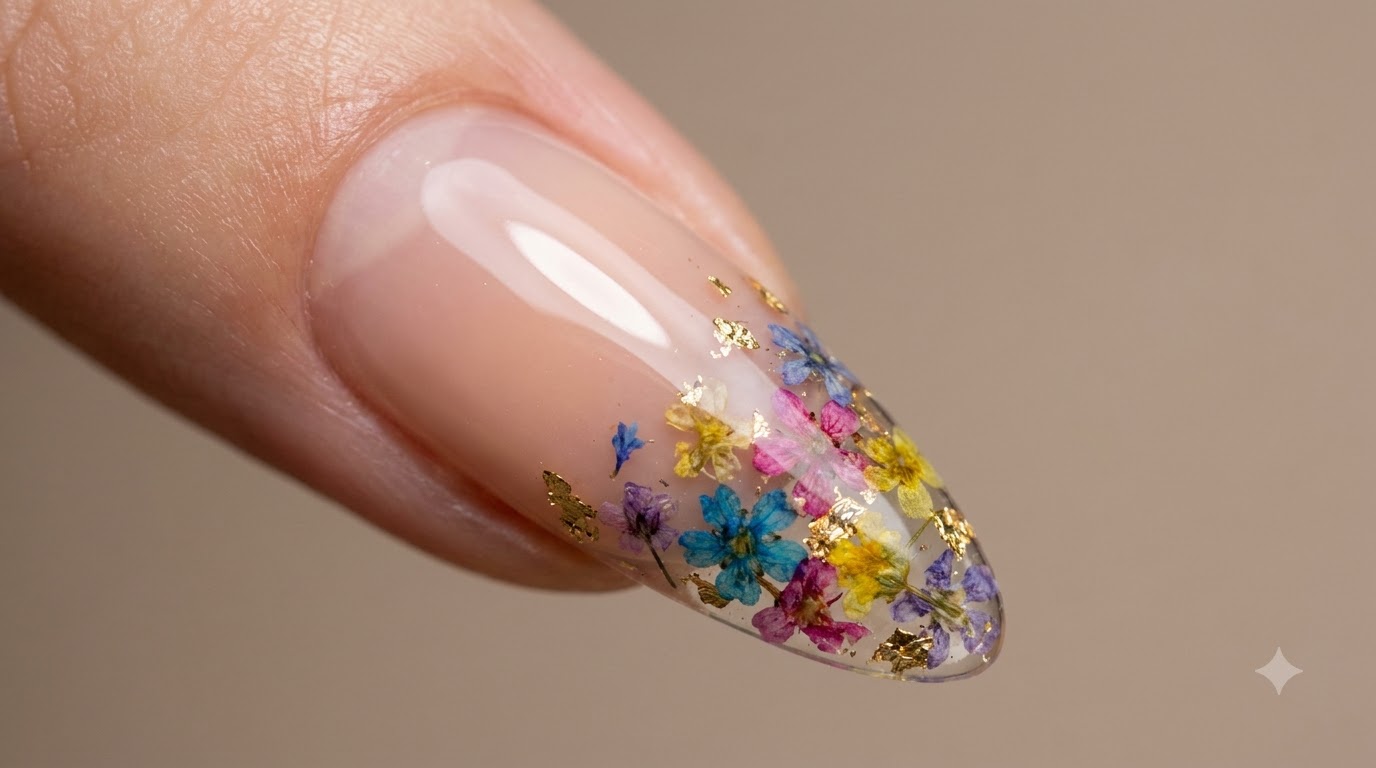
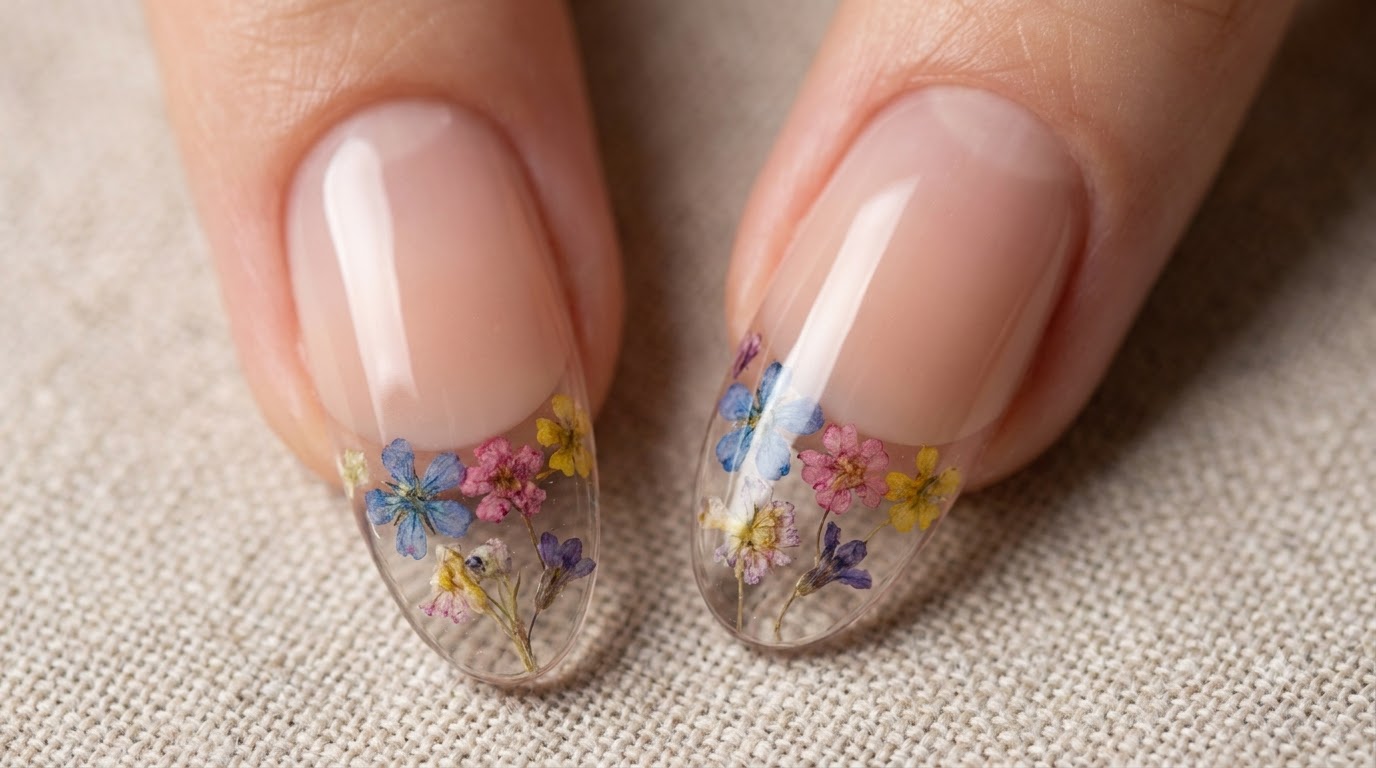
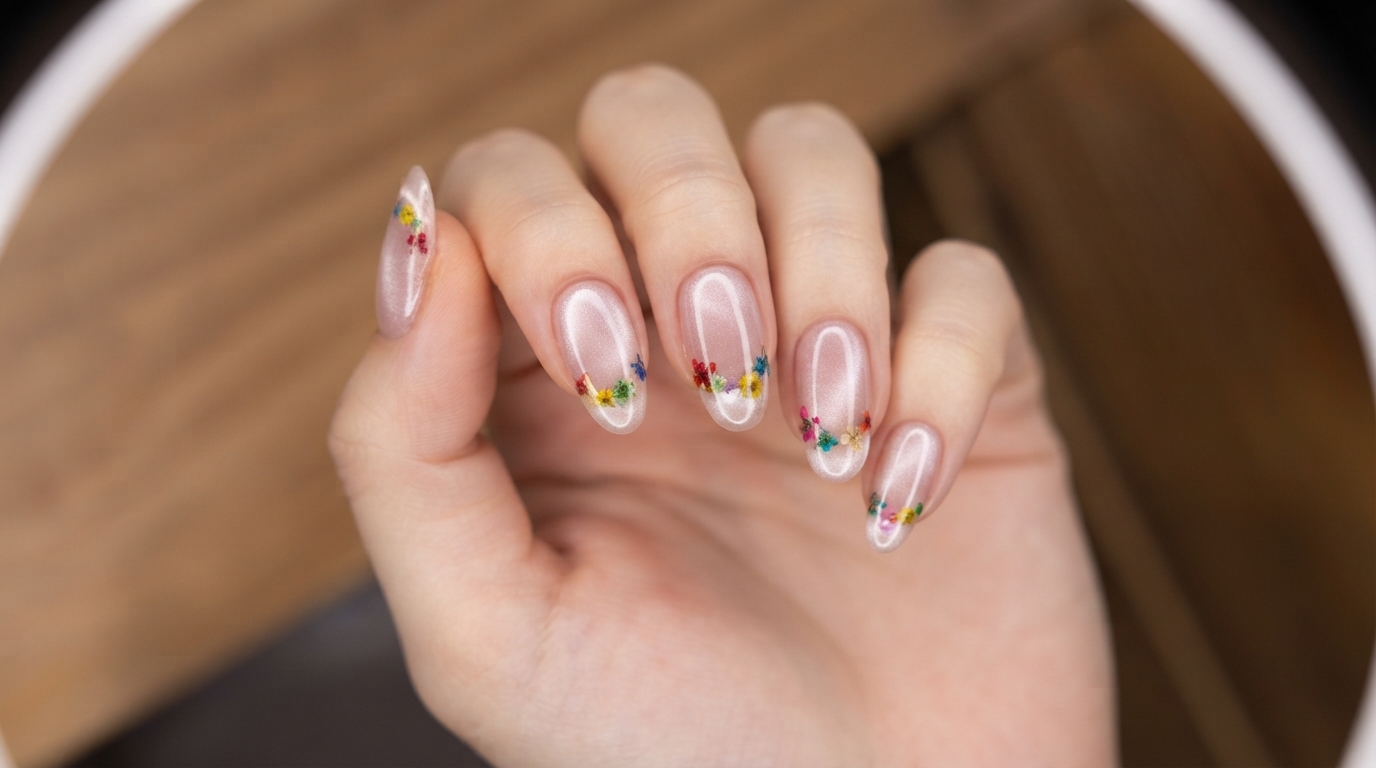
Create a stunning sophisticated look with a light pink magnetic cat eye base and delicate dried flowers embedded on the French tip.[cite: 1] This elegant gel nail art tutorial guides you through each step for a flawless finish.
Combining the deep, luminous effect of magnetic cat eye gel with the delicate beauty of tiny dried flowers creates a truly captivating look. This design plays with texture and light, offering a fresh take on the classic French manicure by defining the smile line with vibrant floral elements. Its a perfect technique for bridal looks or spring and summer occasions.
Steps
- 1Scoop light pink patting gel
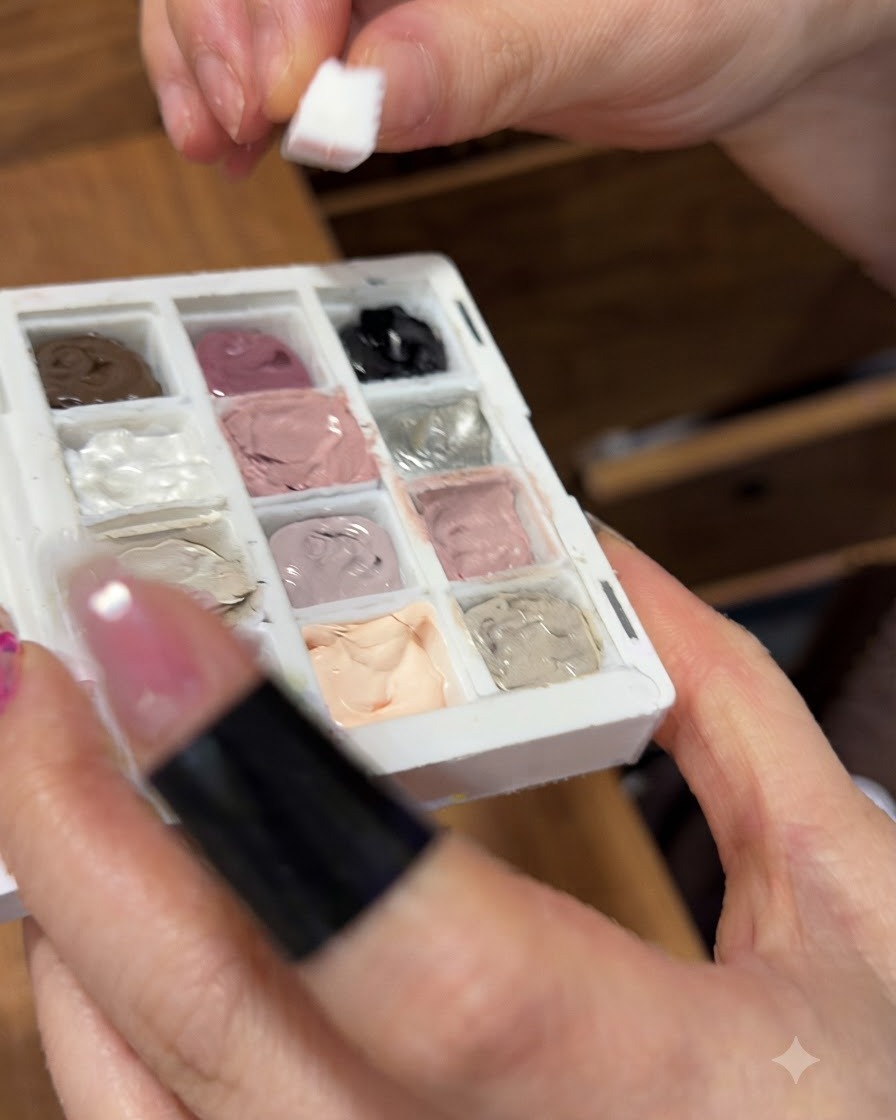
Using a small sponge applicator block, carefully scoop a small amount of light pink patting gel from the palette. Ensure an even distribution on the sponge surface to prepare for the gradient application on the fingernail tip.
Tip: Use a light tapping motion with the sponge to pick up a controlled amount of gel without overloading the applicator. - 2Dab gel for gradient effect
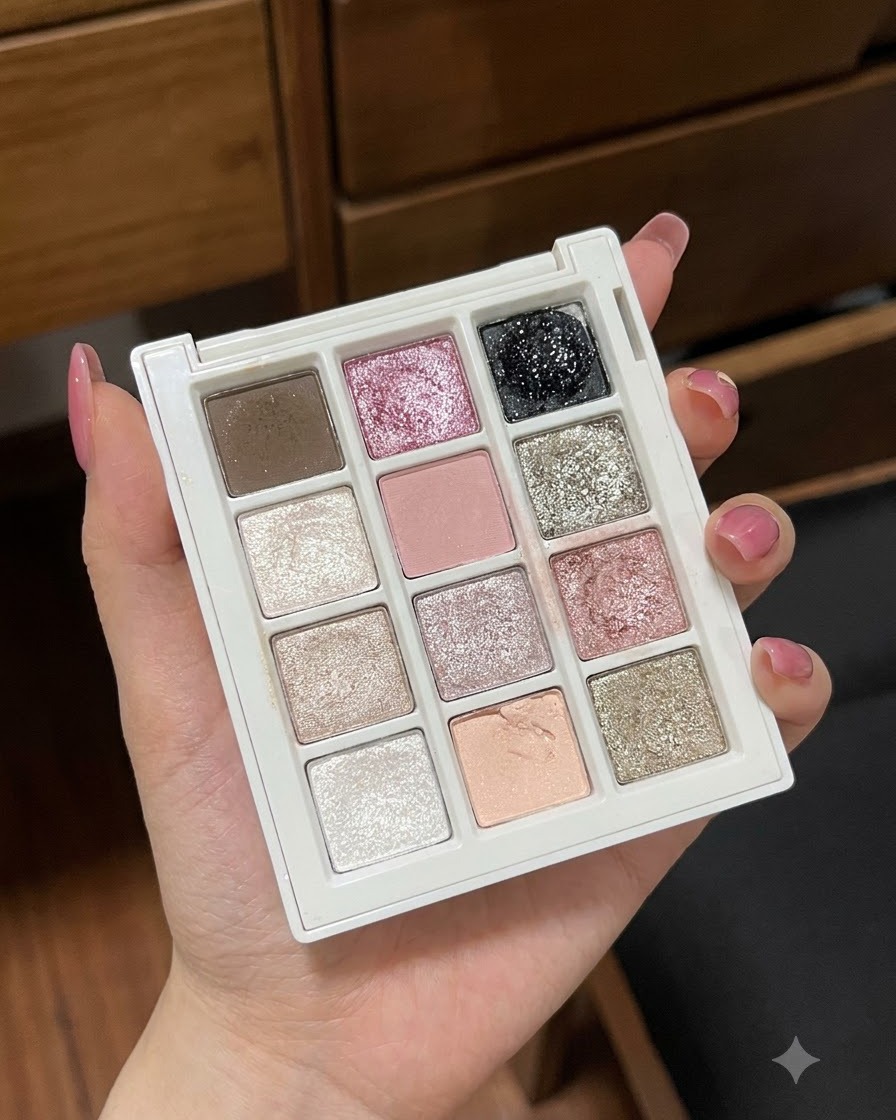
Gently dab the light pink patting gel onto the nail tip using the sponge applicator to achieve a smooth and subtle gradient effect fading towards the cuticle area.
Tip: Keep the dabbing pressure light and feather the edges to ensure a seamless color transition. - 3Cure the gradient layer
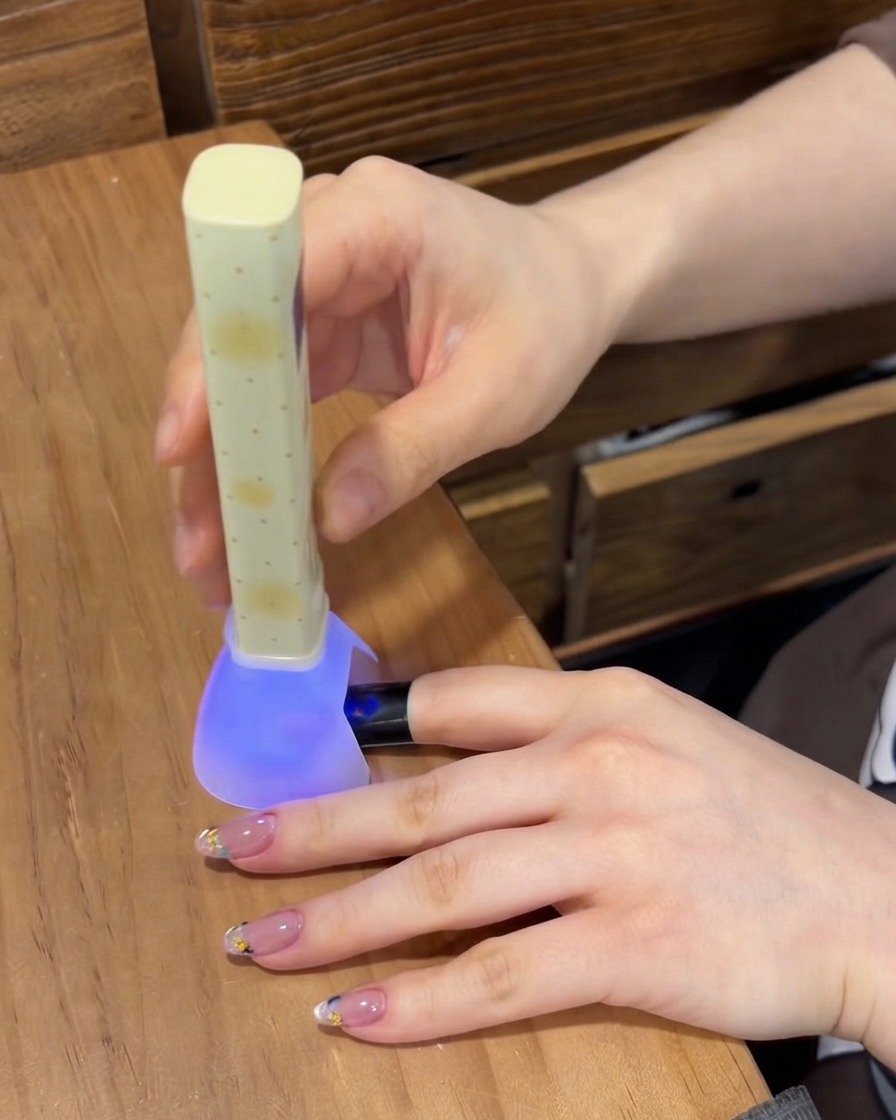
Place the newly painted nail under a portable purple UV/LED nail lamp and cure the gradient layer to set the gel securely before moving to the next application step.
Tip: Ensure the lamp is positioned directly over the fingertip to cure the gel evenly across the entire gradient area. - 4Apply magnetic cat eye gel
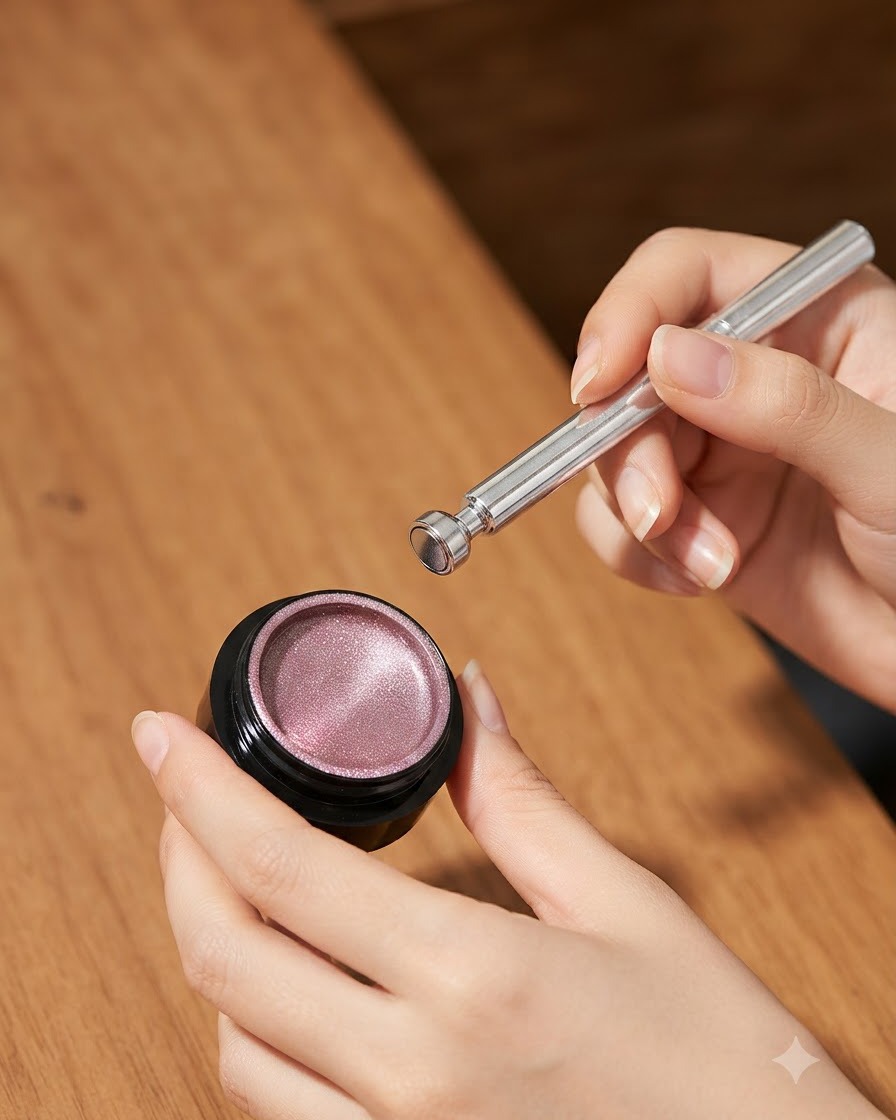
Using a nail brush, apply an even layer of light pink magnetic cat eye gel over the entire surface of the nail, covering the gradient base completely.
Tip: Apply a smooth, consistent layer to allow the magnetic particles to move freely when the magnet is applied. - 5Activate cat eye shimmer
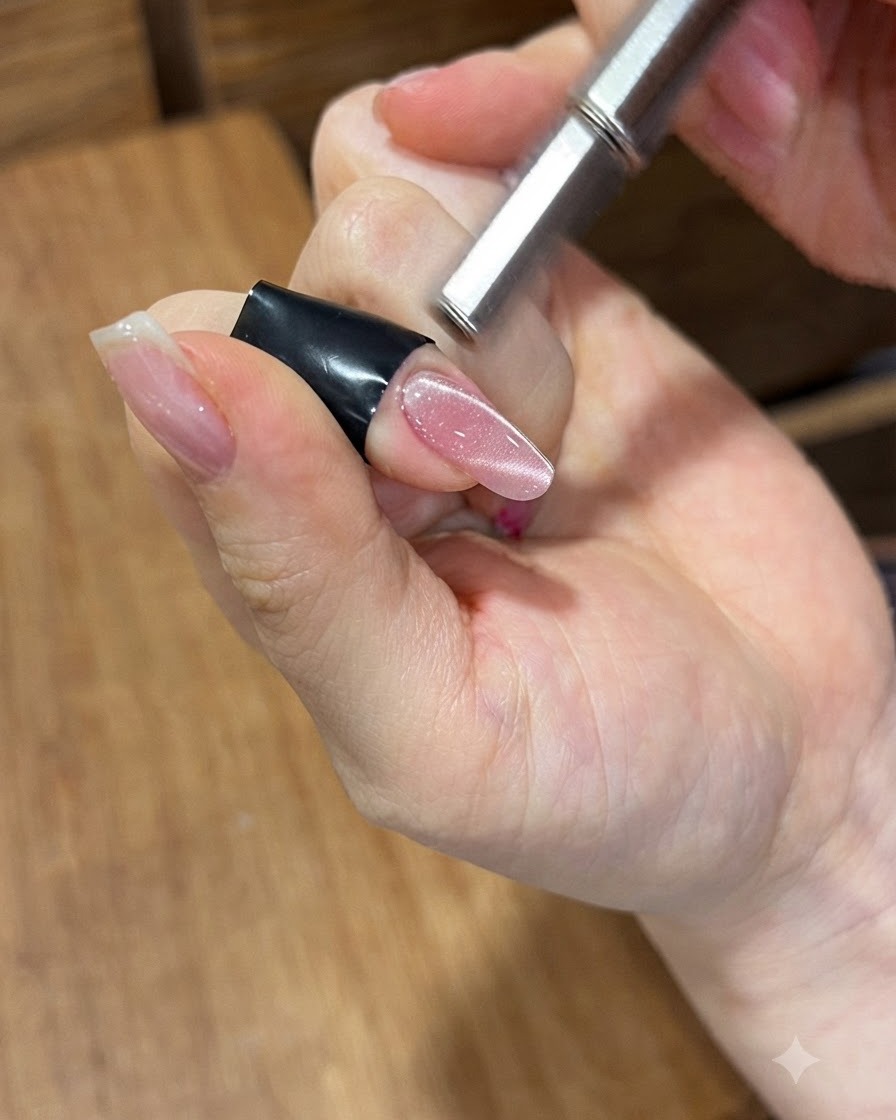
Hold a cylindrical magnetic wand close to the wet cat eye gel surface to gather and pull out the magnetic shimmer, creating a luminous light streak.
Tip: Keep the magnet steady and close enough to draw out the particles without accidentally touching the wet gel surface. - 6Shape cat eye magnetic effect
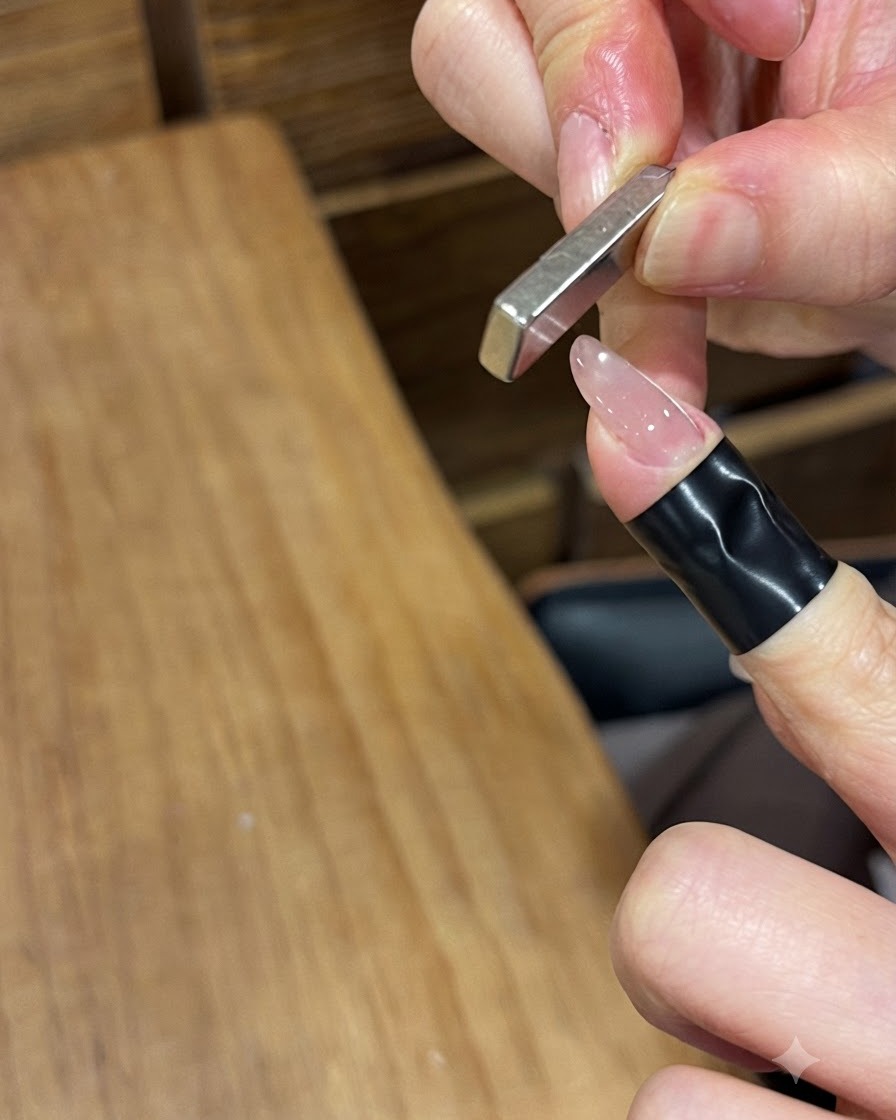
Place a rectangular bar magnet vertically at the fingertip and gently push it forward from the back edge toward the front. This technique pushes the magnetic particles into a precise, sharp line or velvet cat eye layout across the nail surface.
Tip: Keep your hand steady while pushing the magnet forward to avoid disrupting the smooth cat eye pigment dispersion. - 7Apply base gel to French tip area
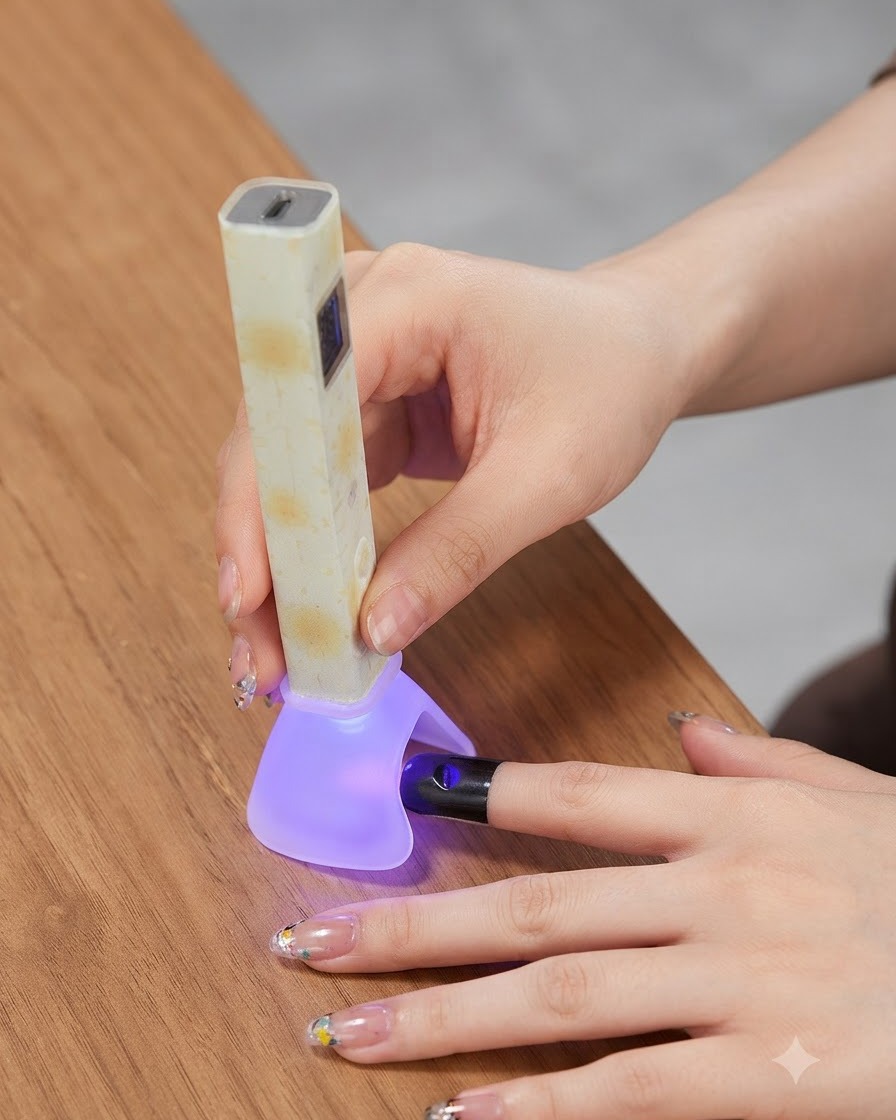
Using a fine nail art brush, apply a small, precise dot of base gel directly onto the French smile line position where the decorative elements will be placed. This acts as an adhesive layer to secure the dry flowers before curing.
Tip: Apply just enough base gel to hold the decorations in place without causing overflow onto the surrounding nail surface. - 8Pick up a dry flower with tweezers
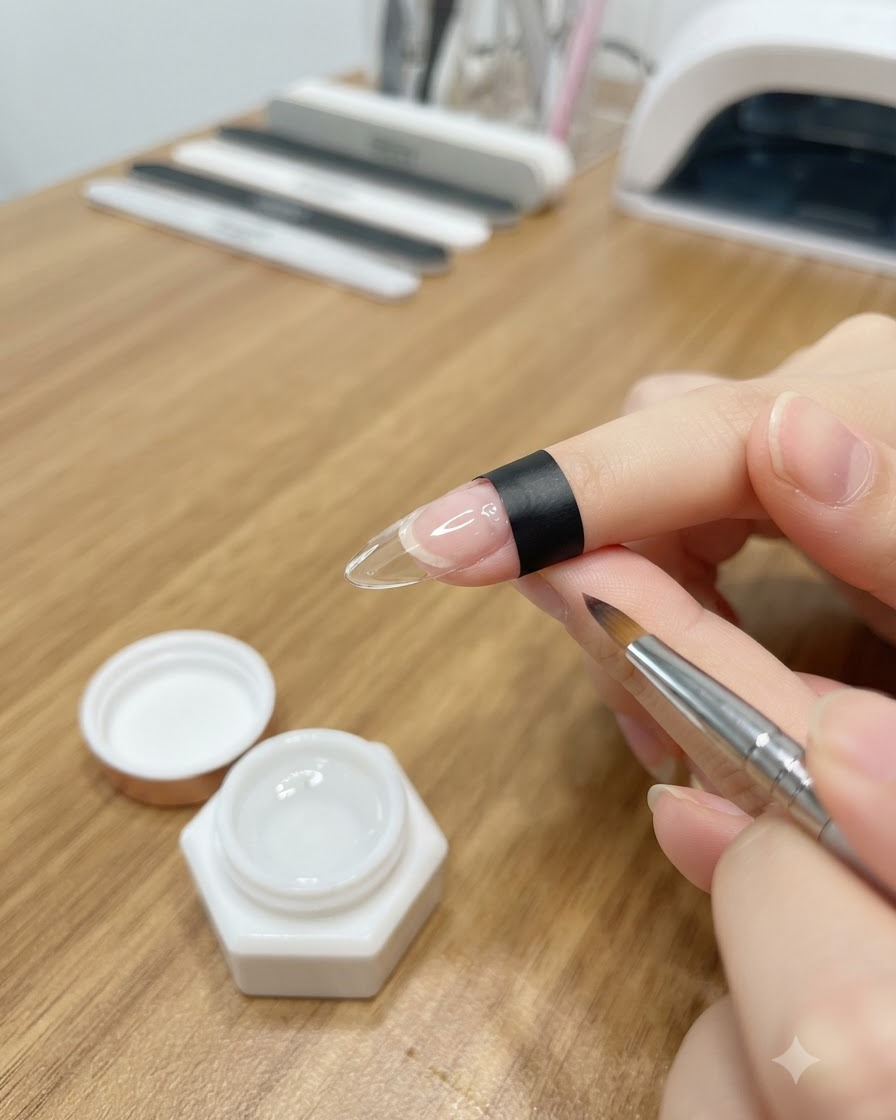
Using a pair of fine precision tweezers, select and pick up a small colorful dried flower from the flower wheel case. Handle the delicate floral piece gently to avoid tearing or damaging its petals before placement.
Tip: Hold the tweezers at a low angle to grip the dry flower securely from its base or center. - 9Place dry flowers on the nail tip
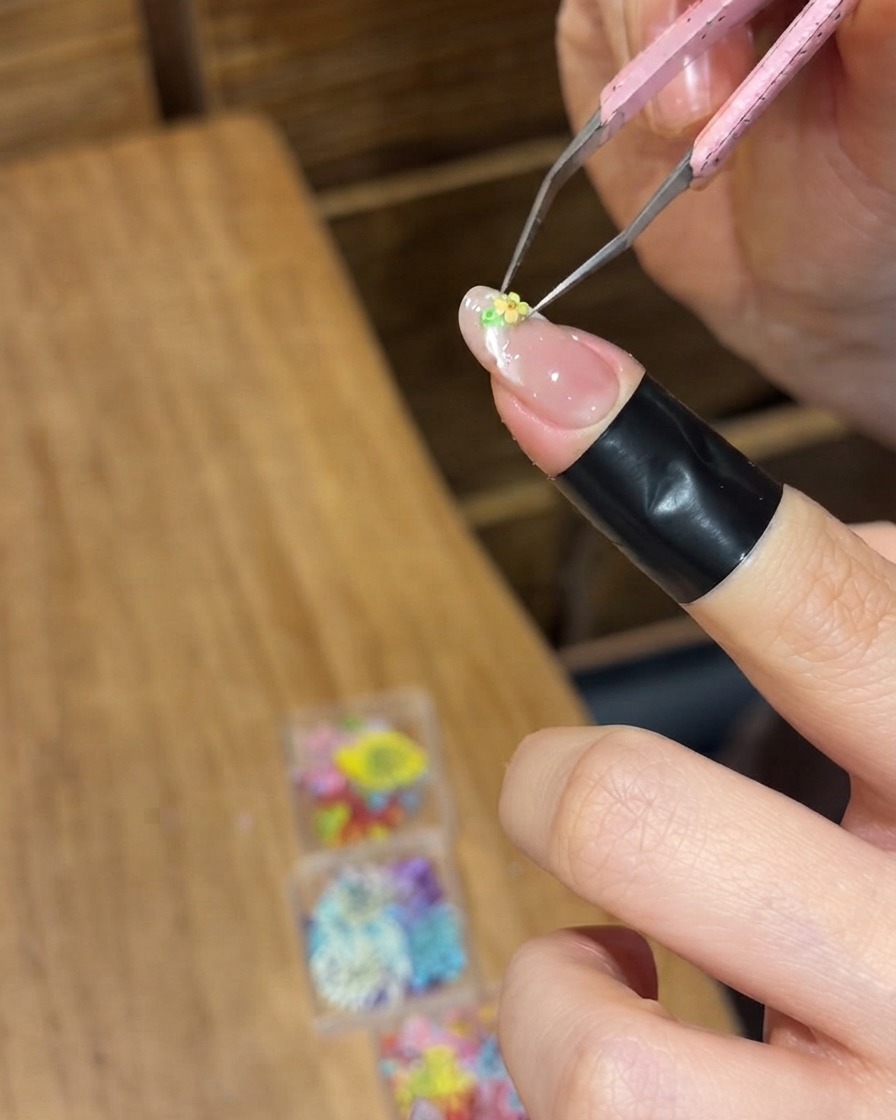
Carefully place and arrange the small dried flowers onto the wet base gel previously applied to the nail tip. Adjust their position with the tweezers to achieve a balanced and aesthetically pleasing French floral layout.
Tip: Press the flowers gently into the wet base gel so they lie flat against the nail contour. - 10Press and cure with silicone head lamp attachment
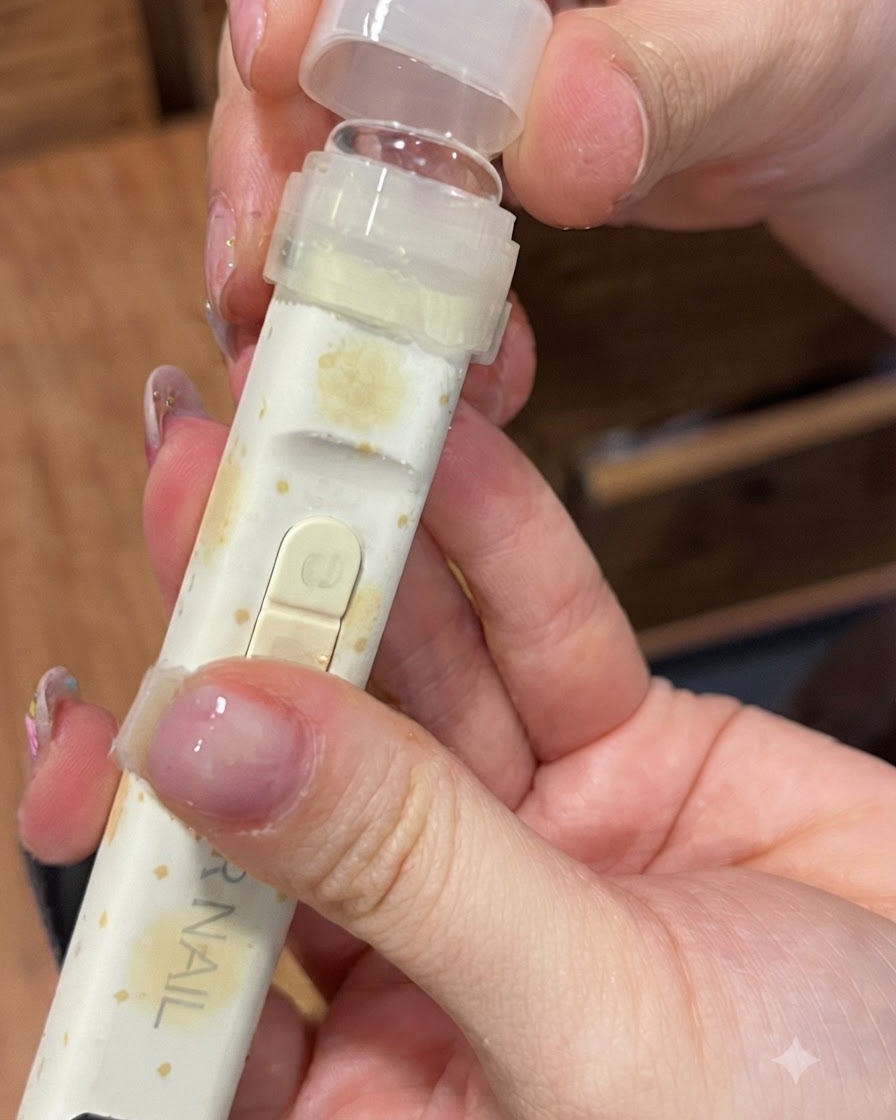
Attach a silicone head fixture onto the portable UV/LED lamp, then press it down onto the nail art arrangement. Turn on the light to cure the base gel while simultaneously pressing the flowers flat against the nail surface.
Tip: Ensure the silicone head presses uniformly across the flowers so they remain flat and embedded securely during curing. - 11Apply reinforcing builder gel
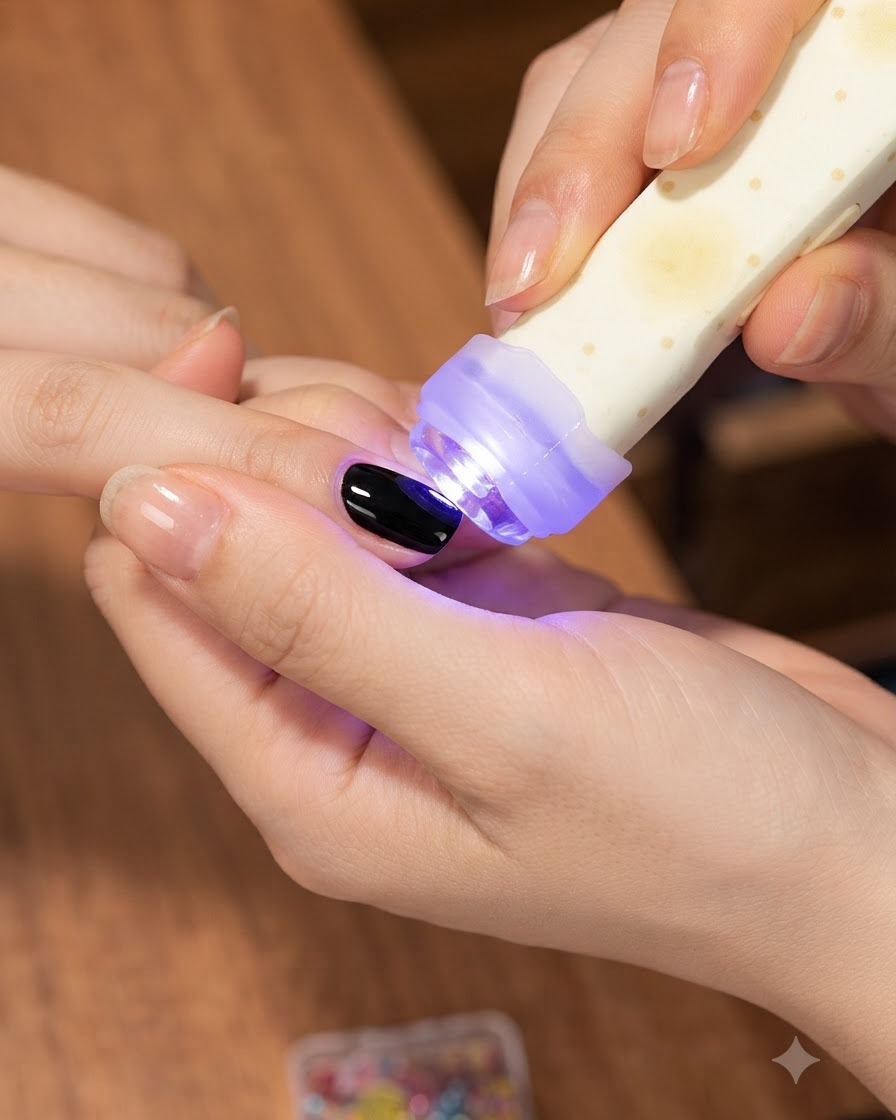
Apply a layer of reinforcing builder gel over the entire nail to completely encapsulate and seal the dry flower design. This adds necessary thickness and strength to protect the embedded elements from peeling. Cure the gel thoroughly under your UV or LED lamp.
Tip: Ensure the edges of the dry flowers are completely covered by the builder gel to prevent lifting or catching on objects. - 12Cure the final reinforced nail
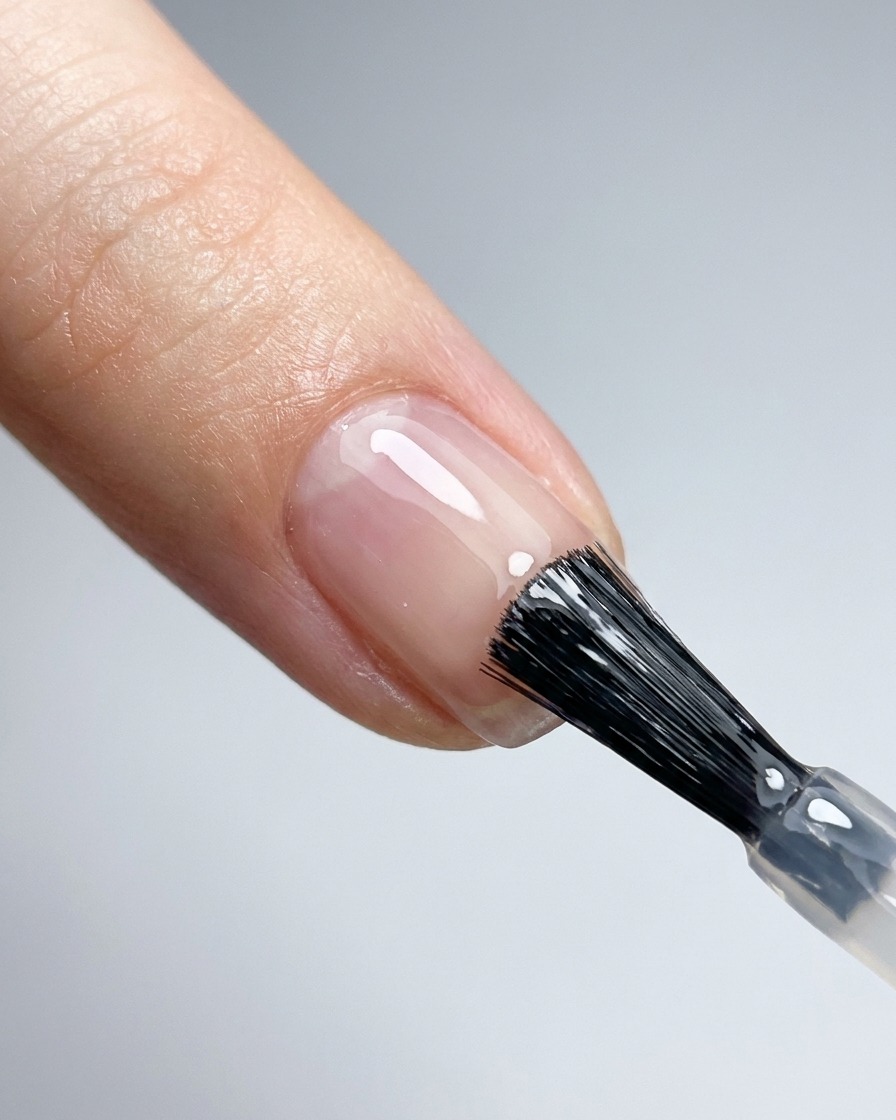
Place the finger under the portable UV or LED lamp to cure the reinforcing layer completely. Ensure the light covers all angles of the nail to set the structure securely. This final curing step locks in the encapsulated design and hardens the surface.
Tip: Hold the portable lamp steady over the nail to ensure an even cure across the entire encapsulated surface.