Dried Flower Gradient French Nails — Step-by-Step Tutorial
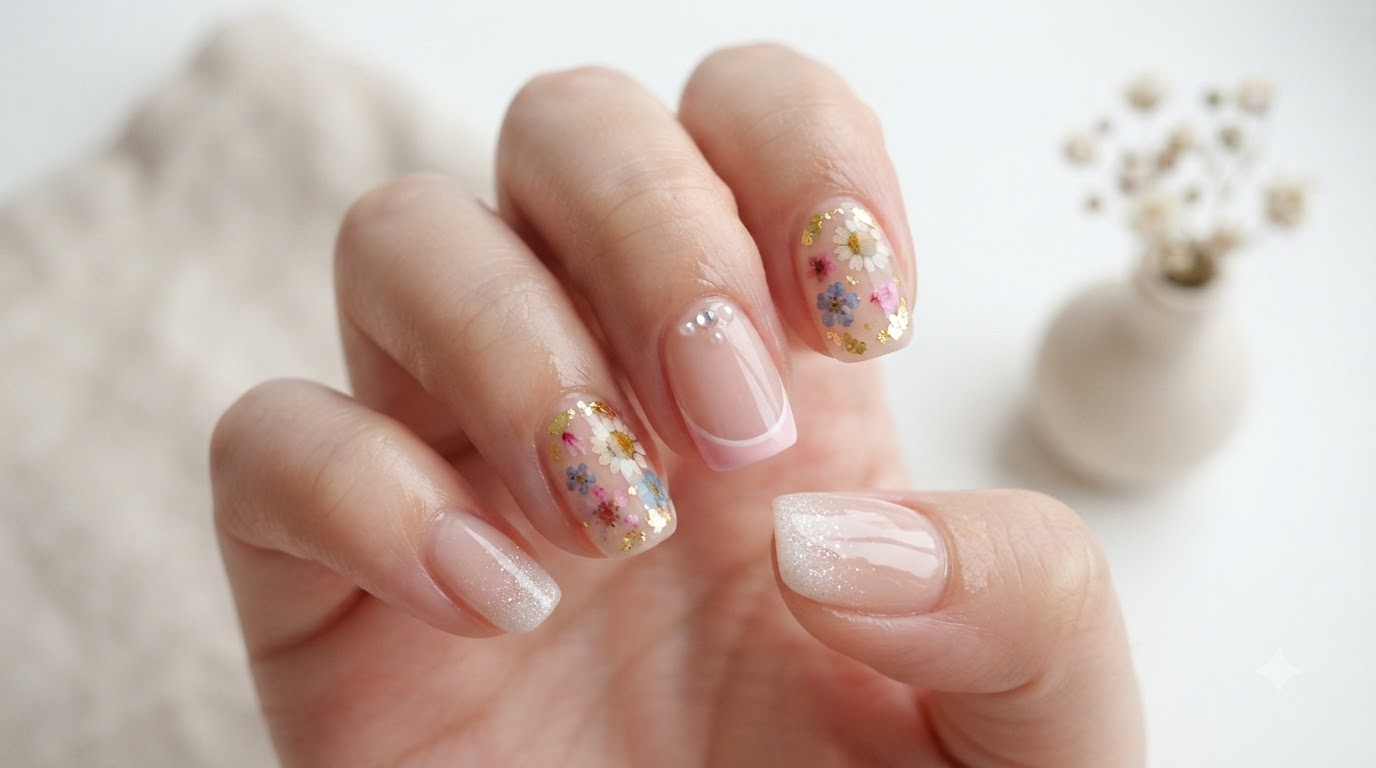
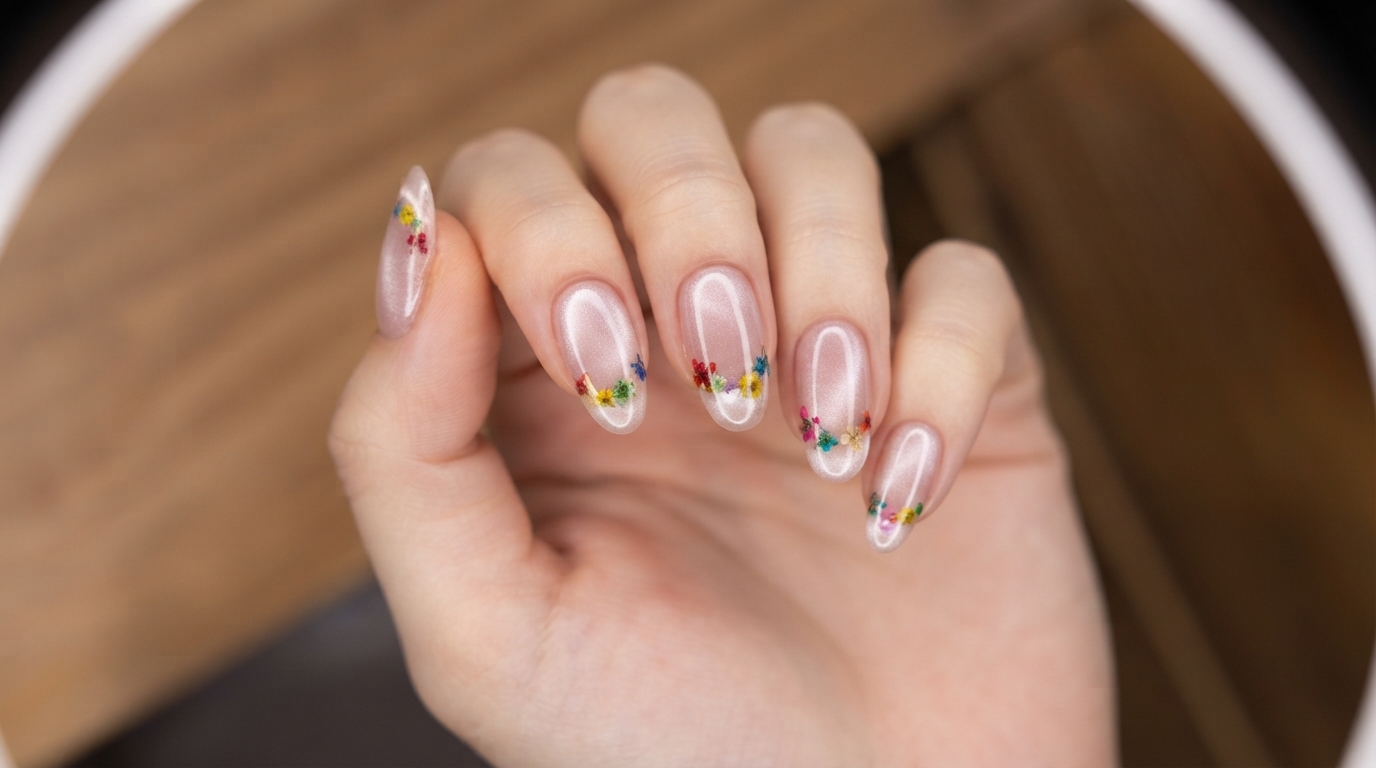
Create a stunning dried flower gradient French manicure featuring embedded botanical accents, metallic foil flakes, and a high-gloss finish.
Botanical nail art brings a touch of delicate elegance to your fingertips by encapsulating real pressed flowers within translucent layers of gel. This look combines the timeless clean lines of a French manicure with an effortless gradient and shimmering foil details for a truly unique style.
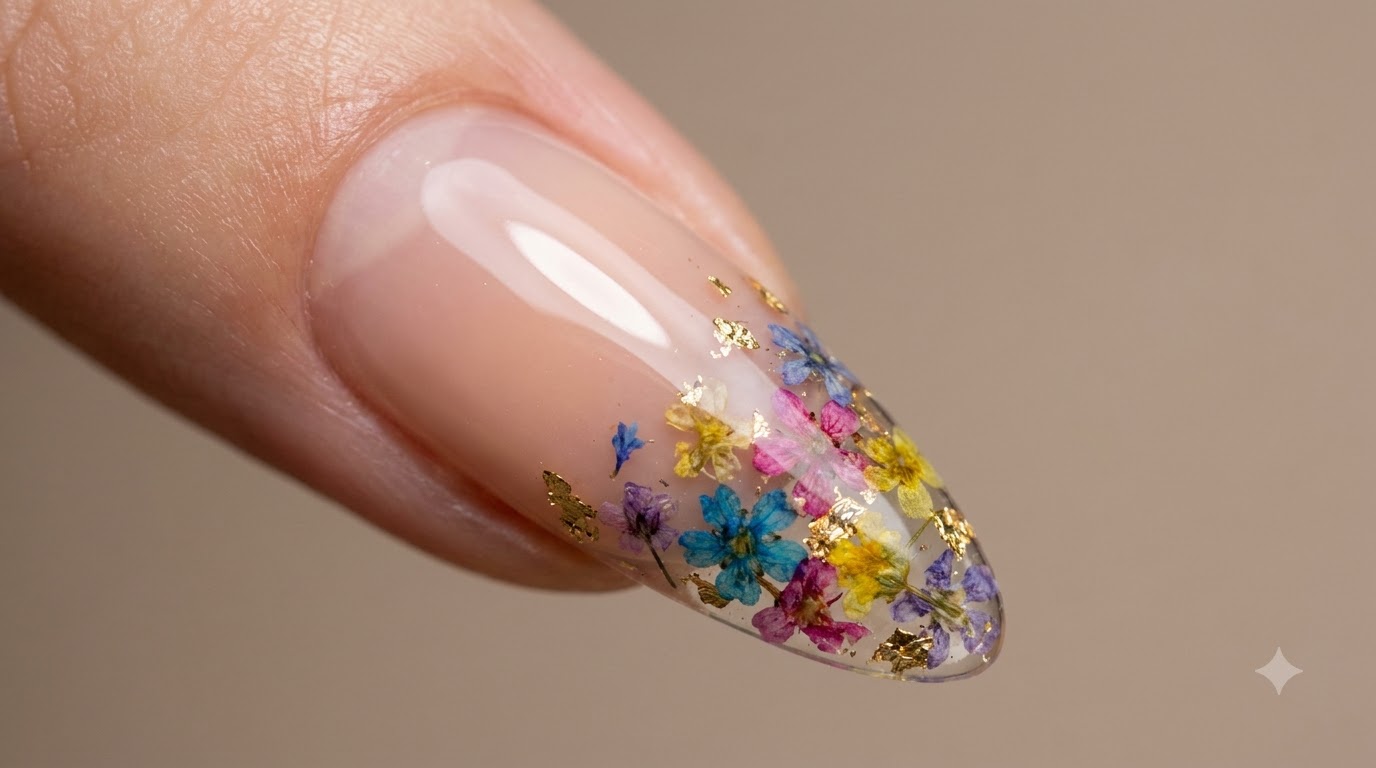
Steps
- 1Apply reinforcing gel
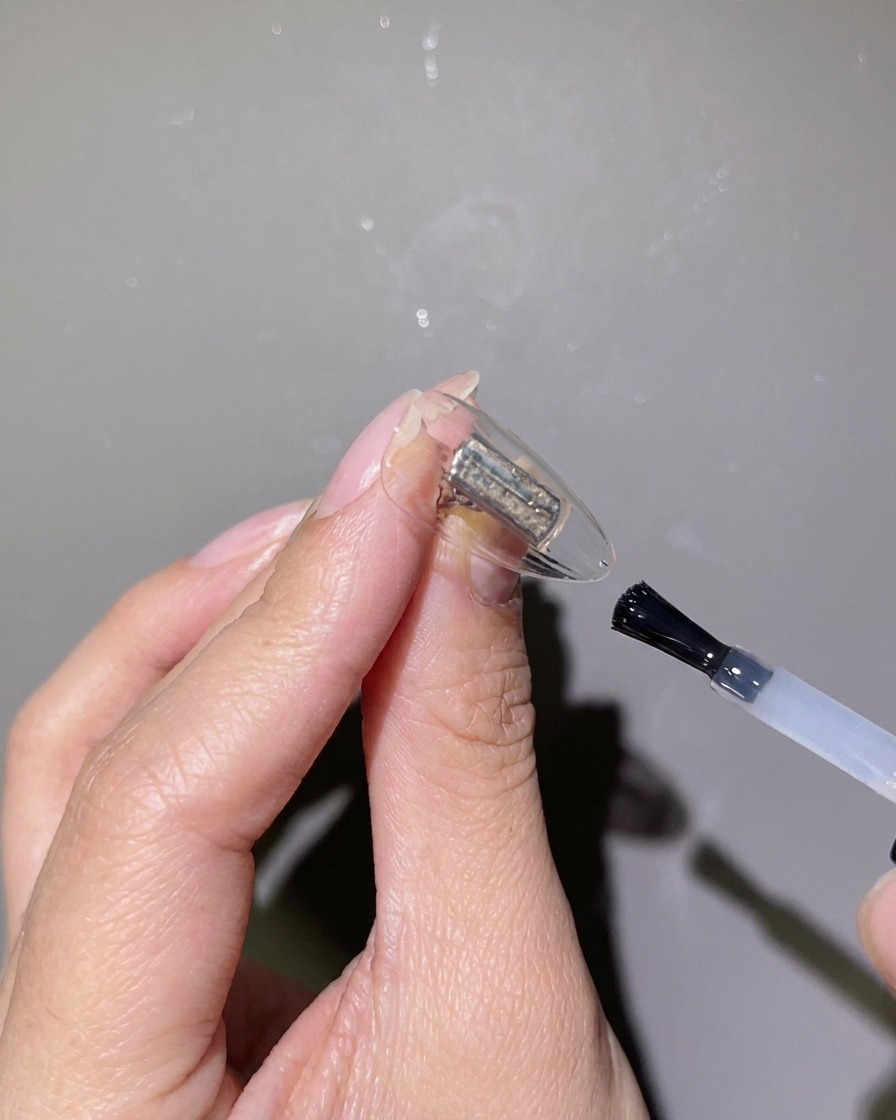
Begin by applying an even layer of clear reinforcing gel over the prepared nail surface. Do not cure this layer yet, as it will serve as a wet base to help adhere the dried flower decorations in the upcoming step.
Tip: Keep this layer thin and even so the flowers can lay flat against the nail without sliding around. - 2Place dried flowers
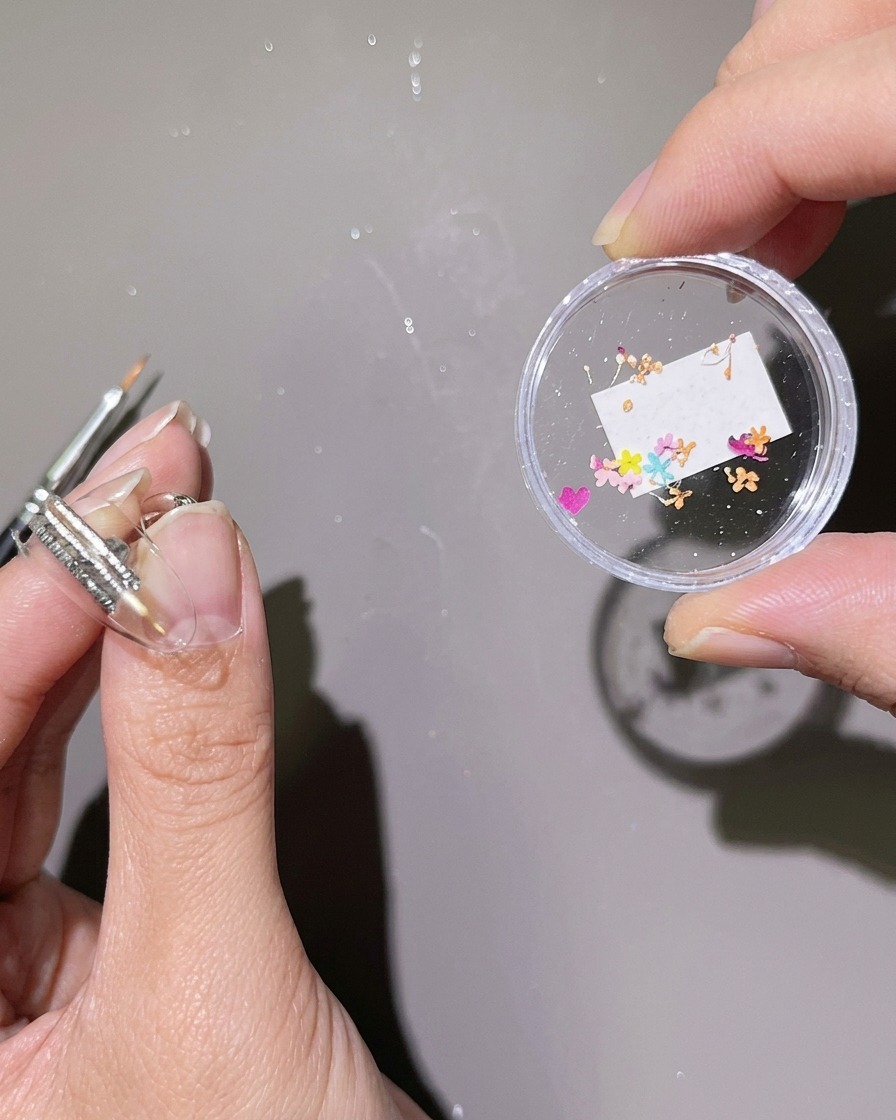
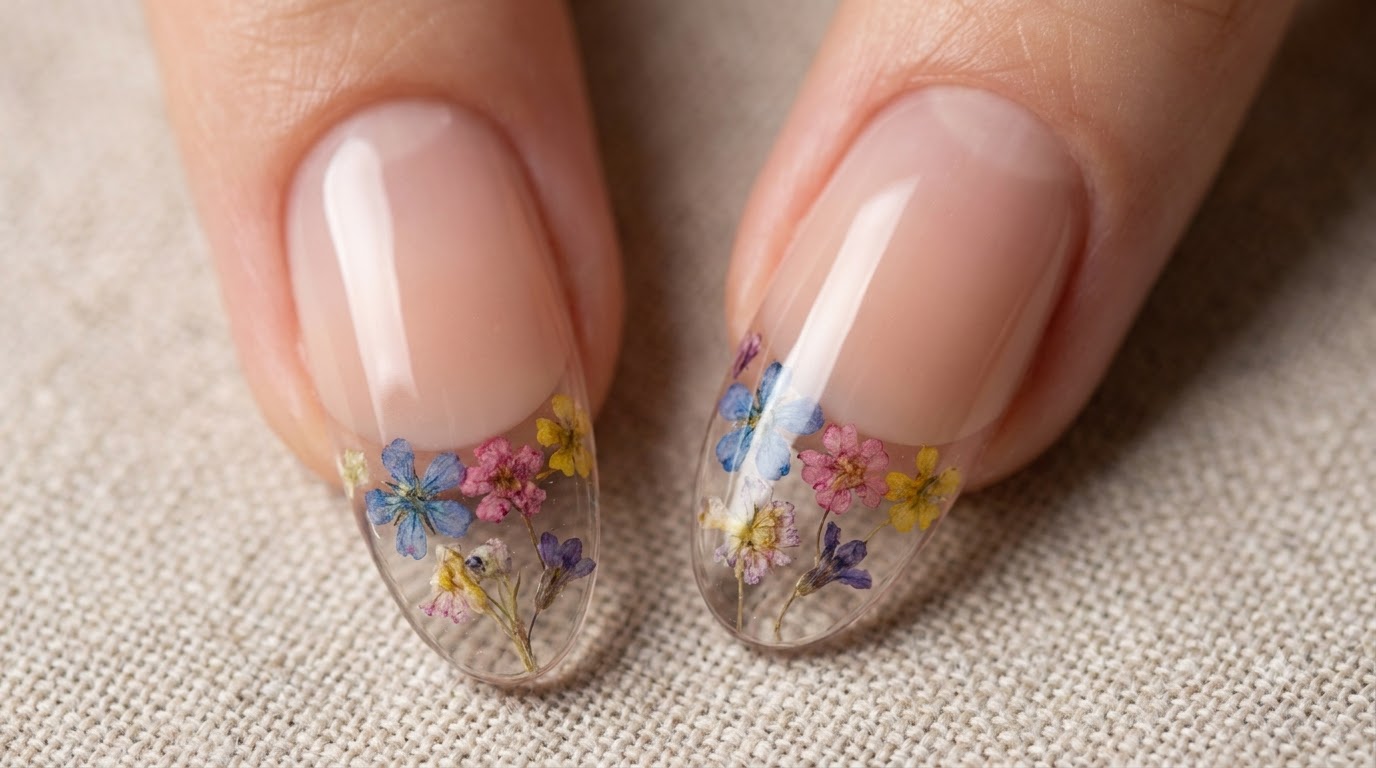
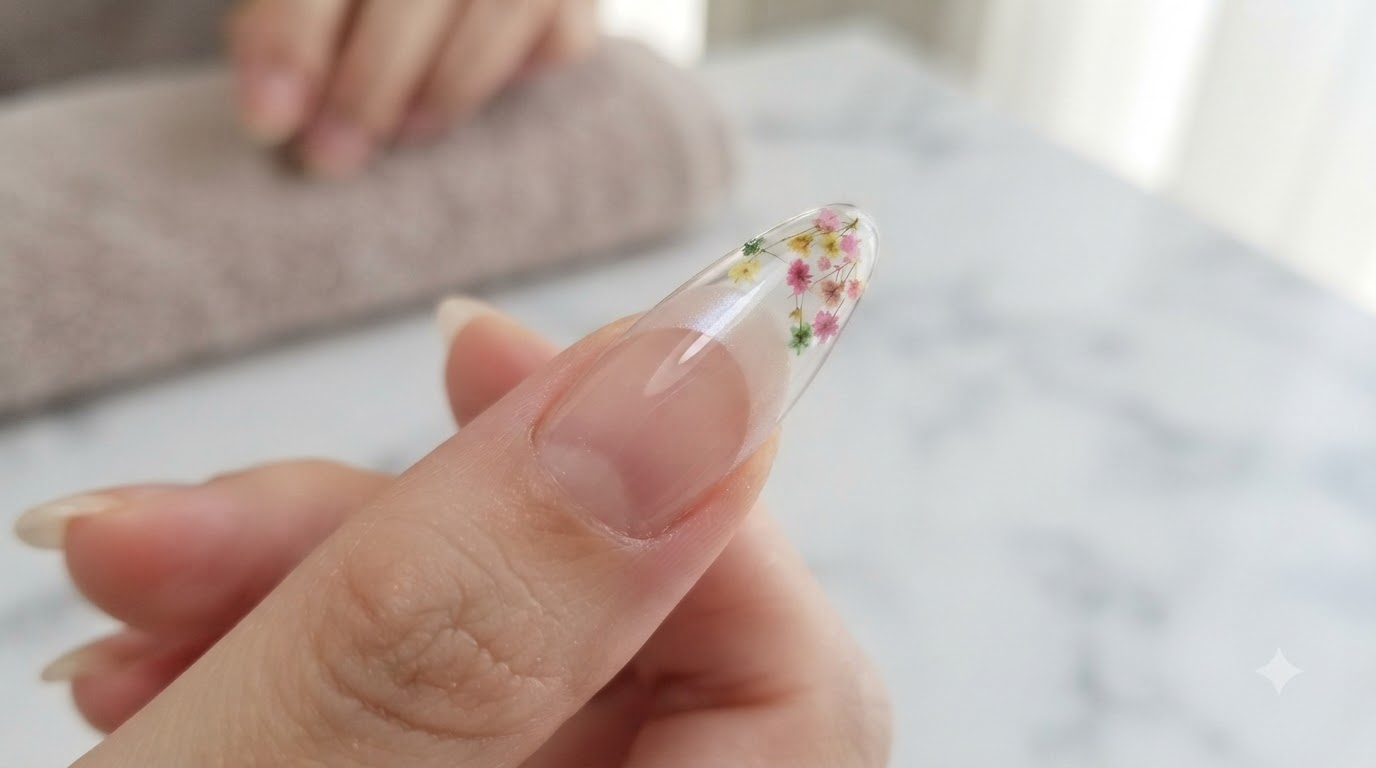
Using a fine detail brush or a dotting tool, carefully pick up your favorite small dried flowers and place them onto the wet reinforcing gel at the fingertip. You can arrange the colors randomly or create a custom layout according to your personal preference.
Tip: Gently press the delicate flowers flat into the uncured gel so they do not stick up and create a bulky surface later. - 3Cure the decorations
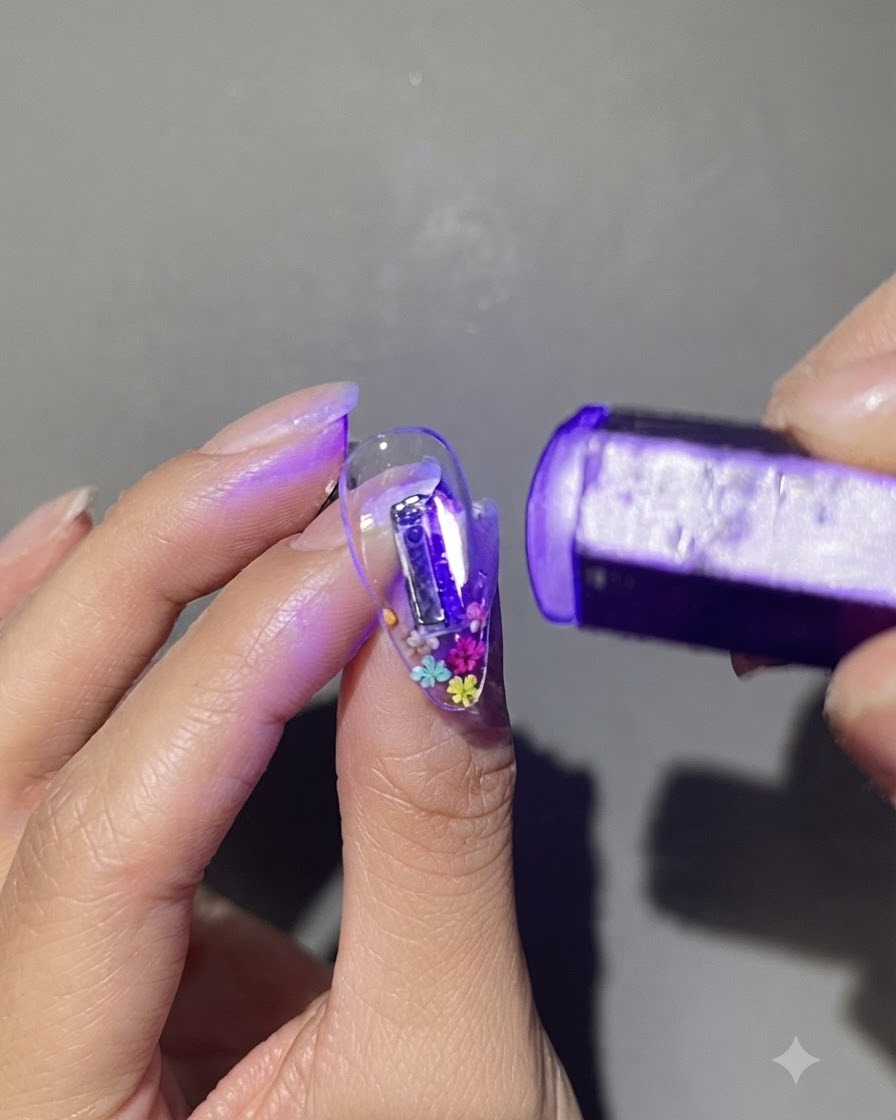
Once you are happy with the arrangement of the dried flowers, cure the nail under a UV or LED nail lamp. This will set the wet reinforcing gel and securely lock the floral decorations in place.
Tip: A small handheld flash-cure lamp is excellent for quickly freezing the design in place before doing a full cure in a larger lamp. - 4Apply leveling gel
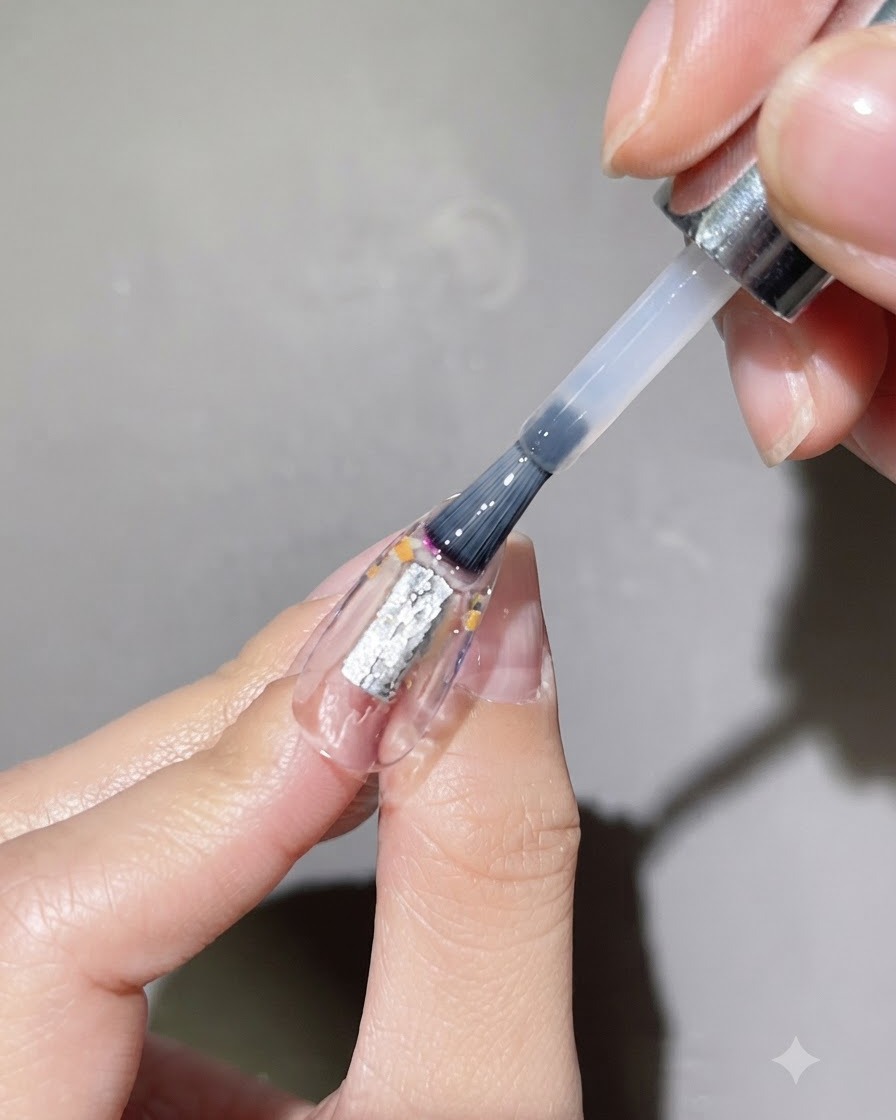
Next, apply a thick, generous layer of clear leveling gel over the entire nail surface to encapsulate the dried flowers. Ensure the gel covers all the decorations evenly to create a smooth, protective structure.
Tip: Float the brush lightly over the top of the gel rather than dragging it to avoid introducing air bubbles into the clear layer. - 5Allow the gel to self-level
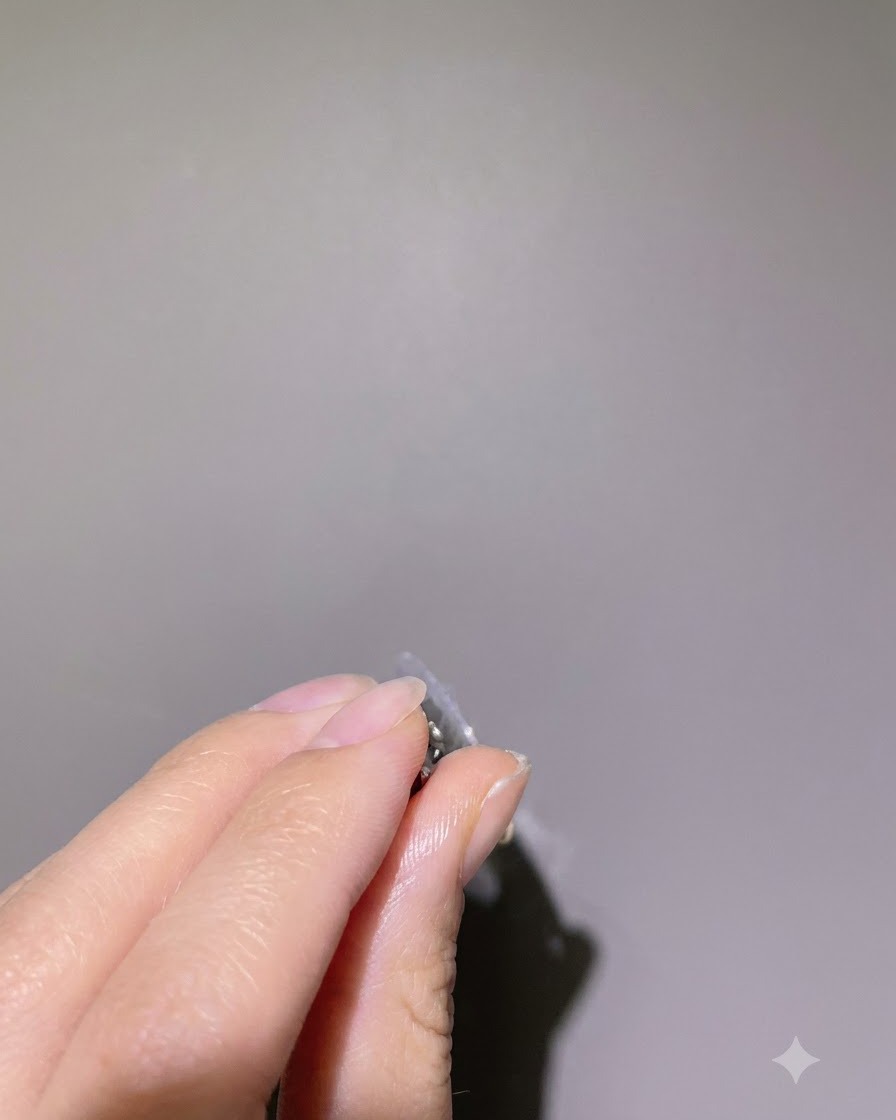
Before placing the hand into the lamp to cure, give the leveling gel a few seconds to settle and smooth out naturally. You can briefly turn the finger upside down to help the gel pull towards the center and form a beautiful apex.
Tip: Flipping the hand upside down uses gravity to help build structural strength without needing to add extra product. - 6Buff to smooth
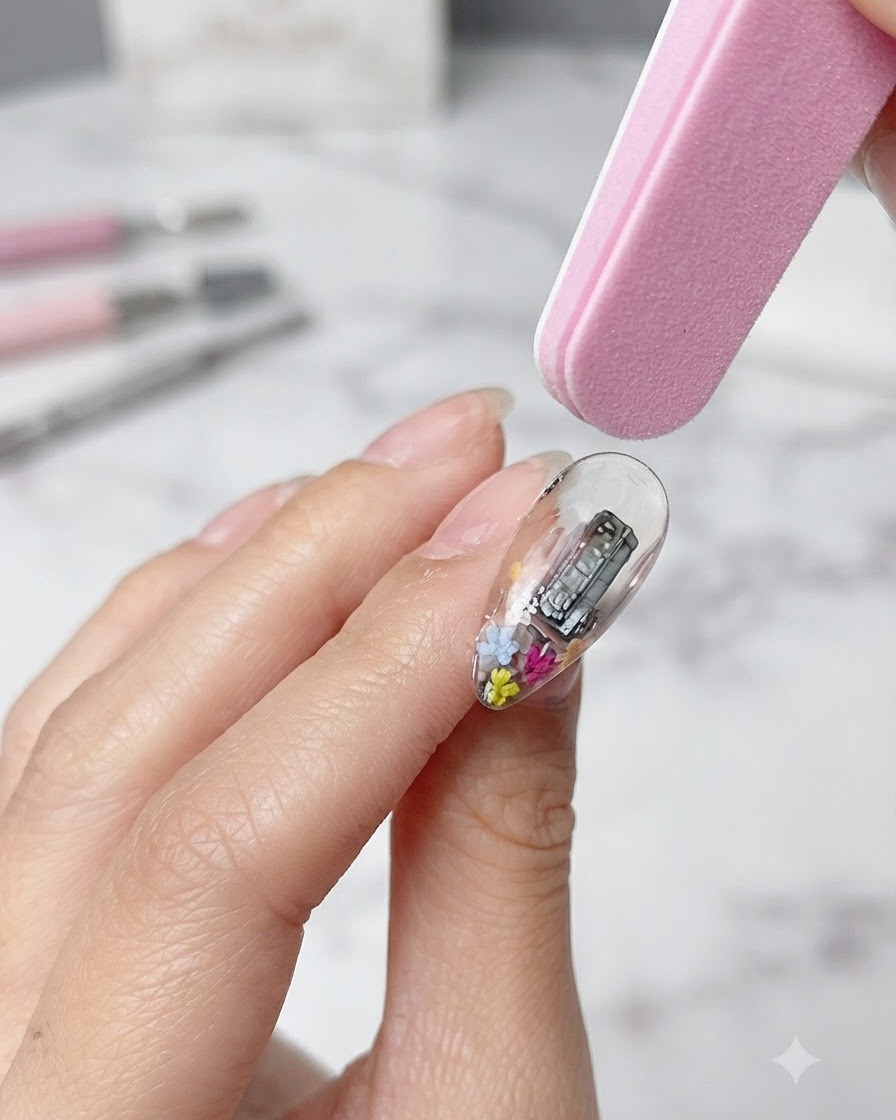
After fully curing the leveling gel, check the nail surface for any bumps or uneven areas. If you feel the fingertip is not perfectly flat, gently buff the surface using a soft sponge nail file until it is smooth.
Tip: Use a light touch with the sponge buffer so you do not accidentally file too deep and expose the encapsulated flowers. - 7Apply French Sticker Guide
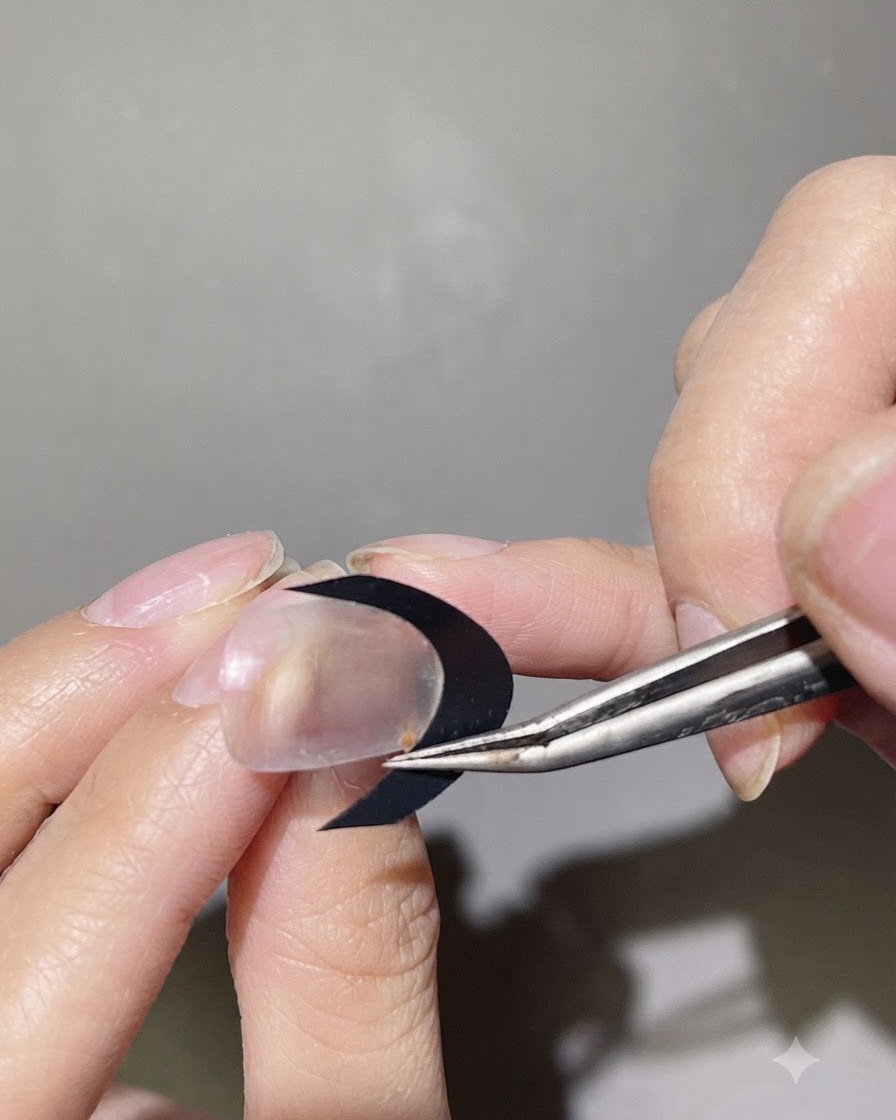
Carefully place a curved French sticker guide onto the nail surface at your desired position to create a clean separation line for the gradient design. Press down gently to ensure the edges are secure and flush against the nail, preventing any bleeding of the color applied underneath.
Tip: Make sure the sticker guide is firmly pressed down along the edges so the polish lines stay sharp and crisp. - 8Apply Nude Base Color
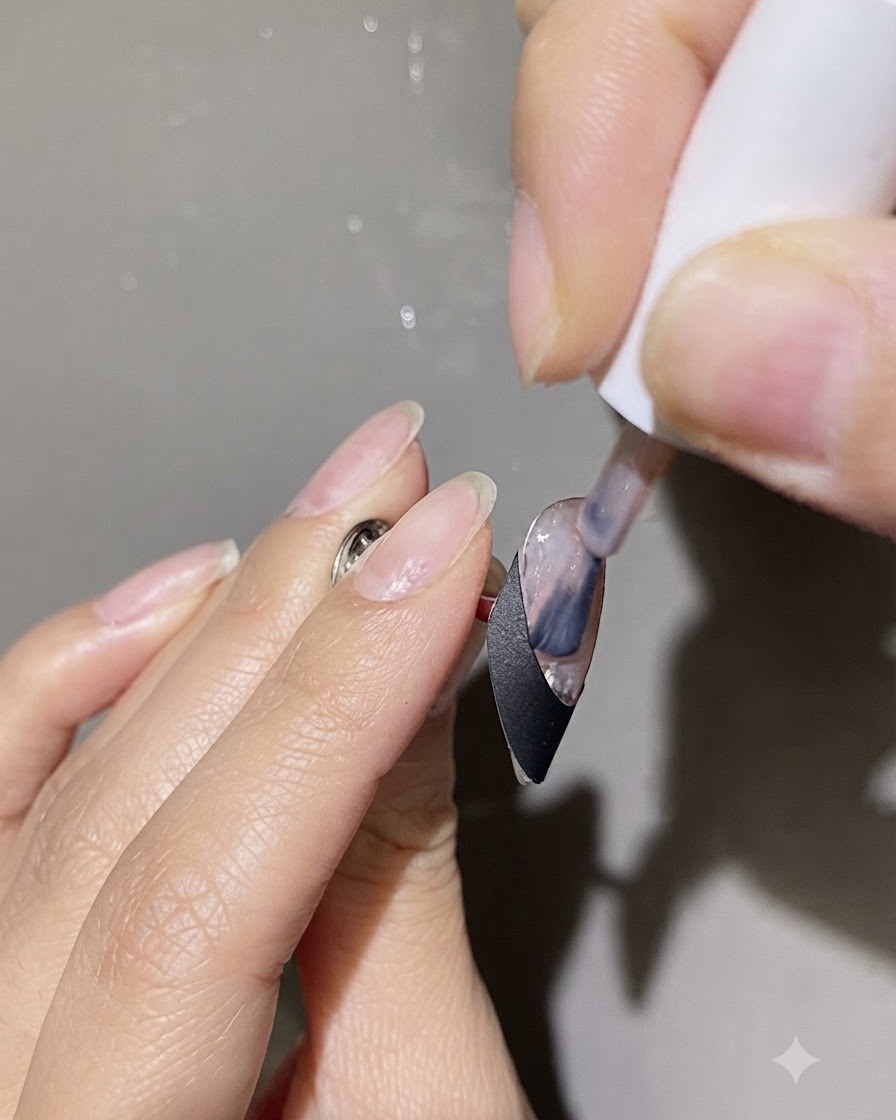
Using a nail brush, apply one to two thin layers of nude base color gel behind the positioned sticker guide. Cover the exposed nail area evenly while keeping the strokes smooth and controlled to build a solid foundation for the gradient effect.
Tip: Apply in thin coats to prevent the gel from pooling near the edges of the sticker guide. - 9Create Gradient Effect with Sponge
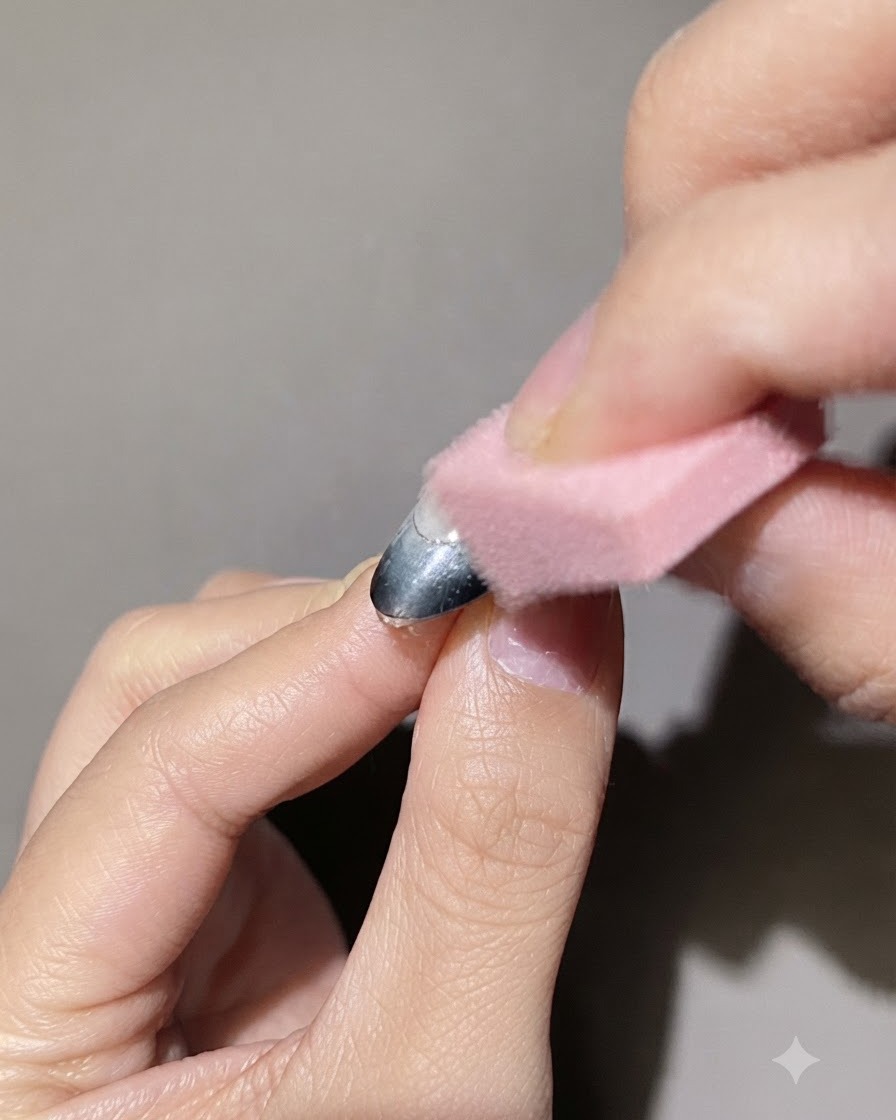
Take a small makeup sponge and gently dab over the applied gel area to soften the transition and create a smooth, seamless color gradient effect. This technique diffuses the pigment evenly for a professional finish before curing.
Tip: Dab lightly and consistently to blend the colors without leaving harsh sponge texture marks. - 10Remove Sticker and Cure
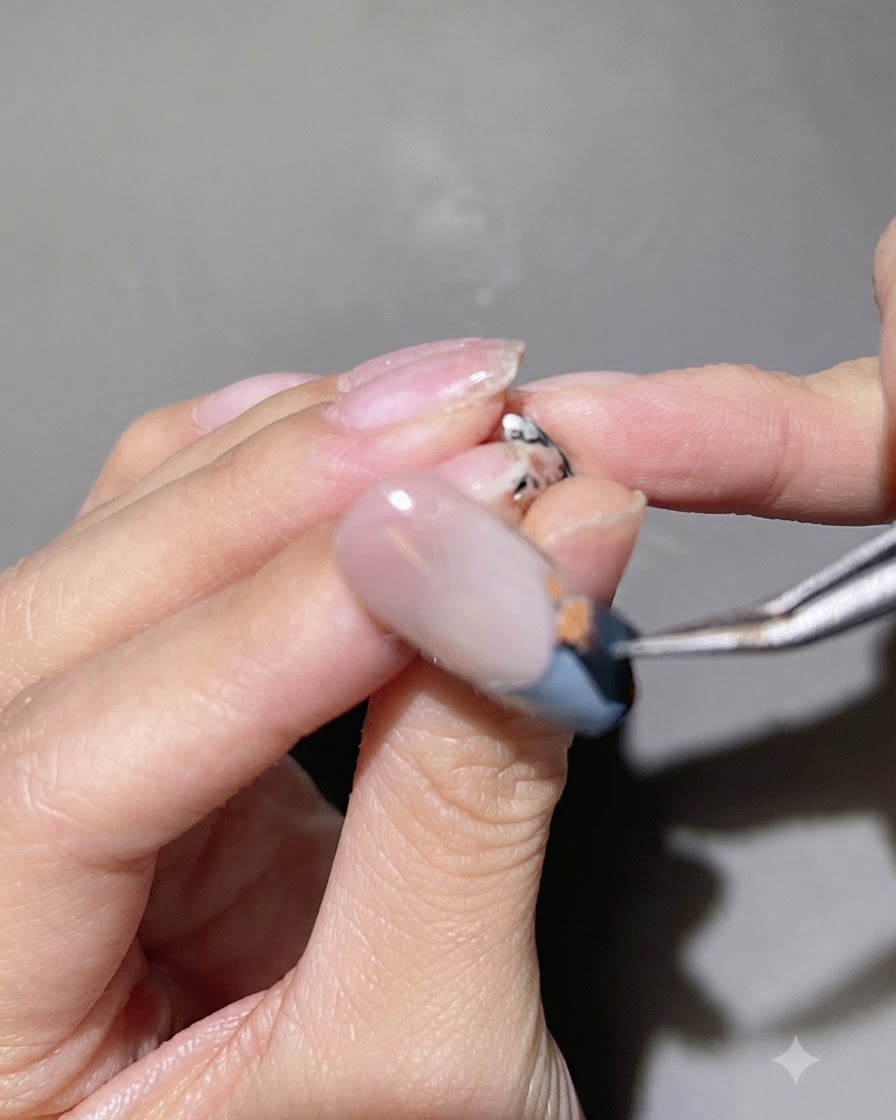
Using precision tweezers, carefully peel and tear off the French sticker guide from the nail to reveal the clean line. Immediately place the nail under the UV or LED lamp to cure the gel and lock the design into place.
Tip: Pull the sticker away slowly and at a low angle to avoid disturbing the wet gel edge. - 11Wrap Edges with Reinforcing Glue
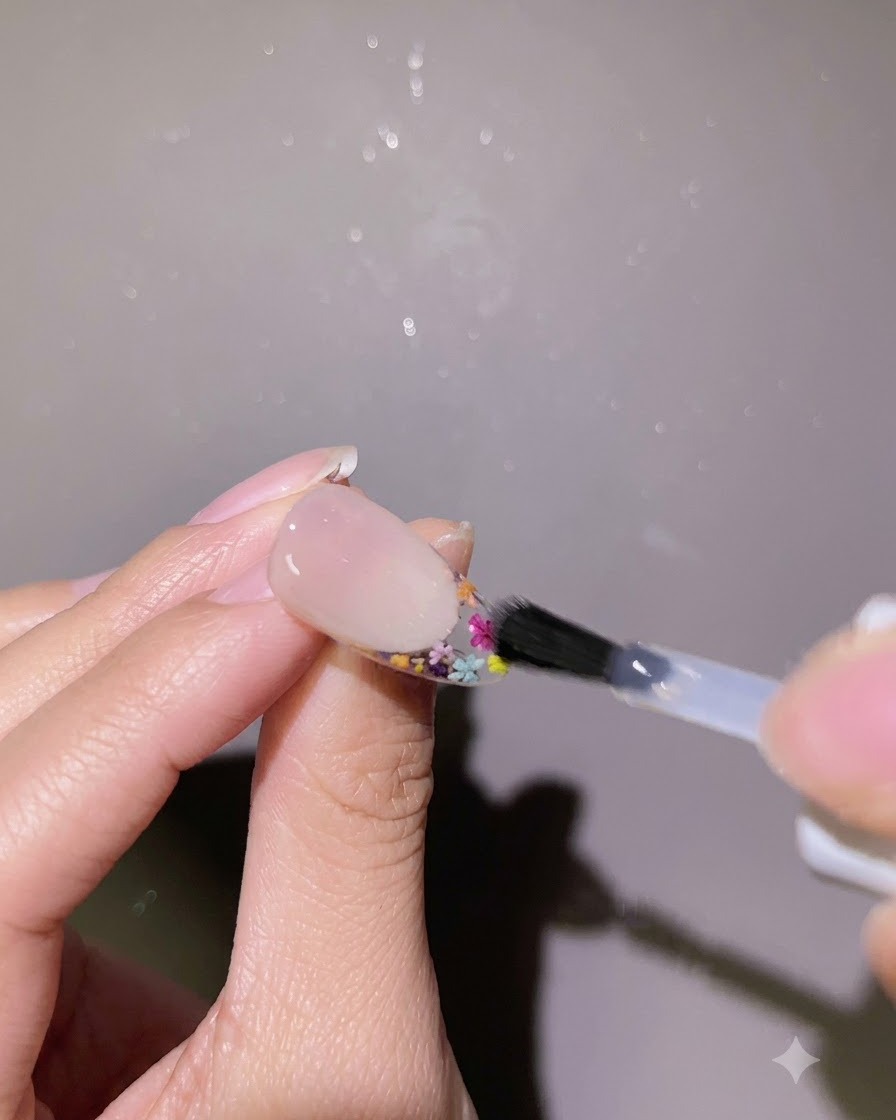
Apply a layer of reinforcing glue or gel around the perimeter and wrap the edges of the nail to enhance structural durability and prevent chipping. This extra layer protects the nail art and secures the overall manicure.
Tip: Be sure to cap the free edge completely to seal the manicure against everyday wear and tear. - 12Apply Top Coat and Cure
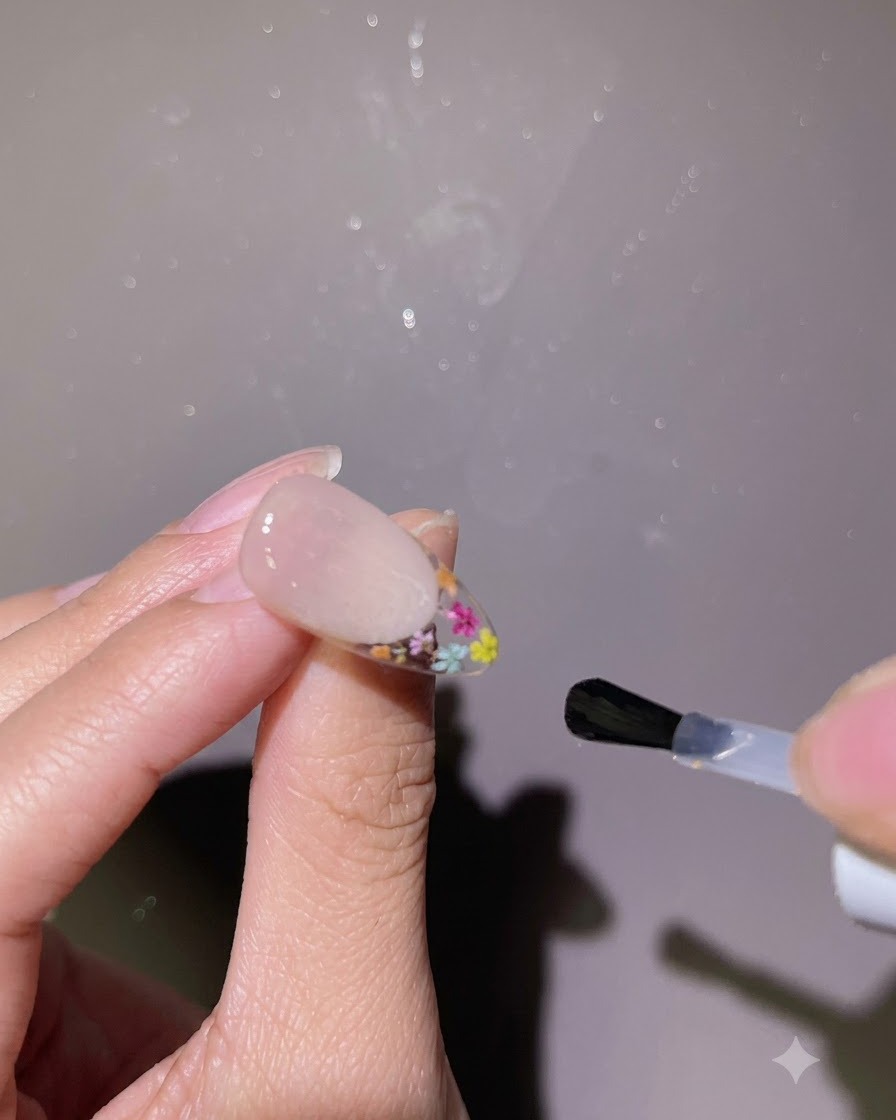
Finish the manicure by applying an even layer of cold top coat gel over the entire nail surface, covering all previously applied layers. Cure under the UV or LED lamp to seal the shine and harden the protective finish.
Tip: Ensure the top coat covers the entire nail smoothly without pooling near the cuticles for a lasting gloss. - 13Apply final detail top coat to fingertips
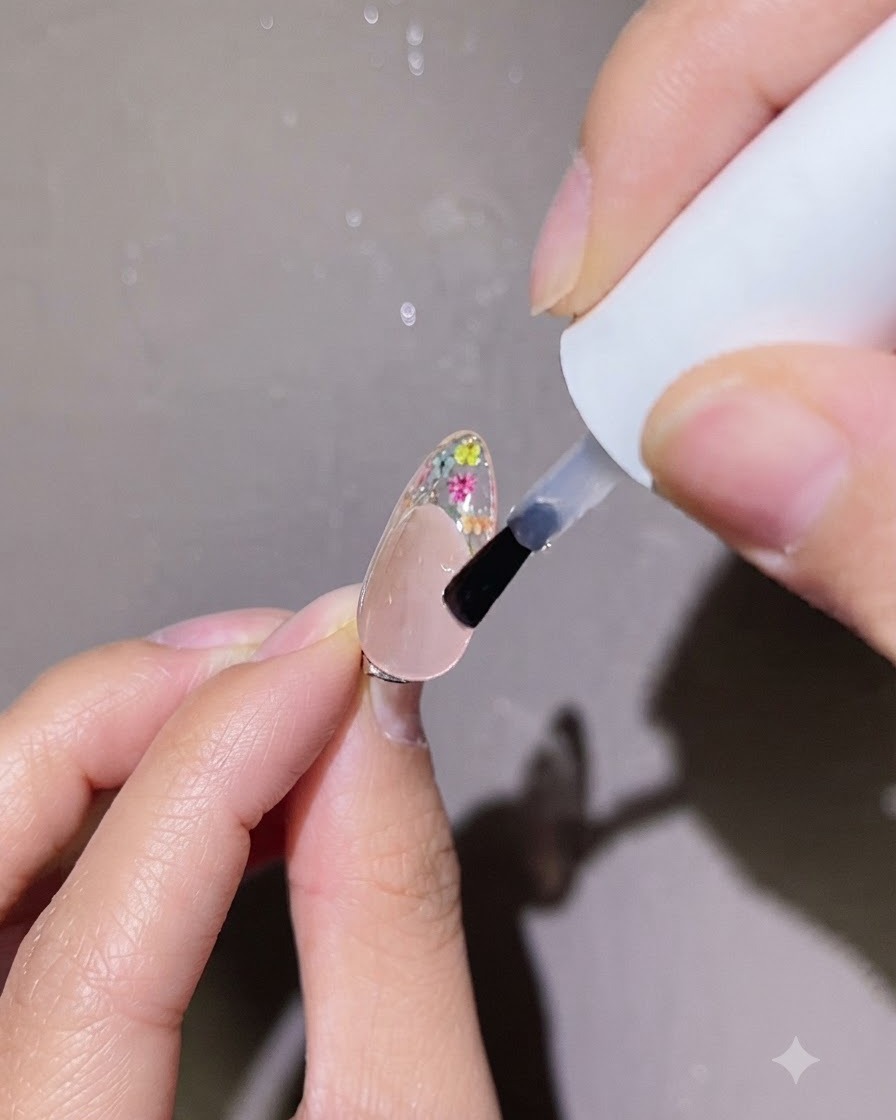
Apply a small dot of extra top coat specifically onto the dried flower design at the fingertips to lock in the embellishments and smooth out any texture. Cure the nails under the UV or LED lamp to completely harden the surface and lock in the final design.
Tip: Focusing extra top coat only on the textured areas ensures a smooth, glassy finish without making the entire nail look bulky.