Spring French Blush
Dried Flower Gel Nails — Step-by-Step Tutorial
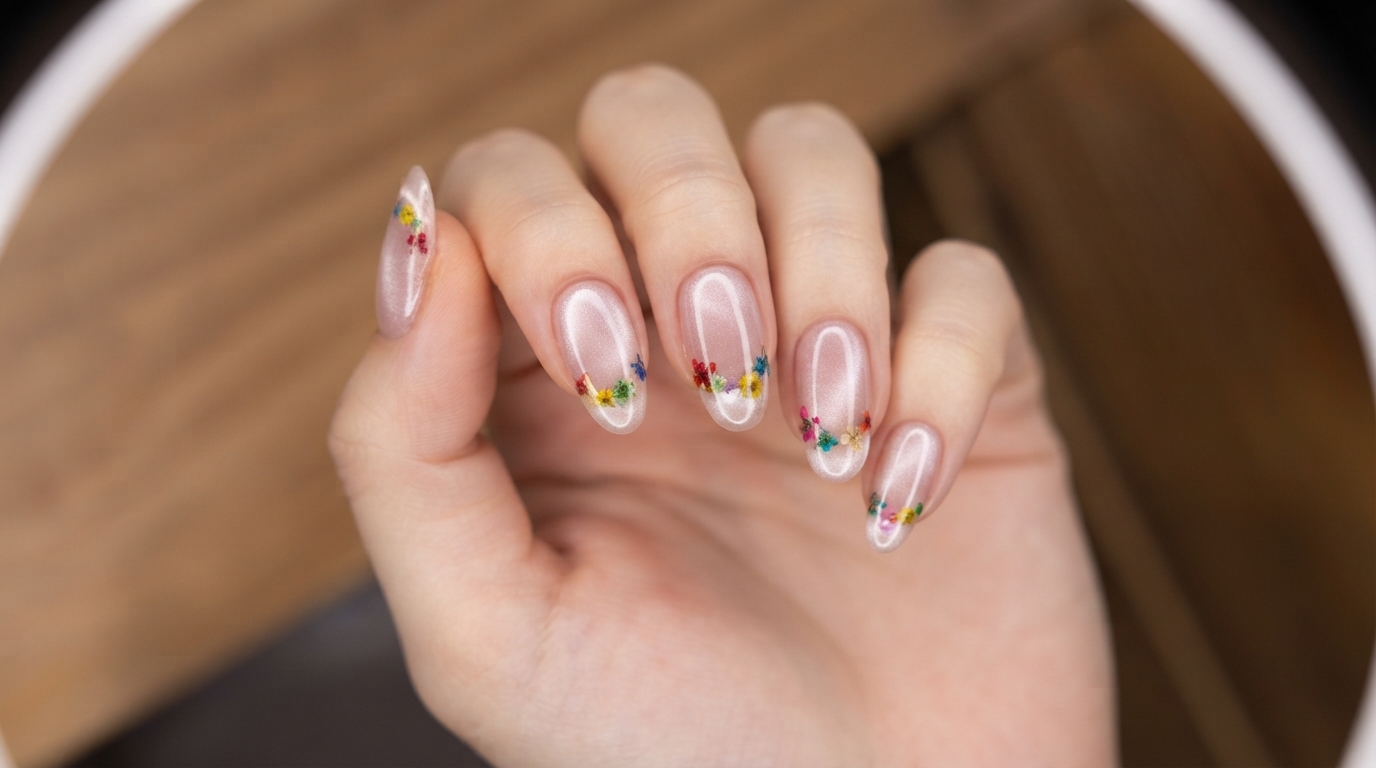
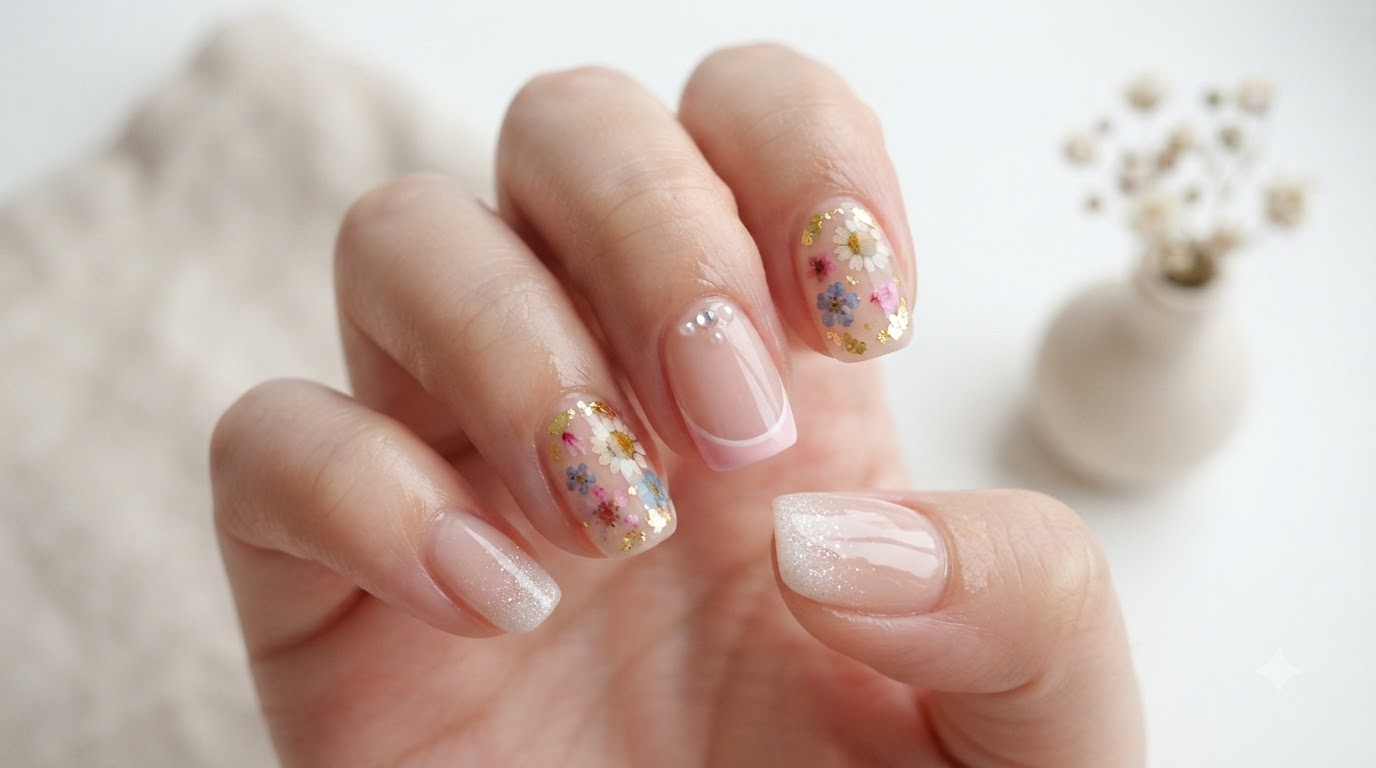
Create enchanting spring gel nails featuring soft blush gradients, delicate embedded dried flowers, gold foil flakes, and elegant French tips.
Spring nail art is all about embracing soft, romantic aesthetics, and this design combines some of the seasons most popular trends into one cohesive manicure. Featuring a translucent nude base with diffused pink blush, encapsulated botanical elements, and a classic French tip enhanced with pearls and rhinestones, this look brings a touch of a spring garden straight to your fingertips. Whether you are prepping for a special occasion or simply love floral details, this comprehensive tutorial will guide you through building the perfect dimensional structure.
Steps
- 1Apply dark pink gel for blush effect
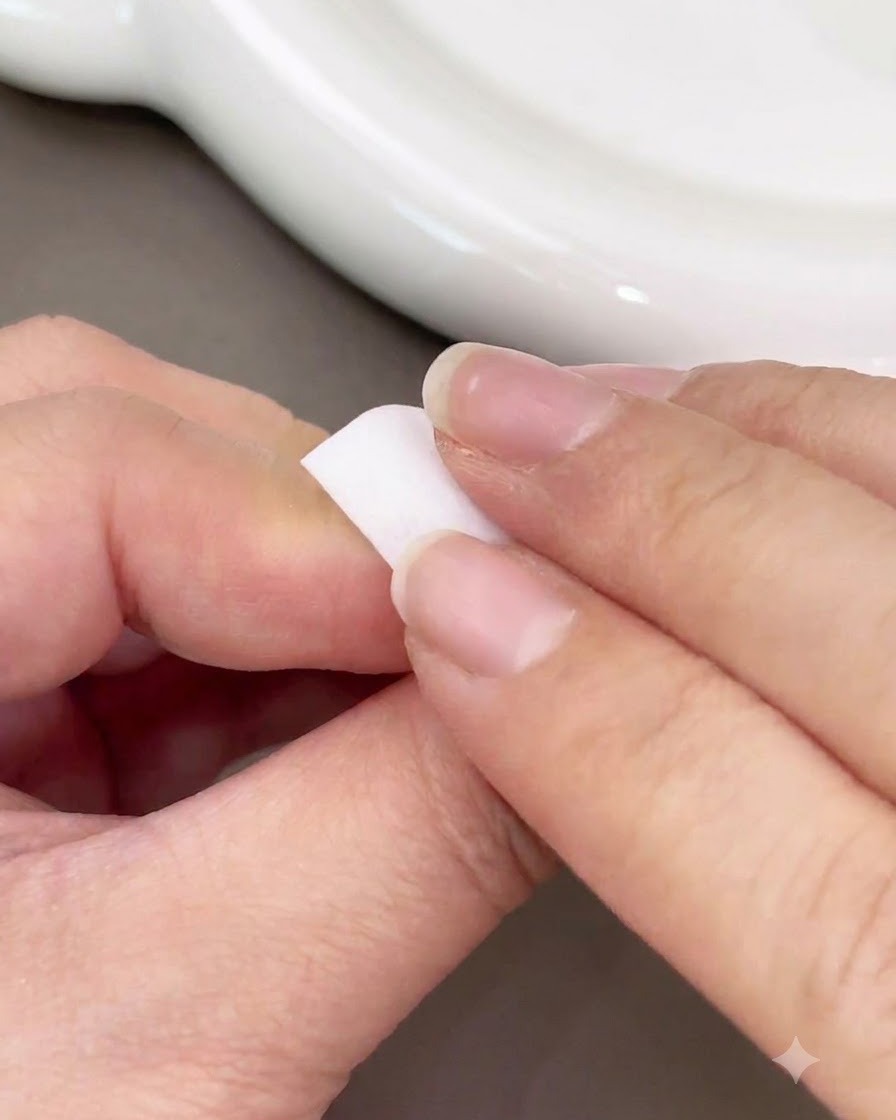
Take a small amount of dark pink or bean paste colored gel on a flat brush and gently dab it onto the center of the prepped nail to create a soft blush effect.
Tip: Keep the initial application concentrated in the center so it is easier to blend outward smoothly. - 2Blend blush gradient with a sponge
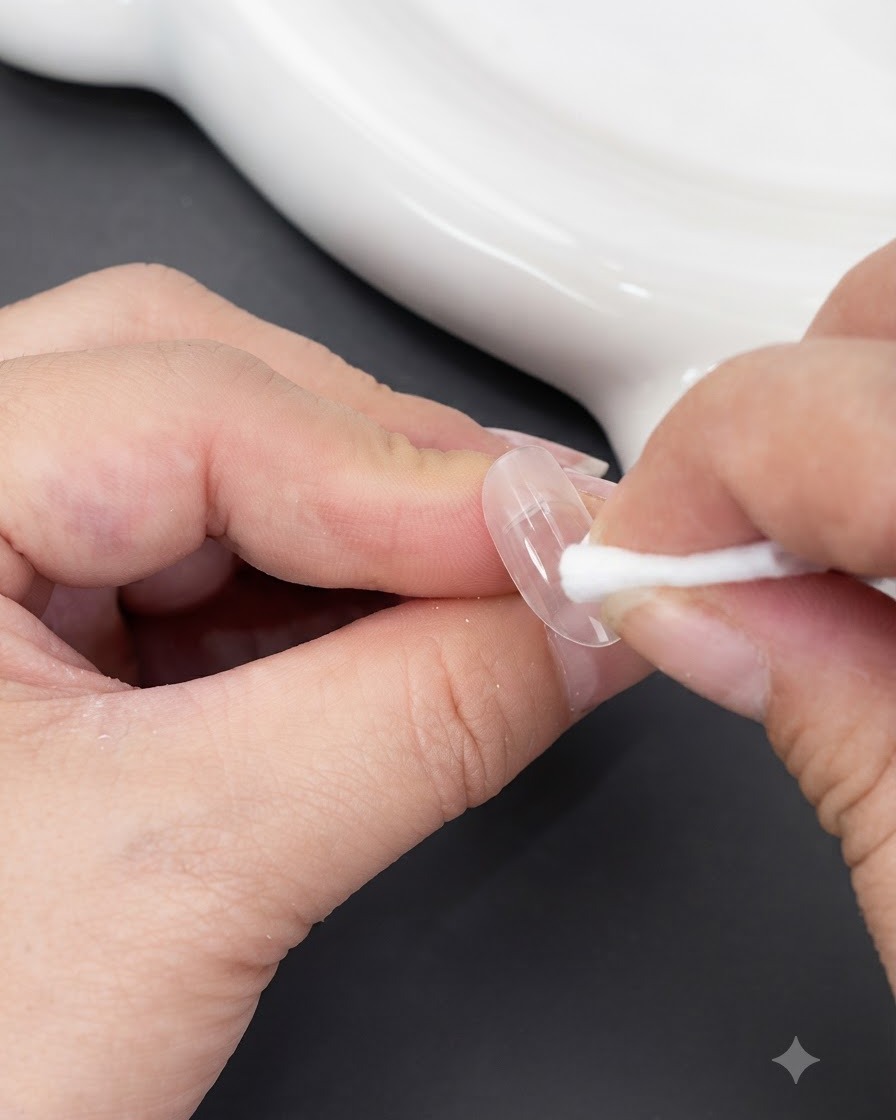
Using a clean sponge square, gently dab and tap around the edges of the pink color to soften the transition and create an authentic diffused blush nail look.
Tip: Use light tapping motions rather than wiping to maintain the circular concentration of color in the middle. - 3Seal blush color with base gel
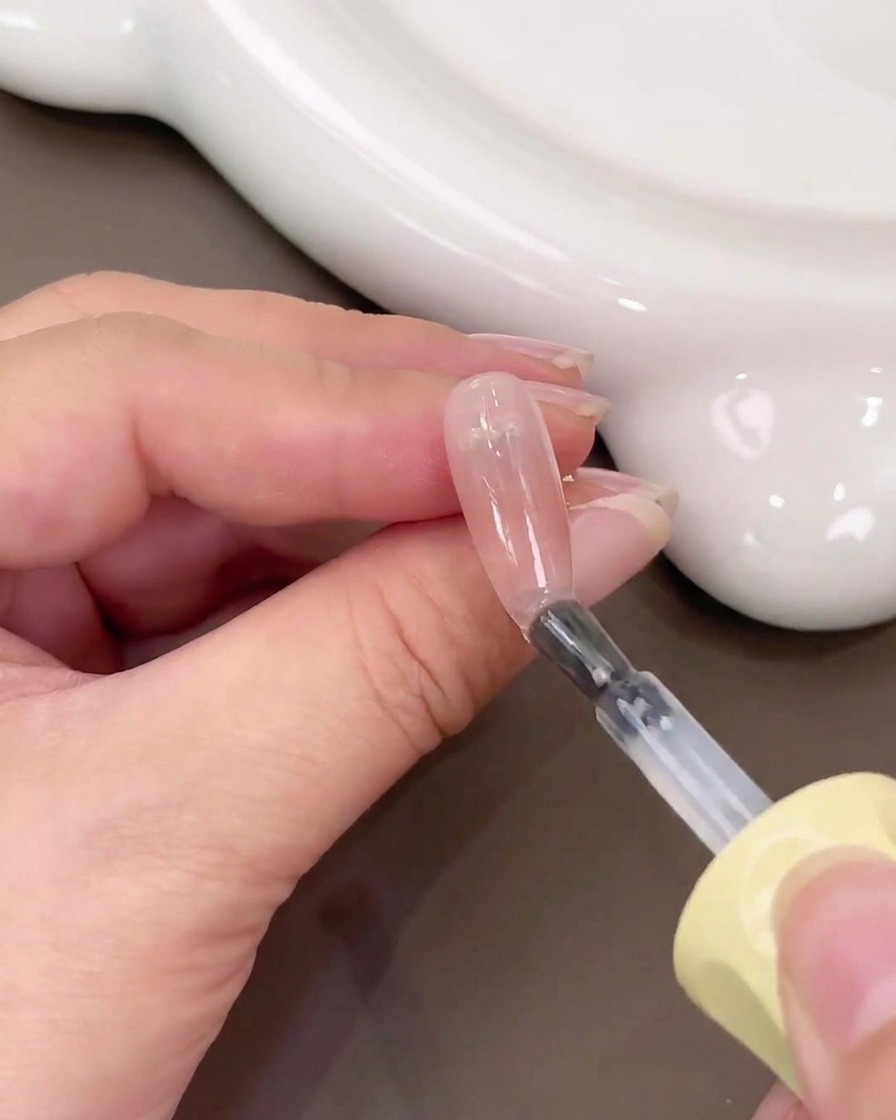
Apply a layer of clear base gel over the entire nail surface to lock in and wrap the blush color effect before proceeding with the next design steps.
Tip: Cure the base gel layer under the lamp before moving on to applying shimmering details. - 4Apply fine shimmer to nail tip
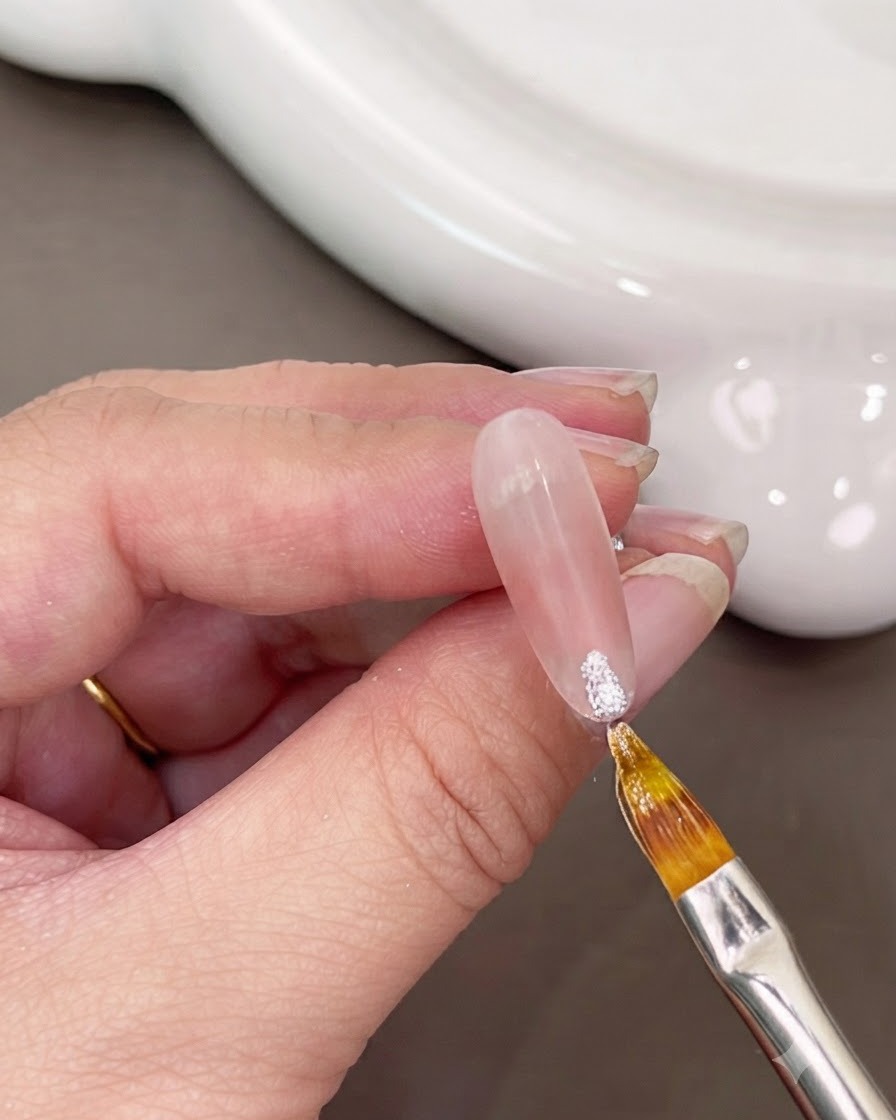
Brush fine shimmering white gel polish onto the very tip of the nail to form the base for the upcoming floral and glitter gradient layout.
Tip: Apply a concentrated amount at the extreme edge so it can be swept backward effectively. - 5Sweep shimmer into a backward gradient
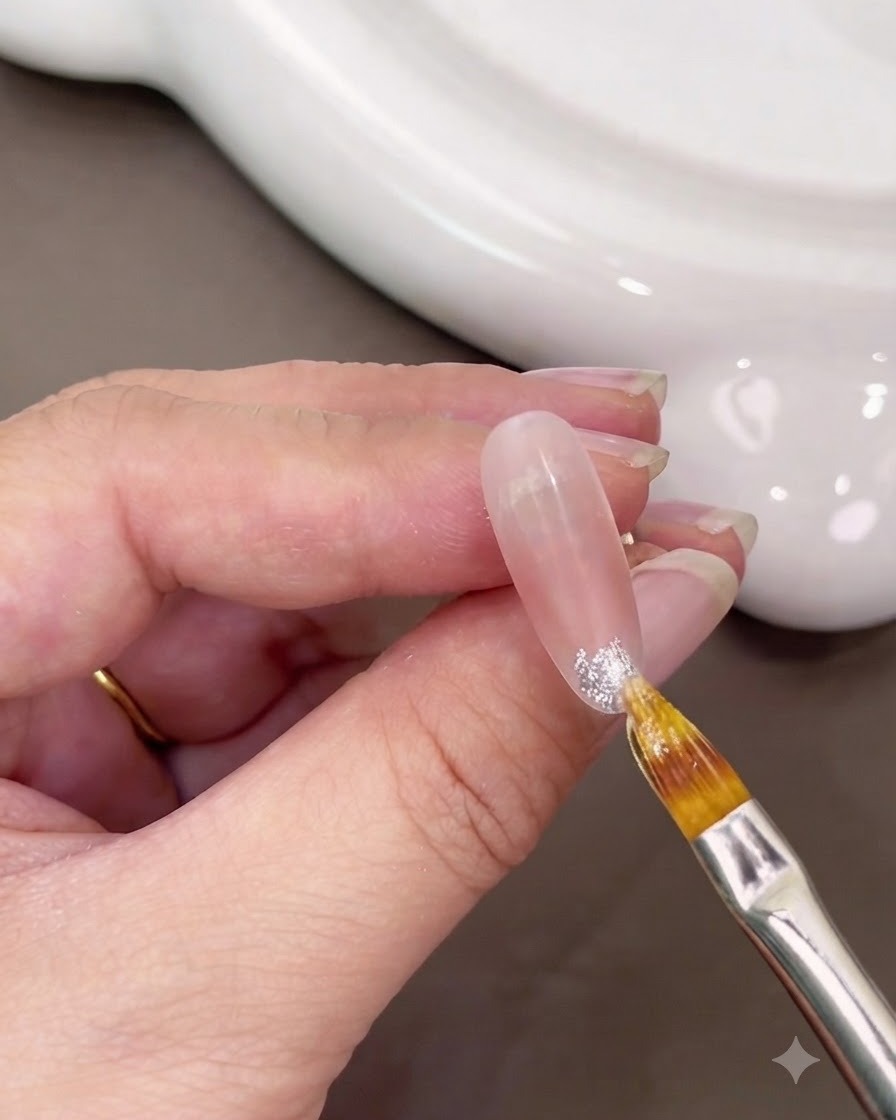
Take a sweeping brush and lightly pull the white shimmer gel backward from the tip toward the center of the nail to create a soft, faded gradient effect.
Tip: Use a gentle sweeping motion to feather out the glitter particles evenly without wiping them away completely. - 6Apply a wet layer of base gel for adherence
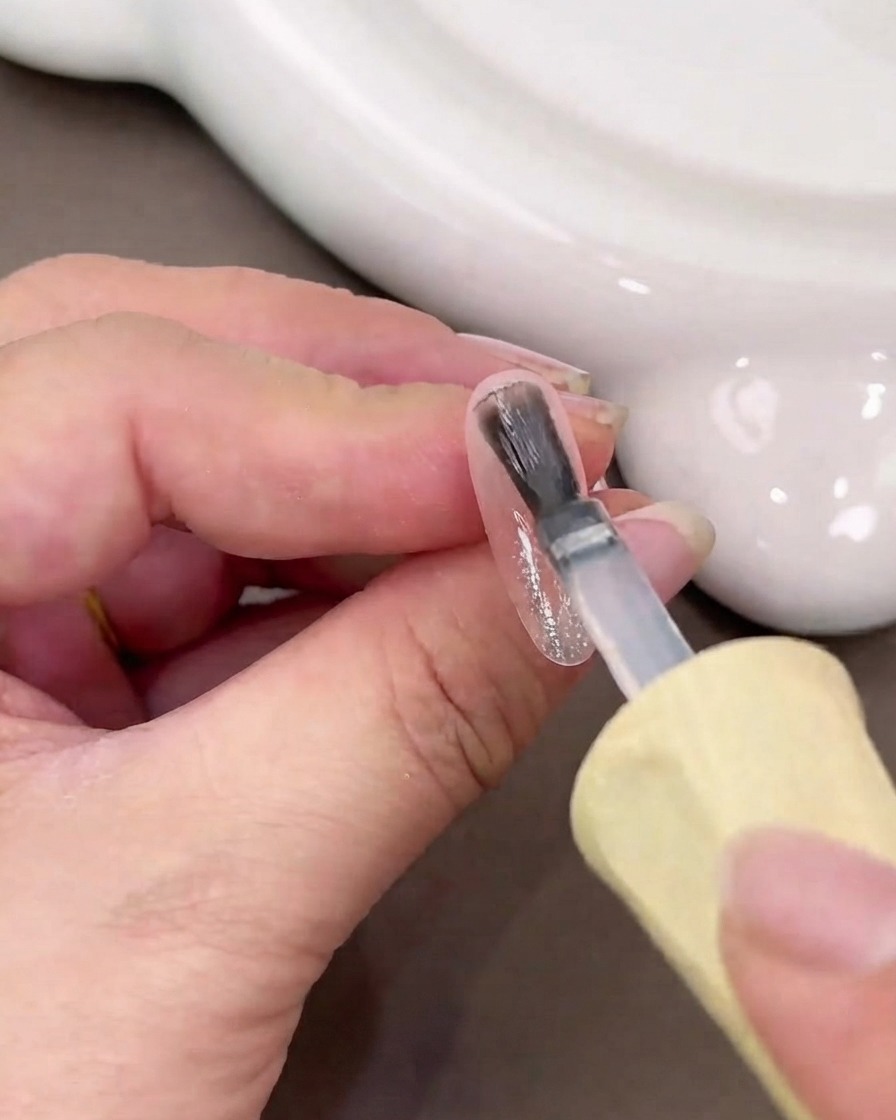
Apply another wet layer of clear base gel directly over the nail surface, leaving it completely uncured so it can function as an adhesive layer for upcoming nail art decorations.
Tip: Do not cure this layer; keeping the base gel wet is essential for securing the dried flowers and foils in place. - 7Place a pink dried flower
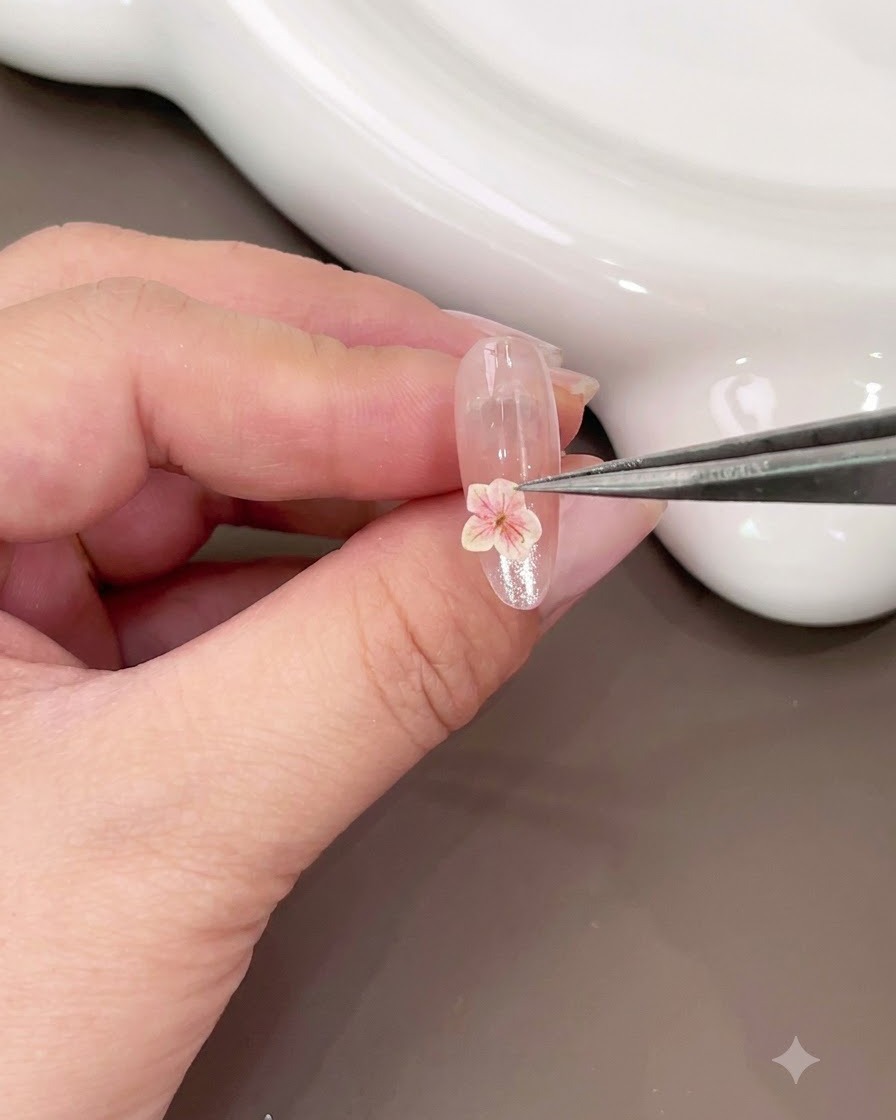
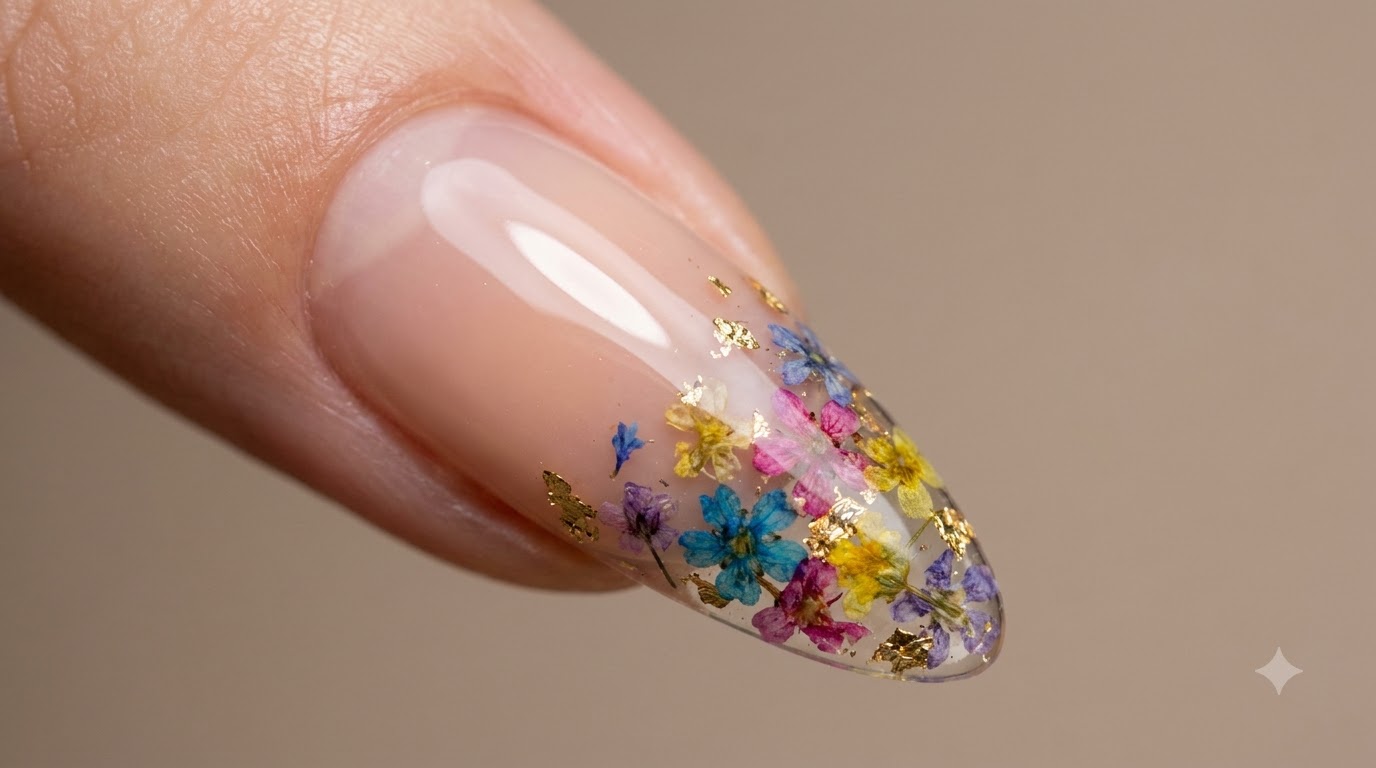
Using precision tweezers, carefully pick up a tiny pink dried flower and position it onto the shimmering area of the wet base gel on the nail.
Tip: Hold the tweezers gently to avoid tearing or damaging the delicate petals of the dried flower. - 8Add a yellow dried flower
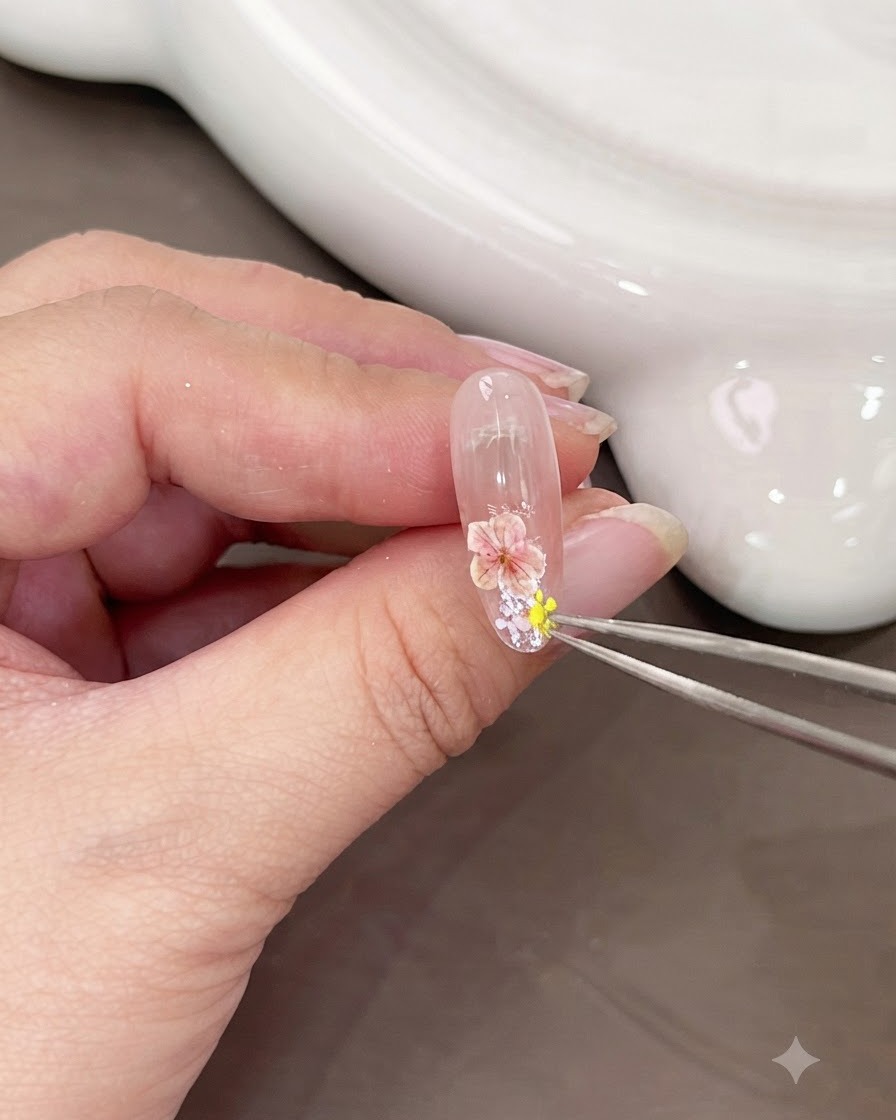
Using tweezers, pick up a tiny yellow dried flower and place it right next to the previously positioned pink flower to build a colorful floral arrangement.
Tip: Group the flowers closely together to create a cohesive and charming garden effect on the nail. - 9Add gold foil accents
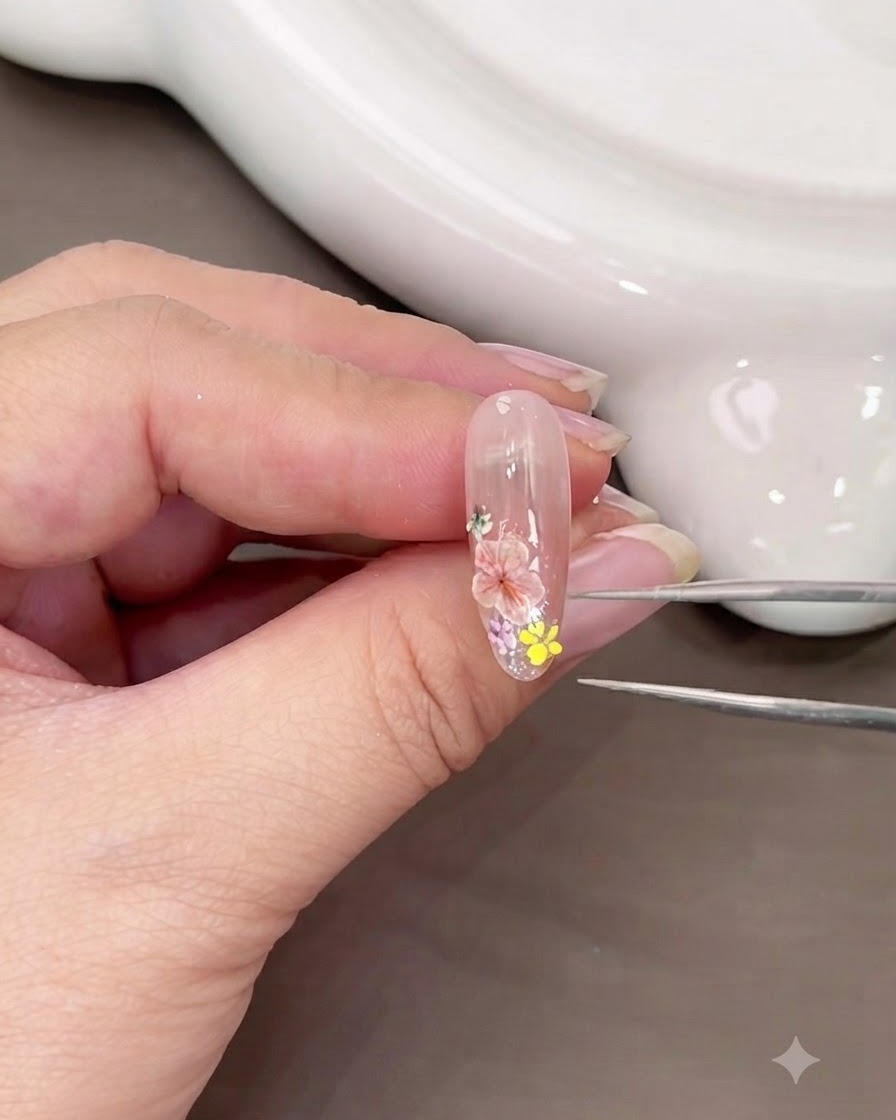
Take small, delicate pieces of gold foil or flakes and tuck them between the dried flowers using tweezers to add a subtle metallic accent and extra sparkle.
Tip: Keep the foil pieces small so they complement the flowers rather than overpowering the design. - 10Flatten flowers with plastic wrap and flash cure
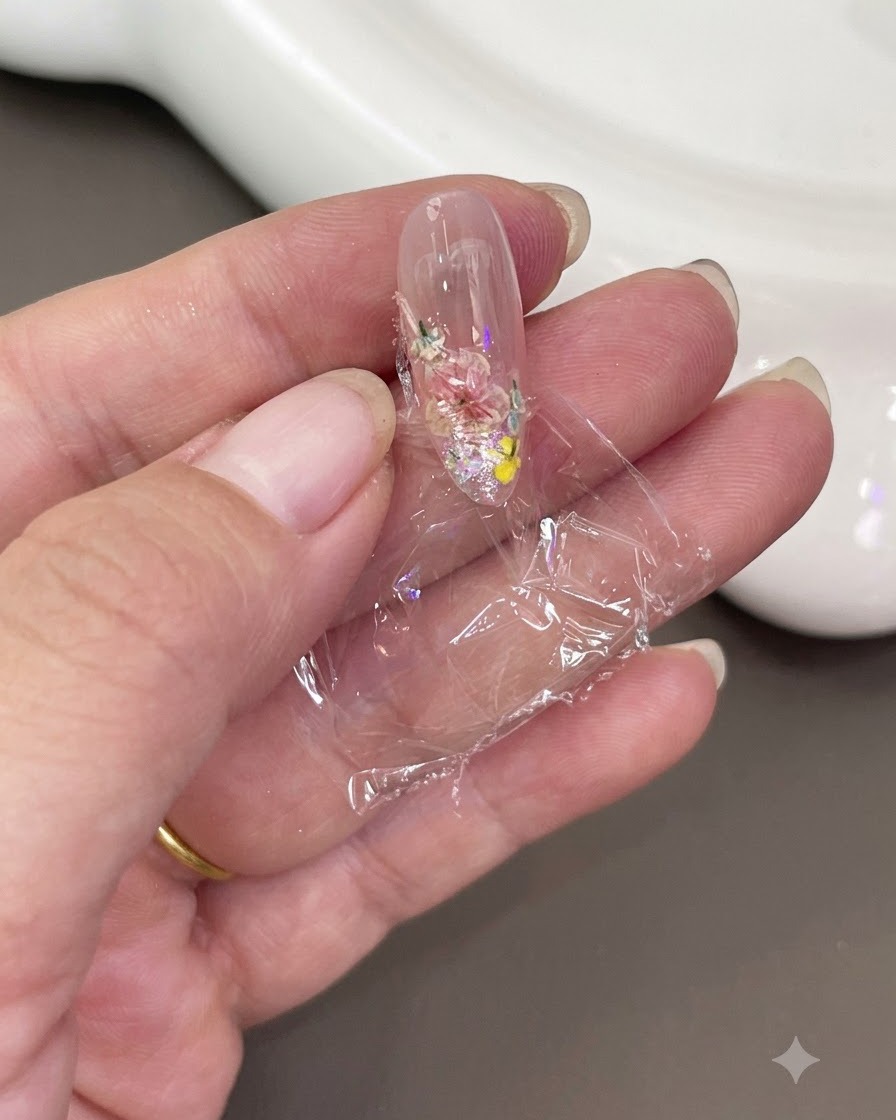
Place a small piece of clear plastic wrap flat over the nail surface to press the dried flowers and foil smoothly against the gel, then flash cure immediately with a handheld UV light to lock them in place.
Tip: Pressing firmly with the plastic wrap ensures that no flower petals stick up, which would interfere with the structure layer later. - 11Apply clear builder gel to encapsulate
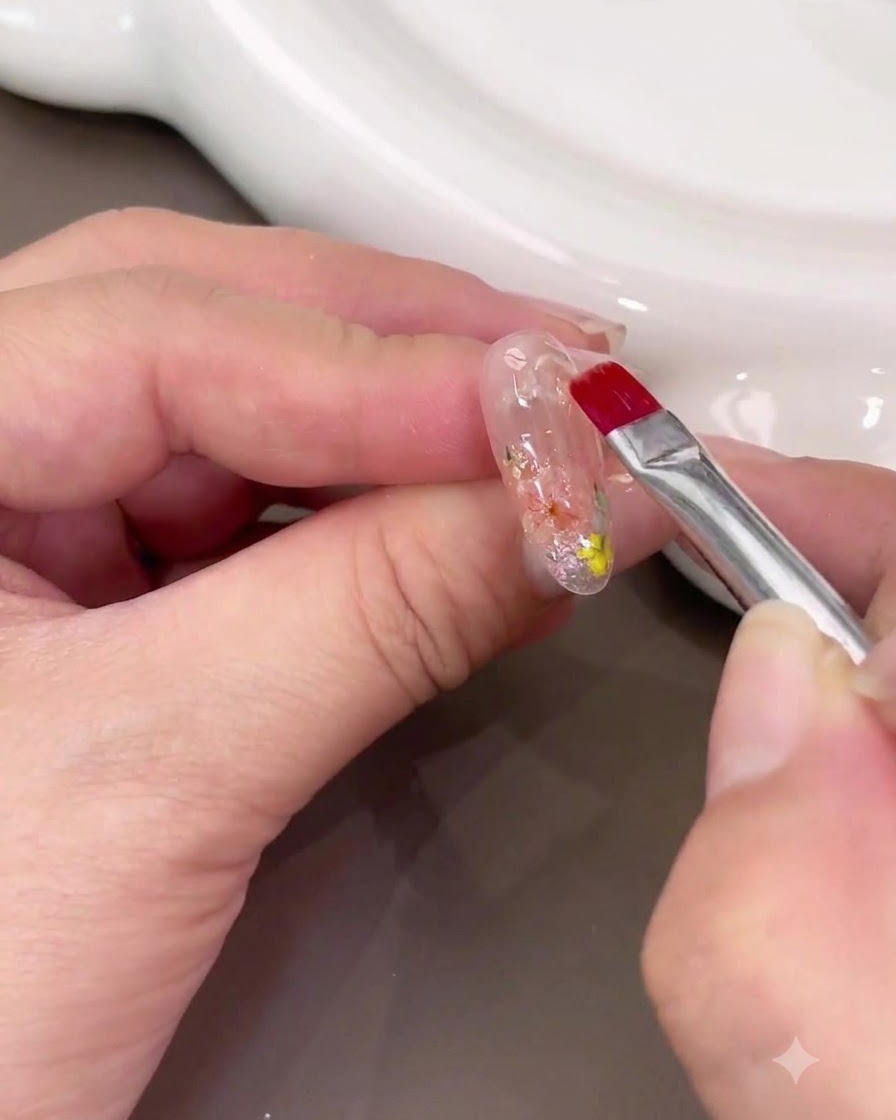
Apply a generous layer of clear builder gel over the entire nail to fully encapsulate the dried flowers and gold foil, creating a smooth, even structure and restoring transparency.
Tip: Make sure to cover all edges of the flowers completely to prevent any lifting or rough spots. - 12Turn finger upside down to level builder gel
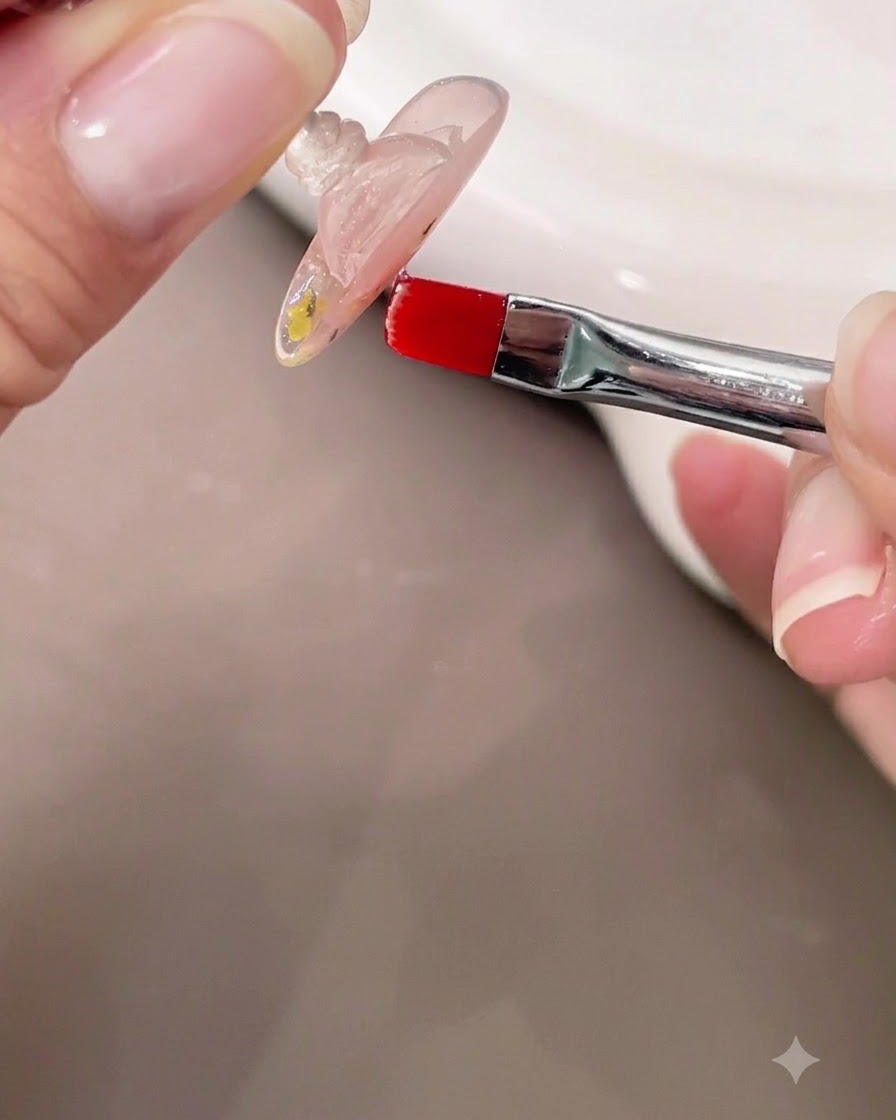
Turn the nail upside down briefly to let gravity help the clear builder gel self-level, creating a smooth and balanced apex. This technique enhances the structural strength and transparency of the dried floral design underneath. Check the reflection on the surface to ensure the arch is smooth before curing.
Tip: Inverting the hand for just a few seconds uses gravity to naturally form the apex without needing excessive filing later. - 13Apply final glossy top coat
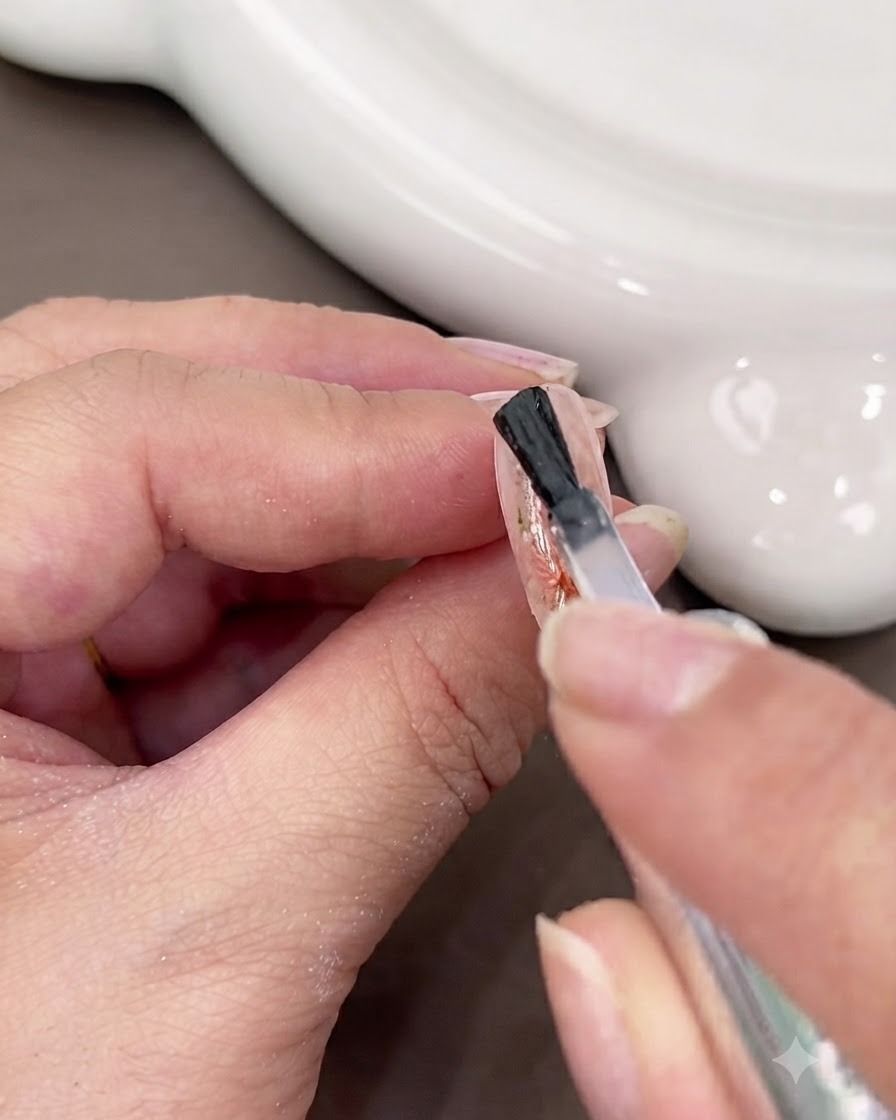
Apply a final layer of glossy top coat over the fully built and structured nail to seal in the dried flowers and protect the design. Ensure full coverage across the entire surface and cap the free edge for long-lasting wear. Cure under the lamp to lock in the brilliant shine.
Tip: Capping the free edge with top coat prevents chipping and seals the encapsulated flowers securely. - 14Draw French tip smile line
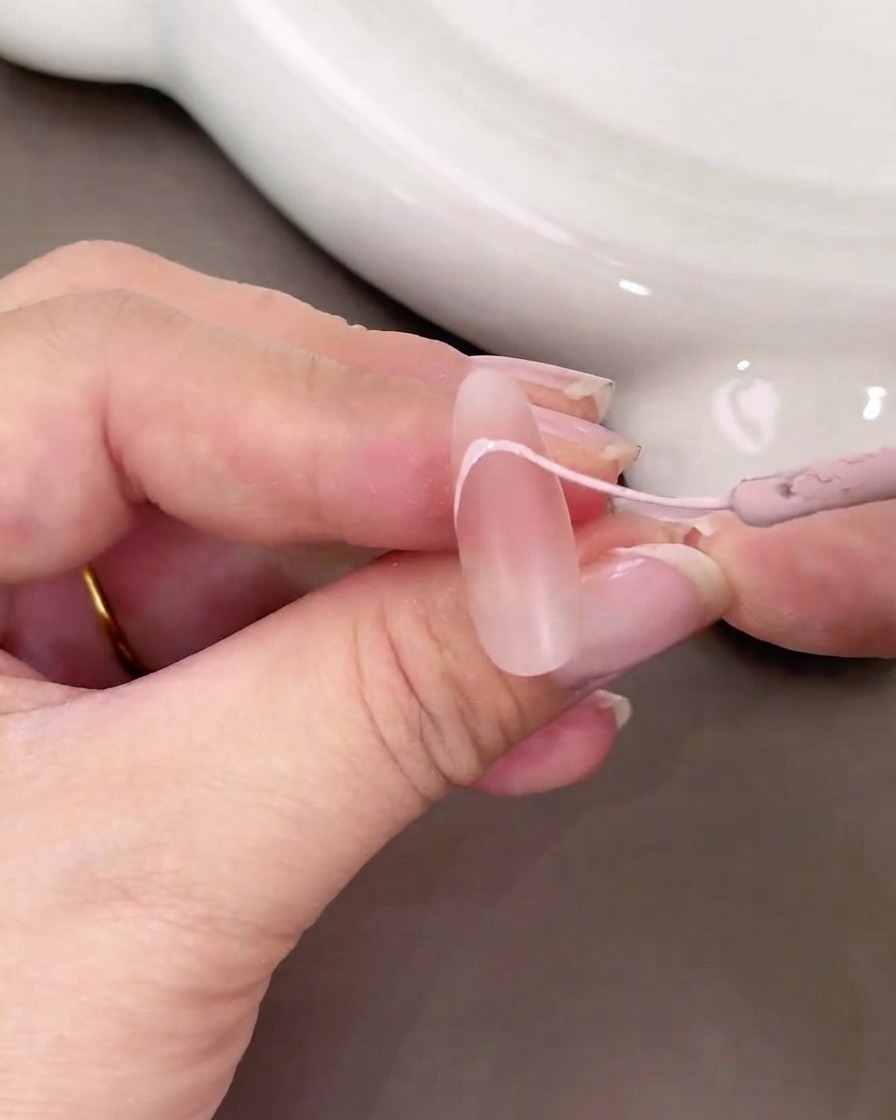
Using a fine liner brush loaded with opaque light pink gel, carefully outline and fill in a deep French tip smile line on the second prepped nude nail. Take your time to steady your hand and ensure both sides of the smile line curve symmetrically toward the stress points. This classic detail forms the structural base for the subsequent 3D gel and rhinestone embellishments.
Tip: Rest your pinky finger against your other hand for stability when drawing intricate lines like French tips. - 15Fill in and perfect the French tip
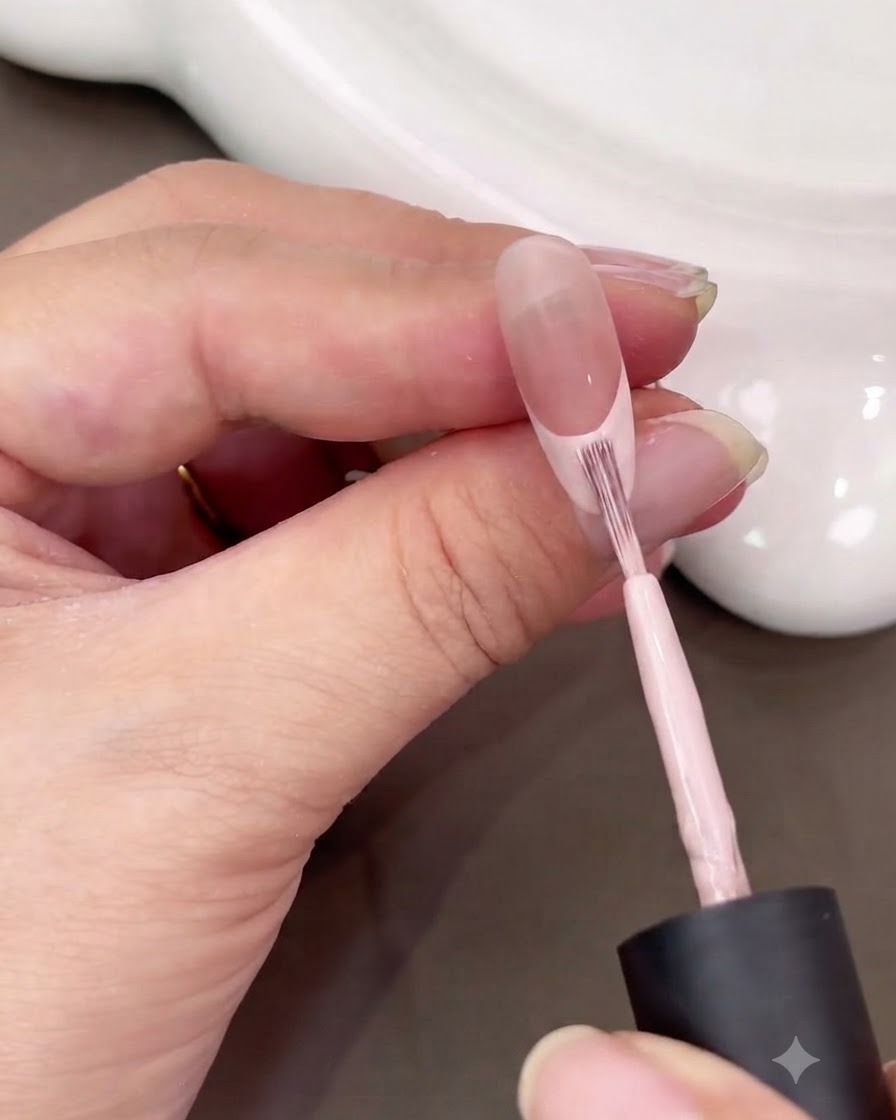
Adjust and refine the arc of the French tip to ensure clean lines, then fill in the tip area completely with the pink leveling gel for full, streak-free coverage. Cure the gel under the lamp once the shape looks pristine and even.
Tip: Use a clean liner brush dipped in alcohol to crisp up the smile line edges before curing if any adjustments are needed. - 16Apply string gel accent along the tip
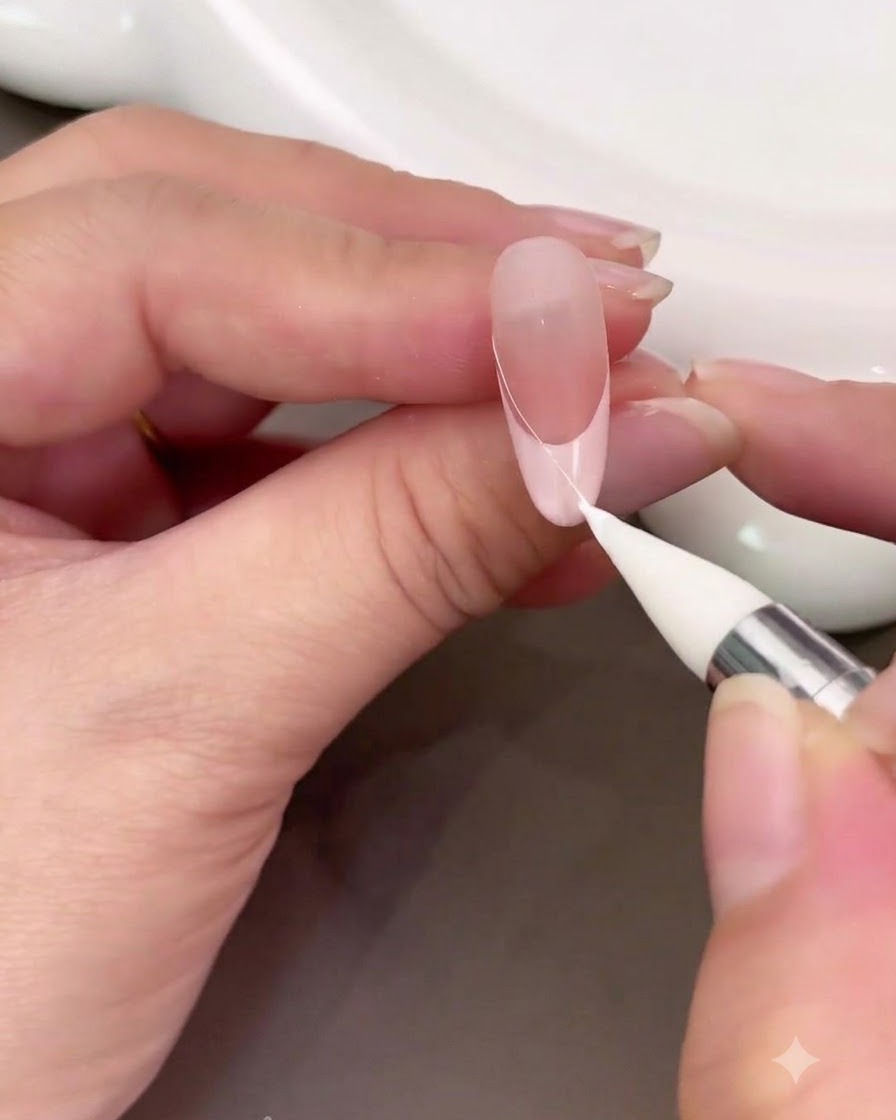
Use a detailing tool with white string gel to pull and lay down a fine, crisp curved line right along the boundary of the French tip. This decorative line adds definition and dimension to the transition between the nude base and the pink tip.
Tip: Pull the string gel slowly and steadily to prevent it from snapping before you lay it onto the nail surface. - 17Add rhinestone and pearl embellishments
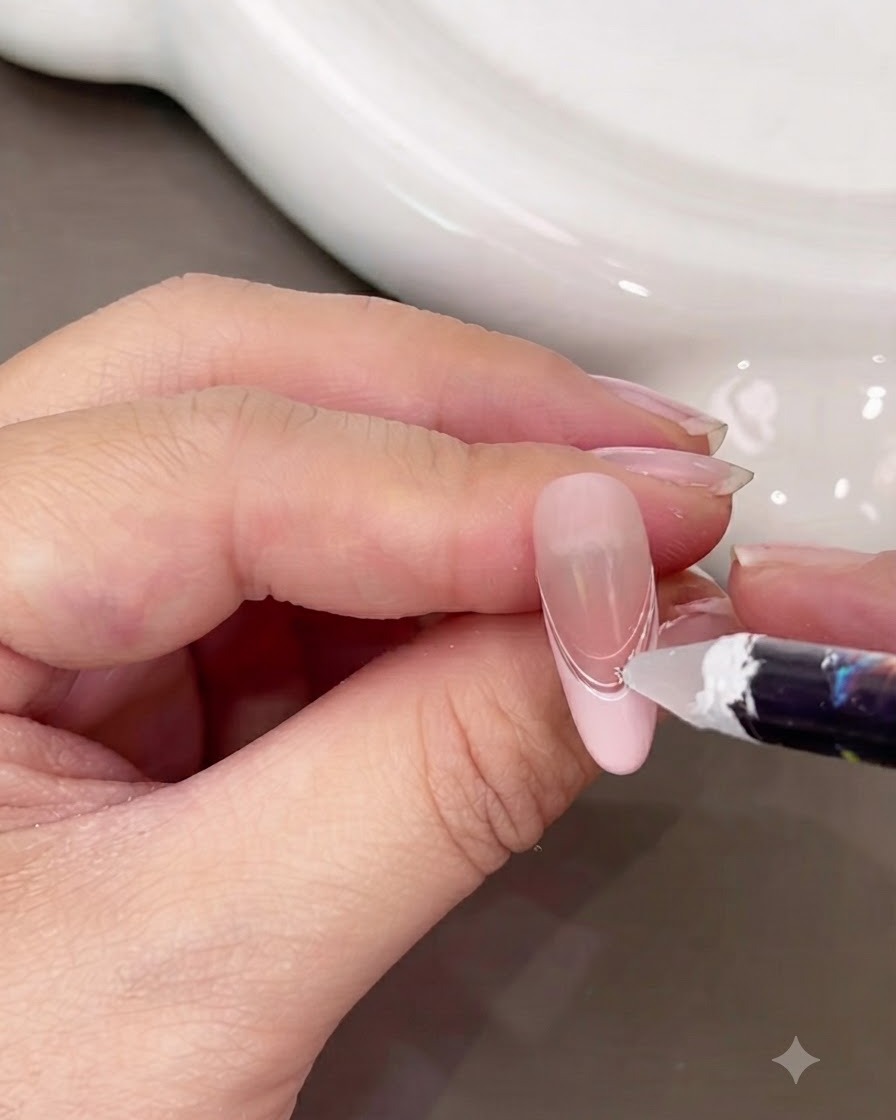
Using string gel along the French tip to create an accent arc, carefully pick up a tiny rhinestone and a small pearl decoration using wax-tipped tweezers. Place them directly onto the curved line arrangement for an elegant dimensional effect. Press them gently into the uncured tacky layer or gel bead to anchor them securely before final curing.
Tip: Use a dotting tool with a tiny dab of base gel or rhinestone glue to easily pick up and position small gems without misplacing them. - 18Apply Top Coat
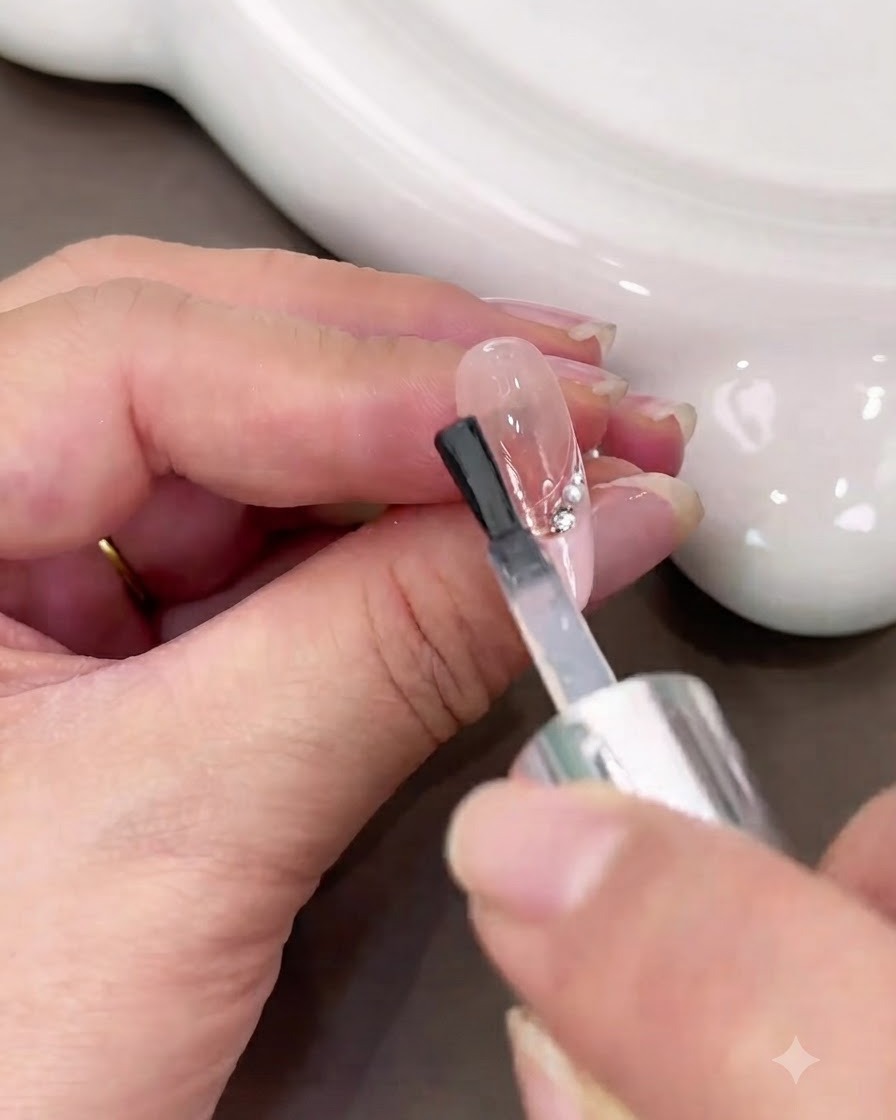
Apply a smooth and even layer of glossy top coat over the entire nail design to seal the embellishments and protect the surface. Ensure the free edge is capped completely to prevent chipping and extend the wear of your manicure.
Tip: Make sure to sweep the top coat carefully around the rhinestones and pearls without burying them, so they retain their sparkling facet shine.