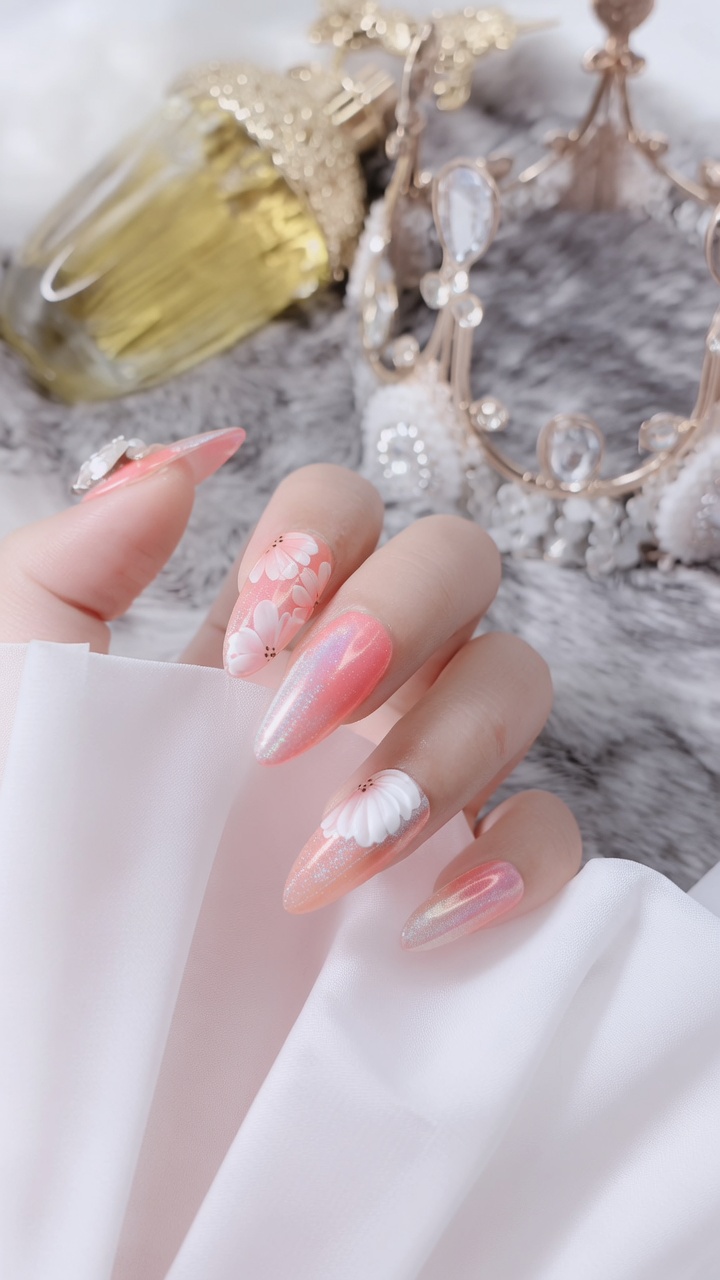
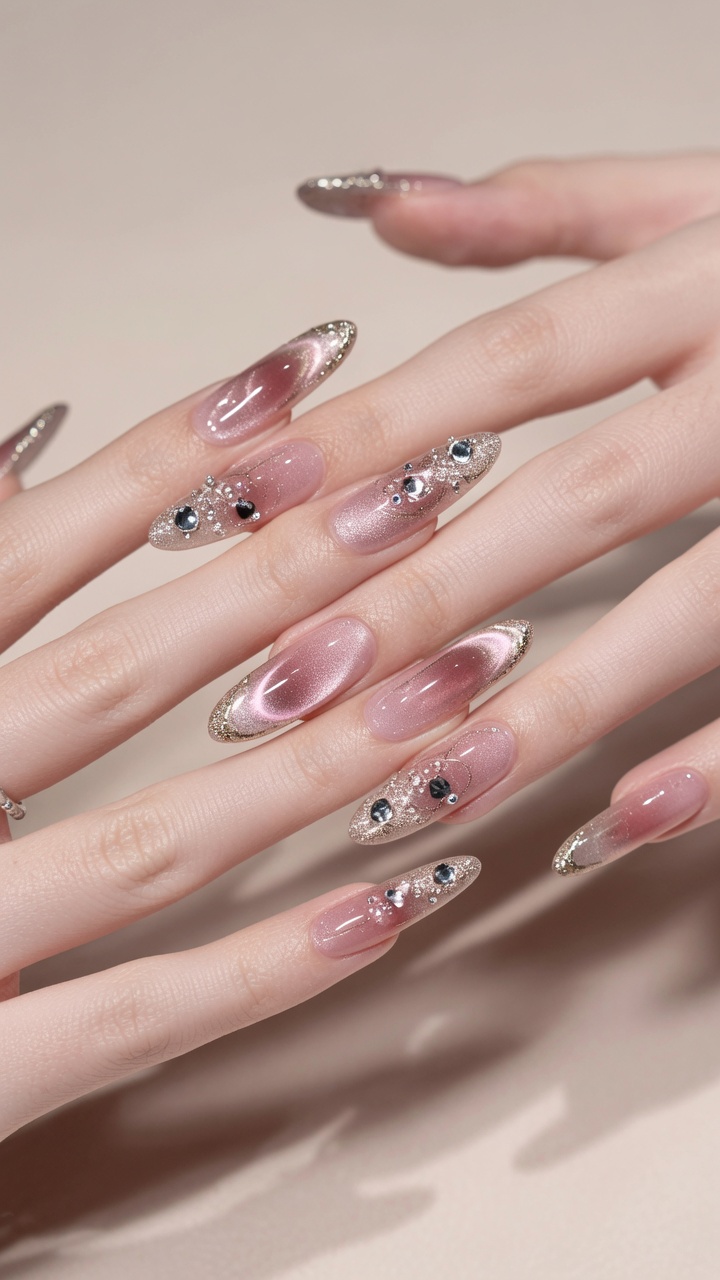
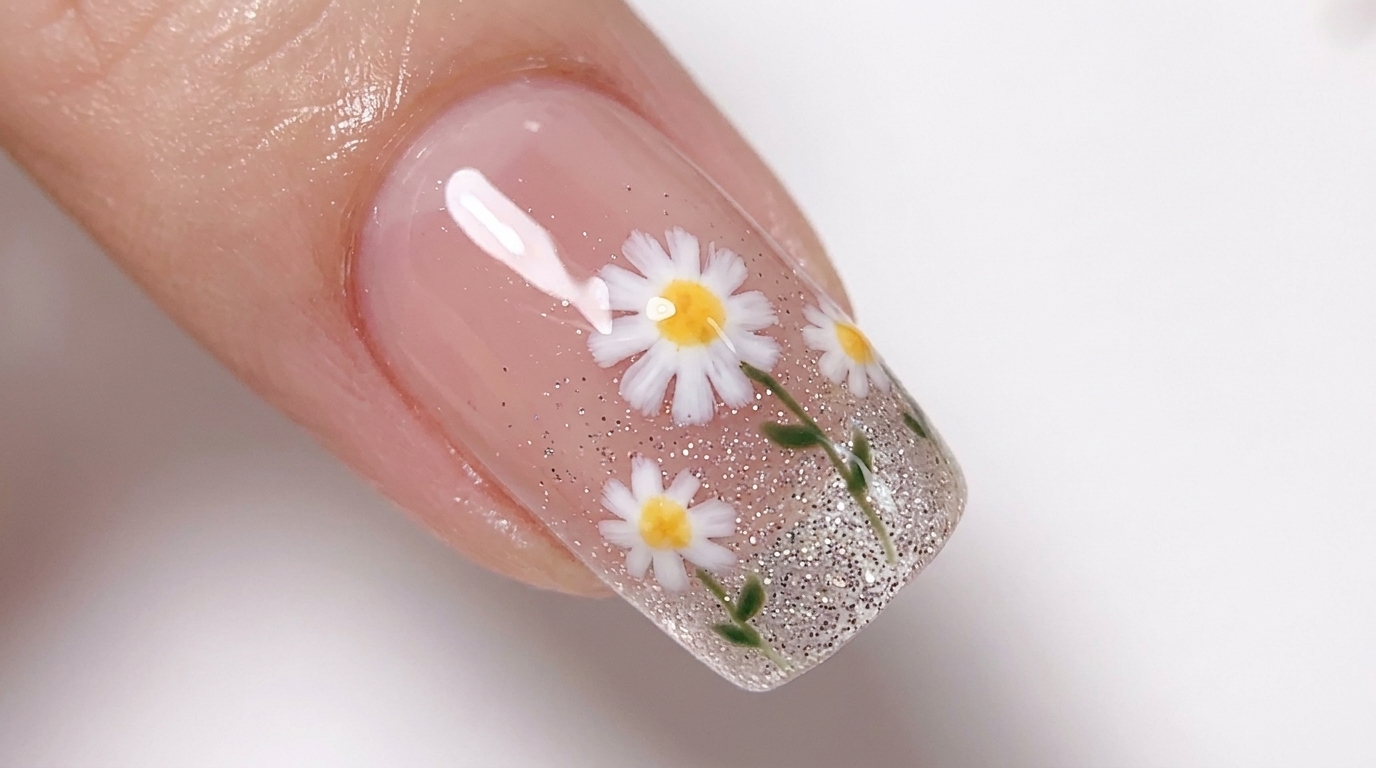
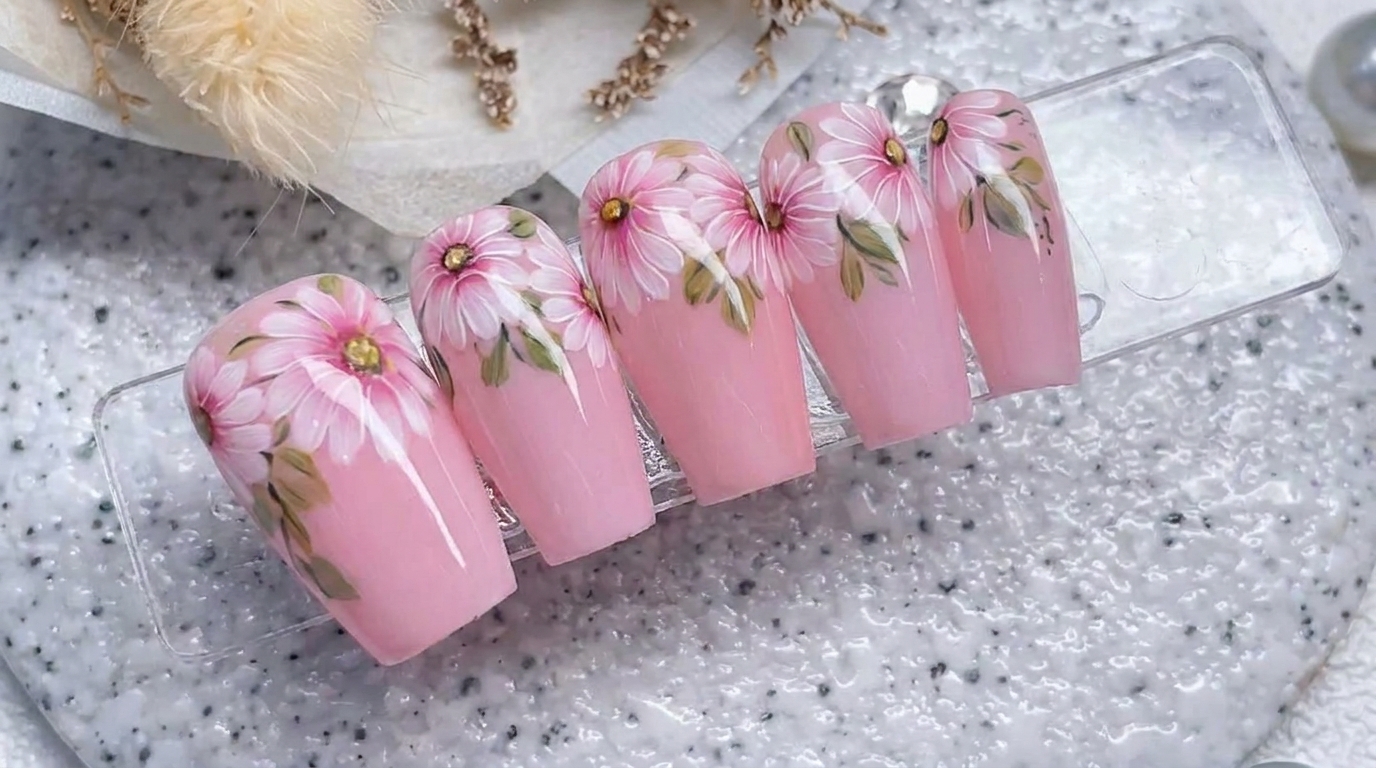
Pink Daisy Floral Nail Art — Elegant Hand-Painted Tutorial
Create stunning, hand-painted daisy florals on a soft pink base. This step-by-step guide helps you master fine liner brushwork for a delicate, professional finish.
Floral nail art is a timeless choice, and this delicate daisy design perfectly captures a soft, feminine aesthetic. By using fine liner brushes to build depth and dimension, you can achieve a sophisticated look that transitions beautifully from casual days to special occasions. Follow this guide to learn how to layer your petals and leaves for a truly polished salon result.
Steps
- 1Paint the first daisy petal
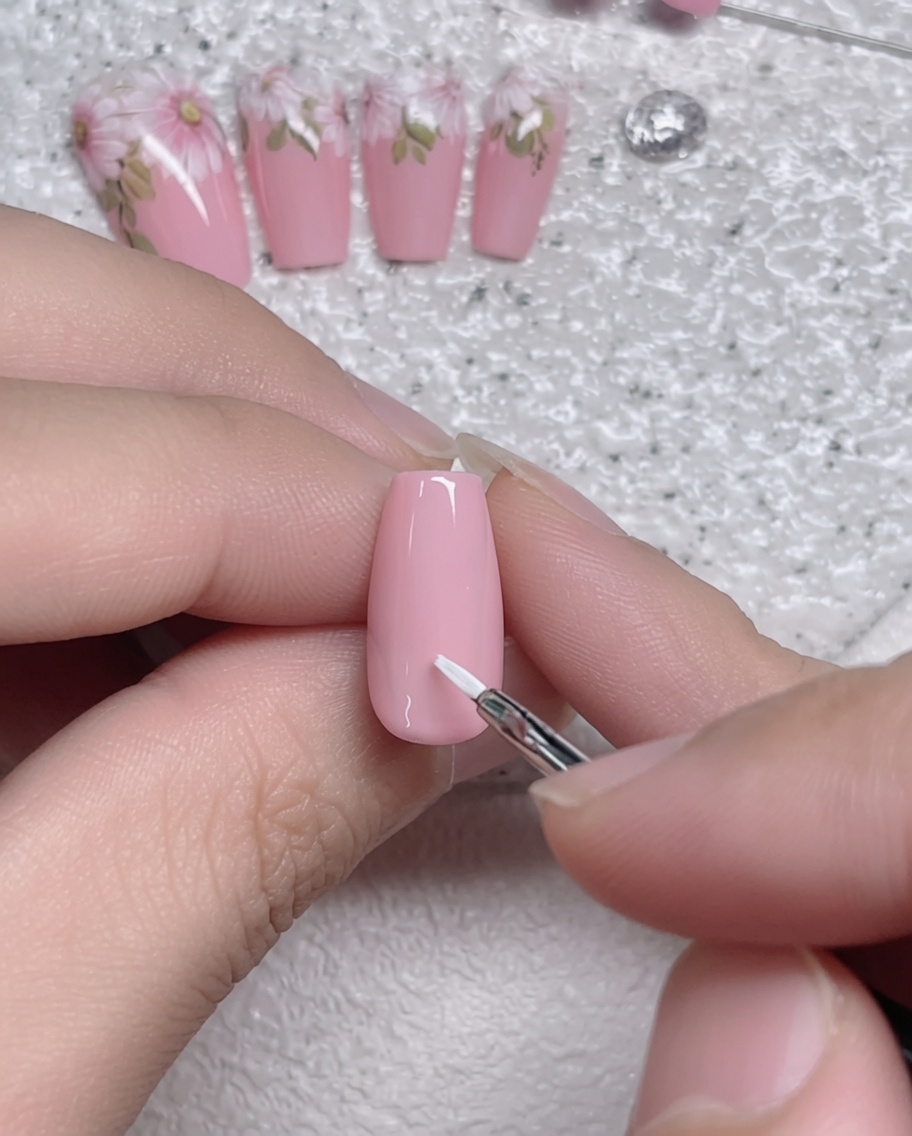
Using a fine liner brush and white gel polish, carefully paint the first petal of your daisy on the pink nail base. Start from the center and drag the brush outward to create a delicate, rounded petal shape. Maintain a light touch to keep the petal edges thin and crisp.
Tip: Keep your brush strokes light and steady to ensure the petals remain dainty. - 2Form the daisy petals
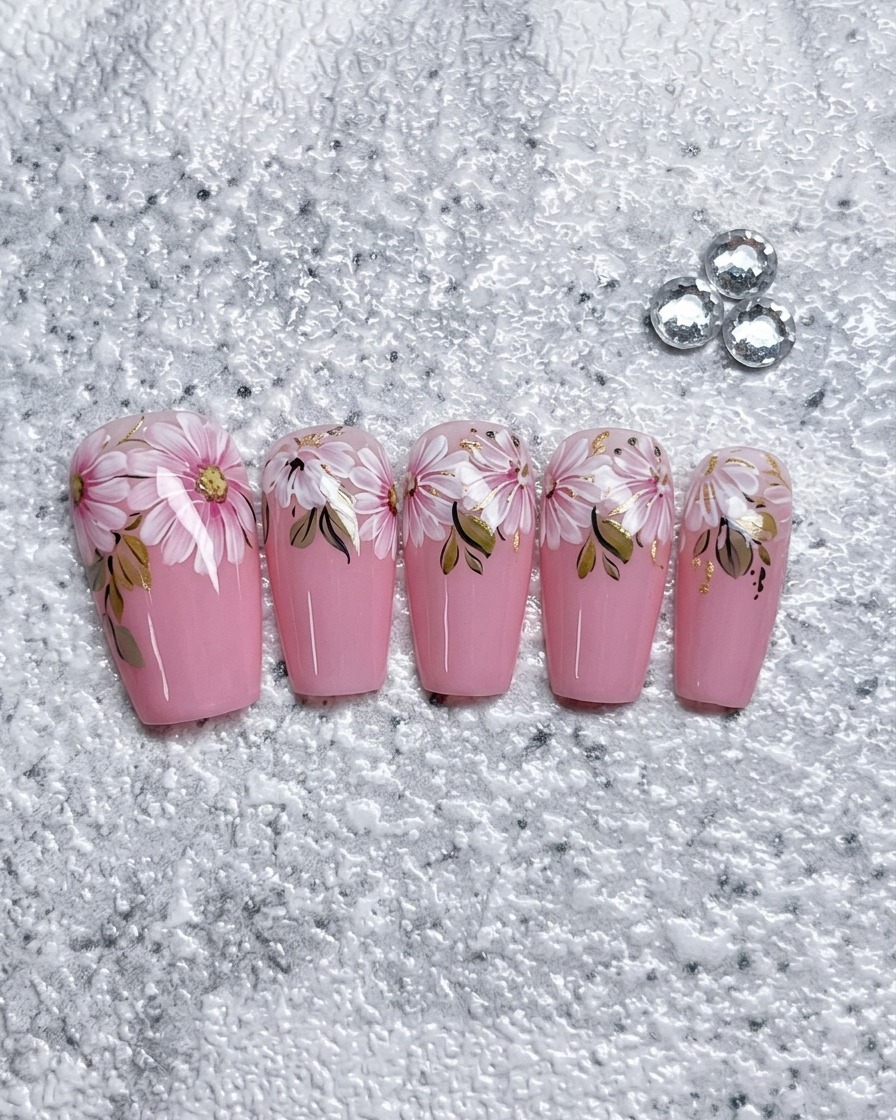
Continue painting white petals around a central point in a circular pattern to complete the daisy shape. Ensure the petals overlap slightly near the center and vary their length slightly for a natural, organic look. Work methodically to keep the flower symmetric.
Tip: Varying the pressure on your brush can help create petals with different widths and lengths. - 3Outline the daisy petals
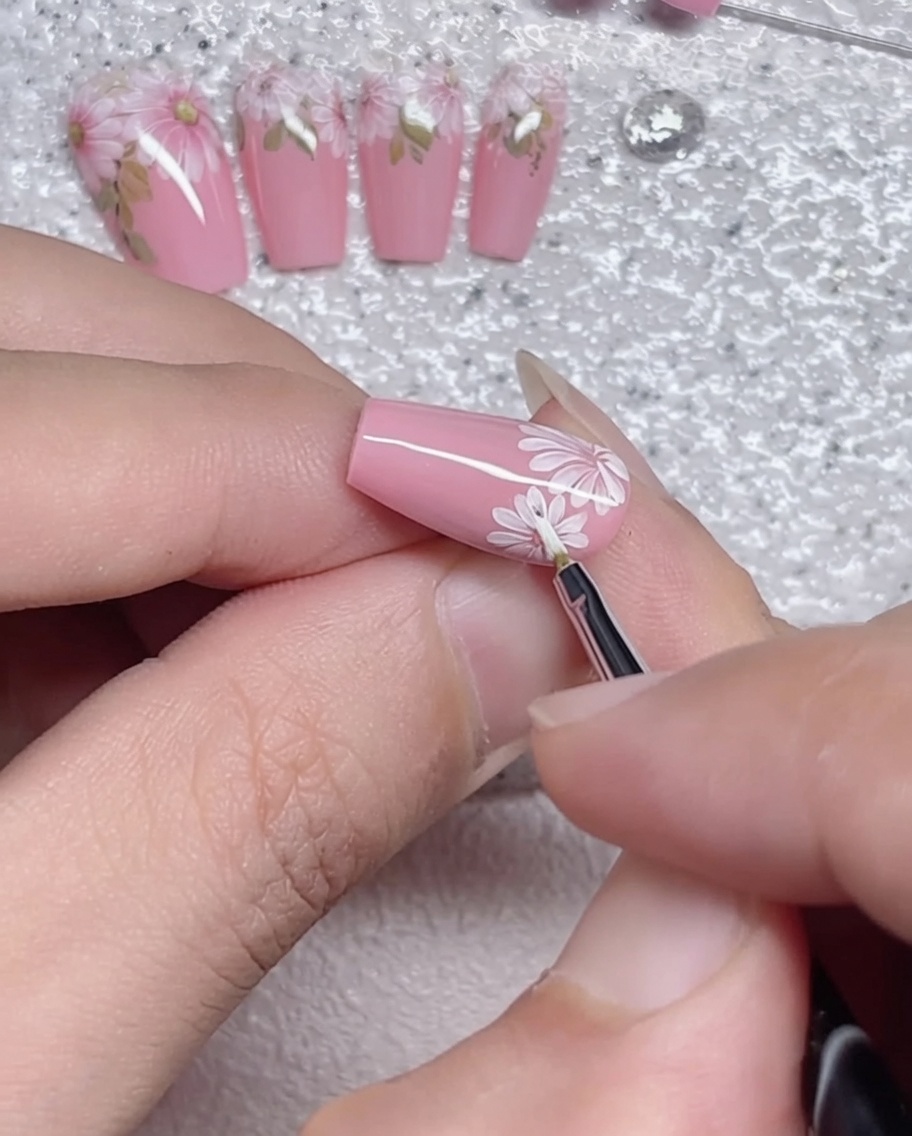
Refine the perimeter of your daisy petals using white gel polish. Use your fine liner brush to trace the edges to ensure each petal is clearly defined and filled. This step enhances the structure and detail of the flower before you add the center.
Tip: Steady your hand by resting your pinky finger on the table surface for better control. - 4Blend and smooth petals
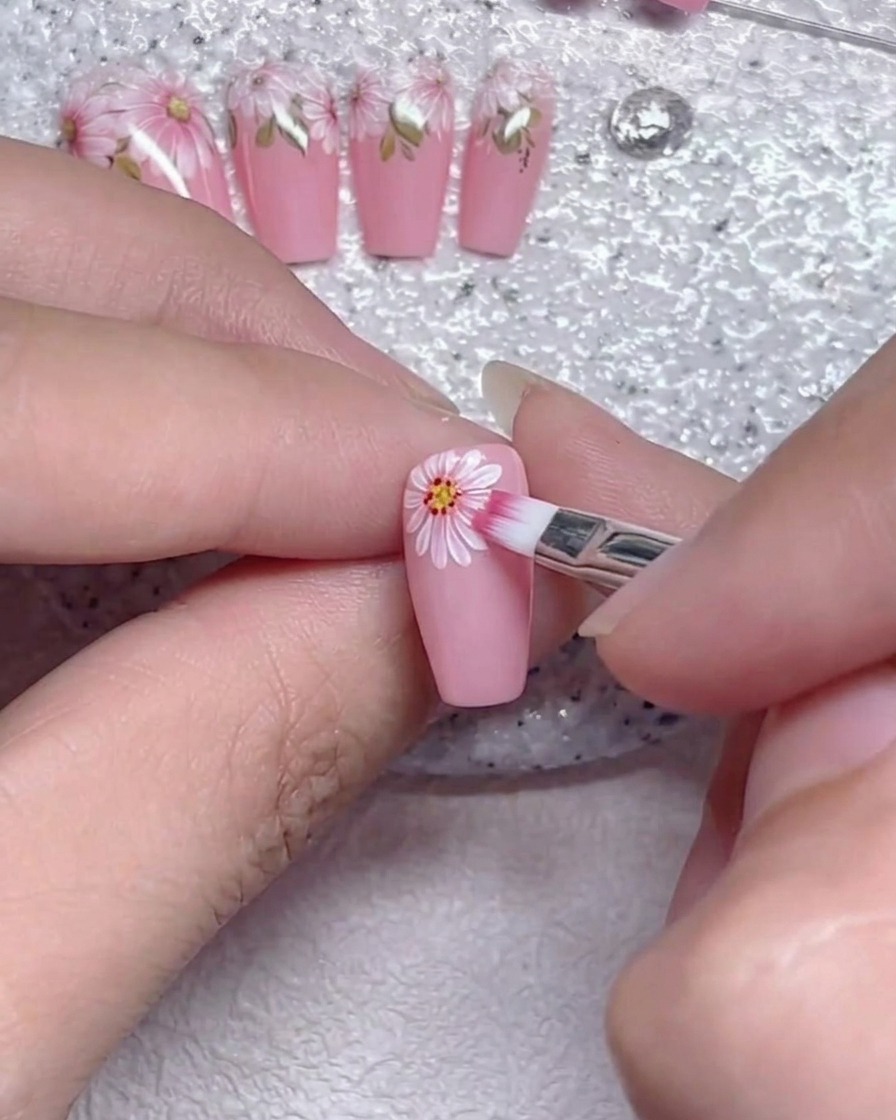
Using a small flat brush, gently blend and smooth the edges of the white petals. This technique helps soften any harsh lines and gives the petals a more polished, realistic appearance. Lightly tap or drag the brush to distribute the gel evenly.
Tip: A clean, slightly dry brush works best for smoothing and blending gel edges. - 5Refine petal shapes
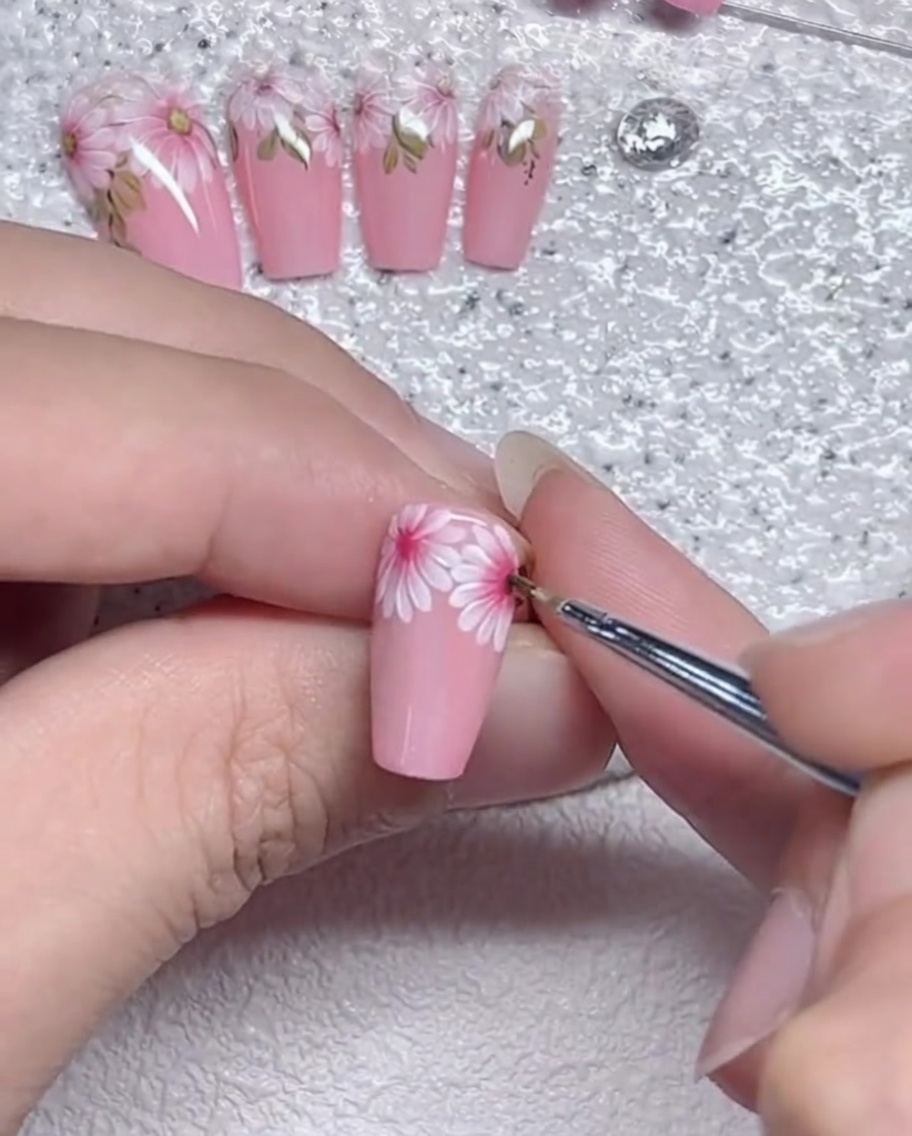
Use your fine liner brush to make final refinements to the shape of each petal. Check for overall symmetry and crispness, touching up any areas that need more definition. Precision at this stage is key to achieving a professional floral finish.
Tip: Make tiny adjustments to the petal tips to sharpen the overall floral design. - 6Add the daisy center
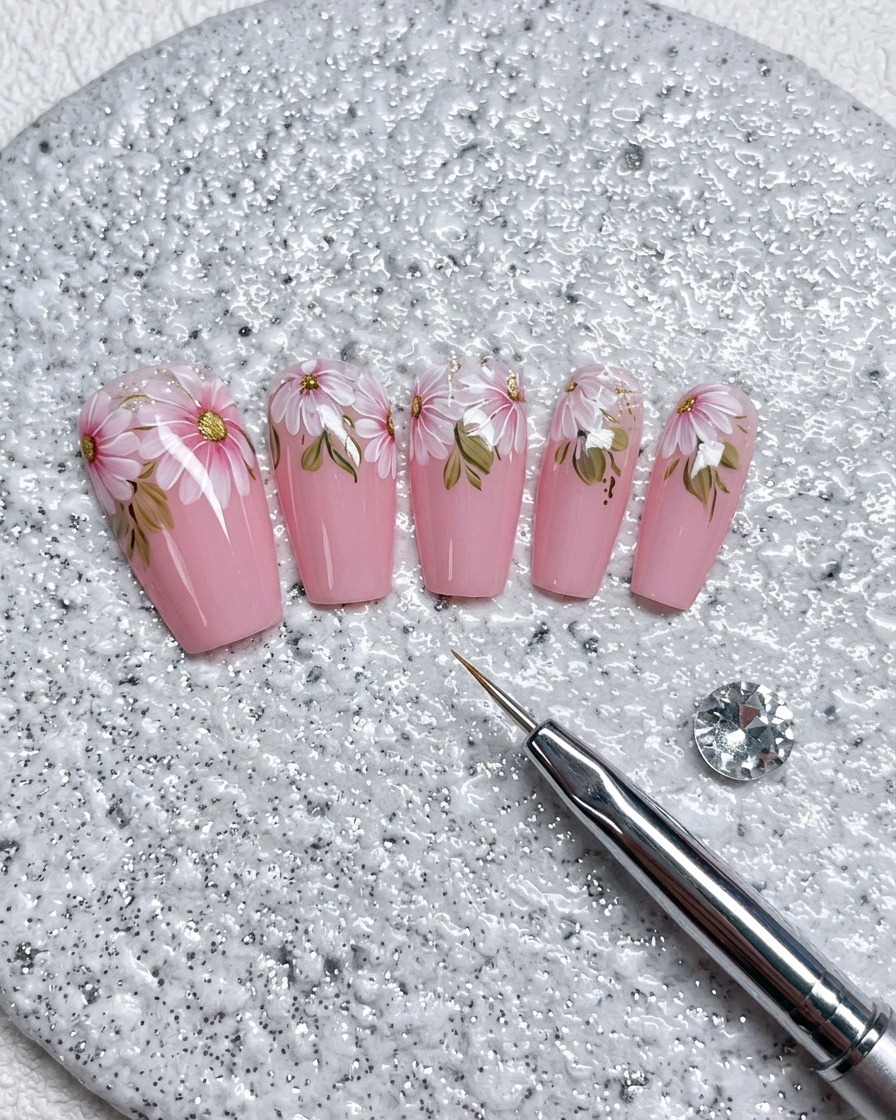
Use the tip of your fine liner brush to place a small dot of yellow gel polish in the very center of the daisy. This creates the flowers eye and completes the design. Ensure the dot is centered to balance the composition.
Tip: Use a dotting tool if you prefer more uniform, circular centers for your daisies. - 7Paint daisy leaves
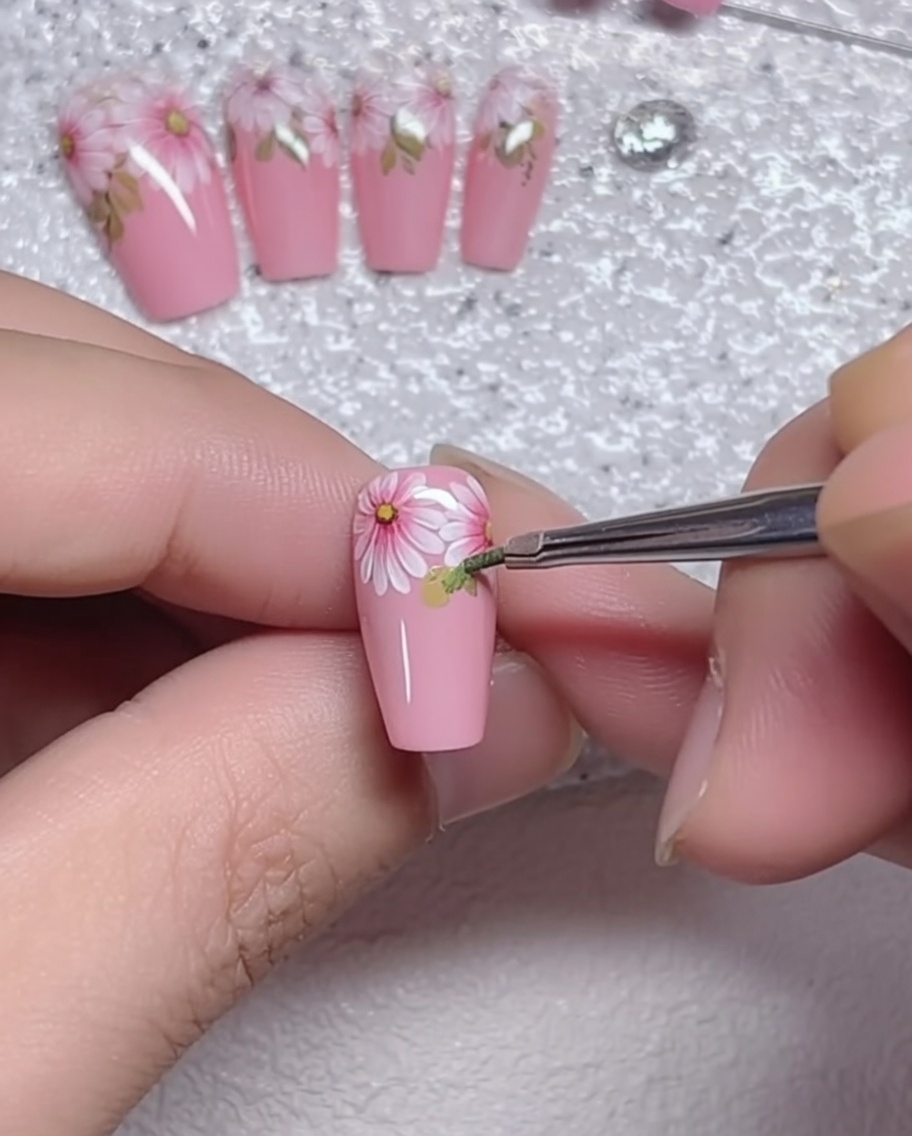
Using a fine liner brush and a muted green gel polish, carefully paint small, delicate leaves at the base of the daisy. Apply thin strokes to create a natural, tapered look, ensuring the leaves complement the floral design without overwhelming the petals. Cure for a few seconds to set the leaves before proceeding to the final details.
Tip: Keep your brush strokes light; thin, layered lines look more realistic and delicate than thick, heavy marks. - 8Add petal highlights
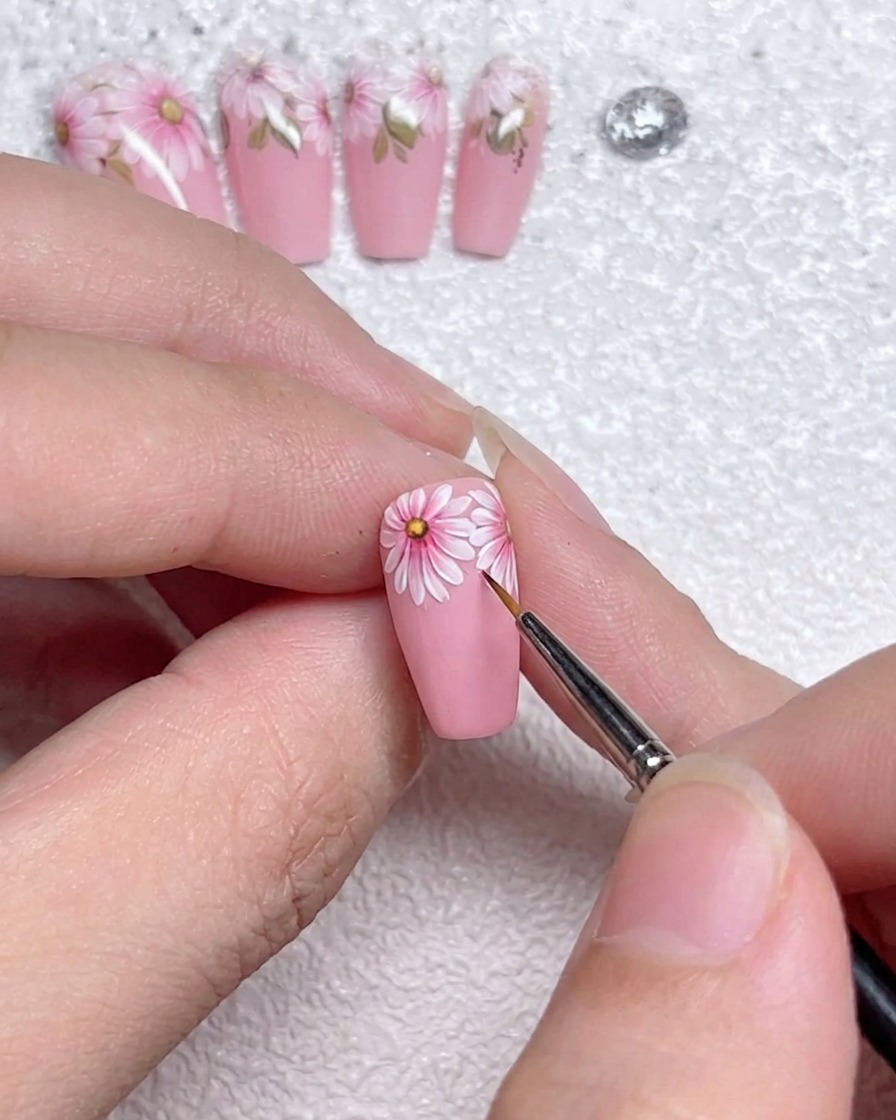
With a fine detail brush and white gel polish, add subtle, thin highlight lines to the edges of the daisy petals. These highlights create depth and dimension, making the floral art appear more vibrant and realistic against the pink base. Maintain a light hand to ensure the lines remain fine and dont blur the existing petal structure.
Tip: Focus the highlights on the petal edges that would naturally catch the light to enhance the 3D effect.