Laser Gradient Daisy Nail Art — Step-by-Step Tutorial
Create stunning laser gradient nails with delicate daisy art. This professional tutorial guides you through the chrome and hand-painting process.
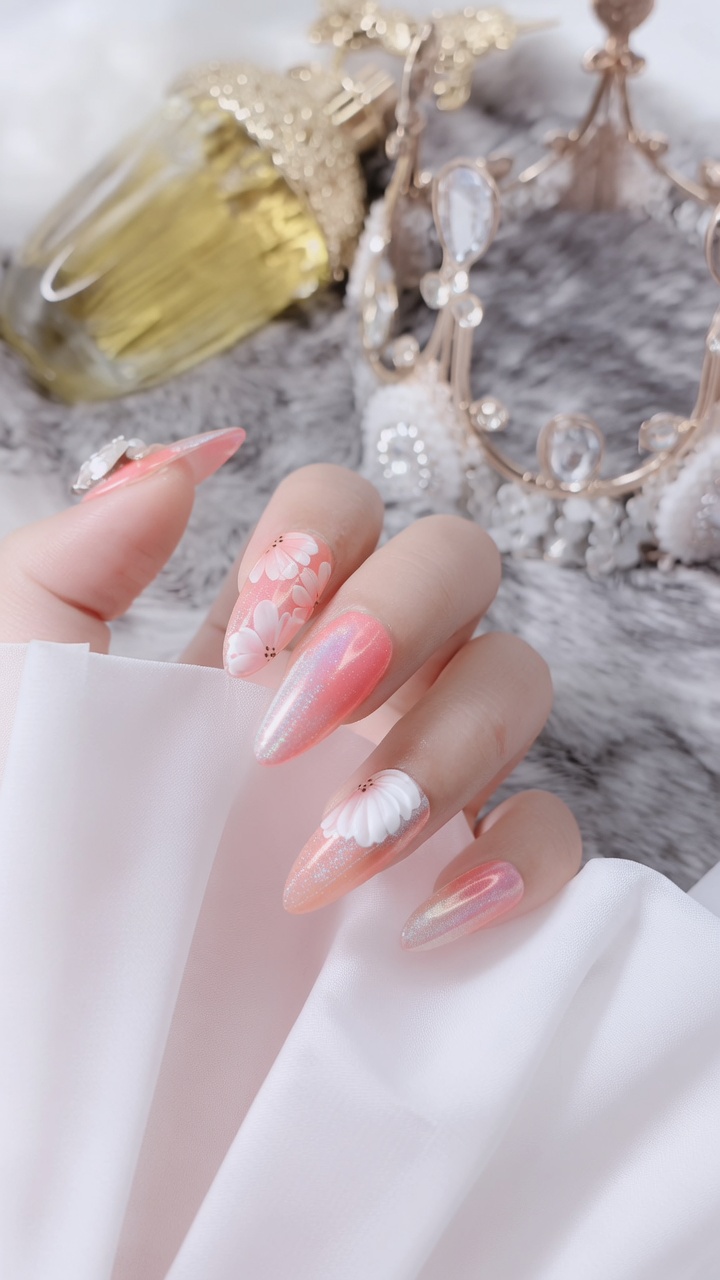
The laser gradient daisy look combines the high-shine, iridescent appeal of chrome powder with the timeless, feminine charm of hand-painted floral art. This style creates a vibrant depth, perfect for those who want a manicure that transitions beautifully from casual to dressy. Follow these steps to master the balance of delicate detail and modern, shimmering finishes.
Steps
- 1Prepare with base coat
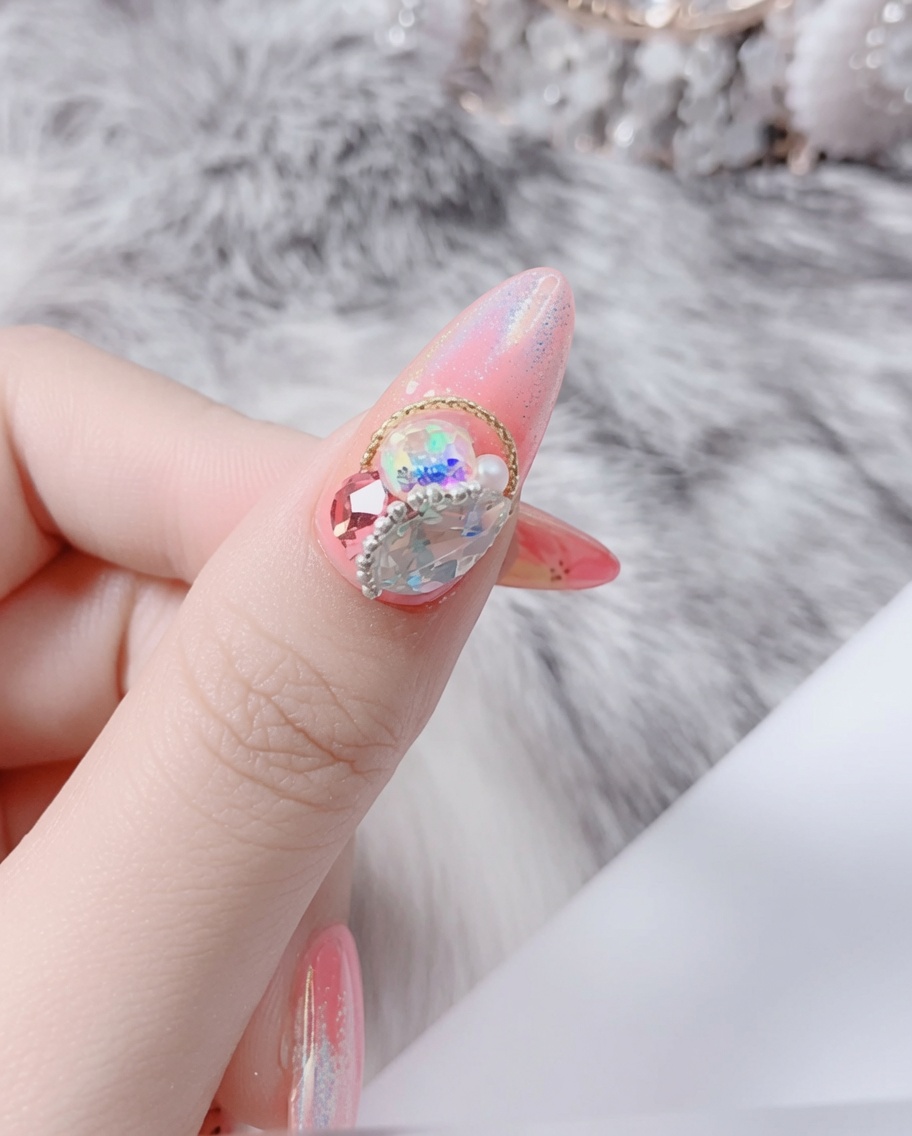
Begin by applying a thin, even layer of clear base coat to the nail tip. This step is essential for protecting the nail plate and ensuring better adhesion for the subsequent gel layers. Cure under a UV/LED lamp as directed by your product instructions.
Tip: Ensure the base coat is applied thinly to avoid flooding the cuticles, which can cause lifting. - 2Apply light pink base
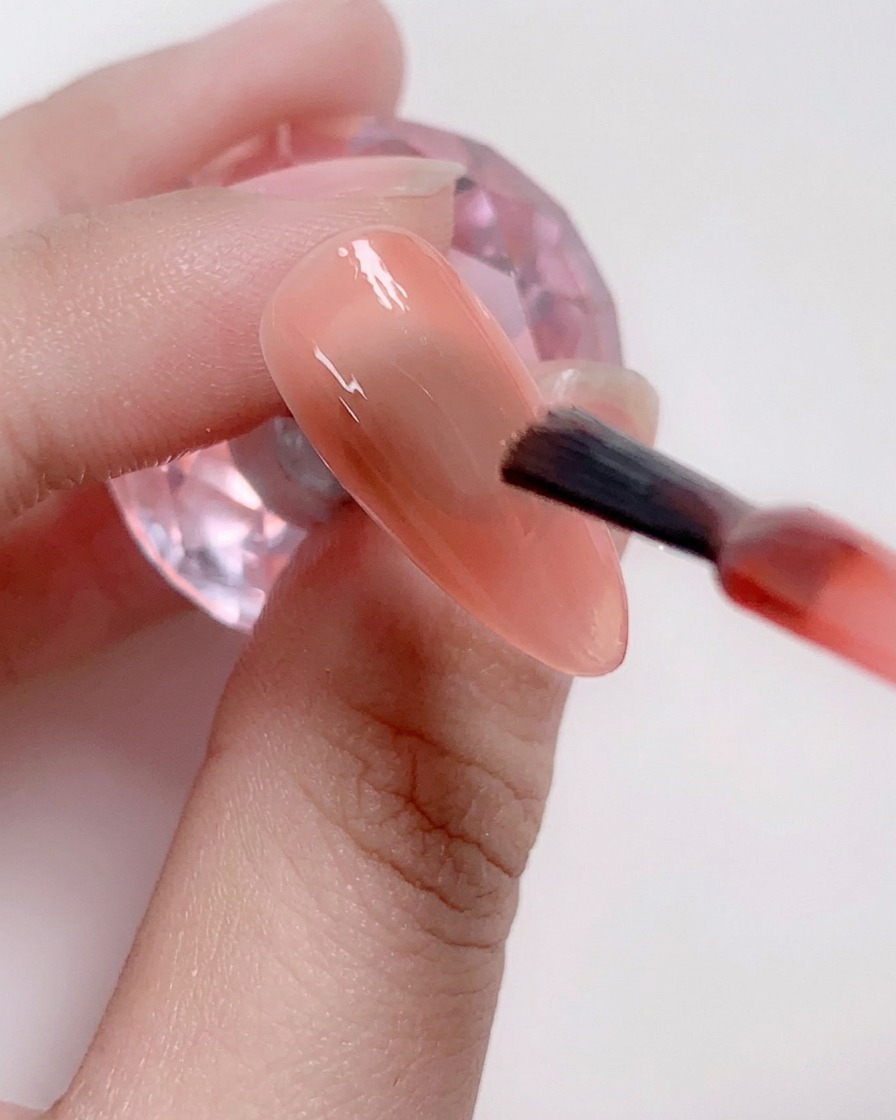
Apply a coat of light pink gel polish to the nail to serve as the foundation for the gradient. This color provides a smooth base that makes the subsequent color blending pop. Cure the layer in the UV/LED lamp.
Tip: Keep the layer thin to prevent bulkiness; you can apply a second coat if the color needs to be more opaque. - 3Apply laser powder
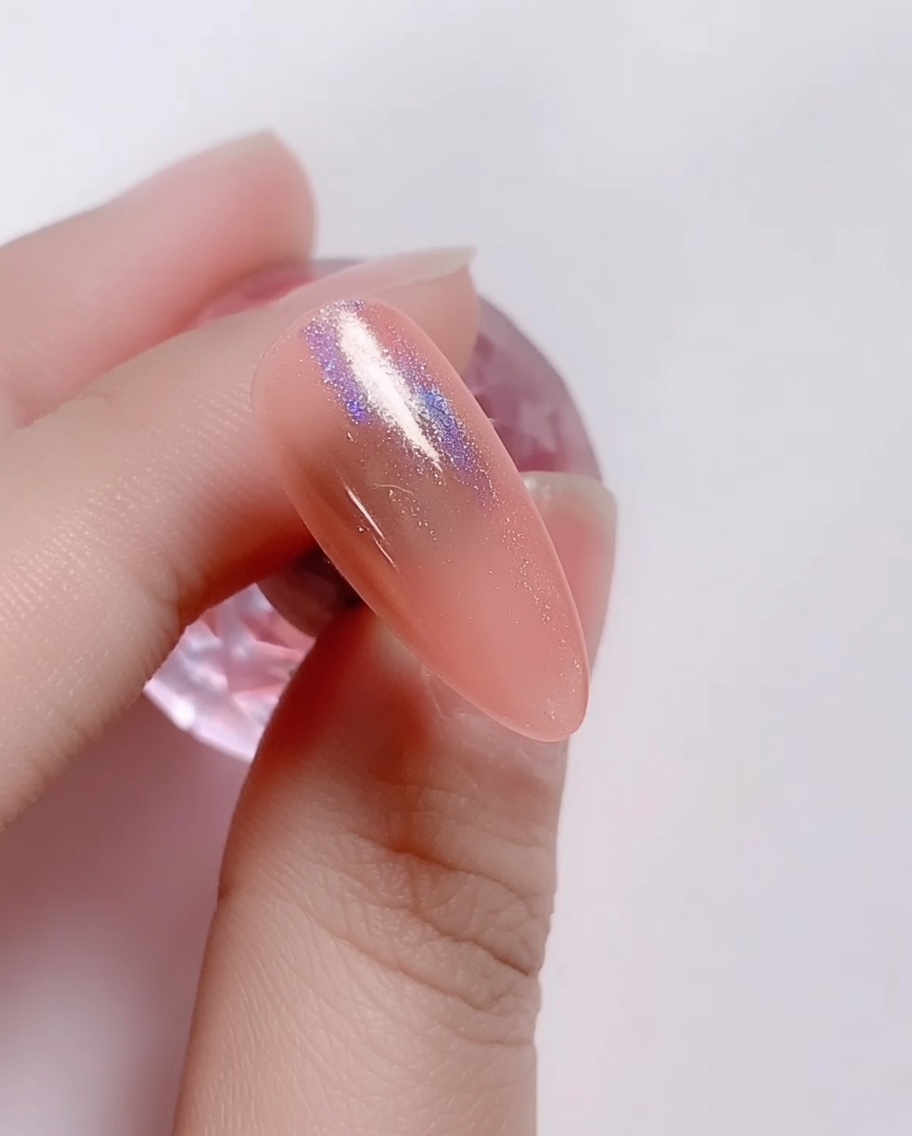
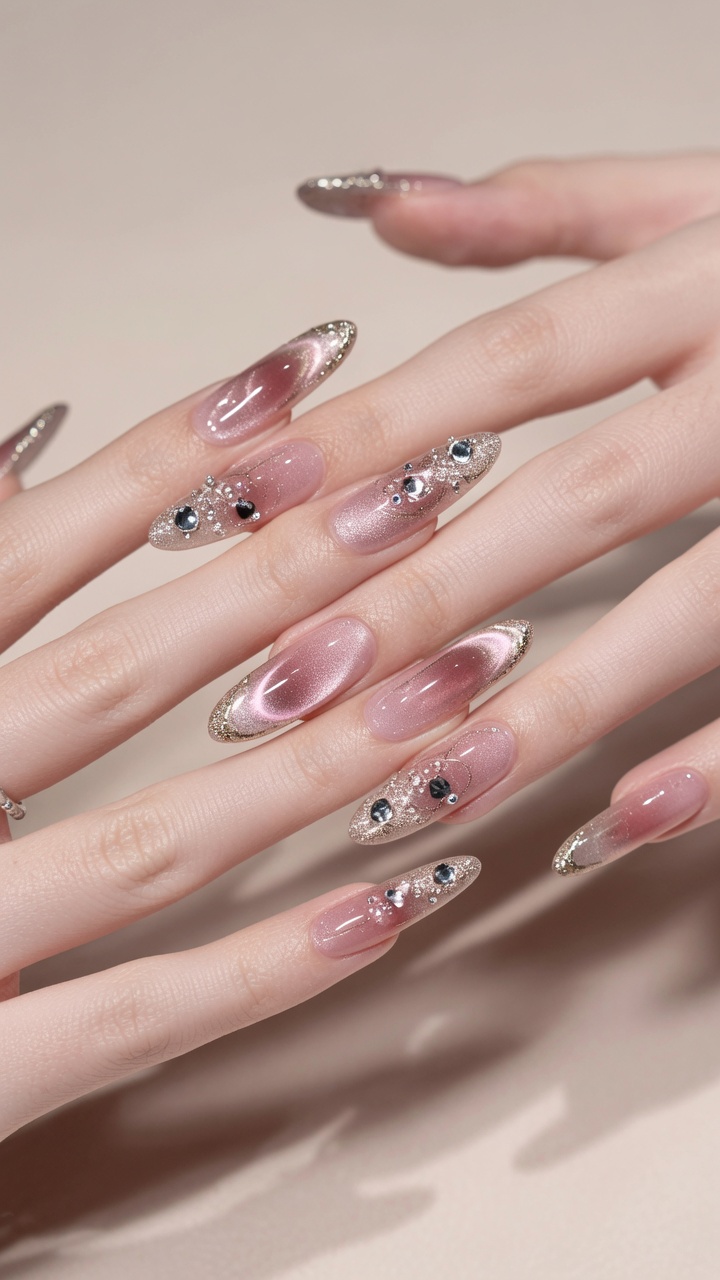
Gently buff the laser powder onto the surface of the cured light pink base. Use a sponge applicator or your fingertip to rub the powder in until a smooth, iridescent, shimmering effect is achieved. Dust off any excess powder thoroughly before proceeding to the next step.
Tip: For the best effect, ensure the base is fully cured and free of a sticky inhibition layer before applying the powder. - 4Seal with top coat
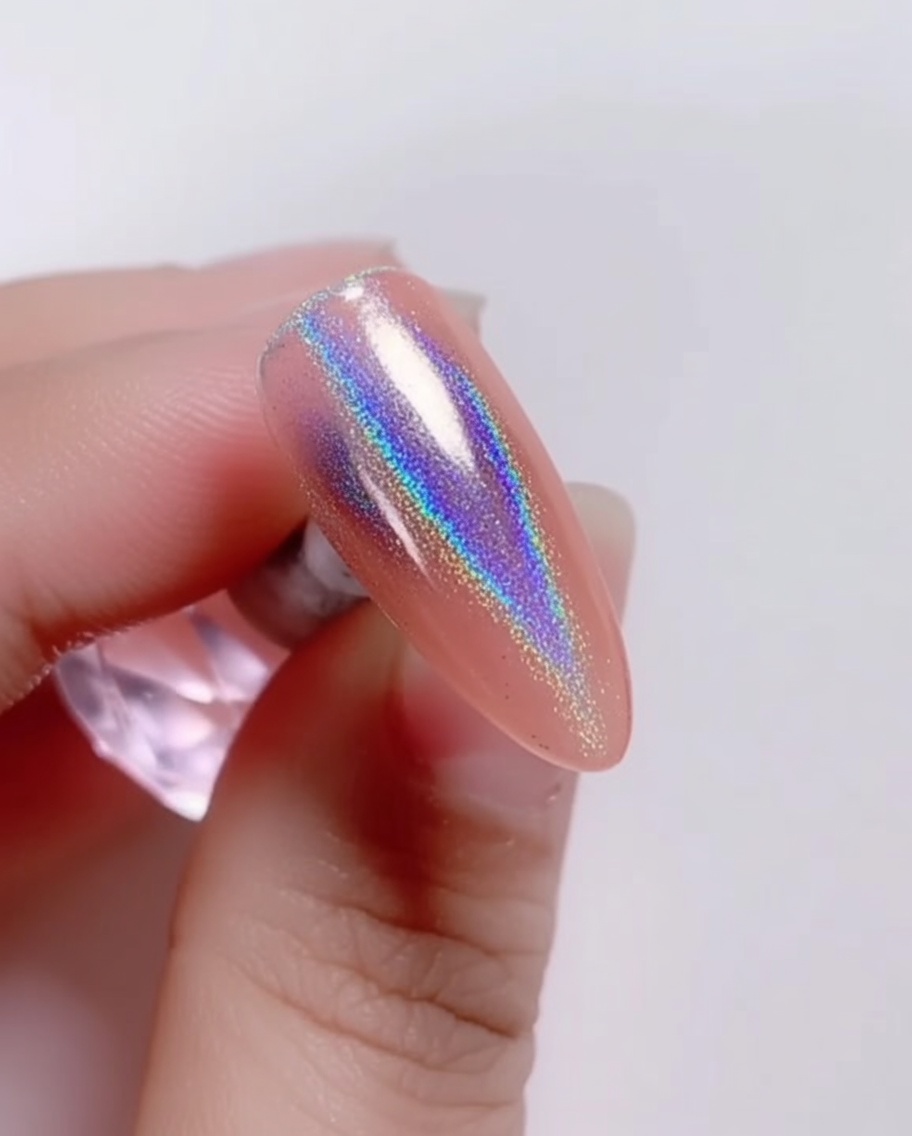
Apply a thin layer of no-wipe top coat over the laser powder to seal the effect and add a high-gloss finish. This step protects the powder from wearing off and prepares the surface for the daisy nail art. Cure under the lamp.
Tip: Using a no-wipe top coat makes this step faster and ensures a smooth, non-tacky finish. - 5Paint first daisy petals
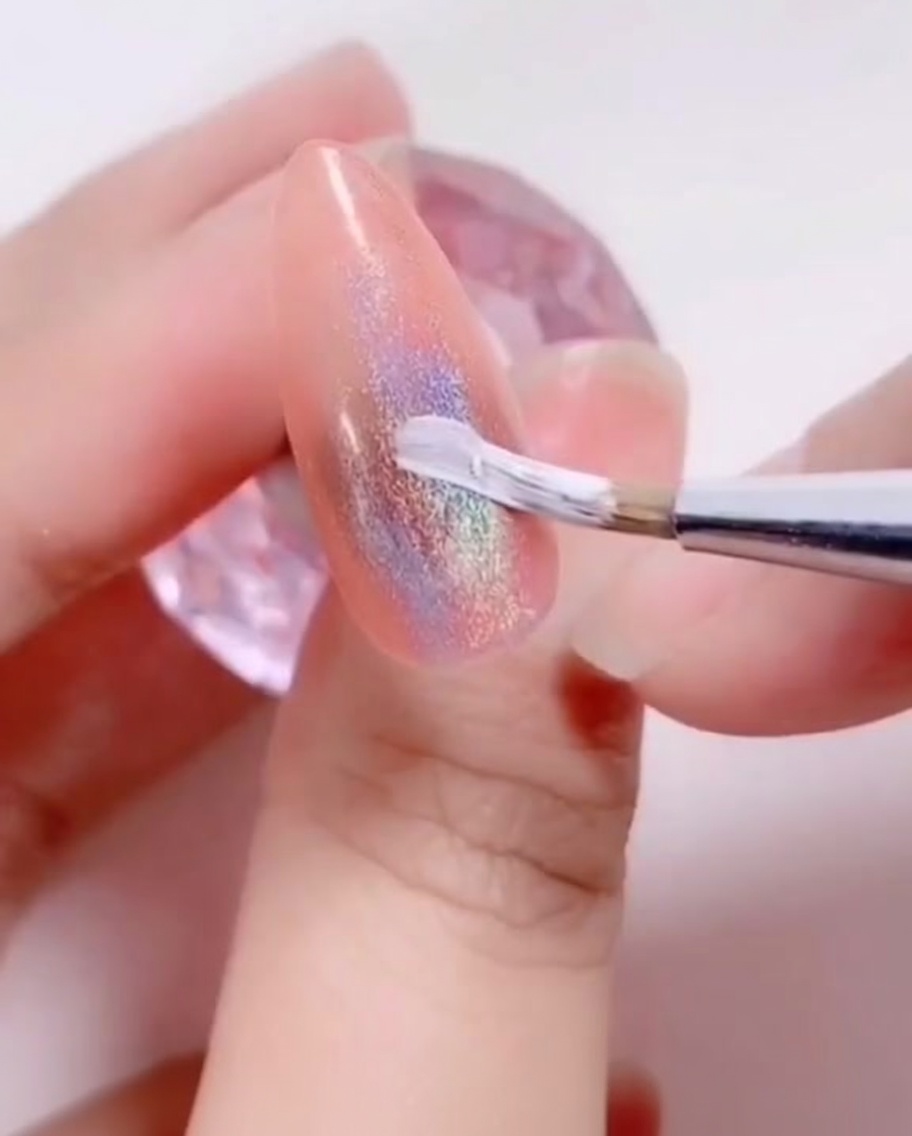
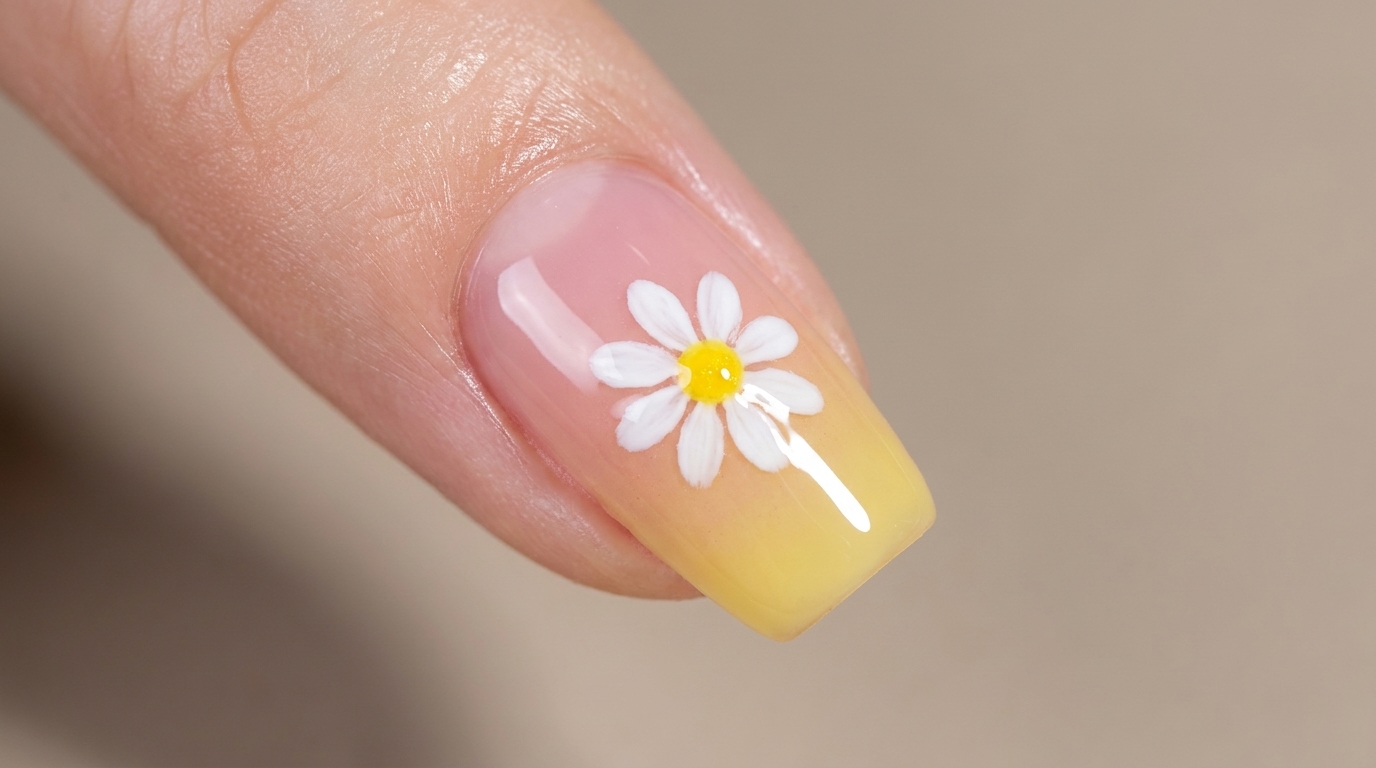
Using a fine liner brush and white gel polish, carefully paint the first layer of daisy petals onto the nail. Focus on placing the petals in a circular pattern to form the base of the flower. Cure the white gel briefly to set it.
Tip: Wipe your brush frequently to keep the lines crisp and the petal edges clean. - 6Add petal dimension
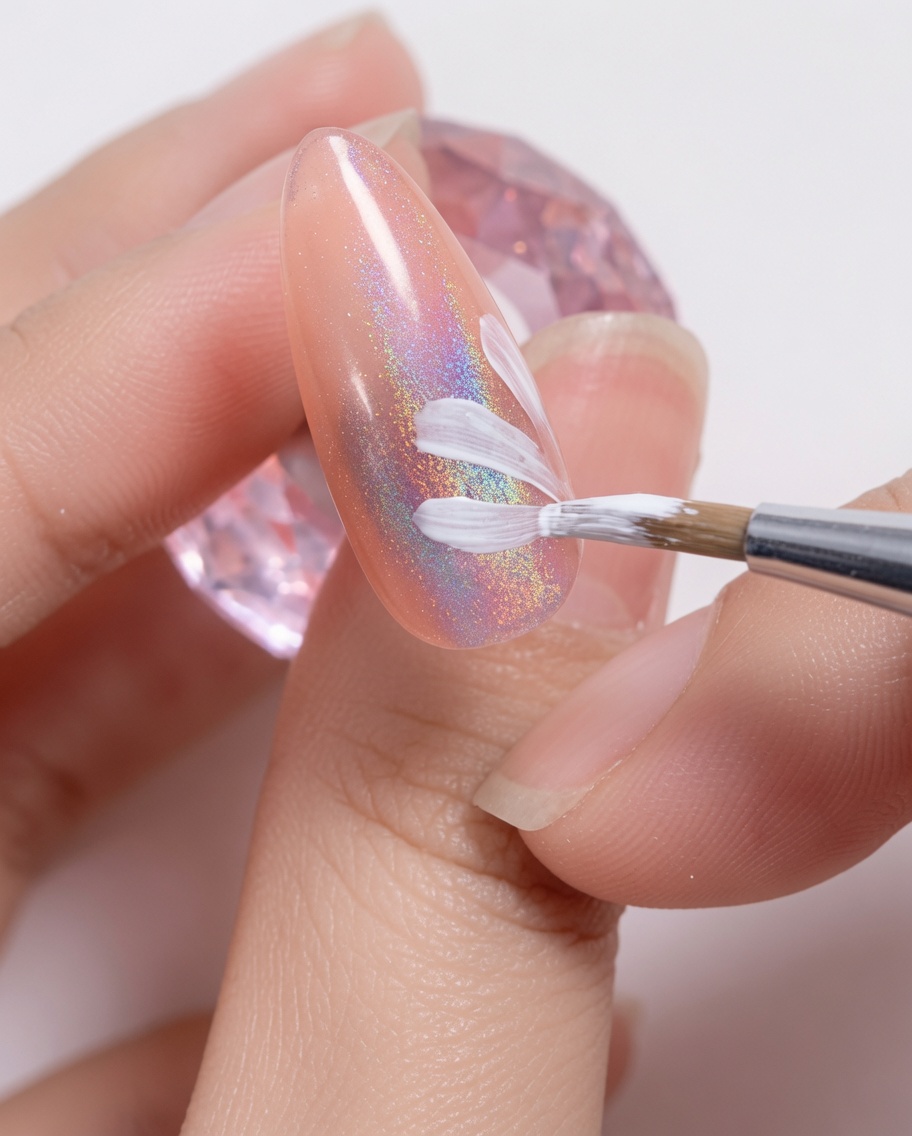
Apply a second layer of white gel petals over the first, slightly overlapping or placing them to create depth and detail. This adds density to the daisy, making it look more realistic and vibrant. Cure the nail once satisfied with the design.
Tip: Varying the pressure slightly with your brush can help create natural-looking variations in petal thickness. - 7Add inner daisy petals
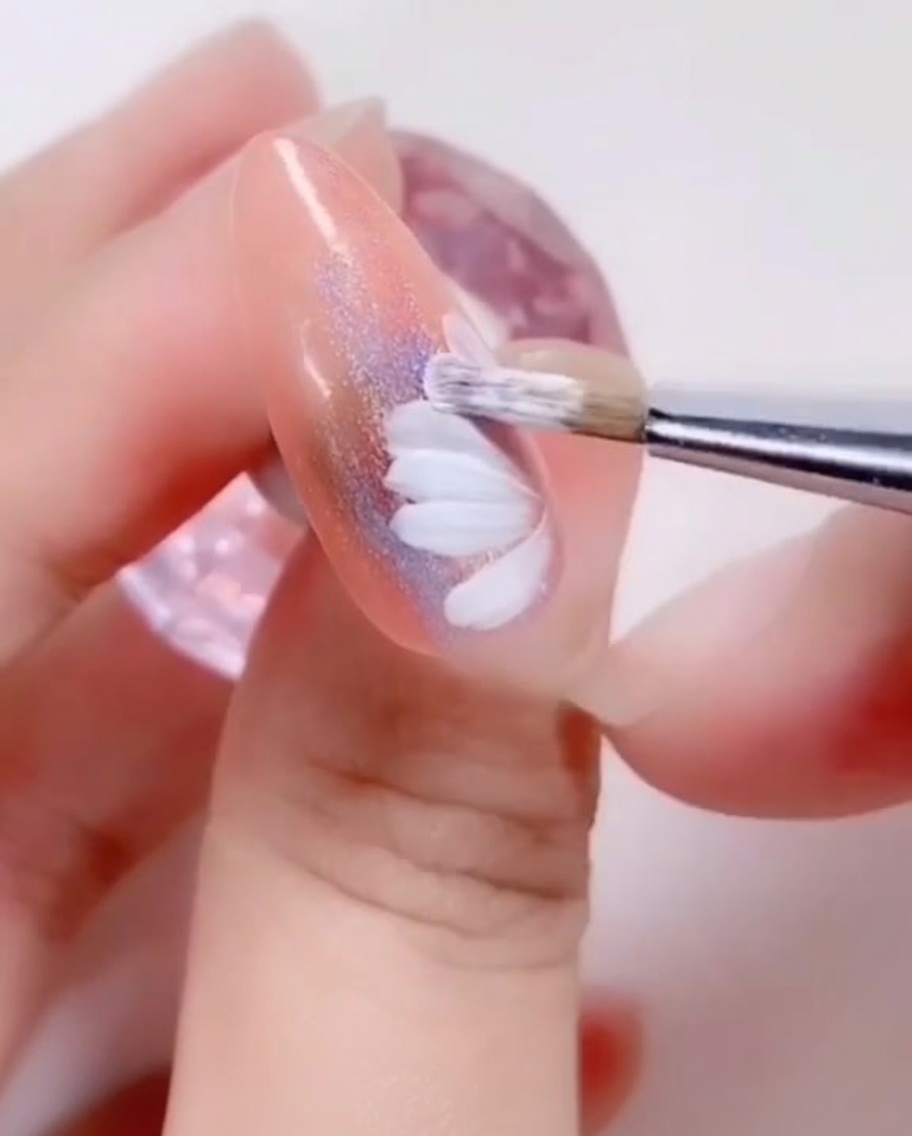
Using a fine brush, carefully apply a third, smaller layer of white petals closer to the center of the daisy. These shorter strokes add dimension and create the layered look of a blooming flower. Work slowly to ensure the petals are evenly spaced and distinct.
Tip: Keep the petals shorter than the previous layers to maintain a natural, realistic flower shape. - 8Paint the daisy center
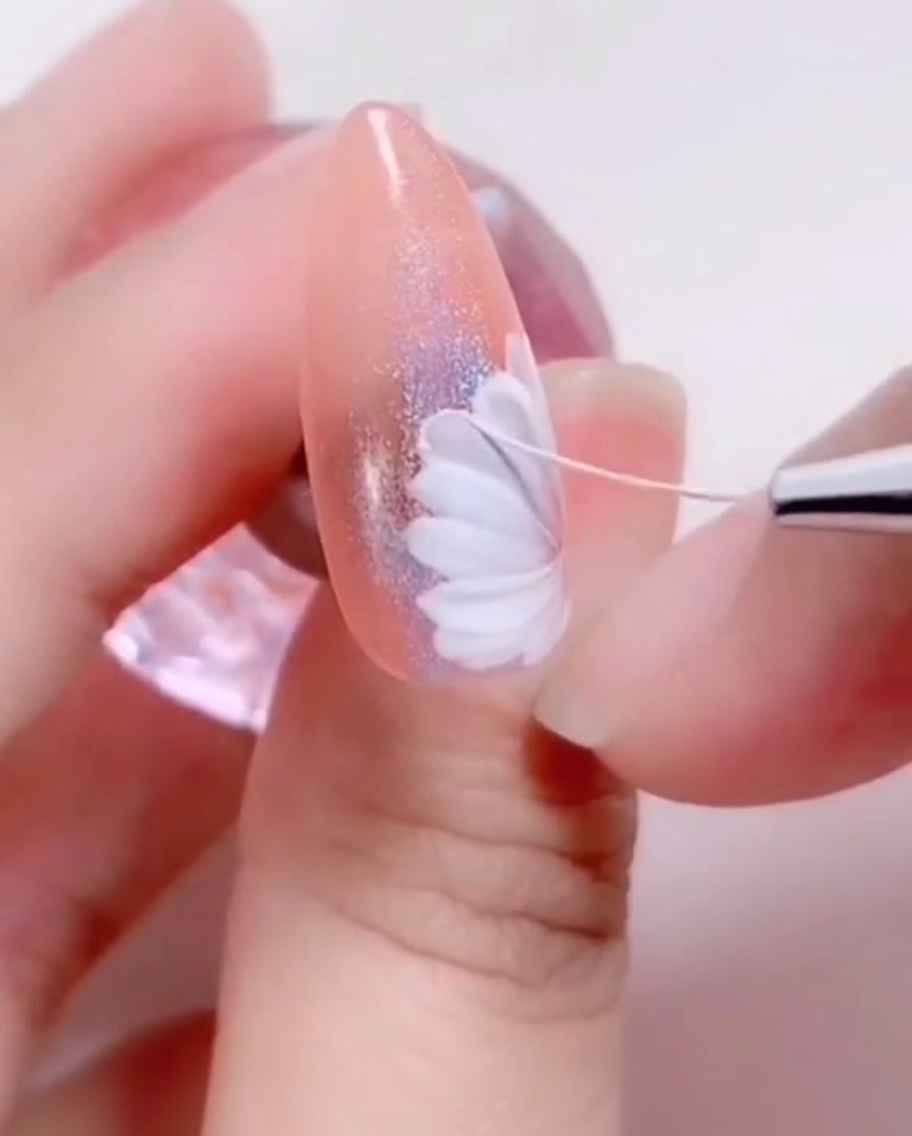
Using a fine liner brush and a contrasting color, place a tiny, precise dot in the very center of the daisy. This small detail anchors the design and completes the flower. Take your time to get the placement centered for the best result.
Tip: Less is more; a very small, concentrated dot looks more realistic than a large, smudged one. - 9Add petal highlights
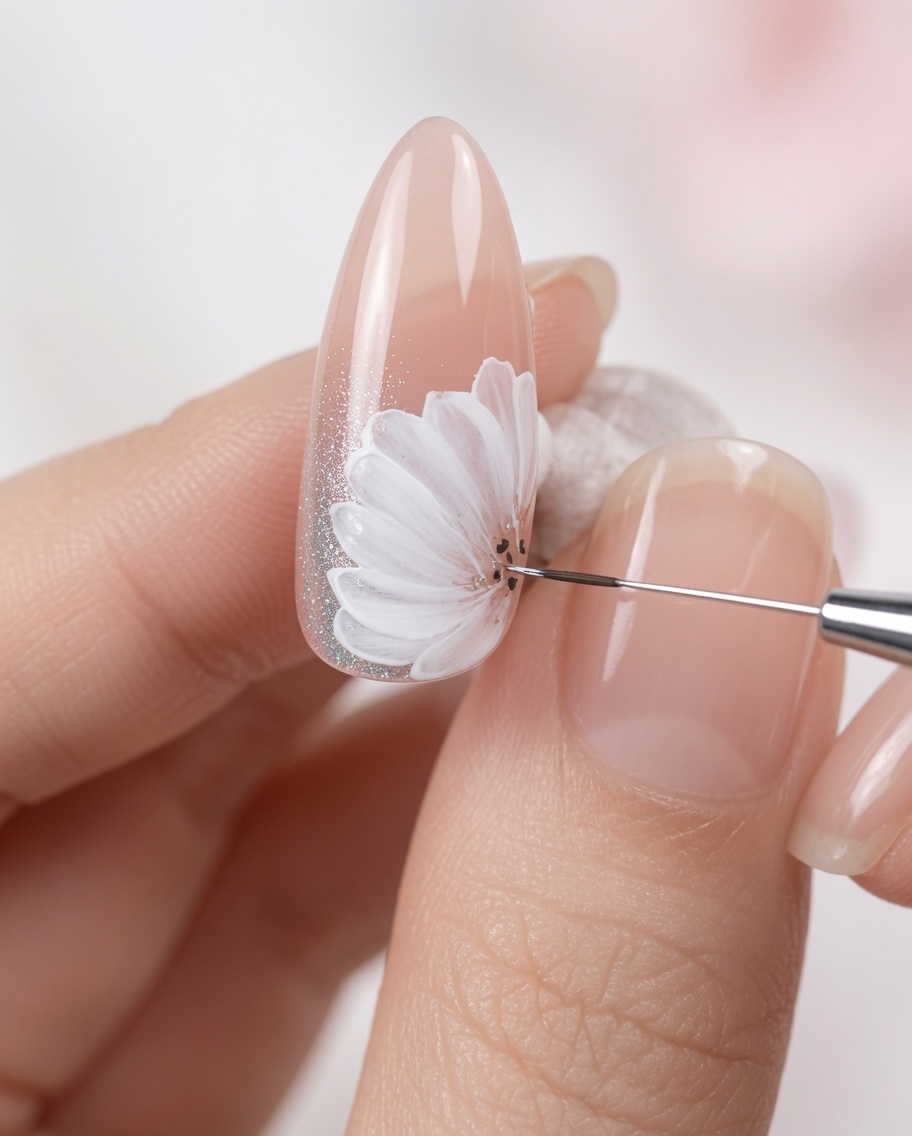
Using a very fine brush and crisp white polish, paint delicate, thin lines onto each petal. These highlights create depth and texture, making the flower appear more three-dimensional and vibrant. Follow the curve of each petal with light, gentle strokes.
Tip: Use a very light touch to keep these highlight lines thin and subtle for a professional finish. - 10Apply top coat
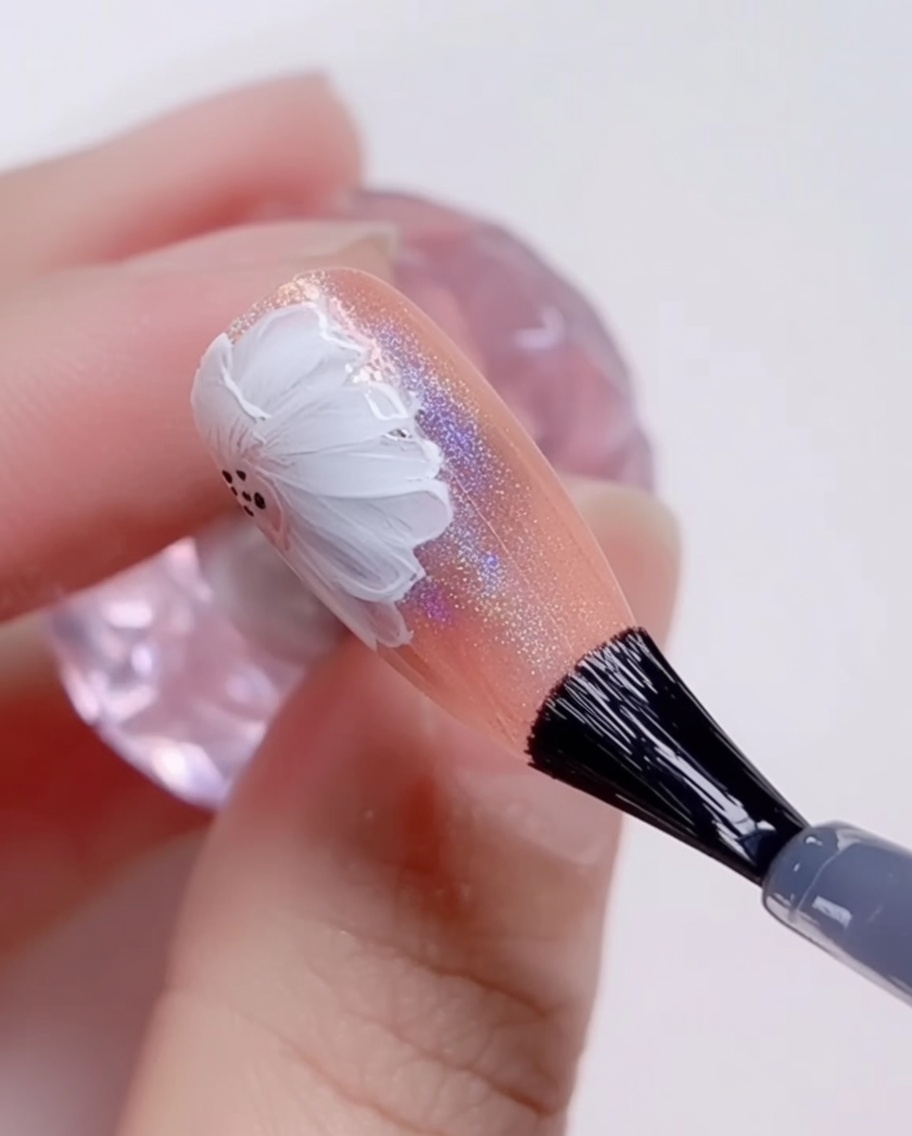
Apply a generous, even layer of high-shine top coat over the entire nail to seal in your daisy art. This protects the design from chipping and adds a smooth, glossy finish that makes the colors pop. Ensure you cap the free edge for long-lasting wear.
Tip: Apply the top coat gently over the painted art to avoid smearing the delicate lines of the petals.