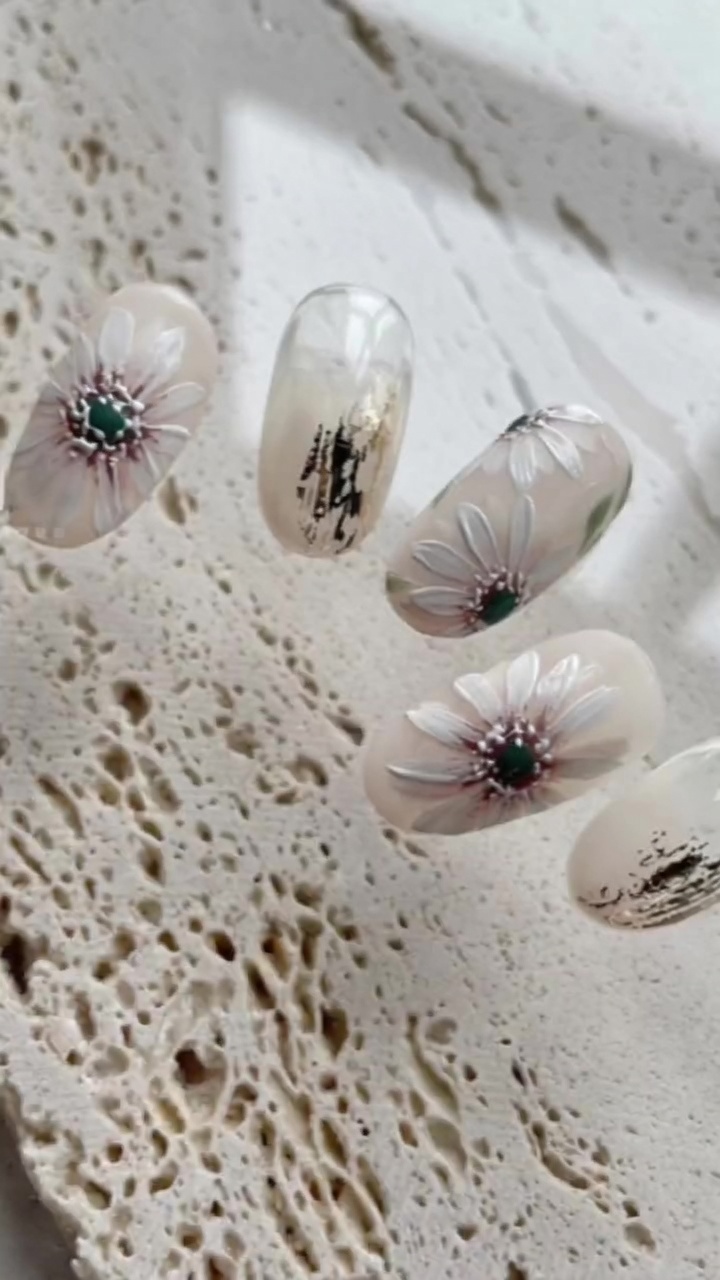
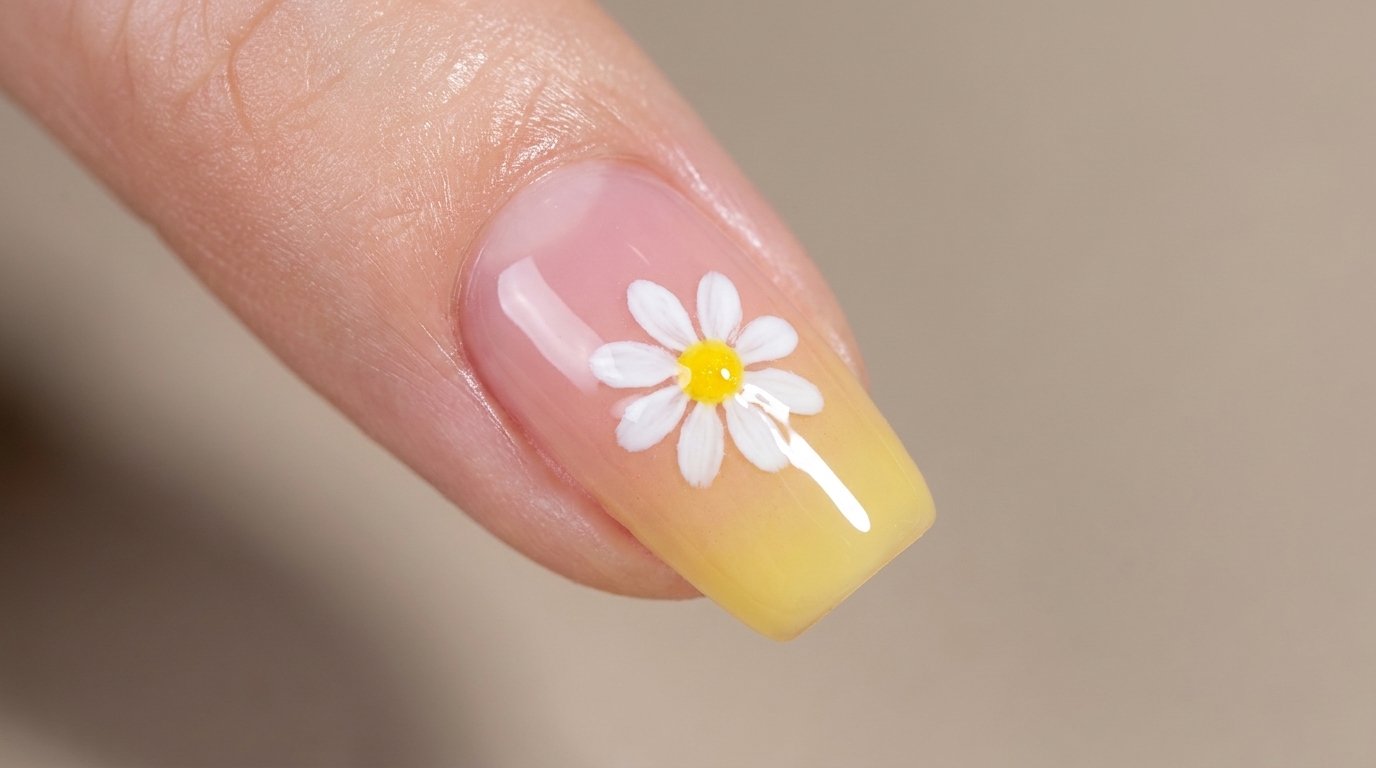
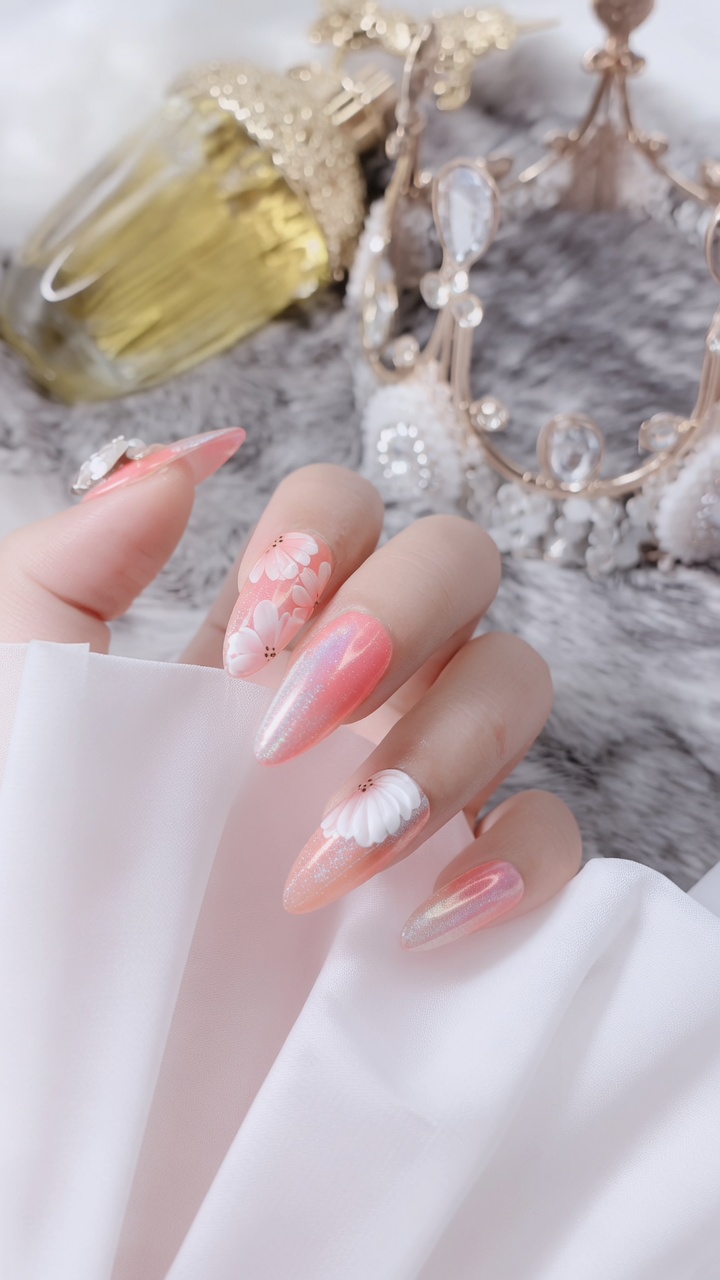
Spring Daisy French Tip Gel Manicure — Step-by-Step Tutorial
Create a dreamy spring manicure with this easy daisy French tip tutorial. Learn how to combine cat-eye polish and delicate floral nail art at home.
Celebrate the season with this fresh and playful nail look that perfectly blends a shimmering cat-eye base with classic French tips and charming daisy accents. This design is perfect for spring, offering a whimsical yet sophisticated aesthetic that is sure to turn heads. Whether you are a nail art beginner or a seasoned pro, this step-by-step guide will help you achieve a professional, salon-quality finish.
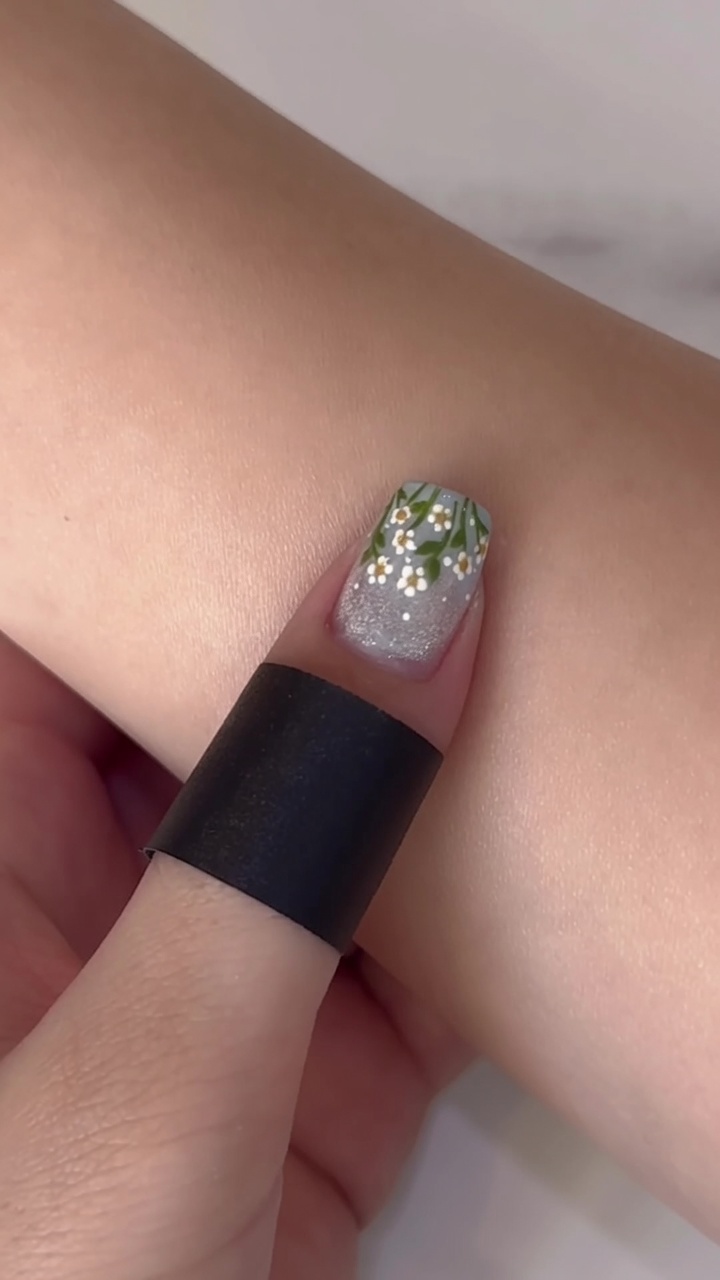
Steps
- 1Apply cat-eye base coat
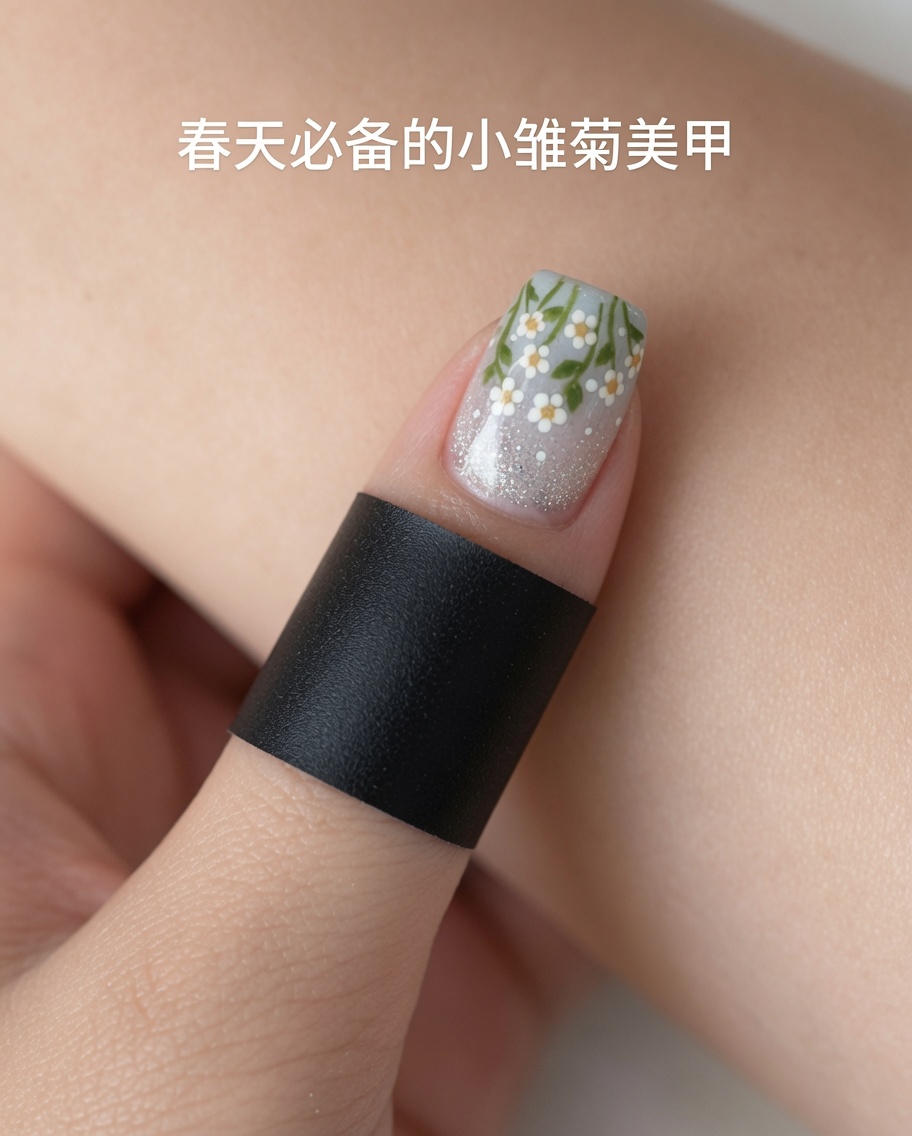
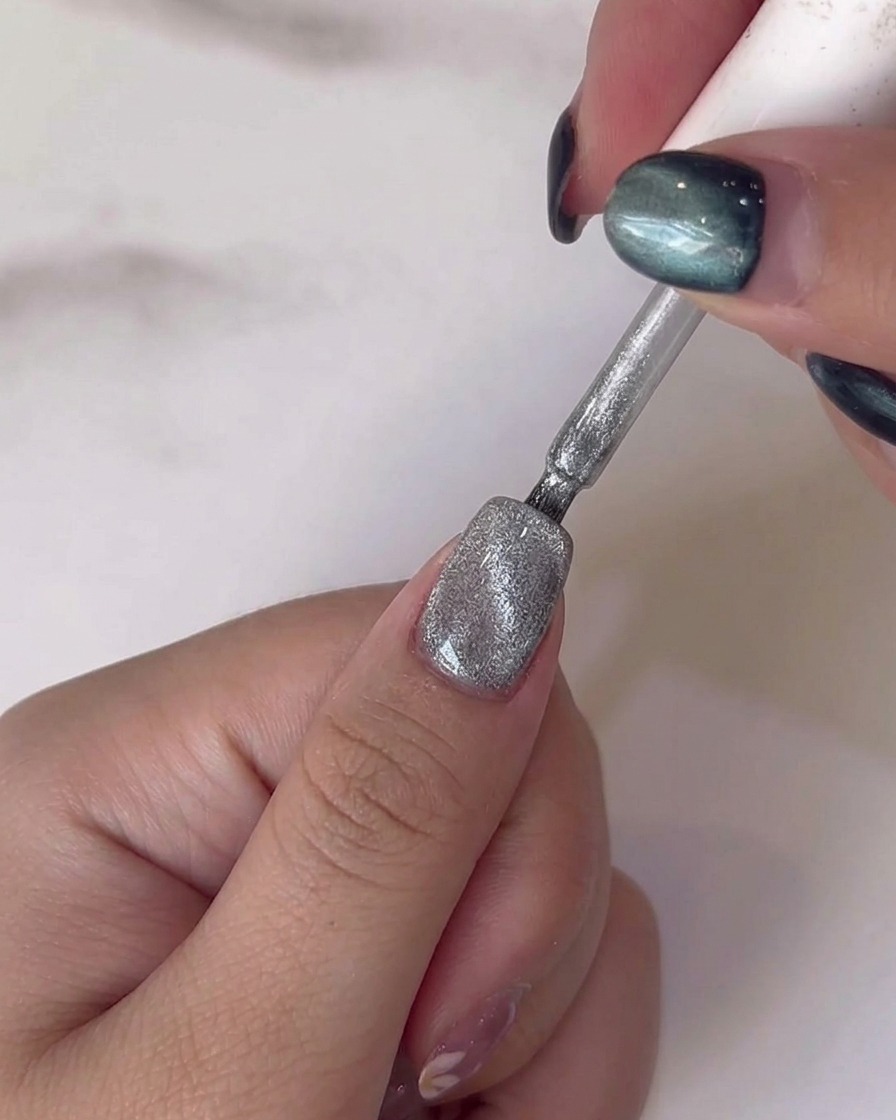
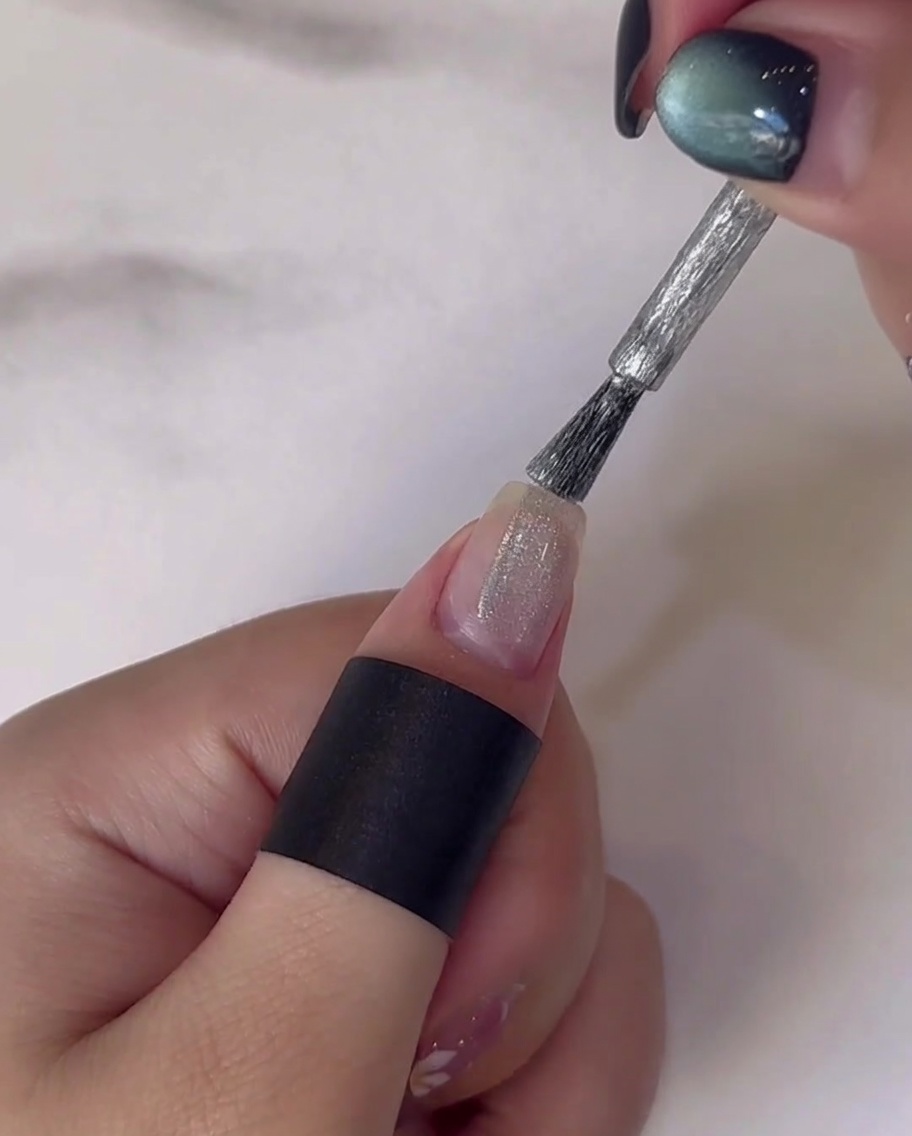
Apply a base layer of cat-eye gel polish over the nail plate. Ensure an even, smooth application to provide the necessary surface for the magnetic effect, keeping the layer thin to ensure proper curing.
Tip: Apply a thin, even coat to prevent pooling around the cuticles. - 2Create cat-eye effect
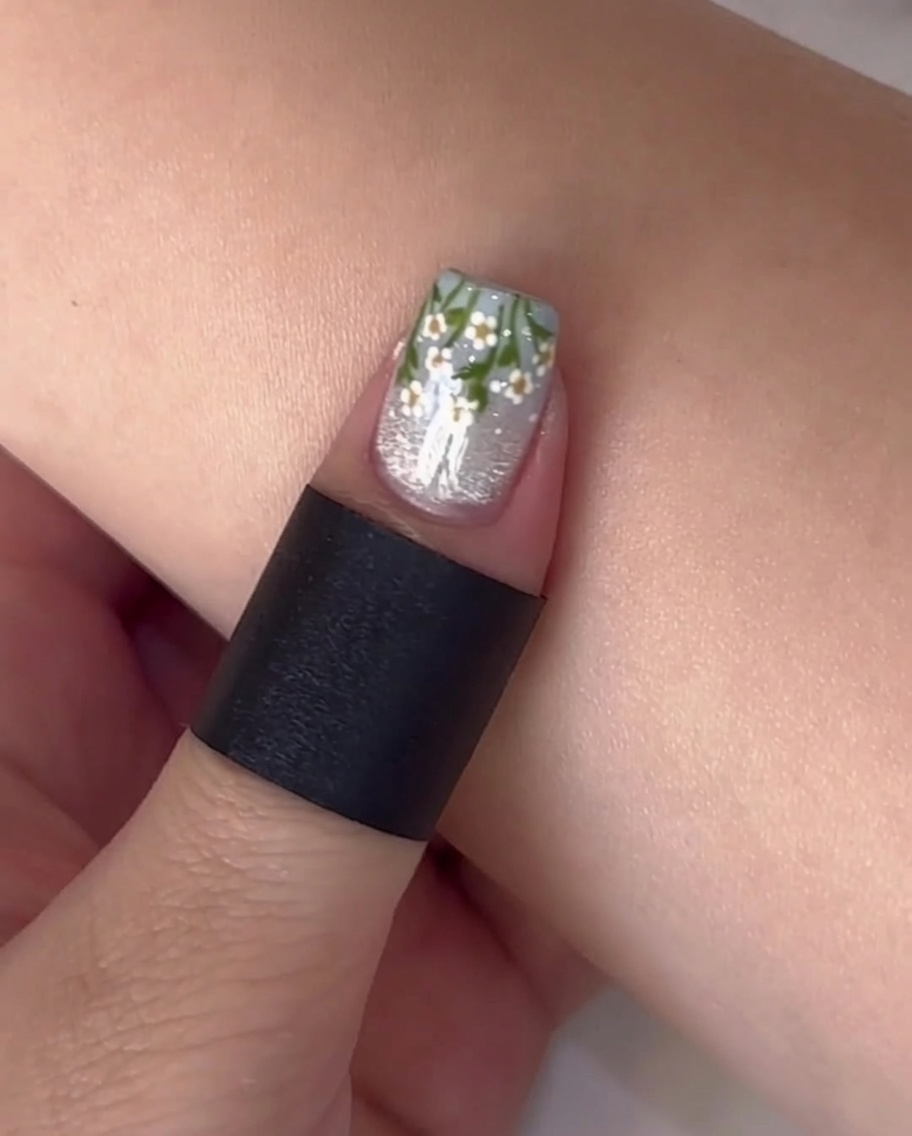
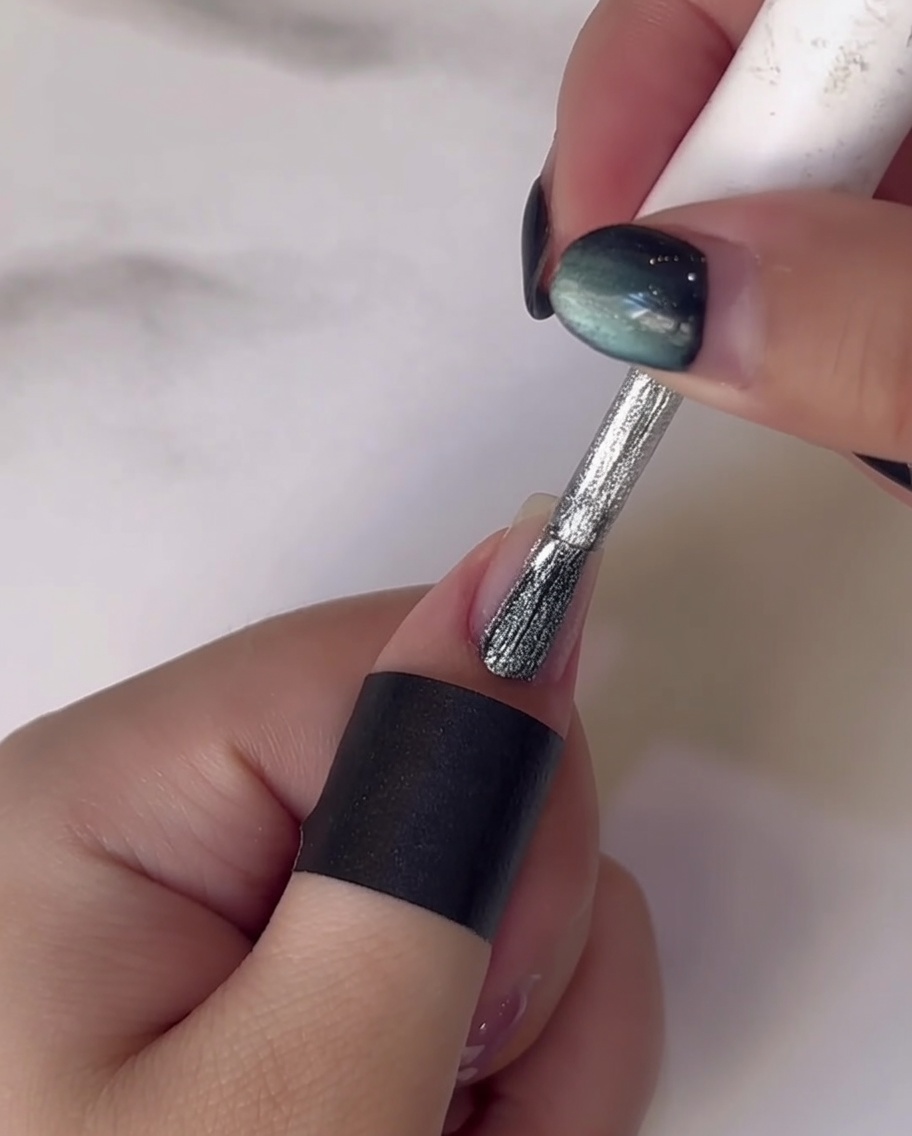
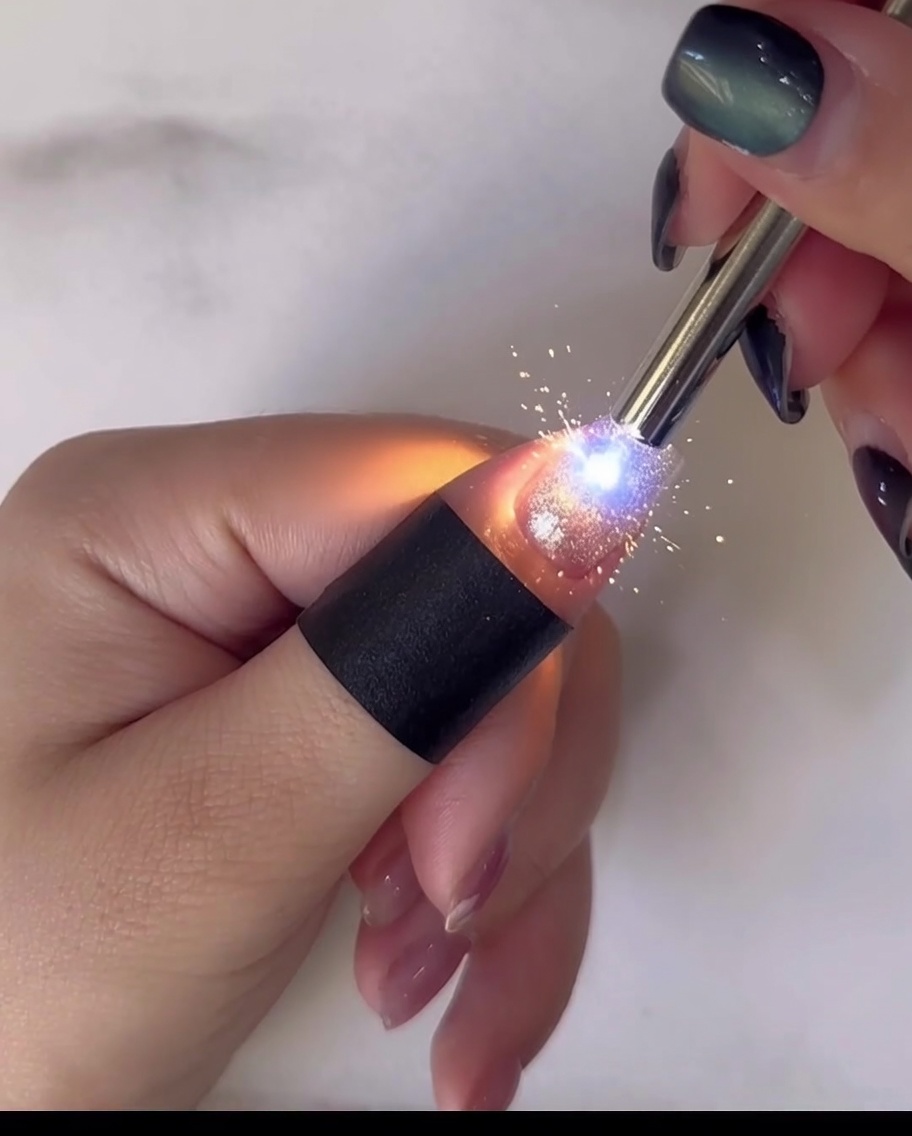
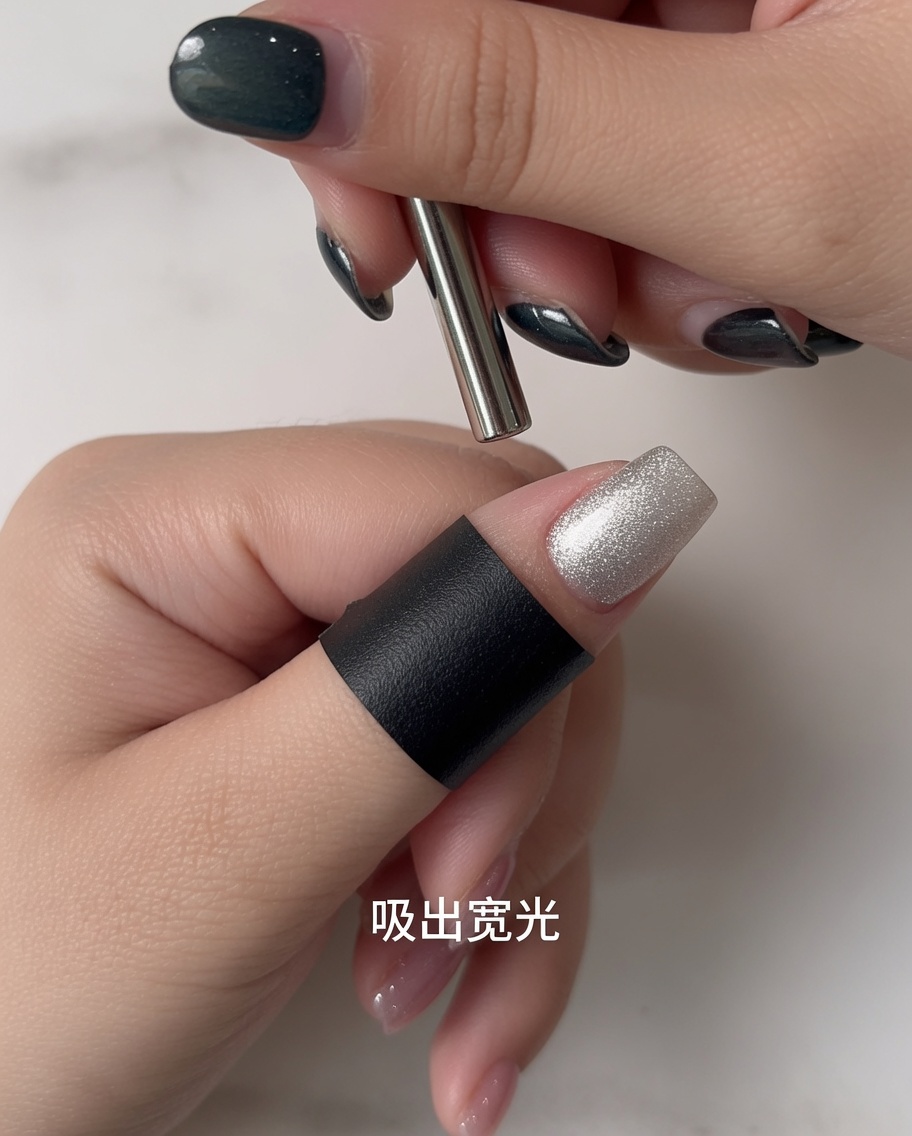
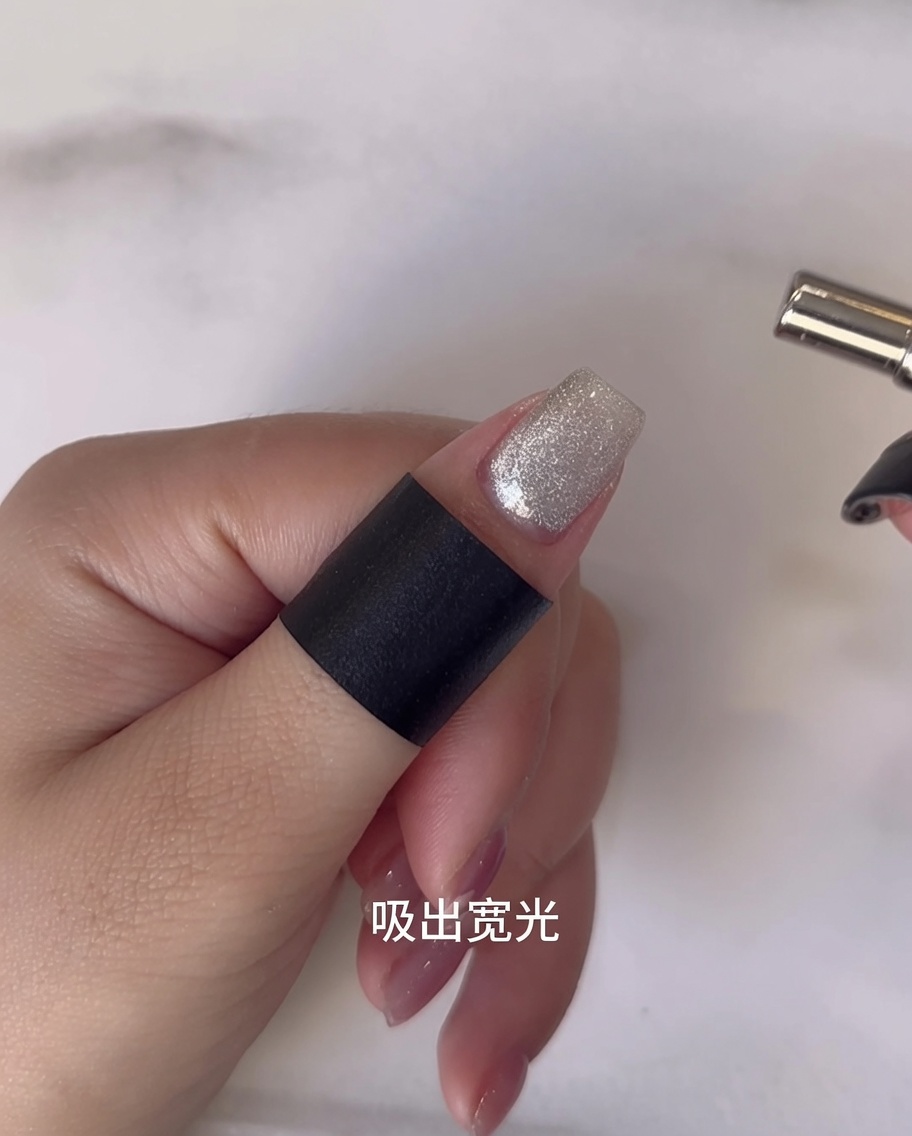
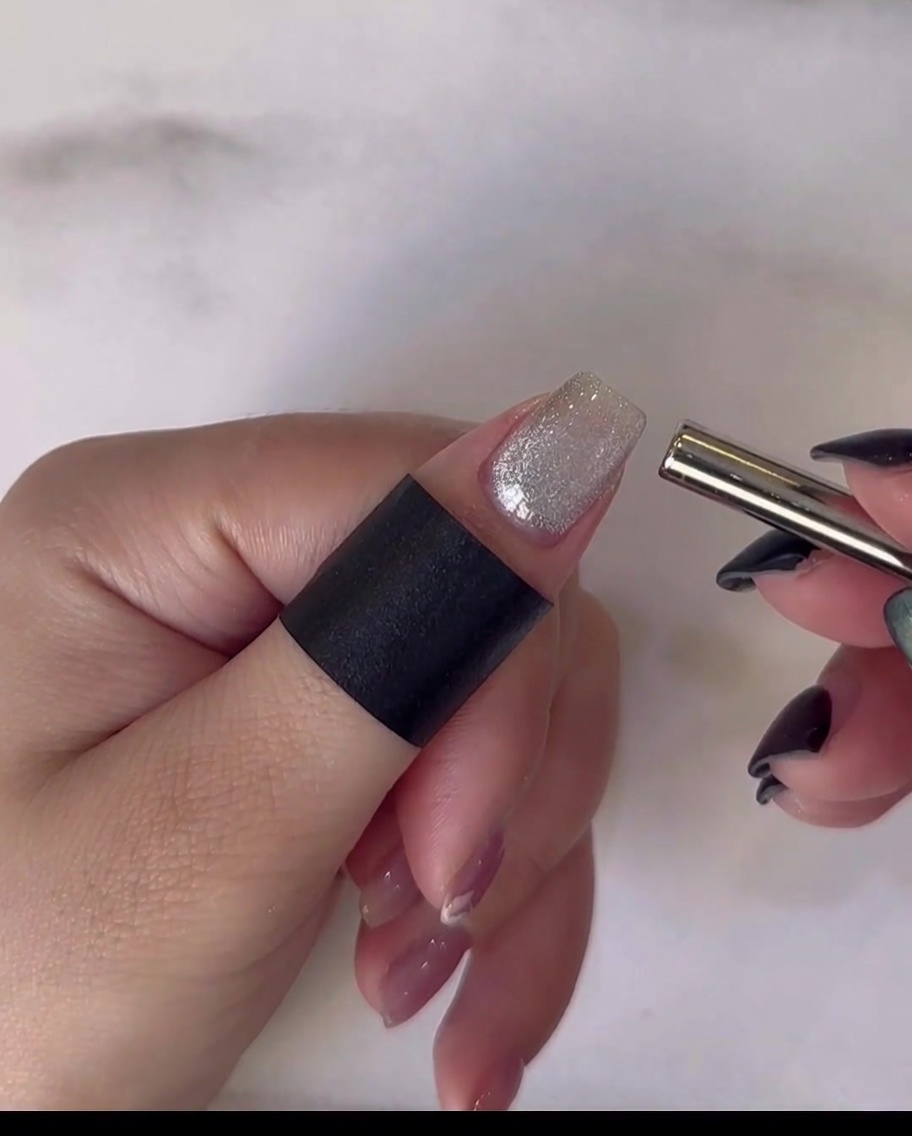
Before curing, hold a magnetic tool over the wet cat-eye gel. Move the magnet to draw out a wide, shimmering light effect across the nail surface, creating the characteristic cat-eye look.
Tip: Keep the magnet close to the nail for a stronger, more defined light effect. - 3Cure the gel
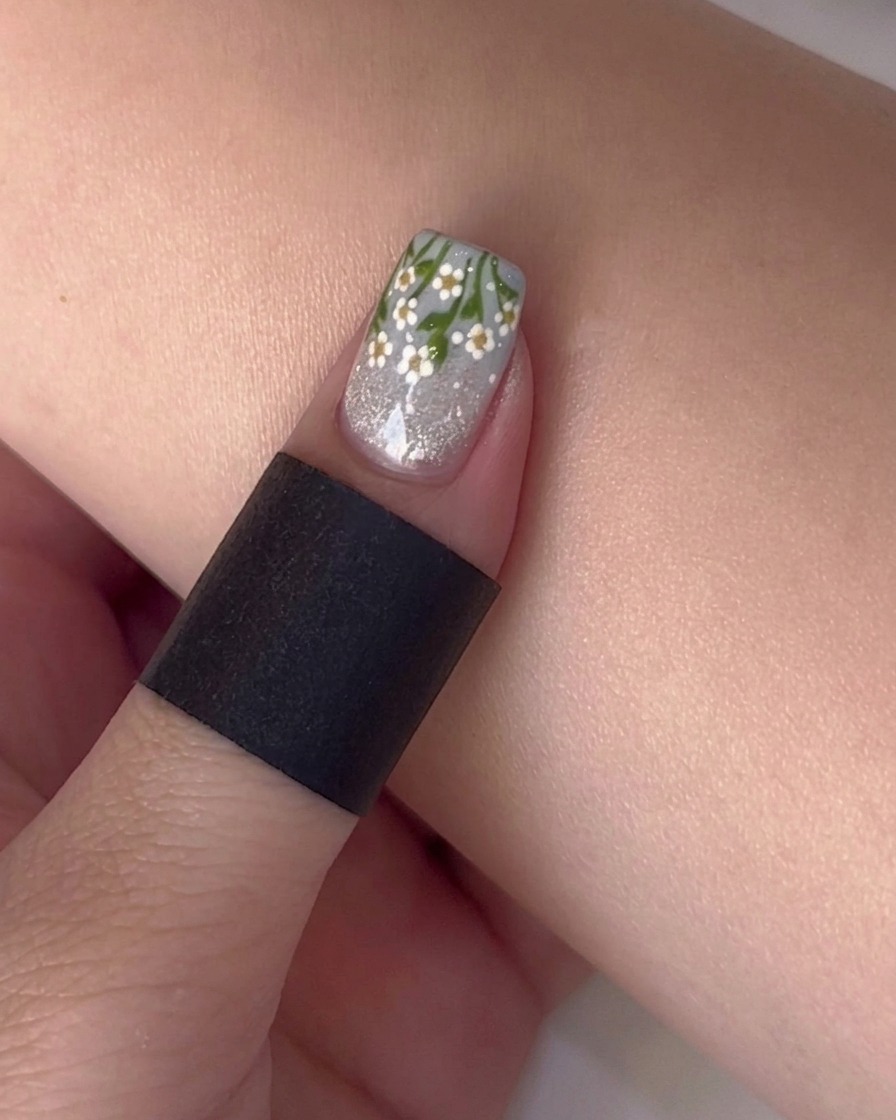
Place your finger under a UV or LED lamp to cure the gel polish. Ensure the nail is positioned correctly under the light for the manufacturers recommended time to set the gel and the cat-eye effect.
Tip: Keep your finger flat and still while curing to avoid smudging the design. - 4Remove sticky layer
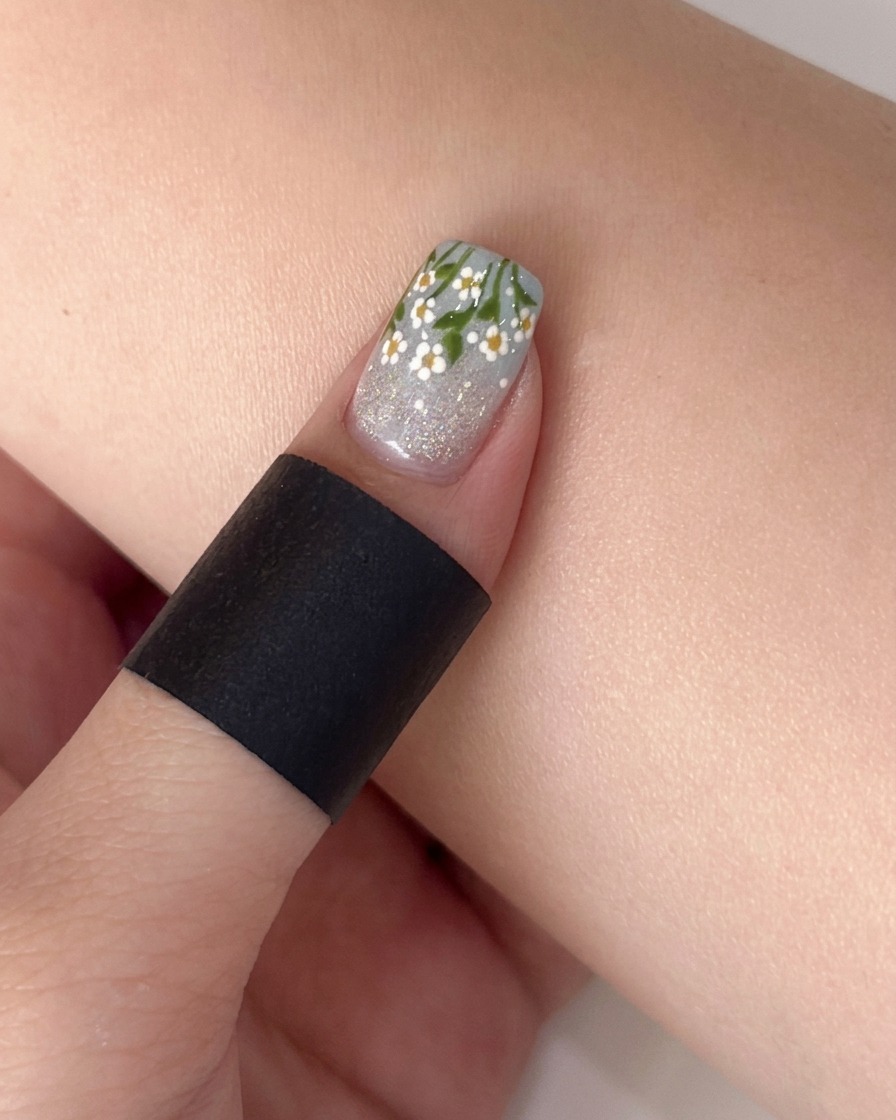
Once cured, use a lint-free pad saturated with cleanser to wipe away the sticky inhibition layer from the surface of the nail. This cleans the nail and prepares it for further nail art.
Tip: Wipe firmly but gently to ensure the surface is completely clean and ready for decoration. - 5Apply Blue French Tip
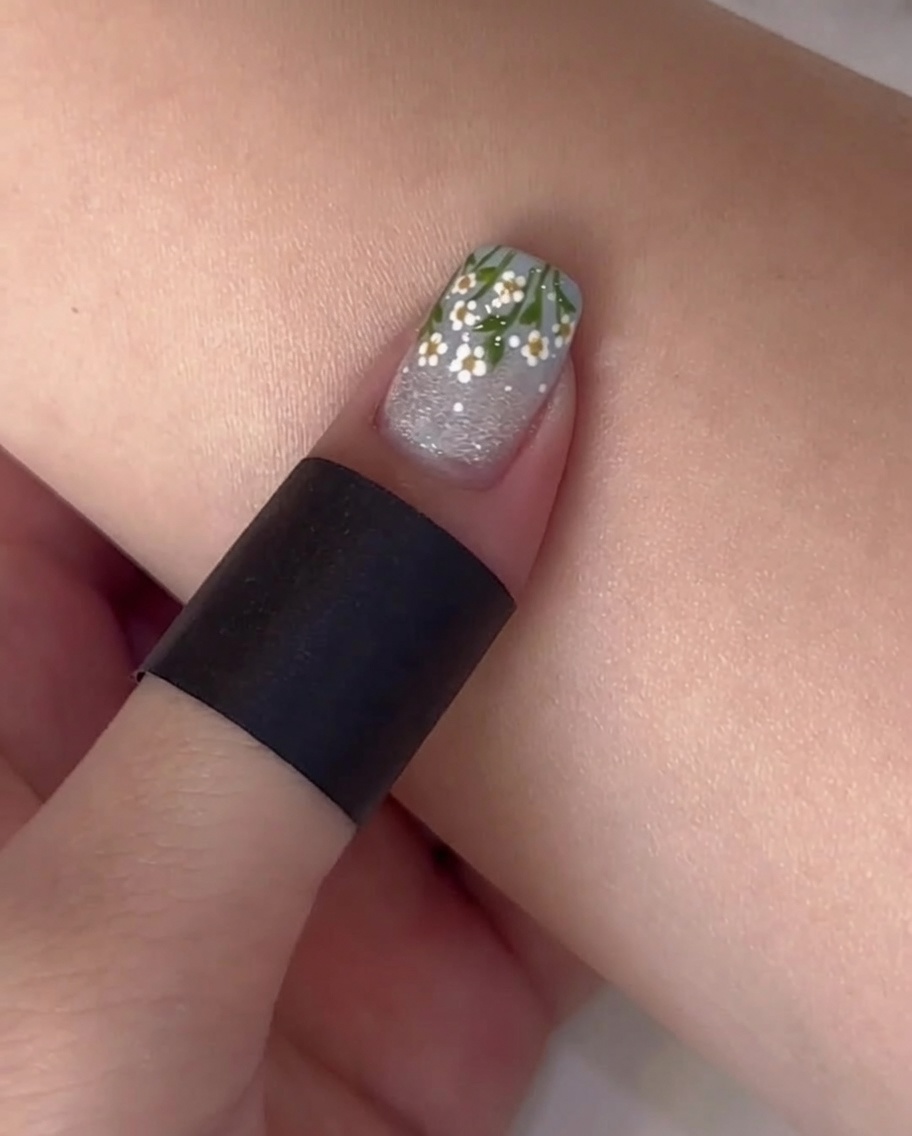
Using a fine-liner brush and blue color gel, carefully paint a clean French tip design across the free edge of the nail. Take your time to ensure the curve is symmetrical and consistent.
Tip: Use a steady hand and a fine-liner brush for precise application of the French tip. - 6Blend French tip
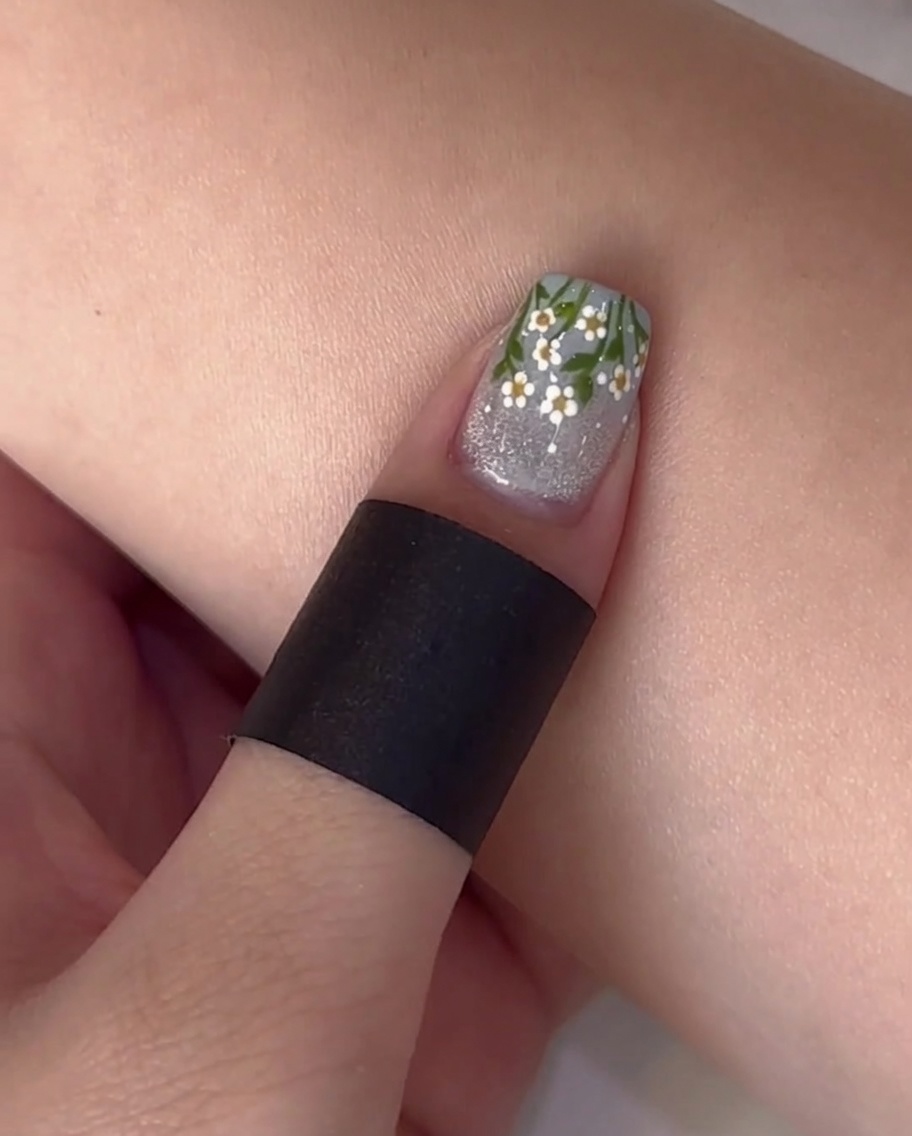
Use a gradient brush to gently blend the edge of the blue French tip, ensuring a smooth transition and even color distribution. This helps achieve a professional, seamless look for the French manicure.
Tip: Light, soft strokes with the gradient brush will help create the smoothest blend. - 7Cure the French tip
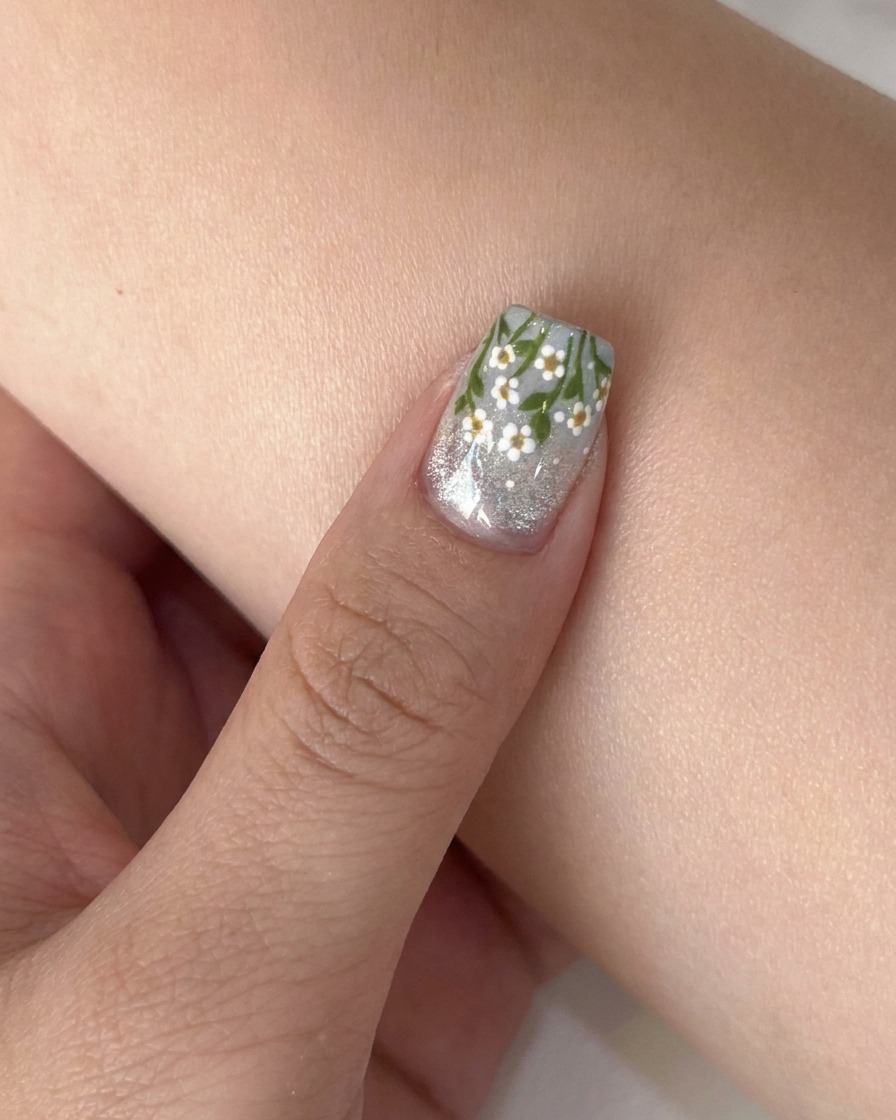
Place your finger under the UV/LED lamp to cure the blue gel French tip you just applied. Curing ensures the gel hardens completely, creating a durable base for the nail art that follows.
Tip: Make sure your finger is positioned directly under the light source for an even cure. - 8Apply matte top coat
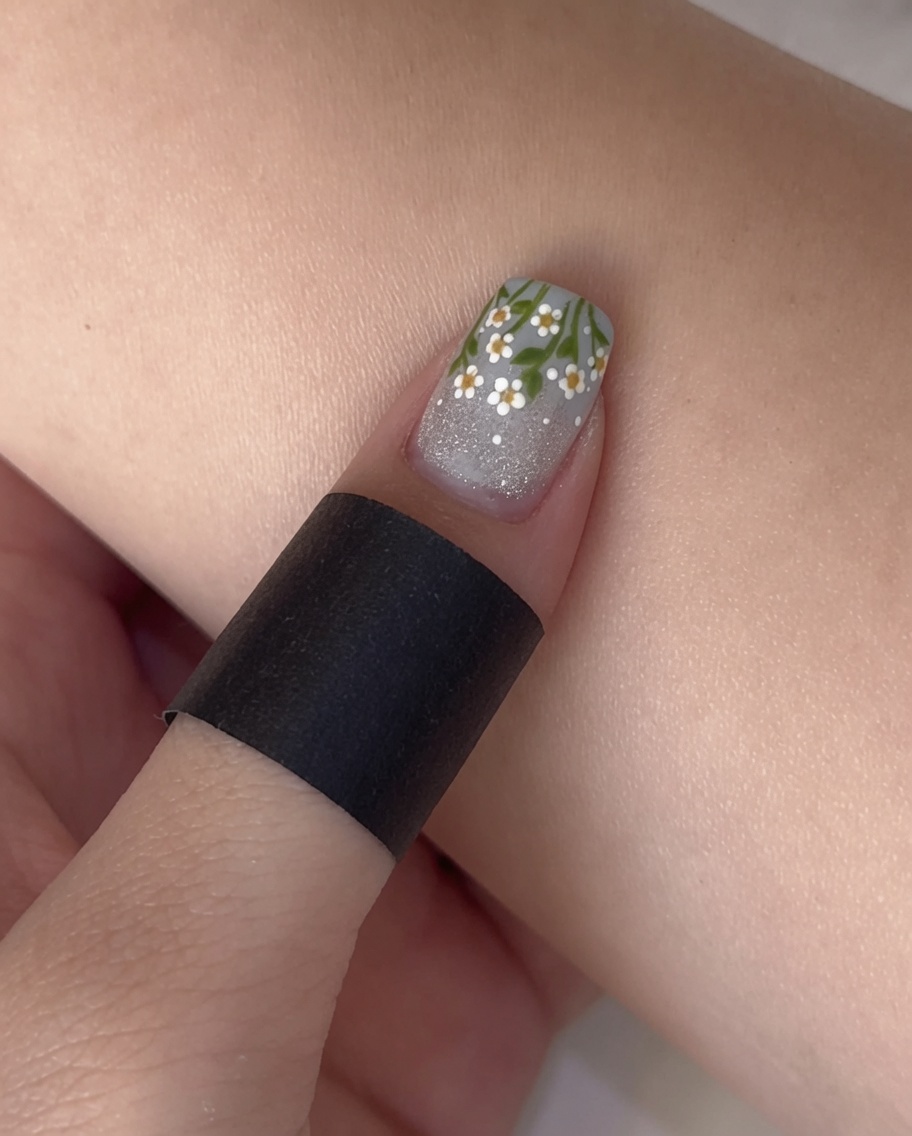
Apply a thin, even layer of matte top coat over the entire nail. This provides a non-slip, textured surface that makes it easier to paint the delicate daisy nail art details.
Tip: A thin layer is sufficient; avoid thick applications to ensure the matte finish looks smooth. - 9Paint the daisy stems
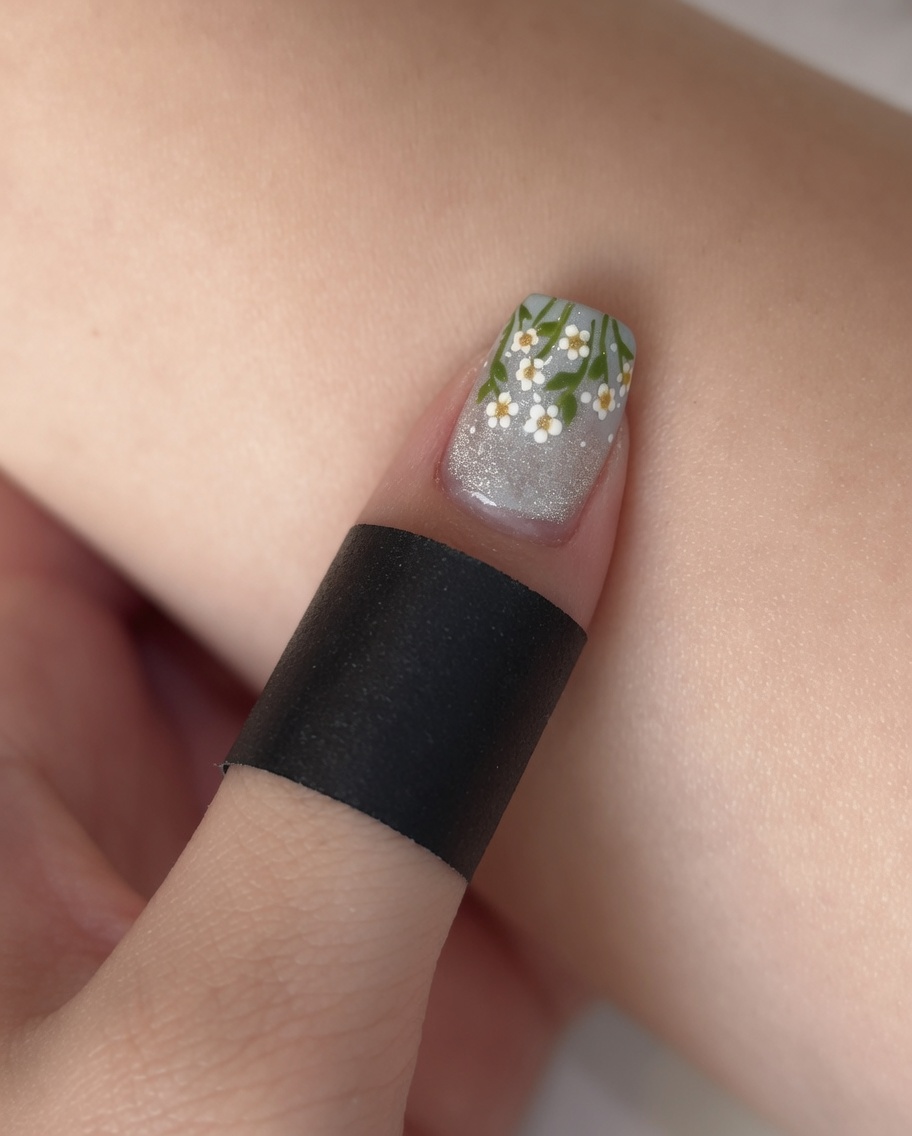
Using a fine liner brush and green color gel, carefully draw thin, delicate stems for your daisies. You can draw these lines freely across the nail to create a natural, organic look.
Tip: Keep your hand steady and use light pressure for the finest lines. - 10Add green leaves
Using the same fine brush and green color gel, add small, delicate leaves branching off from the stems you just painted. This adds depth and completes the floral stems.
Tip: Vary the size and placement of the leaves to make the design look more realistic. - 11Cure the stems and leaves
Place your finger under the UV/LED lamp to cure the green stems and leaves. This locks the fine details in place before you move on to painting the daisy petals.
Tip: Curing at this stage prevents the green gel from smudging while you work on the flowers. - 12Paint Daisy Petals
Using a small dotting tool and white color gel, place five dots in a circular pattern to form the petals of your daisies. Ensure the dots do not overlap for a defined floral look.
Tip: Use different sizes of dotting tools if you want to vary the size of your daisy petals. - 13Paint Daisy Centers
Using a tiny dotting tool, carefully place a small dot of yellow color gel into the center of each white daisy arrangement. Cure under the UV/LED lamp once all centers are placed.
Tip: Keep your yellow gel dots small and centered to maintain the delicate appearance of the daisies. - 14Add detail with small petals
To add more depth and detail to your floral design, use a fine dotting tool to add additional, smaller white petals around the existing daisies. Vary the size and placement slightly to create a natural look, ensuring petals do not overlap. Cure the nails again under the UV/LED lamp once all additional detailing is complete.
Tip: Less is more; focus on filling empty spaces around the main flowers to enhance the overall composition. - 15Seal with steel-strength top coat
Apply a final, generous layer of steel-reinforced top coat over the entire nail to seal your completed daisy design. Ensure you cap the free edge thoroughly to protect the nail art and provide extra durability. This step provides a protective finish that prevents chipping and enhances the longevity of your manicure.
Tip: Apply the top coat smoothly to avoid bubbles and ensure a crystal-clear, high-gloss finish. - 16Final cure
Place your fingers into the UV/LED lamp to perform the final cure. Ensure your hand is positioned correctly to allow the light to reach all parts of the nails, especially the capped free edges. Follow the recommended curing time for your top coat to ensure it is completely hardened and set.
Tip: Keep your hand steady inside the lamp during the entire curing cycle to ensure an even, full cure.