Spring Daisy Gradient Nails — Easy Ombre Tutorial
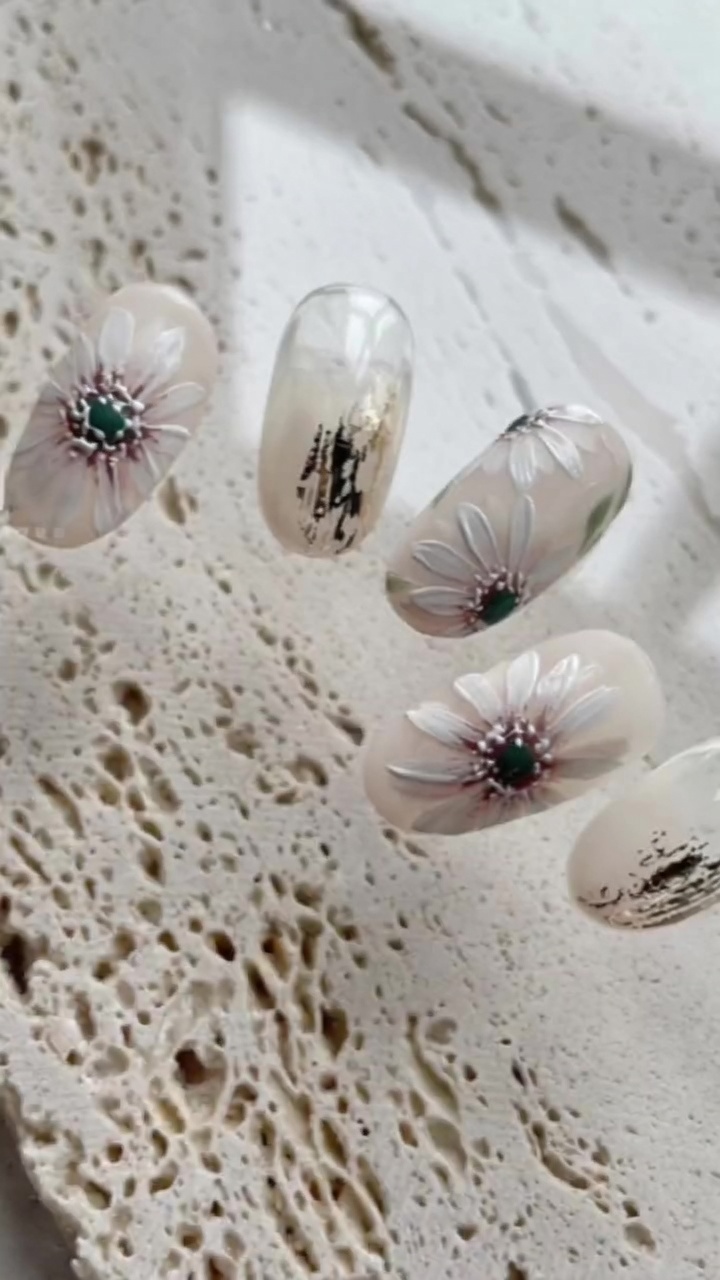
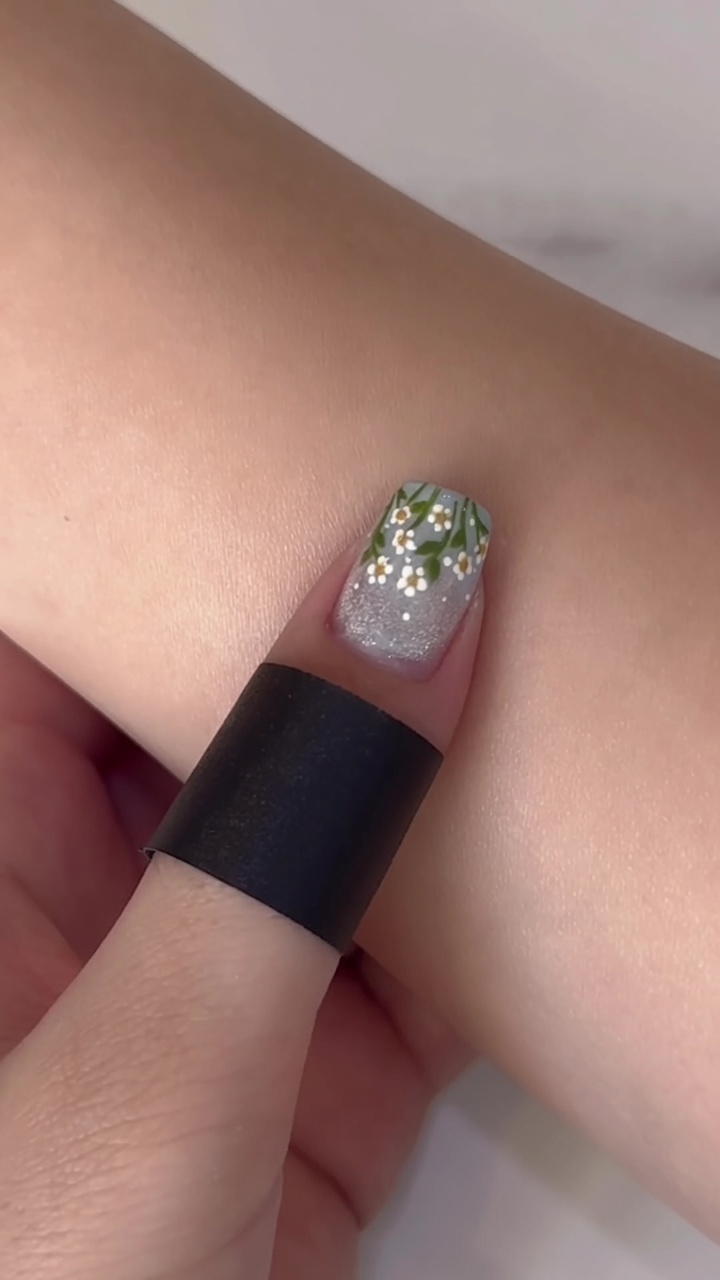
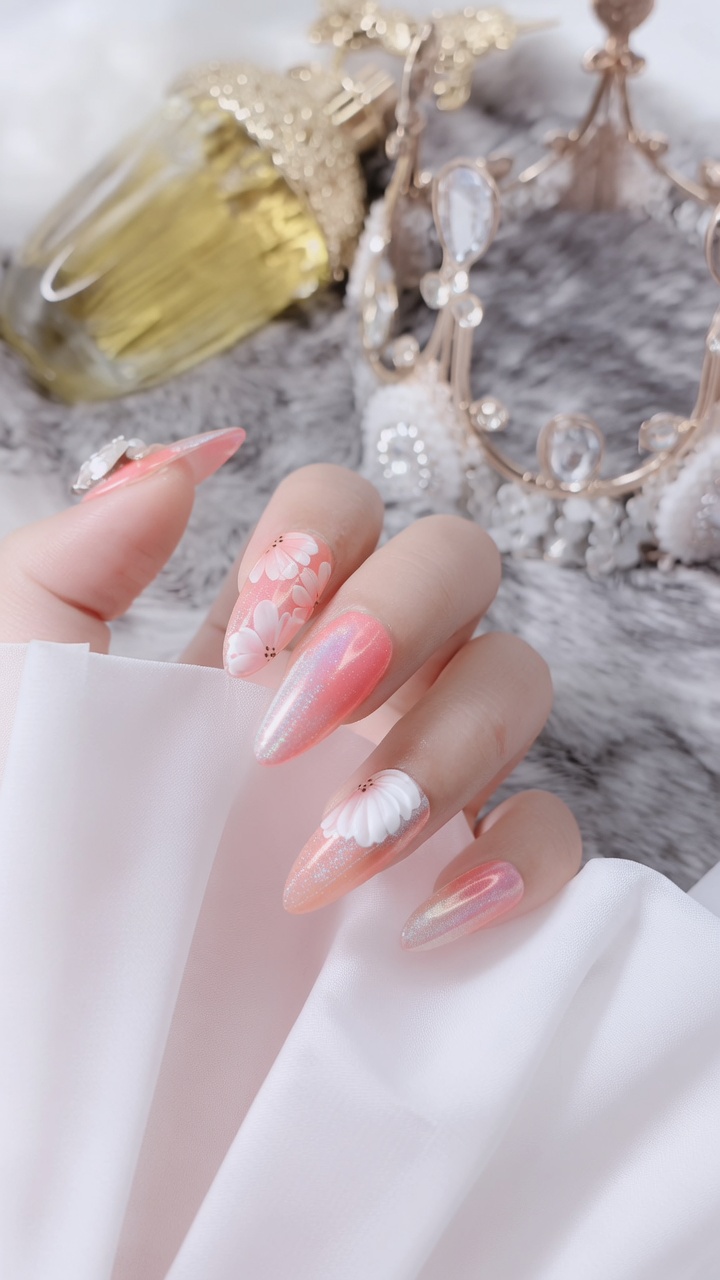
Master this delightful spring nail look by combining a seamless pink to yellow gradient with delicate hand painted daisy accents.
The daisy nail trend is a timeless choice for spring offering a perfect blend of playfulness and elegance. This tutorial shows you how to achieve a smooth gradient base using a sponge followed by simple precise brush strokes to create a charming floral design that works for any occasion.
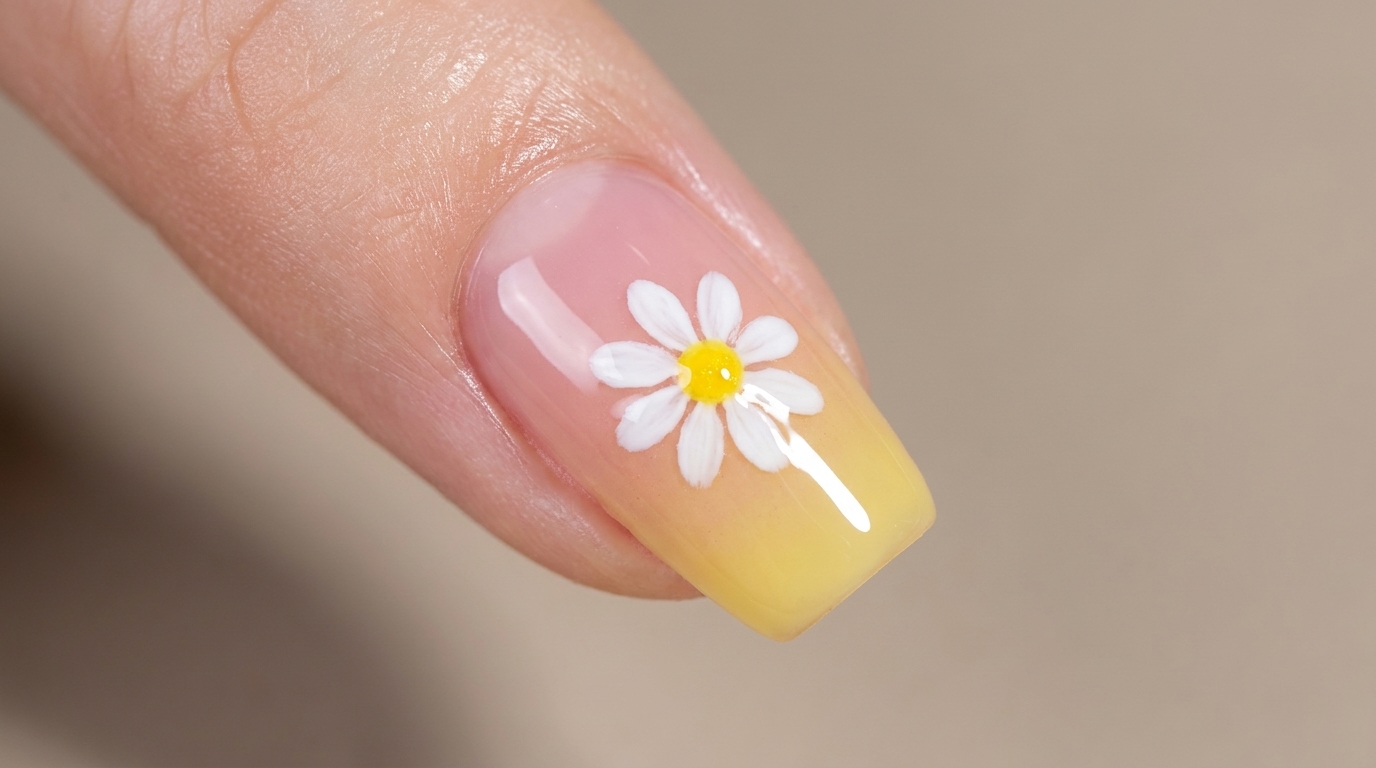
Steps
- 1Create a pink and yellow gradient
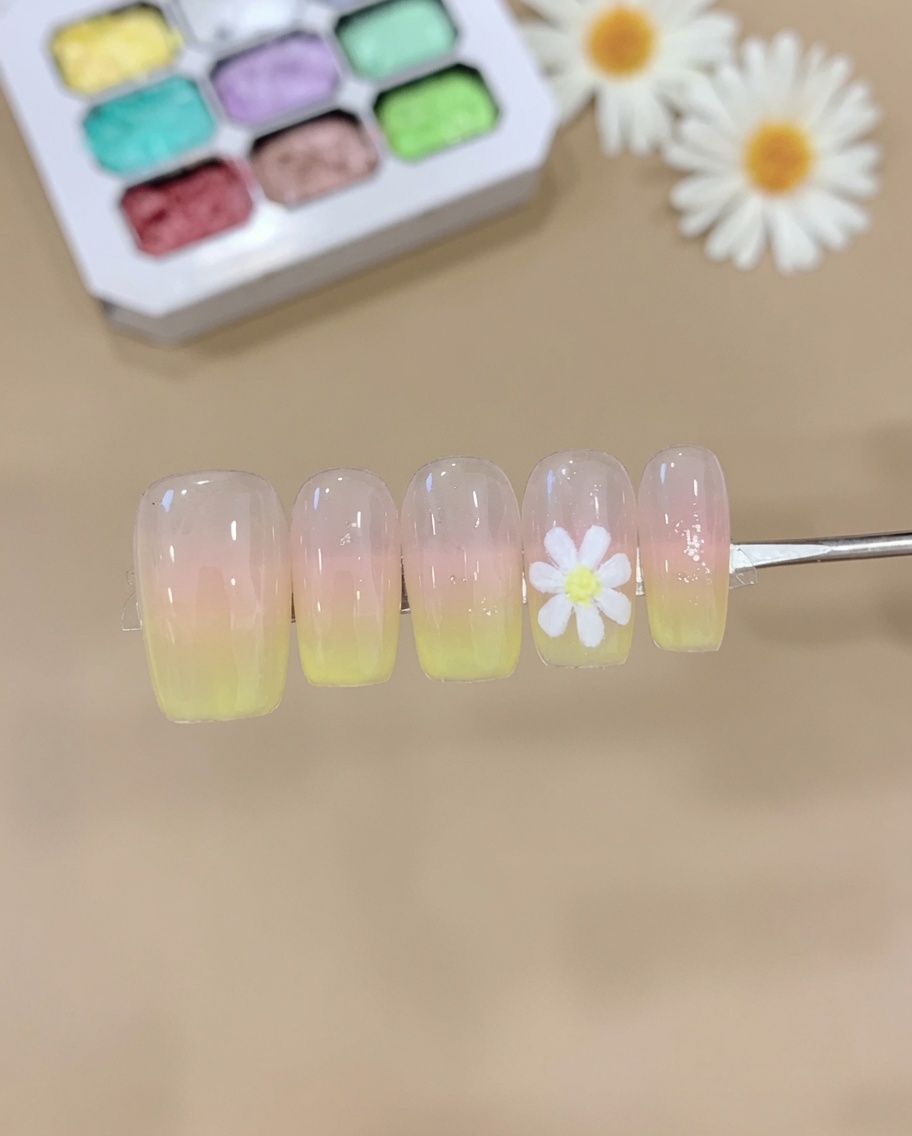
Apply small amounts of pink and yellow gel colors onto a makeup sponge. Gently dab the sponge onto the surface of the nail to create a seamless color blend. Continue layering and patting until you achieve the desired intensity of the ombre effect before curing.
Tip: Use a light, dabbing motion to ensure the colors blend smoothly without creating harsh lines. - 2Mix yellow gel with base coat
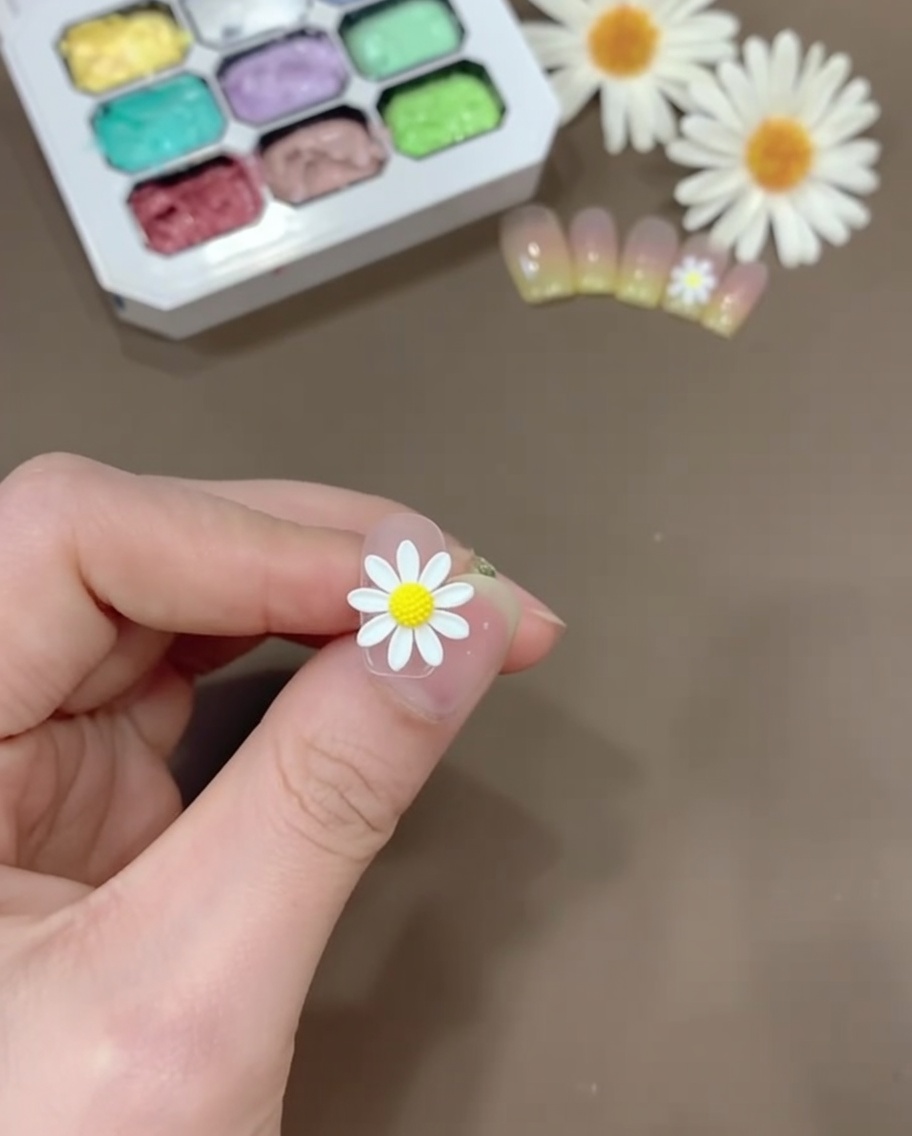
Dispense a small amount of yellow gel polish number 26 onto a mixing palette. Add an equal or slightly larger amount of clear base coat to the yellow gel. Use a small spatula or brush to blend them together until the mixture is uniform.
Tip: Adjust the ratio of base coat to color gel to customize the transparency level of the mixture. - 3Achieve semi-transparent consistency
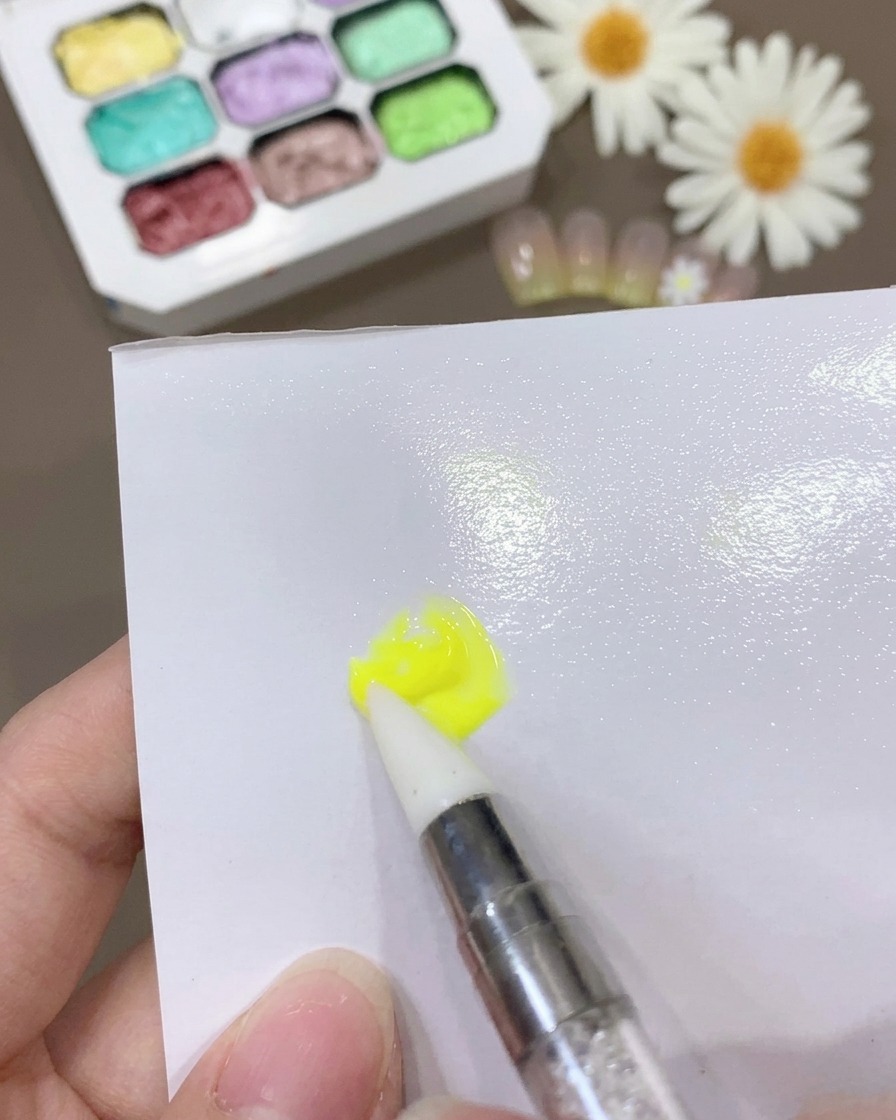
Using a clean nail art brush, continue stirring the yellow gel and base coat mixture. Work the product on the palette until it reaches a smooth, semi-transparent consistency that is easy to apply thinly to the nail.
Tip: Ensure the mixture is free of air bubbles for a smooth finish on the nail. - 4Apply yellow gel to the tip
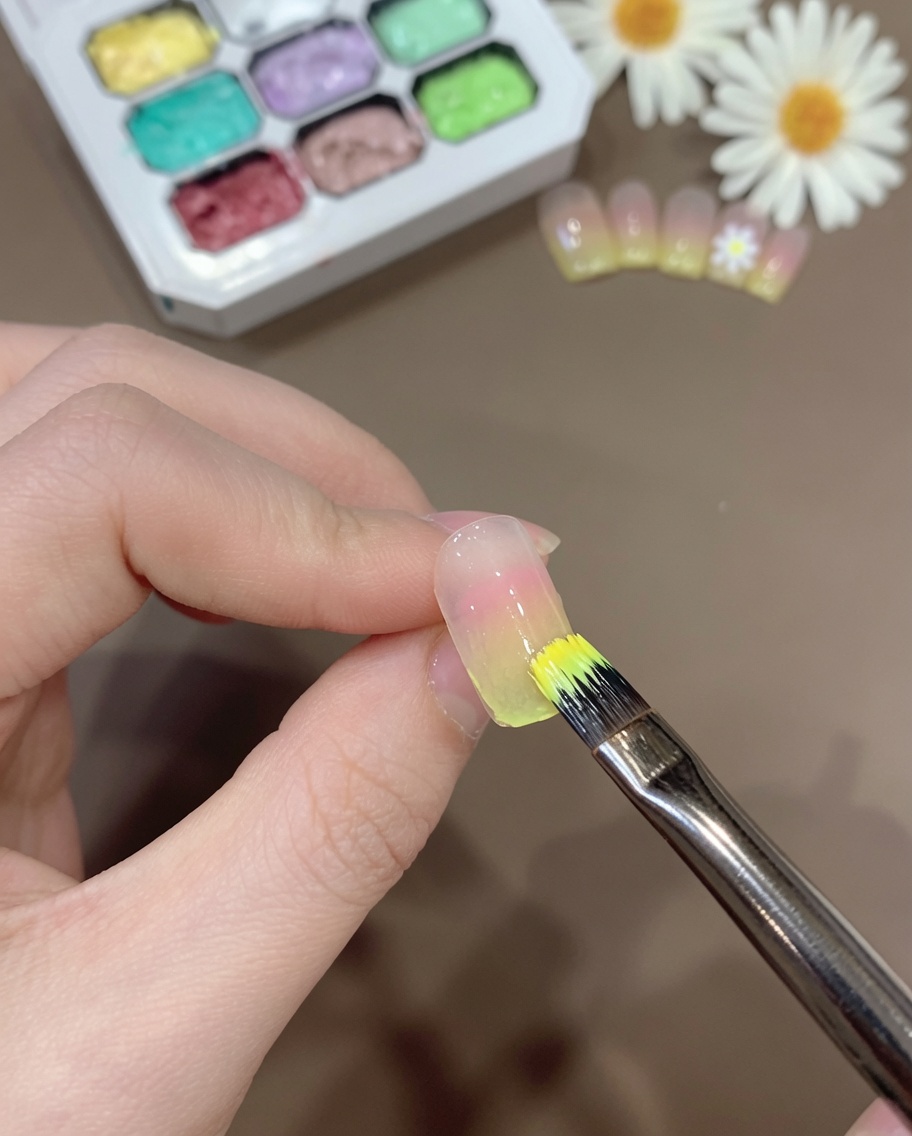
Take a small amount of the semi-transparent yellow mixture onto your brush. Apply a thin layer specifically to the tip of the nail, following the existing ombre transition. Ensure the application is even and does not pool at the edges.
Tip: Applying thin layers helps prevent the gel from becoming too thick or lumpy at the nail tip. - 5Smooth the gradient transition
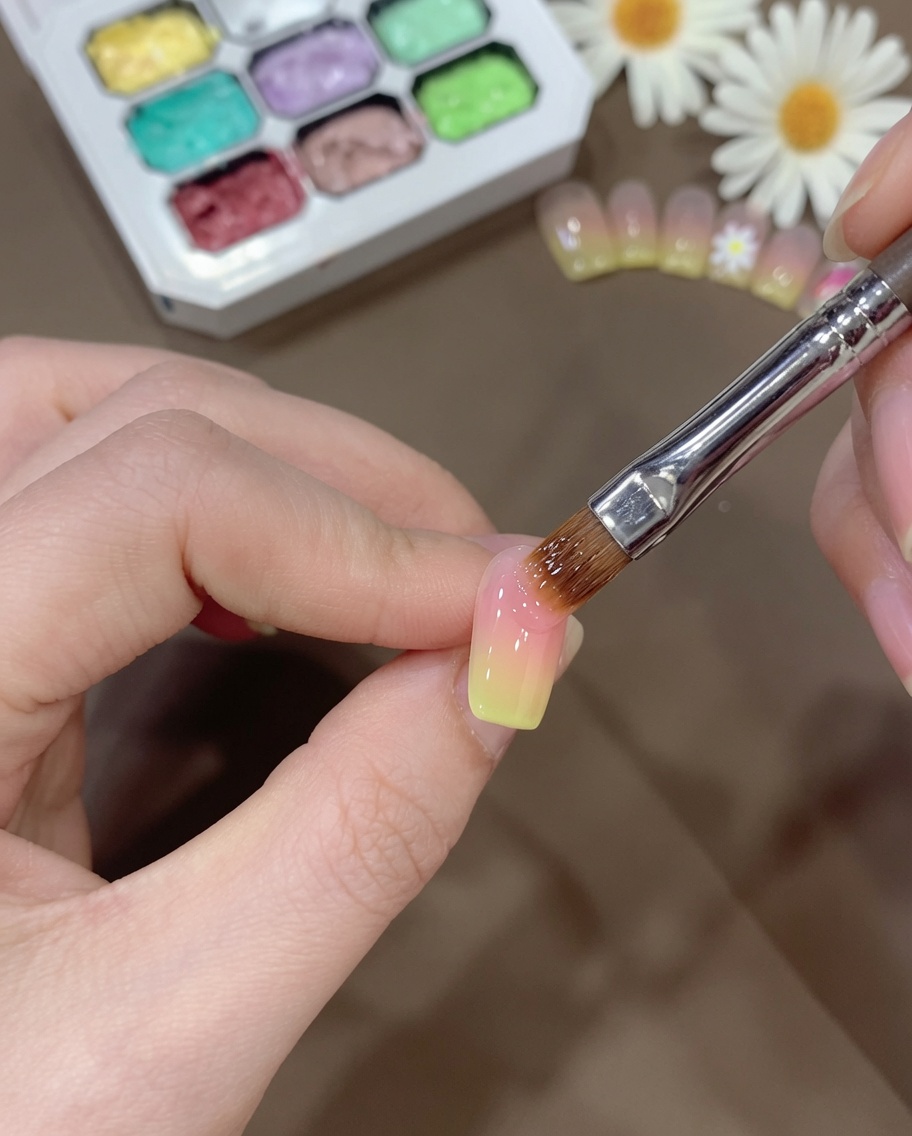
With a clean, slightly damp brush, gently sweep over the area where the yellow gel meets the existing gradient. Use light strokes to blend and smooth the transition, ensuring a soft, seamless look across the nail.
Tip: Keep the brush clean during this process to avoid unwanted color transfer or muddying the gradient. - 6Apply clear top coat
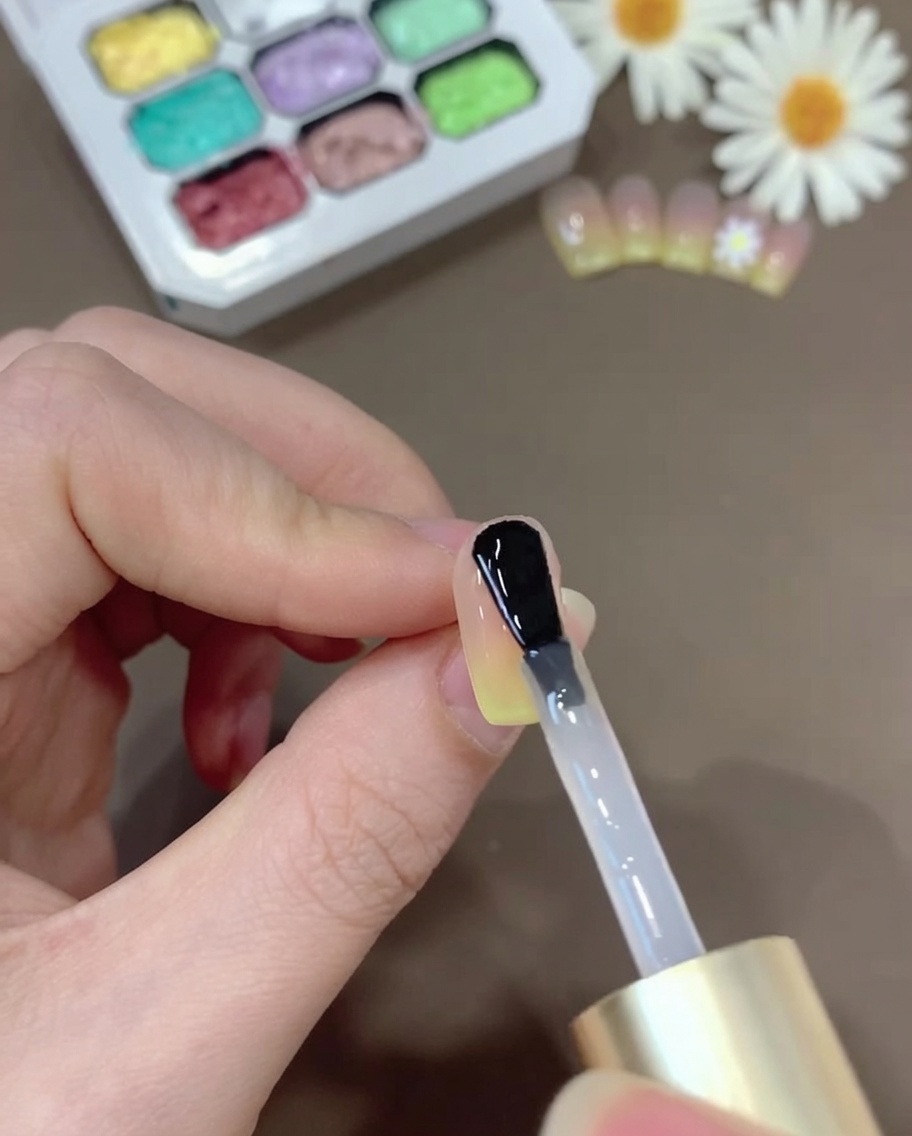
Apply a final layer of clear top coat over the entire nail to seal the color and add shine. Ensure the top coat covers the entire surface and caps the free edge, then cure according to your gel system instructions.
Tip: A high-quality top coat will not only add shine but also protect the gradient design from chipping. - 7Map out the flower petals
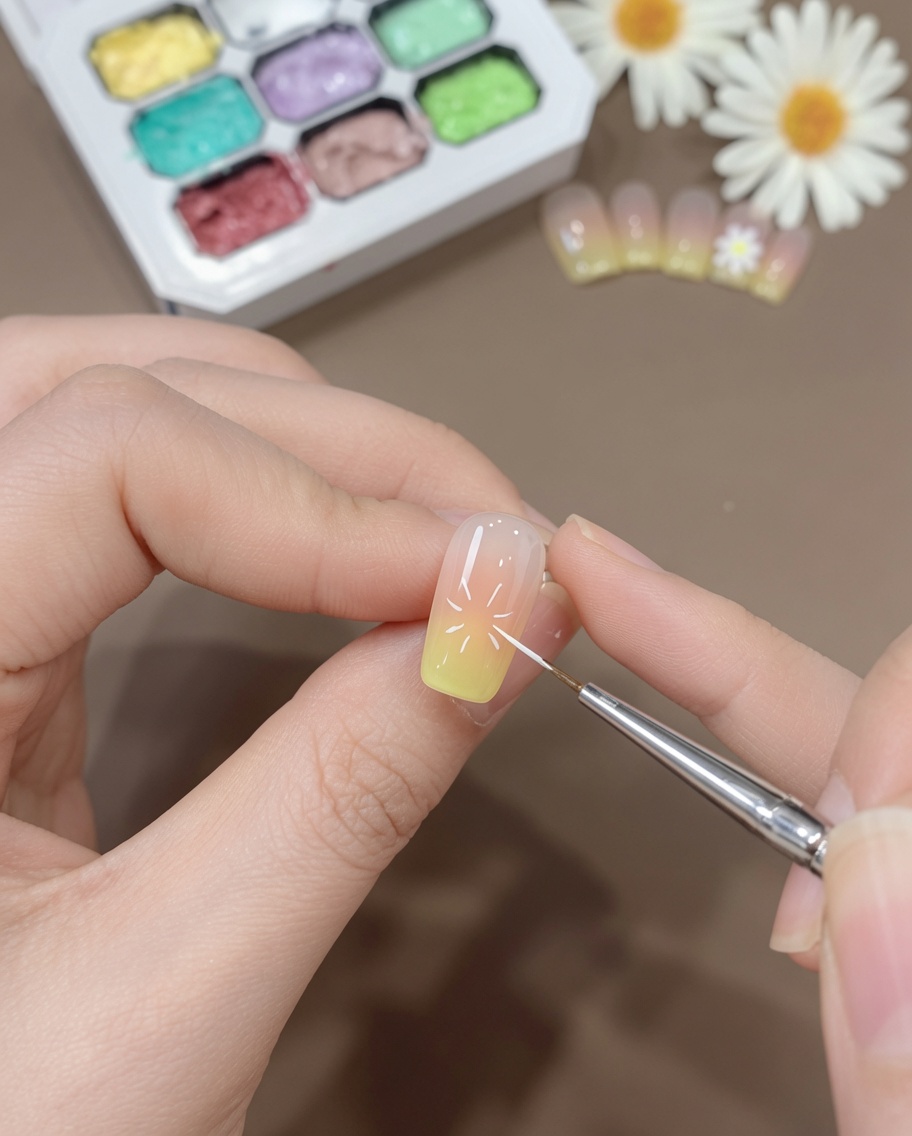
Using a fine liner brush, gently mark the positions for the daisy petals on the cured nail surface. Creating these small guidelines helps ensure your floral design is centered and balanced before you begin painting the full petals.
Tip: Keep your lines very thin and light, as they will be covered by the final petal color. - 8Paint the daisy petals
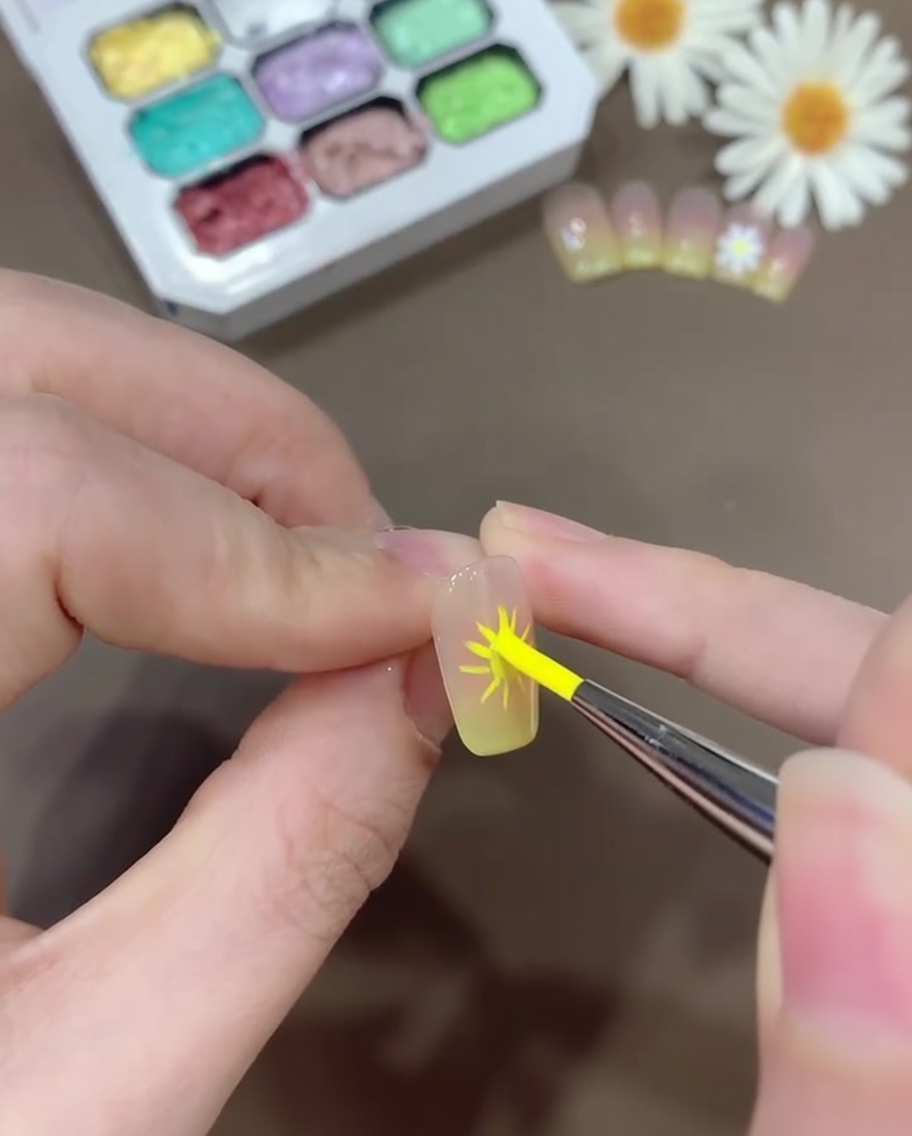
With your liner brush, fill in the petal positions by painting the white petals of the daisy flower. Work from the center outward to create a natural-looking petal shape, ensuring each stroke is clean and uniform.
Tip: Use a steady hand and apply light pressure to achieve delicate, petal-like strokes. - 9Add the flower center
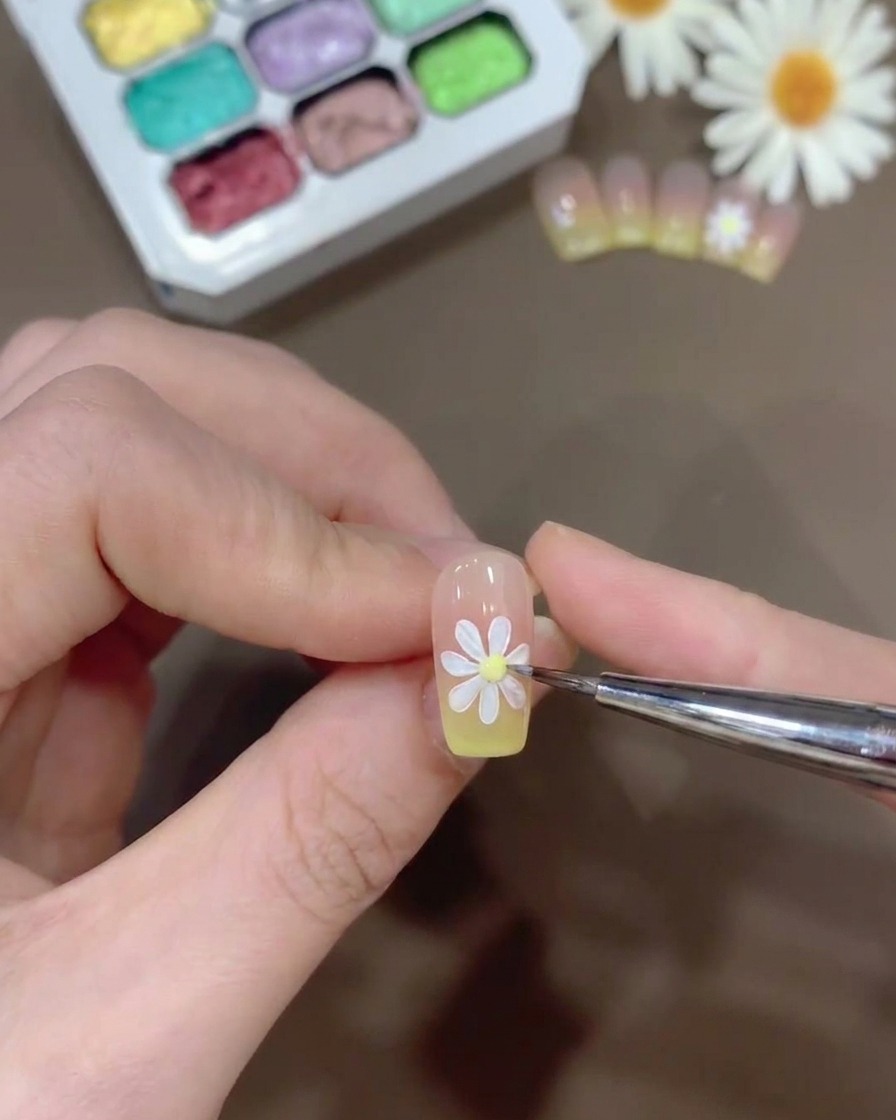
Complete your floral design by applying a small, precise dot of yellow gel to the very center of the white petals. This creates the characteristic look of a daisy and adds a pop of color to the design.
Tip: Use the tip of your brush to place the dot carefully so it stays perfectly centered.