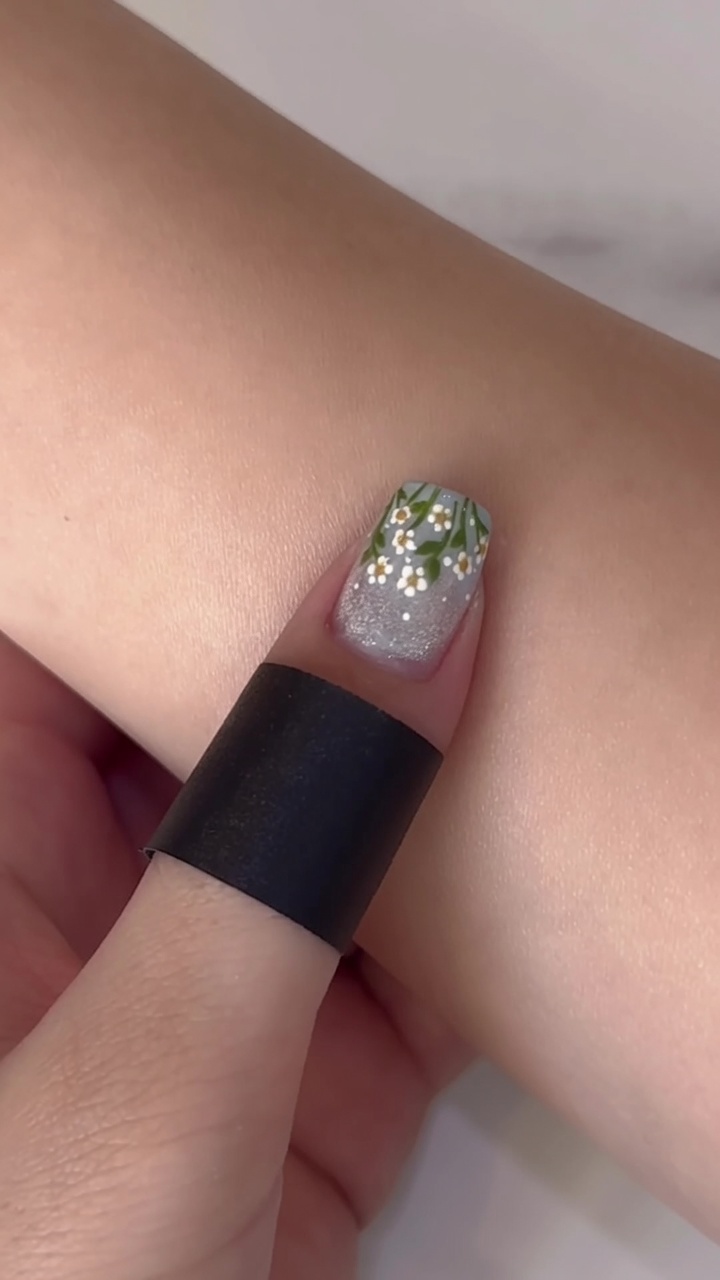
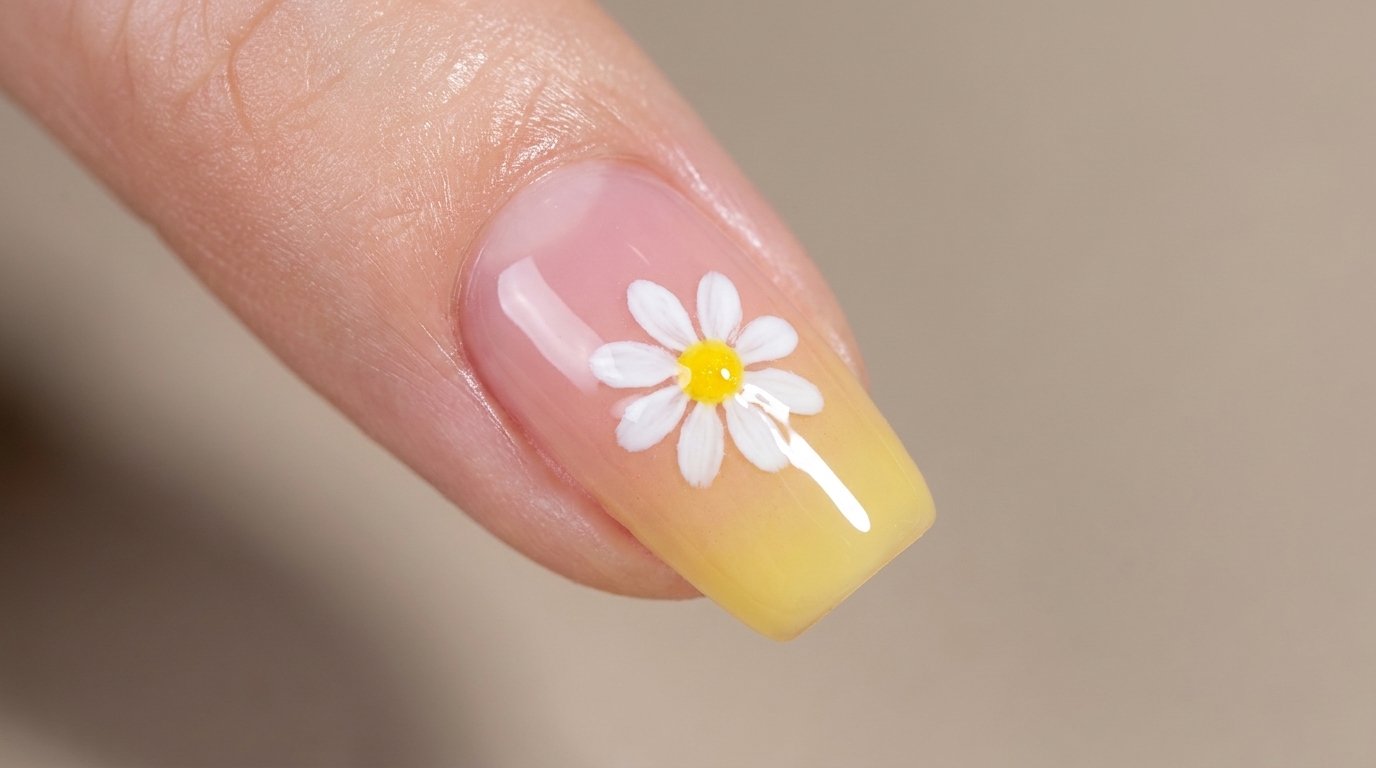
Painted Summer Daisy Gel Nail Art — Step-by-Step Tutorial
Bring summer to your fingertips with this delicate daisy nail art design. Follow our easy step-by-step guide to painting the perfect floral manicure on a nude base.
The daisy is a timeless floral motif that adds a fresh and playful touch to any manicure. This design uses fine-line brushwork to create a dimensional hand-painted look that is accessible even for beginners. Perfect for warm weather these daisies offer a charming artistic flair on a clean nude base.
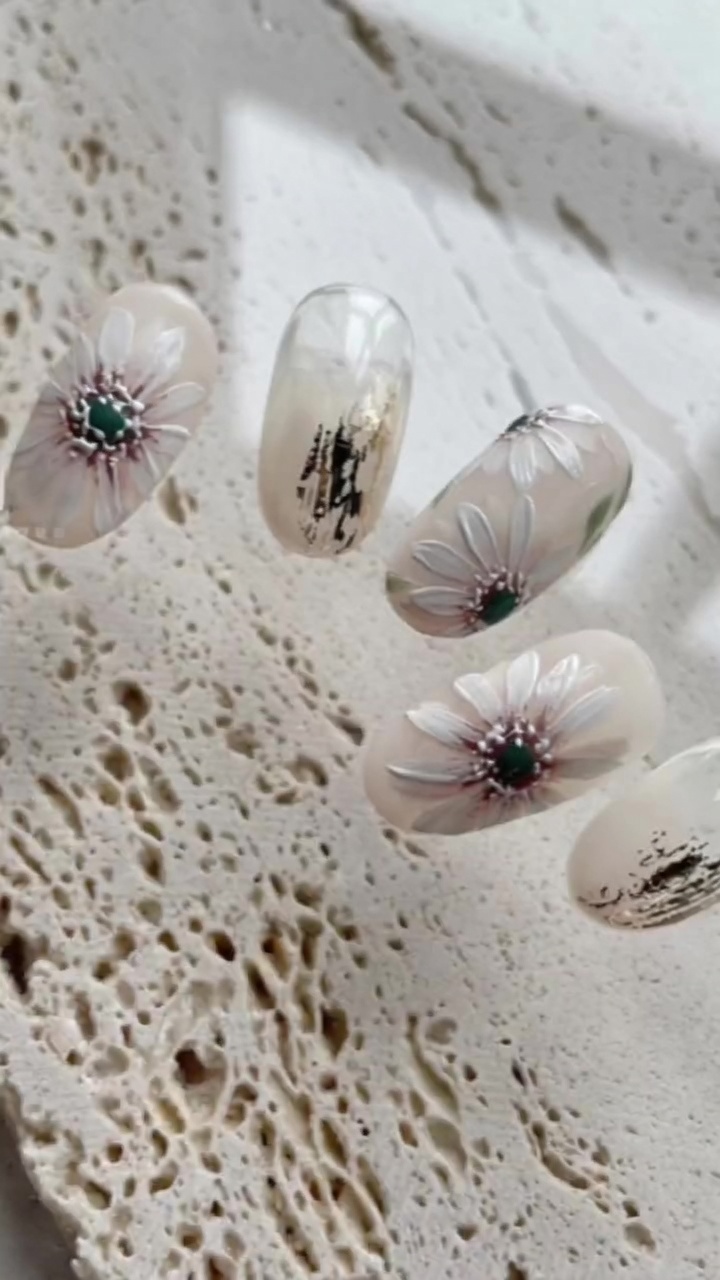
Steps
- 1Apply first petal
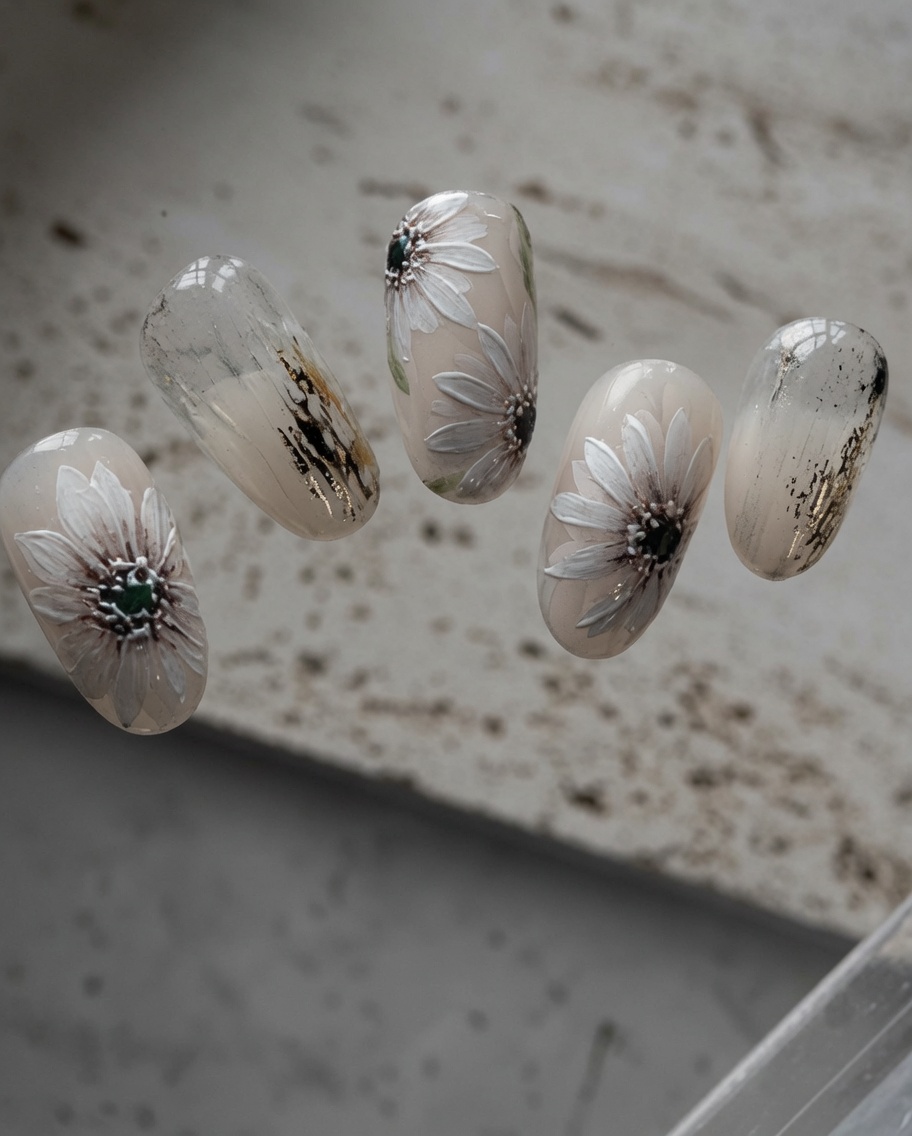
Begin the daisy design by loading your fine liner brush with white gel polish. Carefully paint the first long, thin petal stroke starting near the center and pulling outward toward the nail edge on your nude-colored base.
Tip: Keep your touch light to ensure the petal tapers to a fine point at the end. - 2Apply second petal
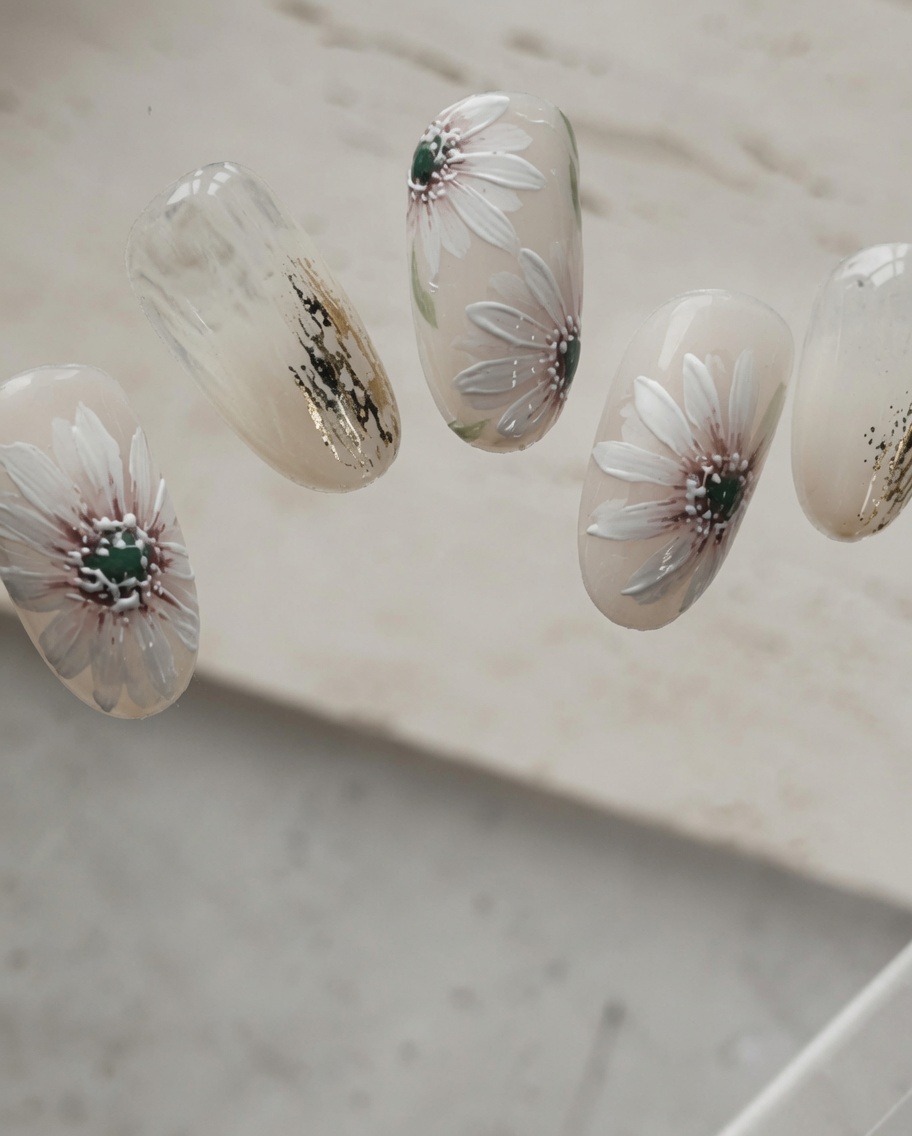
Continue by applying the second white petal stroke directly opposite or angled relative to the first. This helps establish the central shape and symmetry of the daisy on the nail surface.
Tip: Maintain consistent pressure with your brush to match the width and length of your first petal. - 3Apply third petal
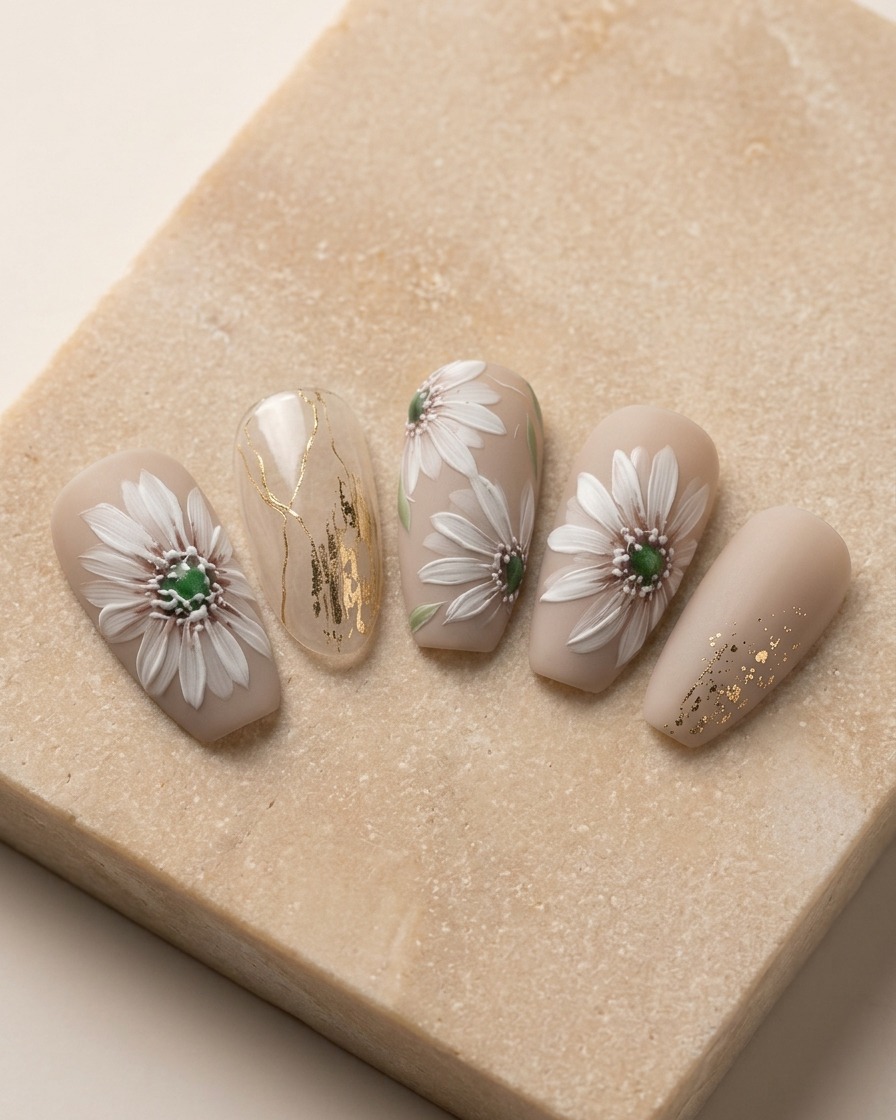
Add a third petal to the side of the existing two, working outward from the center point of the daisy. This begins to build the circular, full look of the flower.
Tip: Rotate your finger slightly to get the best angle for a clean, fluid stroke. - 4Apply fourth petal
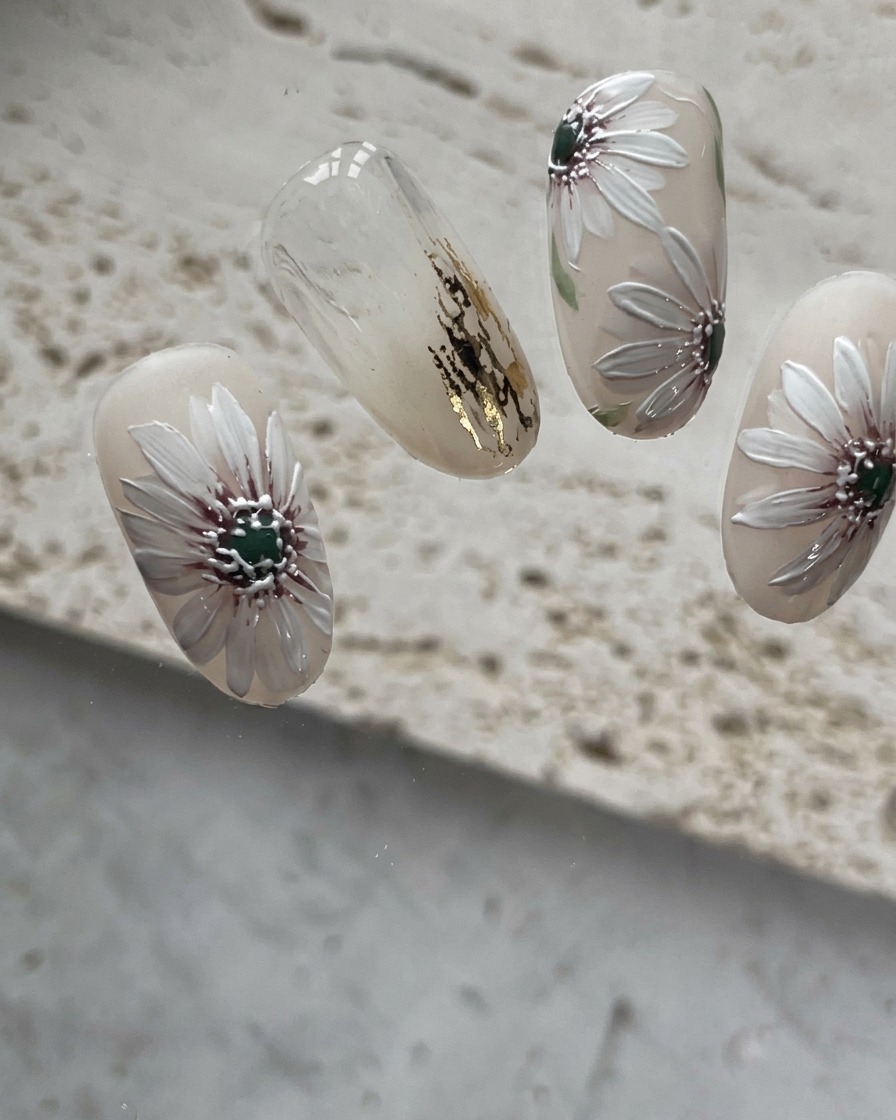
Paint the fourth petal to balance the design, completing the base layer of the daisy. Aim to place this stroke to fill one of the remaining gaps, creating a balanced four-petal foundation.
Tip: Ensure the center of the daisy remains open for the final dot detail. - 5Add filler petals
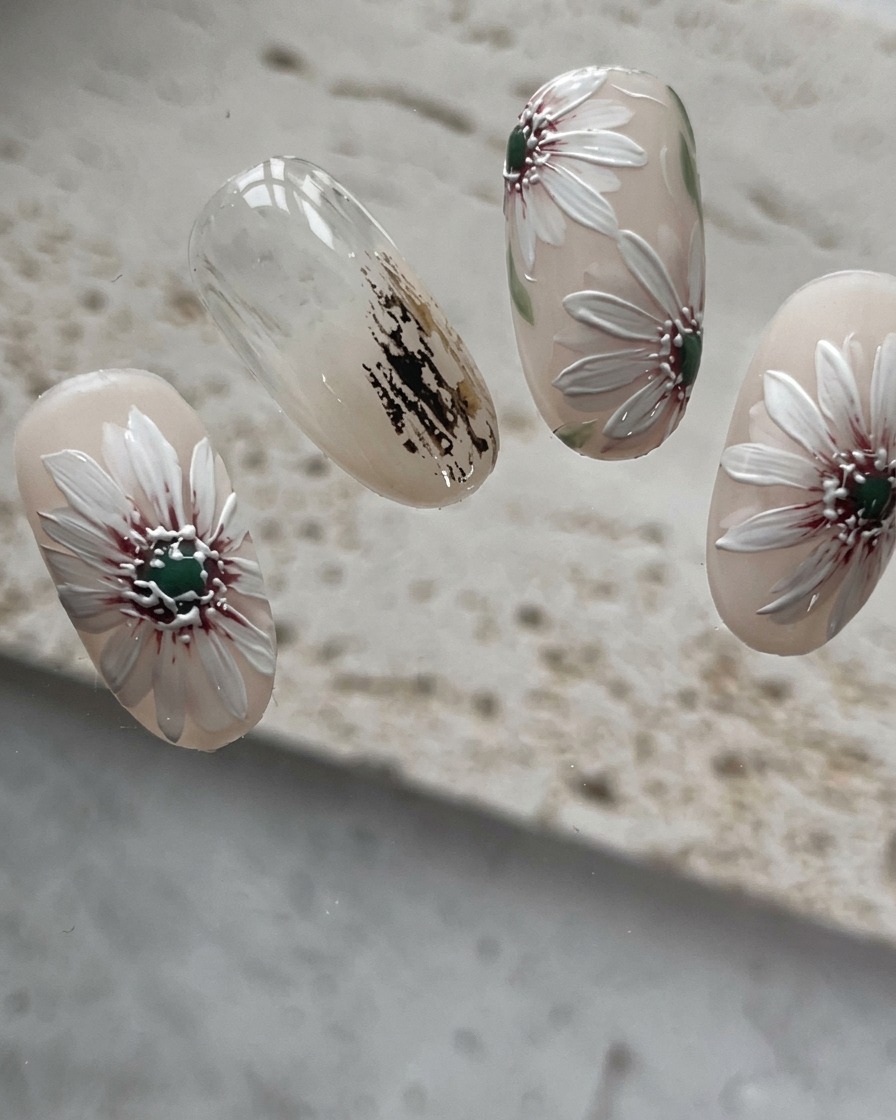
To make the daisy look full and realistic, add smaller filler petal strokes in the spaces between the initial petals. This creates depth and dimension in the flower design.
Tip: Use a light hand to ensure these smaller strokes dont overwhelm the original petals. - 6Apply highlight strokes
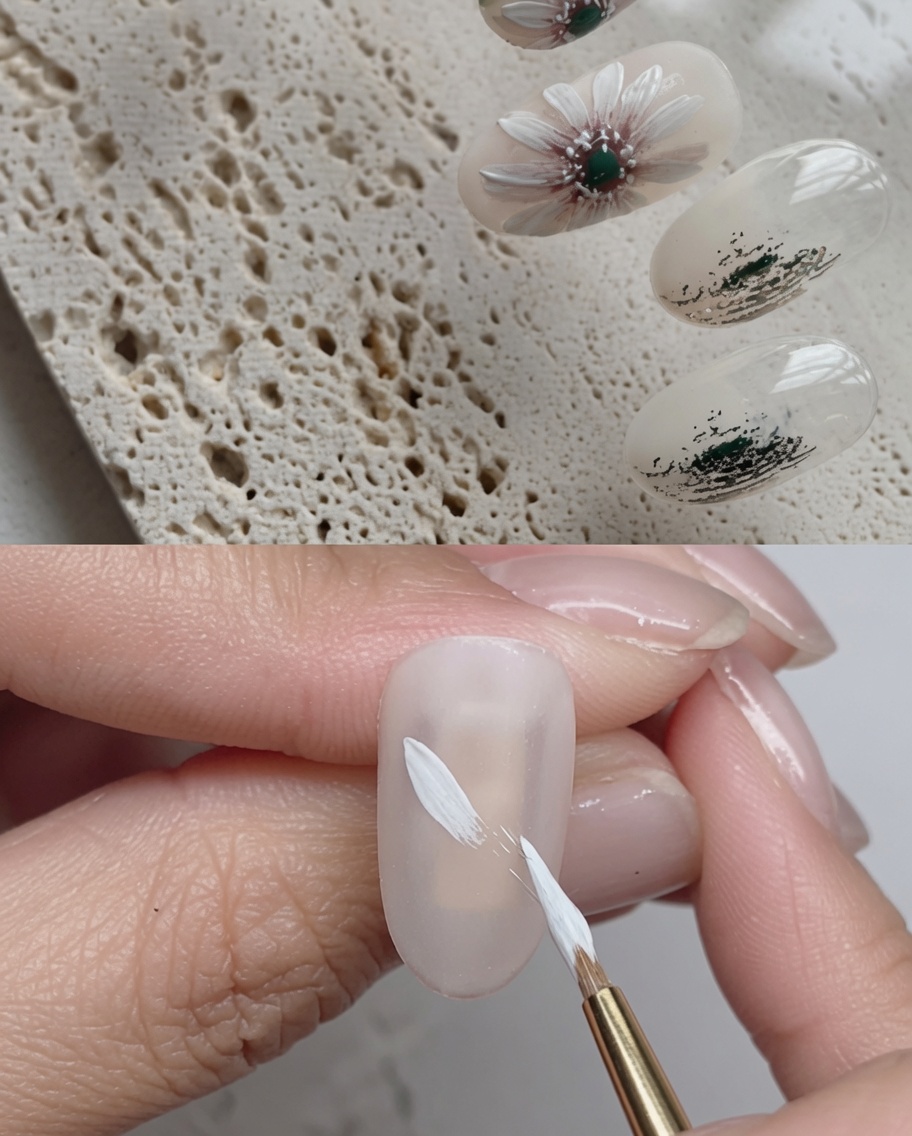
For a finished, detailed look, apply smaller highlight petal strokes on top of your existing petals using white gel. This adds texture and visual interest to the design.
Tip: Focus the highlight strokes towards the center of the flower for added depth. - 7Add second layer of petals
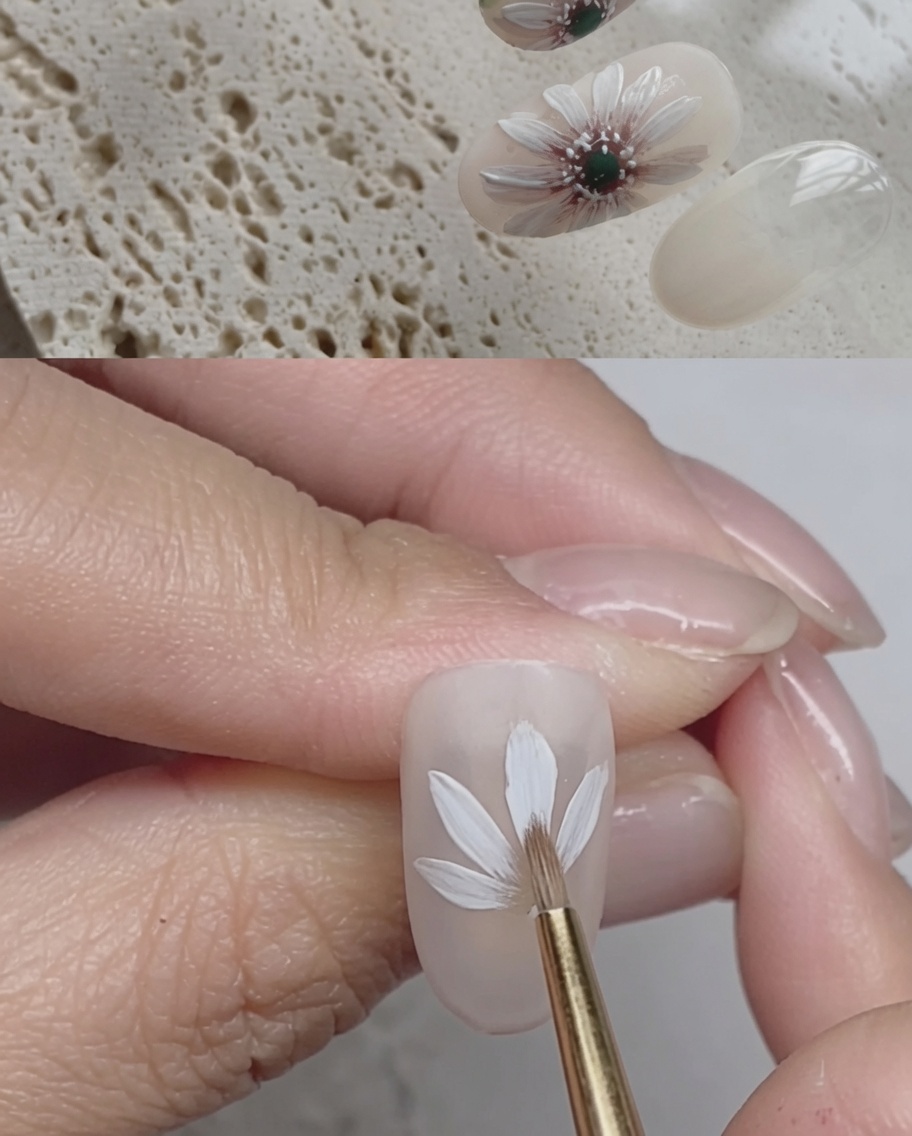
Using a fine detail brush and white gel, paint a second layer of smaller, more detailed petals between the first set to add depth and dimension to your daisy design. Keep the strokes delicate to maintain the look of a natural flower, then cure briefly if needed to set the detail.
Tip: Varying the length and thickness of your brush strokes will make the petals look more organic and realistic. - 8Add the daisy center
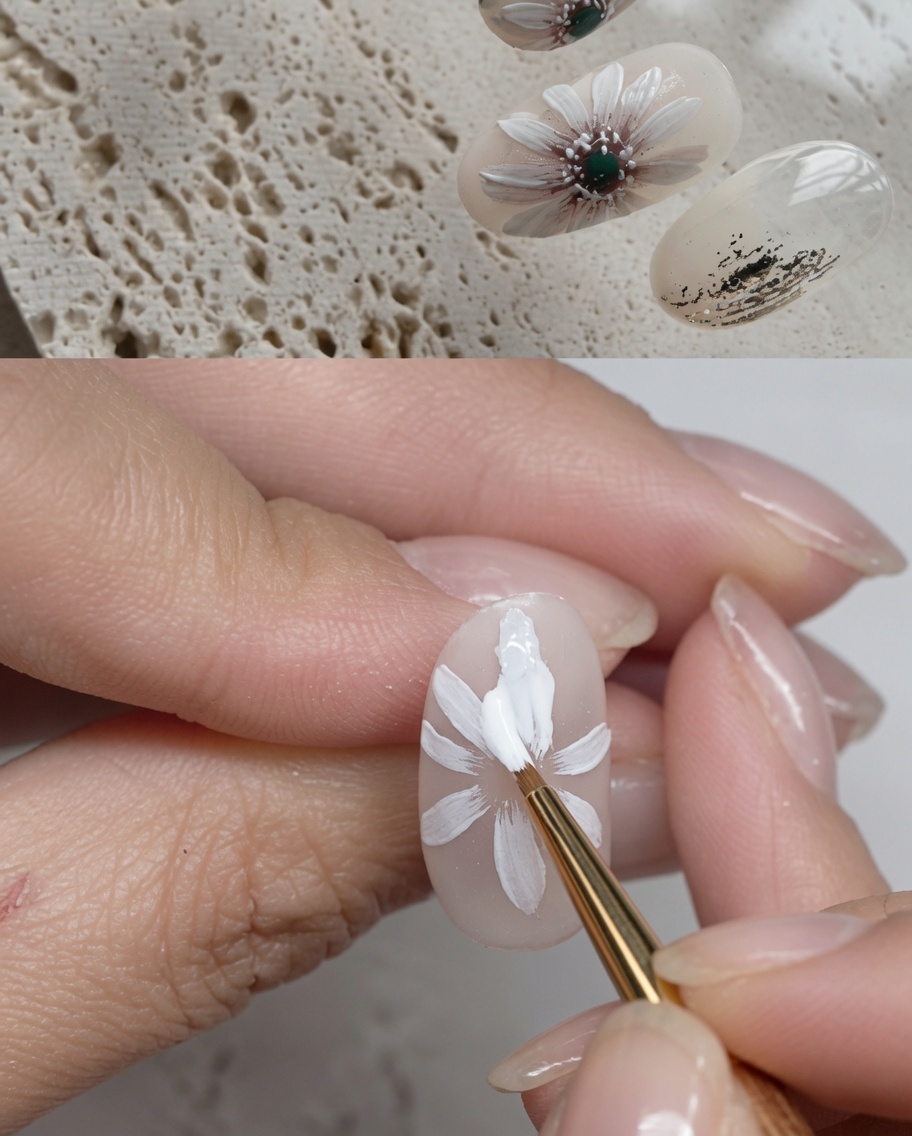
Take a small dotting tool or detail brush with green gel and carefully place a rounded shape in the center of your white petals. This creates the daisys core. Ensure the application is centered and neatly contained within the petal ring for a clean finish.
Tip: If the green gel starts to spread, cure it for just a few seconds to flash cure the center before moving on. - 9Seal with top coat
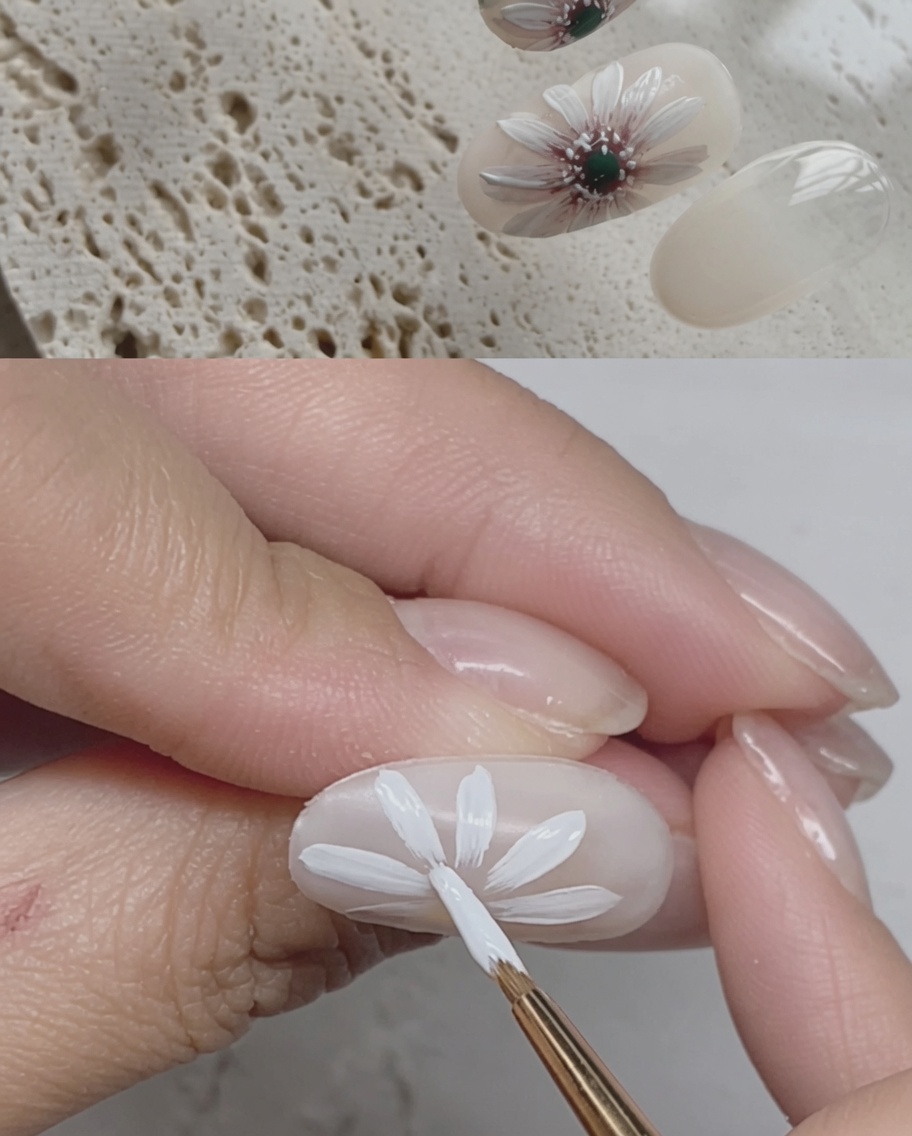
Apply a final, generous layer of clear gel top coat over the entire nail. Be sure to cap the free edge to prevent chipping and seal in the daisy design. Cure fully under your UV/LED lamp to ensure a glossy, durable, and long-lasting finish.
Tip: Make sure the top coat is applied smoothly to avoid any bumps or texture over your hand-painted design.