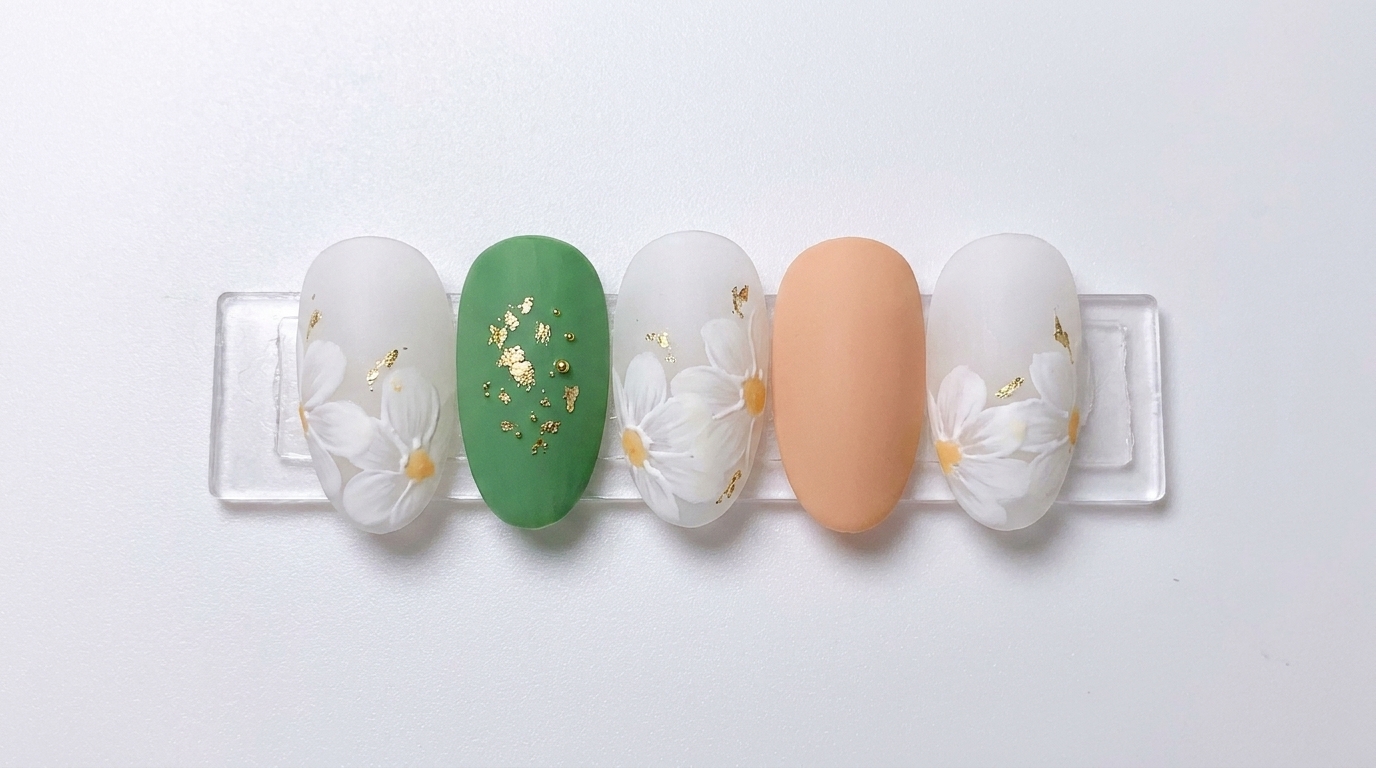
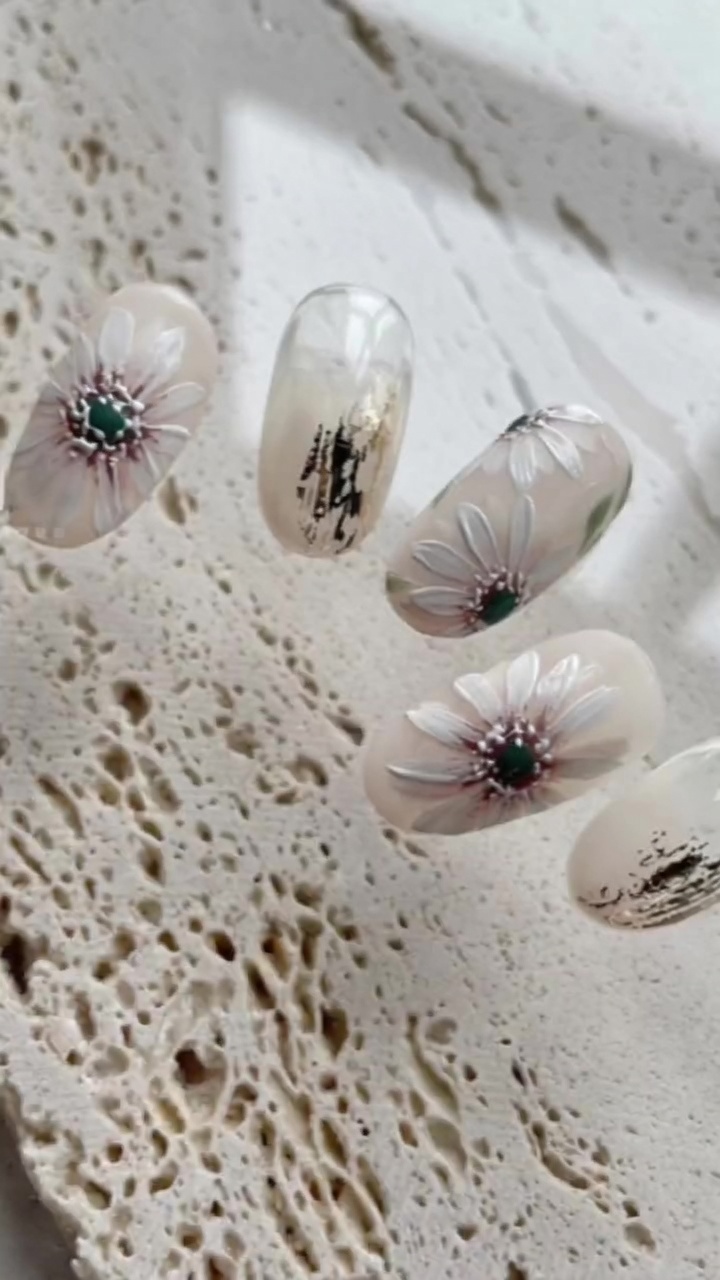
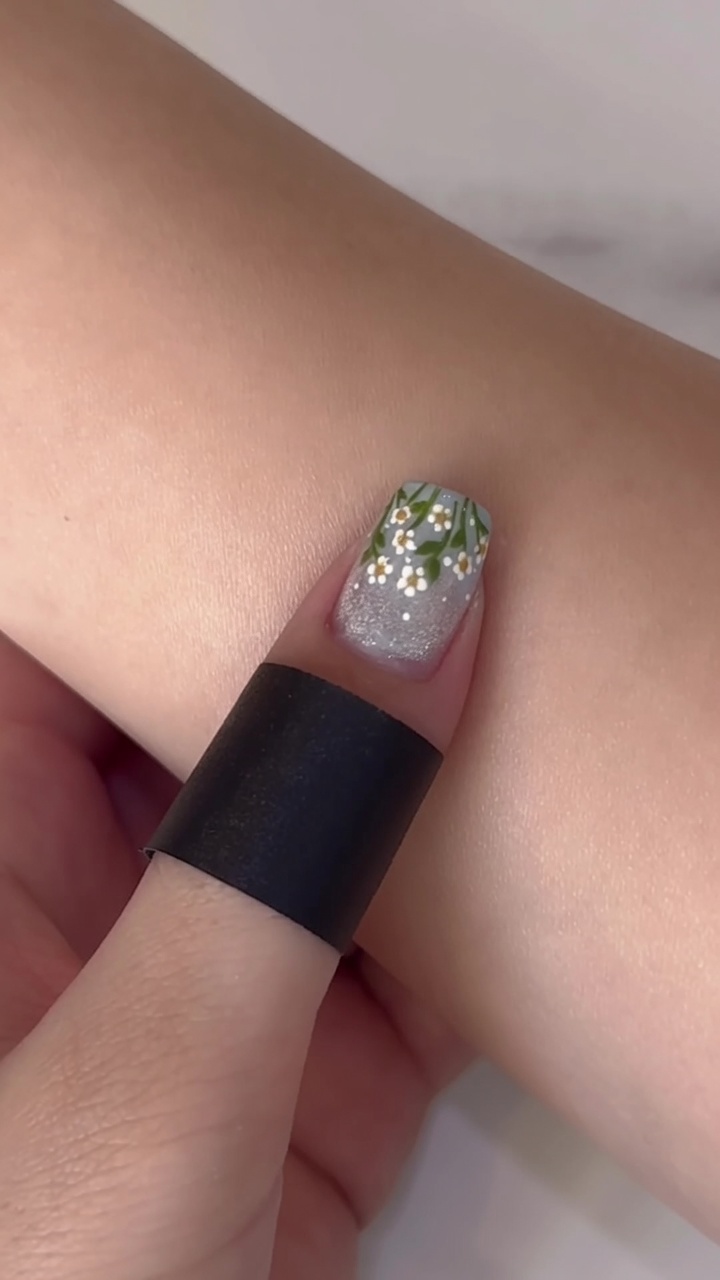
Japanese-Style Daisy Floral Gel Manicure — Beginner Step-by-Step Tutorial
Create an elegant Japanese-style daisy floral manicure with this easy-to-follow tutorial using soft gray tones and delicate hand-painted details.
Japanese-style nail art is renowned for its delicate, refined aesthetic and understated charm. This daisy floral design perfectly captures that trend by pairing a soft, sophisticated gray base with precise, minimalist white flowers. It is a wonderful look for those looking to practice their fine-liner brush skills while achieving a polished, professional finish at home.

Steps
- 1Apply first layer of gray gel
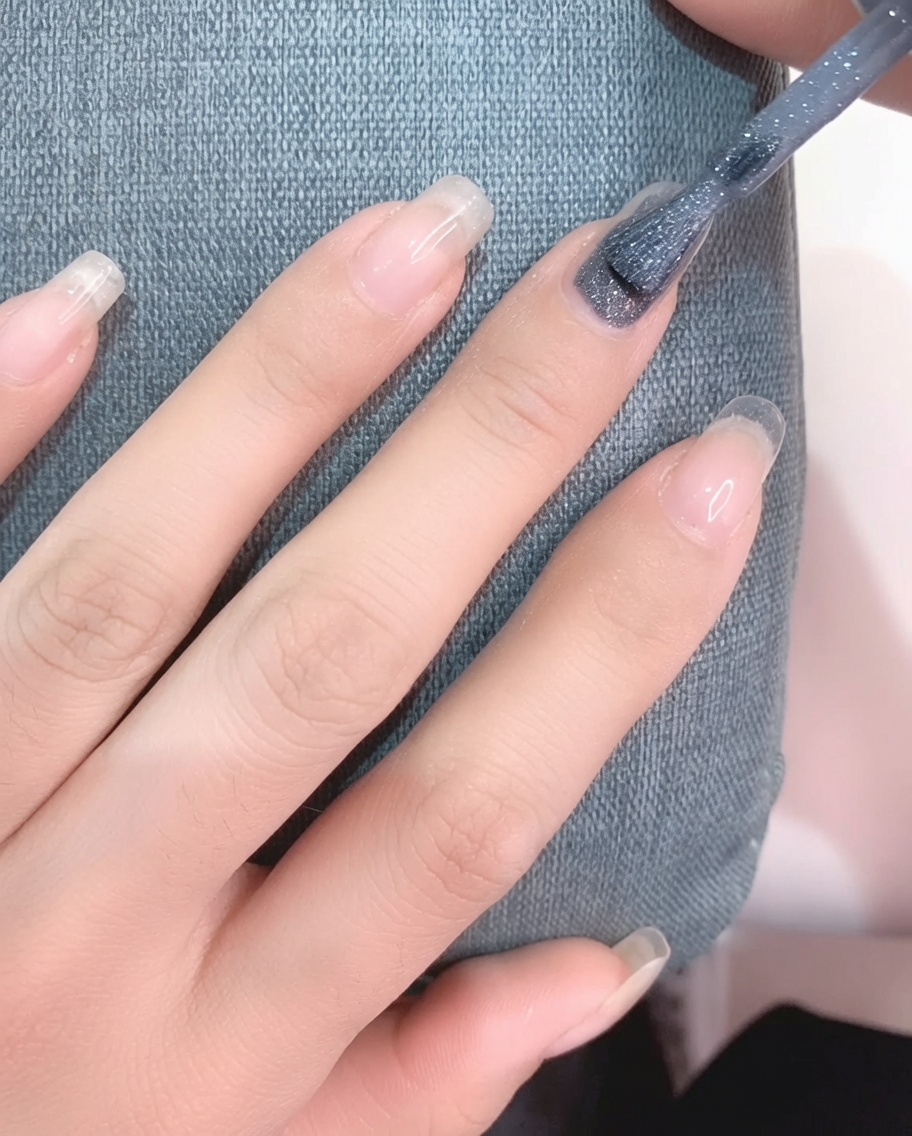
Apply a thin, even layer of light gray gel polish to your prepared nail. Ensure you coat the surface smoothly while avoiding the cuticle area. Cure this layer under a UV or LED lamp as per the gel polish manufacturers instructions.
Tip: Apply the gel in a very thin layer to prevent bubbling and ensure proper curing. - 2First coat coverage
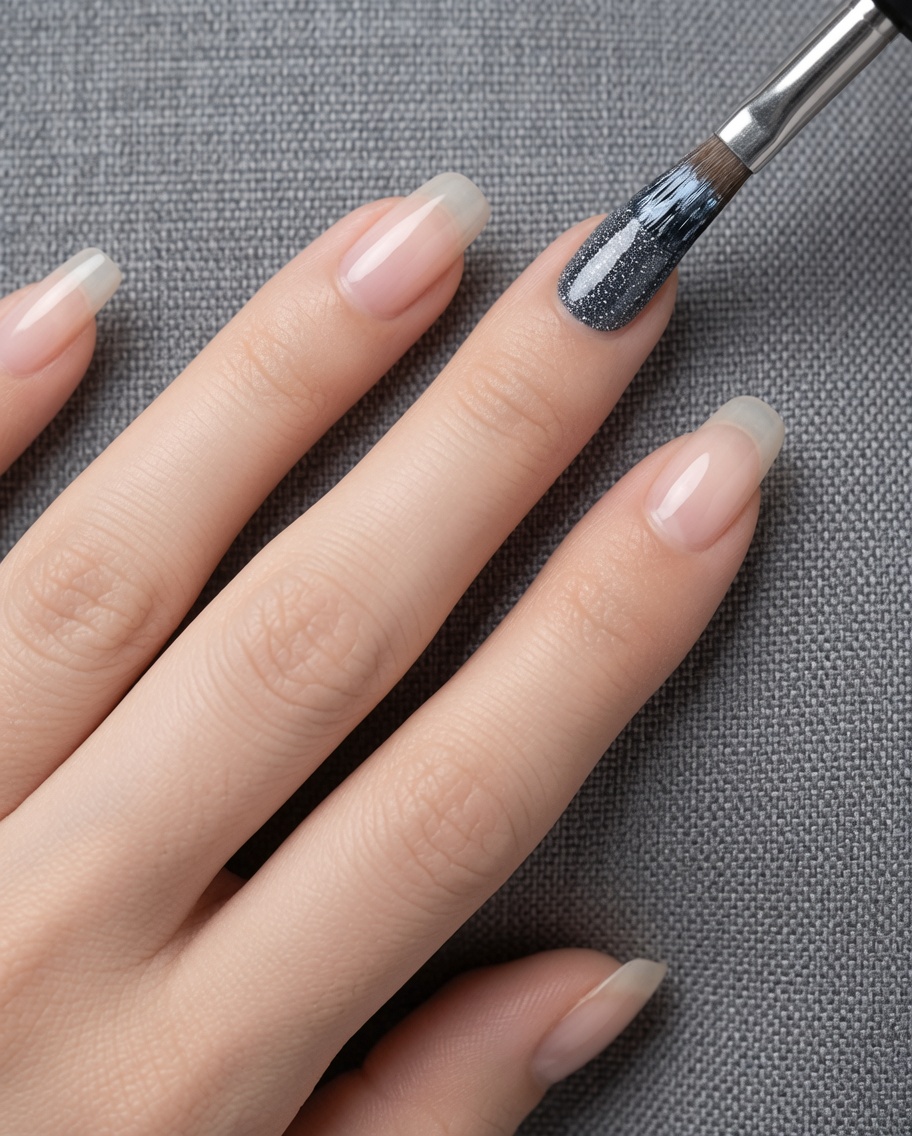
Observe the first layer of gray gel polish; it will appear slightly translucent. This initial coat provides the base for the desired opacity. Do not attempt to achieve full color intensity in this step.
Tip: Translucent coverage is normal for the first coat; the second layer will provide full opacity. - 3Apply second layer of gray gel
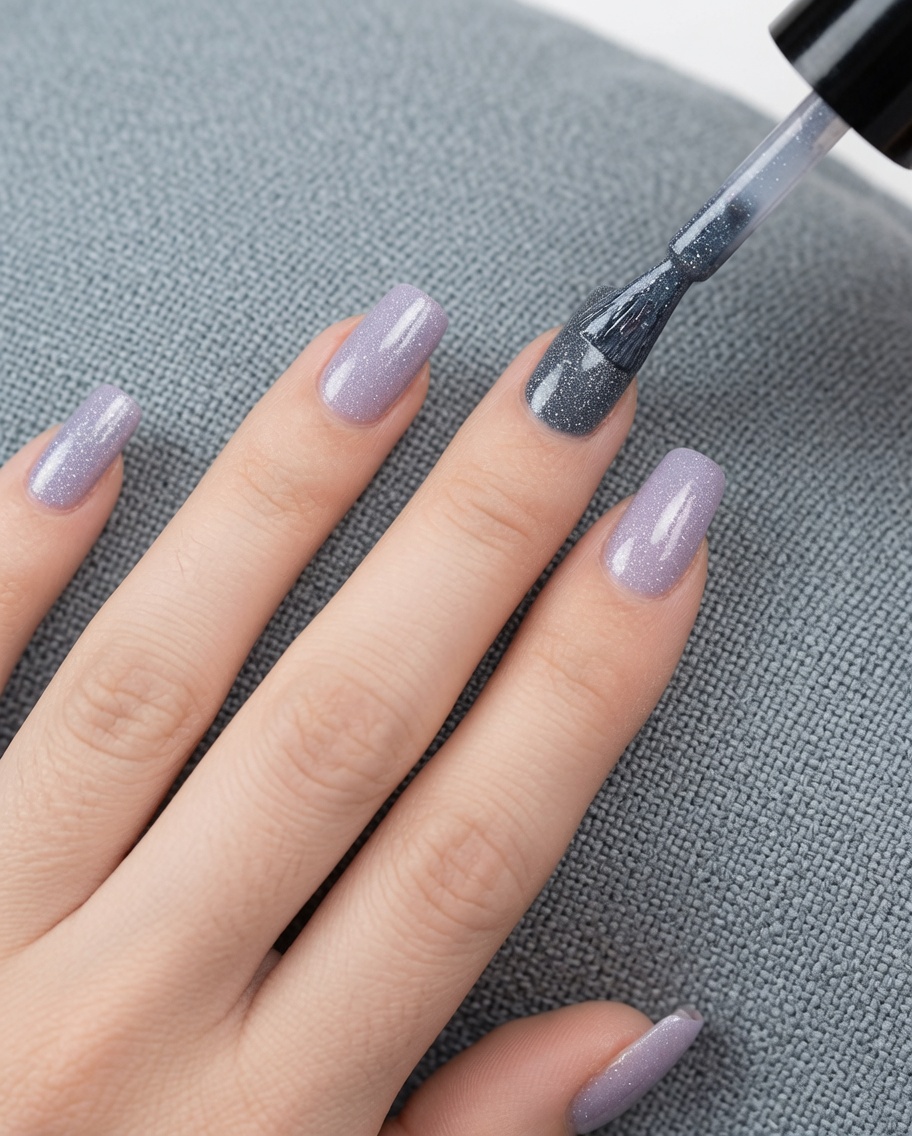
Apply a second thin layer of the light gray gel polish over the cured first coat. This step is essential to achieve full, opaque coverage and a smooth finish. Cure the second layer thoroughly under your UV or LED lamp.
Tip: Take your time with the second coat to ensure even color distribution across the entire nail surface. - 4Opaque gray finish
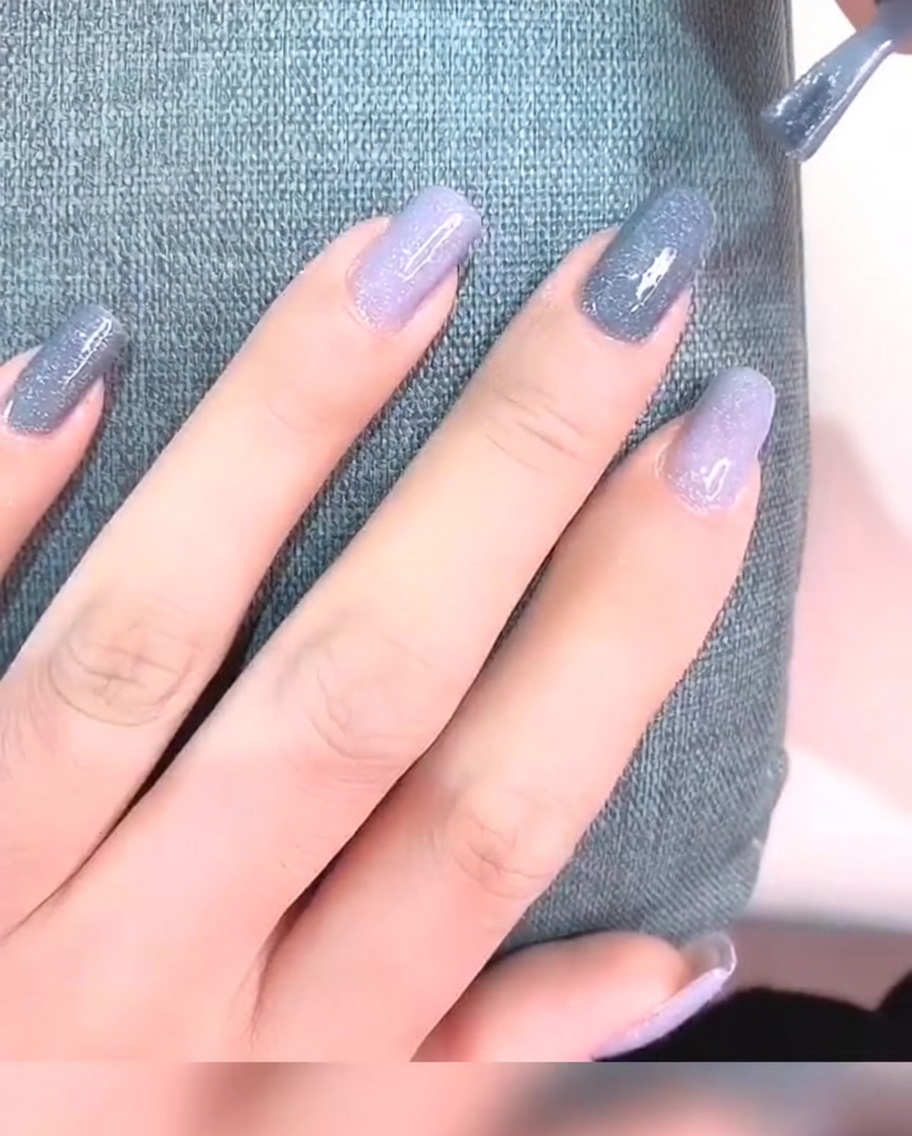
Check that the second coat has provided a fully opaque and smooth surface. The nail should now have a solid, consistent gray color, ready for the next stage of nail art decoration.
Tip: Ensure the surface is completely smooth before proceeding to painting the daisy art. - 5Paint daisy petals
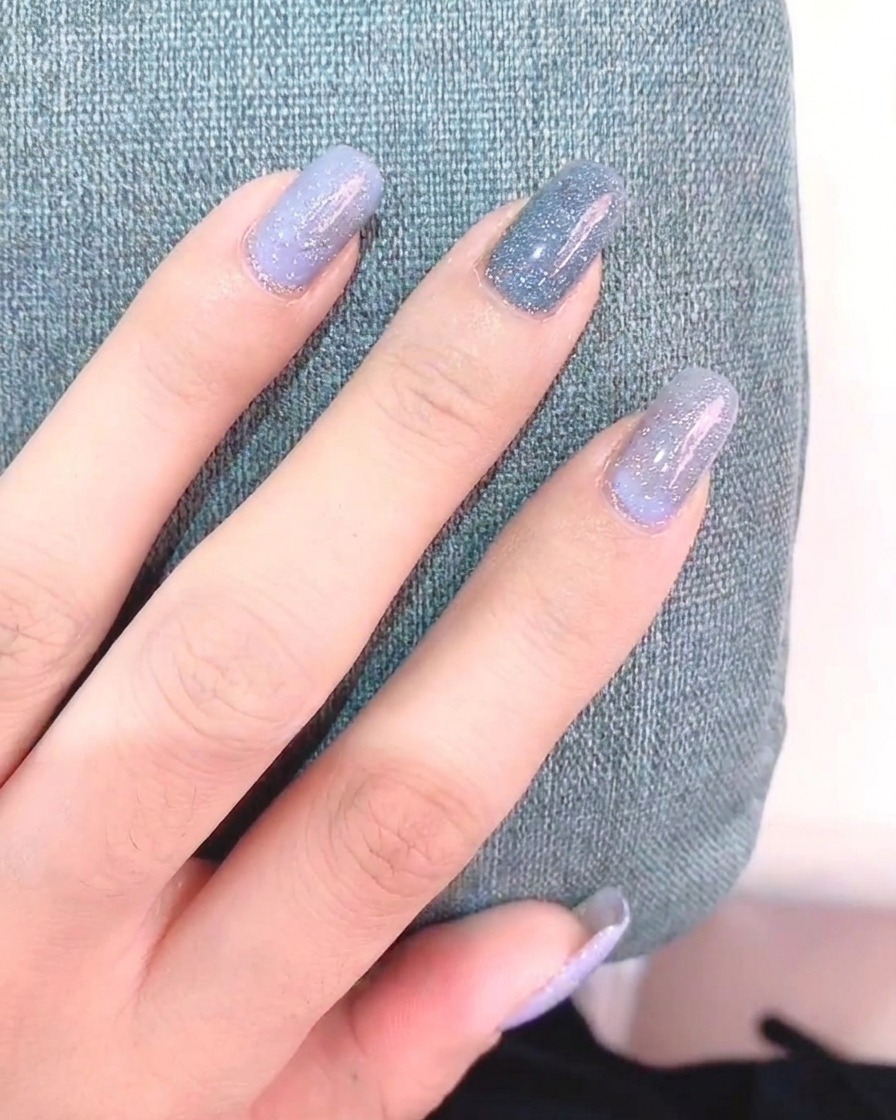
Using a fine liner brush and white gel paint, carefully paint the petals of your daisy onto the gray base. Start by positioning the petals to form the flower shape, ensuring they are evenly spaced around the center point. Avoid curing until you are happy with the arrangement.
Tip: A fine liner brush is crucial for creating delicate, thin petals for your daisy art. - 6Daisy petals completed
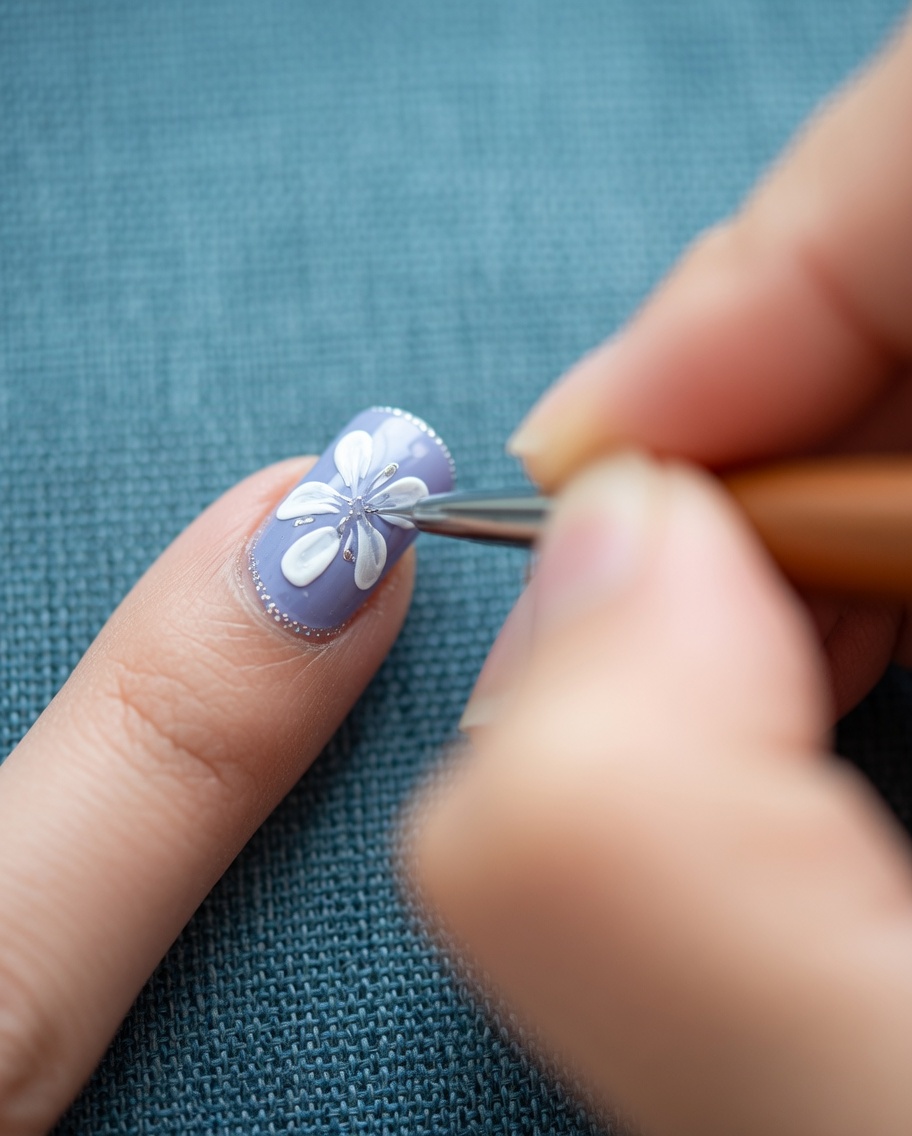
Once you have finished painting the white petals, ensure they look defined and clean. The petals should be placed harmoniously on the nail surface. This completes the base art for your daisy design.
Tip: If the paint is too thick, use a smaller brush to refine the edges of the petals. - 7Draw the daisy center
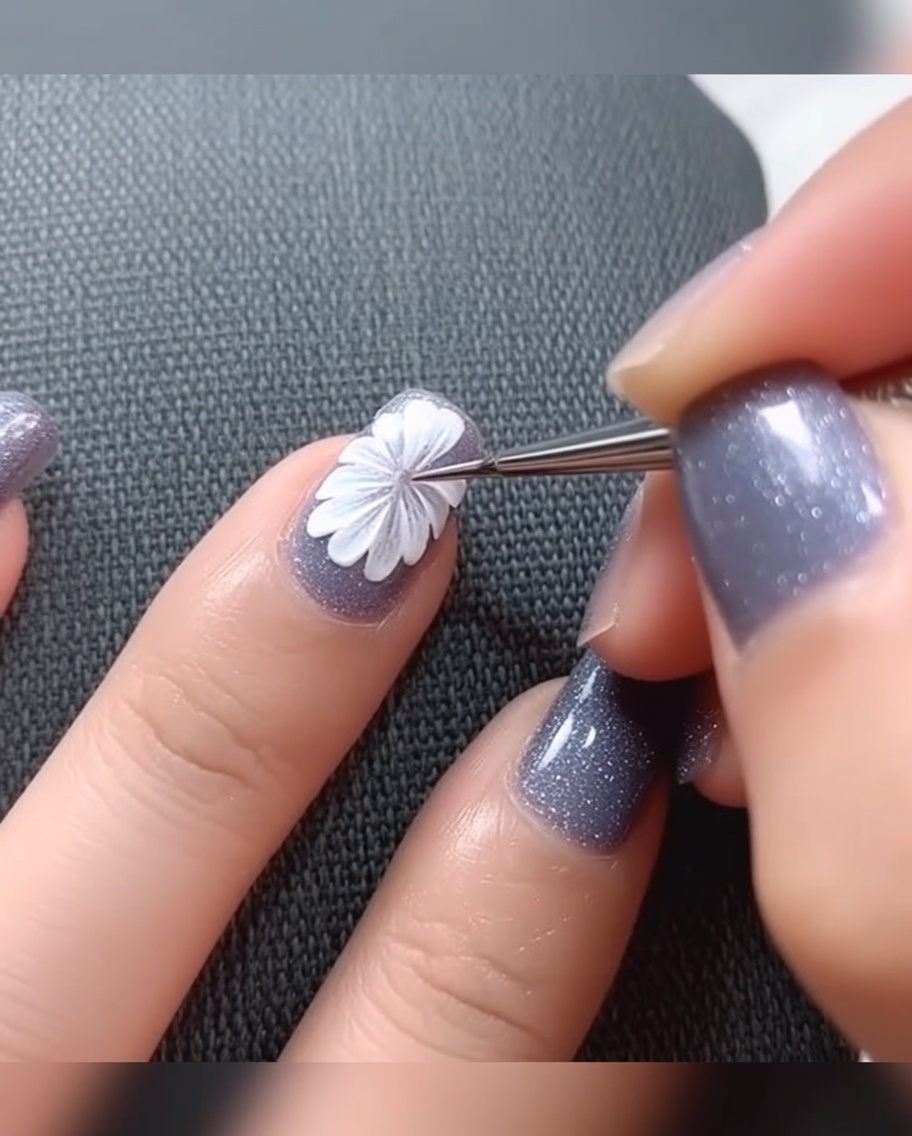
Using a fine liner brush and black gel paint, gently create a small, defined dot in the center of your white petals. This creates a clean focal point for the flower. Once placed, cure the nail to lock the design in place.
Tip: Keep a light hand to ensure the center remains a precise, clean shape without smudging the surrounding petals. - 8Apply sticker and top coat
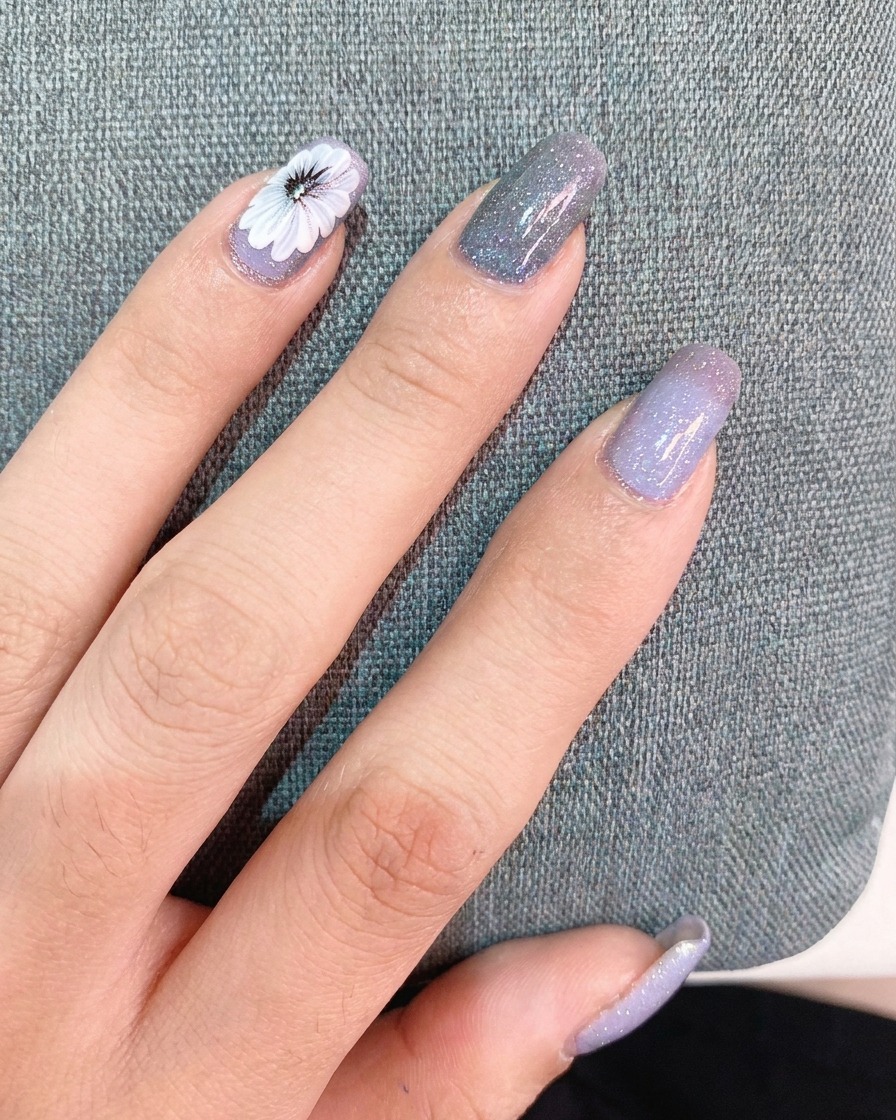
Carefully place your chosen small text sticker onto the nail surface. Finally, apply a generous layer of clear top coat over the entire nail to seal the design and the sticker, ensuring a smooth, protected, and high-gloss finish.
Tip: Make sure the sticker is pressed down completely at the edges before applying the top coat to prevent bubbling or lifting.